Articles
How To Clean Lasko Blower Fan
Modified: October 19, 2024
Learn how to clean your Lasko blower fan with these helpful articles. Keep your fan running smoothly and efficiently with our step-by-step guides and maintenance tips.
(Many of the links in this article redirect to a specific reviewed product. Your purchase of these products through affiliate links helps to generate commission for Storables.com, at no extra cost. Learn more)
Introduction
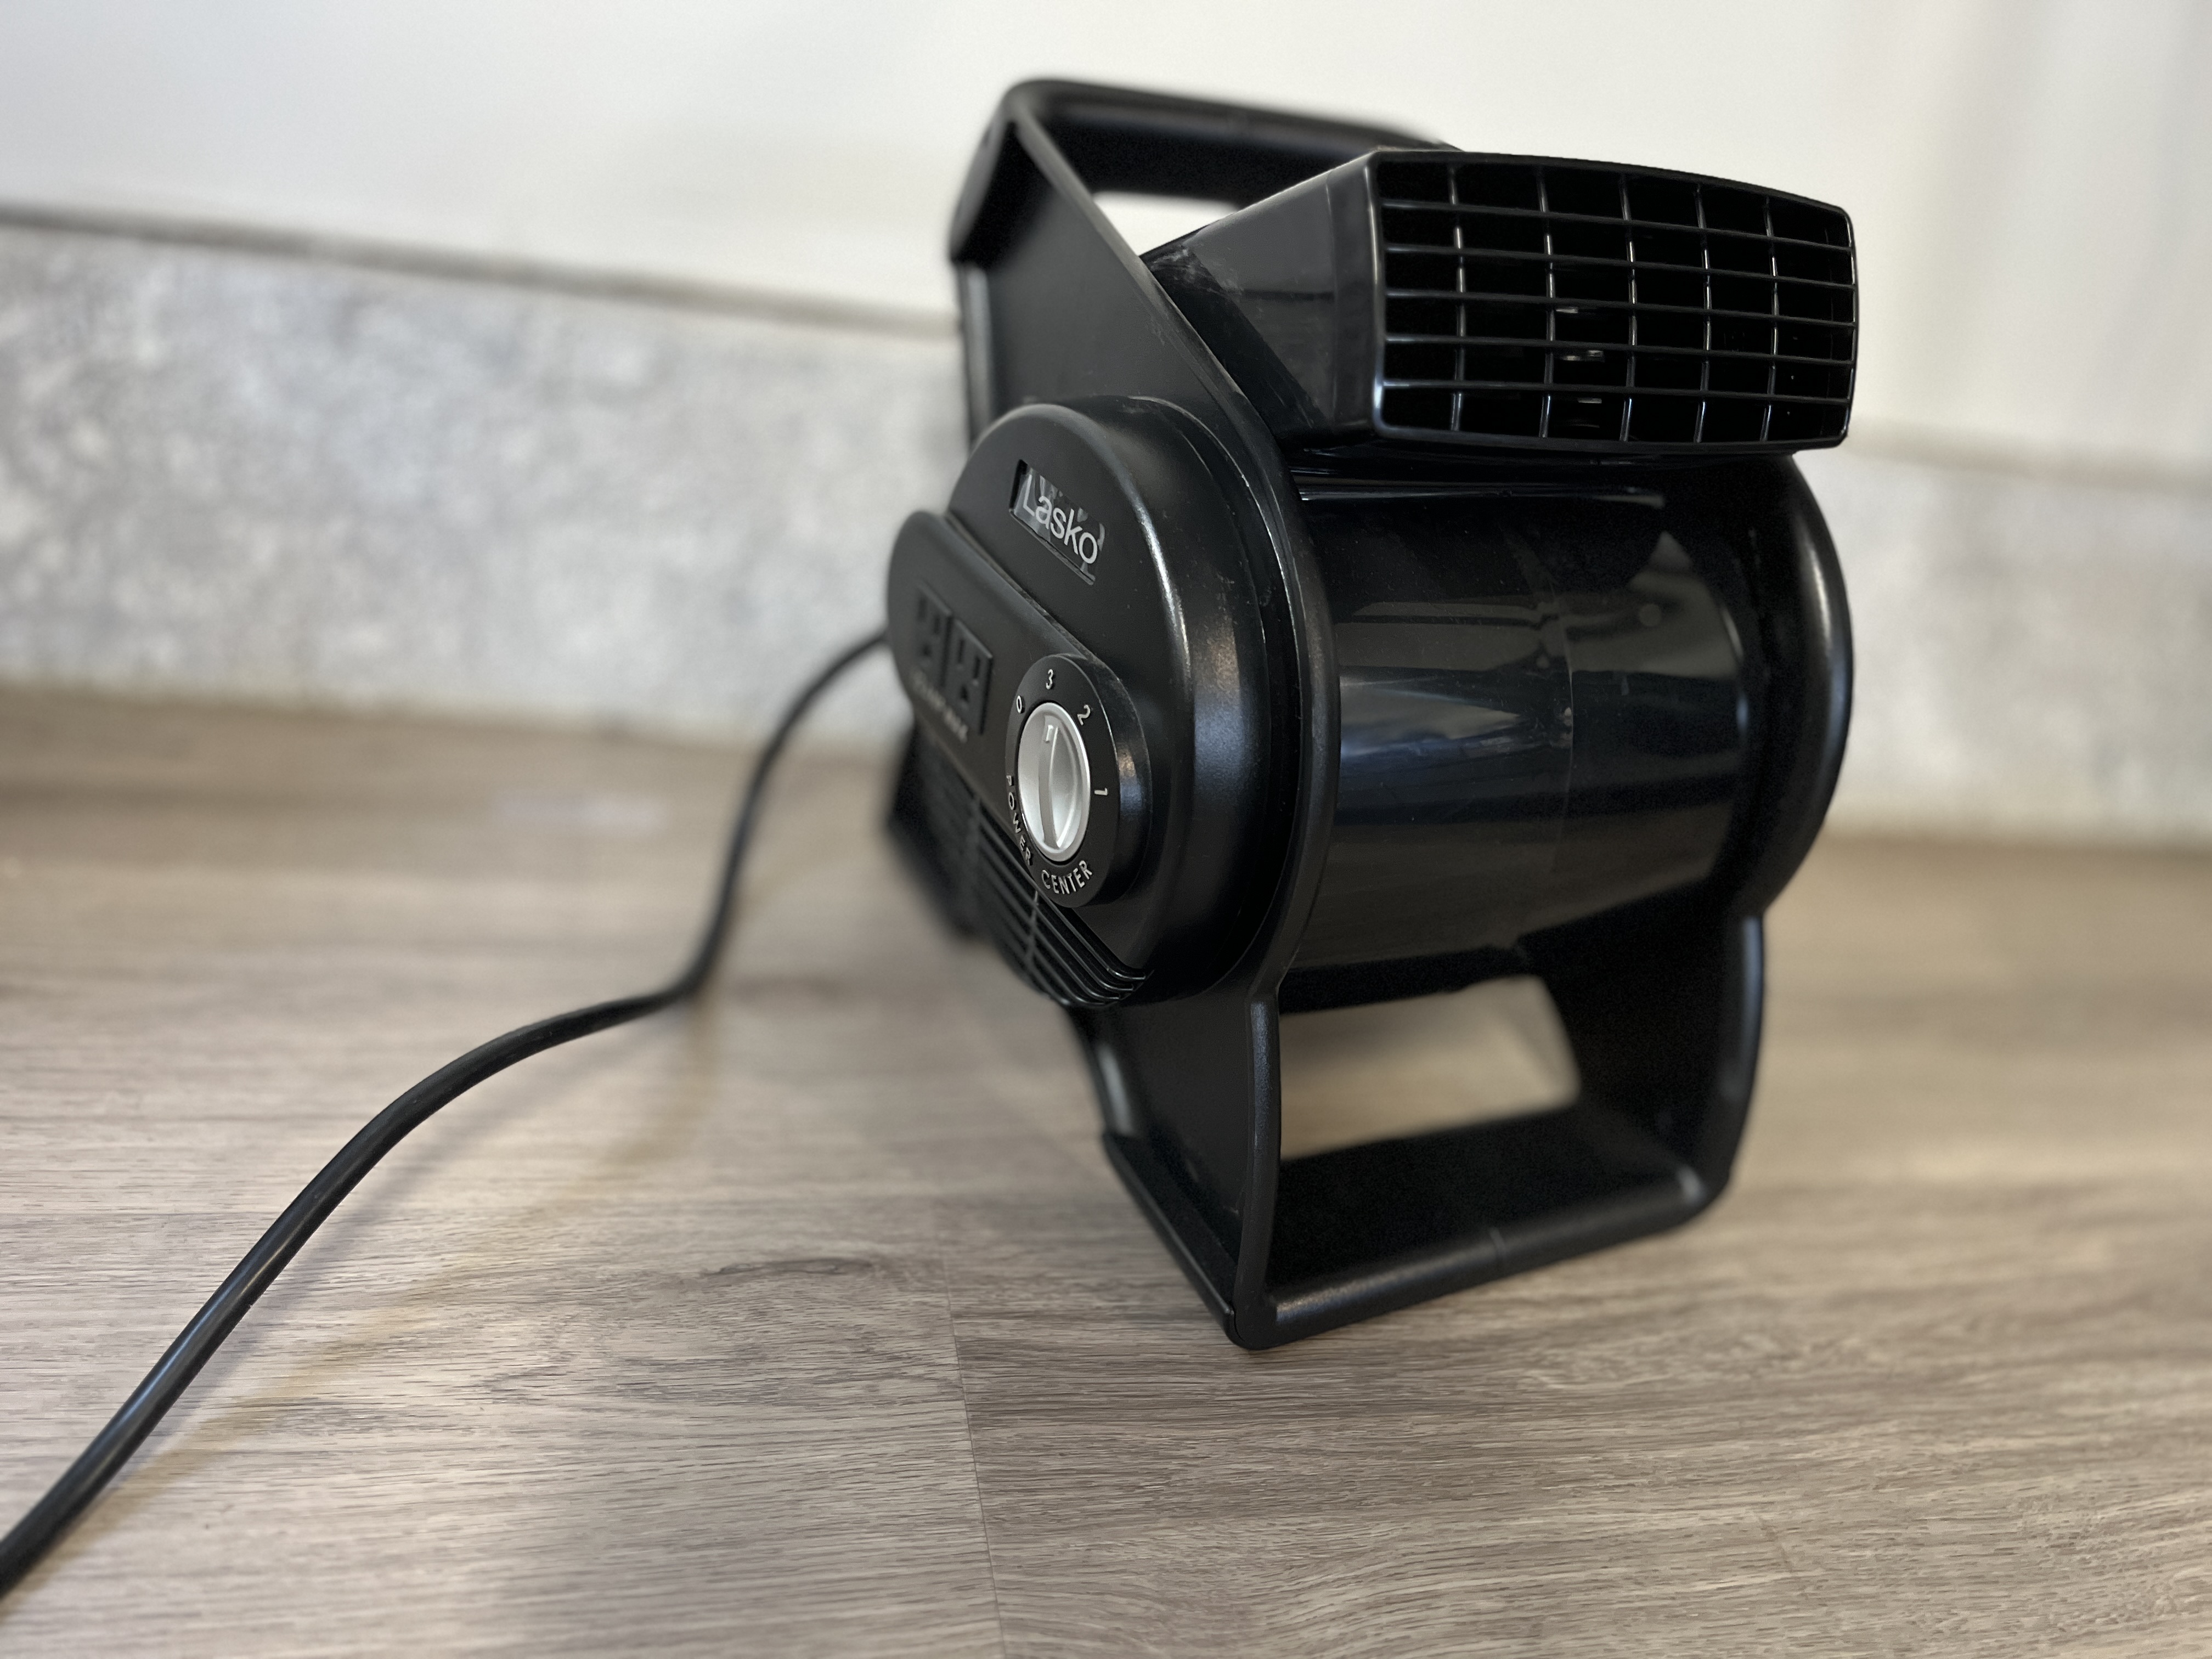
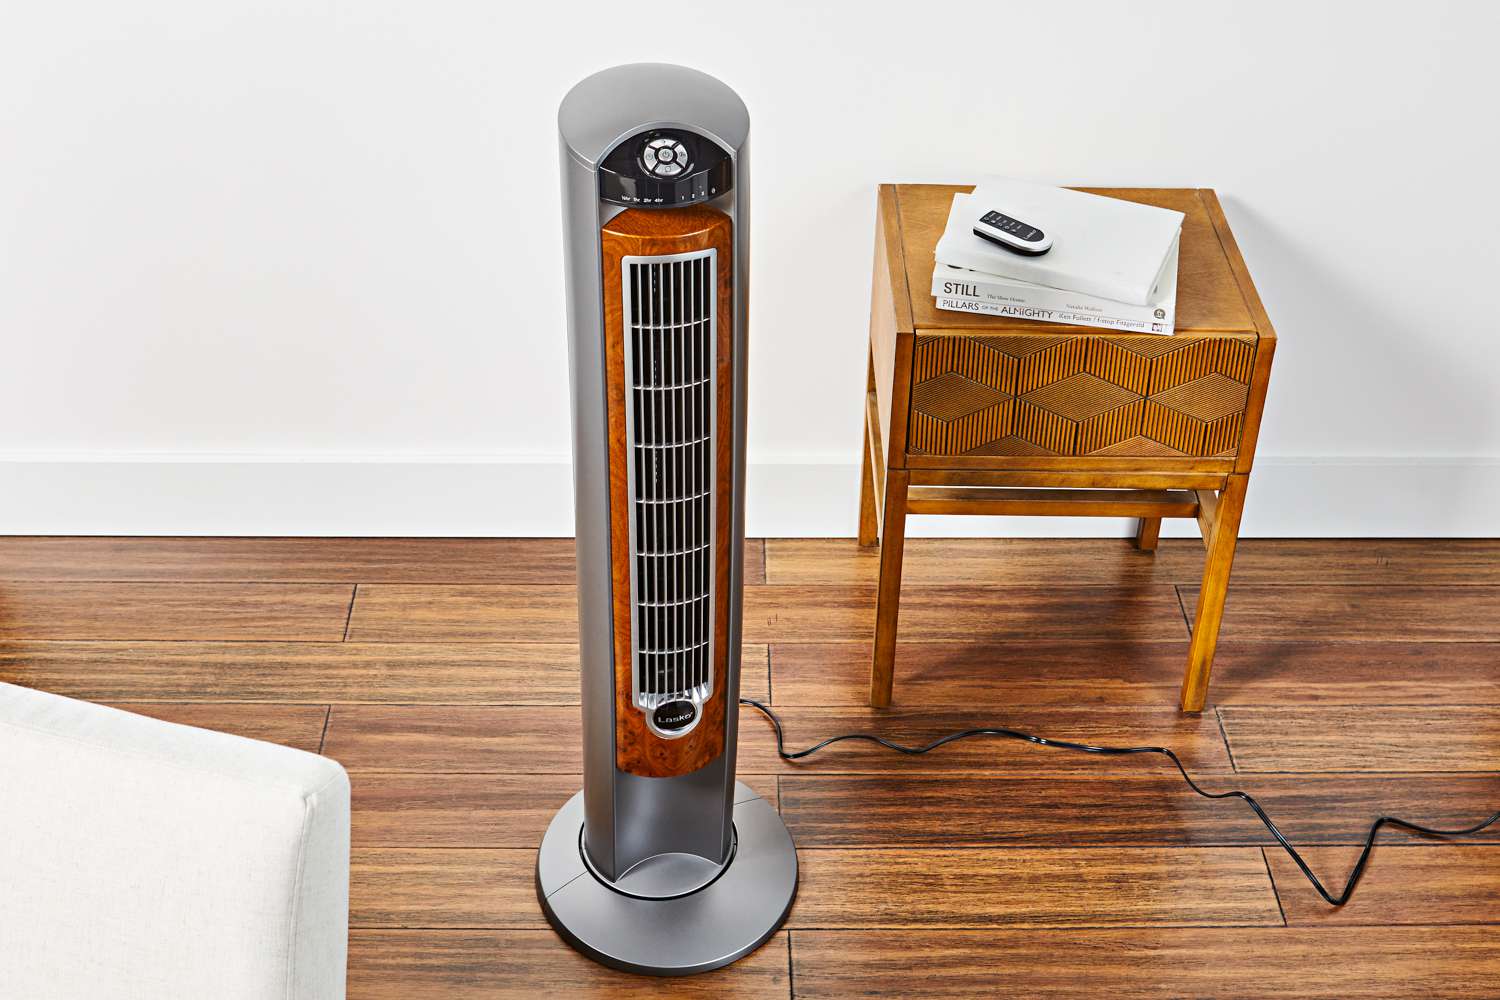
Having a Lasko blower fan can provide efficient cooling and air circulation in your home or office. However, over time, dust and debris can accumulate on the fan blades and the fan housing, affecting its performance and reducing its efficiency. Regularly cleaning your Lasko blower fan is essential to maintain its effectiveness and prolong its lifespan.
In this article, we will guide you through the step-by-step process of cleaning your Lasko blower fan. By following these instructions, you can ensure that your fan operates at its best and continues to provide you with cool air.
Before we get started, it’s important to remember that safety should always be a top priority when working with any electrical appliance. Make sure to unplug the fan from the power source before cleaning and handle all the components with care to avoid any injuries.
Let’s gather the necessary tools and materials before we begin.
Key Takeaways:
- Regularly cleaning your Lasko blower fan is essential to maintain its efficiency and prolong its lifespan. Follow the step-by-step guide to ensure optimal performance and enjoy a refreshing airflow.
- Prioritize safety by unplugging the fan before cleaning and handle components with care. With proper maintenance, your Lasko blower fan will continue to provide efficient cooling for years to come.
Read more: How To Clean A Lasko Cyclone Fan
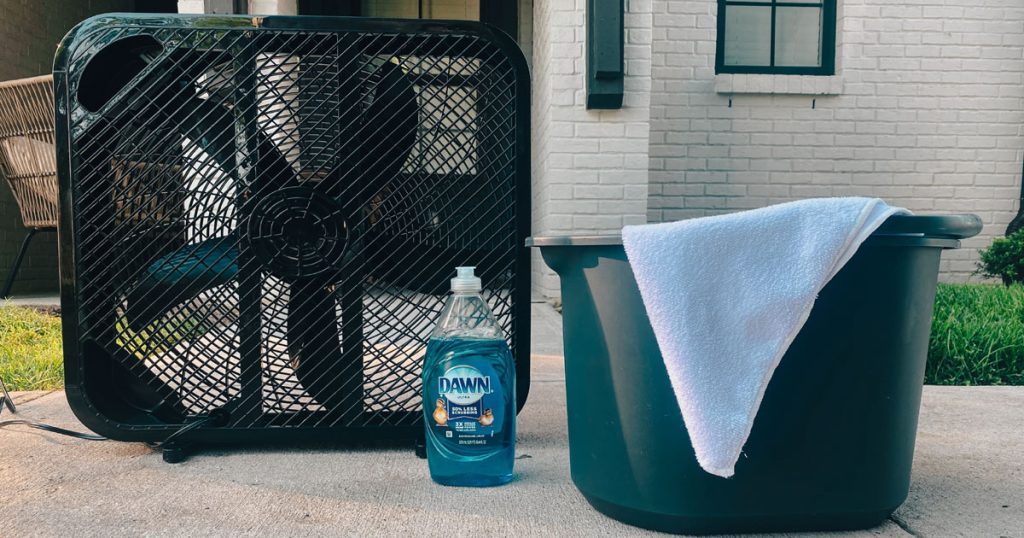
Tools and Materials Needed
Before you start cleaning your Lasko blower fan, gather the following tools and materials:
- Soft bristle brush or toothbrush
- Microfiber cloth or dusting cloth
- Compressed air can or air compressor
- Mild detergent or cleaning solution
- Bucket of warm water
- Screwdriver (if necessary for disassembly)
These common household items will help you effectively clean your fan and remove any built-up dust and dirt. Now that you have all your tools and materials ready, let’s move on to the next section, where we will discuss the safety precautions you need to take.
Safety Precautions
When cleaning your Lasko blower fan, it’s important to ensure your safety and the safety of others around you. Follow these essential safety precautions:
- Unplug the fan: Before starting any cleaning process, always unplug the fan from the power source to prevent any electrical accidents.
- Avoid water contact: Although we will be using water for cleaning, make sure to keep all electrical components and connections dry. Do not submerge the fan in water or pour water directly on the motor or electrical parts.
- Use caution with the blades: The blades of the fan can be sharp. Be careful and avoid touching them directly to prevent any injuries. If necessary, hold the blades in place when cleaning to avoid accidental movement.
- Handle with care: When disassembling or reassembling the fan, make sure to handle the parts gently to avoid any damage.
- Work in a well-ventilated area: Cleaning a fan can release a significant amount of dust, which can cause respiratory discomfort. Make sure to work in a well-ventilated area or consider wearing a mask to protect yourself from inhaling dust particles.
By following these safety precautions, you can ensure a safe cleaning process for both you and your Lasko blower fan. Now that we have discussed the safety measures, let’s move on to the step-by-step instructions for cleaning your fan.
Step 1: Unplug the Fan
The first and most crucial step in cleaning your Lasko blower fan is to unplug it from the power source. This step is essential to prevent any electrical accidents during the cleaning process.
Locate the power cord of your fan and follow it to the plug. Gently pull the plug out from the power outlet. Double-check that the fan is completely disconnected from the power source by ensuring that the blades and other electrical components are not running or receiving any power.
Unplugging the fan not only ensures your safety but also prevents any accidental damage to the fan or its components while cleaning.
Once you have successfully unplugged the fan, we can move on to the next step, which involves disassembling the fan to access its various components for cleaning.
Step 2: Disassemble the Fan
Now that you have unplugged the fan, it’s time to disassemble it to gain access to its various components for thorough cleaning. While the level of disassembly may vary depending on the specific model of your Lasko blower fan, the general steps are as follows:
- Remove the front grille: Most Lasko blower fans have a removable front grille that can be easily taken off. Look for any clips, screws, or latches that hold the grille in place. Use a screwdriver or follow the manufacturer’s instructions to remove the grille.
- Detach the blades: Once the front grille is removed, you can access the fan blades. Check for any locking mechanism or screws that hold the blades in place. Carefully unscrew or unlock them and gently remove the blades from the fan housing.
- Take apart the fan housing: Depending on the model of your fan, you may need to further disassemble the fan housing to access the internal components. Look for any additional screws or latches that hold the housing together. Use a screwdriver or follow the manufacturer’s instructions to disassemble the housing if necessary.
As you disassemble the fan, pay attention to the specific steps and mechanisms involved in removing each component. Take note of the order and placement of the parts to ease the reassembly process later on.
Once you have fully disassembled the fan, you can proceed to the next step, where we will focus on cleaning the exterior surfaces of the fan.
Read more: How To Clean A Lasko Tower Fan
Step 3: Clean the Exterior
Now that you have disassembled your Lasko blower fan, it’s time to clean the exterior surfaces. This step will help remove any visible dirt, dust, or grime from the fan’s outer casing.
Here’s how you can clean the exterior:
- Use a soft bristle brush or a toothbrush to gently brush away loose dirt and dust from the fan’s casing. Pay attention to the corners, vents, and hard-to-reach areas.
- Dampen a microfiber cloth or a dusting cloth with mild detergent or a cleaning solution. Be sure to wring out any excess liquid to prevent it from dripping onto the fan.
- Gently wipe the exterior surfaces of the fan, paying close attention to areas that accumulate more dirt or grime. Use circular motions to lift and remove any stubborn stains. Take extra care around the fan’s controls and buttons to avoid damaging them.
- If necessary, dip the cloth in a bucket of warm water to rinse off any residue from the cleaning solution. Again, make sure not to saturate the cloth or the fan with water.
- Once you have cleaned the entire exterior of the fan, allow it to air dry completely before moving on to the next step.
Remember to handle the fan with care during the cleaning process to avoid any accidental damage. Also, avoid using abrasive cleaners or harsh chemicals, as they may damage the fan’s finish.
With the exterior of your fan sparkling clean, it’s time to move on to the next step and focus on cleaning the blades of the Lasko blower fan.
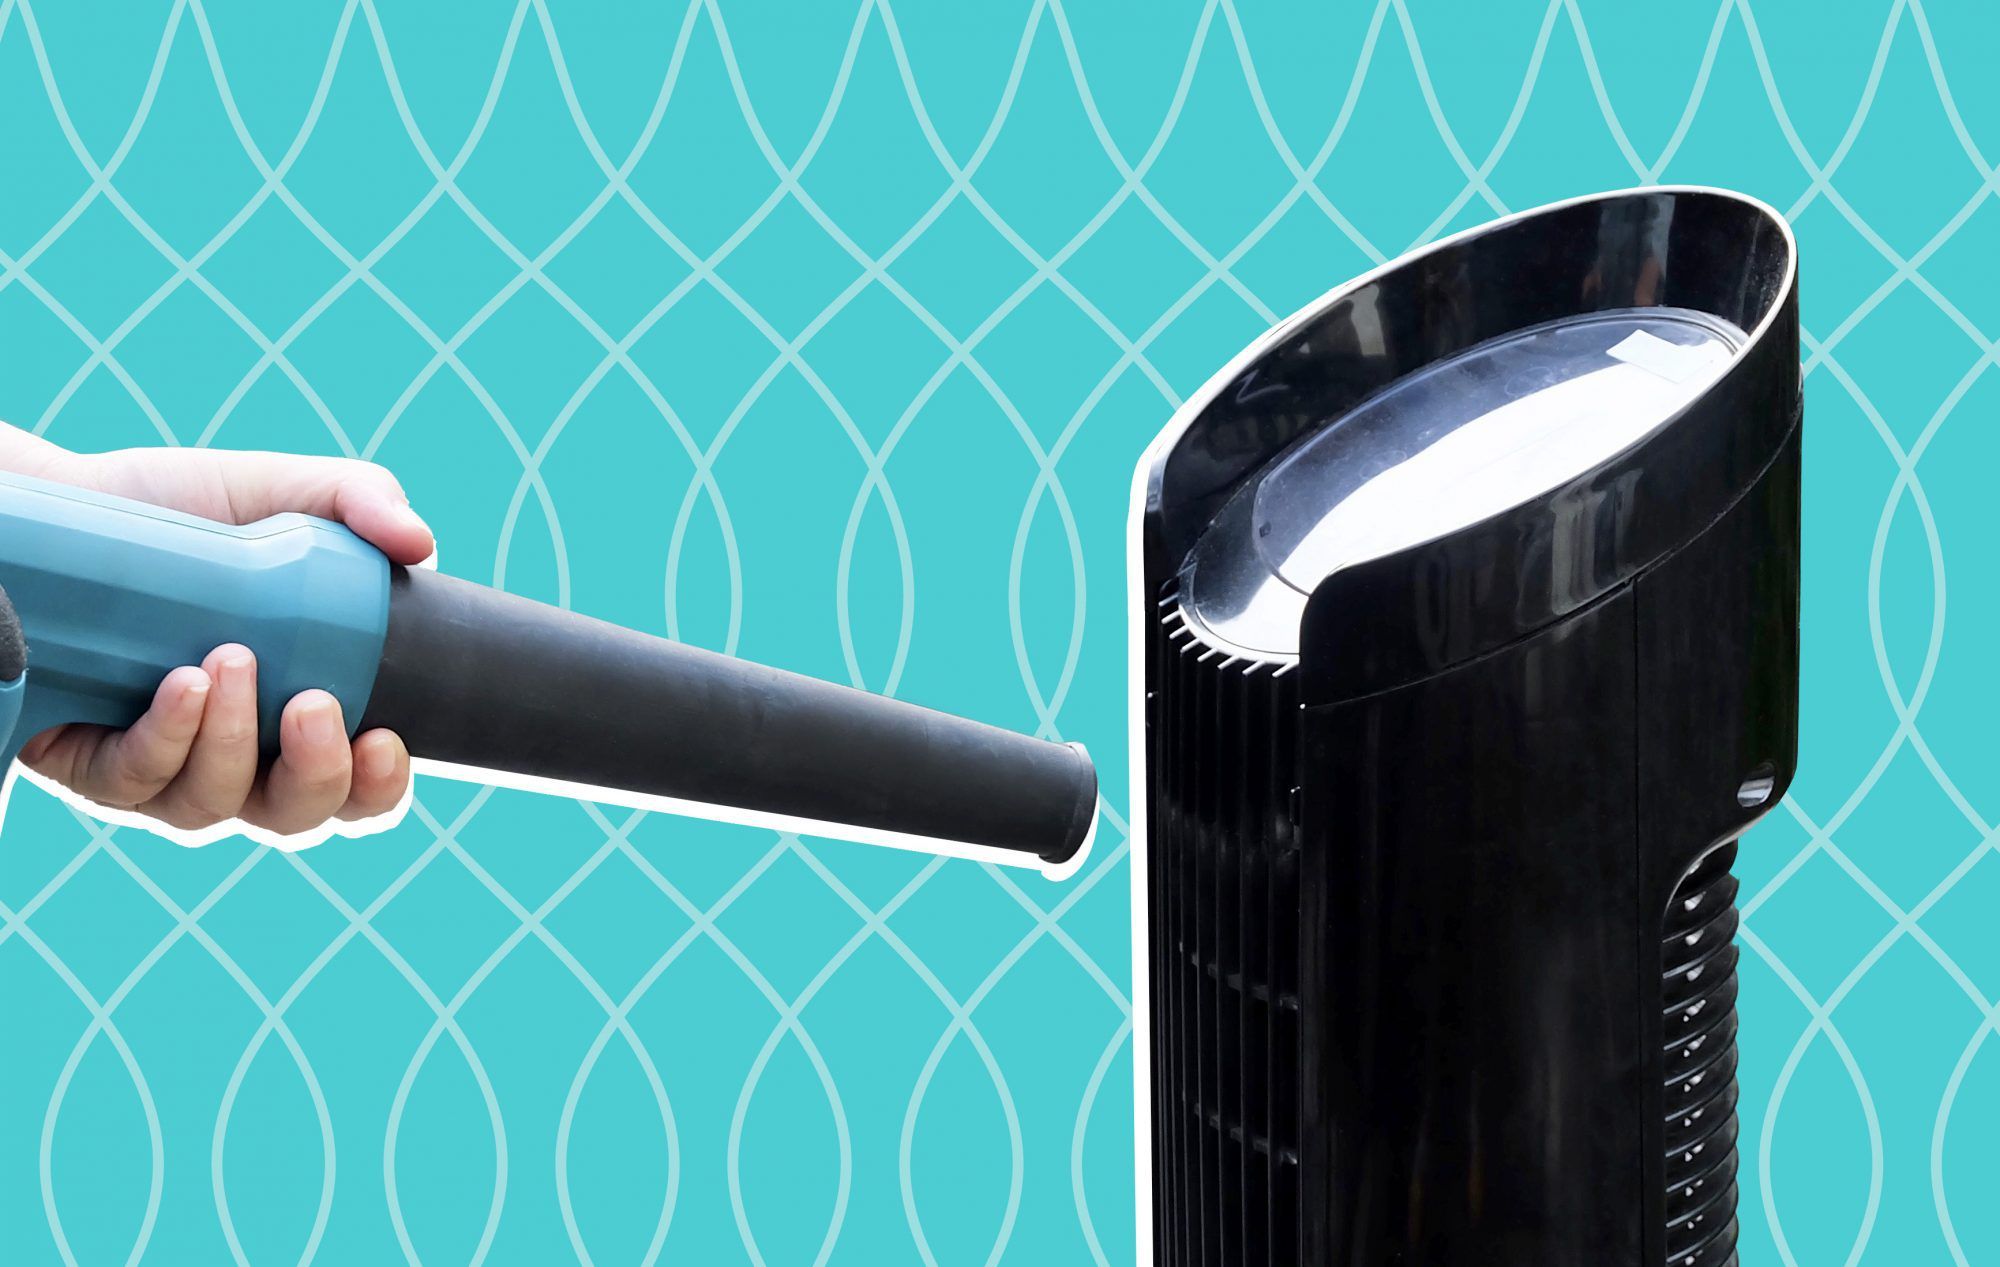
To clean a Lasko blower fan, start by unplugging the fan and removing the front grill. Use a vacuum with a brush attachment to remove dust and debris from the blades and grill. Wipe down the grill with a damp cloth and allow it to dry completely before reassembling the fan.
Step 4: Clean the Blades
Now that the exterior of your Lasko blower fan is clean, it’s time to focus on the blades. Over time, the blades can accumulate dust and debris, which can affect the performance and efficiency of the fan.
Follow these steps to clean the blades:
- Take the fan blades that you previously detached and inspect them for any visible dirt or dust. Most blades can be easily cleaned with a soft bristle brush or a toothbrush.
- Gently brush the blades using the soft bristle brush or toothbrush to remove any loose dirt or dust. Start at the center of the blade and work your way outwards, ensuring you cover both sides of each blade.
- If the blades are particularly dirty, you can dampen the soft bristle brush or toothbrush with mild detergent or a cleaning solution. Gently scrub the blades to remove stubborn stains or build-up. Be cautious not to apply excessive pressure to avoid bending or damaging the blades.
- Rinse the blades with clean water to remove any residue from the cleaning solution. You can either rinse them in a sink or use a damp cloth to wipe off the excess cleaning solution.
- After cleaning, allow the blades to air dry completely before reassembling the fan.
Properly cleaning the blades will improve the airflow of your Lasko blower fan and enhance its overall performance. Once the blades are clean and dry, it’s time to move on to the next step and address the cleaning of the fan housing.
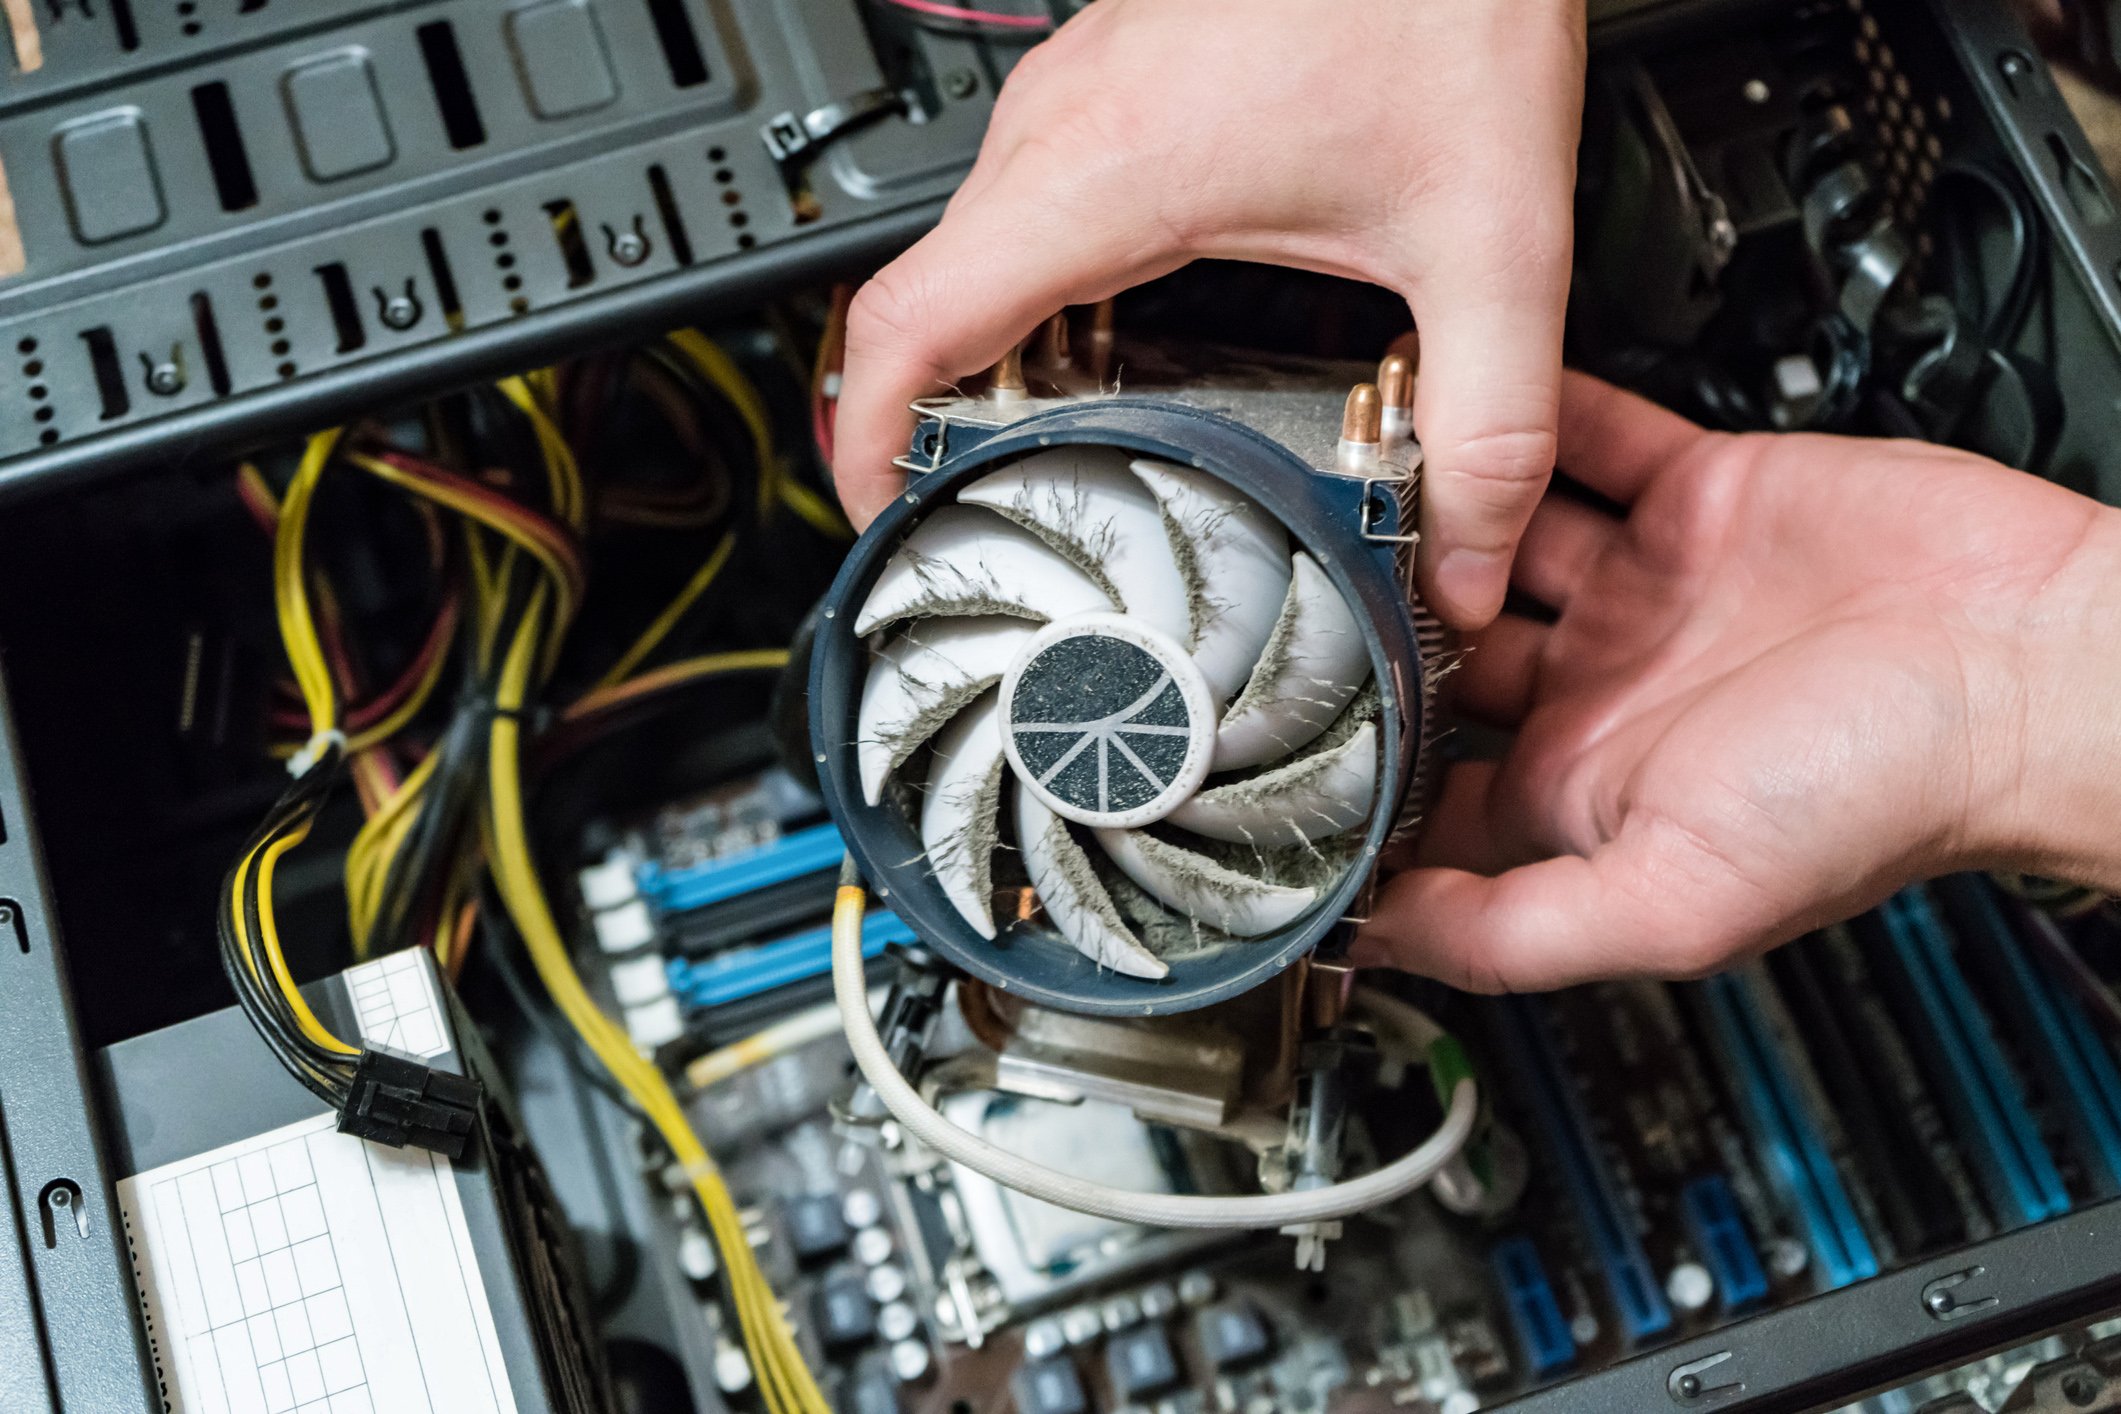
Step 5: Clean the Fan Housing
With the blades of your Lasko blower fan cleaned, it’s important to also clean the fan housing to ensure optimal performance and airflow. The fan housing can collect dust and debris, which may affect the efficiency of the fan.
Follow these steps to clean the fan housing:
- Using a soft bristle brush or a microfiber cloth, gently brush or wipe away any loose dust or debris from the fan housing. Pay attention to the corners, vents, and crevices where dirt tends to accumulate.
- If the fan housing is particularly dirty, you can dampen the soft bristle brush or microfiber cloth with mild detergent or a cleaning solution. Gently scrub the housing to remove stubborn stains or build-up. Avoid applying excessive force to prevent any damage.
- Rinse the fan housing with clean water to remove any residue from the cleaning solution. Be cautious not to saturate the housing or any electrical components.
- After rinsing, use a clean, dry microfiber cloth to wipe down the fan housing and remove any excess moisture.
- Allow the fan housing to air dry completely before moving on to the next step.
Cleaning the fan housing will not only improve the overall appearance of your Lasko blower fan but also ensure that it functions optimally. Once the fan housing is clean and dry, it’s time to move on to the next step and clean the grille.
Step 6: Clean the Grille
The grille of your Lasko blower fan helps protect the internal components from dust and debris. Over time, the grille can become clogged and dirty, which can hinder the airflow and decrease the fan’s performance. Cleaning the grille regularly is essential to maintain the efficiency of your fan.
Follow these steps to clean the grille:
- Inspect the grille for any visible dirt or dust. Use a soft bristle brush or a microfiber cloth to gently brush away any loose debris.
- If the grille is particularly dirty, you can dampen the soft bristle brush or microfiber cloth with mild detergent or a cleaning solution. Gently scrub the grille to remove stubborn stains or build-up.
- Rinse the grille with clean water to remove any residue from the cleaning solution. Be careful not to saturate the grille or expose any electrical components to water.
- After rinsing, use a clean, dry microfiber cloth to pat dry the grille and remove any excess moisture.
It’s important to note that some Lasko blower fan models have grilles that are not removable. In such cases, you can still clean the grille using a soft bristle brush or a microfiber cloth. Take extra care to clean between the grille’s openings to remove any trapped dust or debris.
Once the grille is clean and dry, you can move on to the next step and reassemble your Lasko blower fan.
Read also: 11 Best Lasko Oscillating Fan for 2025
Step 7: Reassemble the Fan
With all the individual components of your Lasko blower fan properly cleaned and dried, it’s time to reassemble the fan. Follow these steps to ensure a smooth reassembly process:
- Start by aligning the fan blades with the hub or motor shaft. Gently slide the blades onto the shaft and secure them in place according to the manufacturer’s instructions. Make sure the blades are properly aligned and rotate freely.
- If you had to disassemble the fan housing, reassemble it in the reverse order of disassembly. Align the tabs or screws and secure the housing tightly to prevent any vibrations or loose parts.
- Place the front grille back onto the fan and secure it with the clips, screws, or latches. Ensure that the grille is properly aligned and securely attached to the fan housing.
During the reassembly process, refer to any specific instructions provided by the manufacturer for your particular Lasko blower fan model. Take your time and make sure that all the components are correctly aligned and securely attached.
Once you have successfully reassembled the fan, you’re almost done! The last step involves plugging in the fan and testing its functionality.
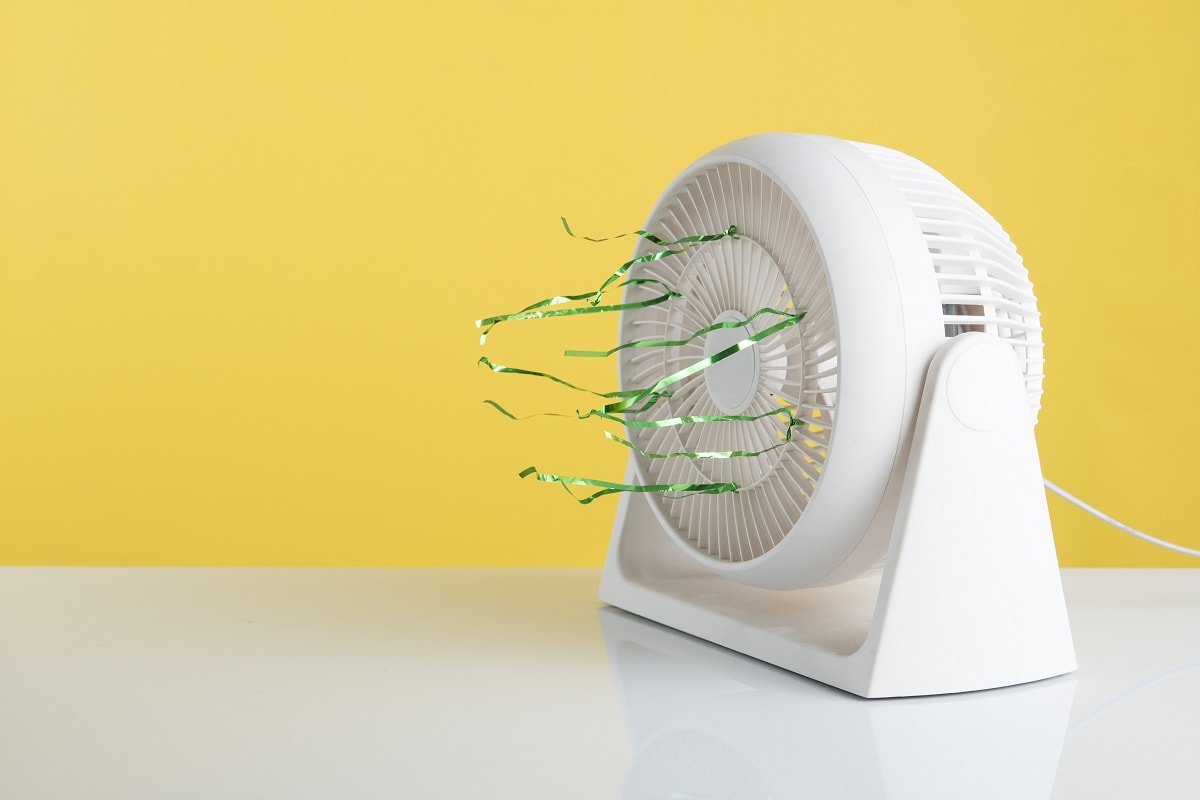
Step 8: Plug in and Test the Fan
After reassembling your Lasko blower fan, it’s time to plug it back in and test its functionality. Follow these steps to ensure that your fan is working properly:
- Double-check that the fan is properly plugged into a functioning power outlet. Make sure the power cord is secure and not damaged.
- Switch on the fan by using the power button or the control panel, depending on your fan’s model.
- Listen for any unusual noises or vibrations. If you notice any unusual sounds or movements, switch off the fan immediately and inspect the reassembled components for proper alignment and attachment.
- Observe the airflow and ensure that it is consistent and strong. If you notice any decrease in airflow or poor performance, double-check that all components are properly installed and clean.
If the fan is functioning correctly without any issues, you have successfully completed the cleaning and reassembly process. Enjoy the refreshed performance of your Lasko blower fan!
Remember to regularly clean your fan to maintain its optimal performance and extend its lifespan. Depending on the level of usage and the environment, it is recommended to clean your fan every few months or as needed.
Congratulations on successfully cleaning and reassembling your Lasko blower fan! With proper maintenance and regular cleaning, your fan will continue to provide efficient cooling and air circulation for years to come.
Conclusion
Regularly cleaning your Lasko blower fan is essential to keep it running efficiently and effectively. By following the step-by-step process outlined in this guide, you can ensure that your fan remains in optimal condition and continues to provide you with a cool breeze.
We began by stressing the importance of safety precautions, emphasizing the need to unplug the fan before cleaning and to handle the components with care. We then discussed the tools and materials needed for the cleaning process, including a soft bristle brush, microfiber cloth, mild detergent or cleaning solution, and a bucket of warm water.
The step-by-step instructions covered various aspects of cleaning the fan, starting with unplugging it and disassembling it to access the different components. We cleaned the exterior surfaces, the blades, the fan housing, and the grille, providing detailed guidance on how to effectively remove dirt and dust.
After cleaning each component, we discussed the importance of allowing them to air dry completely before reassembling the fan. We went through the steps of aligning and securing the fan blades, reassembling the fan housing, and attaching the front grille.
Finally, we plugged in the fan and tested its functionality, ensuring that it operated smoothly without any strange noises or vibrations. We emphasized the importance of regular maintenance and cleaning to preserve the fan’s performance and prolong its lifespan.
In conclusion, cleaning your Lasko blower fan is a simple yet crucial task to keep it in optimal working condition. By following the steps outlined in this guide and performing regular cleaning, you can enjoy a clean and efficient fan to provide you with a refreshing airflow whenever you need it.
Remember to consult the specific instructions provided by the manufacturer for your Lasko blower fan model, as certain steps or features may vary. With proper care and maintenance, your Lasko blower fan will continue to be a reliable source of cool air for years to come.
Frequently Asked Questions about How To Clean Lasko Blower Fan
Was this page helpful?
At Storables.com, we guarantee accurate and reliable information. Our content, validated by Expert Board Contributors, is crafted following stringent Editorial Policies. We're committed to providing you with well-researched, expert-backed insights for all your informational needs.


0 thoughts on “How To Clean Lasko Blower Fan”