Articles
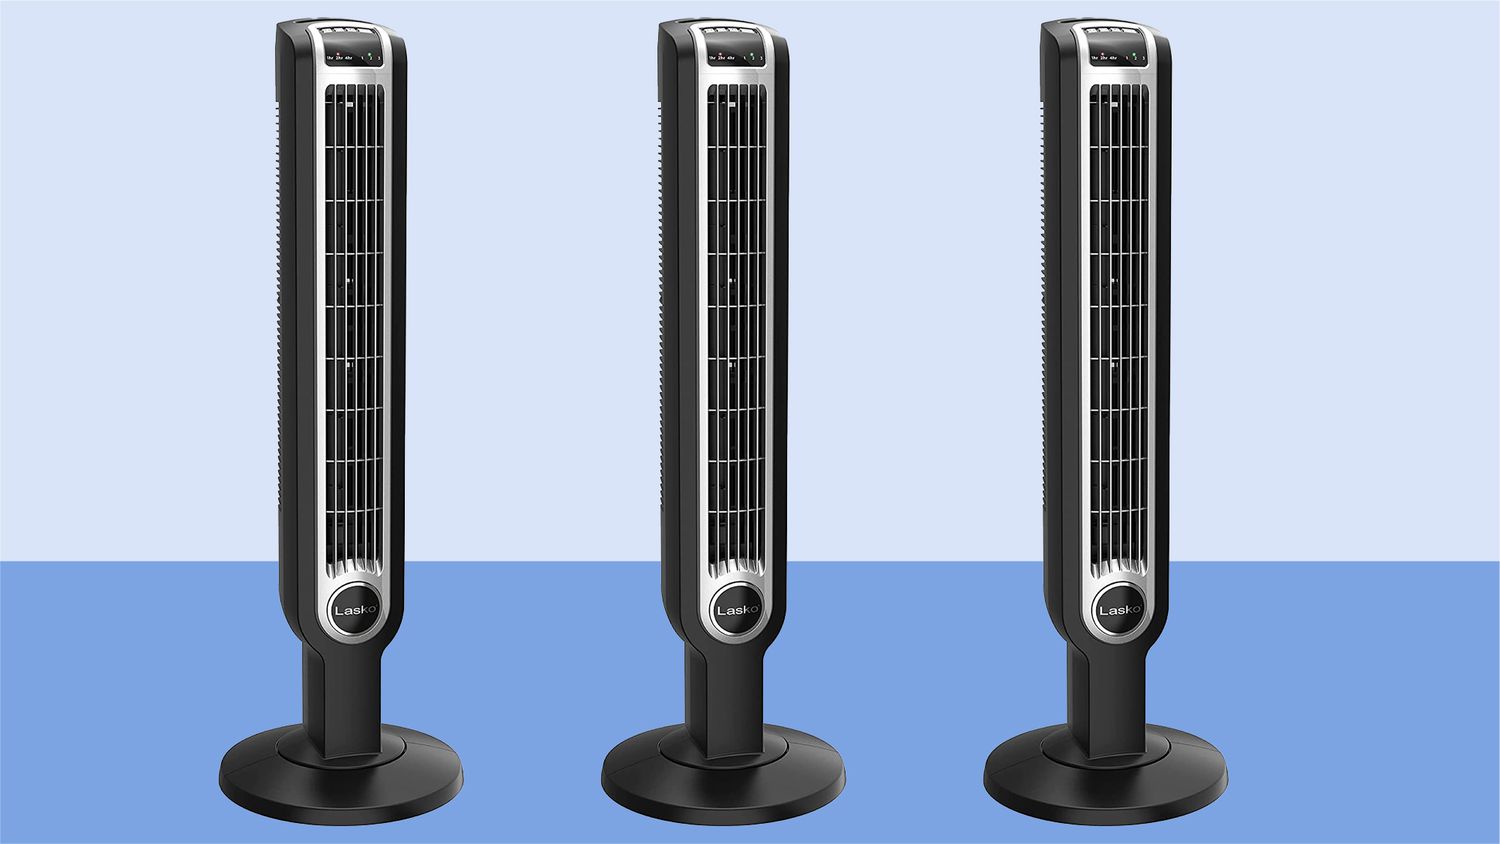
How To Clean A Lasko Tower Fan
Modified: October 19, 2024
Learn effective techniques for cleaning your Lasko tower fan with our comprehensive articles. Keep your fan running smoothly and efficiently!
(Many of the links in this article redirect to a specific reviewed product. Your purchase of these products through affiliate links helps to generate commission for Storables.com, at no extra cost. Learn more)
Introduction
Welcome to our comprehensive guide on how to clean a Lasko tower fan. Tower fans are not only great for keeping your home cool and comfortable, but they can also accumulate dust and dirt over time, which can affect their performance. Cleaning your tower fan regularly is essential to maintain its efficiency and ensure that it continues to provide you with fresh and clean air.
By following the step-by-step instructions provided in this guide, you’ll learn how to effectively clean your Lasko tower fan and restore its functionality. Before we get started, it’s important to note that safety should always be your top priority. Make sure to read and follow the manufacturer’s instructions and take necessary precautions before attempting to clean your fan.
Now let’s gather the tools and materials you’ll need for this cleaning process.
Key Takeaways:
- Regularly cleaning your Lasko tower fan is crucial for maintaining its performance, efficiency, and longevity. Follow the step-by-step instructions to ensure a safe and effective cleaning process.
- Prioritize safety by disconnecting the fan from the power source and use the appropriate tools and materials for thorough cleaning. Reassemble the fan carefully and enjoy cleaner, fresher air in your home.
Read also: 12 Amazing Lasko Tower Fan for 2025
Safety Precautions
Before starting the cleaning process, it’s crucial to follow these safety precautions:
- Ensure that the fan is unplugged from the power source to avoid any electrical accidents.
- Handle the fan with care to prevent any injuries. Tower fans may have sharp edges or fragile parts.
- Avoid using excessive water or liquids when cleaning to prevent damage to the electrical components.
- Work in a well-ventilated area to avoid inhaling dust and debris.
Key Takeaways:
- Regularly cleaning your Lasko tower fan is crucial for maintaining its performance, efficiency, and longevity. Follow the step-by-step instructions to ensure a safe and effective cleaning process.
- Prioritize safety by disconnecting the fan from the power source and use the appropriate tools and materials for thorough cleaning. Reassemble the fan carefully and enjoy cleaner, fresher air in your home.
Read also: 12 Amazing Lasko Tower Fan for 2025
Safety Precautions
Prior to cleaning your Lasko tower fan, it is important to follow these safety precautions to ensure a safe and efficient cleaning process:
- Switch off and unplug the fan: Before you begin, make sure that the fan is completely switched off and unplugged from the power source. This will prevent any electrical accidents or injury while handling the fan.
- Allow the fan to cool down: If the fan has been running for a while, it’s essential to allow it to cool down before starting the cleaning process. This will protect you from any potential burns or injuries.
- Work in a well-ventilated area: To avoid inhaling dust and debris that may be released during the cleaning process, it is advisable to work in a well-ventilated area, such as an open room or outdoor space.
- Use protective gear: To protect yourself from dust and particles, wear protective gear such as gloves, goggles, and a face mask. This will help minimize the risk of respiratory irritation or allergy reactions.
- Avoid using liquid or water near electrical components: Tower fans have electrical components that should not come into contact with liquids. It is crucial to avoid using excessive water or liquids when cleaning the fan to prevent any damage or electrical hazards.
- Follow the manufacturer’s instructions: Each Lasko tower fan may have specific cleaning instructions provided by the manufacturer. Prior to cleaning, carefully read the user manual or visit the manufacturer’s website for any specific guidelines or warnings related to cleaning the fan.
By following these safety precautions, you can ensure a safe and effective cleaning process for your Lasko tower fan. Now let’s move on to the tools and materials you will need for cleaning.
Tools and Materials Required
Before you begin cleaning your Lasko tower fan, gather the following tools and materials:
- Soft-bristled brush or dusting cloth: This will be used to remove dust and debris from the fan blades, grill, and housing.
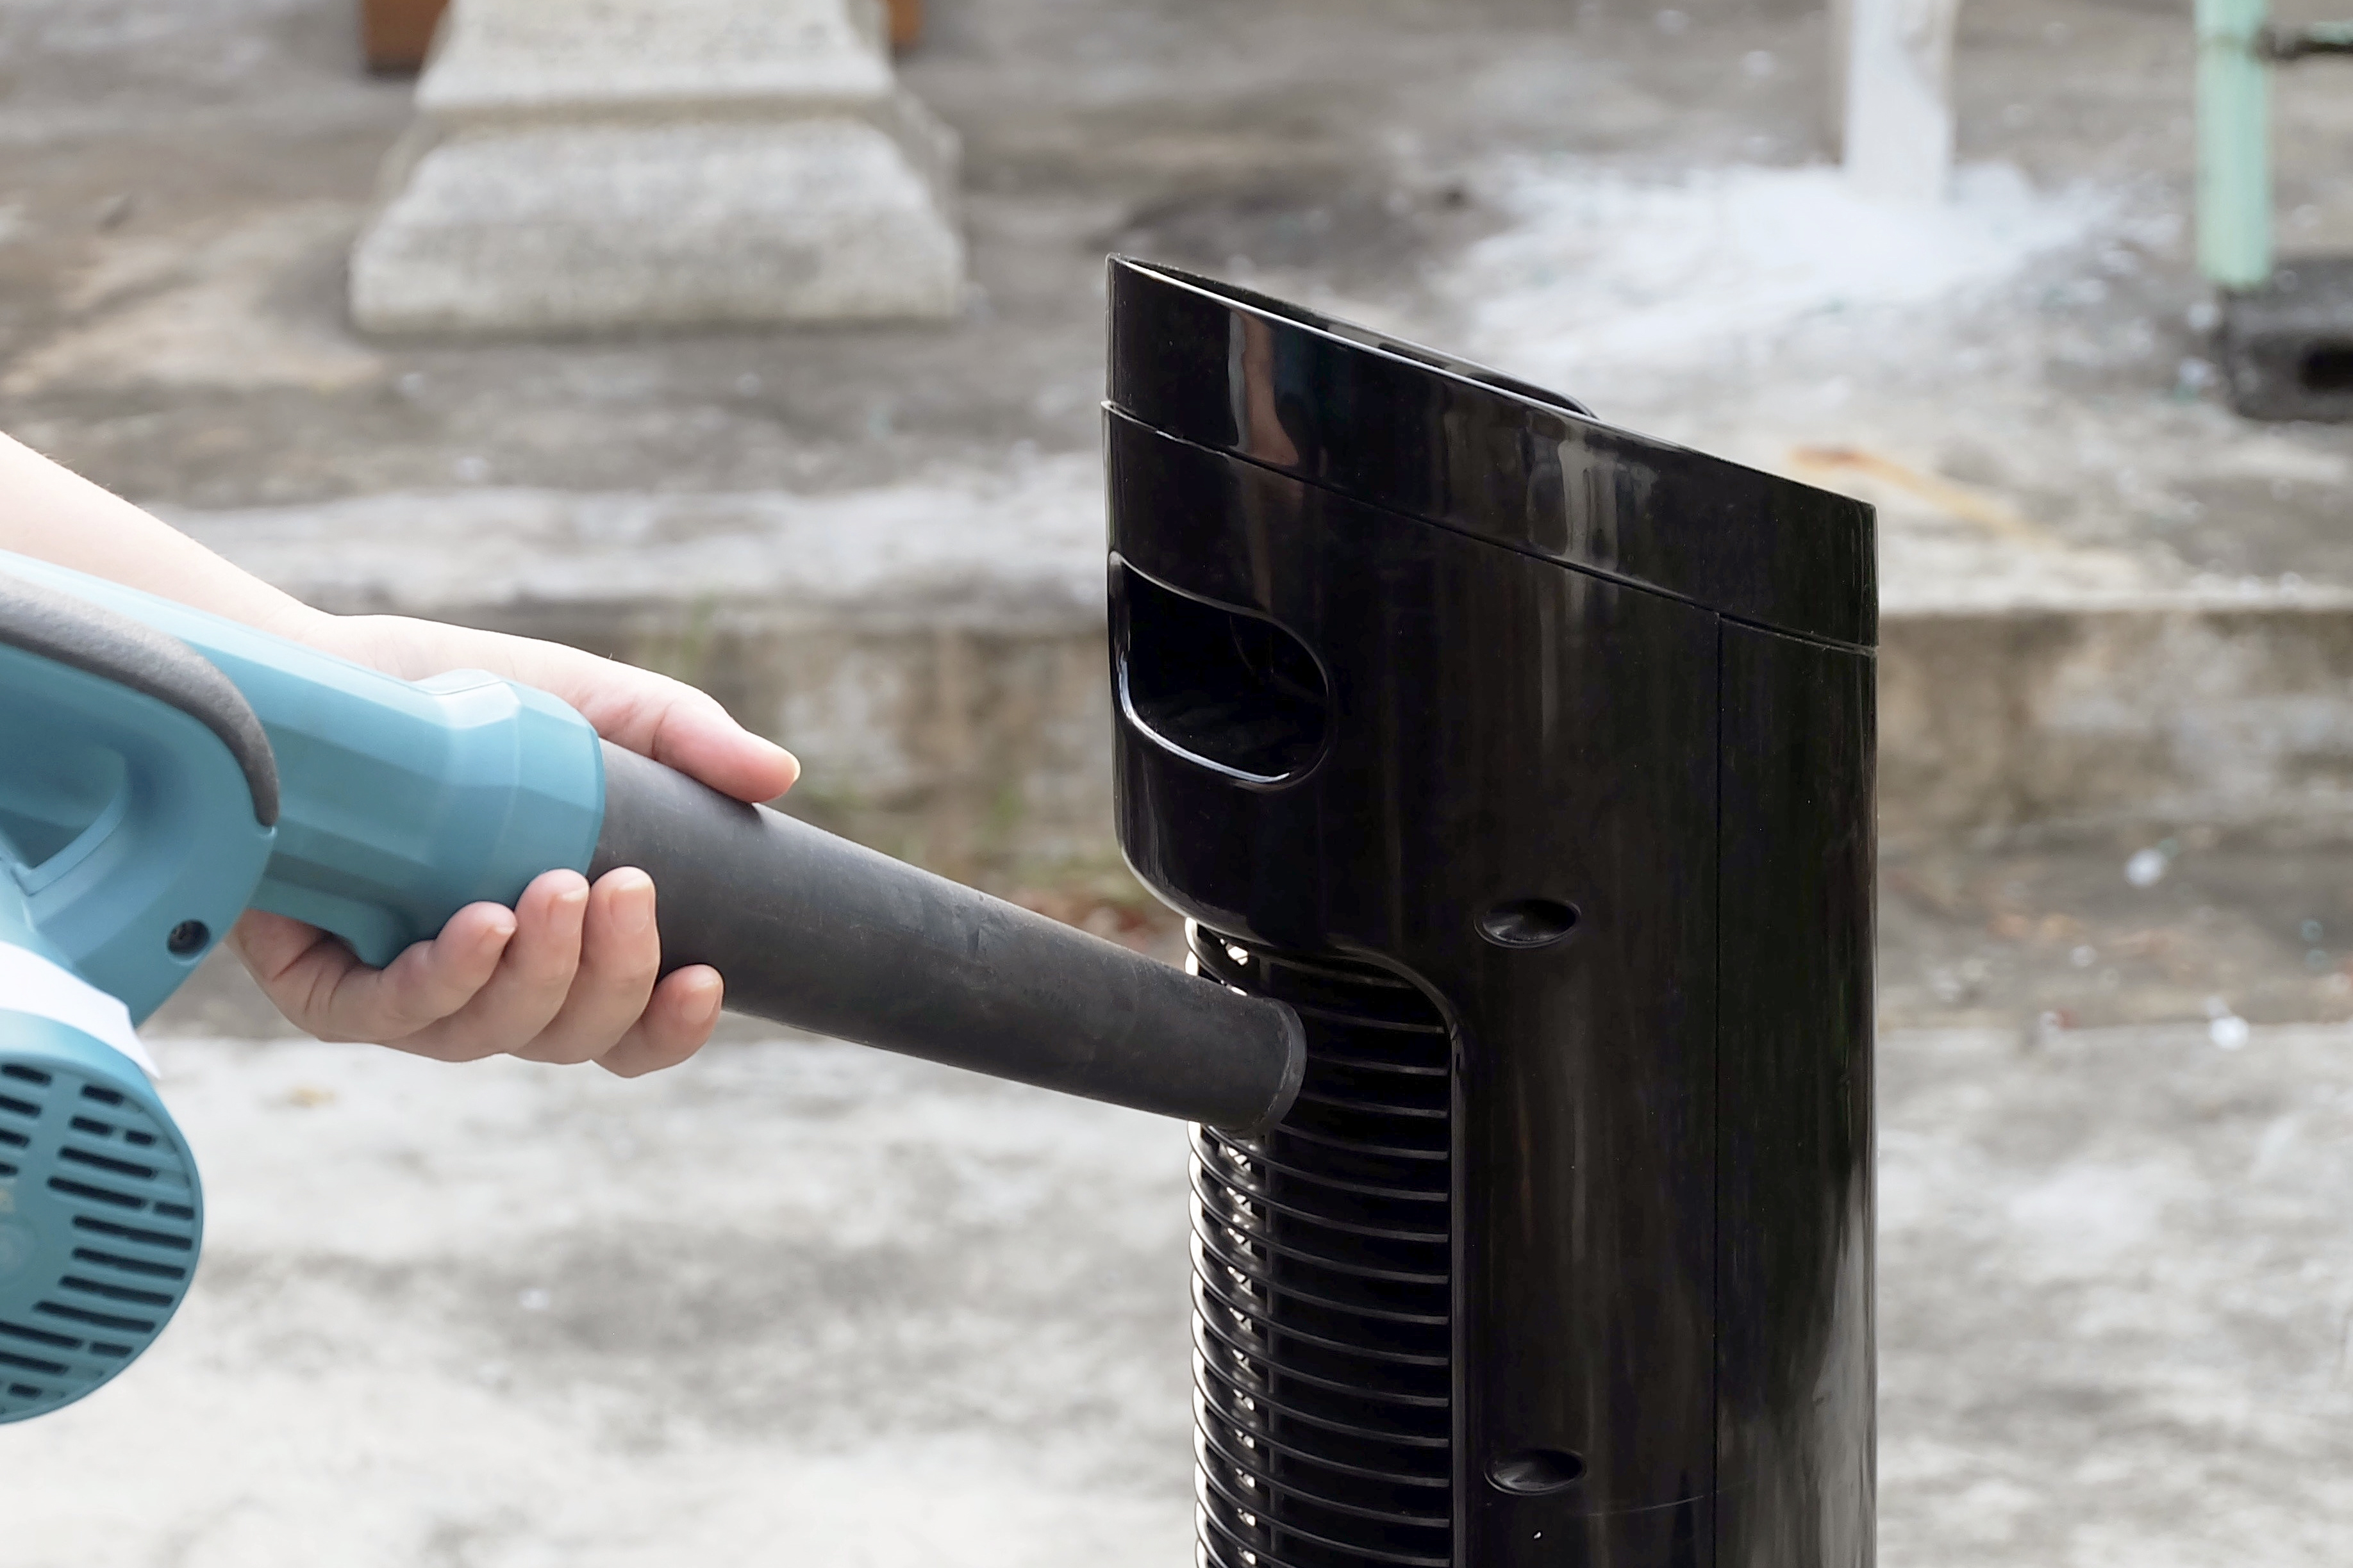
- Vacuum cleaner with brush attachment: A vacuum cleaner with a brush attachment can help facilitate the removal of loose dust and dirt from the fan.
- Cotton swabs or toothbrush: These will be helpful for cleaning small and hard-to-reach areas of the fan.
- Mild soap or detergent: To clean the fan’s grill, blades, and housing, you may need a mild soap or detergent solution. Avoid using harsh chemicals or abrasive cleaners as they may damage the fan’s components.
- Water: You may need water to create the soapy solution for cleaning the fan.
- Microfiber cloth or towels: These will be useful for wiping and drying the surfaces of the fan.
- Screwdriver: In some cases, you may need a screwdriver to remove the screws securing the front grill or access panel.
Having these tools and materials prepared will ensure a smooth and efficient cleaning process for your Lasko tower fan. Now that you are equipped with the necessary tools, let’s move on to the step-by-step cleaning instructions.
Step 1: Unplug the Fan
Before you begin cleaning your Lasko tower fan, ensure that it is completely switched off and unplugged from the power source. This step is crucial to prevent any accidents or injuries during the cleaning process. Unplugging the fan will also eliminate the risk of electric shock.
Locate the power cord at the back or bottom of the fan and gently pull it out from the electrical outlet. Double-check to make sure that the fan is no longer connected to any power source before proceeding to the next step.
By unplugging the fan, you are taking the necessary precautions to ensure your safety while cleaning. Now that the fan is safely disconnected, you can move on to the next step of disassembling the fan for thorough cleaning.
Read more: How To Clean Lasko Blower Fan
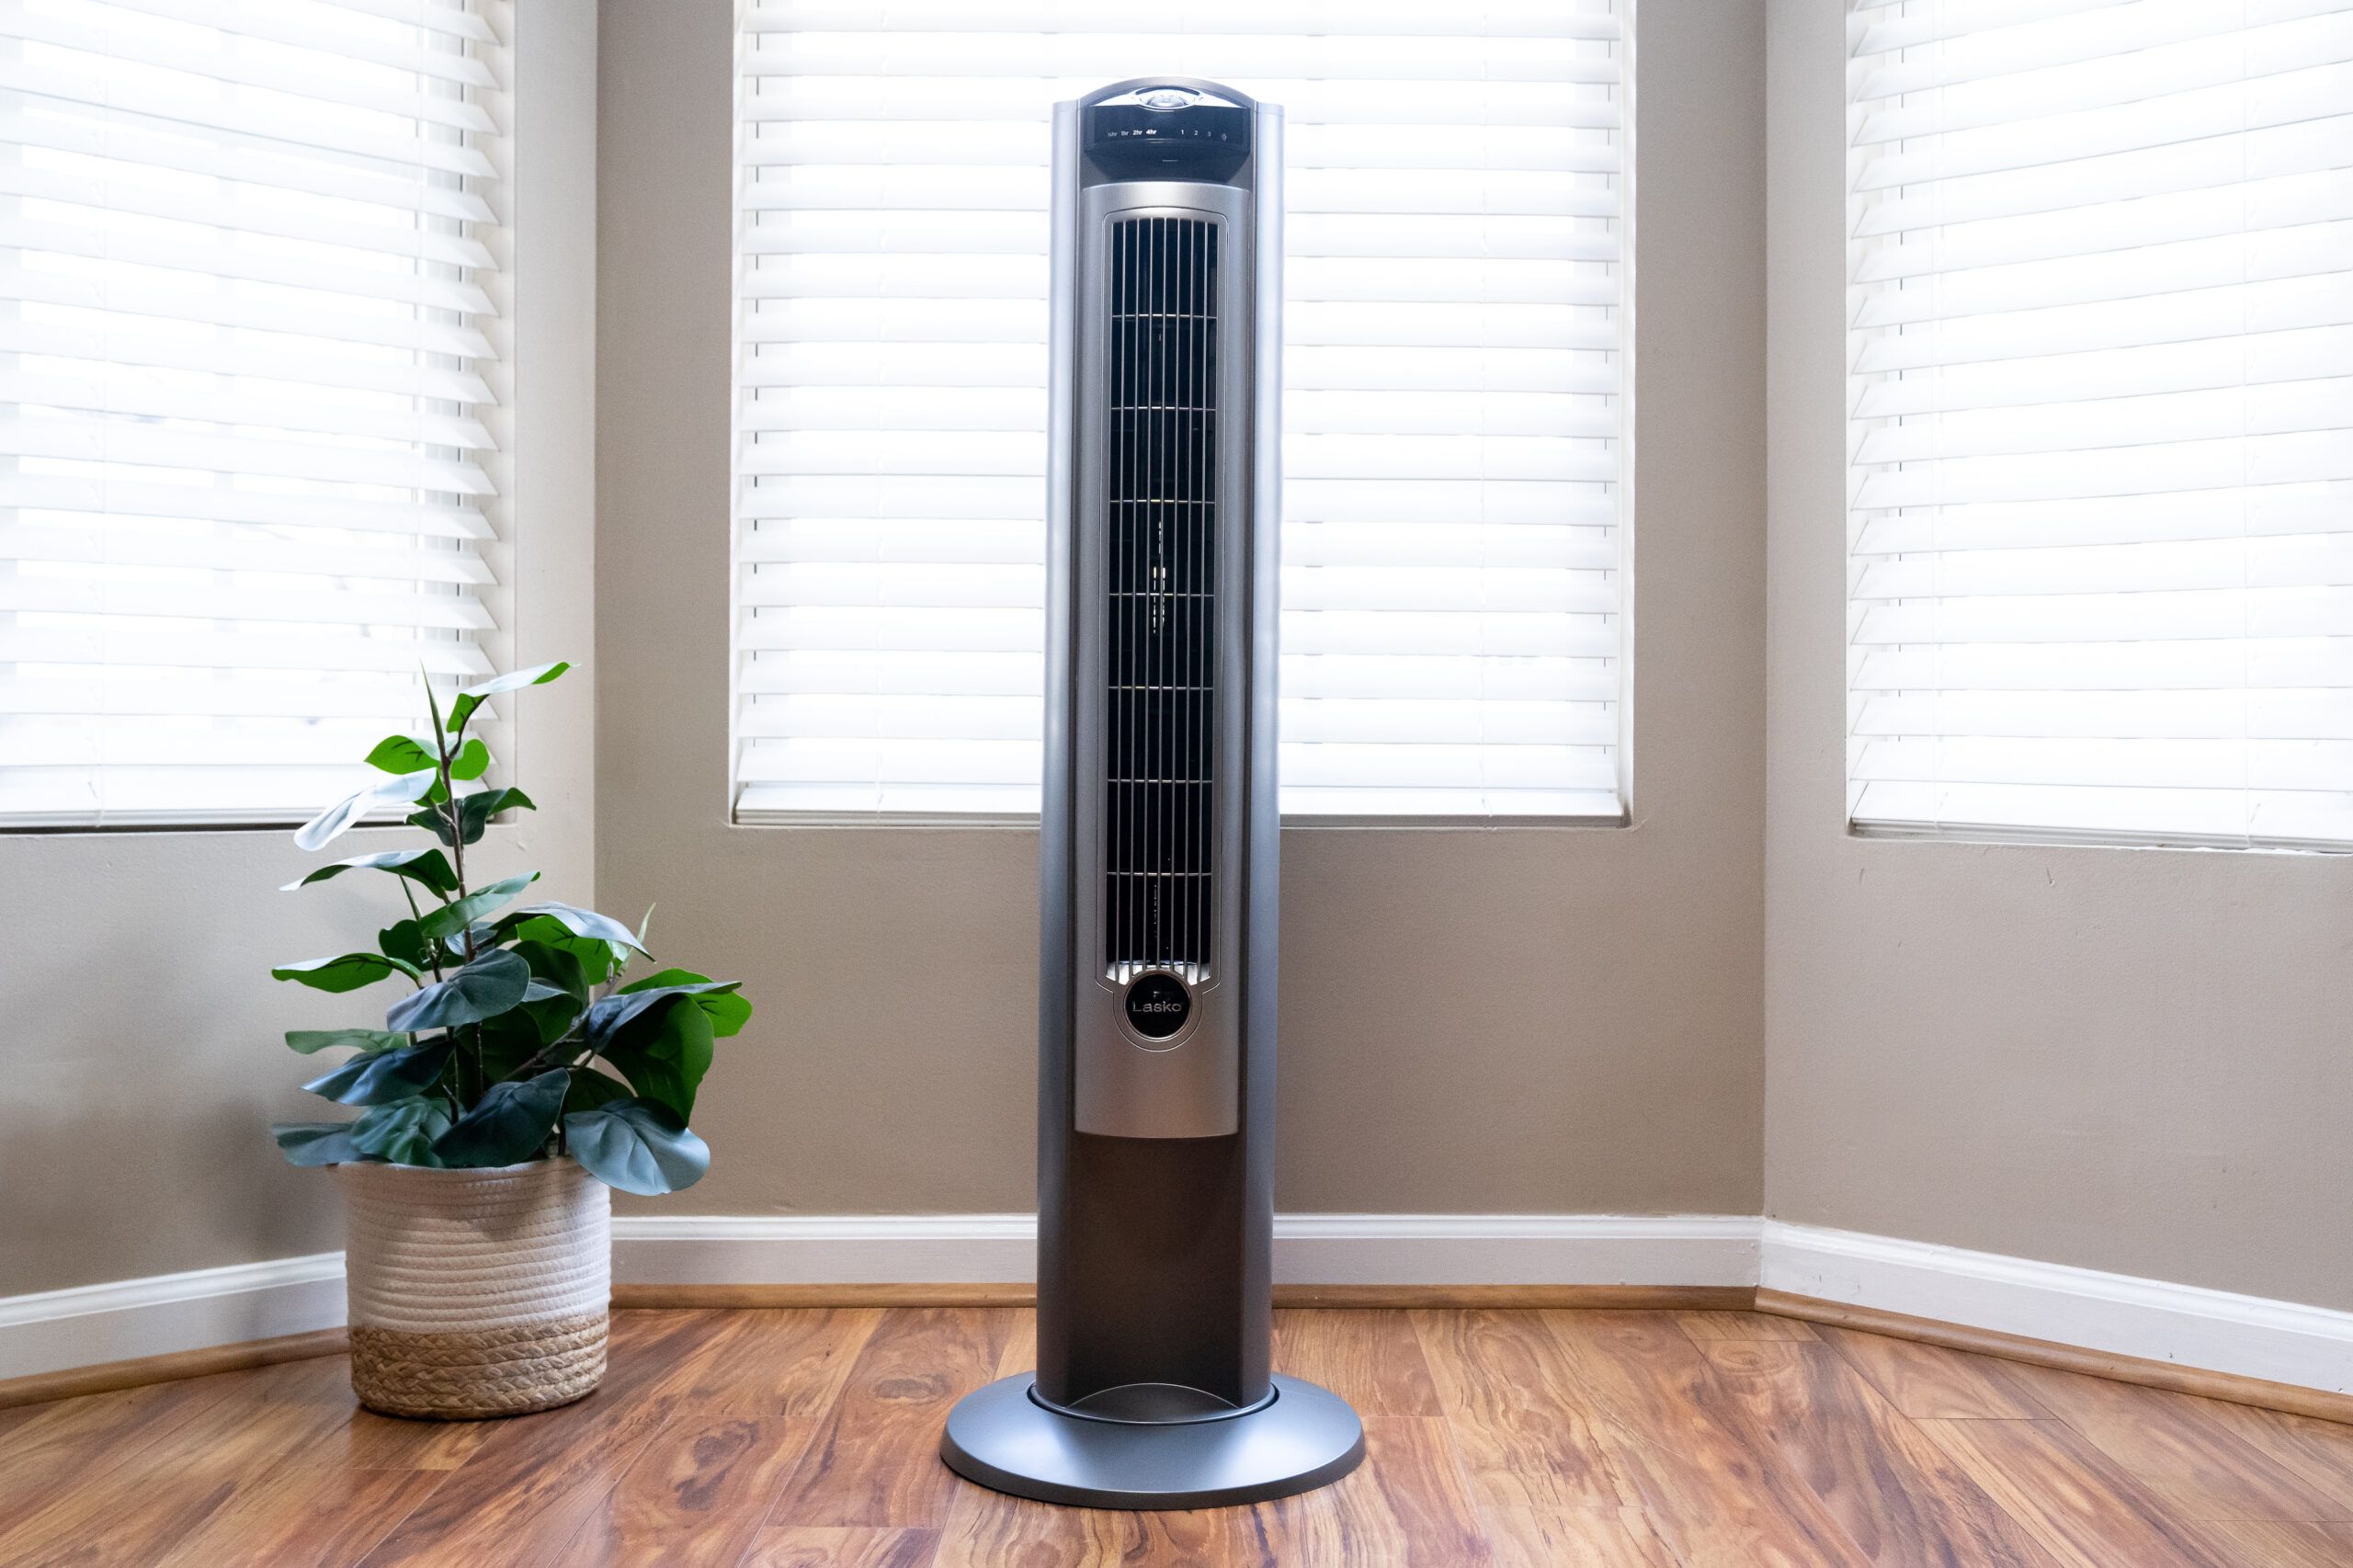
Step 2: Remove the Front Grill
Once you have unplugged the Lasko tower fan, it’s time to remove the front grill. The front grill is designed to protect the fan blades and also collects dust and dirt over time. Removing the grill will allow you to access and clean both the blades and the grill itself.
Depending on the model of your Lasko tower fan, the grill may be secured in different ways. Some models may have clips or latches that need to be released, while others may have screws holding the grill in place. Refer to the user manual or manufacturer’s instructions for specific details regarding your model.
If there are clips or latches, gently press or release them to detach the grill from the fan. If there are screws, use a screwdriver to carefully remove them. Set aside the screws or other fasteners in a safe place to avoid losing them.
Once the grill is released or the screws are removed, carefully lift the front grill away from the fan. Be cautious as you lift it to avoid any accidental damage to the fan or injury to yourself. Place the grill on a clean surface or wash it separately, depending on the cleaning method recommended by the manufacturer.
Removing the front grill will provide you with better access to clean the fan blades and other interior components. In the next step, we will focus on cleaning the front grill and blades to remove dirt and dust build-up.
To clean a Lasko tower fan, start by unplugging the fan and removing the front grill. Use a vacuum with a brush attachment to remove dust and debris from the grill and blades. Wipe down the grill and blades with a damp cloth and allow them to dry completely before reassembling the fan.
Step 3: Clean the Front Grill and Blades
Now that you have removed the front grill from your Lasko tower fan, it’s time to clean it along with the fan blades. Over time, dust, dirt, and debris can accumulate on these surfaces, affecting the fan’s airflow and efficiency. Cleaning the grill and blades will help restore their functionality and ensure optimal performance.
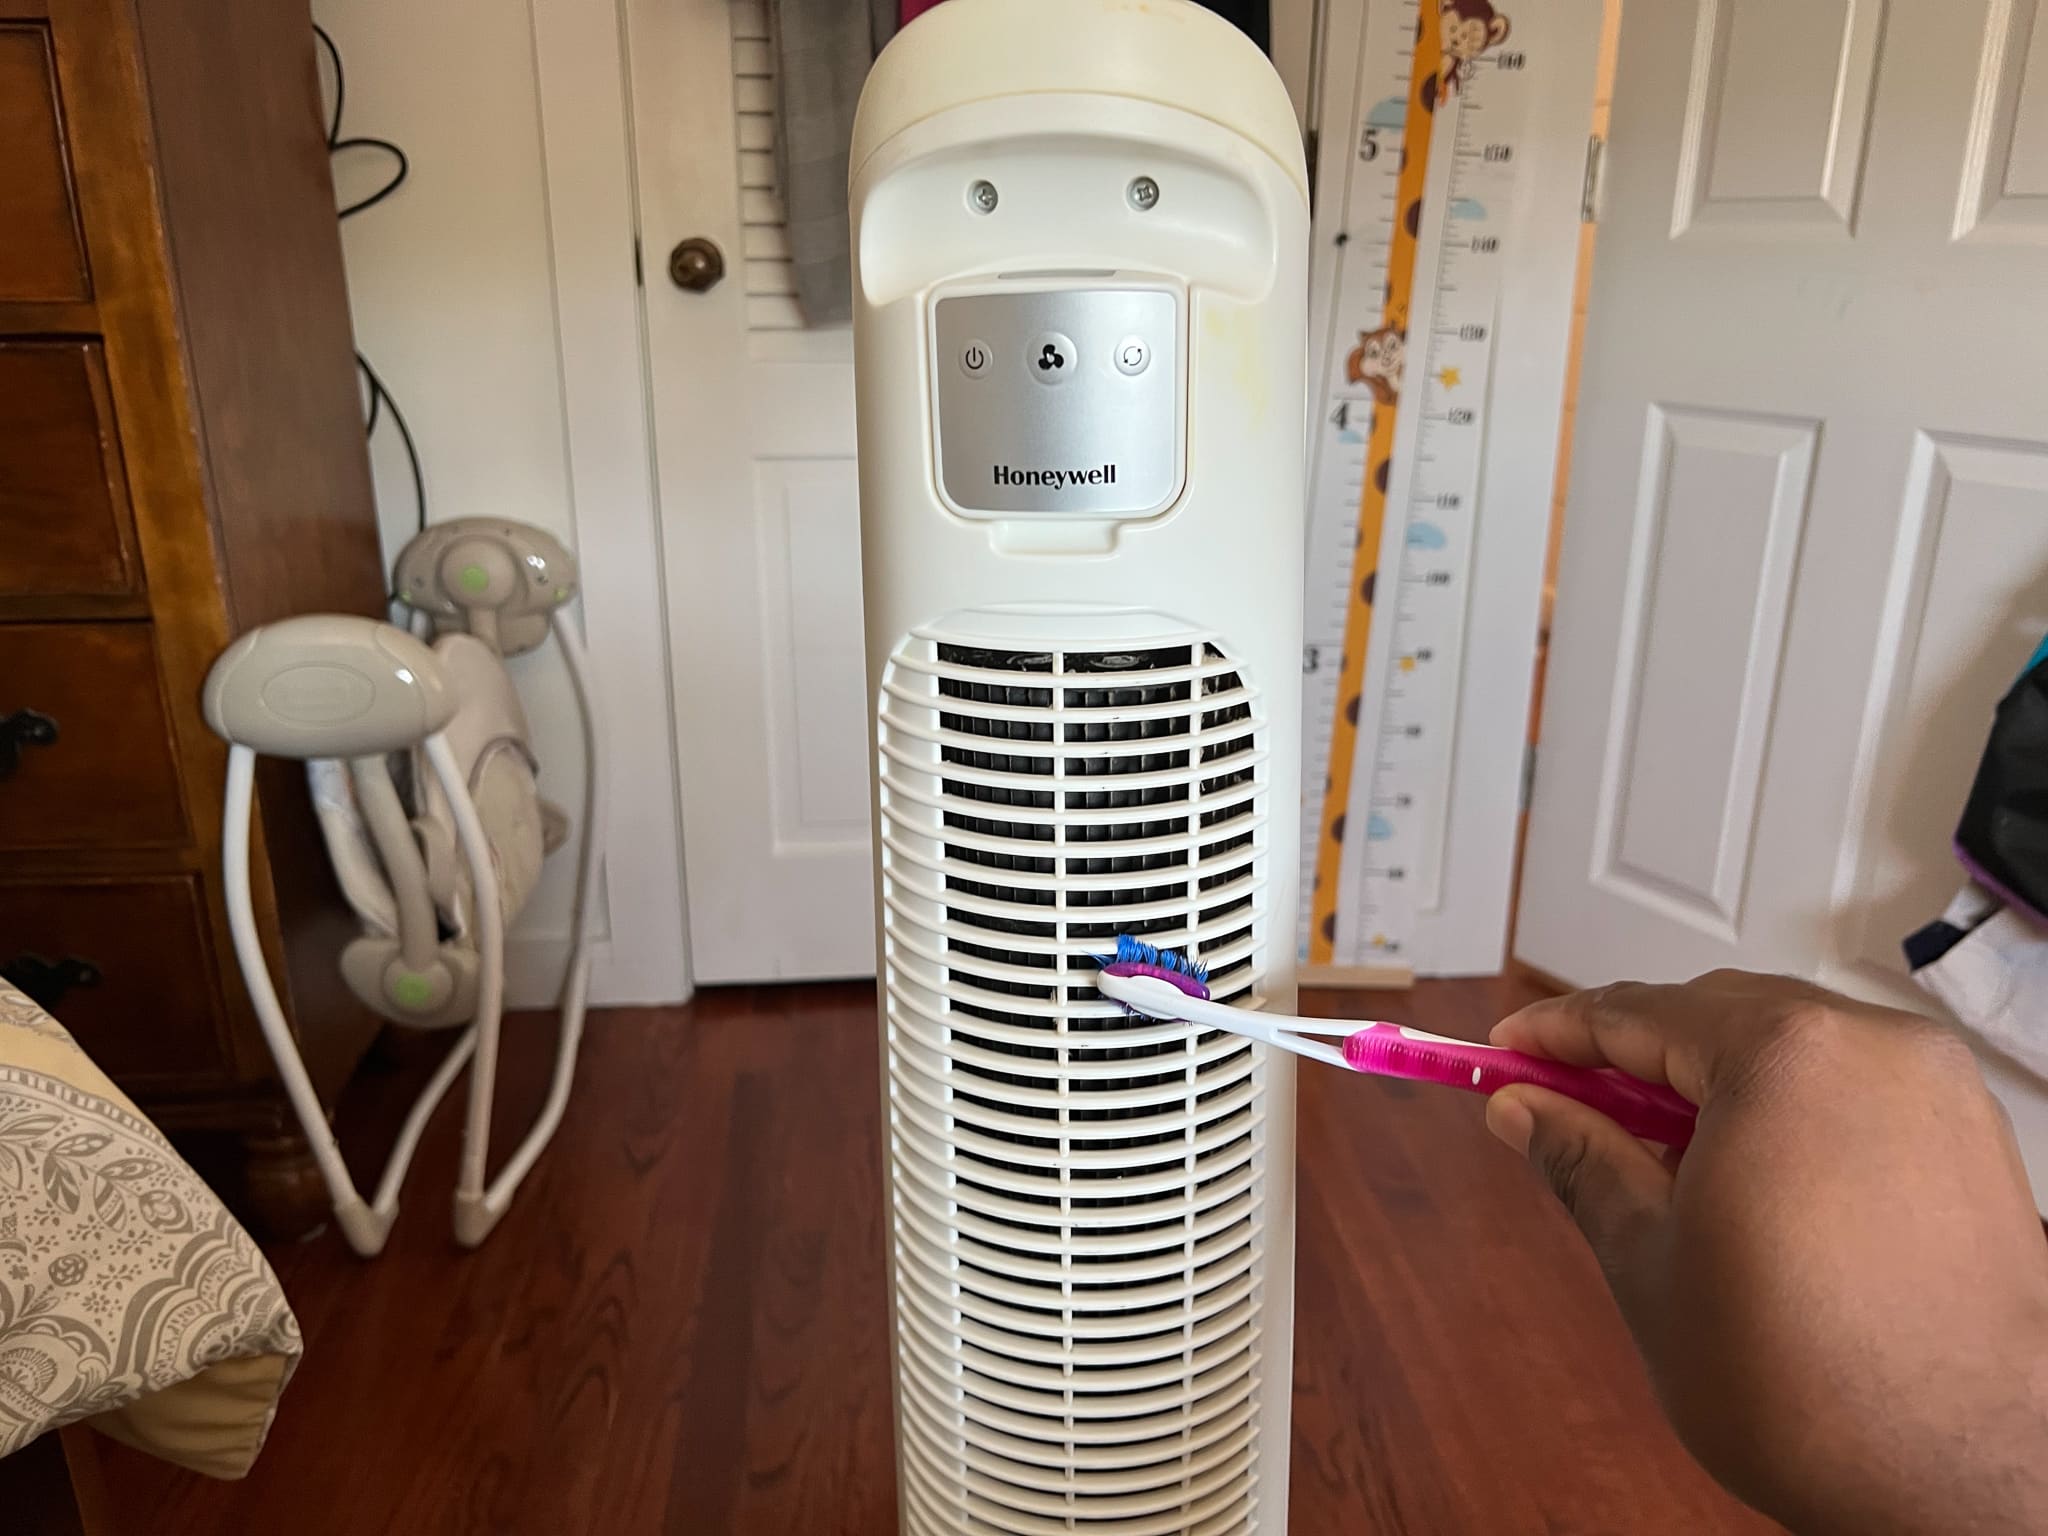
Start by inspecting the front grill for any visible dust or debris. You can use a soft-bristled brush or a dusting cloth to gently remove the loose dirt. Be thorough in your cleaning, paying close attention to the areas where dust tends to accumulate, such as the spaces between the grill slats or any crevices.
If the front grill is washable, follow the manufacturer’s instructions for cleaning. This may involve rinsing it with mild soap and water or using a damp cloth to wipe it down. Avoid using excessive water or submerging the grill in water, as this can damage the electrical components of the fan.
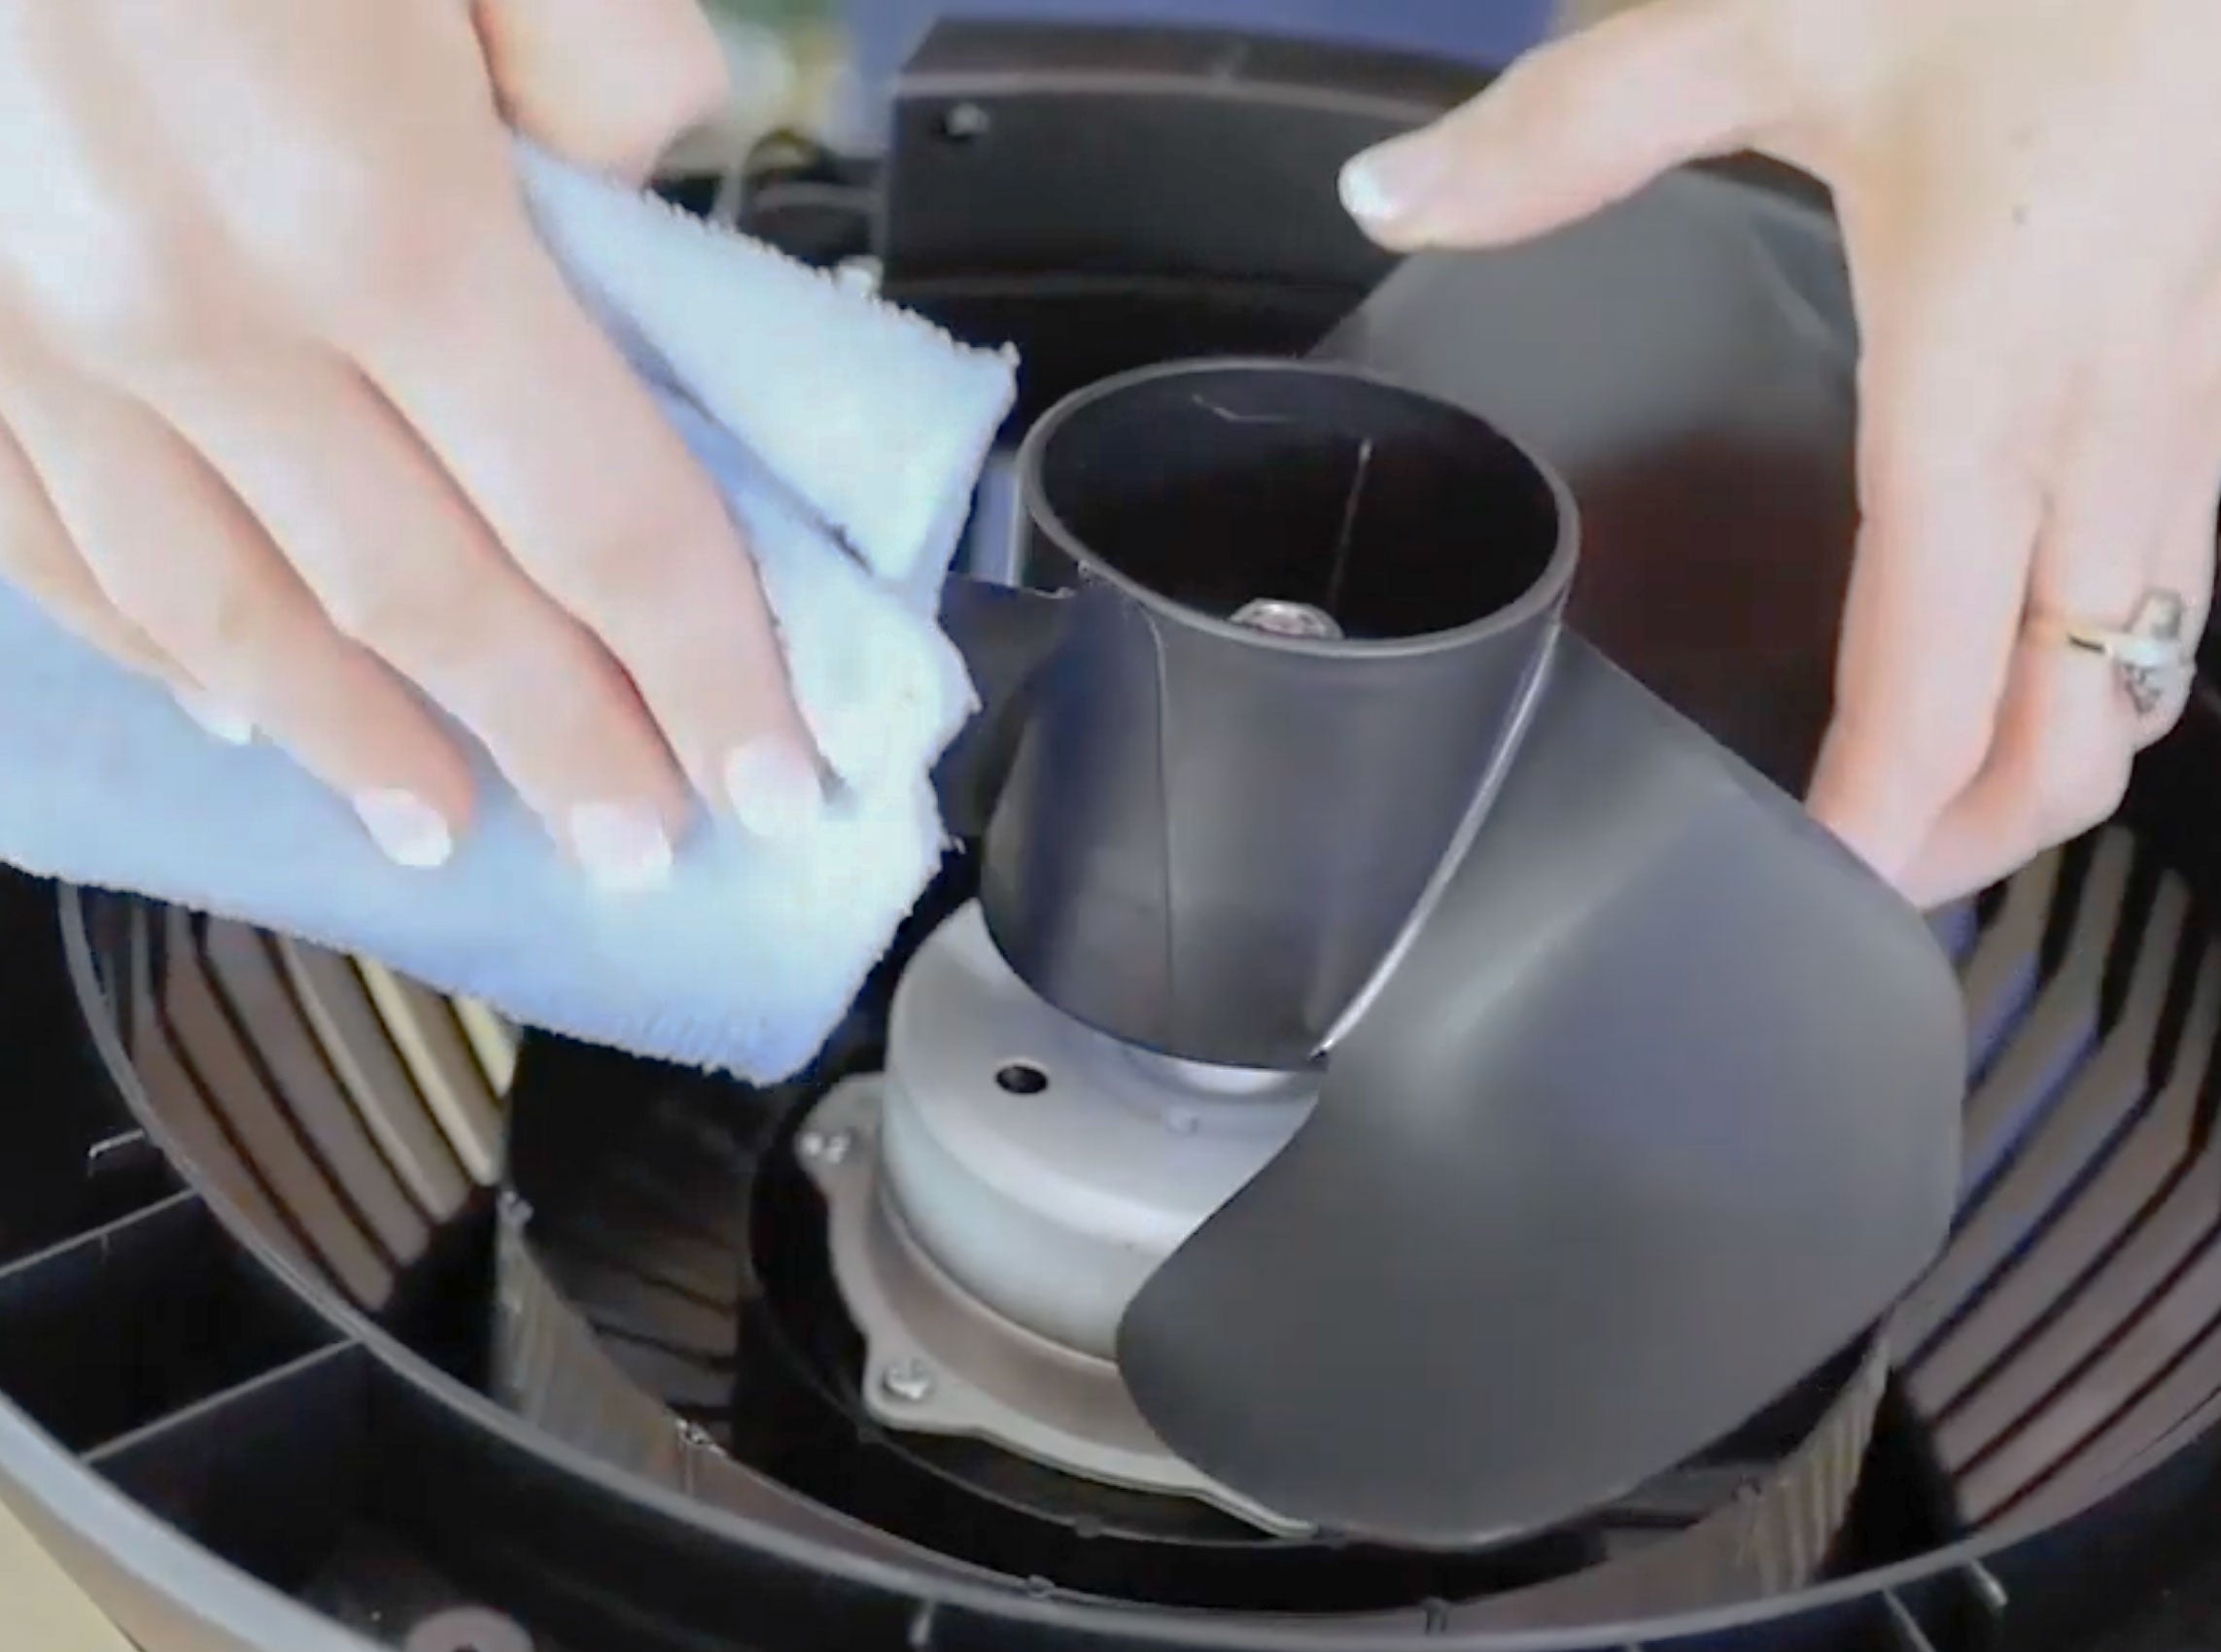
Next, turn your attention to the fan blades. Use a soft-bristled brush or a dusting cloth to carefully clean each blade, removing any dust or dirt that may have accumulated. Pay special attention to both sides of the blades, as well as the edges. If the blades are heavily soiled, you can lightly dampen a cloth with water and mild soap to wipe them down.
For stubborn dirt or grime on the blades, you can use cotton swabs or a toothbrush to gently scrub the affected areas. Take your time and be careful not to apply too much pressure, as excessive force may bend or damage the blades.
Once you are satisfied with the cleanliness of the front grill and blades, set them aside to dry completely before reassembling the fan. It is important to ensure that both the grill and blades are completely dry to prevent any moisture from entering the fan and causing damage.
Cleaning the front grill and blades is a crucial step in maintaining the efficiency and performance of your Lasko tower fan. In the following step, we will address cleaning the fan housing to remove any dust or dirt that may have accumulated.
Step 4: Clean the Fan Housing
Now that you have cleaned the front grill and blades of your Lasko tower fan, it’s time to focus on cleaning the fan housing. The fan housing is the exterior part of the fan where dust and dirt can accumulate over time. Cleaning the housing will not only improve the appearance of your fan but also help ensure optimal airflow and performance.
Start by inspecting the fan housing for any visible dust or debris. Use a soft-bristled brush or a dusting cloth to gently remove the loose dirt from the surfaces. Pay extra attention to the areas around vents and openings, as these areas tend to accumulate more dust.
If there are any stubborn stains or marks on the housing, you can use a cloth dampened with mild soap and water to gently wipe them away. Be careful not to saturate the cloth with excessive water, as this can damage the electrical components of the fan. Wipe the housing in a circular motion to effectively clean the surfaces.
For hard-to-reach areas or tight corners, you can use a cotton swab or toothbrush to carefully scrub away any dirt or grime. Take your time and be thorough in your cleaning to ensure all surfaces of the fan housing are properly cleaned.
Once you have cleaned the fan housing, take a clean microfiber cloth or towels to wipe away any remaining moisture. Make sure that the housing is completely dry before proceeding to the next step. Moisture can lead to damage or electrical hazards if it comes into contact with the fan’s components.
Cleaning the fan housing is an important step in maintaining the overall cleanliness and performance of your Lasko tower fan. In the next step, we will focus on cleaning the base and controls of the fan for a thorough cleaning experience.
Step 5: Clean the Base and Controls
Now that you have cleaned the front grill, blades, and fan housing of your Lasko tower fan, it’s time to clean the base and controls. Over time, these areas can accumulate dust, dirt, and fingerprints, which can affect the overall appearance and functionality of your fan. Cleaning the base and controls will give your fan a fresh and clean look.
Start by inspecting the base of the fan for any visible dust or debris. Use a soft-bristled brush or a dusting cloth to gently remove the loose dirt from the surfaces. Pay close attention to the areas where dust tends to collect, such as the corners and edges of the base.
Next, focus on the control panel and buttons of the fan. Use a damp cloth or a cotton swab lightly moistened with water to wipe down the control buttons and remove any dirt, fingerprints, or smudges. Be careful not to use excessive water or any cleaning agents that may damage the controls or electronics of the fan.
If there are any stubborn stains or dirt on the base or controls, you can use a mild soap and water solution to remove them. Dip a cloth or cotton swab into the soapy water, wring out any excess liquid, and gently scrub the affected areas. Wipe away the soap residue with a clean, damp cloth and dry the base and controls thoroughly with a soft, dry cloth.
It’s important to ensure that the base and controls are completely dry before reassembling the fan. Any residual moisture can cause damage to the electronic components of the fan. Take your time to ensure that all surfaces of the base and controls are dry and free from any moisture.
By cleaning the base and controls, you’ll not only improve the appearance of your Lasko tower fan but also ensure that it is free from dust and dirt, providing you with fresh and clean airflow.
Now that you have cleaned all the major components of your Lasko tower fan, it’s time to reassemble the fan in the final step.
Read more: How To Clean A Lasko Cyclone Fan
Step 6: Reassemble the Fan
After thoroughly cleaning all the components of your Lasko tower fan, it’s time to reassemble the fan to restore its functionality and appearance. Follow these step-by-step instructions to ensure a proper reassembly:
- Begin by retrieving the front grill that you set aside. Align the grill with the fan housing and gently secure it back into place. If there were clips or latches, make sure they properly lock the grill in position. If there were screws, use a screwdriver to carefully fasten them back in. Take care not to overtighten the screws.
- Double-check that the front grill is securely in place and properly aligned. This will ensure that the fan blades are protected and the grill is functional.
- If you removed any screws or other fasteners during the cleaning process, make sure to reattach them securely. Check all areas of the fan for any loose or missing screws and tighten them as needed.
- Once the fan is fully reassembled, plug it back into the electrical outlet, ensuring a secure connection.
- Switch on the fan and test its functionality. Ensure that the fan is running smoothly and that all controls are working as expected. If you notice any issues or abnormalities, double-check the assembly and consult the user manual for troubleshooting tips.
- After confirming that the fan is functioning properly, give it a final wipe down with a clean, dry cloth to remove any fingerprints or smudges.
Congratulations! Your Lasko tower fan is now clean and ready to provide you with fresh and cool airflow. Regularly cleaning your fan will help maintain its performance and prolong its lifespan.
Remember to follow the manufacturer’s instructions and recommendations for cleaning and maintenance. It’s recommended to clean your fan at least every few months or more frequently if you live in a dusty or humid environment.
By following these step-by-step instructions, you’ve successfully cleaned and reassembled your Lasko tower fan. Enjoy the cool and clean air that your fan provides!
Note: The cleaning process may vary depending on the specific model of your Lasko tower fan. Always refer to the user manual or manufacturer’s instructions for the most accurate and relevant cleaning guidelines.
Conclusion
Cleaning your Lasko tower fan is an essential maintenance task that ensures optimal performance, efficiency, and longevity of the fan. By following the step-by-step instructions outlined in this guide, you can effectively clean each component of your fan and keep it in pristine condition.
Remember to prioritize safety by disconnecting the fan from the power source before starting the cleaning process. Take necessary precautions such as wearing protective gear and working in a well-ventilated area to minimize the risk of accidents or inhaling dust and debris.
Throughout the cleaning process, make use of the appropriate tools and materials such as soft-bristled brushes, dusting cloths, mild soap or detergent solutions, and clean water. Avoid using excessive water or cleaning agents that may damage the electrical components of the fan.
Begin by removing the front grill and thoroughly cleaning it and the fan blades. Pay attention to hard-to-reach areas and stubborn dirt or grime. Next, clean the fan housing, ensuring all surfaces are free from dust and debris. Take extra care when cleaning the base and control panel, as they can accumulate fingerprints and dirt over time.
After cleaning each component, reassemble the fan carefully, ensuring that all clips, latches, and screws are properly fastened. Once reassembled, plug the fan back into the power source and test its functionality.
Regular cleaning of your Lasko tower fan will not only improve its performance but also contribute to a healthier indoor environment. By removing dust and allergens, you can enjoy cleaner and fresher air in your home.
Remember to consult the manufacturer’s instructions and guidelines specific to your model to ensure proper cleaning techniques. Maintain a regular cleaning schedule to keep your Lasko tower fan in optimal condition.
By following the steps outlined in this guide, you can ensure that your Lasko tower fan continues to provide you with cool and refreshing air for years to come.
Now that you've mastered cleaning your Lasko tower fan, why not keep all your cooling devices in tip-top shape? Dive into our next guide on maintaining another popular model with "How To Clean Honeywell Tower Fan." This piece walks you through each step to ensure your Honeywell unit stays as fresh as the day you bought it, helping it run more efficiently. Don't let dust and grime slow you down this summer; let's tackle tower fan cleaning together!
Frequently Asked Questions about How To Clean A Lasko Tower Fan
Was this page helpful?
At Storables.com, we guarantee accurate and reliable information. Our content, validated by Expert Board Contributors, is crafted following stringent Editorial Policies. We're committed to providing you with well-researched, expert-backed insights for all your informational needs.


0 thoughts on “How To Clean A Lasko Tower Fan”