Articles
How To Clean Small Fan
Modified: October 19, 2024
Learn effective techniques and tips for cleaning small fans in this helpful article. Keep your fans dust-free and operating efficiently with these easy steps.
(Many of the links in this article redirect to a specific reviewed product. Your purchase of these products through affiliate links helps to generate commission for Storables.com, at no extra cost. Learn more)
Introduction
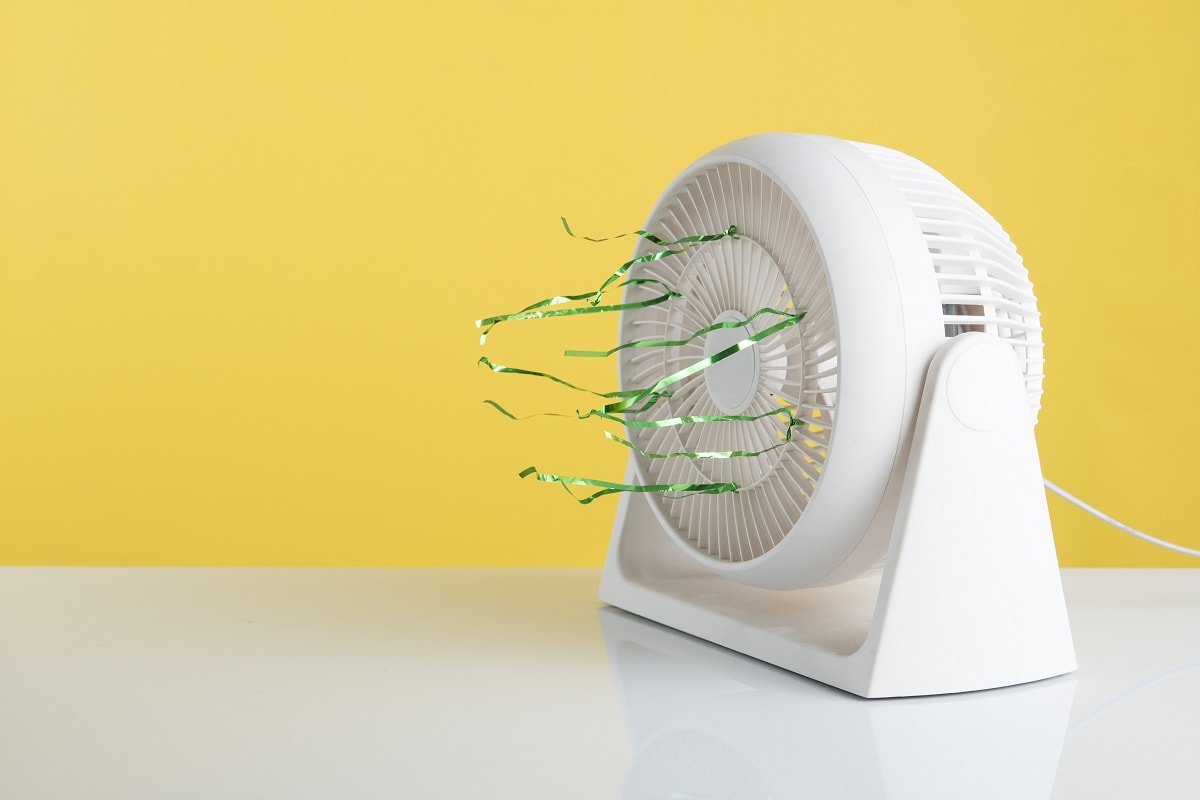
Welcome to our guide on how to clean a small fan! Small fans are a convenient and efficient way to keep cool during the hot summer months. They provide a refreshing breeze and help circulate air in small spaces. However, over time, dust and dirt can accumulate on the fan blades, grills, and motor, reducing its effectiveness and potentially causing it to malfunction.
Cleaning your small fan regularly not only keeps it running smoothly but also ensures that the air it circulates is clean and free from any allergens or irritants. In this article, we will walk you through the step-by-step process of cleaning your small fan to help you maintain its performance and extend its lifespan.
Before we begin, it’s important to note that safety should always be your top priority when working with any electrical appliance. Make sure to unplug the fan before starting the cleaning process to avoid any risk of electric shock. It’s also recommended to wear gloves and goggles to protect your hands and eyes from any debris or cleaning solutions.
Now that we’ve covered the necessary precautions, let’s move on to the supplies you will need for the cleaning process.
Key Takeaways:
- Regularly cleaning your small fan not only ensures its optimal performance and longevity but also promotes clean and healthy air circulation in your space.
- Prioritize safety by following essential precautions, gathering necessary supplies, and methodically cleaning and reassembling your small fan for a refreshing and efficient breeze.
Read more: How To Clean Dyson Fan
Safety Precautions
Ensuring your safety is essential when cleaning a small fan. Here are a few important safety precautions to keep in mind:
- Always unplug the fan from the electrical outlet before you start cleaning it. This will prevent any accidents involving electric shock.
- Wear gloves to protect your hands from any sharp edges or debris that may be present on the fan.
- Put on safety goggles to shield your eyes from flying dust particles or cleaning solutions.
- If you’re cleaning a fan with a detachable grill, be careful when removing it to avoid any injuries from the fan blades.
- Do not immerse the fan motor or any electrical parts in water. This can cause damage to the motor and create a safety hazard.
- Ensure that the fan is completely dry before plugging it back in. Wet electrical components can cause short circuits or electrical fires.
While following these safety precautions, you can confidently proceed with the cleaning process. Next, we’ll discuss the supplies you’ll need to gather before getting started.
Gather Necessary Supplies
Before you begin cleaning your small fan, it’s important to gather all the necessary supplies. Having everything readily available will make the process more efficient. Here are the supplies you’ll need:
- Soft, lint-free cloths or microfiber towels: These will be used to wipe down the fan blades and housing.
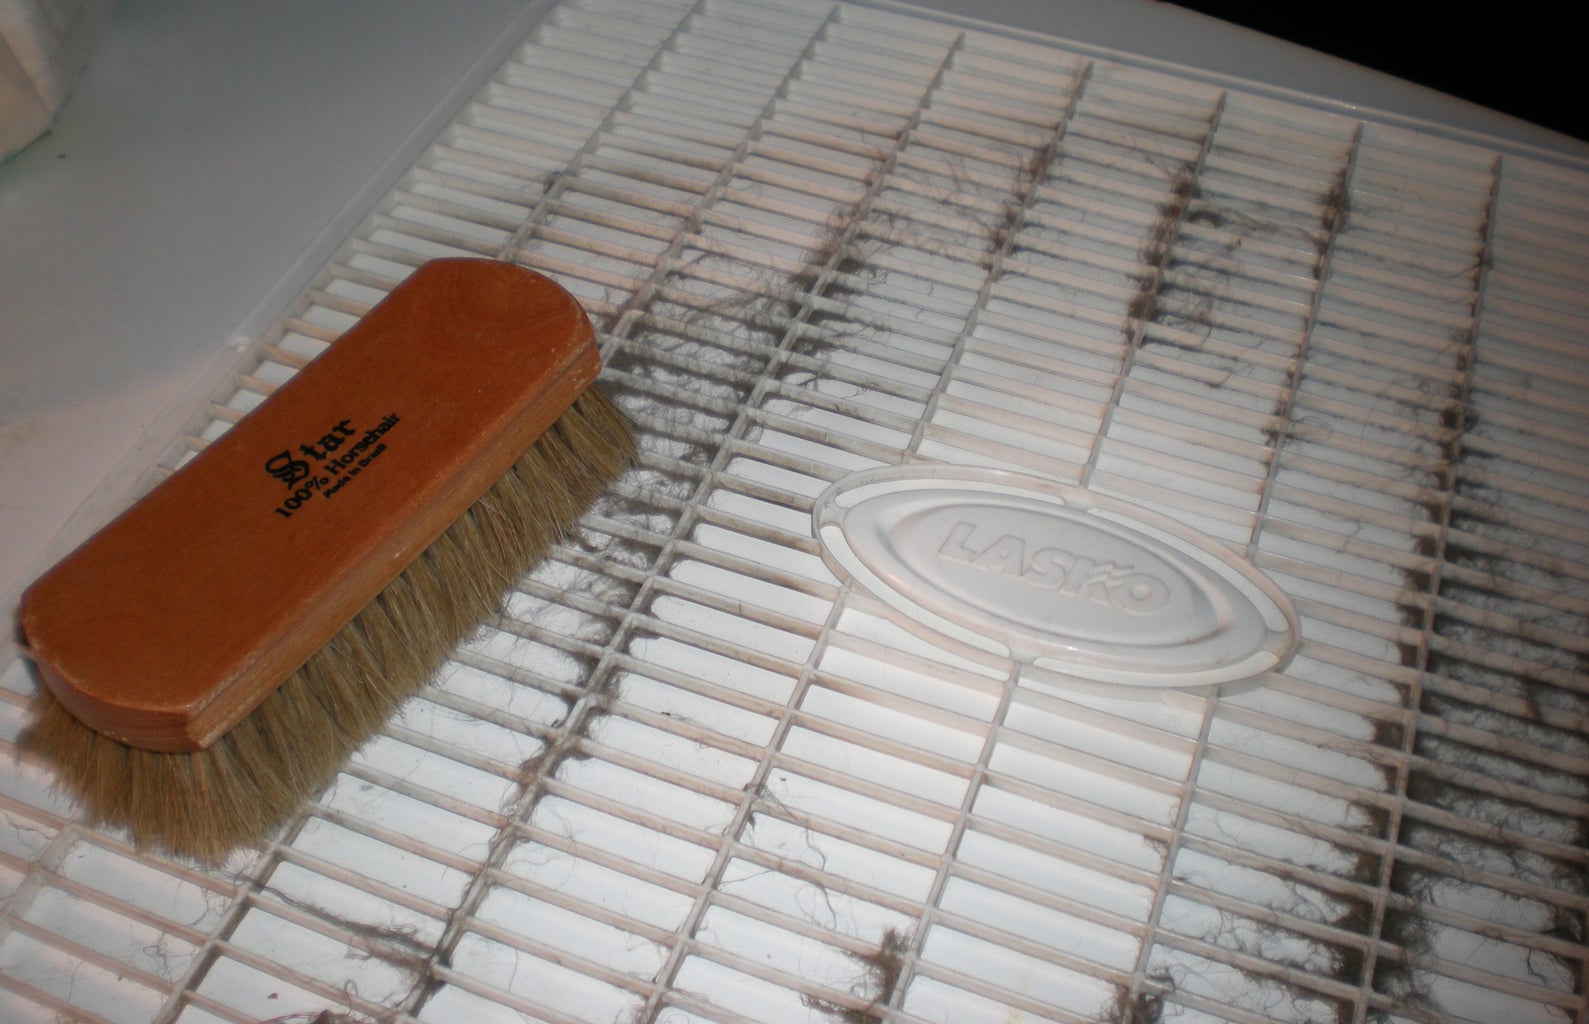
- A small brush or toothbrush: This will be useful for removing stubborn dirt or dust from hard-to-reach areas.
- Cotton swabs: These are great for cleaning small crevices and corners of the fan.
- Mild detergent or cleaning solution: You can use a gentle dish soap or a specific cleaning solution suitable for electronics.
- A vacuum cleaner with a brush attachment: This will help remove loose dust and debris from the fan.
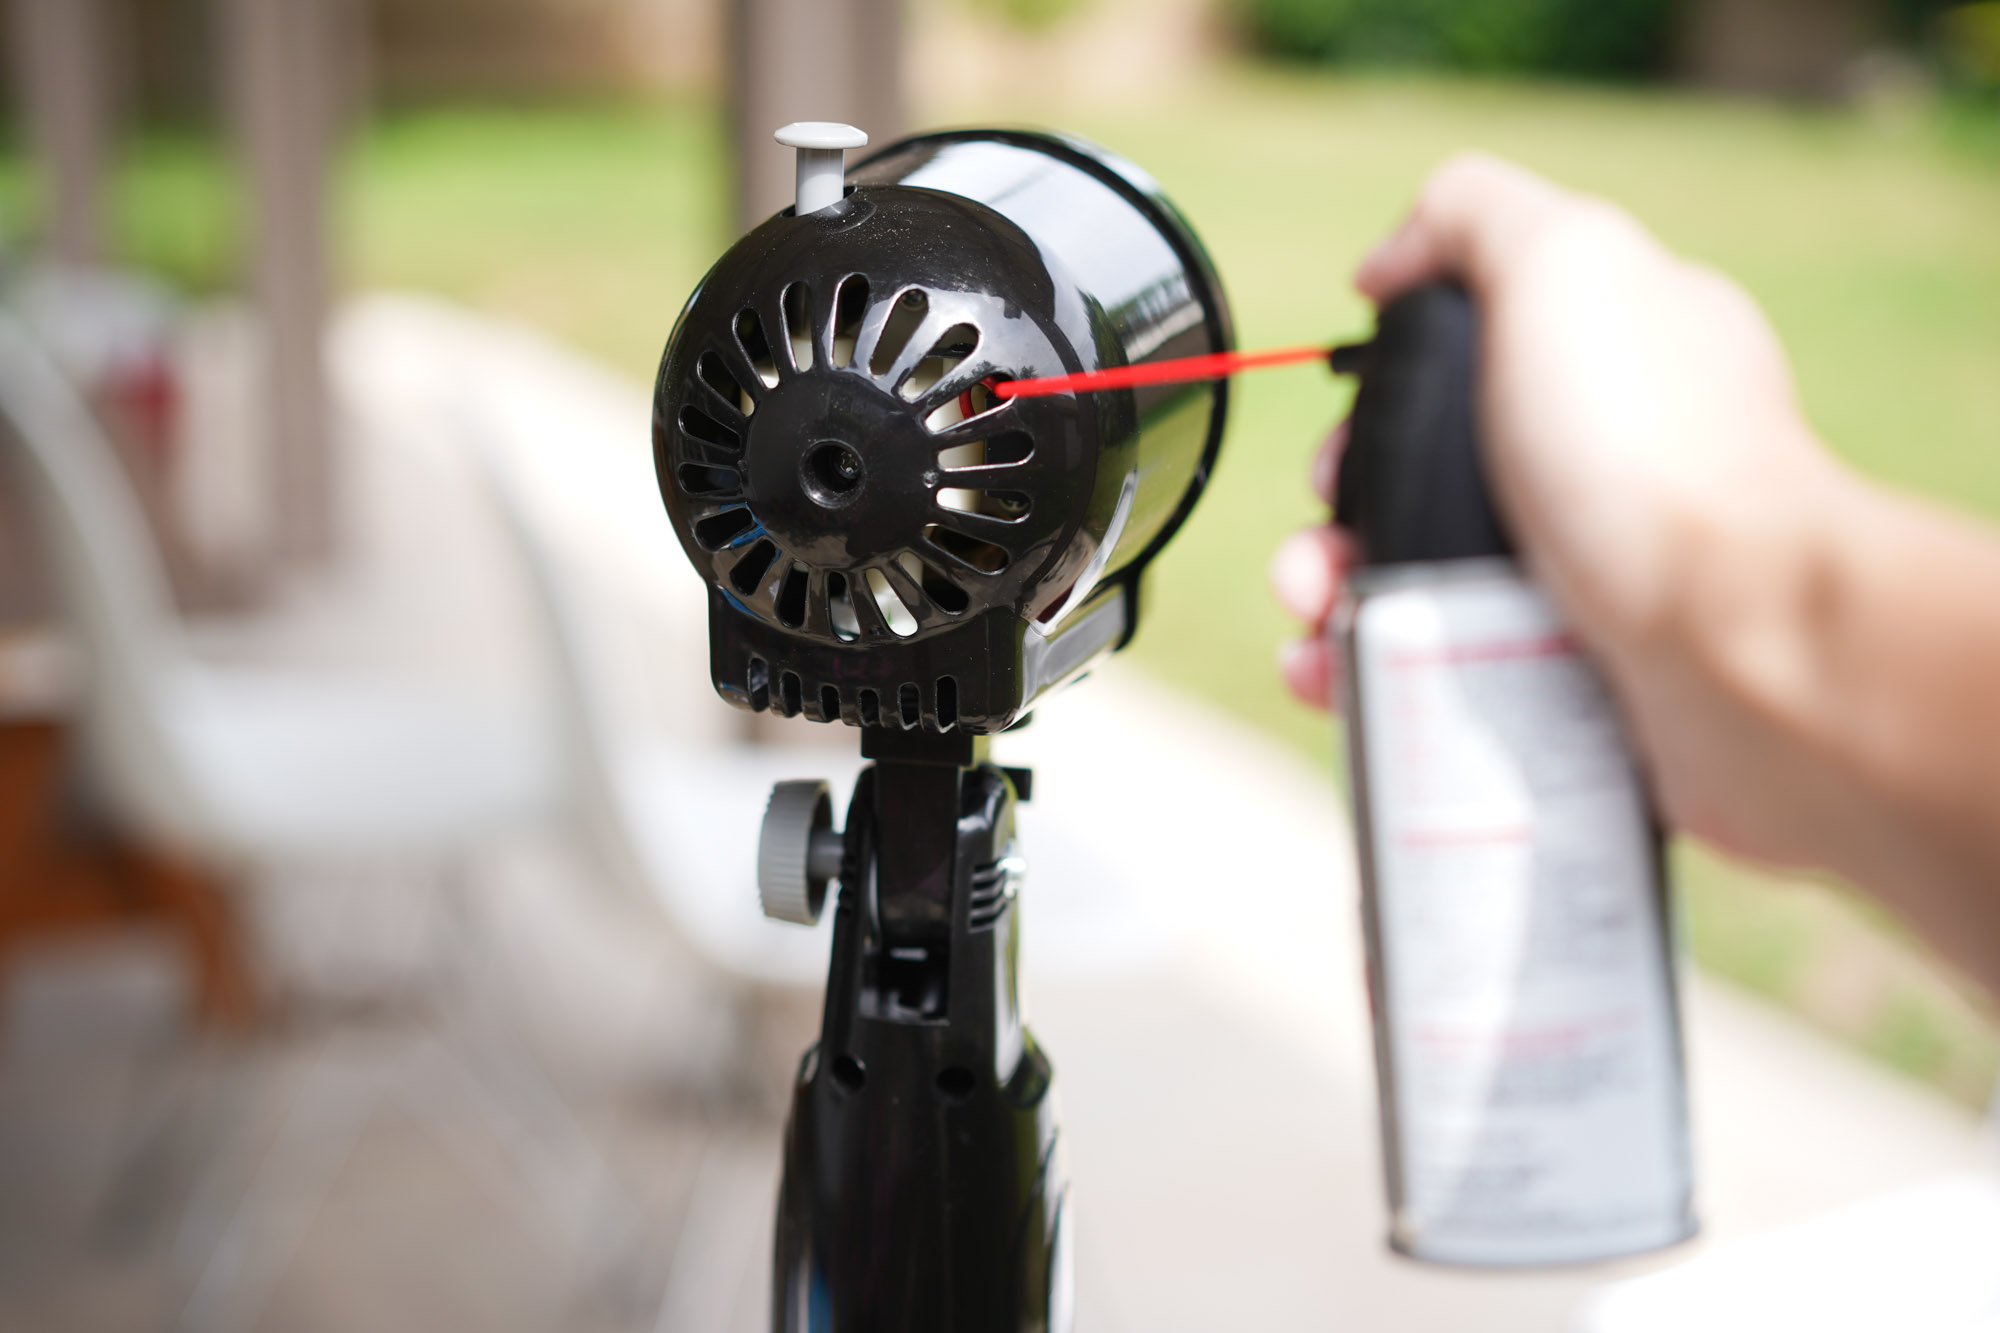
- A can of compressed air: This is optional but can be handy for blowing away dust in difficult-to-reach areas.
These supplies are easily accessible and affordable, making them ideal for cleaning your small fan. Once you have everything gathered, you’re ready to move on to the next step: unplugging and disassembling the fan.
Unplug and Disassemble the Fan
The first step in cleaning your small fan is to unplug it from the electrical outlet. This ensures your safety and prevents any accidental start-up while working on the fan.
Next, you’ll need to disassemble the fan to gain access to its components. The process of disassembling may vary depending on the model and design of your fan, but here are some general steps to follow:
- Remove the fan grill: Many small fans have a removable grill that covers the front of the fan. Check for any clips or screws that secure the grill in place and carefully remove them. Set the grill aside for cleaning later.
- Detach the fan blades: Some fans have blades that can be easily removed by unscrewing them from the motor shaft. Others may have blades that are permanently attached. If your fan has removable blades, unscrew them using a screwdriver or follow the instructions provided by the manufacturer.
- Take apart the fan housing: Depending on the design of your fan, you may need to unscrew or release some clips to separate the housing. Consult the fan’s user manual if you’re unsure how to proceed.
As you disassemble the fan, be careful not to force any parts or use excessive pressure. Take note of the order in which you remove the components, as this will make reassembly easier later on.
Once the fan is fully disassembled, you’re ready to move on to the next step: cleaning the fan blades and grills.
Clean the Fan Blades and Grills
Now that you have disassembled the small fan, it’s time to clean the fan blades and grills. These parts are often the most visibly dirty and can significantly affect the fan’s performance if not cleaned regularly.
Here’s how you can effectively clean the fan blades and grills:
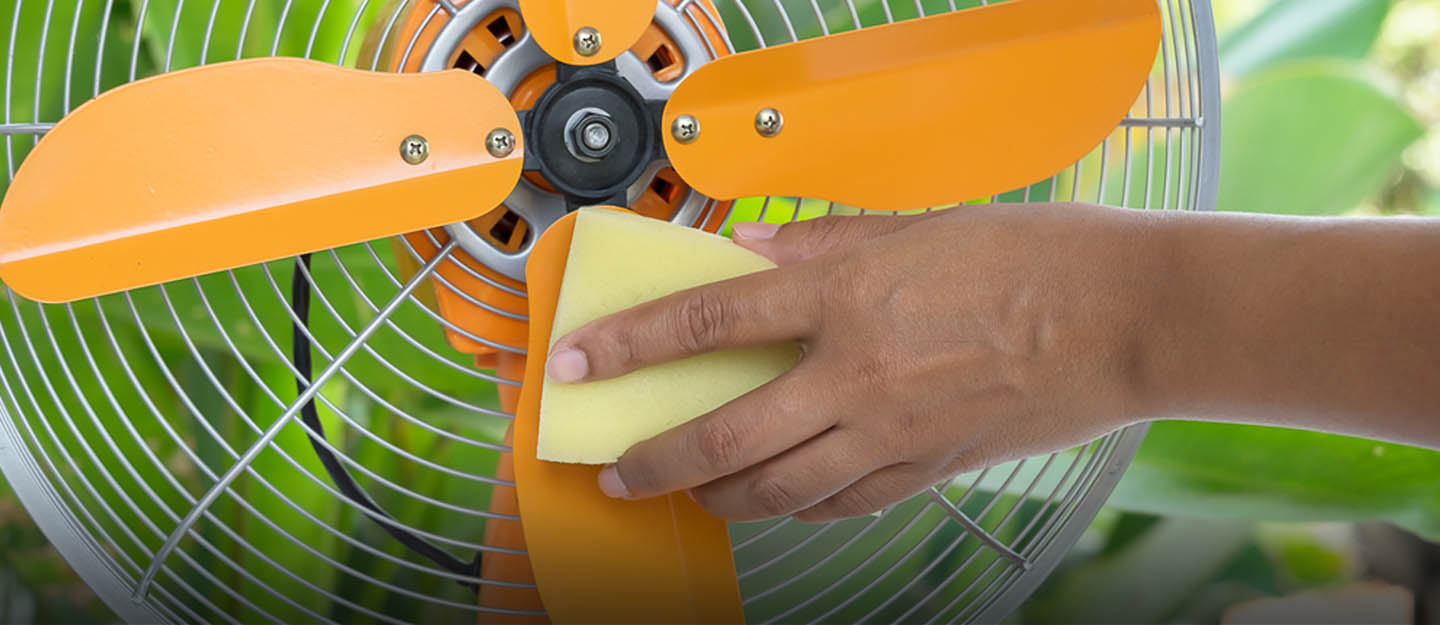
- Wipe off loose dust: Use a soft, lint-free cloth or microfiber towel to gently wipe away any loose dust or debris from the fan blades. Start from the center and move towards the edges, ensuring you cover both sides of each blade.
- Remove stubborn dirt: For dirt or grime that doesn’t come off easily, dampen a cloth with a mild detergent or cleaning solution. Squeeze the cloth to remove excess liquid, then gently wipe the blades to remove the stubborn dirt. Avoid getting the motor or electrical components wet.
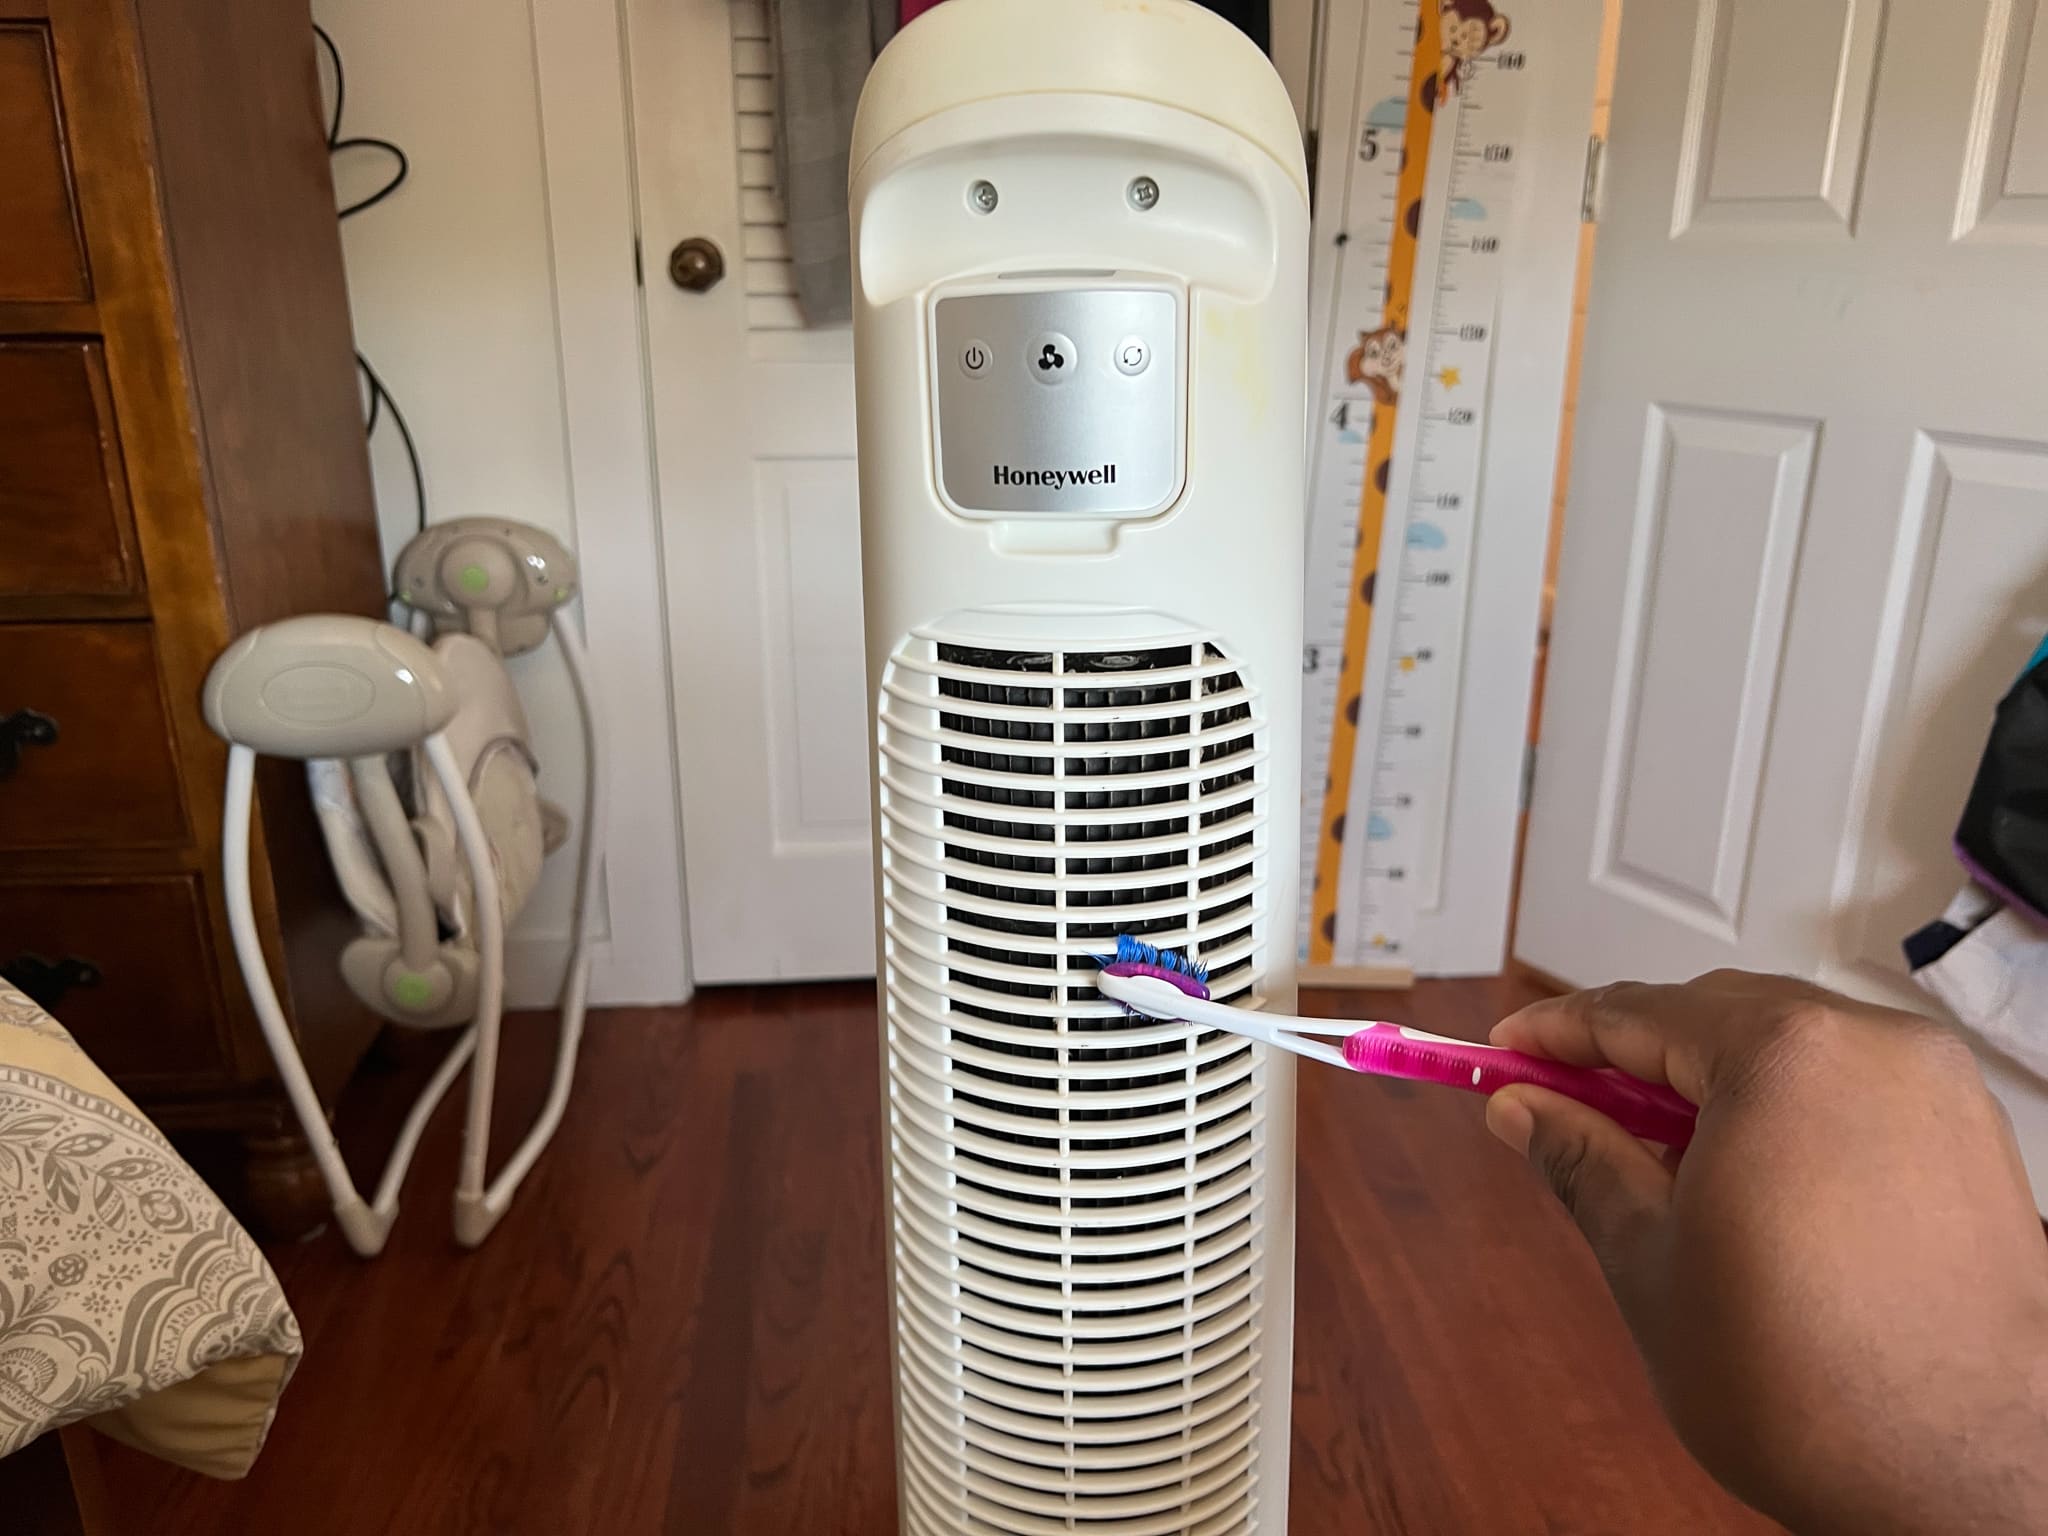
- Clean the fan grills: Take the fan grills and rinse them under running water to remove any loose dirt or dust. If they are greasy, you can use a mild detergent or cleaning solution. Use a small brush or toothbrush to scrub away any dirt or grime. Rinse them thoroughly and pat them dry with a towel.
- Use cotton swabs for detailed cleaning: Dip a cotton swab in a cleaning solution and use it to clean any small crevices or corners that are hard to reach with a cloth. This will ensure a thorough cleaning and remove any remaining dirt or dust.
When cleaning the fan blades and grills, it’s important to be gentle to avoid bending or damaging them. Take your time and ensure that all surfaces are cleaned properly.
Once you have finished cleaning the blades and grills, move on to the next step: wiping down the motor and housing.
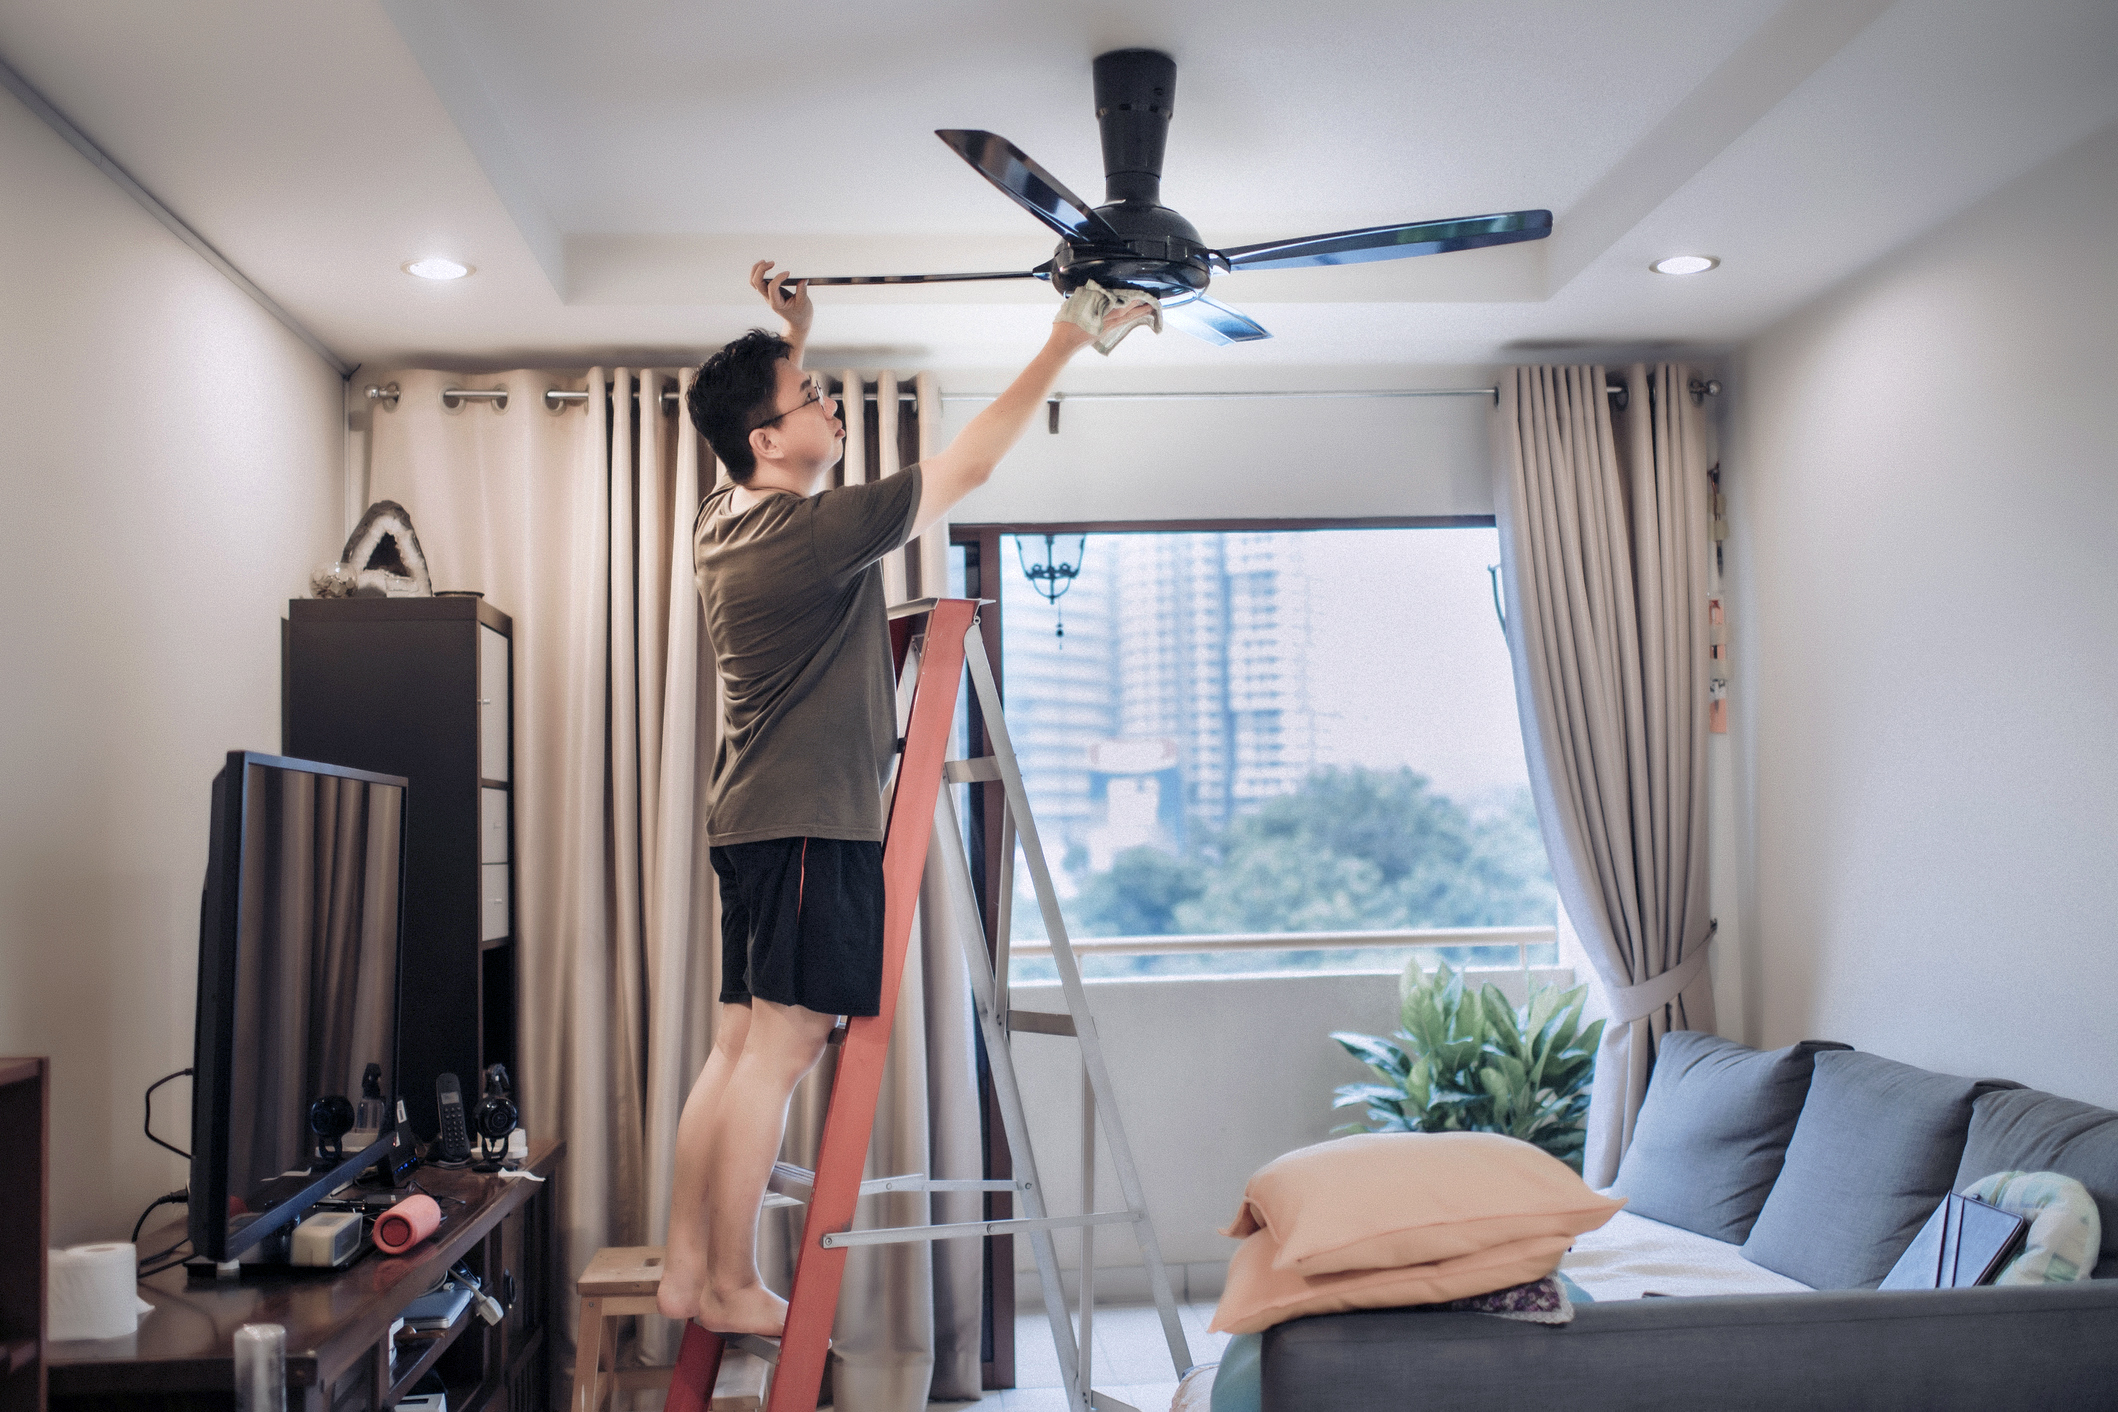
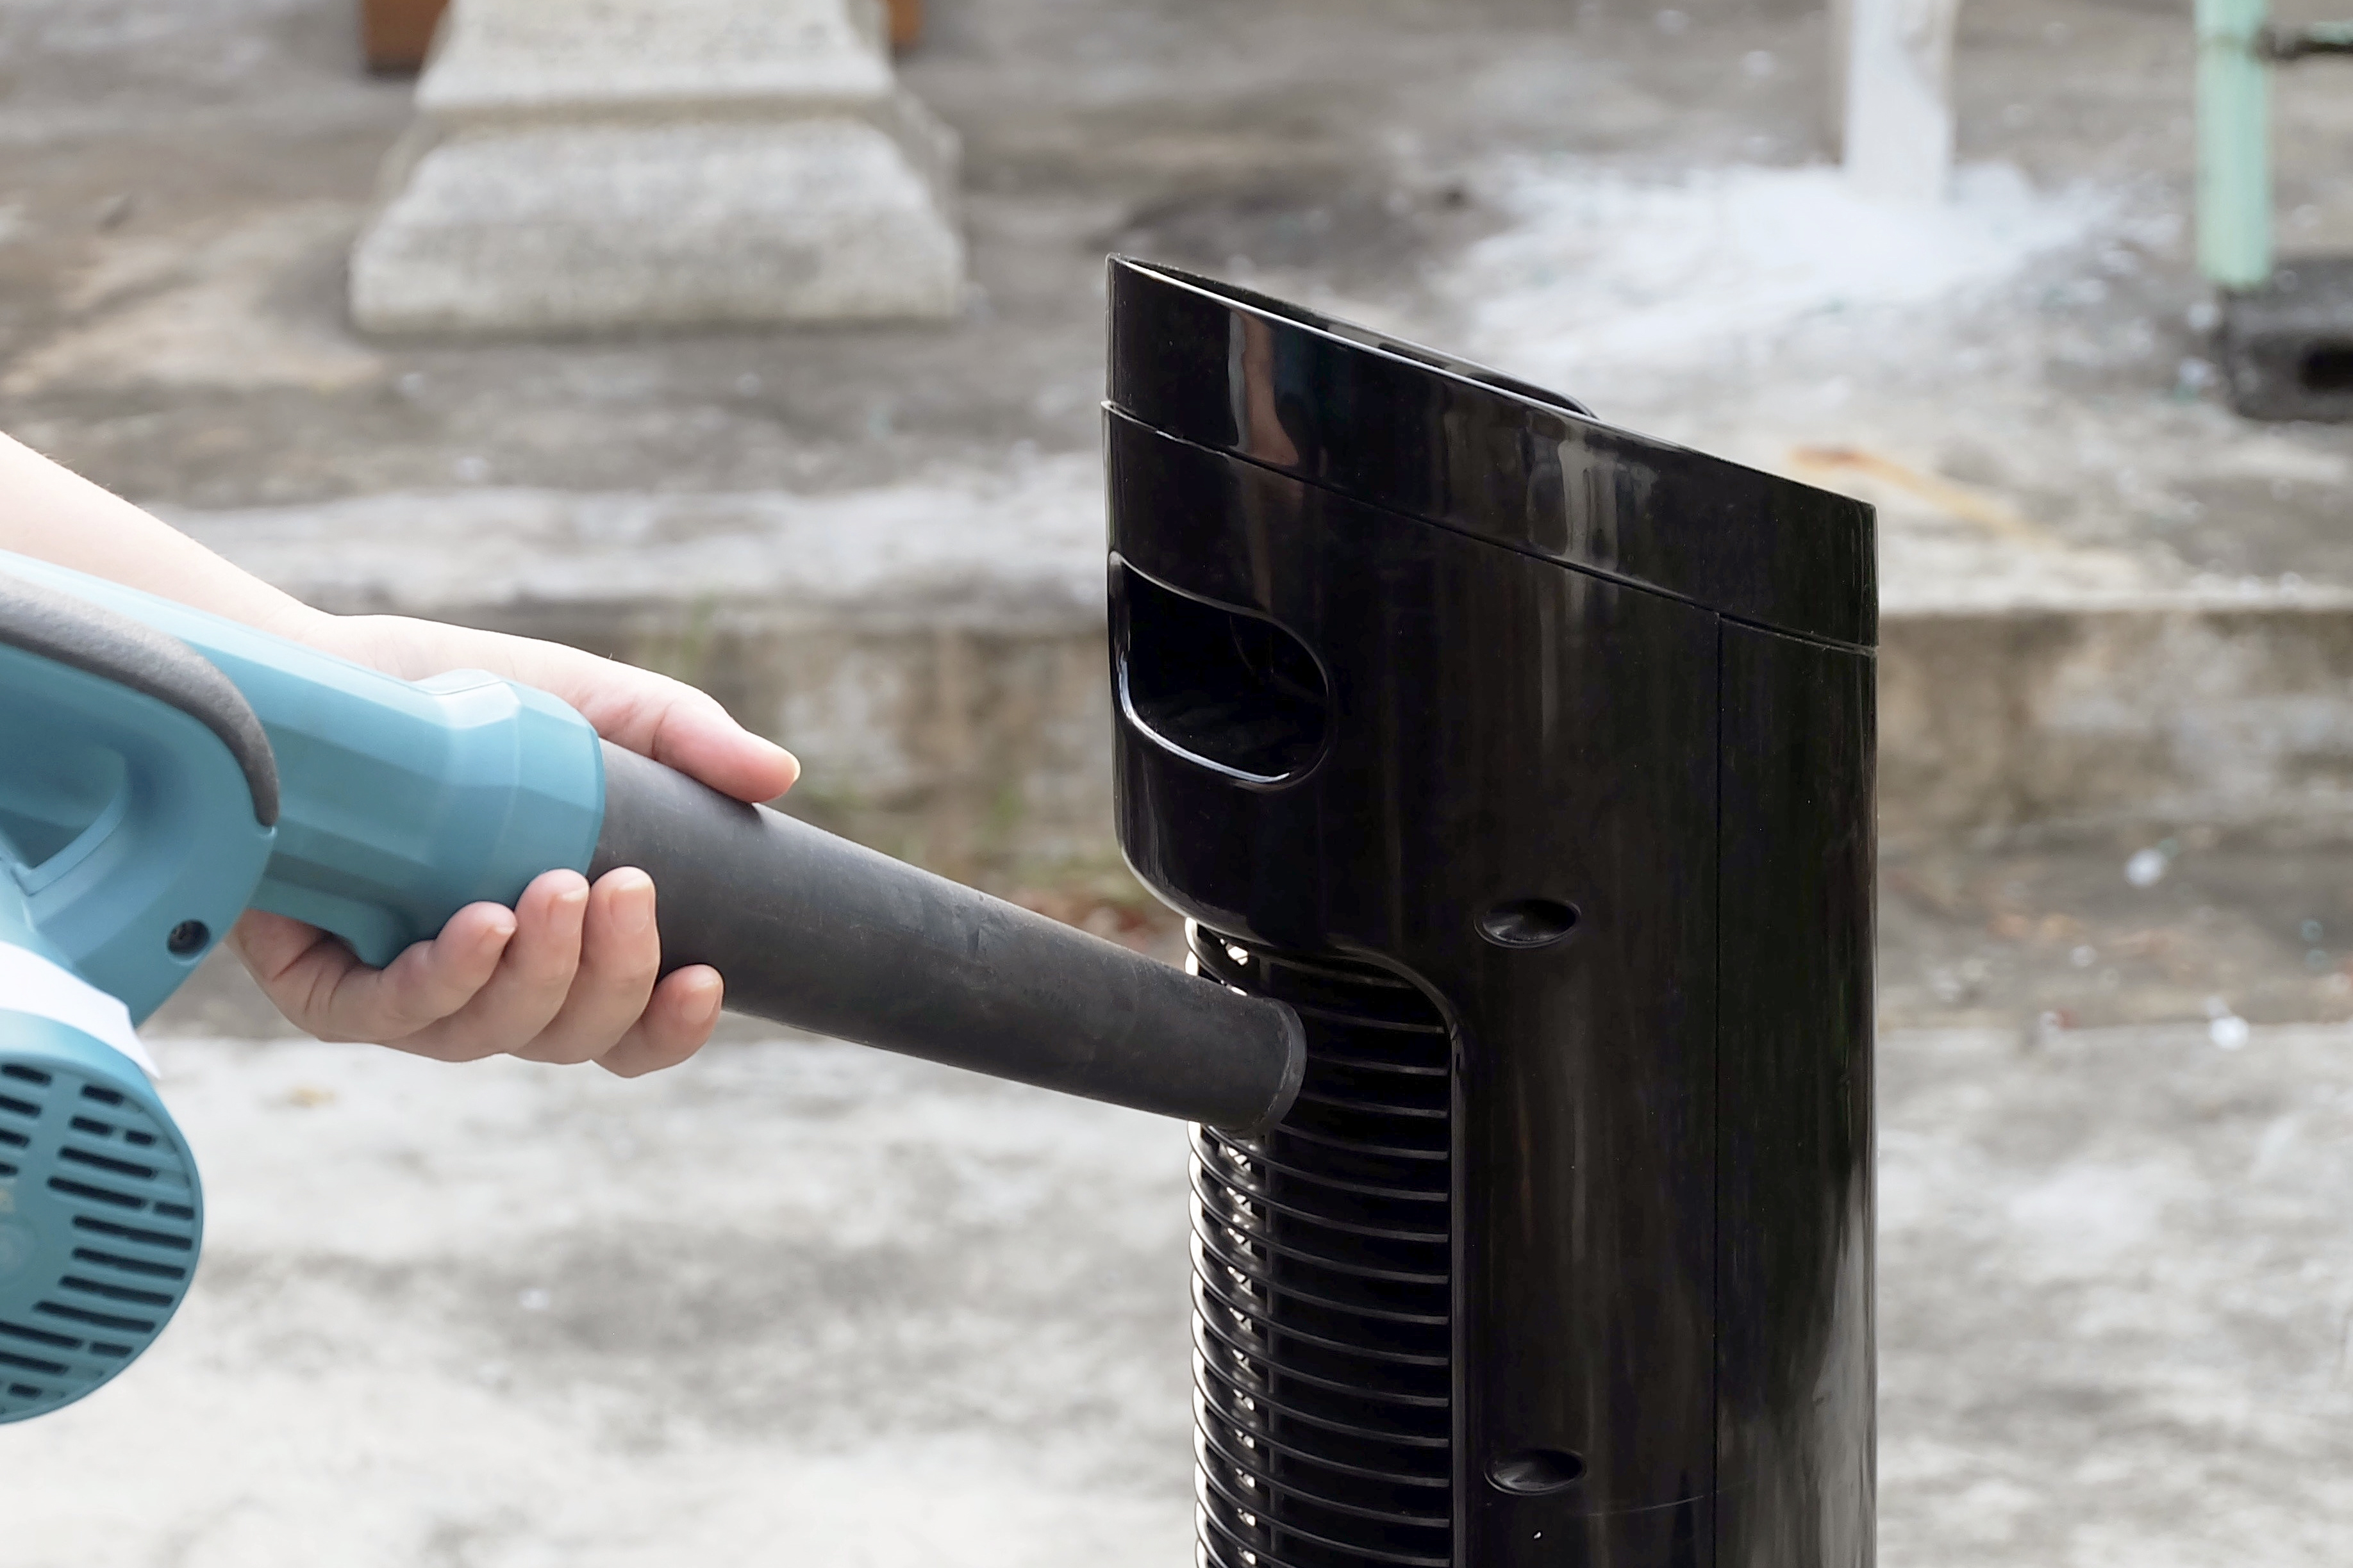
Use a can of compressed air to blow out dust and debris from the fan blades and vents. Wipe down the exterior with a damp cloth and mild detergent. Be sure to unplug the fan before cleaning.
Read more: How To Clean A Window Fan
Wipe Down the Motor and Housing
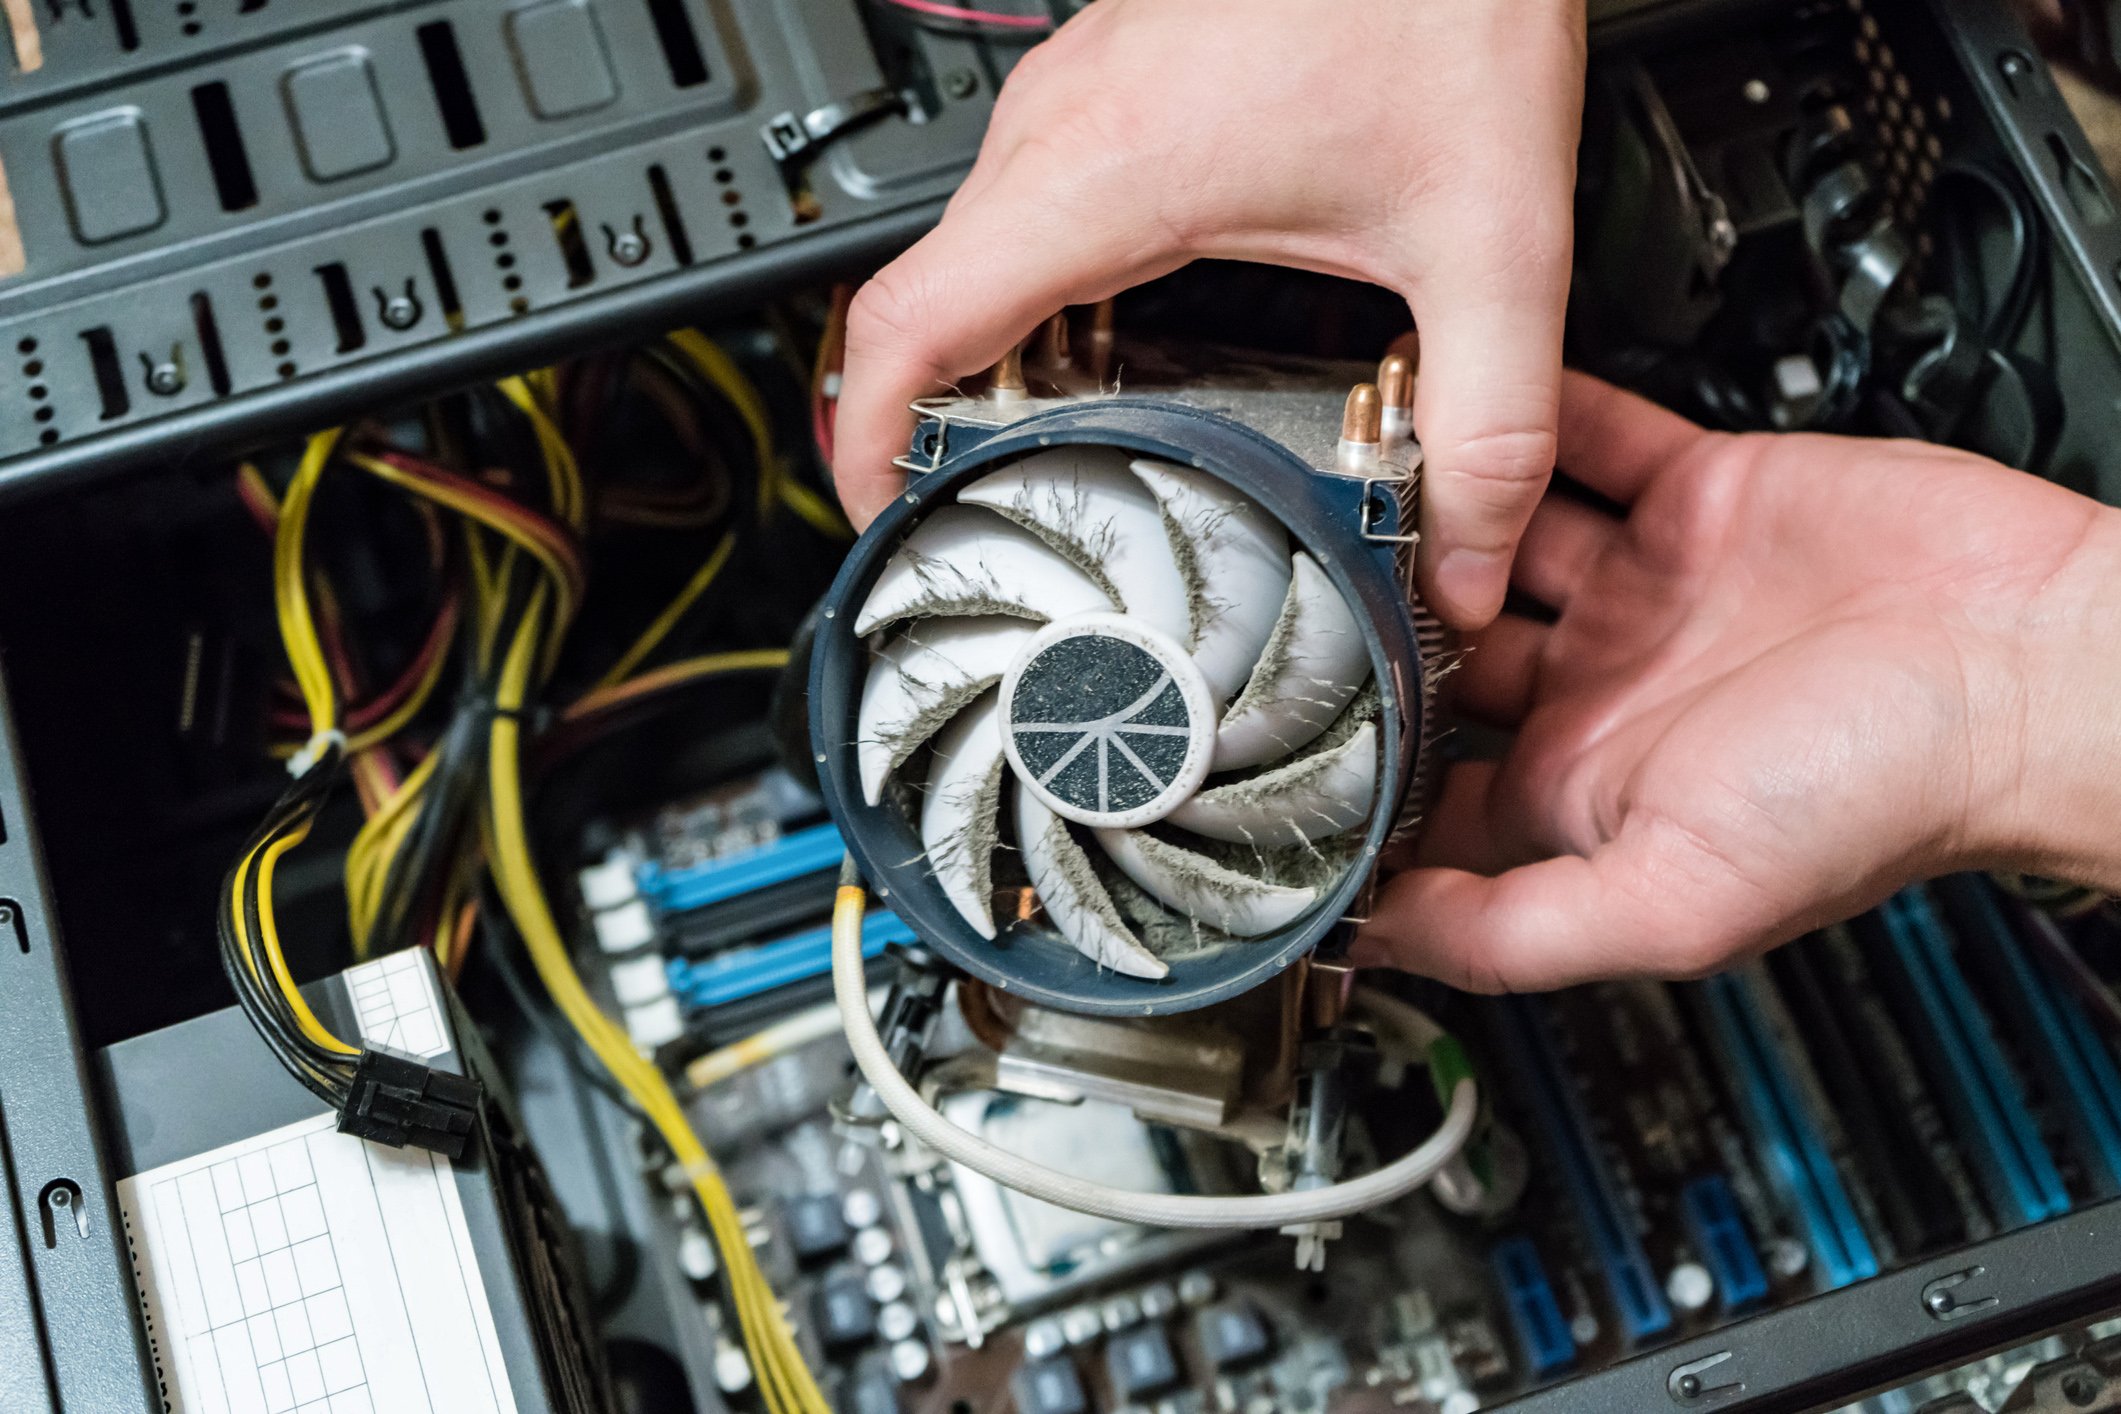
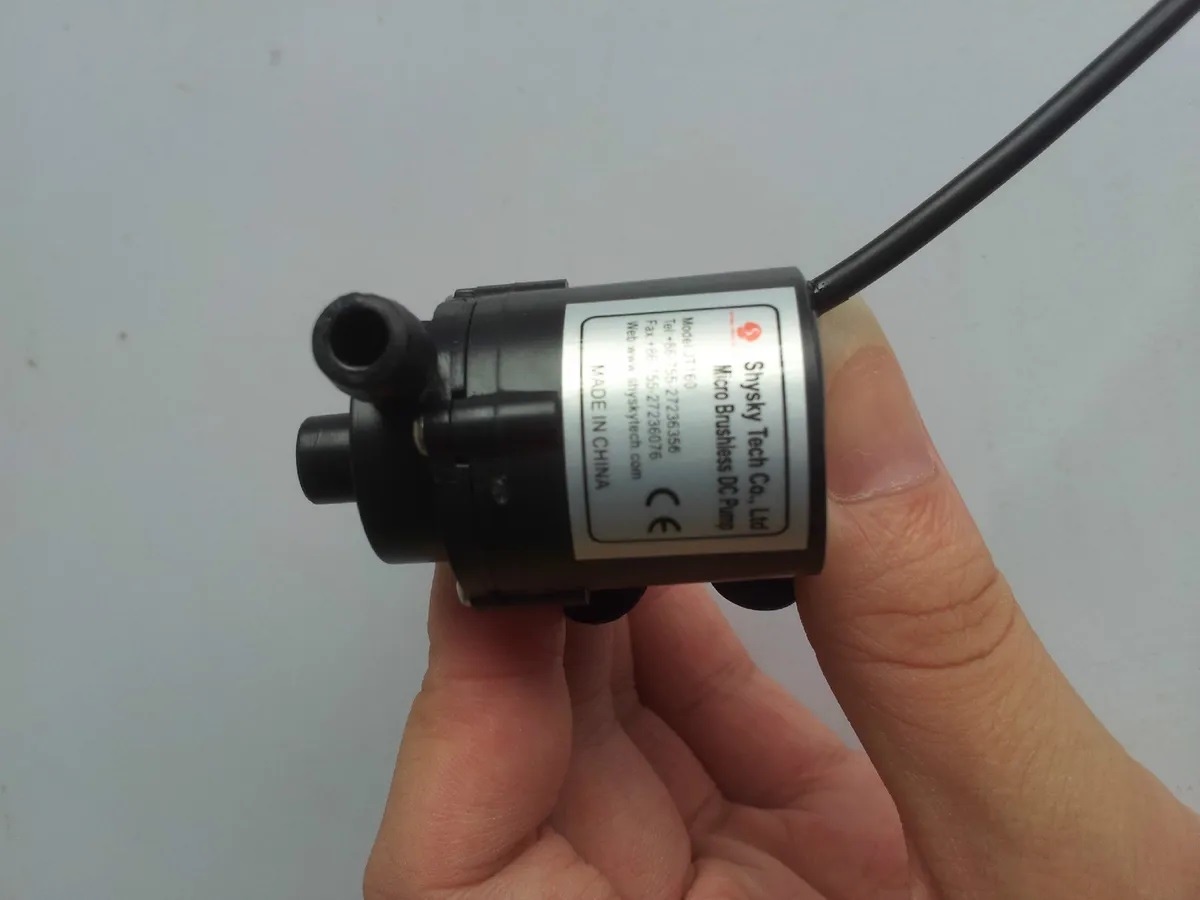
After cleaning the fan blades and grills, it’s time to give attention to the motor and housing of your small fan. While these areas might not accumulate as much dust as the blades and grills, they still require regular maintenance to ensure optimal performance.
Here’s how you can effectively wipe down the motor and housing:
- Disconnect the power source: Before cleaning the motor and housing, ensure that the fan is unplugged from the electrical outlet to avoid any risks of electric shock.
- Remove loose dust: Use a soft cloth or a disposable duster to carefully remove any loose dust or debris from the motor and housing. Be gentle during this step to avoid any damage.
- Wipe with a damp cloth: Dampen a cloth with a mild detergent or a cleaning solution suitable for electronics. Gently wipe the motor and housing to remove any dirt or grime. Avoid getting the motor excessively wet or directly spraying cleaning products onto it.
- Pay attention to vents and openings: Use a cotton swab or a soft brush to clean any vents or openings on the housing. This will help to ensure proper airflow and prevent dust buildup.
- Dry thoroughly: Once you’ve wiped down the motor and housing, use a dry cloth or allow them to air dry completely before reassembling the fan.
By giving some attention to the motor and housing, you can help maintain the overall cleanliness and functionality of your small fan.
After wiping down the motor and housing, it’s time to move on to the next step: reassembling the fan.
Reassemble the Fan
Now that you have thoroughly cleaned the fan blades, grills, motor, and housing, it’s time to reassemble the small fan. Reassembling the fan is a straightforward process, but it’s important to do it correctly to ensure proper functioning.
Here are the steps to reassemble the fan:
- Attach the fan blades: If the fan blades were removable, align them with the motor shaft and securely screw them back into place. Make sure they are tightened properly but not overly tightened to avoid any damage.
- Put the fan grill back on: Line up the grill with the fan housing and secure it in place by reattaching any clips or screws. Ensure that the grill is firmly attached and there are no loose parts.
- Reconnect the fan housing: If you removed the fan housing for cleaning, carefully place it back onto the fan and secure it with screws or clips. Make sure it fits snugly and is properly aligned.
Once you have reassembled the fan, give it a final inspection to ensure that all parts are securely in place and there are no loose or wobbly components.
With the fan successfully reassembled, you’re almost finished. The next step is to plug in and test the fan to ensure it’s functioning properly.
Plug in and Test the Fan
Now that you have reassembled your small fan, it’s time to plug it back in and test its functionality. This step is crucial to ensure that all the components have been properly cleaned and reassembled, and that the fan is operating smoothly.
Here’s what you need to do to plug in and test the fan:
- Locate a suitable electrical outlet: Find a nearby outlet where you can plug in your fan. Make sure it’s easily accessible and compatible with your fan’s power requirements.
- Plug in the fan: Carefully insert the fan’s plug into the electrical outlet. Ensure it is securely connected and the fan is receiving power.
- Turn on the fan: Locate the power switch or button on the fan, and turn it on. Depending on the fan’s settings, you may have different speed options to choose from. Select the desired speed and observe the fan’s operation.
- Check for proper airflow: Stand a few feet away from the fan and feel the airflow. It should be consistent and flowing smoothly. If you notice any unusual noises or decreased airflow, promptly turn off the fan and inspect it for any loose components or issues.
If the fan is operating as expected, congratulations! You have successfully cleaned and restored your small fan. Enjoy the fresh and cool air it provides.
However, if you encounter any problems or issues during the testing phase, it’s important to address them before using the fan extensively. Double-check that all components are securely assembled and that there are no obstructions affecting the fan’s performance. If the problem persists, consult the fan’s user manual or consider contacting a professional for assistance.
With the fan successfully tested, it’s time to conclude our cleaning process.
Conclusion
Cleaning your small fan is an important aspect of its maintenance that should not be overlooked. Regular cleaning helps to ensure the efficient and optimal performance of the fan, extends its lifespan, and keeps the air it circulates clean and healthy.
In this comprehensive guide, we have covered the step-by-step process to clean a small fan. We began with the necessary safety precautions to follow, ensuring your well-being throughout the cleaning process. We then discussed gathering the necessary supplies to make the cleaning process easier and more effective.
We covered the process of unplugging and disassembling the fan, allowing access to its various components. We explained how to clean the fan blades and grills, giving attention to removing dust and grime from these visibly dirty parts.
We then moved on to wiping down the motor and housing, ensuring that all surfaces were free from dust and debris. Finally, we guided you through reassembling the fan and testing its functionality to ensure it’s operating smoothly.
By following these steps and incorporating them into your regular cleaning routine, you can keep your small fan in optimal condition and enjoy its refreshing breeze for years to come.
Remember to always prioritize safety by unplugging the fan before cleaning it, wearing protective gear, and following the manufacturer’s instructions. Take your time during each step, paying attention to detail to ensure a thorough cleaning process.
Thank you for reading our guide on how to clean a small fan. We hope you found it informative and helpful. Now, go ahead and give your small fan the cleaning it deserves and enjoy the cool and fresh breeze it provides.
Frequently Asked Questions about How To Clean Small Fan
Was this page helpful?
At Storables.com, we guarantee accurate and reliable information. Our content, validated by Expert Board Contributors, is crafted following stringent Editorial Policies. We're committed to providing you with well-researched, expert-backed insights for all your informational needs.

0 thoughts on “How To Clean Small Fan”