Home>Gardening & Outdoor>Garden Tools & Equipment>How To Clean Leaf Blower Fuel Filter
Garden Tools & Equipment
How To Clean Leaf Blower Fuel Filter
Modified: August 17, 2024
Learn how to properly clean and maintain your garden tools and equipment with our step-by-step guide for cleaning a leaf blower fuel filter. Keep your equipment running smoothly!
(Many of the links in this article redirect to a specific reviewed product. Your purchase of these products through affiliate links helps to generate commission for Storables.com, at no extra cost. Learn more)
Introduction
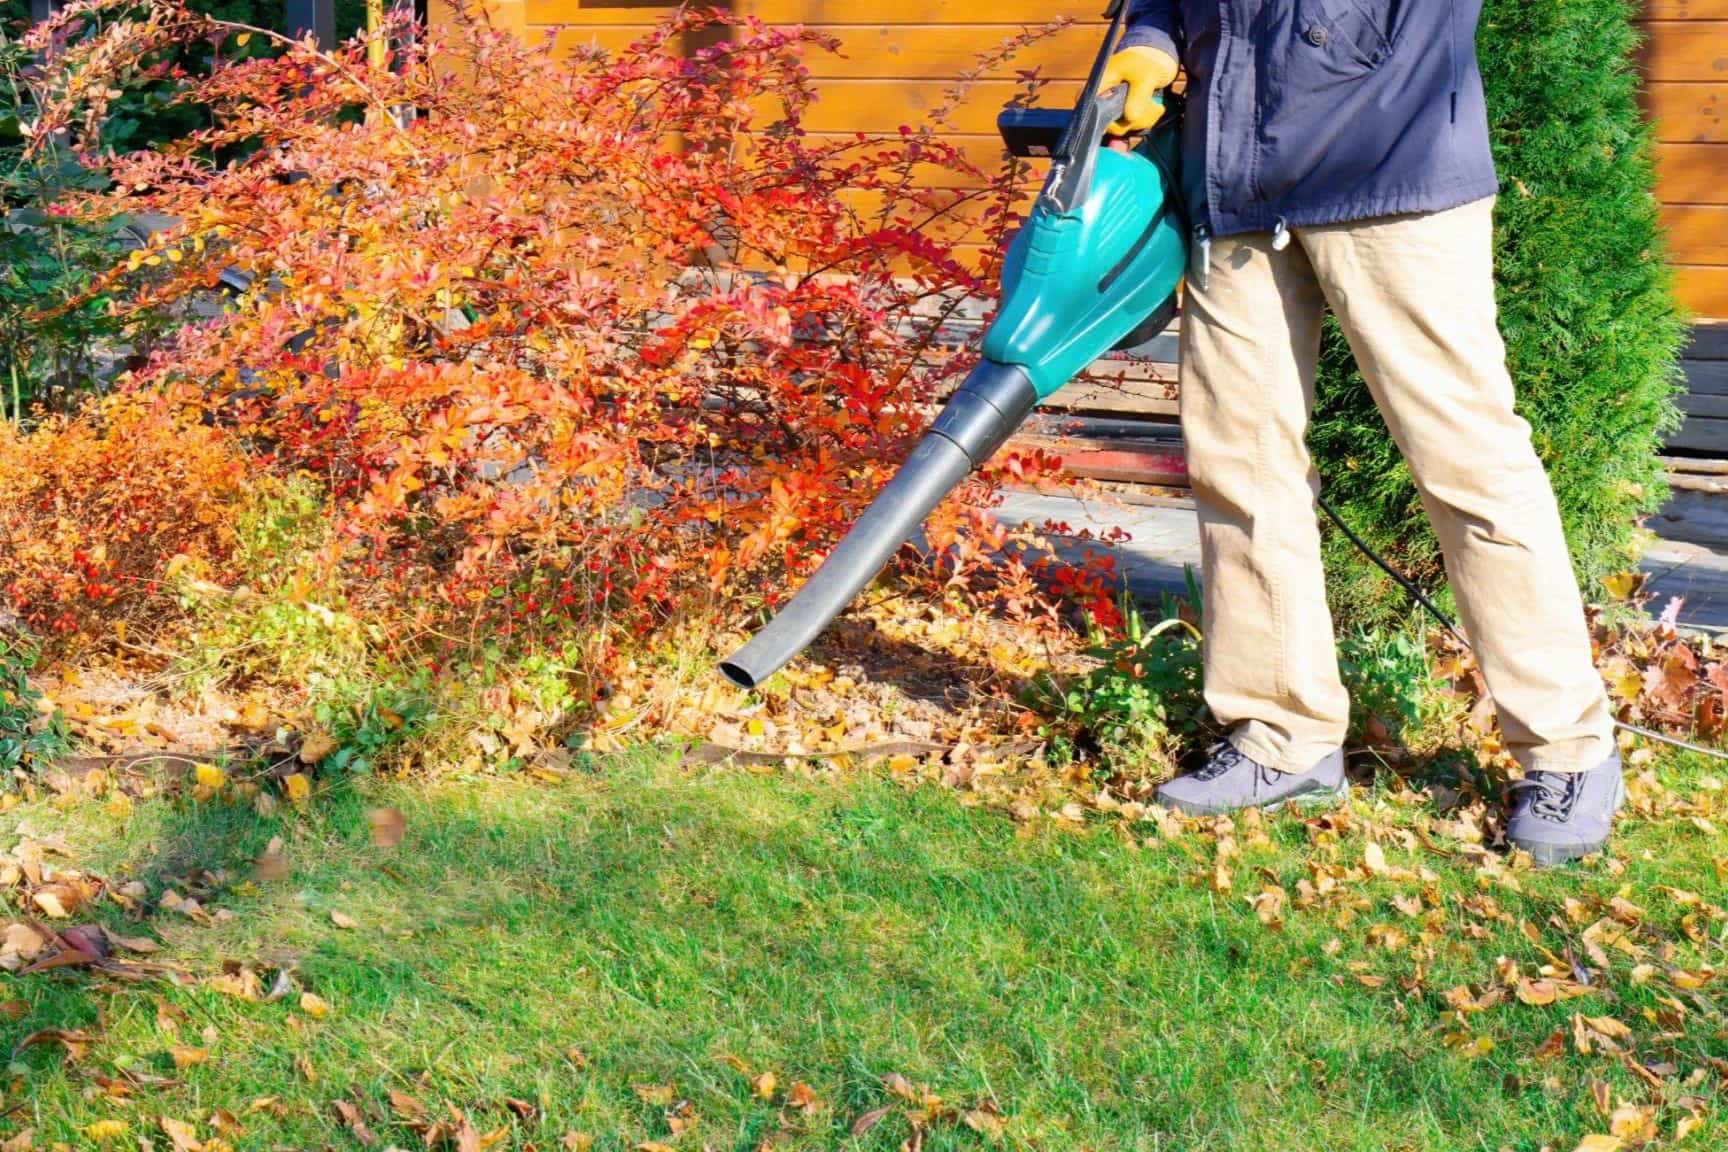
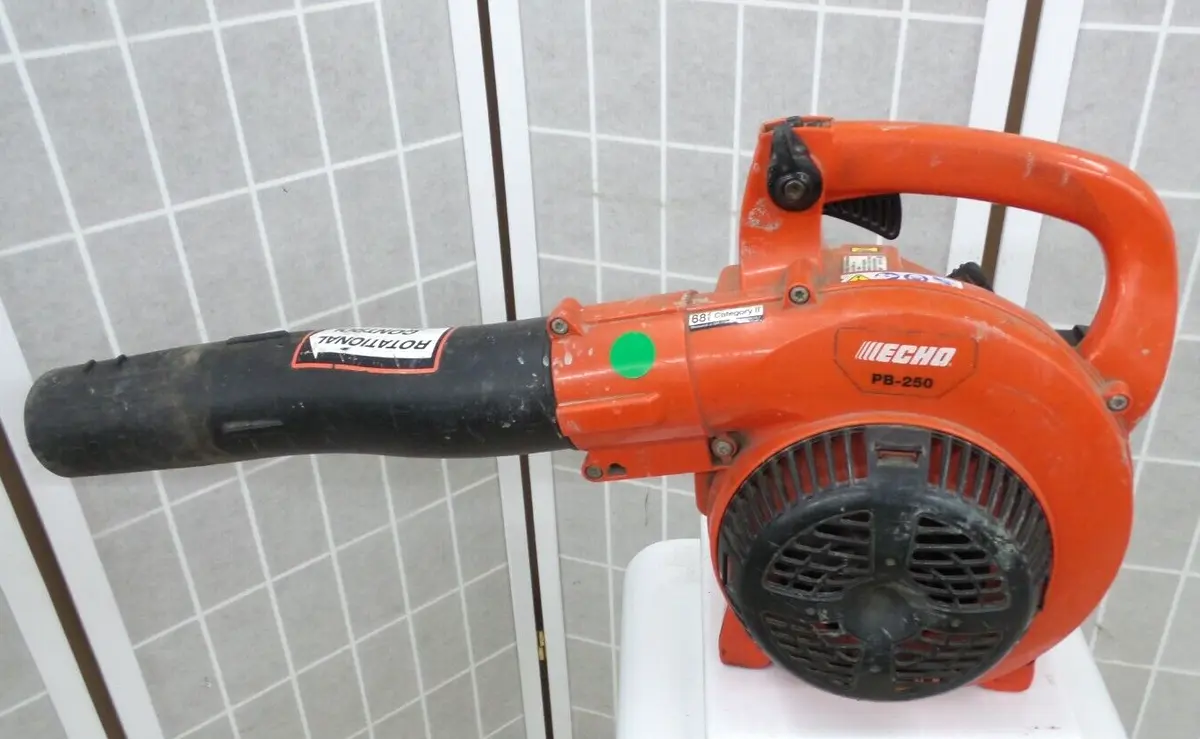
Welcome to the world of garden maintenance! If you're a proud owner of a leaf blower, you understand the importance of regular upkeep to ensure its optimal performance. One of the key components that demand attention is the fuel filter. This small yet vital part plays a crucial role in safeguarding your leaf blower's engine from dirt, debris, and other contaminants that can compromise its efficiency.
In this comprehensive guide, we will delve into the essential steps for cleaning and maintaining your leaf blower's fuel filter. By understanding the process and taking proactive measures, you can extend the lifespan of your equipment and enjoy seamless operation during your gardening endeavors.
So, let's roll up our sleeves and learn how to keep your leaf blower's fuel filter in top-notch condition!
Key Takeaways:
- Regularly cleaning and replacing your leaf blower’s fuel filter ensures a steady supply of clean fuel, preventing clogs and engine damage, ultimately saving time and money in the long run.
- By maintaining a clean fuel filter, you optimize your leaf blower’s performance, extend its lifespan, and ensure seamless operation during your gardening endeavors.
Read more: How To Clean Leaf Blower Carburetor
Understanding the Leaf Blower Fuel Filter
Before diving into the cleaning process, it’s crucial to comprehend the role of the fuel filter in your leaf blower. The fuel filter acts as a barrier, preventing harmful particles and impurities from reaching the engine. As fuel is drawn from the tank into the carburetor, the filter intercepts any contaminants that could potentially clog the delicate components of the engine.
Over time, the fuel filter accumulates debris, dirt, and residues from the fuel, gradually impeding the flow of gasoline to the engine. This obstruction can lead to a decrease in performance, erratic operation, and even potential damage to the engine if left unaddressed.
Most leaf blower fuel filters are designed as small, cylindrical components that are easily accessible for inspection and maintenance. Understanding the anatomy of the fuel filter will empower you to identify and address any issues that may arise during the cleaning process.
By regularly cleaning and maintaining the fuel filter, you can ensure a steady flow of clean fuel to the engine, optimizing the performance and longevity of your leaf blower. Now that we have a clear understanding of the fuel filter’s function, let’s prepare for the cleaning process.
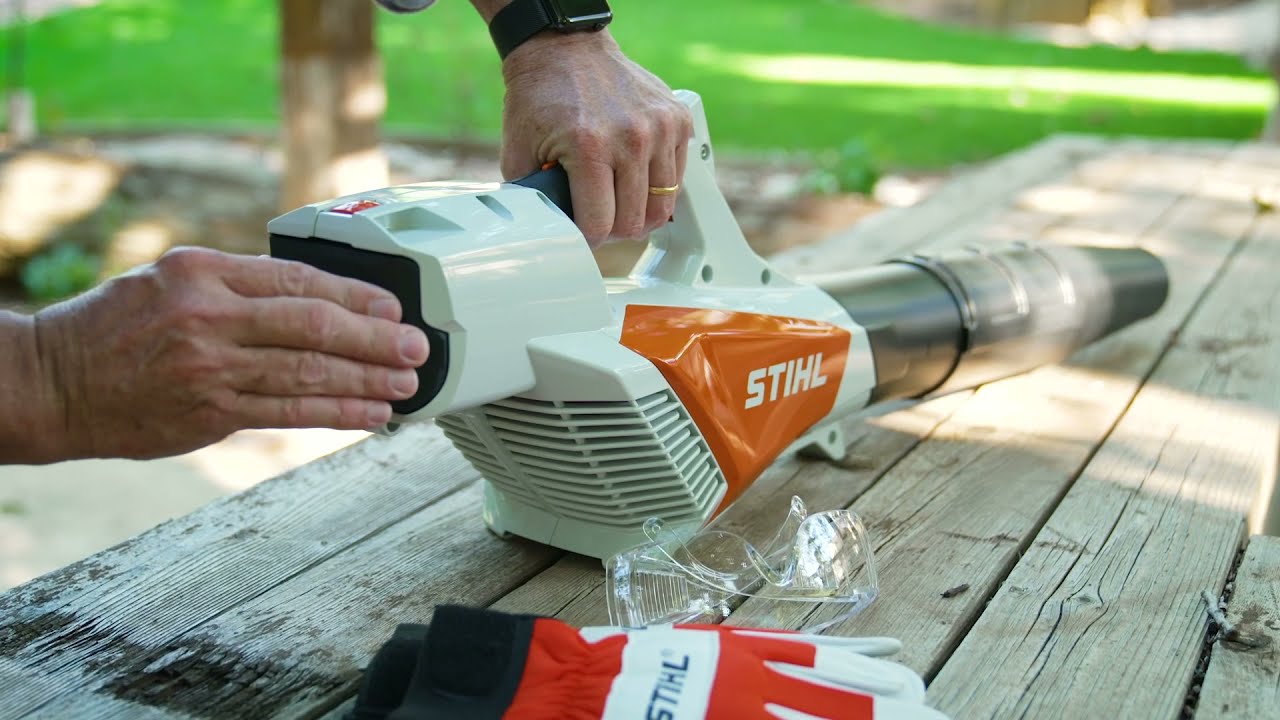
Preparing for Cleaning
Before embarking on the cleaning process, it’s essential to gather the necessary tools and materials. Here’s what you’ll need:
- Safety Gear: Prioritize safety by wearing protective gloves and safety goggles to shield your hands and eyes from fuel and debris.
- Clean Workspace: Find a well-ventilated area with ample lighting to work on your leaf blower. Lay down a clean cloth or paper towels to keep the workspace tidy.
- Owner’s Manual: Refer to your leaf blower’s manual to locate the fuel filter and understand the specific instructions provided by the manufacturer.
- Replacement Parts: It’s wise to have replacement fuel filters on hand in case the current one is damaged or excessively soiled.
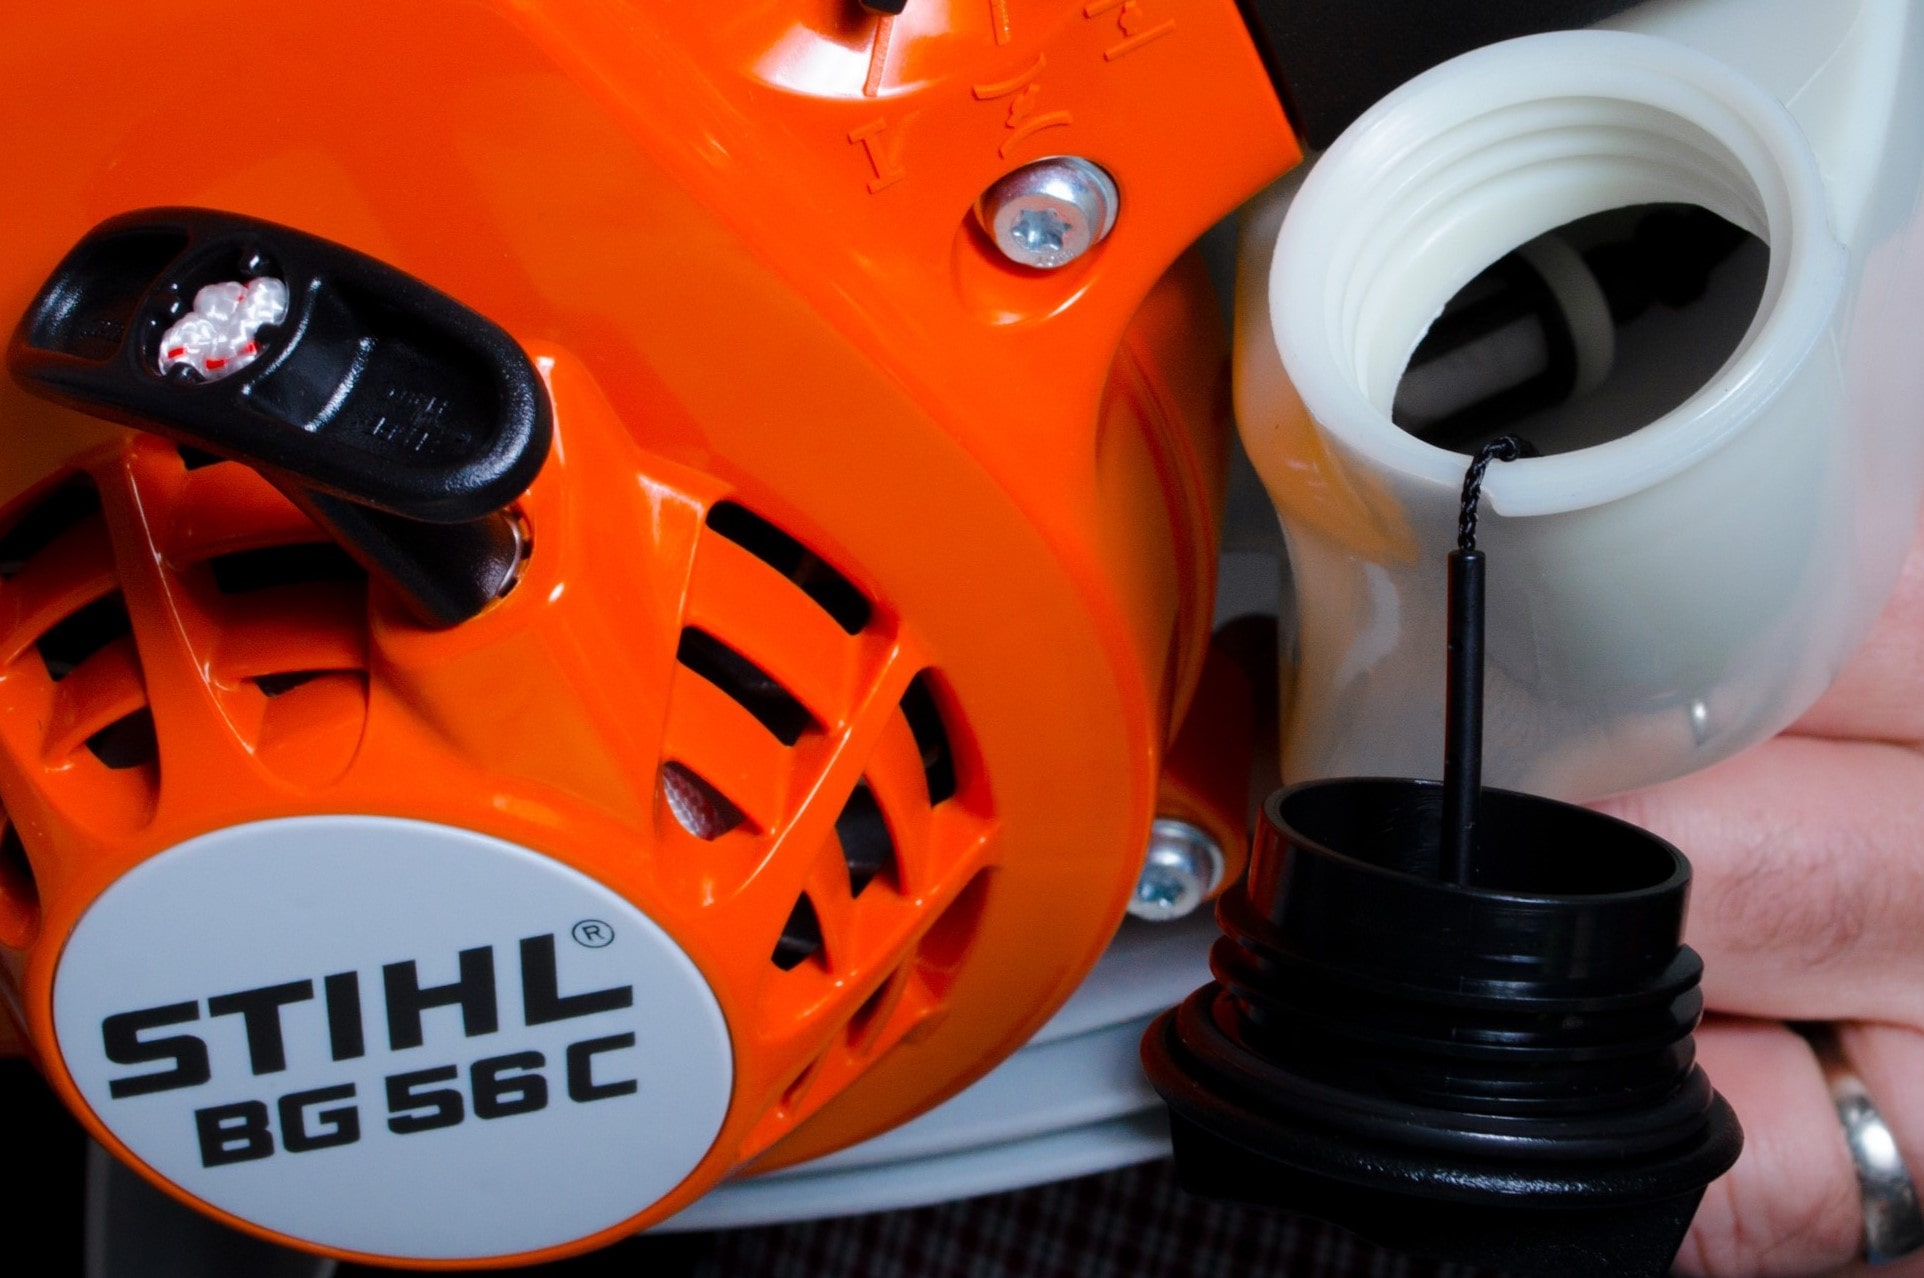
- Cleaning Solution: Prepare a mild cleaning solution by mixing dish soap with warm water. This solution will be used to cleanse the fuel filter.
- Cleaning Tools: Obtain a small brush, such as a toothbrush or a soft-bristle brush, to delicately scrub the fuel filter without causing damage.
- Compressed Air: If available, compressed air can be used to blow out any stubborn debris from the filter.
Once you have assembled these items, you’re ready to initiate the cleaning process. Remember, a well-prepared approach will streamline the task and ensure thorough maintenance of your leaf blower’s fuel filter. Now, let’s proceed to the step-by-step process of cleaning the fuel filter.
To clean a leaf blower fuel filter, first disconnect the spark plug to prevent accidental starts. Then, remove the filter and clean it with a brush and soapy water. Let it dry completely before reinstalling.
Cleaning the Leaf Blower Fuel Filter
Now that you have everything in place, it’s time to roll up your sleeves and give your leaf blower’s fuel filter the attention it deserves. Follow these steps to ensure a thorough cleaning process:
- Locate the Fuel Filter: Refer to your owner’s manual to pinpoint the exact location of the fuel filter within your leaf blower. Typically, it is situated along the fuel line between the fuel tank and the carburetor.
- Inspect the Filter: Carefully remove the fuel filter from its housing and visually inspect it for any signs of clogging, discoloration, or damage. If the filter appears excessively soiled or damaged, it’s advisable to replace it with a new one.
- Clean with Soap Solution: Submerge the fuel filter in the prepared mild cleaning solution. Allow it to soak for a few minutes to loosen the accumulated debris and contaminants.
- Gentle Scrubbing: Using a soft brush, delicately scrub the fuel filter to dislodge any stubborn particles. Take care not to apply excessive force, as this could damage the filter.
- Rinse and Dry: Thoroughly rinse the fuel filter with clean water to remove the cleaning solution and dislodged debris. Once cleaned, allow the filter to air-dry completely before reinstalling it in the leaf blower.
- Reinstallation: Once the fuel filter is dry, carefully place it back into its housing, ensuring a secure fit. Reattach any fuel lines or connections that were removed during the process.
By following these steps diligently, you can effectively cleanse the fuel filter and restore its functionality. Remember, maintaining a clean and unobstructed fuel filter is essential for the smooth operation of your leaf blower. However, if the filter is severely compromised, it may be time to consider replacing it altogether.
Now that we’ve covered the cleaning process, let’s explore the steps involved in replacing the fuel filter, which is crucial if the current filter is damaged or beyond cleaning.
Replacing the Fuel Filter
If your inspection reveals that the fuel filter is damaged, excessively clogged, or showing signs of wear, it’s imperative to replace it to maintain the optimal performance of your leaf blower. Here’s a step-by-step guide to replacing the fuel filter:
- Acquire the Correct Replacement: Refer to your leaf blower’s manual or consult with a reputable garden equipment supplier to procure the appropriate replacement fuel filter. Ensure that the new filter matches the specifications of your leaf blower model.
- Prepare the Workspace: Just as with the cleaning process, establish a clean and well-lit workspace. Lay down a cloth or paper towels to keep the area tidy and organized.
- Remove the Old Filter: Carefully detach the old fuel filter from its housing, taking note of any connections or clips that may be securing it in place.
- Install the New Filter: Insert the replacement fuel filter into the designated housing, ensuring a secure and snug fit. Pay attention to any directional indicators or flow arrows on the filter, and position it accordingly.
- Reconnect Fuel Lines: If any fuel lines were disconnected during the removal process, reattach them securely to the new fuel filter.
- Test for Leakage: Before fully reassembling the leaf blower, conduct a brief test to ensure that the new fuel filter is properly installed and that there are no fuel leaks. Start the leaf blower briefly to check for any irregularities.
By following these steps, you can seamlessly replace the fuel filter and restore the efficient operation of your leaf blower. Remember, regular inspection and timely replacement of the fuel filter are essential to safeguard your equipment from potential damage and ensure consistent performance.
Now that we’ve covered both the cleaning and replacement processes for the fuel filter, you are well-equipped to maintain your leaf blower with confidence. Let’s summarize the key points we’ve discussed in this guide.
Read more: How To Clean Gutters With A Leaf Blower
Conclusion
Congratulations on mastering the art of maintaining your leaf blower’s fuel filter! By understanding the significance of this small yet vital component and learning the essential steps for cleaning and replacement, you have taken a proactive approach to preserving the efficiency and longevity of your garden equipment.
Regular cleaning of the fuel filter ensures that your leaf blower receives a steady supply of clean fuel, preventing potential clogs and engine damage. Additionally, timely replacement of the filter when necessary is crucial for uninterrupted performance and the prevention of costly repairs.
Remember, safety should always be a priority when working on your leaf blower. Wear protective gear, operate in a well-ventilated area, and refer to the manufacturer’s instructions for specific guidance on maintenance and replacement procedures.
By maintaining a clean and unobstructed fuel filter, you are not only optimizing the performance of your leaf blower but also extending its lifespan, ultimately saving time and money in the long run.
As you continue to care for your garden tools and equipment, including your trusty leaf blower, consider incorporating regular maintenance checks into your routine. This proactive approach will ensure that your equipment remains in top-notch condition, ready to tackle any gardening task with ease.
With your newfound knowledge and hands-on experience, you are well-prepared to keep your leaf blower’s fuel filter in optimal condition, enabling you to enjoy seamless operation and efficient performance during your outdoor endeavors.
So, go ahead, give your leaf blower the care it deserves, and let it accompany you on many more successful gardening adventures!
Frequently Asked Questions about How To Clean Leaf Blower Fuel Filter
Was this page helpful?
At Storables.com, we guarantee accurate and reliable information. Our content, validated by Expert Board Contributors, is crafted following stringent Editorial Policies. We're committed to providing you with well-researched, expert-backed insights for all your informational needs.


0 thoughts on “How To Clean Leaf Blower Fuel Filter”