Home>Home Maintenance>How To Clean Dryer Vent With A Leaf Blower
Home Maintenance
How To Clean Dryer Vent With A Leaf Blower
Modified: August 30, 2024
Learn how to clean your dryer vent using a leaf blower for efficient home maintenance. Boost the performance and prevent fire hazards with this simple method.
(Many of the links in this article redirect to a specific reviewed product. Your purchase of these products through affiliate links helps to generate commission for Storables.com, at no extra cost. Learn more)
Introduction
Welcome to our comprehensive guide on how to clean your dryer vent with a leaf blower. If you’ve noticed that your dryer isn’t working as efficiently as it used to, or if your clothes are taking longer to dry, it may be time to clean out your dryer vent. Neglecting this important maintenance task can not only impact the performance of your dryer but also pose a serious fire hazard.
Lint and debris can accumulate over time, clogging the dryer vent and preventing proper airflow. This not only forces your dryer to work harder and longer to dry your clothes, but it also increases the risk of a lint fire. According to the U.S. Fire Administration, an estimated 2,900 dryer fires occur each year, resulting in $35 million in property losses. By regularly cleaning your dryer vent, you can prevent these potential dangers and ensure the longevity and efficiency of your dryer.
In this guide, we will walk you through the step-by-step process of cleaning your dryer vent with a leaf blower. By using a leaf blower, you can effectively remove lint and debris from your dryer vent without the need for expensive professional services. However, it’s important to note that this method is only suitable for dryer vents located on the exterior of your home or in easily accessible areas. If your dryer vent is difficult to reach or located inside the wall, it is best to consult a professional.
Before we get started, let’s gather the tools and equipment you’ll need for this cleaning task.
Key Takeaways:
- Regularly cleaning your dryer vent with a leaf blower prevents lint fires, improves efficiency, and extends your dryer’s lifespan. Stay safe and enjoy the benefits of a well-maintained dryer!
- Prioritize safety, establish a cleaning schedule, and consider professional inspections to ensure a well-functioning dryer vent system. Regular maintenance promotes optimal performance and a safer home.
Read more: How To Clean Leaf Blower Carburetor
Why is it important to clean the dryer vent?
Cleaning your dryer vent is a crucial maintenance task that often gets overlooked. Here are some key reasons why it is important to regularly clean your dryer vent:
- Fire prevention: One of the primary reasons to clean your dryer vent is to reduce the risk of a lint fire. Lint is highly flammable and can accumulate in the dryer vent over time. When the dryer is running, the heat can cause the lint to ignite, resulting in a potentially dangerous fire. By keeping your dryer vent clean, you minimize the risk of a fire, protecting your home and loved ones.
- Improved efficiency: A clogged dryer vent restricts the airflow, making your dryer work harder and longer to dry your clothes. This not only wastes energy but also decreases the efficiency of your dryer. By cleaning the vent, you allow the warm air to flow freely, enabling your dryer to operate more efficiently and shorten drying times. This can also help reduce your energy bills in the long run.
- Prevention of moisture buildup: When the dryer vent becomes clogged, it can lead to moisture buildup in the vent system. Excess moisture can create an ideal environment for mold and mildew growth. This can not only impact the indoor air quality but also cause damage to your dryer and the surrounding area. By cleaning the dryer vent, you minimize the risk of moisture-related issues and prolong the lifespan of your dryer.
- Extend the life of your dryer: A clean dryer vent reduces the strain on your dryer’s heating element and motor. When the airflow is unrestricted, the dryer can operate at its optimal capacity without experiencing excessive wear and tear. This can extend the life of your dryer, saving you money on costly repairs or premature replacements.
- Reduce allergens and pollutants: If the dryer vent is clogged, it may not be able to effectively expel lint, dust, and other particles from the dryer. These particles can circulate in the air, potentially aggravating allergies and respiratory issues. By regularly cleaning the dryer vent, you can minimize the release of allergens and pollutants into your home, creating a healthier living environment for you and your family.
Now that you understand the importance of cleaning your dryer vent, let’s move on to the tools and equipment you’ll need for this task.
Tools and Equipment Needed
Before you begin cleaning your dryer vent with a leaf blower, it’s important to gather the necessary tools and equipment. Here’s what you’ll need:
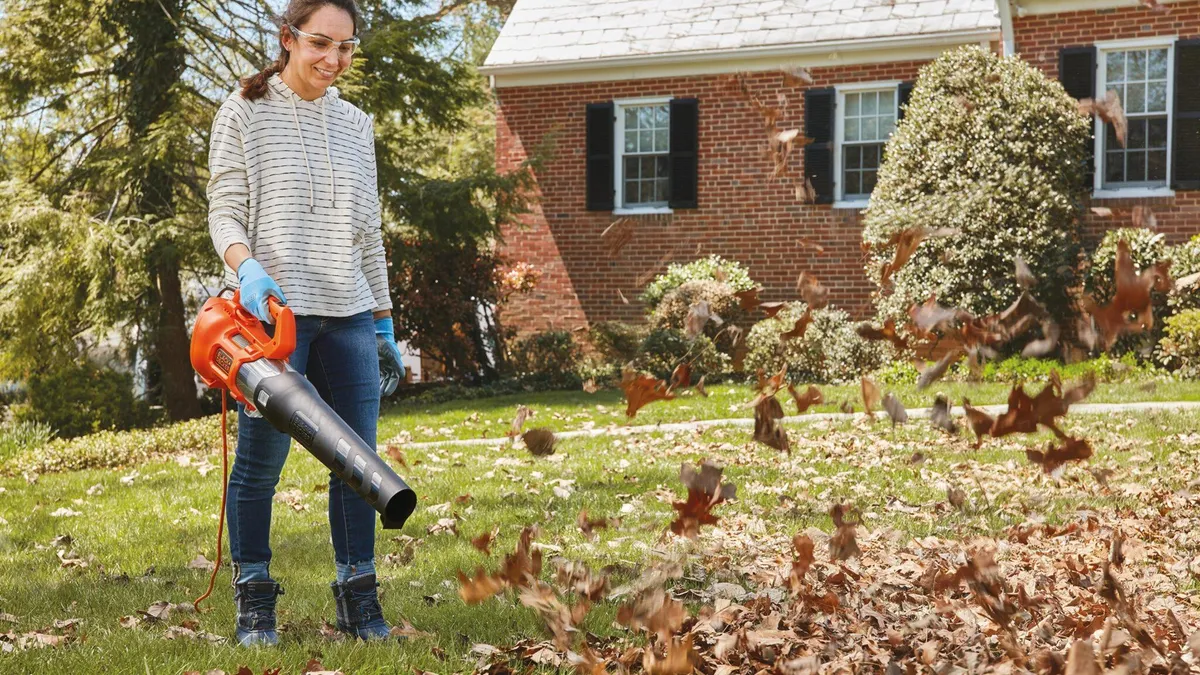
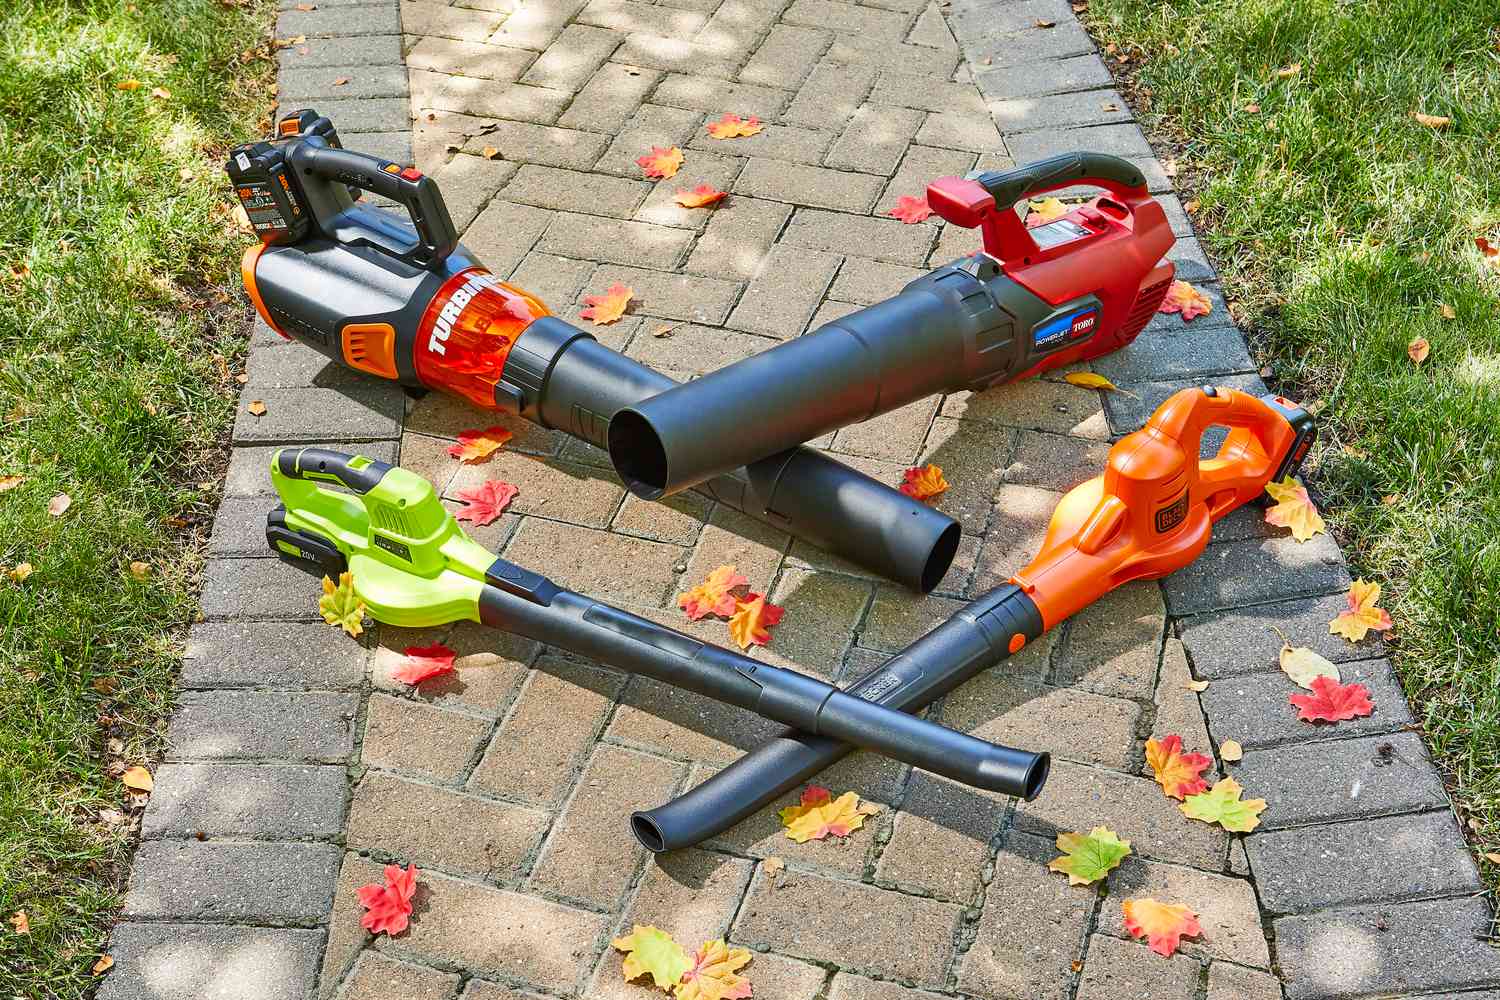
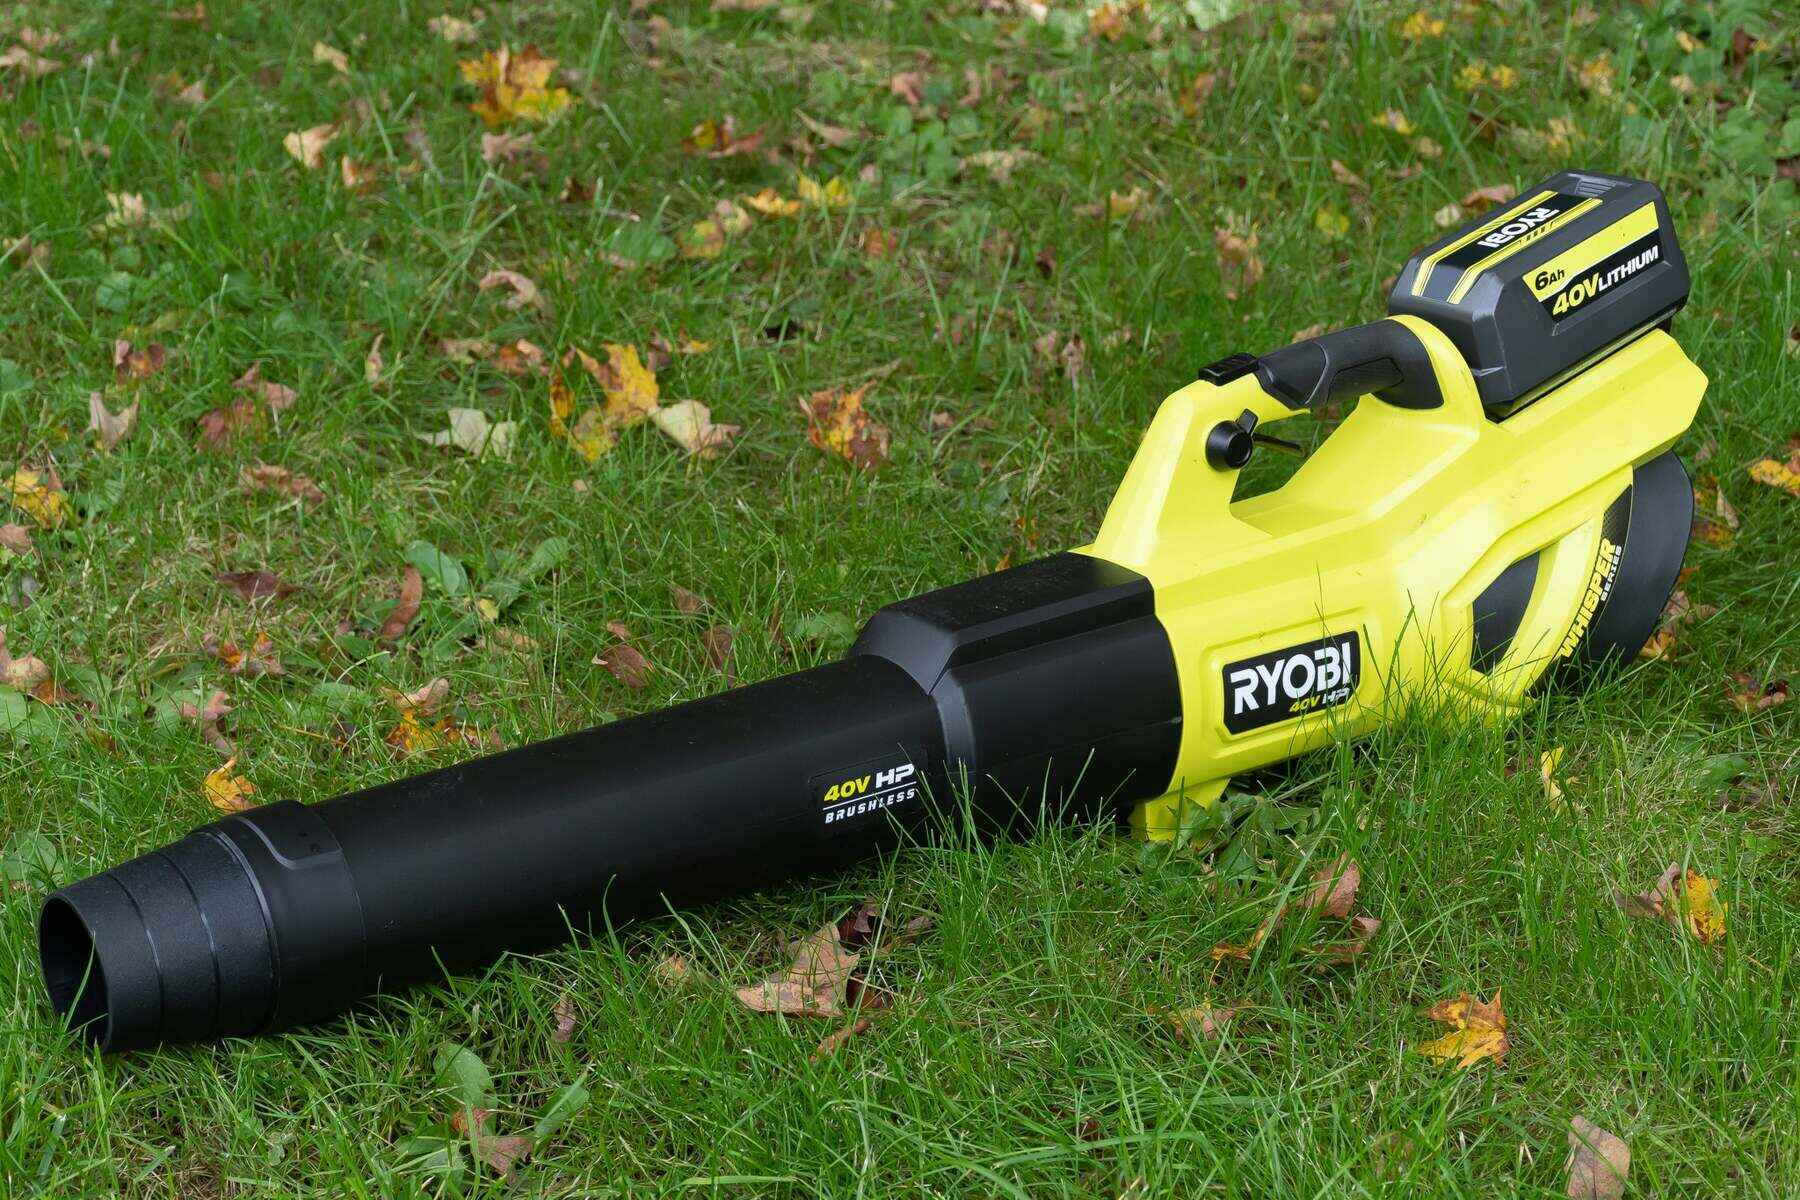
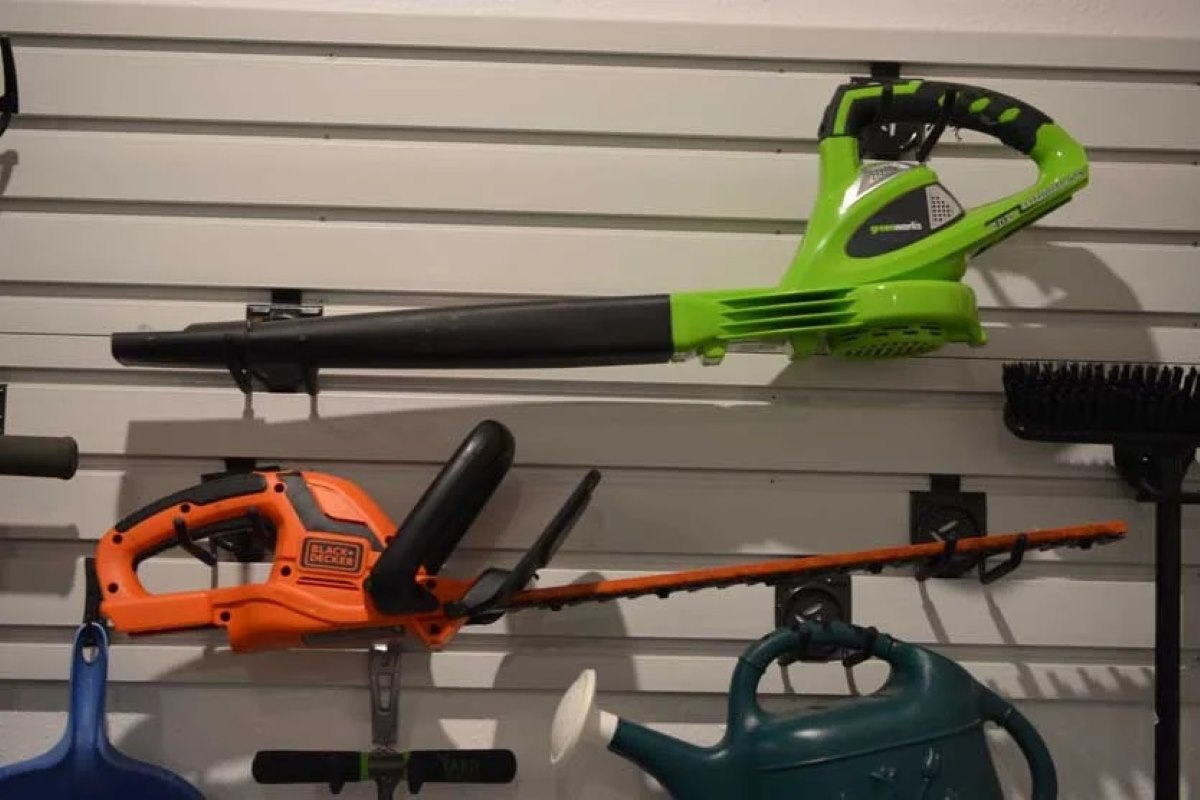
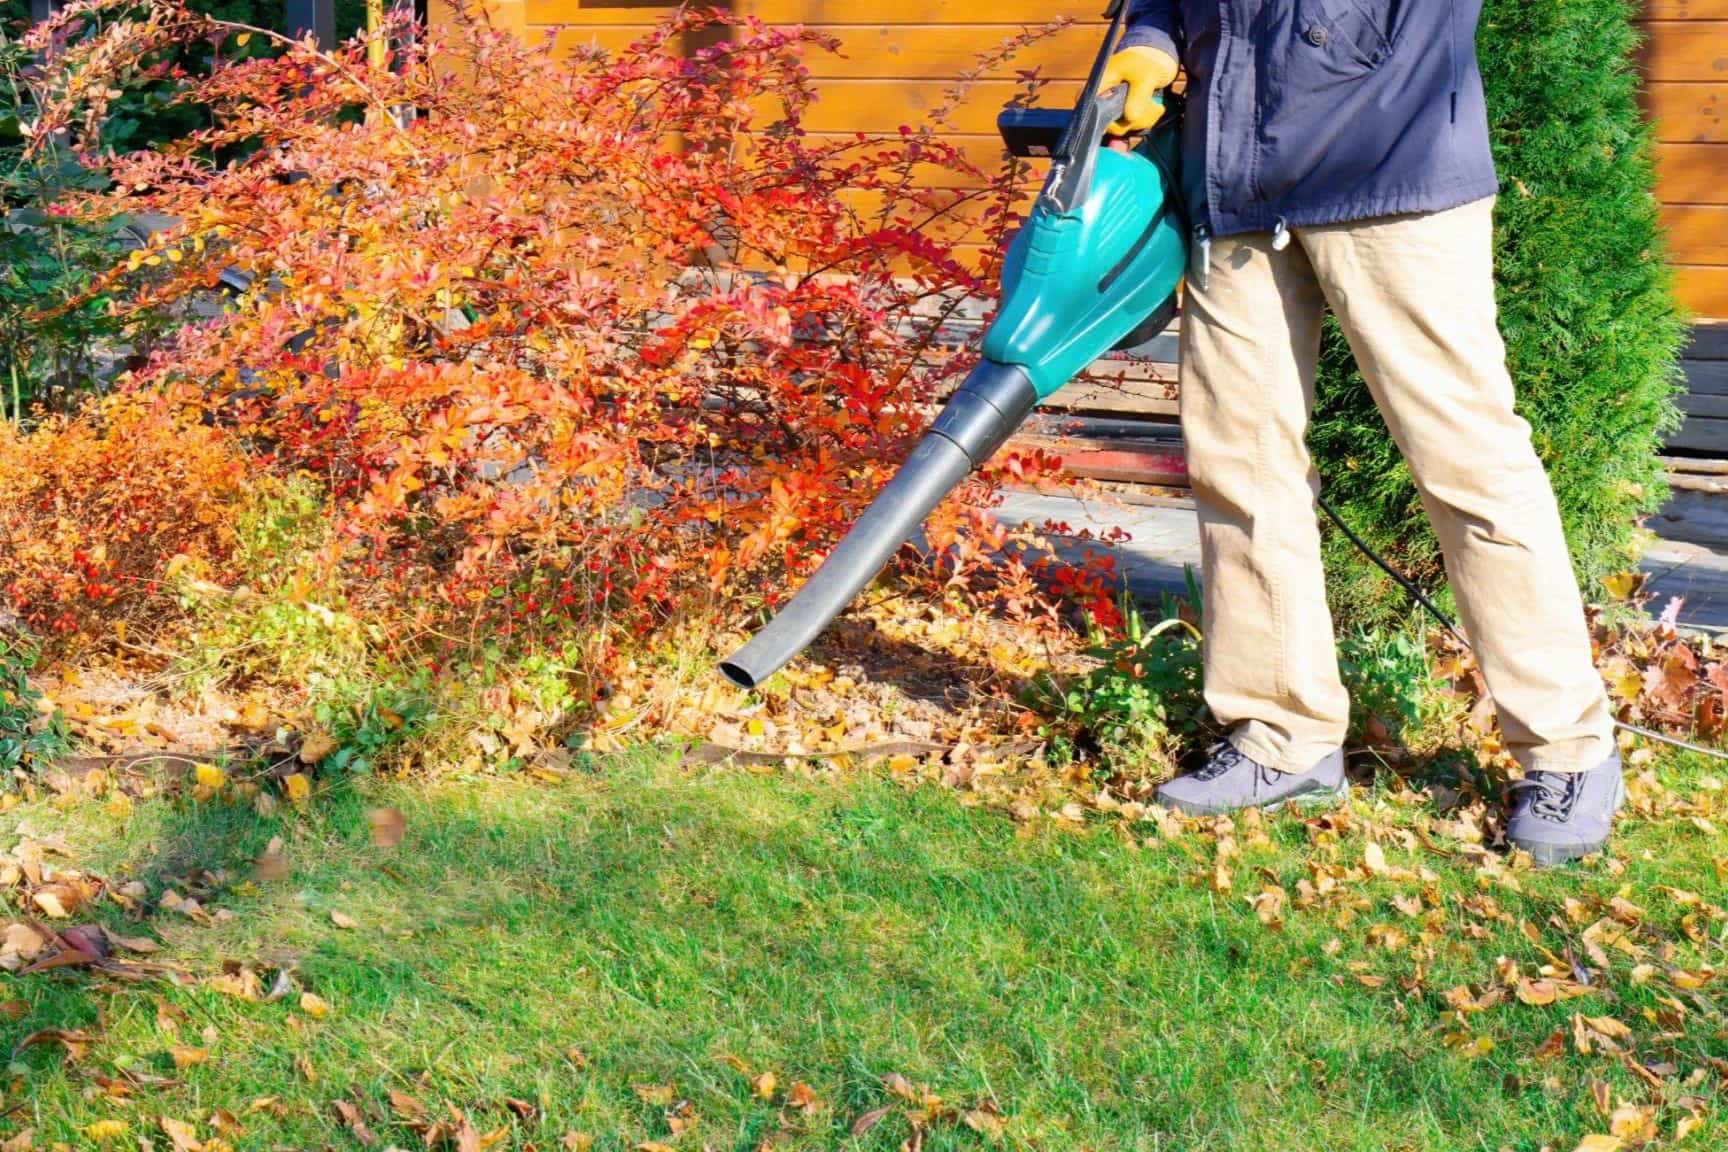
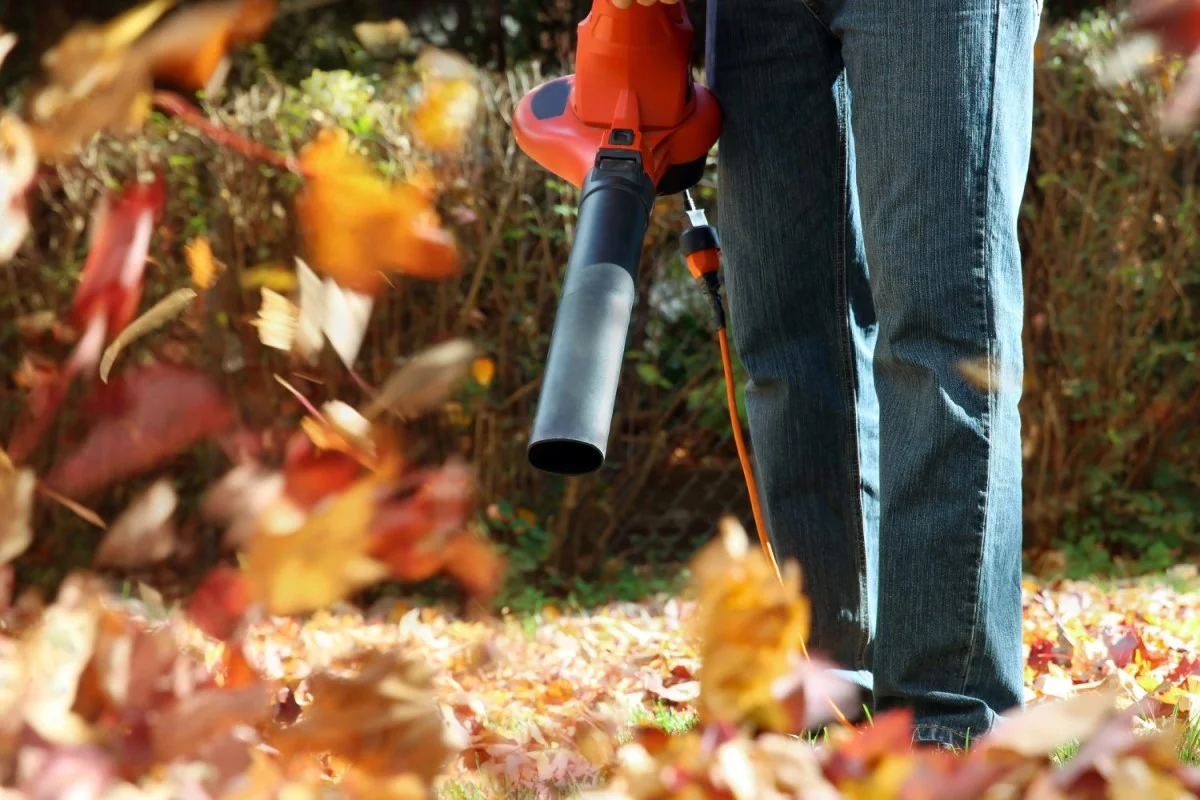
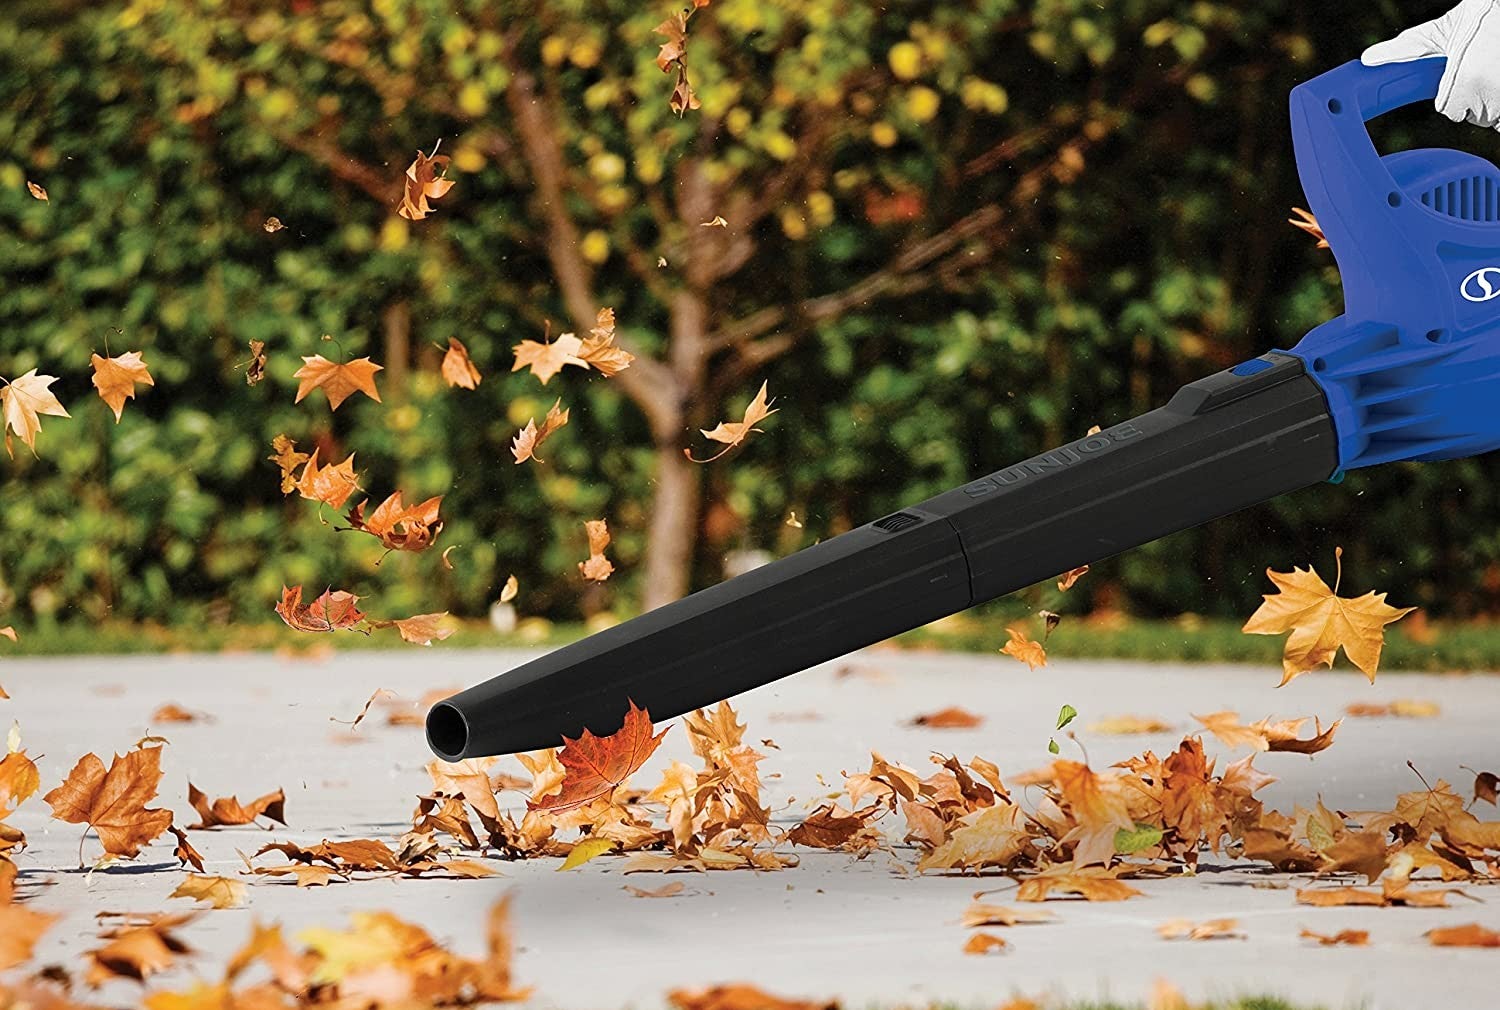
- Leaf blower: A leaf blower will serve as the primary tool for clearing the lint and debris from your dryer vent. Make sure you have a leaf blower with enough power to generate sufficient airflow to blow out the lint effectively.
- Screwdriver: You’ll need a screwdriver to disconnect the dryer vent from the back of your dryer. Check the type of screws used to secure the vent and have the appropriate screwdriver handy.
- Brush or brush attachment: A brush or brush attachment can be used to manually remove any stubborn lint build-up from the dryer vent. This will help dislodge the lint, making it easier for the leaf blower to blow it out.
- Gloves: Wearing gloves is highly recommended to protect your hands from sharp debris or cleaning solutions that you may encounter during the process.
- Safety goggles: Safety goggles are essential to protect your eyes from any debris or dust that may be blown out during the cleaning process.
- Face mask: It’s a good idea to wear a face mask to prevent inhaling any dust or lint particles while cleaning out the vent. This is particularly important if you are sensitive to allergens.
- Rags or towels: Have a few rags or towels on hand to clean up any loose lint or debris that may be scattered during the cleaning process.
- Vacuum cleaner: While not necessary, having a vacuum cleaner nearby can be helpful to clean up any remaining lint or dust particles that may be left behind after the vent is cleared.
Now that you have all the necessary tools and equipment, it’s time to prepare for the cleaning process. In the next section, we will guide you through the steps to prepare for cleaning your dryer vent.
Step 1: Preparation
Before you start cleaning your dryer vent, it’s important to take some necessary precautions and prepare the area. Here’s what you need to do:
- Turn off the dryer: Start by turning off the dryer and unplugging it from the power source. This will ensure your safety and prevent any accidents while cleaning.
- Clean the area around the dryer: Clear any items or obstructions from around the dryer to create a safe and uncluttered workspace. This will give you ample room to work and prevent any objects from getting in the way.
- Protect the floor: Lay down a drop cloth or old towels beneath the dryer to catch any debris or lint that may fall during the cleaning process. This will help keep your floor clean and make cleanup easier.
- Remove the lint trap: Locate the lint trap on your dryer and remove it. Empty out any lint that may have accumulated in the trap and give it a quick cleaning. This will ensure proper airflow during the cleaning process.
- Inspect the dryer vent: Take a look at the dryer vent from the back of the dryer. Check for any visible signs of damage or blockage. If you notice any tears, holes, or significant build-up, it may be necessary to replace or repair the vent before proceeding with the cleaning.
- Secure necessary equipment: Gather all the tools and equipment you’ll need for the cleaning process, including the leaf blower, screwdriver, brush or brush attachment, gloves, safety goggles, face mask, rags or towels, and vacuum cleaner if desired.
- Inform household members: Let other household members know that you’ll be cleaning the dryer vent to ensure they don’t accidentally start the dryer while you’re working.
Once you’ve completed these preparation steps, you’re ready to move on to the next step: disconnecting the dryer. We’ll guide you through this process in the following section.
Step 2: Disconnecting the Dryer
Now that you’ve prepared the area, it’s time to disconnect the dryer before cleaning the vent. Here’s how to do it:
- Turn off the gas supply (if applicable): If your dryer runs on gas, locate the gas supply valve and turn it off. This will prevent any gas leaks while you’re disconnecting the dryer. If you’re unsure about how to turn off the gas supply, consult a professional.
- Unplug the dryer: Ensure that the dryer is completely powered off, and unplug it from the electrical outlet. This step is crucial for your safety and prevents any electrical accidents or damage to the dryer.
- Move the dryer away from the wall: Carefully pull the dryer away from the wall to create space for accessing the back of the dryer. Be cautious not to damage any flooring or strain any electrical or gas connections.
- Remove the dryer vent clamp: Locate the dryer vent clamp, which is usually positioned near the back of the dryer. Use a screwdriver to loosen and remove the clamp, allowing the vent to be disconnected. Set the clamp aside for later use.
- Disconnect the dryer vent: Gently pull the dryer vent away from the back of the dryer. It may be necessary to wiggle it back and forth to loosen it from the dryer’s exhaust port. Once detached, set the vent aside for cleaning.
- Inspect the dryer vent opening: Take a moment to inspect the dryer vent opening on the back of the dryer. Look for any signs of lint build-up or blockage. If you notice significant accumulation, use a brush or brush attachment to remove as much lint as possible.
- Set up the leaf blower: Position the leaf blower near the opening of the dryer vent. Ensure that it is securely placed but allow enough room for the leaf blower to generate airflow into the vent.
With the dryer disconnected and the leaf blower ready, you’re now ready to move on to the next step: clearing the lint trap. We’ll guide you through this step in the following section.
Read more: How To Clean Gutters With A Leaf Blower
Step 3: Clearing the Lint Trap
Before proceeding with cleaning the dryer vent, it’s important to clear out the lint trap to ensure optimal airflow. Here’s how you can do it:
- Locate the lint trap: The lint trap is typically located inside the dryer, near the door or on the top of the dryer’s drum. It may be a removable screen or a filter that slides out. Find the lint trap and remove it from its housing.
- Remove lint and debris: Empty the lint trap, discarding any lint and debris that have accumulated. Use your fingers or a soft brush to remove any stubborn lint stuck on the trap’s surface. Take this opportunity to inspect the lint trap for any damage or defects that may require replacement.
- Clean the lint trap housing: Use a vacuum cleaner or a small brush to clean the lint trap housing. Remove any loose lint or debris that may have accumulated around the housing area. This step will help ensure proper airflow and prevent any excess lint from escaping into the dryer vent.
- Reassemble the lint trap: Once the lint trap and housing are clean and free from debris, securely place the lint trap back into its designated spot. Ensure that it fits snugly and properly. Improperly reassembling the lint trap can lead to lint bypassing the trap and entering the dryer vent.
- Check for lint in the dryer: Take a moment to visually inspect inside the dryer drum for any lint accumulation. If you notice lint, use a soft brush or cloth to remove it. While this step is not directly related to cleaning the vent, it helps maintain the cleanliness and efficiency of your dryer.
Now that you’ve cleared the lint trap and ensured proper airflow within the dryer, it’s time to move on to the next step: connecting the leaf blower. We’ll guide you through this process in the following section.
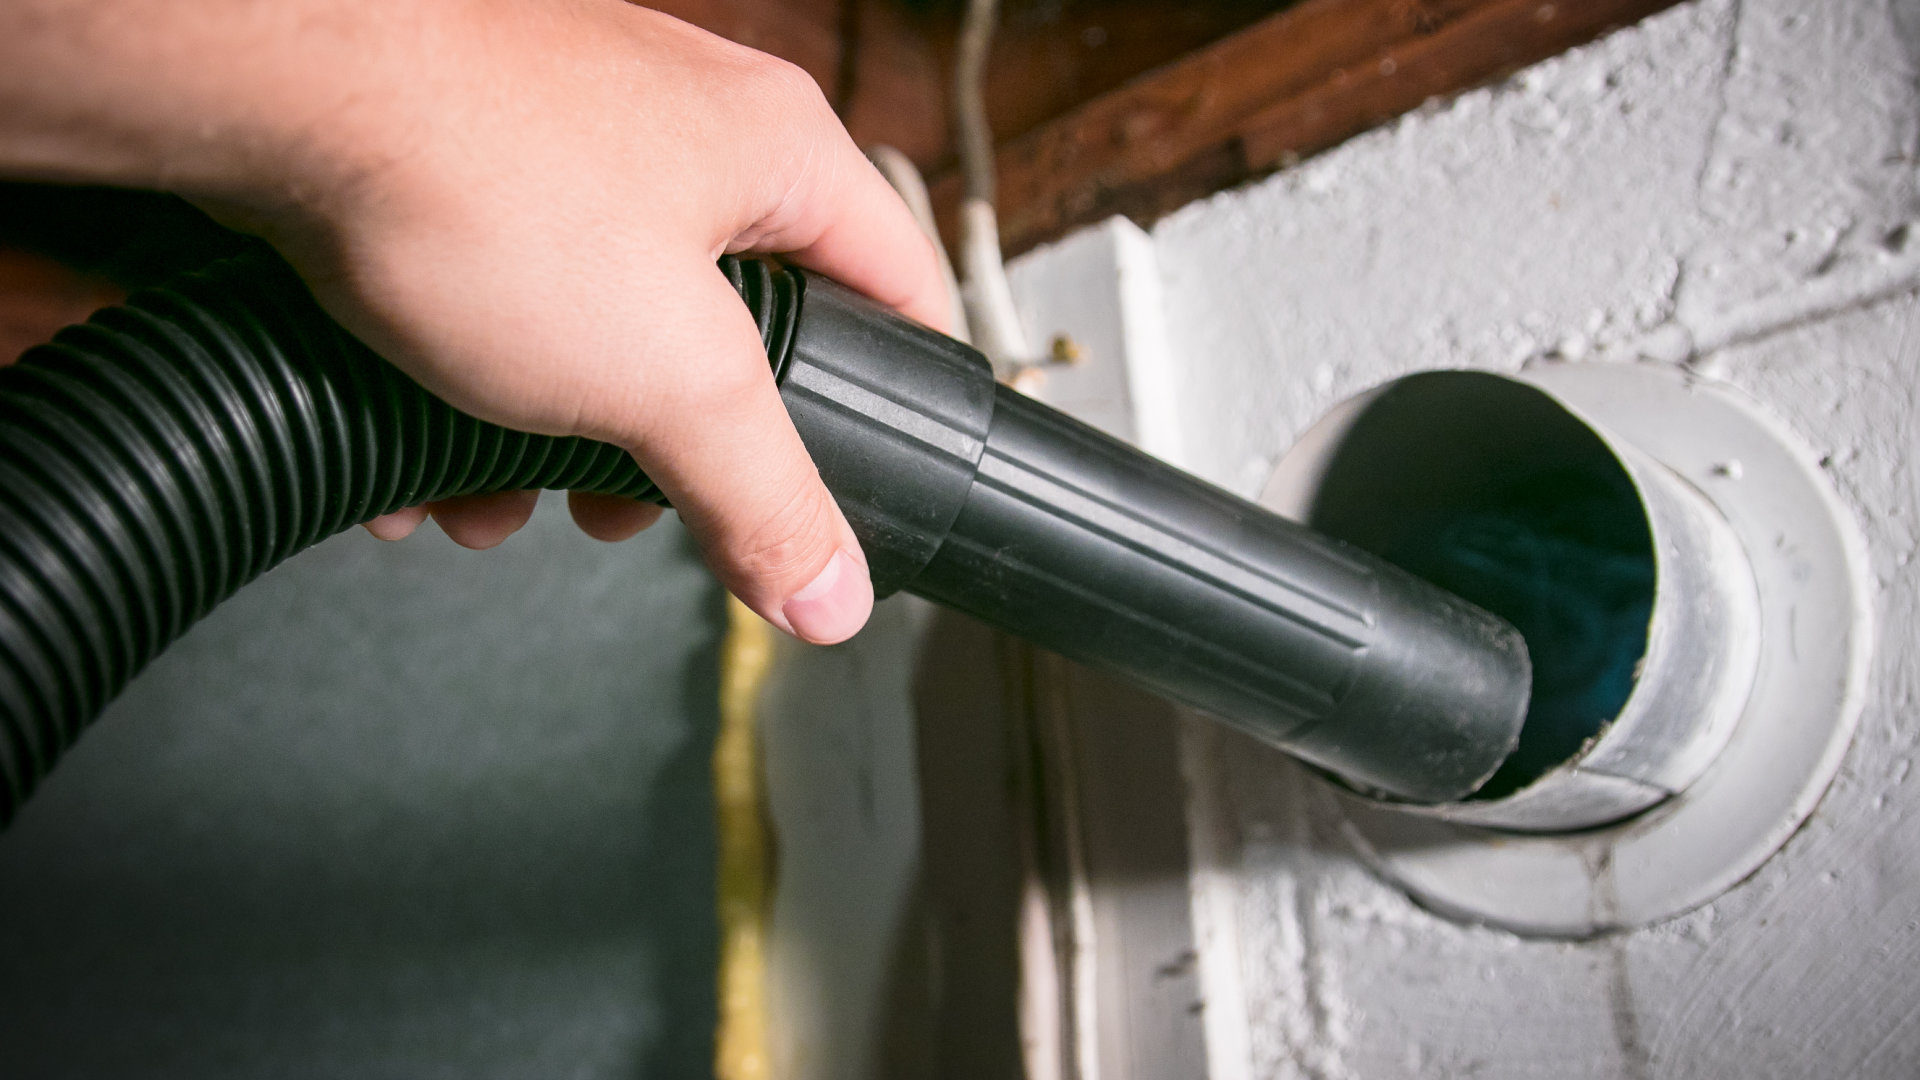
Step 4: Connecting the Leaf Blower
With the lint trap cleared, it’s time to connect the leaf blower to the dryer vent. This step will allow the leaf blower to blow the accumulated lint and debris out of the vent. Follow these steps to connect the leaf blower:
- Position the leaf blower: Place the leaf blower near the opening of the dryer vent. Make sure it is secure and stable, as it will generate a significant amount of airflow during the cleaning process.
- Attach the leaf blower hose: If your leaf blower has a detachable hose, securely attach it to the blower’s outlet. Ensure that the hose is long enough to reach the dryer vent and that it fits securely to avoid any air leakage.
- Create a seal: To ensure maximum airflow, create a seal between the leaf blower hose and the dryer vent opening. You can use duct tape or a cloth/rag to tightly secure the connection. This will prevent air from escaping and force the air to flow through the vent.
- Double-check the connection: Once the leaf blower is connected, take a moment to verify that the connection is secure and there are no leaks. You want to ensure that all the air from the leaf blower is directed into the dryer vent.
- Position the leaf blower on a low setting: Ensure that the leaf blower is set on a low or medium-low setting. Running the blower on high power can cause damage to the dryer vent or dislodge any fragile components inside the dryer. Start with a lower setting and gradually increase if necessary.
Now that the leaf blower is securely connected to the dryer vent, we can move on to the next step: clearing the dryer vent. We’ll guide you through this process in the following section.
Make sure to disconnect the dryer from the power source before using a leaf blower to clean the vent. Then, use the leaf blower to blow out any lint and debris from the vent, starting from the outside and working your way in. Be sure to wear eye protection and a dust mask for safety.
Step 5: Clearing the Dryer Vent
Now that the leaf blower is connected, it’s time to clear the dryer vent of lint and debris. Follow these steps to effectively clean the dryer vent:
- Turn on the leaf blower: Start by turning on the leaf blower at the lowest setting. This will create a steady and controlled airflow through the dryer vent.
- Insert the leaf blower hose into the dryer vent: Carefully insert the leaf blower hose into the dryer vent opening. Push it in as far as possible without forcing it. The goal is to blow out any accumulated lint and debris, making the vent clear and free-flowing.
- Blow out the lint and debris: With the leaf blower turned on and the hose inserted into the vent, allow the blower to run for several minutes. The airflow generated by the blower will dislodge and blow out the lint and debris that have accumulated in the vent.
- Move the leaf blower along the vent: As the lint and debris are being blown out, gradually move the leaf blower along the length of the dryer vent. This allows the airflow to reach and clean all sections of the vent thoroughly.
- Continue until the vent is clear: Repeat the process of blowing out the lint and debris and moving the leaf blower along the vent until you no longer see any visible lint coming out of the vent. This indicates that the vent is clear of obstructions.
- Be mindful of the leaf blower’s power: While the leaf blower is a powerful tool, it’s important to exercise caution and not insert the hose too forcefully or too deeply into the vent. Doing so can damage the vent or dislodge any delicate components inside the dryer.
- Do a final visual inspection: Once you’ve cleared the vent, visually inspect the vent opening and the hose to ensure that no lint or debris remains. If you notice any lingering blockages, blow them out again until the vent is completely clear.
Now that the dryer vent is clear, it’s time to proceed to the next step: reconnecting the dryer. We’ll guide you through this process in the following section.
Step 6: Reconnecting the Dryer
With the dryer vent cleaned, it’s time to reconnect the dryer and secure everything back into place. Follow these steps to successfully reconnect the dryer:
- Turn off the leaf blower: Start by turning off the leaf blower and disconnecting it from the dryer vent. This will ensure your safety and prevent any accidental operations while reconnecting the dryer.
- Position the dryer vent: Carefully position the dryer vent near the back of the dryer, aligning it with the dryer’s exhaust port. It should fit snugly and securely without any gaps or obstructions.
- Reattach the dryer vent clamp: Using a screwdriver, reattach the dryer vent clamp to secure the vent in place. Ensure that the clamp is tightened enough to prevent any air leakage but not so tight that it damages the vent or dryer.
- Push the dryer back into place: Slowly and carefully push the dryer back towards the wall, making sure the vent is properly aligned and not being pinched or kinked. Use caution to avoid damaging any electrical or gas connections.
- Reconnect the gas supply (if applicable): If your dryer runs on gas, turn on the gas supply valve that you had previously turned off. Make sure to follow the appropriate safety procedures for reconnecting the gas supply, or consult a professional if you’re unsure.
- Plug in the dryer: Finally, plug the dryer back into the electrical outlet, ensuring a secure connection. Make sure the outlet is functioning correctly and not overloaded with other appliances.
- Double-check the connections: Once everything is reconnected, take a moment to double-check all the connections, including the vent, gas supply (if applicable), and electrical plug. Confirm that they are secure and in proper working order.
With the dryer successfully reconnected, we’re ready for the next step: conducting final checks and testing. Let’s move on to the following section to complete the cleaning process.
Read more: How To Clean Leaf Blower Fuel Filter
Step 7: Final Checks and Testing
After reconnecting the dryer, it’s important to conduct some final checks and perform a test run to ensure everything is working properly. Follow these steps to complete the cleaning process:
- Inspect the vent and connections: Take a moment to visually inspect the dryer vent, ensuring that it is securely connected and there are no leaks or gaps. Double-check all the connections, including the vent clamp, gas supply (if applicable), and electrical plug.
- Clear any remaining lint: Use a soft brush or cloth to remove any lingering lint or debris that may have been displaced during the cleaning process. Pay attention to areas around the vent opening or the back of the dryer where lint may collect.
- Run a test cycle: Before loading any clothes, run a test cycle on your dryer to ensure it is functioning properly. Start with a short, low-heat cycle to check for any unusual noises or vibrations. Monitor the dryer for any signs of overheating or irregularities.
- Check the airflow: During the test cycle, pay close attention to the airflow coming out of the vent. It should be strong and consistent throughout the entire cycle. Any weak airflow or blockage may indicate a potential issue that needs further investigation.
- Monitor drying time: As the dryer runs, monitor the drying time for your clothes. If they are drying faster than before or if you notice improved efficiency, it is a sign that the cleaned vent is allowing for better airflow and drying performance.
- Repeat the process if necessary: If you notice any lingering issues with airflow, drying time, or unusual performance, it may indicate that your dryer vent requires further cleaning. In such cases, repeat the cleaning process or consider consulting a professional for further assistance.
By performing these final checks and conducting a test run, you can ensure that your dryer is operating efficiently and safely after cleaning the vent. Regularly monitoring and maintaining your dryer vent will help prevent future issues and extend the lifespan of your dryer.
Congratulations! You have successfully completed the process of cleaning your dryer vent with a leaf blower. By following these steps and performing regular maintenance, you are promoting optimal performance, reducing the risk of lint fires, and enhancing the energy efficiency of your dryer.
Stay diligent and make a point to clean your dryer vent at least once a year, or more frequently if needed. Remember, a clean dryer vent not only prolongs the life of your dryer but also provides peace of mind knowing that you’ve taken essential steps to protect your home and loved ones from potential hazards.
Stay safe and enjoy the benefits of a well-maintained dryer!
Safety Precautions
While cleaning your dryer vent is important, it’s crucial to prioritize safety throughout the process. Here are some key safety precautions to keep in mind:
- Turn off the dryer: Always ensure that the dryer is turned off and unplugged before starting any cleaning or maintenance tasks. This will prevent accidental operations and potential electrical hazards.
- Handle the dryer vent with care: When removing or reattaching the dryer vent, exercise caution to avoid bending or damaging the vent. A damaged vent can cause airflow restriction and compromise the performance of your dryer.
- Use proper protective gear: Wear gloves, safety goggles, and a face mask to protect yourself from sharp debris, dust, or cleaning solutions that may be encountered during the cleaning process.
- Ensure proper ventilation: When using a leaf blower, make sure the area where you’re working is well-ventilated to prevent the buildup of fumes or exhaust from the blower. Consider opening windows or doors to allow fresh air to circulate.
- Be cautious of loose clothing and jewelry: Avoid wearing loose clothing or jewelry that could get entangled in the leaf blower or other equipment. Tuck in loose clothing and remove any jewelry before starting the cleaning process.
- Secure the leaf blower: When using the leaf blower, ensure it is securely positioned and stable to prevent accidental tipping or movement. Pay attention to the leaf blower’s power and avoid pointing it directly at yourself or others.
- Avoid overextending: When cleaning the dryer vent, be mindful of your physical limitations and avoid overreaching or standing on unstable surfaces. Use proper equipment, such as a brush or brush attachment, to clean hard-to-reach areas safely.
- Monitor the dryer during the cleaning process: While the leaf blower is running, keep an eye on the dryer and the immediate surroundings. Look out for any abnormal noises, vibrations, or signs of overheating. If you notice anything unusual, immediately turn off the leaf blower and investigate the issue.
- Know when to seek professional help: If you encounter any difficulties or if your dryer vent is located in hard-to-reach areas, it’s best to seek professional assistance. Trained technicians have the expertise and tools to safely and effectively clean and maintain your dryer vent.
Remember, your safety should always come first. If you ever feel uncertain or uncomfortable during the cleaning process, do not hesitate to stop and seek professional help.
By following these safety precautions, you can ensure a safe and successful dryer vent cleaning experience.
Now that you have a thorough understanding of the safety measures involved, you’re ready to embark on the task of cleaning your dryer vent and enjoy the benefits of a well-maintained and efficient dryer!
Tips and Recommendations
As you embark on cleaning your dryer vent, here are some helpful tips and recommendations to ensure a smoother and more effective process:
- Establish a regular cleaning schedule: Make it a habit to clean your dryer vent at least once a year, or more frequently if you notice any signs of reduced performance. Regular maintenance will help prevent lint buildup and keep your dryer running efficiently.
- Consider using a leaf blower extension: If your dryer vent is located high up or in a difficult-to-reach area, a leaf blower extension can be a valuable tool. It allows you to connect the leaf blower to long extensions, ensuring effective cleaning even in challenging situations.
- Inspect the vent cover: Take a moment to inspect the vent cover on the exterior of your home. Ensure that it is free from any debris or obstruction. If you notice any issues, such as a damaged or missing cover, consider replacing it to prevent pests or weather elements from entering the vent.
- Use caution with gas dryers: If your dryer runs on gas, be extra cautious when disconnecting and reconnecting the dryer. Follow the manufacturer’s instructions and consult a professional if you’re unsure about handling the gas supply.
- Keep the surrounding area clean: Regularly clean the area around your dryer and the exhaust vent on the exterior of your home. This will prevent dust, lint, and debris from accumulating and obstructing the airflow.
- Consider professional services if needed: If you encounter any difficulties during the cleaning process or if your dryer vent is located in a complex or inaccessible area, it’s best to seek professional services. Trained technicians have the expertise and specialized tools to handle challenging situations.
- Stay aware of signs of a clogged dryer vent: Be mindful of signs that indicate a clogged dryer vent, such as longer drying times, overheating dryer, musty odor, or excessive lint around the dryer. Addressing these issues promptly will help prevent costly repairs or potential fire hazards.
- Educate household members: Inform your household members about the importance of maintaining a clean dryer vent and explain the potential risks associated with neglecting this task. Encourage them to regularly clean the lint trap and report any issues with the dryer’s performance.
- Consider professional inspections: In addition to regular cleaning, it’s beneficial to have your dryer vent professionally inspected every few years. Professionals can identify any underlying issues or potential hazards that may be difficult to detect on your own.
Following these tips and recommendations will help you ensure the longevity and efficiency of your dryer, reduce the risk of fire, and provide peace of mind knowing you’re taking steps to protect your home and loved ones.
Now that you’re equipped with these valuable insights, you’re ready to tackle the task of cleaning your dryer vent with confidence!
Conclusion
Congratulations on completing the comprehensive guide on how to clean your dryer vent with a leaf blower! By following the steps outlined in this article, you have taken an important step towards maintaining the efficiency, safety, and longevity of your dryer.
Cleaning your dryer vent is a critical maintenance task that should not be overlooked. By regularly removing lint and debris from the vent, you can prevent potential fire hazards, improve the drying performance of your dryer, and extend its lifespan.
Throughout the cleaning process, we emphasized the importance of safety precautions. Always prioritize your safety by turning off the dryer, wearing proper protective gear, and ensuring proper ventilation when using a leaf blower. If you ever feel unsure or uncomfortable during the process, do not hesitate to seek professional assistance.
In addition to the step-by-step instructions, we provided valuable tips and recommendations to enhance your cleaning experience. Establishing a regular cleaning schedule, keeping the surrounding area clean, and inspecting the vent cover are just a few of the helpful suggestions to maintain a well-functioning dryer vent system.
Remember that cleaning your dryer vent is an ongoing task. Make it a part of your regular home maintenance routine to ensure the optimal performance and safety of your dryer.
Thank you for taking the time to read this guide. By investing a little effort into maintaining your dryer vent, you can enjoy the benefits of reduced drying time, improved energy efficiency, and most importantly, a safer home for you and your family.
Stay committed to dryer vent maintenance, follow the recommended practices, and enjoy the peace of mind that comes with a clean and efficient dryer vent!
Frequently Asked Questions about How To Clean Dryer Vent With A Leaf Blower
Was this page helpful?
At Storables.com, we guarantee accurate and reliable information. Our content, validated by Expert Board Contributors, is crafted following stringent Editorial Policies. We're committed to providing you with well-researched, expert-backed insights for all your informational needs.