Articles
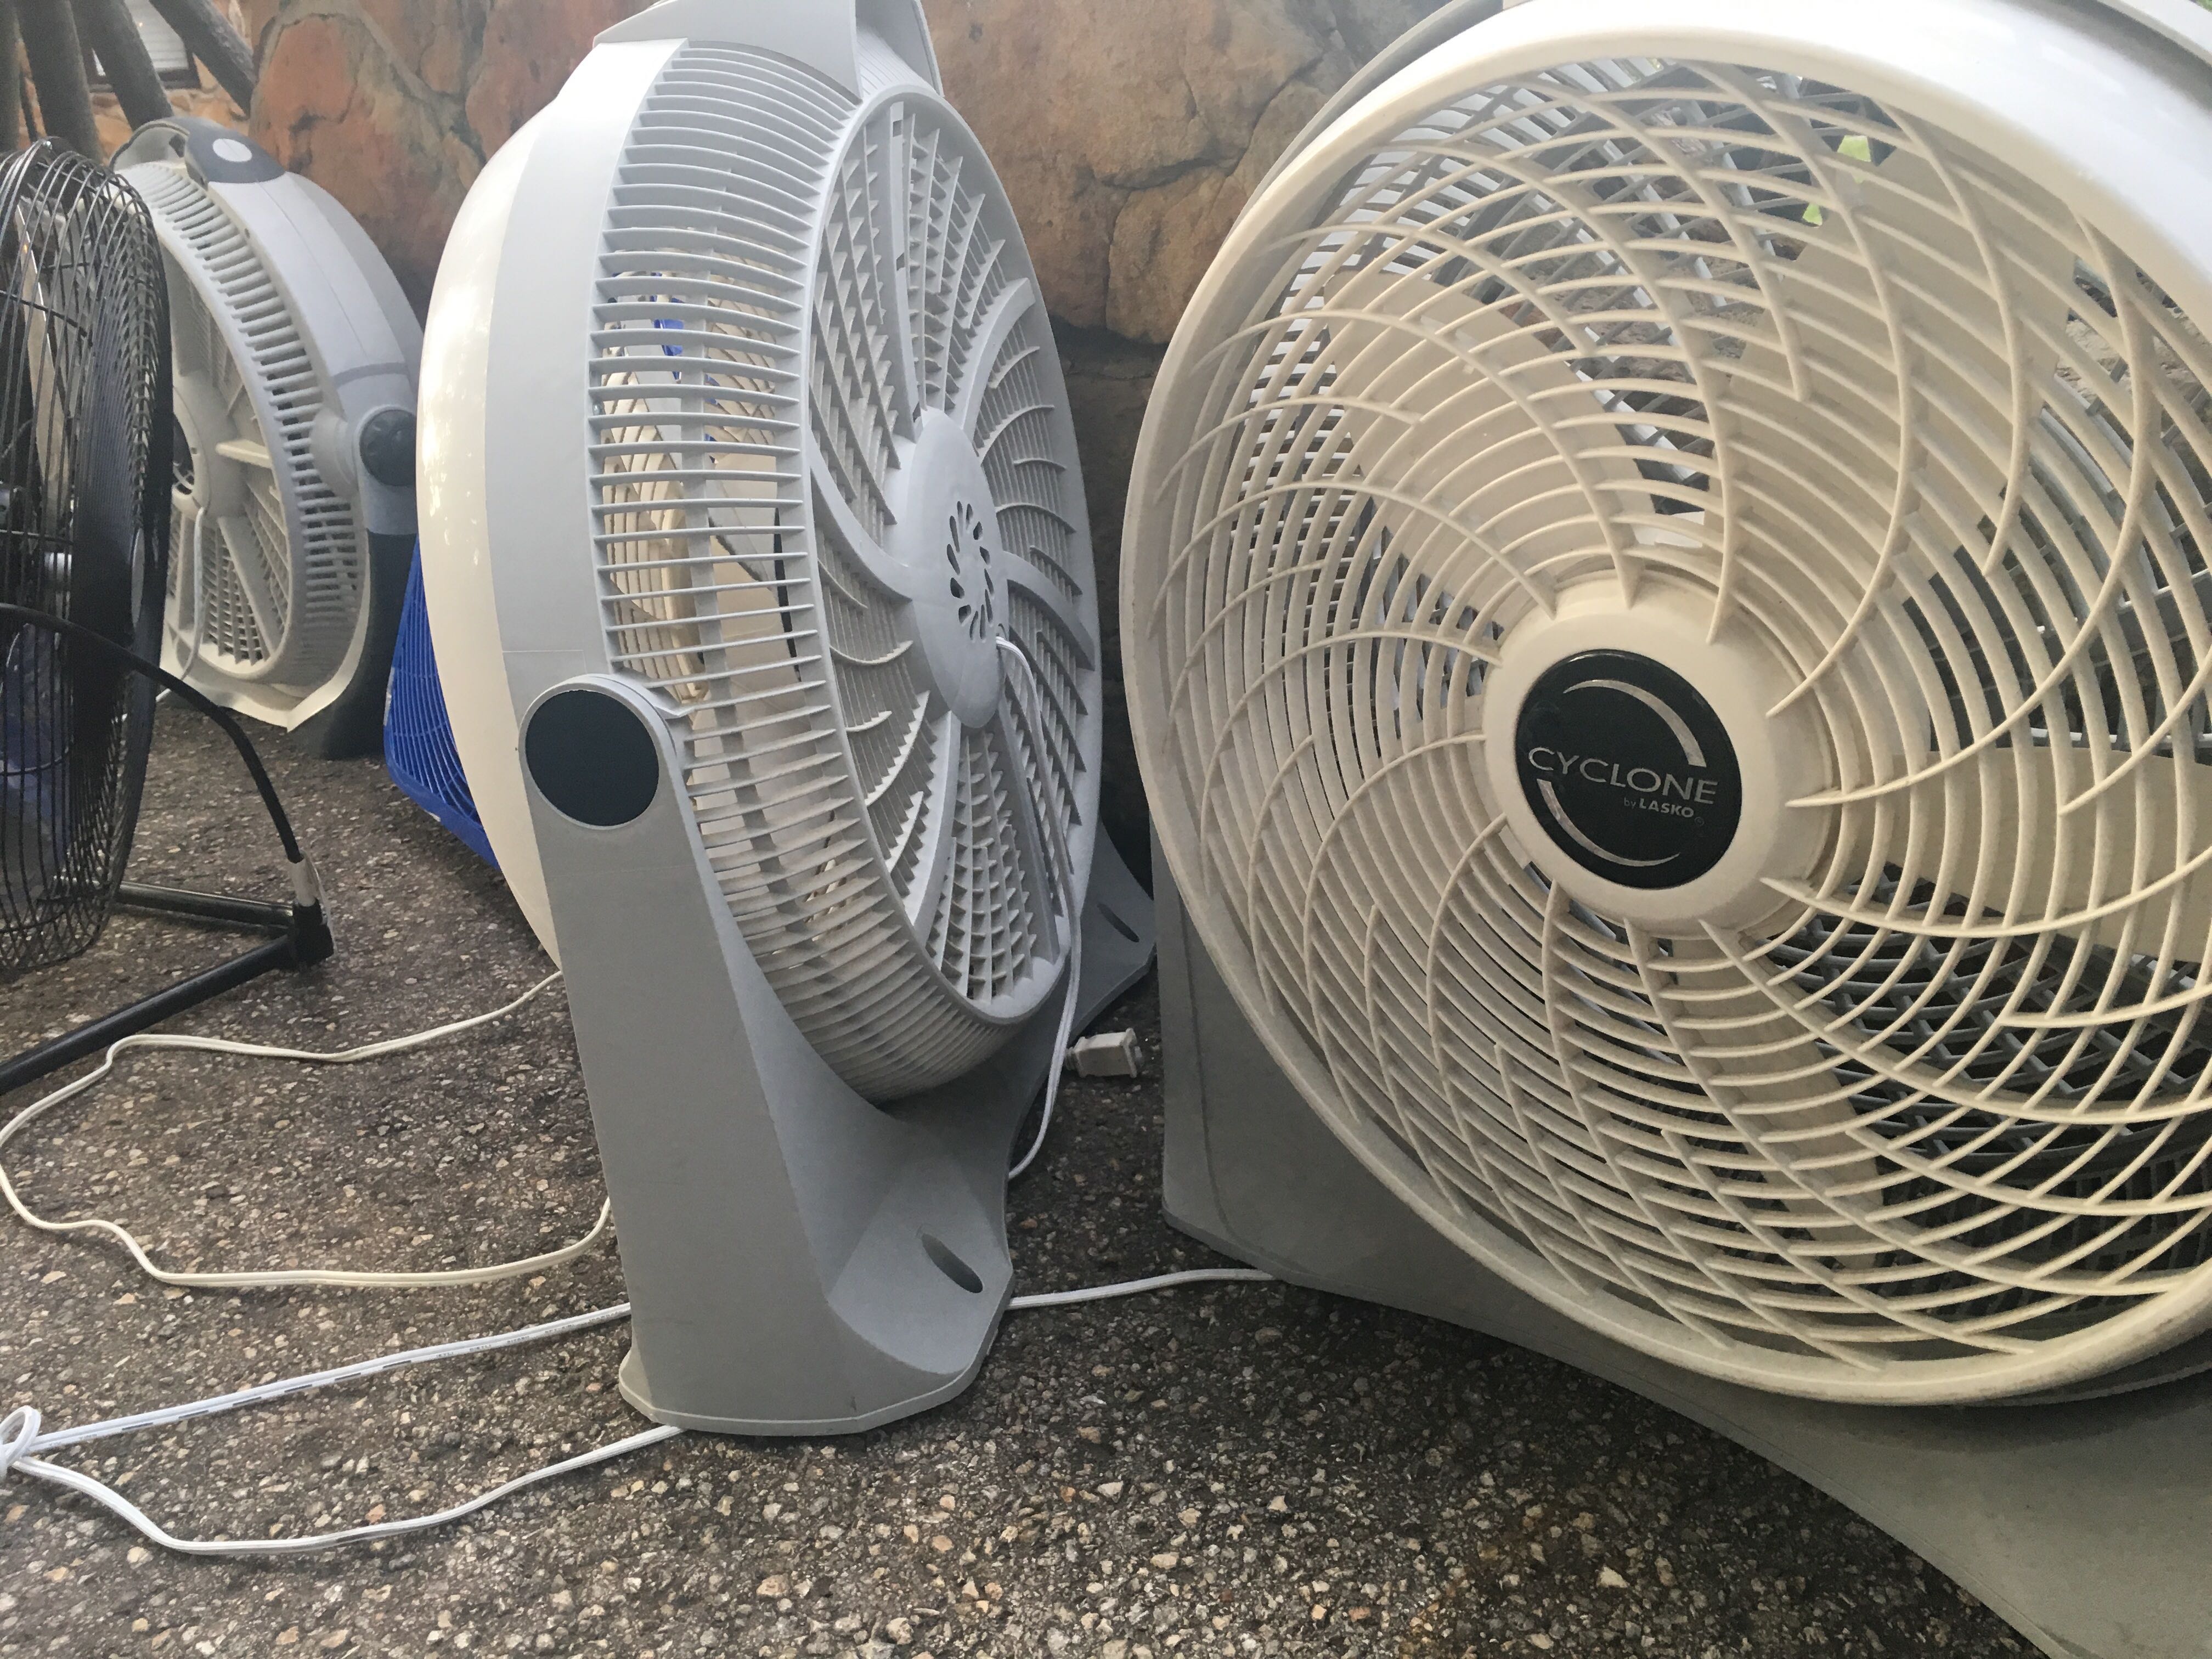
How To Clean A Lasko Cyclone Fan
Modified: October 19, 2024
Learn how to clean your Lasko Cyclone Fan with our informative articles. Keep your fan running smoothly and efficiently.
(Many of the links in this article redirect to a specific reviewed product. Your purchase of these products through affiliate links helps to generate commission for Storables.com, at no extra cost. Learn more)
Introduction
Welcome to the ultimate guide on how to clean a Lasko Cyclone Fan! If you’re a fan of Lasko Cyclone Fans, you know that they are not only effective at keeping you cool, but they can also accumulate dust and dirt over time. Regular cleaning is crucial to maintain the performance and longevity of your fan. In this article, we will provide you with a step-by-step guide on how to clean your Lasko Cyclone Fan effectively.
Before we dive into the cleaning process, it’s important to mention a few safety precautions. Always remember to unplug the fan before starting the cleaning process to avoid any electrical hazards. Additionally, make sure to read the manufacturer’s instructions for specific cleaning guidelines for your Lasko Cyclone Fan model.
Now, let’s gather the necessary materials to ensure a thorough cleaning of your Lasko Cyclone Fan.
Key Takeaways:
- Keep your Lasko Cyclone Fan clean and efficient by following safety precautions, gathering necessary materials, and thoroughly cleaning the fan blades and body. Regular maintenance ensures optimal performance and a refreshing airflow.
- Unplug, disassemble, clean, reassemble, and test your Lasko Cyclone Fan for a safe and successful cleaning process. Enjoy a cool and refreshing breeze with a well-maintained fan.
Read more: How To Clean Lasko Blower Fan
Safety Precautions
Before you begin cleaning your Lasko Cyclone Fan, it’s essential to follow a few safety precautions to ensure your well-being. Here are some important steps to keep in mind:
- First and foremost, make sure to unplug the fan from the power source. This will eliminate the risk of electric shock while cleaning.
- Ensure that the fan is completely turned off and has come to a complete stop before beginning the cleaning process.
- Take care when handling the fan blades as they can be sharp. Use caution to avoid accidental cuts or injuries.
- If the fan has been in use, allow it to cool down before attempting to clean it. Hot surfaces can cause burns.
- Always read the manufacturer’s instructions for your specific Lasko Cyclone Fan model to understand any additional safety guidelines or warnings.
- Keep cleaning products and liquids away from the motor and electrical components of the fan to prevent damage.
- If you are unsure about any steps or if the fan requires repairs, it’s best to consult a professional technician or contact the manufacturer for assistance.
By following these safety precautions, you can ensure a safe and successful cleaning process for your Lasko Cyclone Fan. Now, let’s move on to gathering the necessary materials for cleaning.
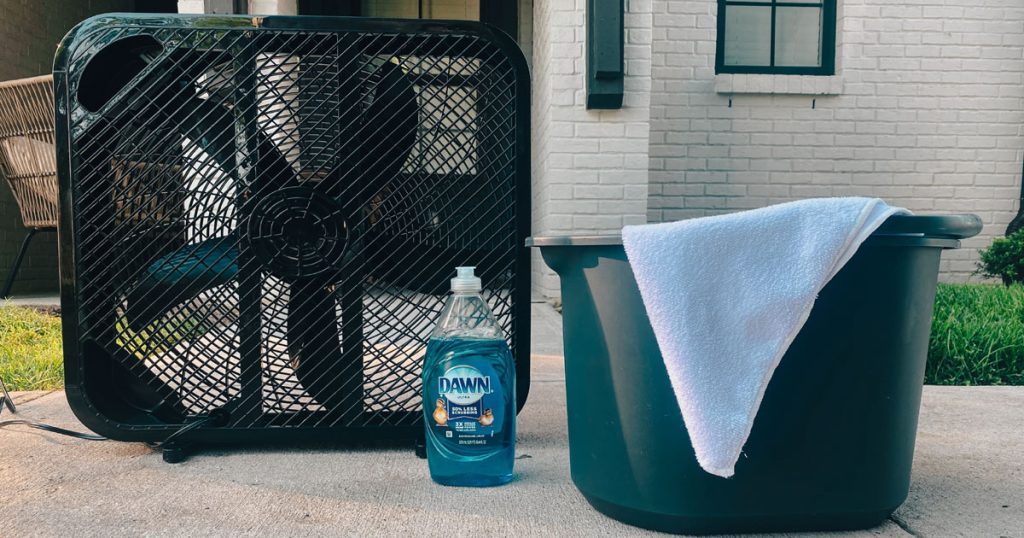
Gathering Necessary Materials
Before you embark on cleaning your Lasko Cyclone Fan, it’s important to gather all the necessary materials. Having these materials readily available will make the cleaning process more efficient and effective. Here’s a list of items you’ll need:
- Mild detergent or liquid soap
- Warm water
- Soft-bristled brush or toothbrush
- Cloth or sponge
- Cotton swabs
- Vacuum cleaner with brush attachment
- Microfiber cloth or dusting cloth
- Screwdriver (if required for fan disassembly)
- Bucket or basin
By having these materials at your disposal, you’ll be well-equipped to clean your Lasko Cyclone Fan thoroughly. Once you have gathered all the necessary materials, you can proceed with the next steps, which involve unplugging the fan and disassembling it for a more thorough cleaning.
Unplugging the Fan
Before you begin cleaning your Lasko Cyclone Fan, it’s crucial to unplug it from the power source. This step is essential to ensure your safety during the cleaning process. Here’s a step-by-step guide on how to properly unplug your fan:
- Locate the power cord of your Lasko Cyclone Fan.
- Carefully grasp the plug and gently pull it out of the electrical outlet.
- Ensure that the fan is completely disconnected from the power source.
- Double-check that the fan has come to a complete stop and that there are no electrical currents running through it.
Unplugging the fan before cleaning is crucial to prevent any accidents or electrical hazards. Once you have successfully unplugged the fan, you can proceed with disassembling it to access the different parts for a thorough cleaning.
Disassembling the Fan
Disassembling your Lasko Cyclone Fan is an important step in the cleaning process as it allows you to access all the different parts that require cleaning. Here’s a step-by-step guide on how to disassemble your fan:
- Start by examining your fan to identify any screws or clips holding it together.
- Use a screwdriver or your fingers to remove the screws or release any clips that hold the fan housing together.
- Once the housing is loose, carefully separate it into two parts, revealing the fan blades and motor.
- Depending on your fan model, you may need to remove additional screws or clips to fully separate the fan blades from the motor.
- Take note of the order in which you remove the parts, as this will help during reassembly.
It’s essential to approach the disassembly process with caution and care. Make sure not to force any parts or twist the fan blades excessively. If you encounter any difficulties during disassembly, refer to the manufacturer’s instructions for your specific Lasko Cyclone Fan model.
Once you have successfully disassembled your fan, you can proceed to the next steps, which involve cleaning the fan blades and the fan body.
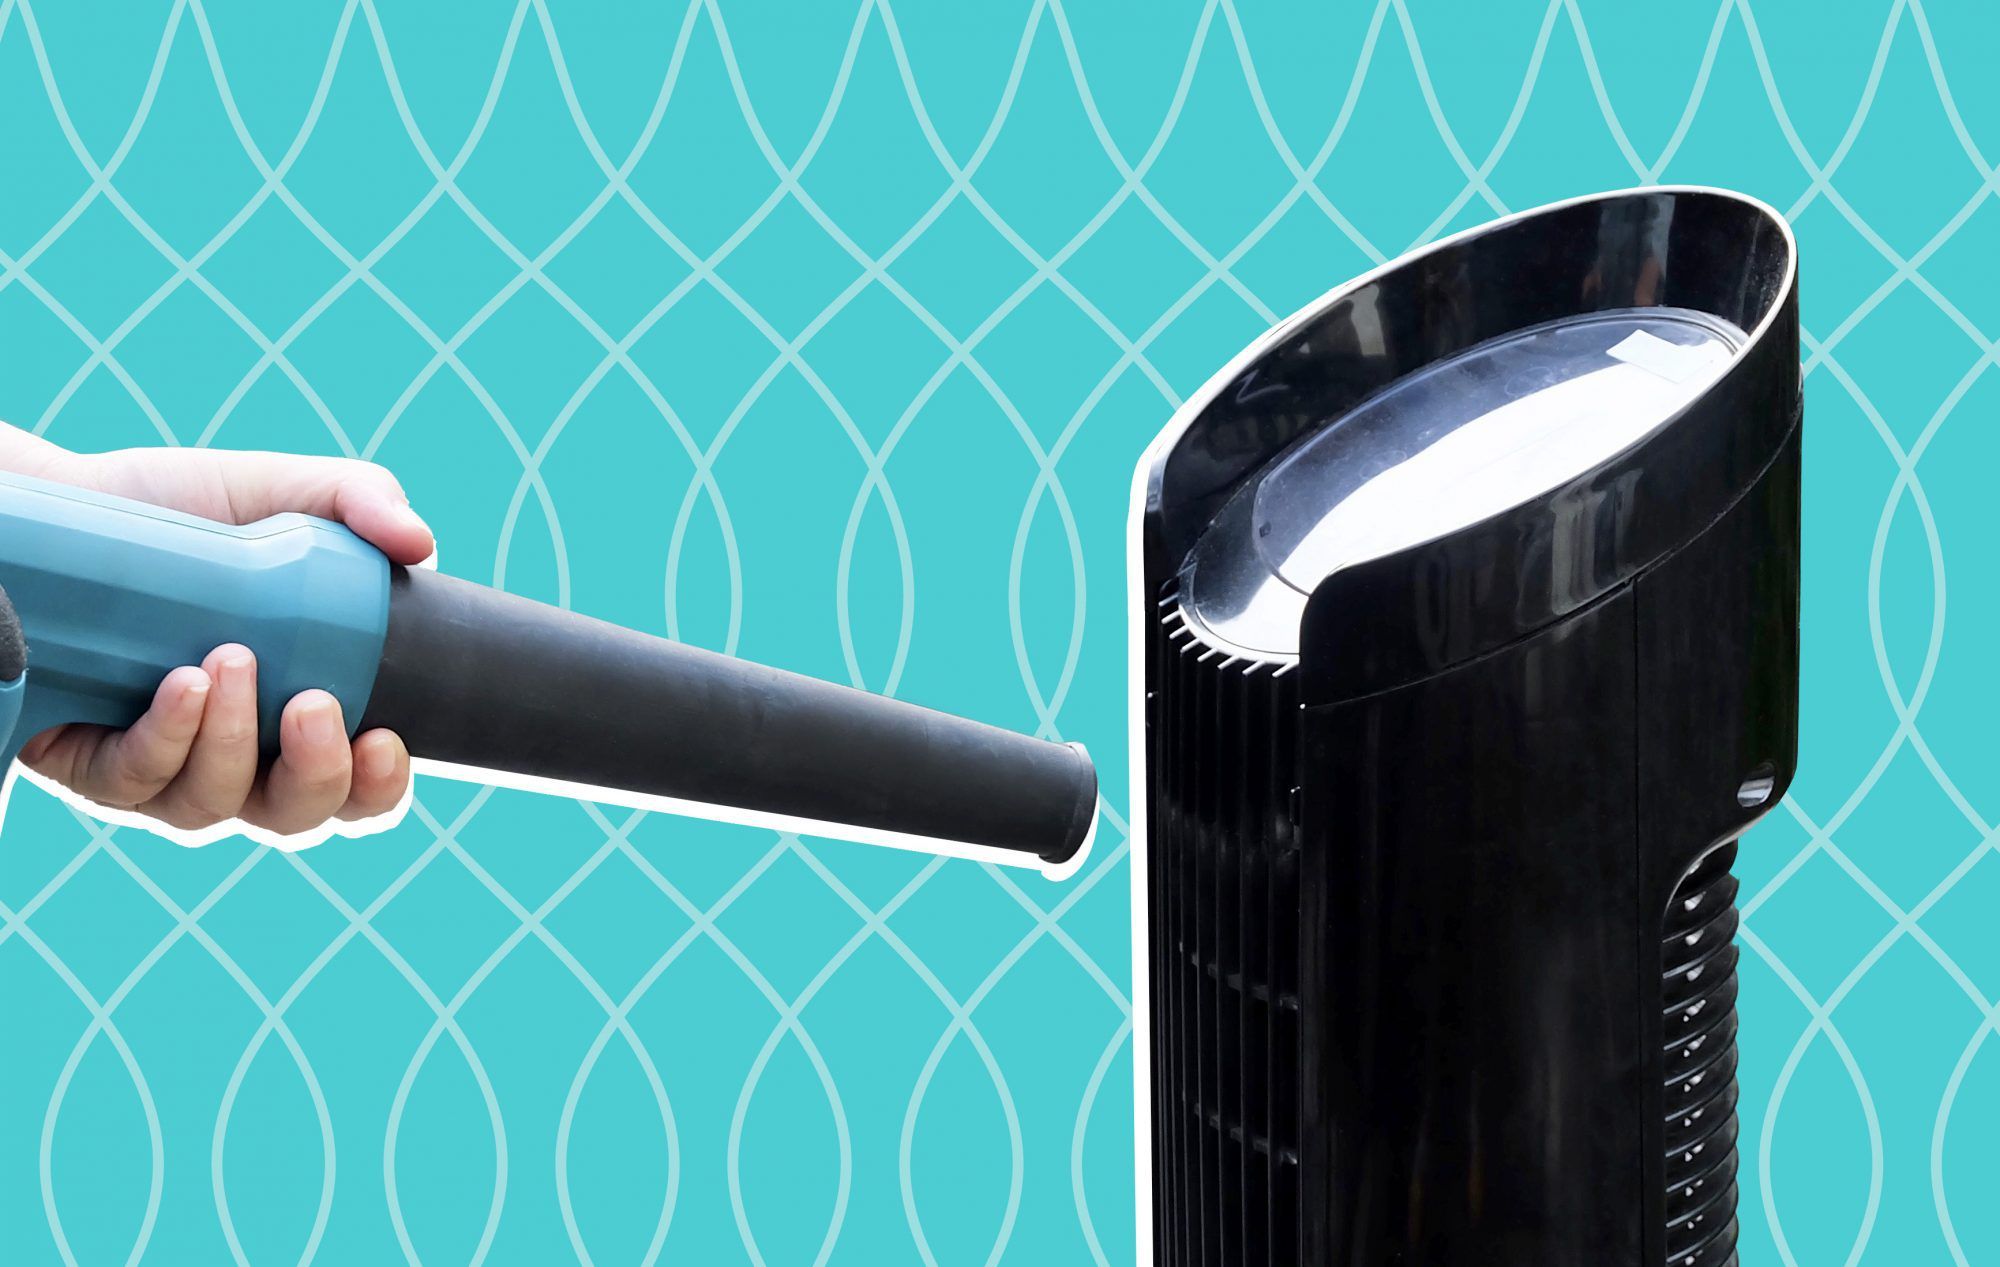
To clean a Lasko Cyclone fan, start by unplugging it and removing the front grill. Use a vacuum with a brush attachment to remove dust and debris from the blades and grill. Wipe down the grill with a damp cloth and allow it to dry completely before reassembling the fan.
Read more: How To Clean A Lasko Tower Fan
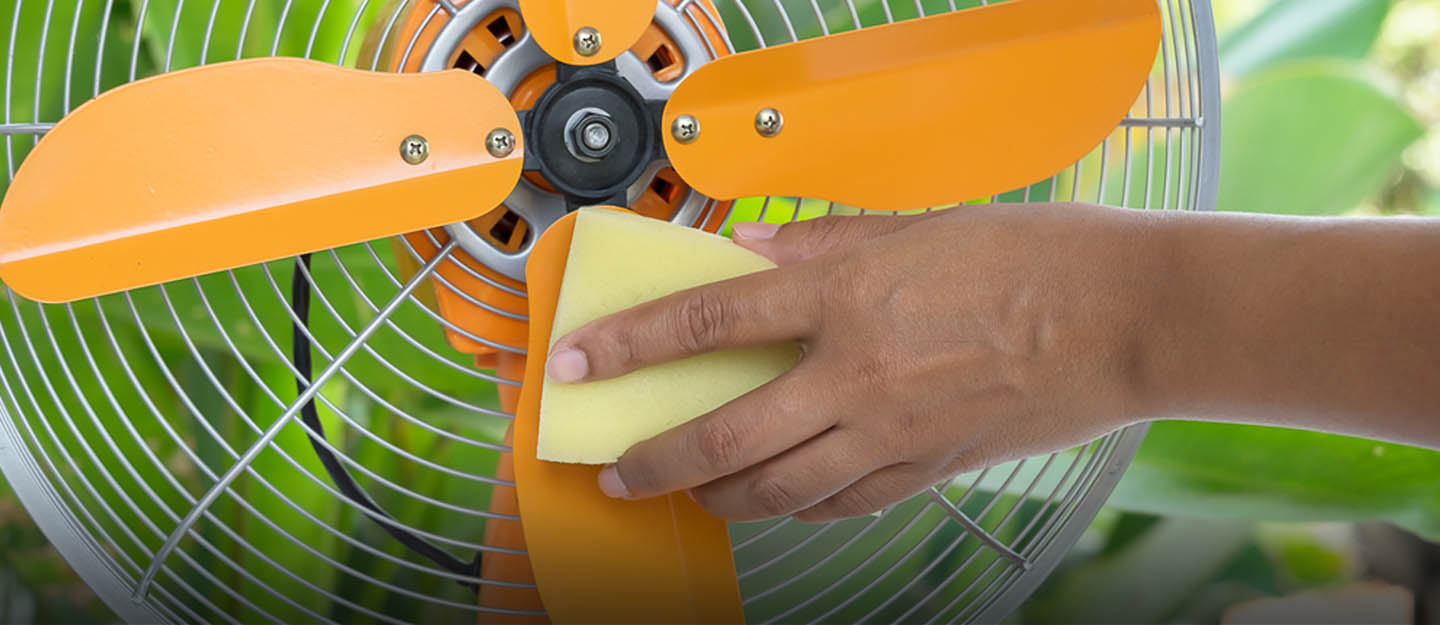
Cleaning the Fan Blades
Cleaning the fan blades of your Lasko Cyclone Fan is essential to remove accumulated dust and dirt, ensuring optimal performance and air circulation. Here’s a step-by-step guide on how to clean the fan blades:
- Fill a bucket or basin with warm water and add a small amount of mild detergent or liquid soap.
- Dampen a soft-bristled brush or toothbrush in the soapy water.
- Gently brush the fan blades, starting from the center and moving towards the edges.
- Pay close attention to the edges and crevices where dust tends to accumulate.
- If the fan blades are particularly dirty, you can also use a damp cloth or sponge to wipe them down.
- For stubborn dirt or grime, use cotton swabs dipped in the soapy water to remove it carefully.
- Once you have cleaned the fan blades, rinse them with clean water to remove any soap residue.
- Allow the fan blades to air dry completely before reassembling the fan.
Remember to use gentle and careful strokes when cleaning the fan blades to prevent any damage. Avoid using excessive force or harsh chemicals that may cause discoloration or deterioration of the blades. Taking the time to clean the fan blades thoroughly will ensure that your Lasko Cyclone Fan operates at its optimal performance and keeps the air in your space fresh and clean.
After cleaning the fan blades, it’s time to move on to cleaning the fan body.
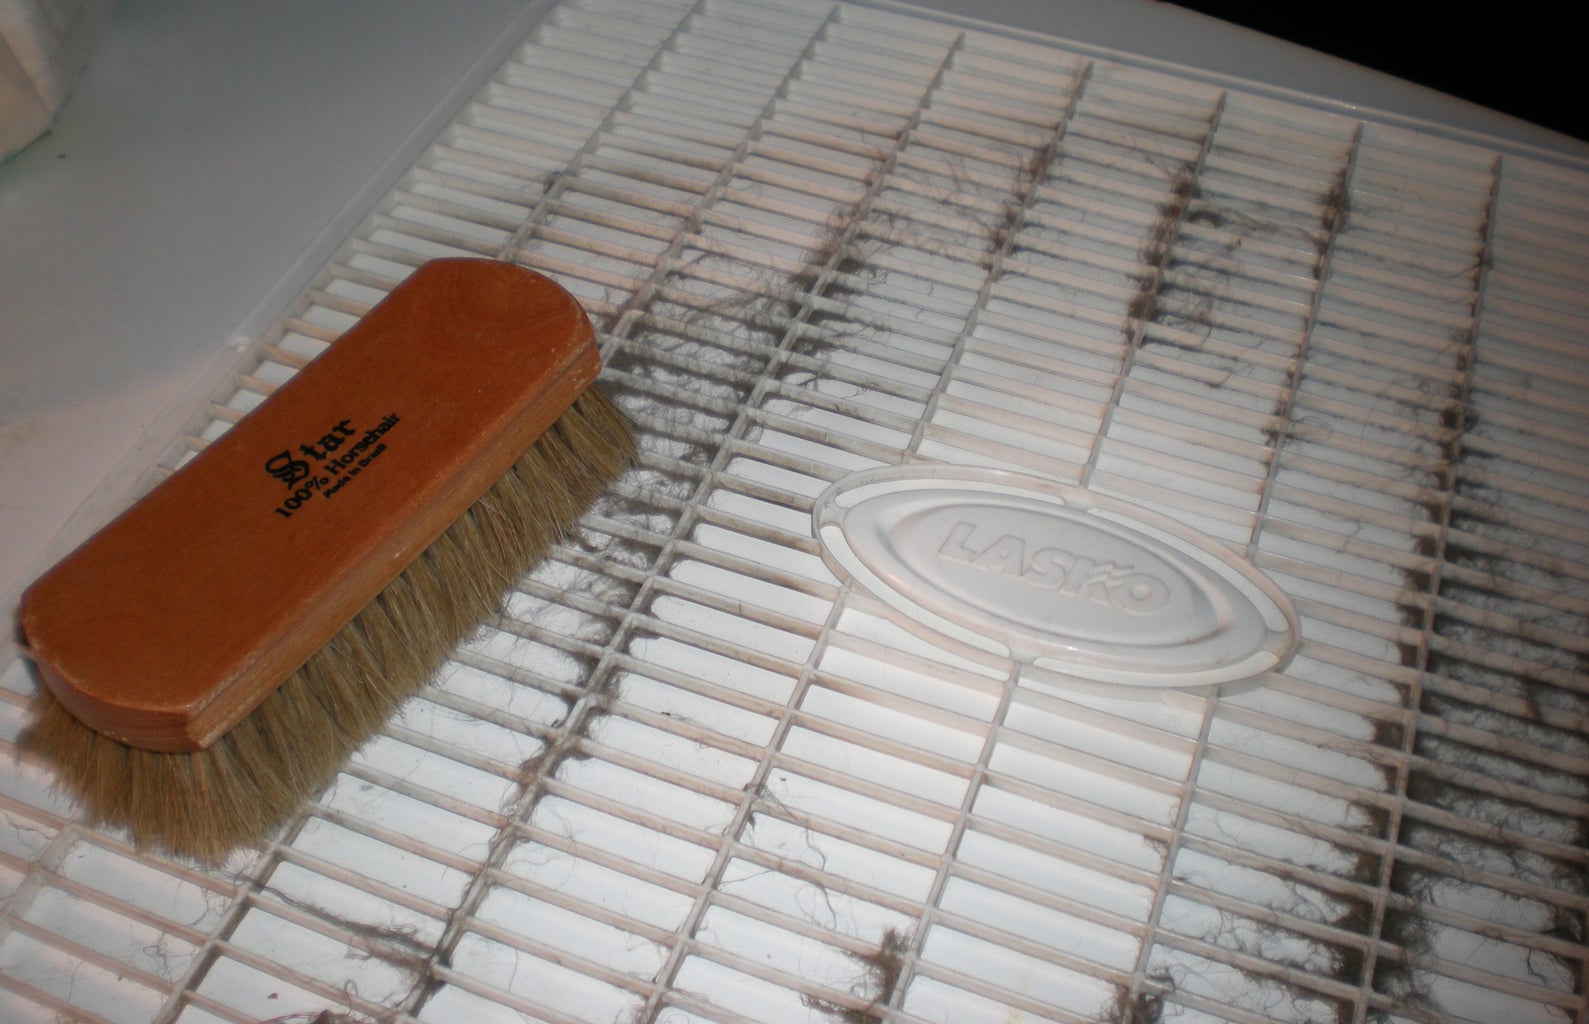
Cleaning the Fan Body
In addition to cleaning the fan blades, it is equally important to clean the fan body of your Lasko Cyclone Fan. Dust and dirt can accumulate on the outer surface of the fan and affect its overall appearance. Follow these steps to effectively clean the fan body:
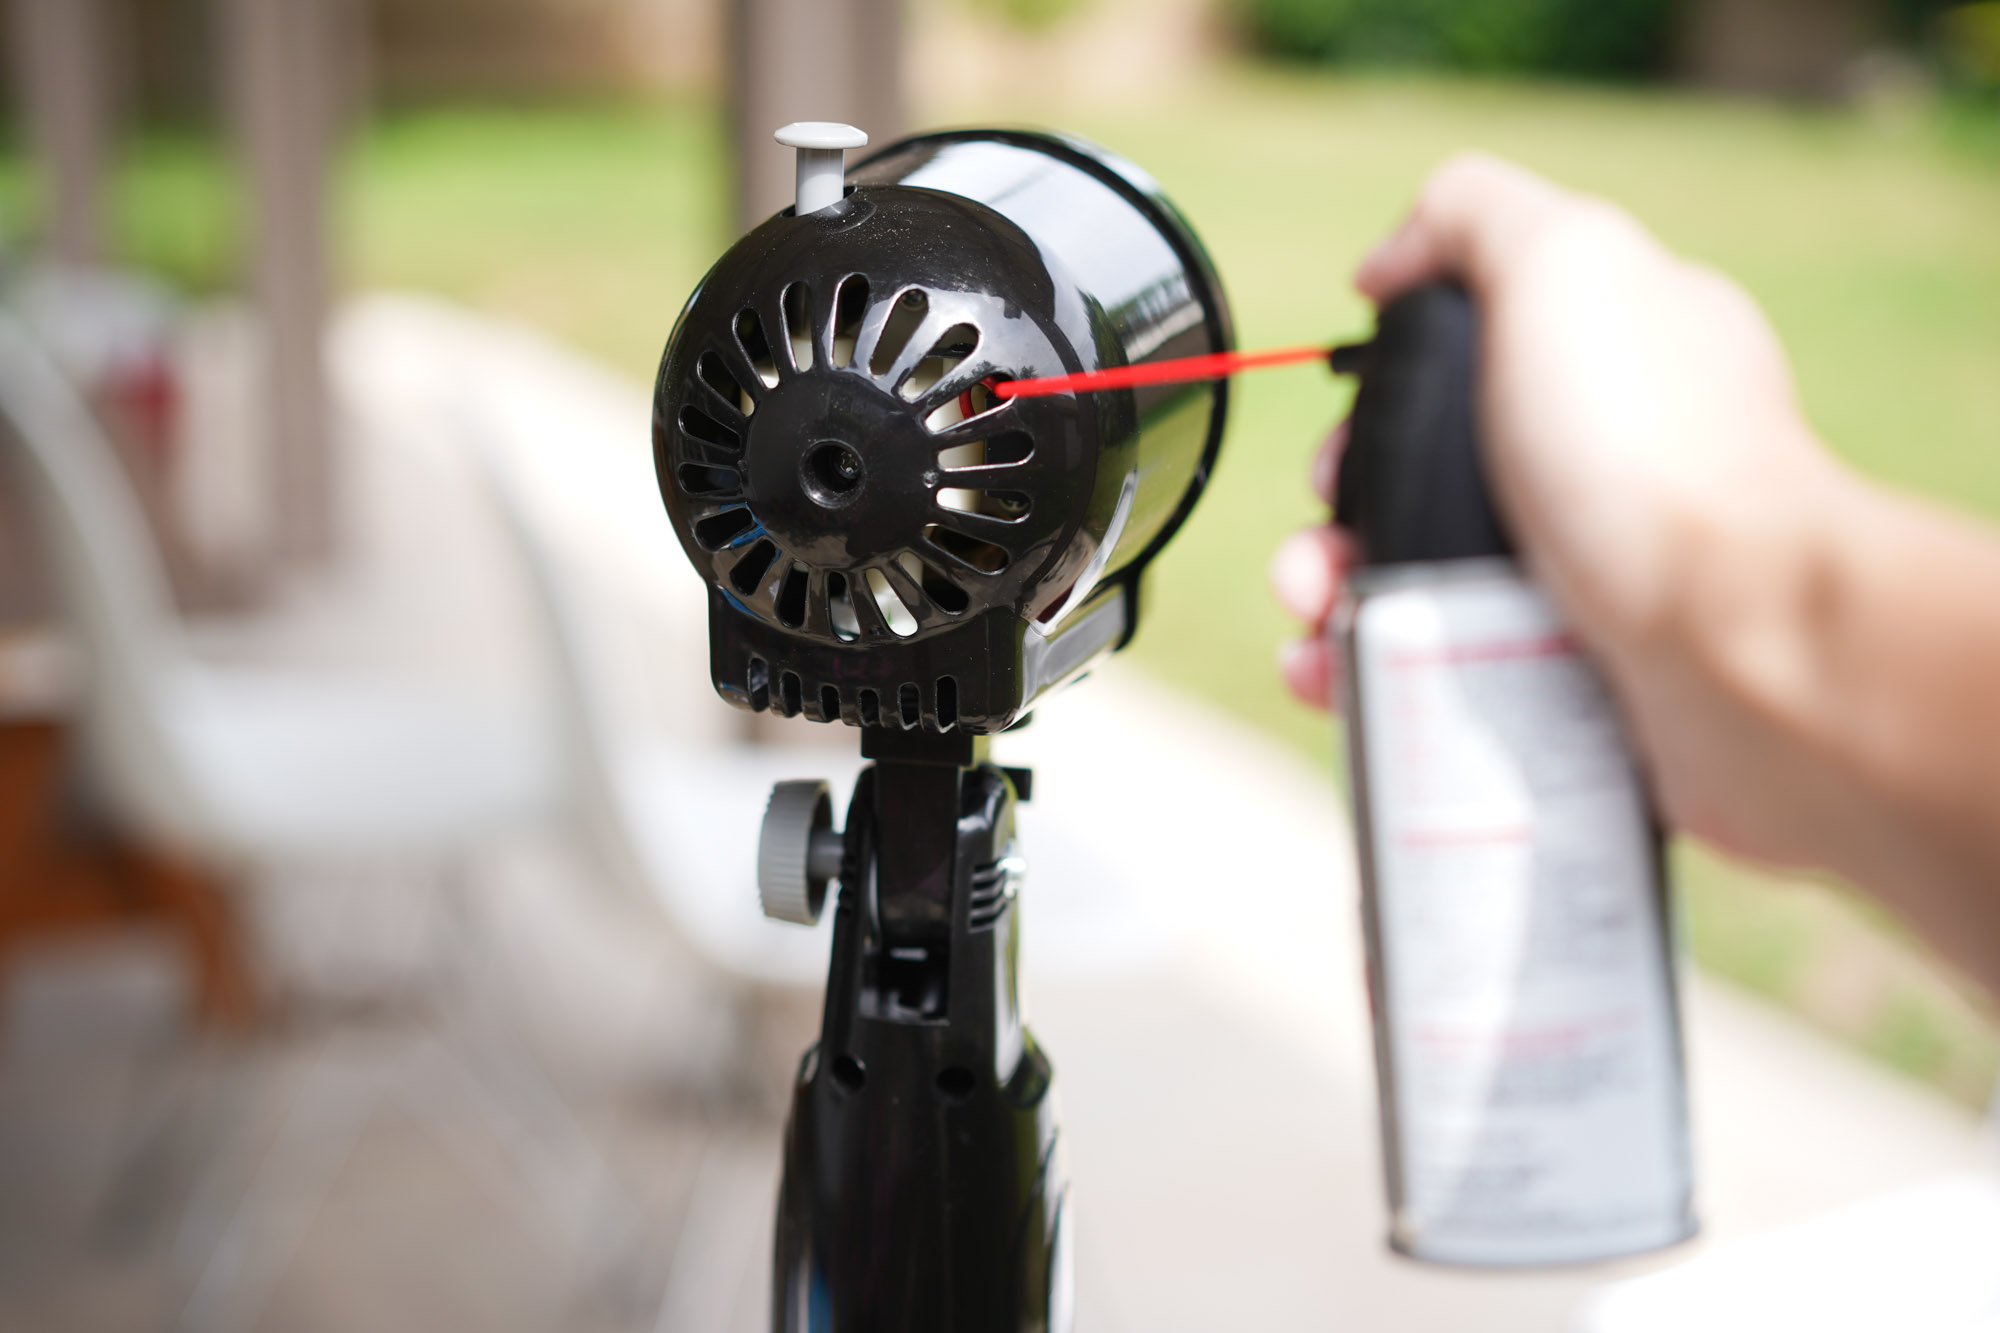
- Start by using a vacuum cleaner with a brush attachment to remove loose dust and dirt from the fan body. Gently run the brush attachment over the surface of the fan, paying attention to the vents, control buttons, and areas where dust may accumulate.
- If there are visible stains or smudges on the fan body, dampen a cloth or sponge with a mixture of mild detergent or liquid soap and warm water.
- Gently wipe the surface of the fan body, making sure to remove any stains or residue. Avoid excessive moisture, as it may damage the electrical components of the fan.
- For hard-to-reach areas, use cotton swabs dipped in the soapy water solution to clean them thoroughly. This will ensure that every nook and cranny of the fan body is properly cleaned.
- Once you have cleaned the entire fan body, use a microfiber cloth or a dusting cloth to dry and polish the surface.
Keeping the fan body clean not only improves the overall appearance of your Lasko Cyclone Fan but also ensures that it remains in good condition. Regular cleaning of the fan body helps to maintain its longevity and ensures that it continues to operate efficiently.
Now that you’ve thoroughly cleaned both the fan blades and the fan body, it’s time to reassemble your Lasko Cyclone Fan.
Reassembling the Fan
After successfully cleaning the fan blades and fan body of your Lasko Cyclone Fan, it’s time to reassemble the fan so that it can be ready for use again. Follow these steps to ensure a proper and secure reassembly:
- Take the fan blades and position them back onto the motor shaft, making sure they are aligned correctly.
- If there were any screws or clips that were removed during the disassembly process, reattach them securely to hold the fan blades and fan housing in place.
- Carefully align the two parts of the fan housing and press them together until they are securely connected.
- Ensure that any screws or clips that were removed to disassemble the fan housing are reattached tightly.
- Double-check that all parts and components are properly aligned and secured.
By following these steps, you can ensure that your Lasko Cyclone Fan is reassembled correctly and ready for use. Take a moment to appreciate the clean and refreshed state of your fan before plugging it in and testing its performance.
Speaking of testing, let’s move on to the final step: plugging in and testing the fan.
Plug In and Testing the Fan
Now that you have successfully reassembled your Lasko Cyclone Fan, it’s time to plug it in and test its performance. Follow these steps to ensure that your fan is functioning properly:
- Carefully plug the fan back into the power source.
- Double-check that the fan is securely connected to the electrical outlet.
- Turn on the fan and observe its operation.
- Listen for any unusual noises or vibrations that may indicate a potential issue. If you notice anything out of the ordinary, it’s best to switch off the fan and consult a professional technician for assistance.
- Feel the airflow to ensure that the fan is blowing air with the desired strength and direction.
- If everything appears to be functioning correctly, you can be confident that your Lasko Cyclone Fan is now clean and ready for regular use.
Congratulations! You have successfully gone through the process of cleaning your Lasko Cyclone Fan, from disassembly and cleaning the fan blades and body to reassembling and testing its performance. By maintaining a clean and well-functioning fan, you can enjoy the cool and refreshing breeze it provides for years to come.
Remember to periodically clean your fan to prevent the buildup of dust and dirt, which can affect its performance. Regular maintenance will keep your Lasko Cyclone Fan operating at its best and contribute to a comfortable and enjoyable environment.
Thank you for reading, and we hope this guide has been helpful in keeping your Lasko Cyclone Fan clean and efficient!
Read also: 9 Amazing Cyclone Fan for 2025
Conclusion
Cleaning your Lasko Cyclone Fan is not only important for maintaining its performance but also for ensuring the circulation of clean and fresh air in your space. By following the step-by-step guide in this article, you can easily and effectively clean your fan to keep it operating at its best.
We started by discussing the importance of safety precautions and gathering the necessary materials. Taking the time to unplug the fan and gather the right cleaning tools and products ensures a safe and efficient cleaning process.
We then moved on to the cleaning process, starting with disassembling the fan to access the fan blades and the fan body. Cleaning the fan blades thoroughly removes accumulated dust and dirt, while cleaning the fan body keeps it looking clean and well-maintained.
After cleaning, we learned how to reassemble the fan carefully to ensure that all parts are secure and aligned. Finally, we plugged in the fan and tested its performance to ensure that it is working optimally.
Regular cleaning and maintenance of your Lasko Cyclone Fan will not only extend its lifespan but also improve its performance. By keeping the fan blades and fan body clean, you can enjoy a more efficient and refreshing airflow in your space.
We hope that this comprehensive guide has been helpful in guiding you through the process of cleaning your Lasko Cyclone Fan. Remember to follow the safety precautions and consult the manufacturer’s instructions for your specific fan model.
Thank you for reading, and enjoy the cool and refreshing breeze from your freshly cleaned Lasko Cyclone Fan!
Keeping your Lasko Cyclone Fan in top condition is just the start. Want to explore more about maintaining different models? Check out our detailed guide on cleaning other Lasko fans. From essential tips to practical steps, we've got everything covered to ensure your cooling devices are in perfect shape. Don't miss out on keeping your environment fresh and your fan's performance optimal.
Frequently Asked Questions about How To Clean A Lasko Cyclone Fan
Was this page helpful?
At Storables.com, we guarantee accurate and reliable information. Our content, validated by Expert Board Contributors, is crafted following stringent Editorial Policies. We're committed to providing you with well-researched, expert-backed insights for all your informational needs.


0 thoughts on “How To Clean A Lasko Cyclone Fan”