Articles
How To Clean Ceiling Before Painting
Modified: October 20, 2024
Learn the best techniques and tips for cleaning your ceiling before painting in this informative article. Transform your space with this essential step.
(Many of the links in this article redirect to a specific reviewed product. Your purchase of these products through affiliate links helps to generate commission for Storables.com, at no extra cost. Learn more)
Introduction
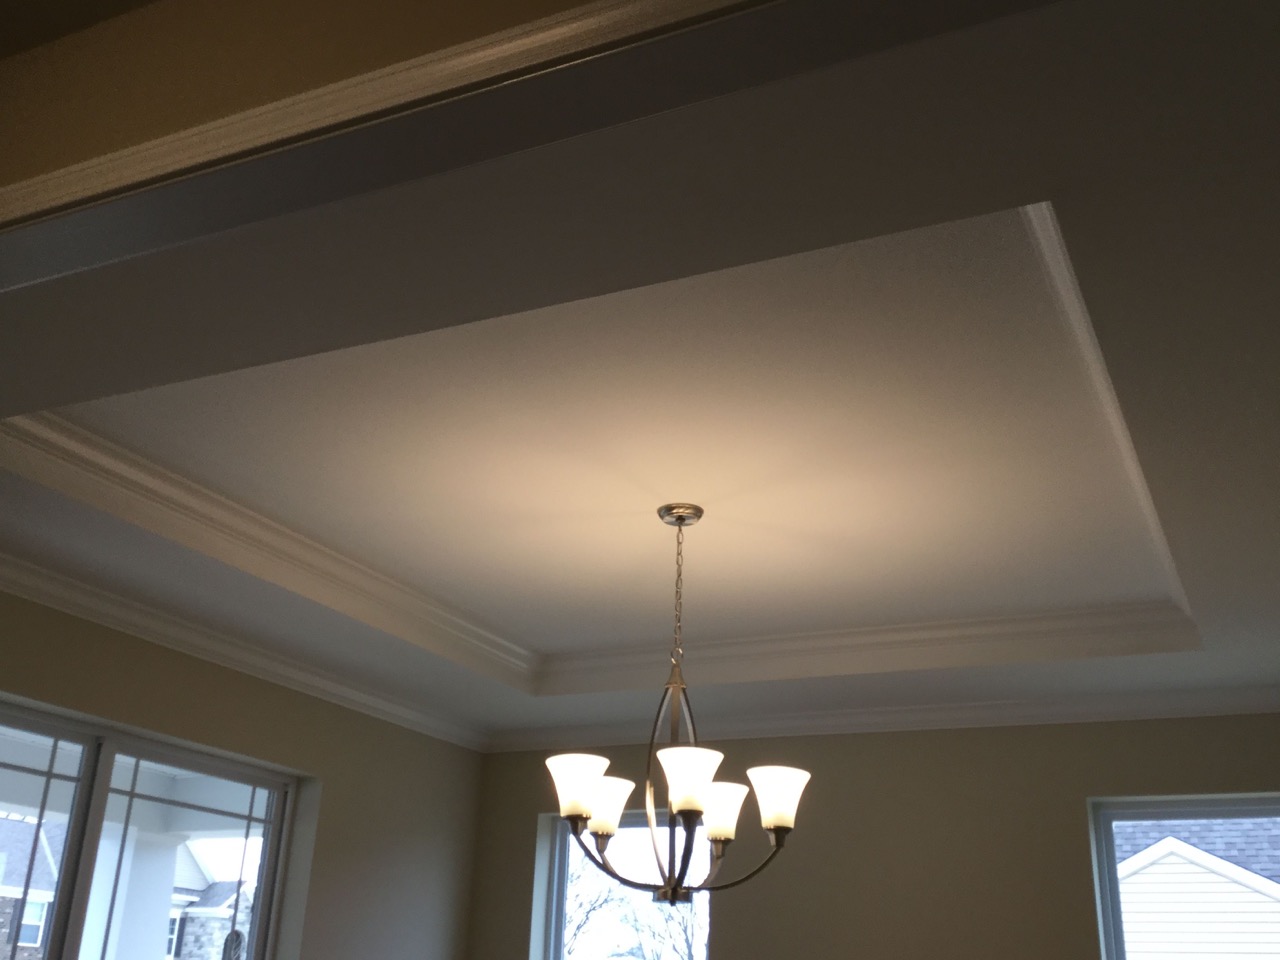
A clean and well-maintained ceiling can greatly enhance the overall appearance of any room. Before embarking on a painting project, it is essential to properly clean the ceiling surface to ensure a smooth and long-lasting finish.
Cleaning the ceiling may seem like a daunting task, but with the right techniques and tools, it can be a relatively straightforward process. This article will guide you through the steps necessary to clean your ceiling before painting, ensuring that your finished paint job looks flawless.
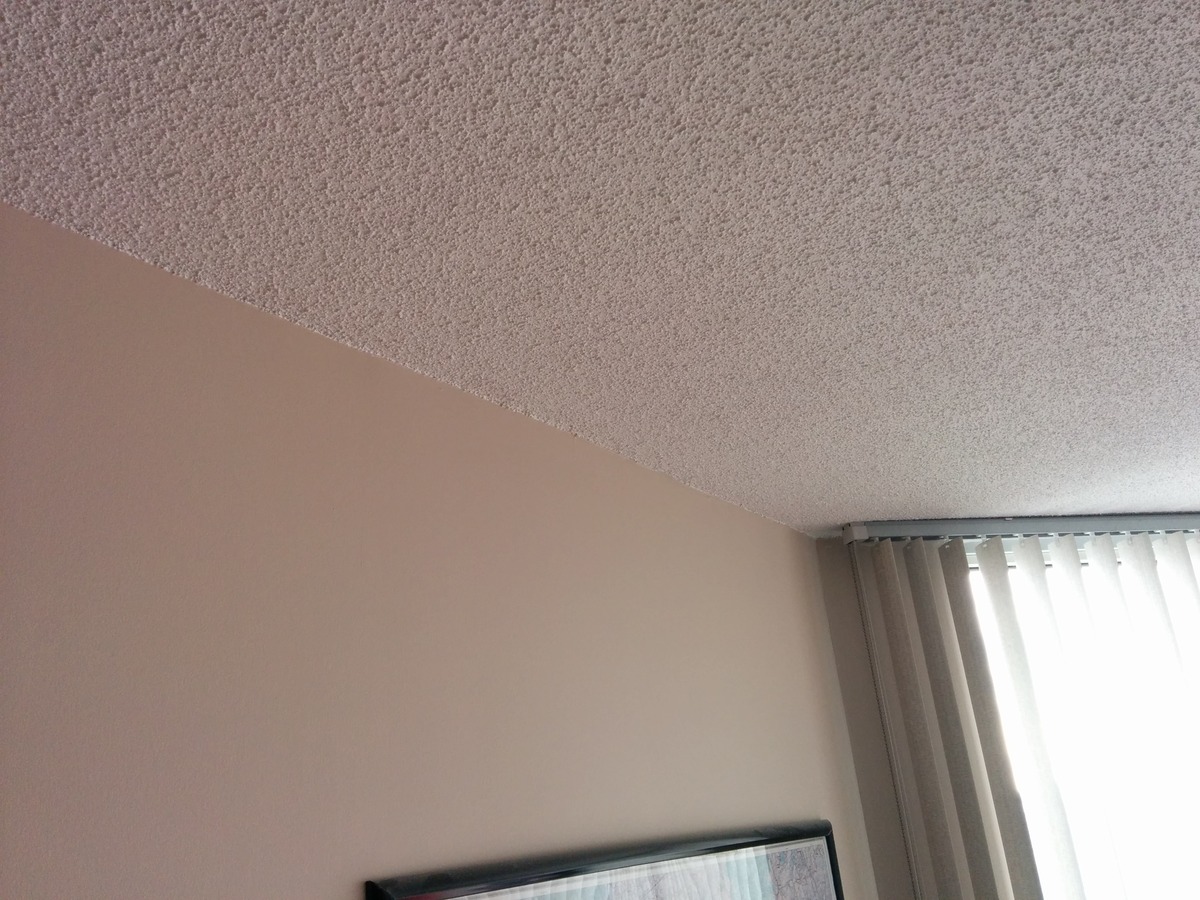
Before you begin, it is important to consider the type of ceiling you have. Whether you have a textured or smooth ceiling, the cleaning process and tools required may vary. Additionally, take note of any stains, grease, or dirt build-up on the ceiling surface, as these areas may require extra attention during the cleaning process.
Cleaning the ceiling serves not only an aesthetic purpose but also helps to create a clean and healthy living environment. Over time, ceilings can accumulate dust, allergens, and even mold, which can negatively impact indoor air quality. By thoroughly cleaning the ceiling, you can improve the overall air quality in your home and create a fresh and inviting space.
So, roll up your sleeves, gather the necessary materials, and let’s dive into the step-by-step process of cleaning your ceiling before painting. By following these guidelines, you will be able to achieve a clean and pristine surface, ensuring the best possible results for your painting project.
Key Takeaways:
- Properly cleaning your ceiling before painting is crucial for a flawless finish. From dusting and spot cleaning stains to preparing the right cleaning solution, each step ensures a clean and healthy living environment.
- By allowing the ceiling to dry completely after cleaning, you set the stage for a successful paint application. This attention to detail not only enhances the aesthetics but also improves the overall air quality in your home.
Read more: How To Spackle Before Painting
Step 1: Remove Furniture and Cover Floor
Before you begin the process of cleaning your ceiling, it is crucial to remove any furniture or fixtures from the room. This will not only provide you with easier access to the ceiling but will also protect your belongings from potential damage.
Start by relocating any large furniture pieces out of the room. If this is not possible, move them to the center of the room and cover them with drop cloths or plastic sheets to safeguard against accidental splatters or drips.
Next, it’s time to cover the floor. Use drop cloths or plastic sheeting to protect the flooring beneath the area you will be cleaning. Secure the coverings with painter’s tape or heavy objects to ensure they stay in place during the cleaning process.
By removing furniture and covering the floor, you not only create a safe and clutter-free environment but also prevent any potential damage to your belongings. This step will allow for a more efficient and thorough cleaning of your ceiling without any obstructions.
Once the room is clear and the floor is properly protected, you are ready to move on to the next step in preparing your ceiling for cleaning.
Step 2: Dust the Ceiling
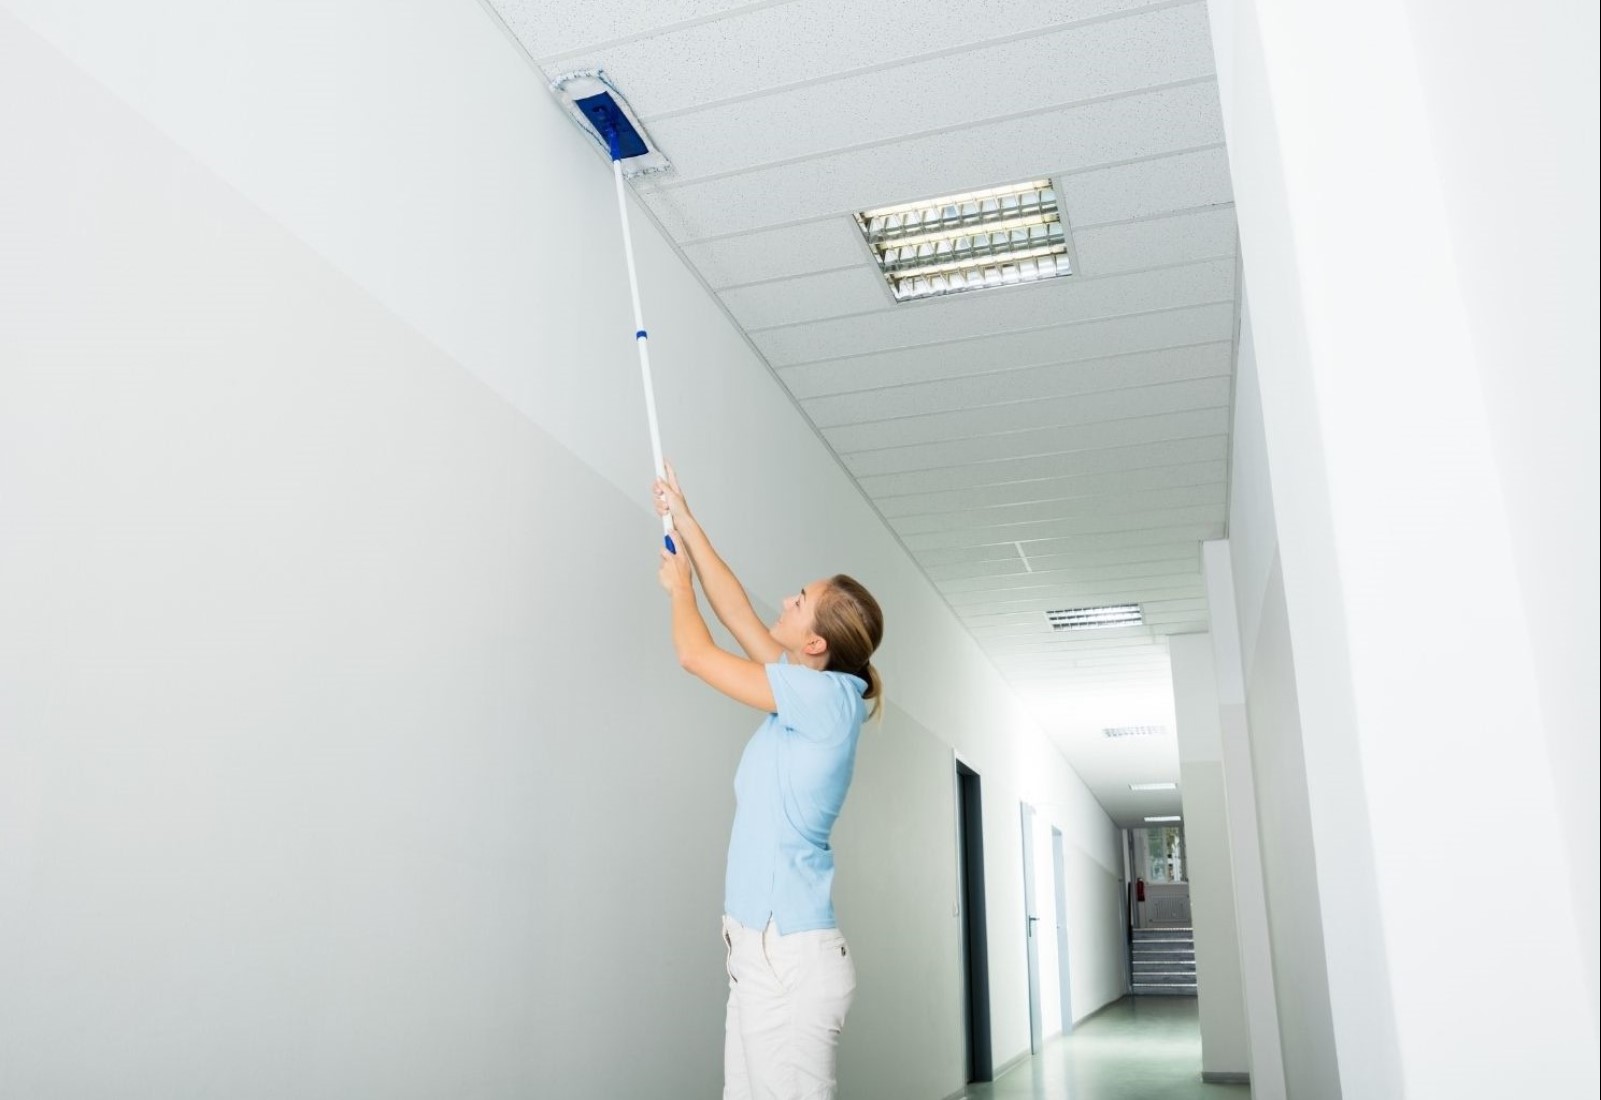
Dusting the ceiling is an essential step in the cleaning process as it helps remove any loose dirt, cobwebs, or debris that may have accumulated over time. Dusting also ensures that the cleaning solution can penetrate the surface more effectively for a thorough clean.
To begin, you will need a long-handled duster, a microfiber cloth, or a vacuum cleaner with a soft brush attachment. Start at one end of the room and work your way across, gently dusting the ceiling surface. Be sure to pay attention to corners, edges, and light fixtures where dust may accumulate more heavily.
If you are using a microfiber cloth, dampen it slightly with water or an appropriate cleaning solution to attract and trap dust effectively. Avoid using excessive moisture as this can cause water stains or damage to the ceiling surface.
For hard-to-reach areas or textured ceilings, the soft brush attachment on a vacuum cleaner can be a useful tool. Use a gentle upward sweeping motion to remove dust and cobwebs. Ensure that the vacuum cleaner is set on a low-suction setting to prevent any damage to the ceiling.
Take your time while dusting to ensure thorough coverage. If necessary, use a stepladder or an extension pole to reach high ceilings or inaccessible areas. Remember to prioritize safety and follow proper ladder usage guidelines.
By dusting the ceiling, you will eliminate loose dirt, allergens, and cobwebs. This will create a cleaner and healthier environment and facilitate the effectiveness of the subsequent cleaning steps.
Once you have finished dusting, it is time to move on to the next step in the process – spot cleaning any stains on the ceiling.
Step 3: Spot Clean Stains
Spot cleaning stains on the ceiling is essential to remove any discoloration or marks that may affect the overall appearance of the painted surface. Common stains on ceilings can include water stains, smoke residue, grease marks, or minor scuffs.
Before applying any cleaning solution, it is important to identify the type of stain you are dealing with. Different stains may require varying cleaning methods or specific stain removal products. For example, water stains may require a different approach than grease marks or smoke residue.
To spot clean stains, you will need a gentle cleaning solution suitable for the type of stain you are treating. Here are some common cleaning solutions you can try:
- Mild dish soap mixed with warm water
- Vinegar diluted with water
- Baking soda paste (for tougher stains)
Start by applying a small amount of the cleaning solution to a clean cloth or sponge. Gently blot the stained area, taking care not to rub or scrub vigorously as this can damage the ceiling surface.
Allow the cleaning solution to sit on the stain for a few minutes to allow it to penetrate and break down the stain. For stubborn stains, you may need to repeat the process or use a slightly stronger cleaning solution.
Once the stain has been treated, use a clean, damp cloth to wipe away the cleaning solution residue. Be careful not to oversaturate the ceiling surface with water as this can cause water damage. Pat dry with a clean cloth or allow the area to air dry.
By spot cleaning stains, you will ensure that the painted surface appears uniform and smooth, creating the perfect canvas for your new coat of paint. Once you have completed the spot cleaning process, you are now ready to move on to preparing the cleaning solution for the entire ceiling.
Step 4: Prepare Cleaning SolutionPreparing the cleaning solution is a crucial step in the process of cleaning your ceiling. The right cleaning solution will effectively remove dirt, grease, and stains without causing any damage to the surface.
To prepare the cleaning solution, you will need a bucket or a large mixing bowl. The type of cleaning solution you use will depend on the condition of your ceiling and whether it is painted or unpainted.
For painted ceilings, a gentle cleaning solution is recommended to prevent any damage to the paint. Here are a few options for preparing a suitable cleaning solution:
- Mild dish soap diluted in warm water
- Vinegar diluted with water
- A commercial ceiling cleaner, following the manufacturer’s instructions
If you have an unpainted ceiling or a ceiling with a more stubborn build-up of dirt or grease, you may need a slightly stronger cleaning solution. Consider using one of the following options:
- Ammonia diluted with water (follow proper safety precautions and ventilation)
- A degreaser or heavy-duty cleaner, following the manufacturer’s instructions
Once you have chosen your cleaning solution, mix it in the bucket or mixing bowl according to the recommended dilution ratio. Be sure to follow the instructions provided for the specific cleaning product you are using.
It is important to note that while preparing the cleaning solution, you should wear appropriate protective gear such as gloves and goggles to protect your skin and eyes from any potential irritants or chemical splashes.
Now that you have prepared the cleaning solution, it’s time to move on to the next step – applying the solution to clean the ceiling.
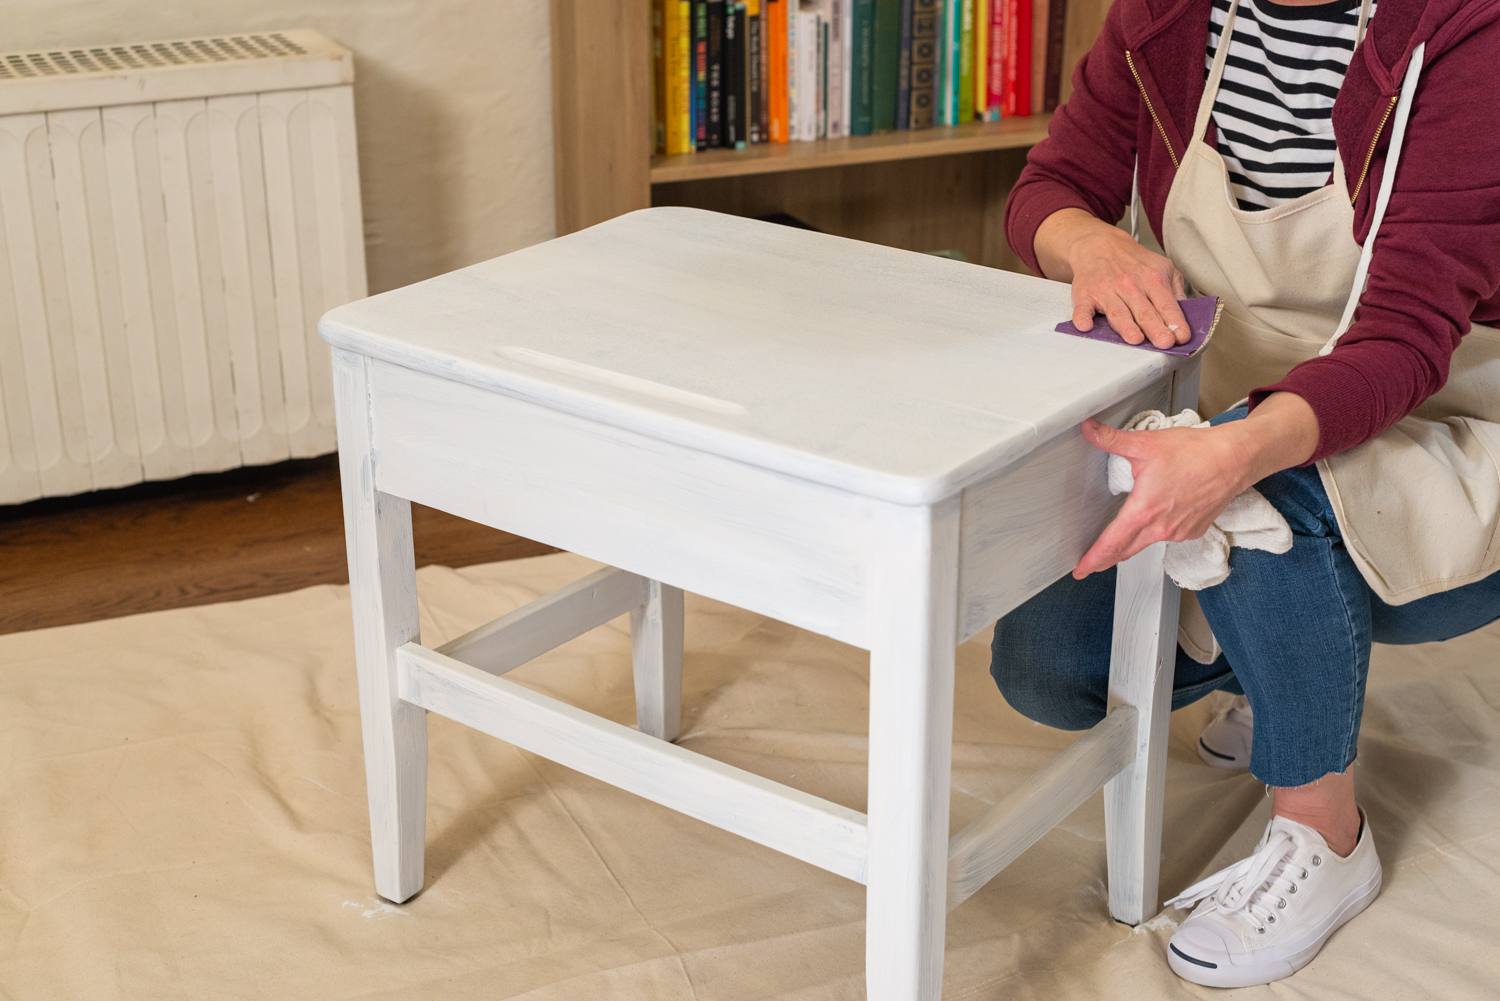
Before painting a ceiling, it’s important to clean it thoroughly to ensure the paint adheres properly. Use a damp cloth or sponge to remove dust, dirt, and any grease or grime. Pay special attention to corners and edges where buildup may occur. Allow the ceiling to dry completely before applying primer and paint.
Step 5: Clean the Ceiling
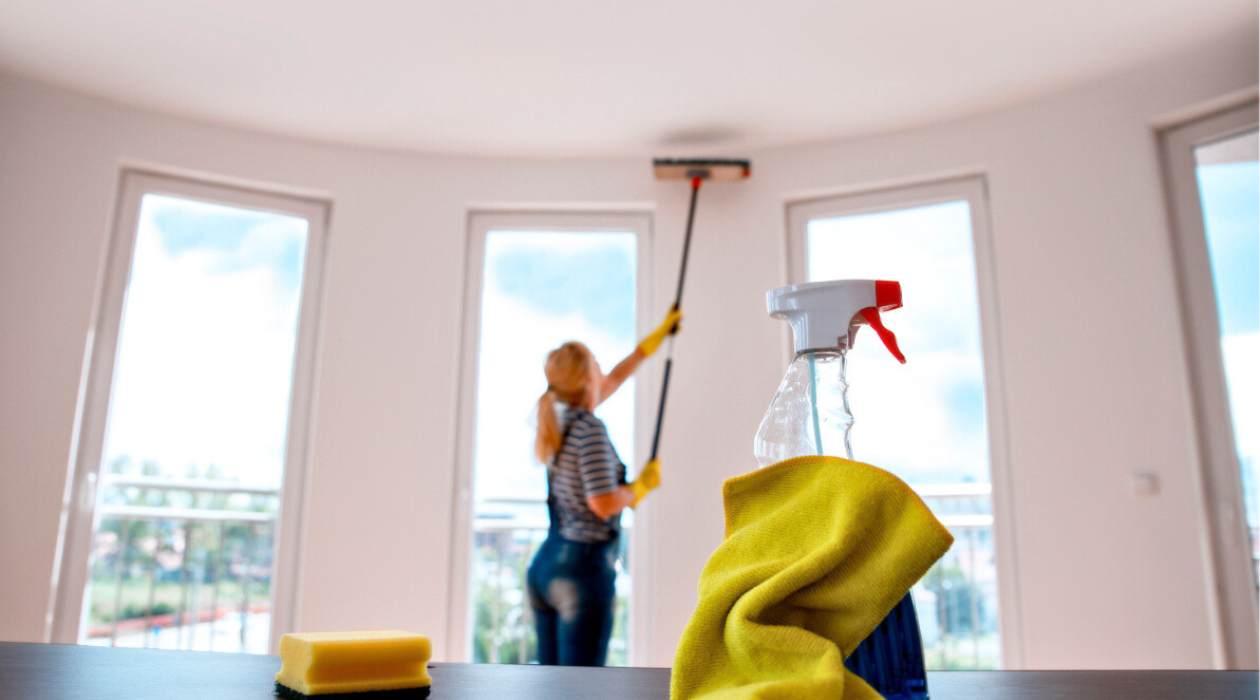
Now that you have your cleaning solution prepared, it’s time to tackle the task of cleaning the entire ceiling. This step will help remove any remaining dirt, dust, or stains that may be present on the surface.
Start by dipping a clean sponge or microfiber cloth into the cleaning solution. Wring out any excess liquid to avoid oversaturating the ceiling. Remember, too much moisture can lead to water stains or damage.
Working in small sections, gently wipe the ceiling surface using a circular motion. Be sure to cover the entire area, including corners and edges. Pay extra attention to areas with visible stains or greasy spots.
If you have a textured ceiling, use a soft-bristle brush or a clean, damp cloth to clean the surface. Be careful not to apply too much pressure, as this can remove texture or damage delicate surfaces.
As you clean, periodically rinse out your sponge or cloth in the cleaning solution to remove any dirt or build-up. This will ensure that you are working with a clean tool and prevent any cross-contamination between sections.
Continue working your way across the ceiling, reapplying the cleaning solution as needed. Take breaks if necessary, especially if you are cleaning a large area or have a high ceiling.
Remember to be thorough yet gentle during the cleaning process. Rushing or applying excessive force can lead to damage or uneven cleaning results.
Cleaning the entire ceiling can be a time-consuming task, but it is an essential step in preparing for a fresh coat of paint. Once you have finished cleaning the ceiling, it’s time to rinse away any residue and move on to the next step of the process.
Step 6: Rinse the Ceiling
After cleaning the ceiling with the cleaning solution, it is important to rinse away any residue to ensure a clean and fresh surface. This step will help remove any remaining cleaning solution, dirt, or grime.
To rinse the ceiling, you will need a clean bucket or bowl of fresh water and a clean sponge or cloth. Dip the sponge or cloth into the water, wring out any excess liquid, and gently wipe the ceiling surface. Be sure to rinse out the sponge or cloth frequently to prevent spreading dirt or residue.
Work in small sections, gradually moving across the entire ceiling. Pay attention to corners, edges, and any areas that may have had more cleaning solution applied. The goal is to remove any remaining cleaning solution or residue from the surface.
As you rinse, take care not to oversaturate the ceiling with water. Excessive moisture can cause water stains or damage. If necessary, use a dry cloth to blot any excess water from the ceiling as you go along.
By thoroughly rinsing the ceiling, you ensure that it is free from any cleaning solution or dirt. This will create a clean and neutral surface for your paint to adhere to.
Once you have finished rinsing the ceiling, it’s time to move on to the final step – allowing the ceiling to dry before proceeding with your painting project.
Step 7: Allow Ceiling to Dry
After cleaning and rinsing the ceiling, it is crucial to allow sufficient time for it to dry completely. This step is vital before proceeding with any painting or further adjustments to the ceiling surface.
The drying time will depend on various factors such as humidity, ventilation, and the type of ceiling material. In general, it is recommended to allow at least 24 to 48 hours for the ceiling to dry thoroughly. This will ensure that it is free from any moisture or dampness that could affect the application and longevity of the paint.
During the drying process, it is important to maintain good airflow in the room. Open windows or use fans to promote air circulation and speed up the drying time. This will also help prevent any musty odors or mildew from developing.
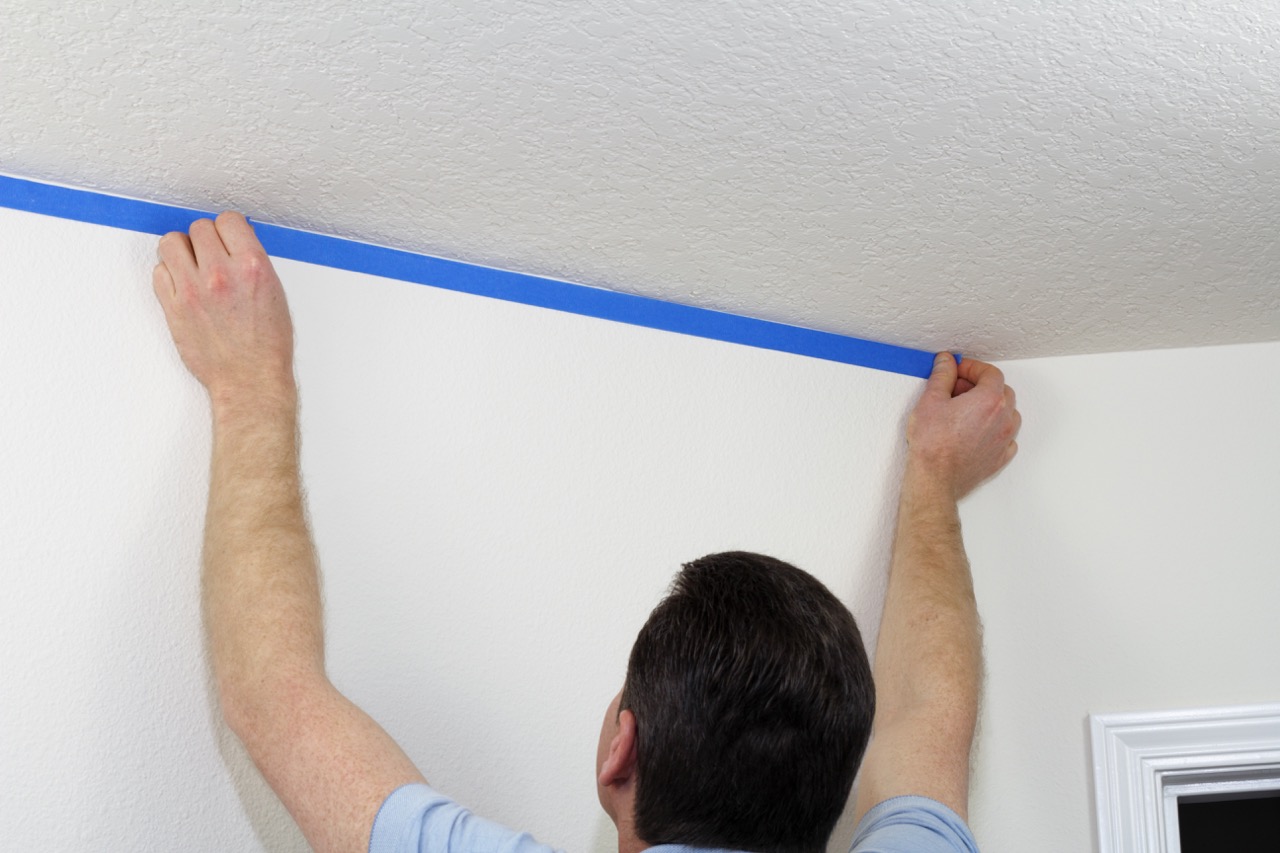
Avoid touching or applying anything to the ceiling until it is completely dry. This includes avoiding any tape or masking paper for painting. Touching or scraping the surface prematurely can compromise the cleanliness and smoothness of the ceiling.
To check if the ceiling is dry, gently touch a small area with a clean, dry hand or cloth. If it feels cool or damp, allow more time for drying. Remember that it is better to be patient and ensure that the ceiling is thoroughly dry before moving forward with your painting project.
By allowing the ceiling to dry completely, you ensure that it is in the best condition for painting. This will result in a more professional and durable paint finish that will enhance the overall appearance of the room.
Now that the ceiling is dry, you are ready to proceed with your painting project and enjoy a beautifully refreshed space.
Conclusion
Cleaning the ceiling before painting is a crucial step that should not be overlooked. By following the steps outlined in this article, you can effectively remove dirt, dust, stains, and other debris, ensuring a clean and smooth surface for your paint application.
Starting by removing furniture and covering the floor, you create a safe and clutter-free environment for the cleaning process. Dusting the ceiling helps remove loose dirt and cobwebs, while spot cleaning stains ensures a uniform and visually appealing surface.
Preparing the cleaning solution and using it to clean the entire ceiling further enhances the cleanliness and freshness of the surface. Rinsing the ceiling helps remove any residue and prepares it for the final step – allowing it to dry completely.
Taking the time to allow the ceiling to dry thoroughly is essential to ensure a successful paint application. This step prevents moisture-related issues and ensures the paint adheres properly, resulting in a long-lasting and professional finish.
Cleaning the ceiling before painting not only enhances the aesthetics but also improves the overall air quality in your home. By removing dust, allergens, and potential mold, you create a healthier living environment.
Remember to always use appropriate cleaning solutions and tools for your specific ceiling type and stains. Take safety precautions, such as using protective gear and proper ladder usage, to ensure your well-being throughout the cleaning process.
Now armed with the knowledge and step-by-step instructions for cleaning your ceiling before painting, you can take on your next home improvement project with confidence. Embrace the process, enjoy the satisfying results, and create a beautifully refreshed space that you can be proud of.
So, go ahead, roll up your sleeves, and transform your ceiling into a clean canvas ready for a fresh coat of paint!
Now that you've mastered ceiling cleaning, why stop there? Boost your home’s appeal by tackling another exciting project. If you're keen on refreshing more than just walls, check out our guide on giving ceiling fans a fresh coat with our practical painting tips. Ready for more hands-on tasks? Dive into our collection of DIY home projects, perfect for adding personal touches throughout your abode. Both articles offer straightforward, easy-to-follow advice that will help transform your space efficiently.
Frequently Asked Questions about How To Clean Ceiling Before Painting
Was this page helpful?
At Storables.com, we guarantee accurate and reliable information. Our content, validated by Expert Board Contributors, is crafted following stringent Editorial Policies. We're committed to providing you with well-researched, expert-backed insights for all your informational needs.


0 thoughts on “How To Clean Ceiling Before Painting”