
Articles
How To Clean Kitchen Ceiling
Modified: April 23, 2024
Learn effective methods and tips on cleaning your kitchen ceiling in this informative article. Discover the best techniques and products to keep your kitchen looking fresh and free from dirt and grime.
(Many of the links in this article redirect to a specific reviewed product. Your purchase of these products through affiliate links helps to generate commission for Storables.com, at no extra cost. Learn more)
Introduction
The kitchen ceiling is often overlooked when it comes to regular cleaning routines. However, over time, grease, food particles, and dust can accumulate, leaving behind unsightly stains and potentially affecting the air quality in your kitchen. Cleaning the kitchen ceiling may seem like a daunting task, but with the right tools and techniques, you can restore it to its former sparkle.
In this article, we will guide you through the steps to effectively clean your kitchen ceiling. By following our tips, you will not only improve the overall cleanliness of your kitchen but also create a more hygienic and pleasant environment for cooking and dining.
Before diving into the cleaning process, it’s important to gather all the necessary materials. Having the right tools and cleaning solution will make the task easier and more efficient.
Step 1: Gathering the necessary materials
To start, you will need:
- A suitable cleaning solution: Choose a mild detergent or a specialized kitchen cleaner. Avoid harsh chemicals that can damage the ceiling surface.
- Cleaning tools: Depending on the height and accessibility of your kitchen ceiling, you may need a ladder, a telescopic extension pole, a sponge, a soft cloth or microfiber cloth, and a bucket for mixing the cleaning solution.
Once you have gathered all the materials, you are ready to move on to the next step.
Step 2: Preparing the area
Before you start cleaning the kitchen ceiling, it’s important to protect your countertops, appliances, and other surfaces from potential splatters or drips from the cleaning solution. Use plastic drop cloths or old sheets to cover the areas below the ceiling.
In addition, it’s a good idea to remove any loose dust or debris from the ceiling surface. You can use a duster or a vacuum cleaner with a soft brush attachment to gently remove any dirt or cobwebs.
Now that you have prepped the area, it’s time to start cleaning the kitchen ceiling.
Key Takeaways:
- Don’t overlook your kitchen ceiling! Regular cleaning with the right materials and techniques enhances cleanliness, aesthetics, and air quality, creating a more inviting cooking environment.
- Maintain a sparkling kitchen ceiling with regular dusting and prompt spot cleaning. A clean ceiling not only improves aesthetics but also contributes to a healthier cooking space.
Read more: How To Clean A Ceiling
Step 1: Gathering the necessary materials
Before you begin cleaning your kitchen ceiling, it’s essential to have the right materials at hand. This will ensure that you’re equipped to tackle the task effectively and efficiently.
Choosing the right cleaning solution:
The first step in preparing for ceiling cleaning is to select an appropriate cleaning solution. Look for a mild detergent or a specialized kitchen cleaner specifically designed for removing grease and stains. Avoid using harsh chemicals that can damage the ceiling surface or leave behind residue.
Consider factors such as the type of ceiling material (e.g., painted, textured, or tiled) and the severity of stains or grease build-up. If you’re unsure, consult the manufacturer’s guidelines or seek professional advice.
Gathering cleaning tools:
Next, gather the necessary cleaning tools to ensure a thorough cleaning process:
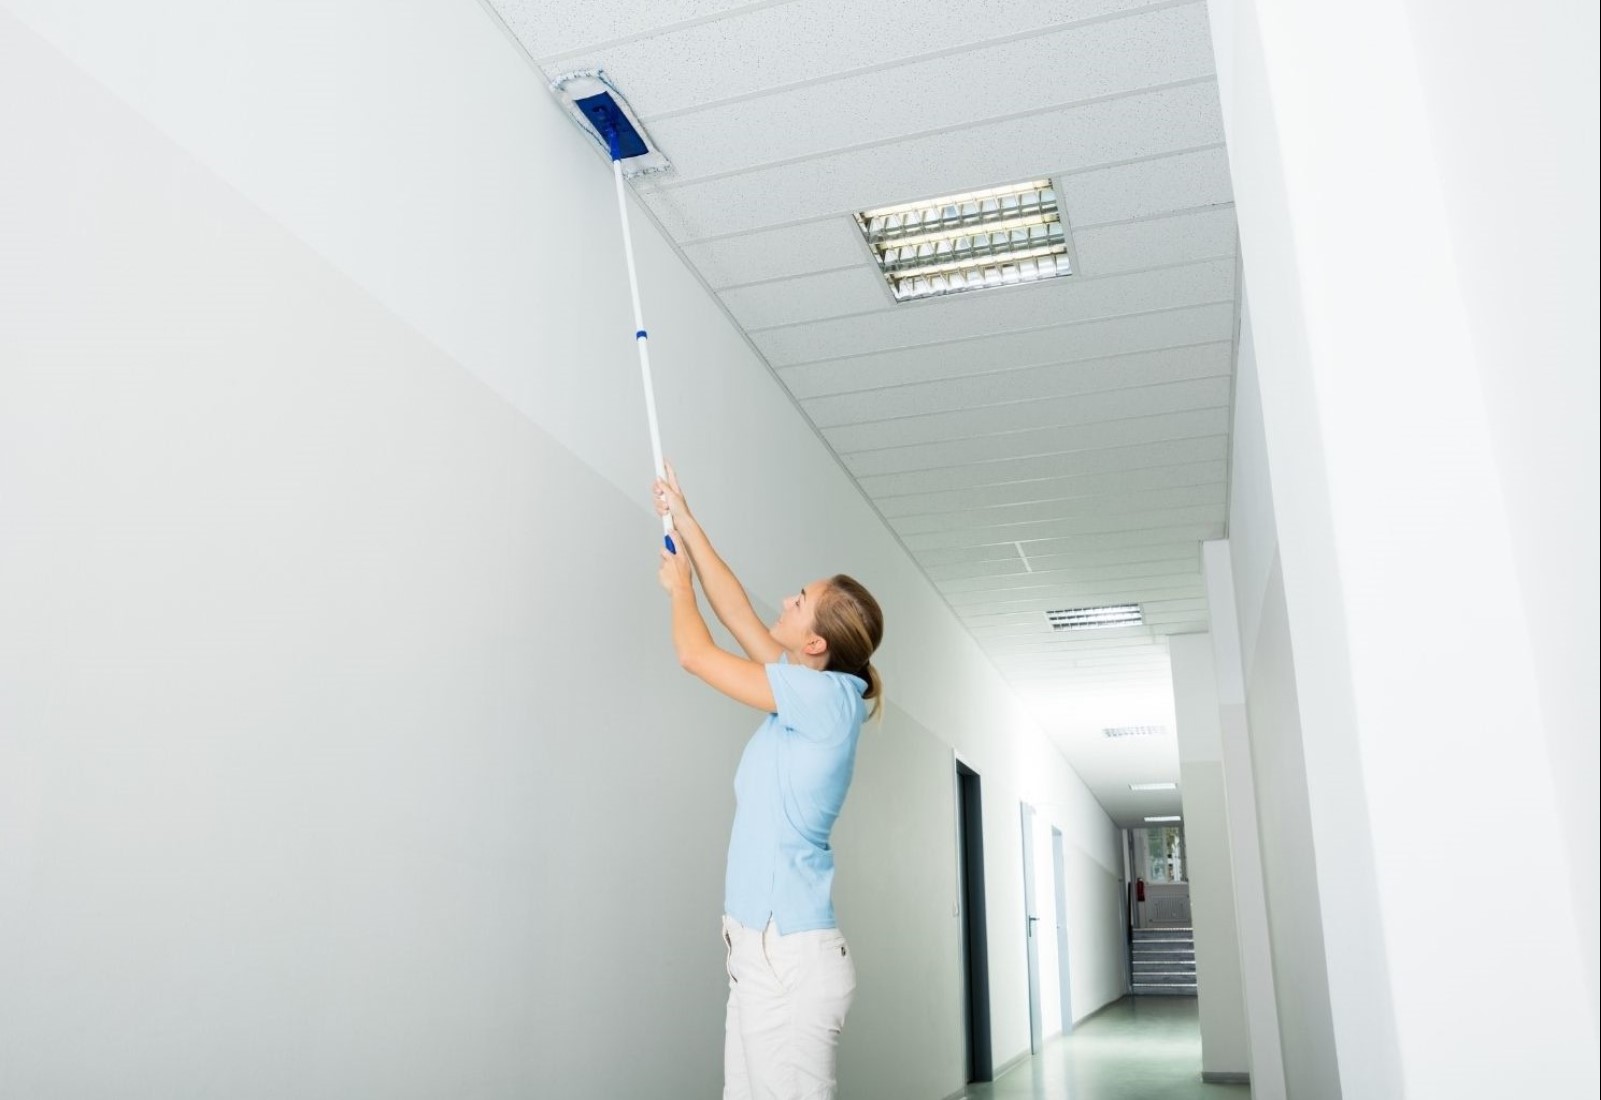
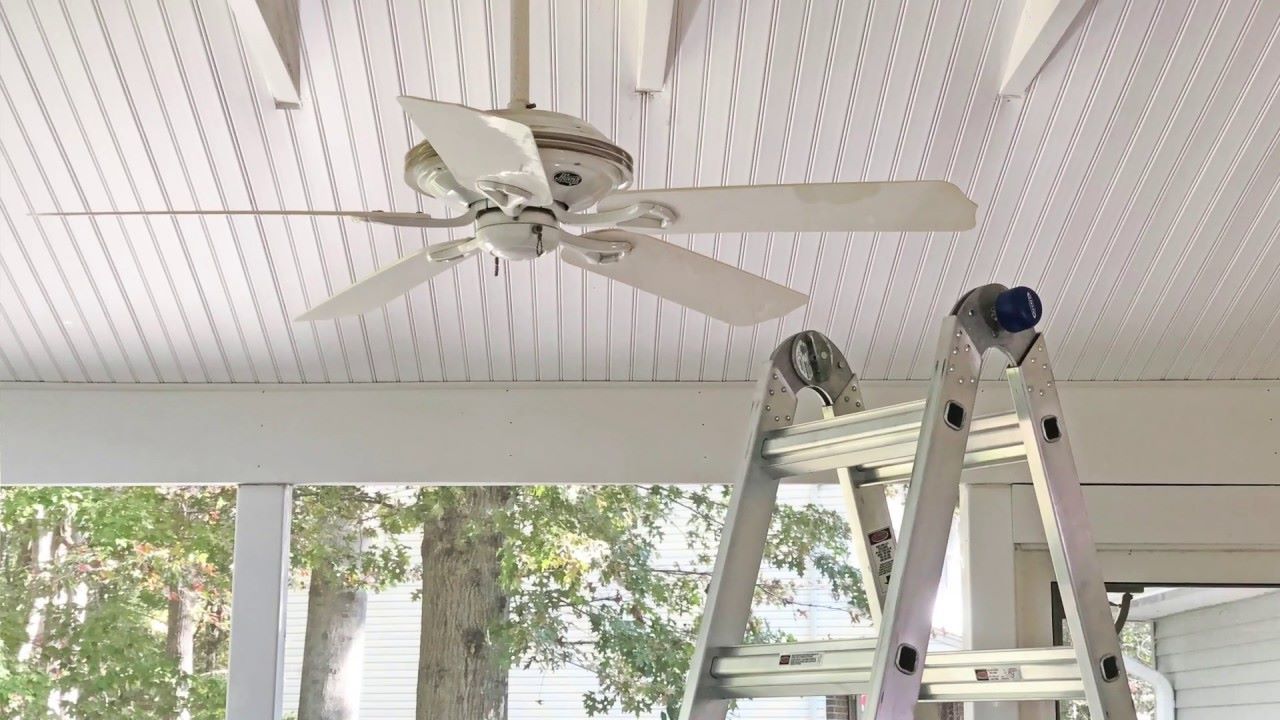
- Ladder or telescopic extension pole: Depending on the height of your kitchen ceiling, you may need a stable ladder to reach the surfaces safely. Alternatively, a telescopic extension pole can be used to access higher areas without the need for a ladder.
- Sponge or soft cloth: Choose a sponge or cloth that is non-abrasive and gentle on the ceiling surface. This will help prevent any scratches or damage.
- Bucket: Fill a bucket with warm water to dilute the cleaning solution and for rinsing your sponge or cloth as needed during the cleaning process.
- Microfiber cloth: A microfiber cloth is ideal for wiping down the ceiling and removing any excess moisture or streaks.
By having these essential materials ready, you’ll be well-prepared to tackle the kitchen ceiling cleaning process efficiently.
Now that you have gathered the necessary materials, you can move on to the next step: preparing the area to ensure a smooth and hassle-free cleaning experience.
Step 2: Preparing the area
Before you start cleaning your kitchen ceiling, it’s important to take a few simple steps to prepare the area. This will help protect your countertops, appliances, and other surfaces from potential damage or mess.
Protecting your countertops and appliances:
Lay down plastic drop cloths or old sheets to cover your countertops, stovetop, and any appliances or furniture below the ceiling. This will prevent any cleaning solution or debris from splattering onto these surfaces and making a mess.
If you have any delicate or easily damaged items, consider removing them from the immediate vicinity or covering them with additional protective layers. Taking these measures will save you time and effort in cleaning up after the ceiling cleaning process.
Removing any loose dust or debris:
Before you can effectively clean your kitchen ceiling, it’s important to remove any loose dust or debris that may have accumulated. Use a duster or a vacuum cleaner with a soft brush attachment to gently sweep or suction away any visible dirt, cobwebs, or particles from the ceiling surface.
This step is crucial to ensure that your cleaning efforts are not hindered by loose debris that may get trapped in the cleaning solution or interfere with the cleaning process. By starting with a clean slate, you’ll achieve better results in removing stubborn stains and grime from your kitchen ceiling.
Once you’ve protected your countertops and removed any loose dust or debris, you’re ready to dive into the actual cleaning process. In the next step, we will guide you through the detailed process of cleaning your kitchen ceiling, leaving it clean and refreshed.
Step 3: Cleaning the kitchen ceiling
Now that you have prepared the area, it’s time to start cleaning your kitchen ceiling. Follow these steps to effectively remove dirt, grease, and stains, and restore the ceiling to its former cleanliness.
Starting from one corner:
Begin by selecting a corner of your kitchen ceiling to start the cleaning process. Working in sections will help you maintain control and ensure thorough cleaning.
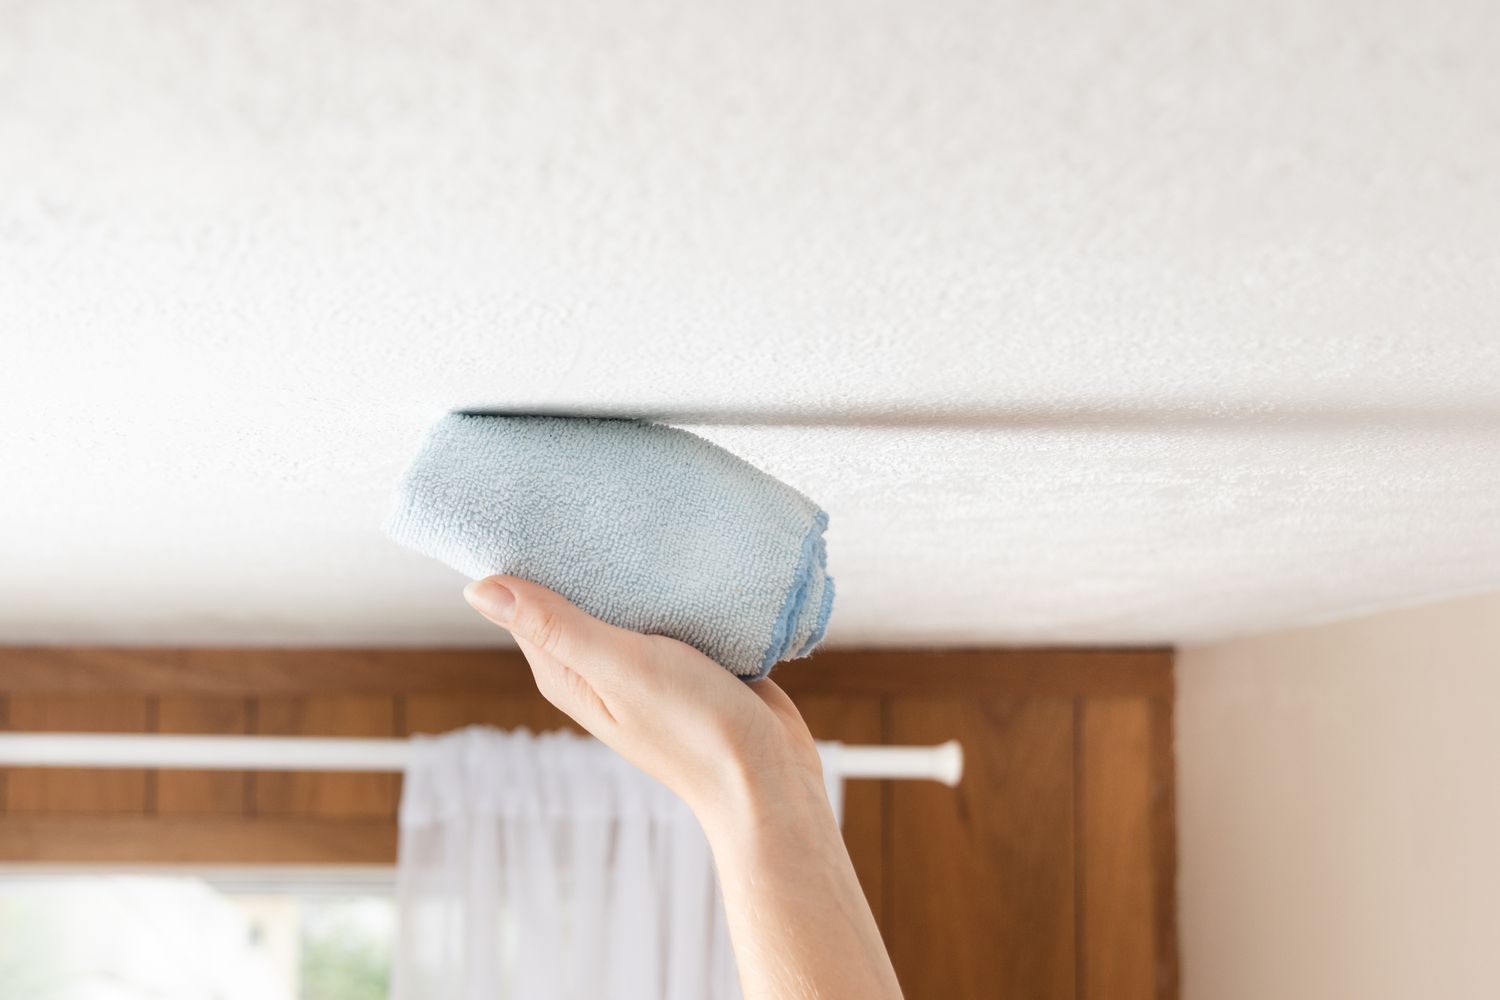
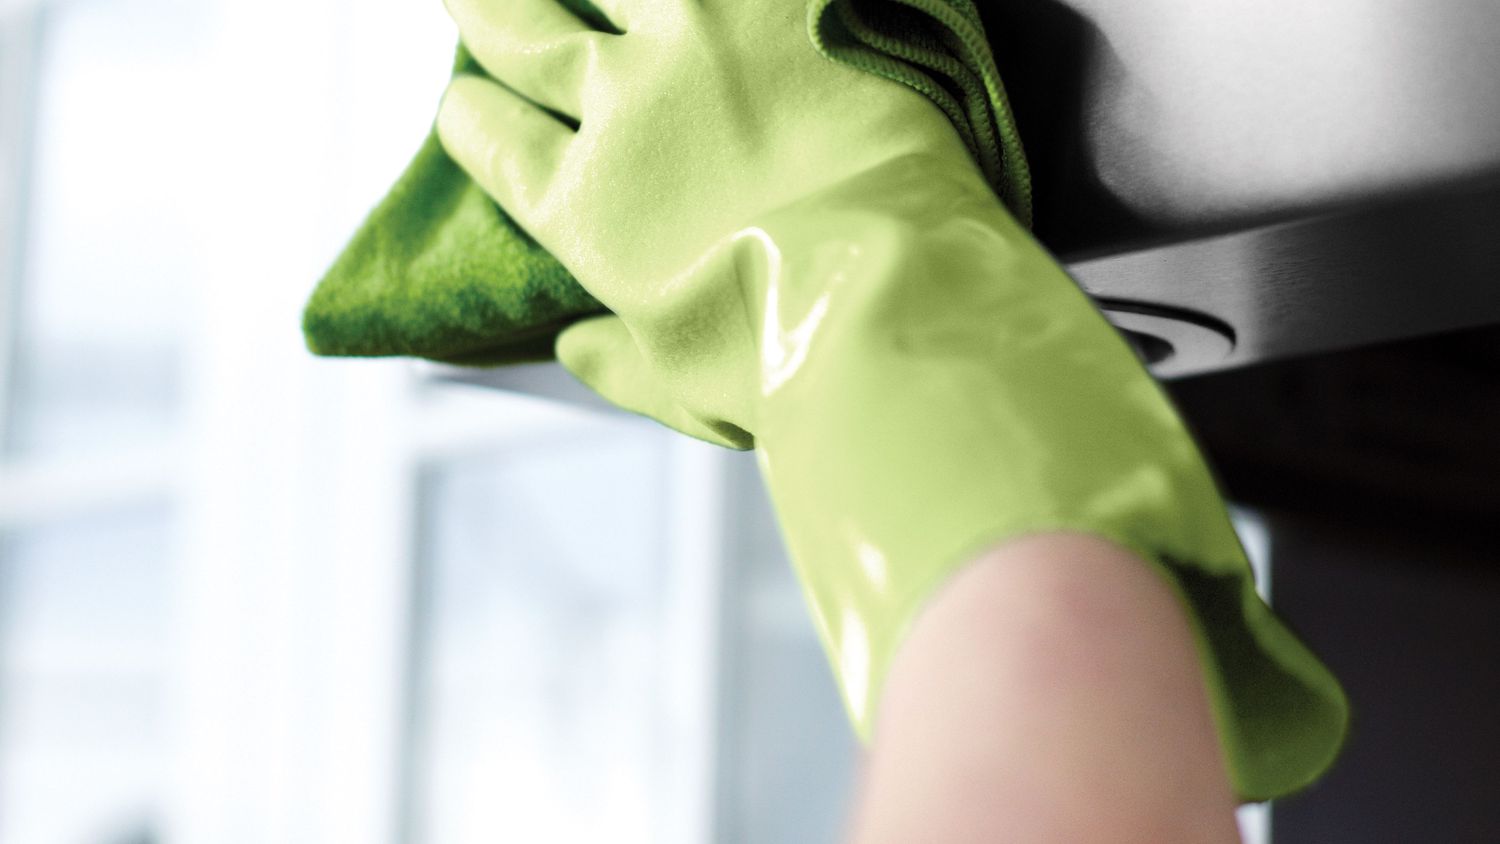
Using a sponge or soft cloth:
Dampen a sponge or soft cloth with the cleaning solution you have selected. Make sure to squeeze out any excess liquid before beginning. The sponge or cloth should be damp, not dripping wet.
Applying the cleaning solution:
Gently rub the damp sponge or cloth onto the ceiling surface in a circular motion. Start from the corner and work your way across. Avoid applying excessive pressure as this can damage the ceiling material.
Removing stubborn stains:
If you encounter stubborn stains or grease spots, apply a small amount of the cleaning solution directly onto the area. Allow it to sit for a few minutes to loosen the stain, and then gently rub with the sponge or cloth. Repeat this process as necessary until the stain is lifted.
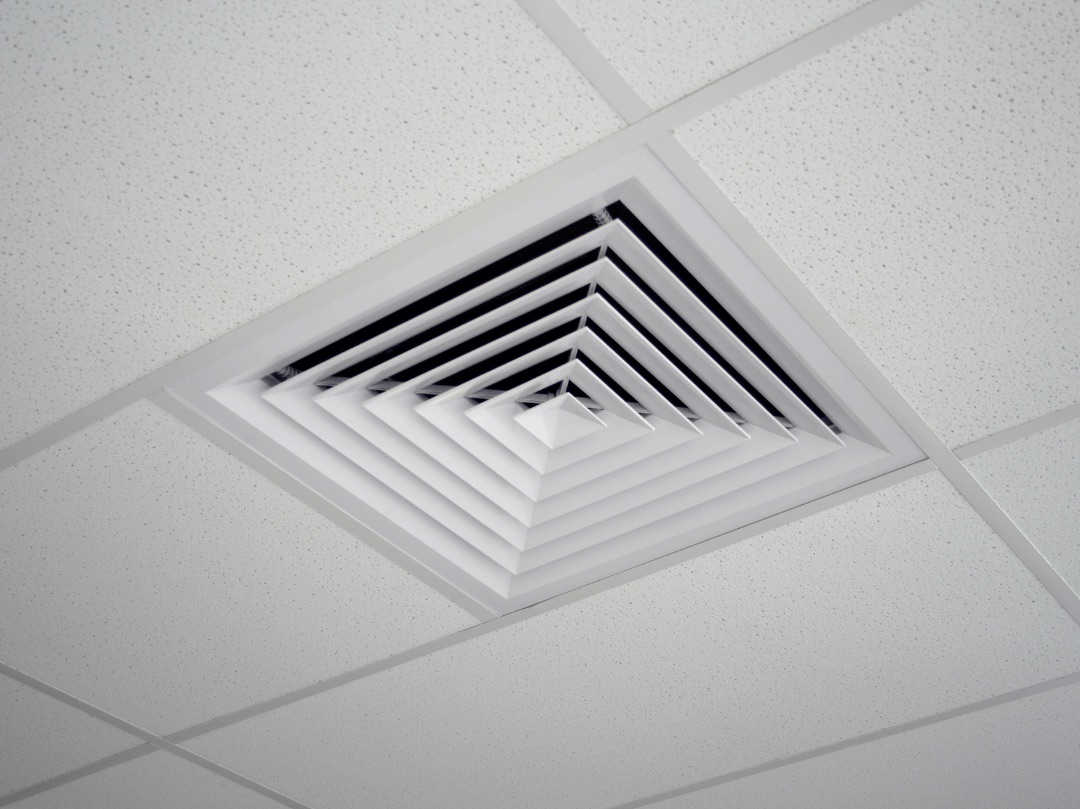
Cleaning ceiling fixtures:
As you clean the ceiling surface, take the opportunity to also clean any ceiling fixtures, such as light fixtures or vents. Use a separate sponge or cloth dampened with the cleaning solution to wipe down these fixtures and remove any accumulated dust or grime.
Continue working through the sections of your kitchen ceiling, applying the cleaning solution and removing any stains or dirt. Take breaks as needed to avoid fatigue and maintain efficiency.
Remember to periodically rinse your sponge or cloth in the bucket of warm water to remove any dirt or residue and prevent redepositing onto the ceiling surface.
Once you have completed the cleaning process, move on to the next step: drying the ceiling thoroughly to avoid any moisture-related issues.
Use a mixture of warm water and mild dish soap to gently clean your kitchen ceiling. Use a soft sponge or cloth to avoid damaging the surface, and be sure to rinse with clean water afterwards.
Step 4: Drying the ceiling
After completing the cleaning process, it’s crucial to ensure that the kitchen ceiling is thoroughly dried. Proper drying will prevent moisture-related issues, such as water stains or the growth of mold and mildew. Follow these steps to effectively dry your kitchen ceiling.
Allowing the ceiling to air dry:
Once you have finished cleaning the ceiling, allow it to air dry naturally. Turn off any fans or ventilation systems in the kitchen to avoid circulating air that could leave streaks or interfere with the drying process.
Avoid using heat sources, such as hair dryers or heaters, to speed up the drying process. Excessive heat can damage the ceiling material or cause uneven drying.
Using a clean cloth or paper towels:
If you notice any remaining moisture or damp spots on the ceiling after a reasonable amount of time, gently dab them with a clean cloth or paper towels. Make sure the cloth or towels are clean and dry to avoid transferring any dirt or residue back onto the ceiling.
Wipe in a gentle patting motion rather than rubbing, as rubbing can disturb the cleaned surface and potentially leave behind streaks or smudges.
Ensure that the ceiling is completely dry before proceeding with the next steps. This will help maintain the cleanliness of the ceiling and prevent any further issues.
Now that the ceiling is dry, you can move on to the final step: maintaining a clean kitchen ceiling to prolong its cleanliness and freshness.
Read more: How To Clean Porch Ceiling
Step 5: Maintaining a clean kitchen ceiling
Now that you have successfully cleaned and dried your kitchen ceiling, it’s important to implement a maintenance routine to keep it clean and fresh over time. Regular maintenance will help prevent the accumulation of dust, grease, and stains, making future cleanings easier and less time-consuming. Follow these steps to maintain a clean kitchen ceiling.
Regular dusting:
Dust and cobwebs can accumulate on your kitchen ceiling over time, even after a thorough cleaning. To prevent the build-up of dust, incorporate regular dusting into your cleaning routine. Use a long-handled duster or an extendable duster to reach high areas safely and effectively. Start from one corner and work your way across the ceiling, paying attention to any fixtures or corners that tend to collect more dust.
Make sure to dust ceiling surfaces at least once a month, or more frequently if needed. Regular dusting will not only maintain the cleanliness of your kitchen ceiling, but it will also improve the overall air quality in your kitchen.
Spot cleaning as needed:
Despite your best efforts, spills and splatters may occasionally occur on your kitchen ceiling. To address these issues promptly, develop a habit of spot cleaning as needed. Use a damp cloth or sponge with a gentle cleaning solution to tackle small stains or grease marks.
Avoid using excessive force or heavy cleaners that could damage the surface. Instead, gently blot the affected area until the stain is lifted. Rinse the cloth or sponge frequently to prevent cross-contamination and ensure effective cleaning.
By incorporating regular dusting and spot cleaning into your cleaning routine, you’ll be able to maintain a consistently clean and fresh kitchen ceiling.
With these five steps, you now have the knowledge and tools to successfully clean and maintain your kitchen ceiling. By following these guidelines, you can create a cleaner, healthier, and more enjoyable kitchen environment for both cooking and dining.
Remember, a clean kitchen ceiling not only enhances the overall aesthetic of your kitchen, but it also contributes to a hygienic and pleasant cooking experience. So roll up your sleeves and give your kitchen ceiling the attention it deserves!
Conclusion
In conclusion, cleaning your kitchen ceiling is an essential part of maintaining a clean and inviting kitchen environment. By following the steps outlined in this article, you can effectively remove dust, grease, and stains from your ceiling, enhancing both the appearance and hygiene of your kitchen.
It all starts with gathering the necessary materials, including a suitable cleaning solution and the right cleaning tools. From there, you can prepare the area by protecting your countertops and appliances and removing any loose dust or debris.
The actual cleaning process involves starting from one corner and using a sponge or soft cloth to apply the cleaning solution to the ceiling. Stubborn stains can be addressed by allowing the solution to sit on the stain before gently rubbing it away. Don’t forget to clean any ceiling fixtures as well!
After cleaning, it’s important to dry the ceiling thoroughly to prevent moisture-related issues. Allowing the ceiling to air dry is the best method, but you can gently pat any remaining damp spots with a clean cloth or paper towels if necessary.
To maintain a clean kitchen ceiling, incorporate regular dusting into your routine to prevent the build-up of dust and cobwebs. Additionally, spot clean as needed to address spills or splatters promptly. These maintenance practices will keep your kitchen ceiling looking fresh and clean for a long time.
In addition to improving the overall cleanliness and aesthetic of your kitchen, a clean ceiling contributes to a healthy cooking environment. It helps to minimize the presence of allergens and improves indoor air quality.
Remember, when cleaning your kitchen ceiling, always prioritize safety. Use a stable ladder or telescopic extension pole when necessary, and be mindful of your surroundings to avoid accidents.
By giving your kitchen ceiling the attention it deserves, you can create a welcoming space for cooking and dining. So, roll up your sleeves and take the first step towards a cleaner and healthier kitchen by cleaning your kitchen ceiling!
Frequently Asked Questions about How To Clean Kitchen Ceiling
Was this page helpful?
At Storables.com, we guarantee accurate and reliable information. Our content, validated by Expert Board Contributors, is crafted following stringent Editorial Policies. We're committed to providing you with well-researched, expert-backed insights for all your informational needs.


0 thoughts on “How To Clean Kitchen Ceiling”