
Articles
How To Clean A Popcorn Ceiling
Modified: January 18, 2024
Learn the best articles on how to clean a popcorn ceiling. Discover effective tips and techniques for removing dust, stains, and cobwebs from your textured ceiling.
(Many of the links in this article redirect to a specific reviewed product. Your purchase of these products through affiliate links helps to generate commission for Storables.com, at no extra cost. Learn more)
Introduction
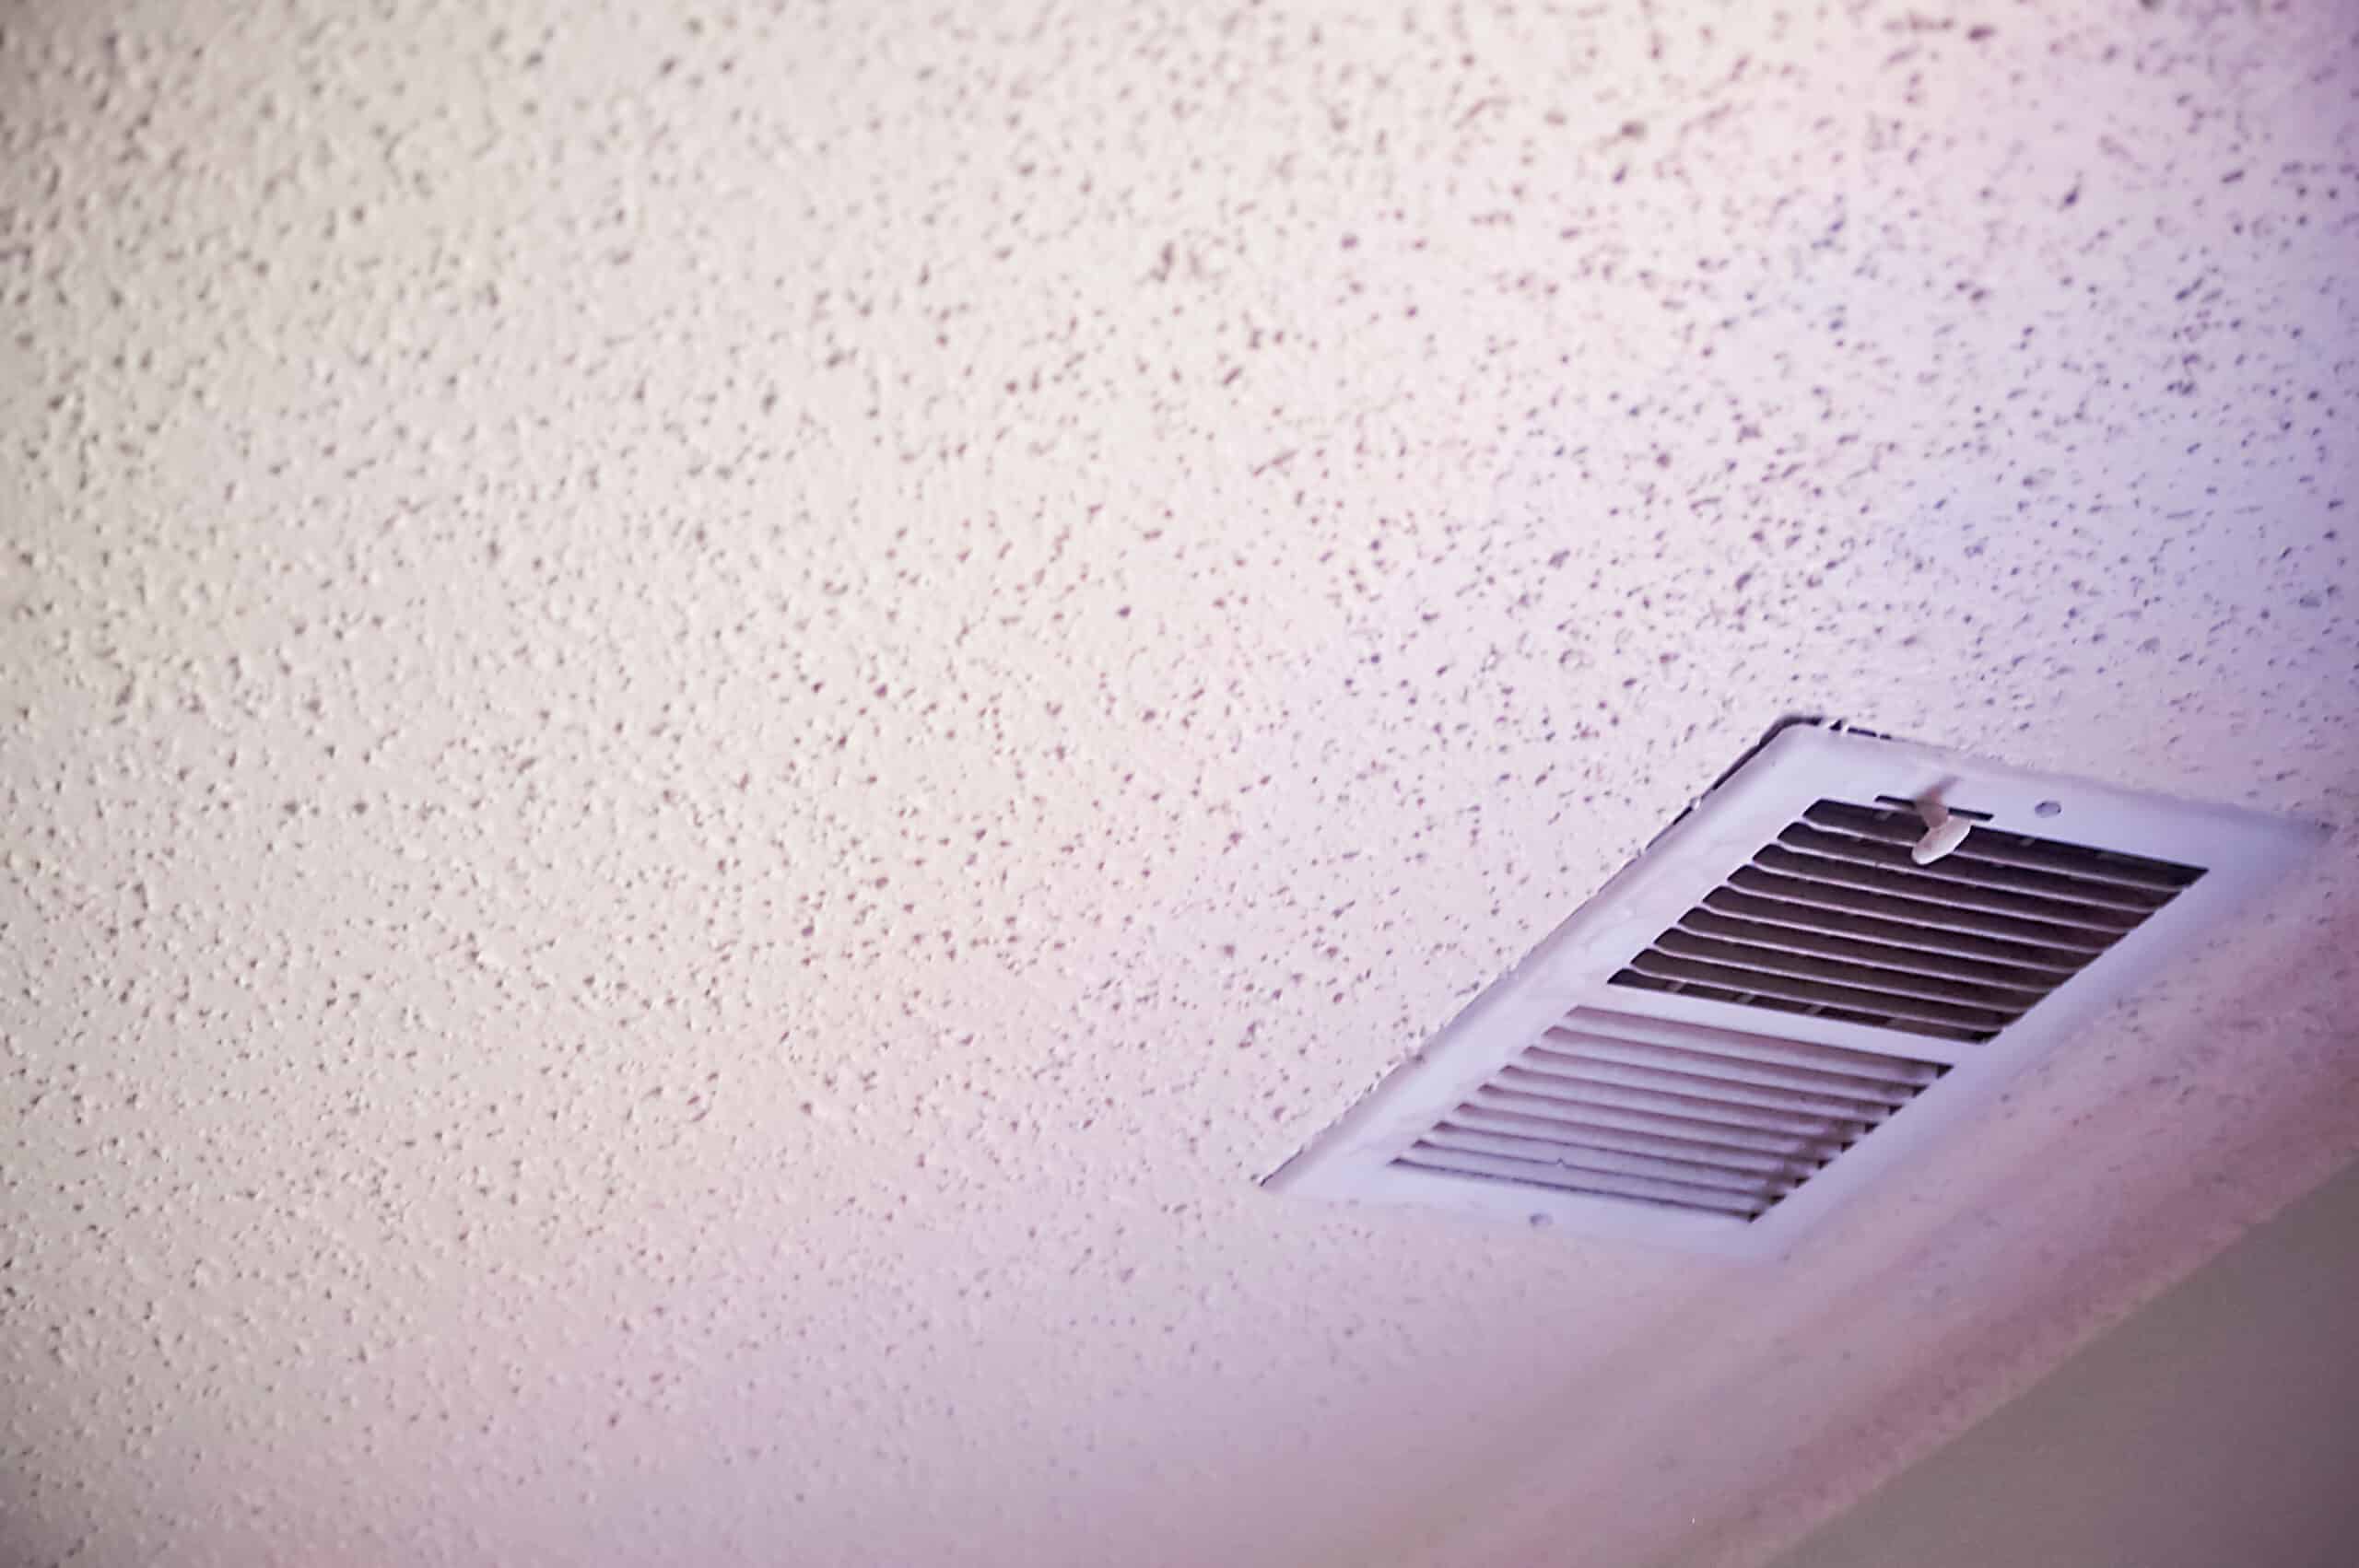
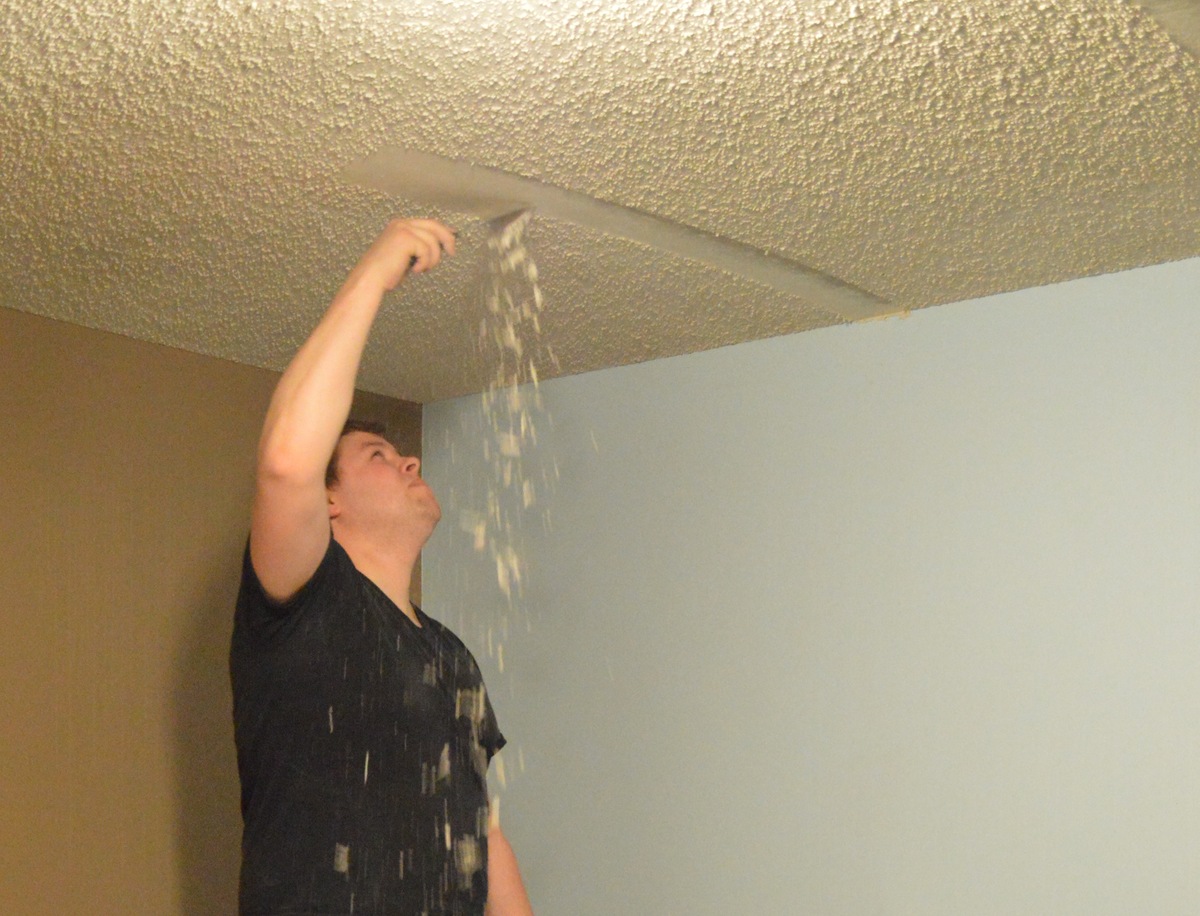
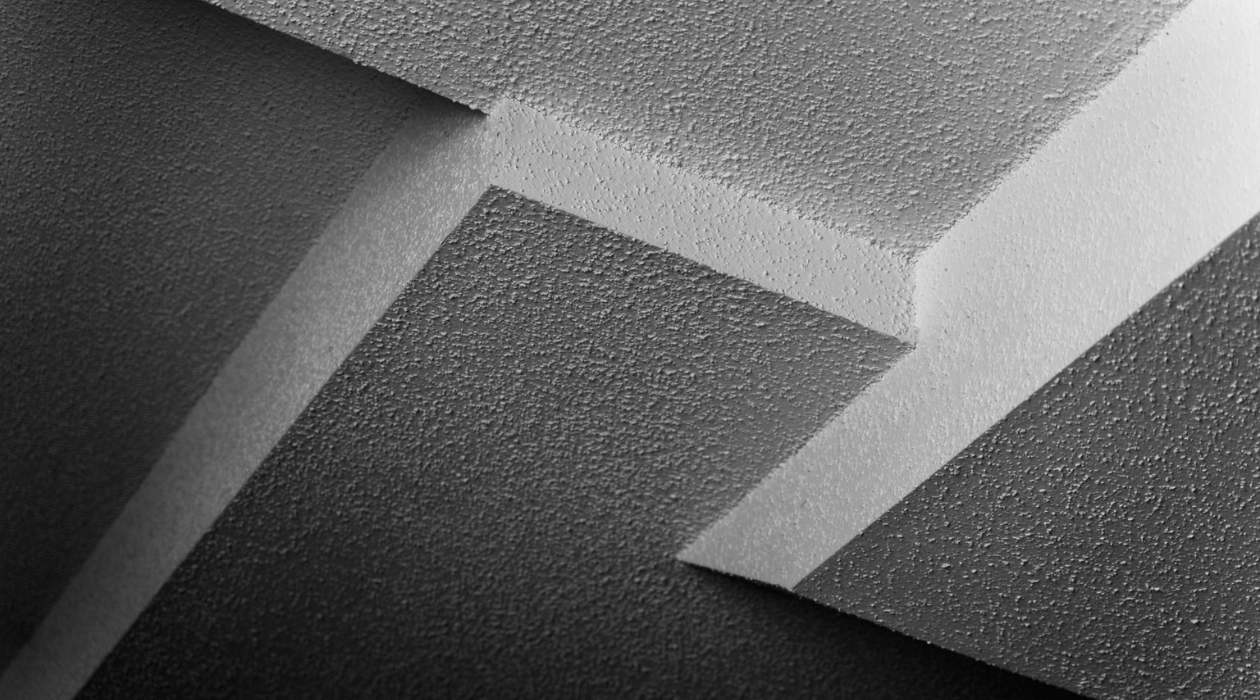
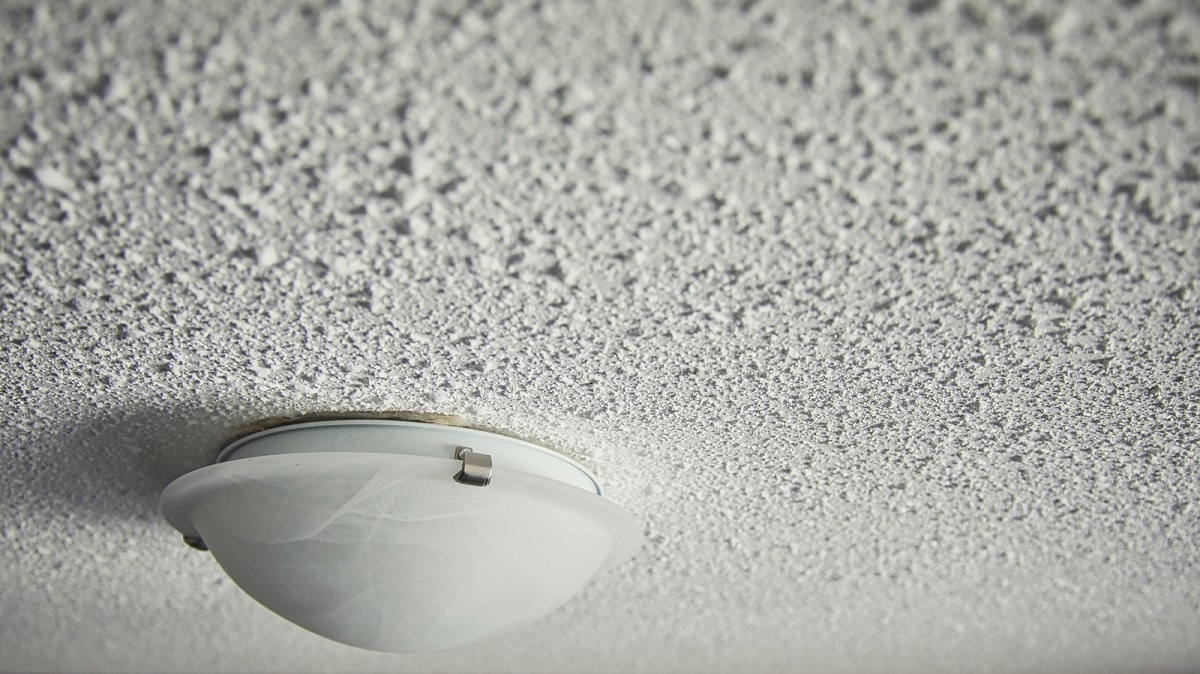
A popcorn ceiling, also known as a textured or stipple ceiling, was a popular design choice in the mid-20th century. The textured surface was primarily used to cover imperfections and add a unique aesthetic to a room. However, over time, popcorn ceilings can accumulate dust, stains, and even mold or mildew, making them unsightly and potentially hazardous to your health.
Cleaning a popcorn ceiling may seem like a daunting task, but with the right techniques and materials, you can restore its original beauty. In this article, we will guide you through the step-by-step process of cleaning a popcorn ceiling, from preparing the area to washing and drying the ceiling.
Before we get started, it is important to note that if your popcorn ceiling contains asbestos, you should not attempt to clean it yourself. Asbestos is a hazardous material and requires professional removal. Always check with a certified professional before dealing with asbestos-containing materials.
That being said, if your popcorn ceiling is asbestos-free, let’s dive into the materials and steps you’ll need to follow to effectively clean it.
Key Takeaways:
- Regular cleaning of your popcorn ceiling not only maintains its appearance but also prevents potential issues like mold and mildew growth, ensuring a healthy living environment.
- Proper preparation, gentle cleaning techniques, and addressing specific stains are key to effectively restoring the beauty of your popcorn ceiling.
Read more: How To Scrape Popcorn Ceiling
Materials Needed
Cleaning a popcorn ceiling requires a few essential materials to ensure a successful and safe process. Here are the materials you’ll need:
- Drop cloths or plastic sheeting: These will protect your furniture, floors, and walls from any water or cleaning solution splatters.
- Ladder or step stool: Since popcorn ceilings are typically higher up, you’ll need a sturdy and stable ladder or step stool to reach the ceiling.
- Plastic spray bottle: This will be used to apply water or cleaning solution onto the ceiling.
- Soft bristle brush or broom: Choose a brush or broom with soft bristles to gently remove dust and debris from the ceiling without damaging the texture.
- Mild detergent or cleaning solution: Look for a mild detergent or specialized cleaning solution that is safe for use on painted surfaces. Avoid using harsh chemicals that could discolor or damage the ceiling.
- White vinegar: Vinegar is a natural and effective cleaning agent that can remove stains and kill mold or mildew.
- Clean, white cloths or sponges: These will be used to apply the cleaning solution or vinegar to the ceiling and gently scrub away stains.
- Bucket or basin: You’ll need a bucket or basin to mix the cleaning solution or vinegar with water.
- Fan or air circulation system: After cleaning the ceiling, you’ll want to ensure proper air circulation to aid in drying.
- Protective gear: To protect yourself during the cleaning process, consider wearing safety goggles, a dust mask, and gloves.
Having these materials ready before you begin the cleaning process will make it easier and more efficient to clean your popcorn ceiling.
Step 1: Preparing the Area
Before you start cleaning your popcorn ceiling, it’s important to properly prepare the area to prevent any damage to your furniture, floors, or walls. Follow these steps to prepare the area:
- Remove any furniture or objects from the room: Clear the room of any furniture, decorations, or objects that may hinder the cleaning process. If moving everything out is not possible, cover the items with drop cloths or plastic sheeting to protect them from any splatters.
- Cover the floors: Place drop cloths or plastic sheeting on the floor beneath the area you will be cleaning. This will catch any debris or liquid that may fall during the cleaning process.
- Protect the walls: Apply masking tape or painter’s tape along the bottom edges of the walls where they meet the ceiling. This will create a protective barrier and prevent any cleaning solution from dripping onto the walls.
- Turn off ceiling fans and lights: Before you begin cleaning, turn off any ceiling fans or lights in the room to avoid accidents or damage to electrical fixtures.
- Wear protective gear: Put on safety goggles, a dust mask, and gloves to protect yourself from any debris that may fall or be released during the cleaning process.
By properly preparing the area, you can minimize the risk of accidental damage and ensure a smooth and safe cleaning experience.
Step 2: Dusting the Ceiling
Before you begin the actual cleaning process, it’s important to remove any dust or loose debris from the popcorn ceiling. Dusting the ceiling will make the cleaning process more effective and prevent the buildup of dirt and grime. Follow these steps to dust your popcorn ceiling:
- Use a soft bristle brush or broom: Choose a brush or broom with soft bristles to avoid damaging the texture of the popcorn ceiling. Make sure the bristles are clean and free from any debris.
- Start from the top: Begin dusting the ceiling from the top corner of the room and work your way down. This will prevent dust from falling onto already-cleaned areas.
- Use gentle strokes: Gently sweep the brush or broom over the popcorn texture in a side-to-side motion. Avoid applying too much pressure as it may dislodge the texture.
- Work in small sections: Divide the ceiling into manageable sections and focus on dusting one section at a time. This will ensure thorough cleaning without feeling overwhelmed.
- Use a vacuum with a soft brush attachment (optional): If you have a vacuum cleaner with a soft brush attachment, you can use it on the lowest setting to remove any remaining dust from the ceiling. Be careful not to press too hard or create suction that may damage the texture.
- Dispose of the dust: As you dust, the debris will fall onto the drop cloths or plastic sheeting you placed on the floor. Once you’ve completed the dusting process, carefully fold up the drop cloths or sheeting and dispose of the dust in a trash bag.
By thoroughly dusting your popcorn ceiling, you’ll create a clean surface for the next steps of the cleaning process. This will ensure that the cleaning solutions and stain removal techniques are more effective in restoring the ceiling’s appearance.
Step 3: Removing Stains and Spots
Popcorn ceilings can often develop stains and spots over time, whether from water damage, smoke, or other sources. In this step, we will focus on effectively removing these stains and spots to restore the pristine look of your ceiling. Follow these steps to remove stains and spots from your popcorn ceiling:
- Identify the type of stain: Different stains require different cleaning methods. Water stains, for example, may require a different approach than nicotine or grease stains. Identify the type of stain you’re dealing with to determine the best cleaning solution.
- Prepare the cleaning solution: Depending on the type of stain, you can create a cleaning solution using mild detergent or by diluting white vinegar with water. Mix the solution in a bucket or basin according to the manufacturer’s instructions or the appropriate ratio.
- Apply the cleaning solution to the stain: Using a clean, white cloth or sponge, dip it into the cleaning solution and gently press it onto the stain. Avoid rubbing or scrubbing too vigorously as it may damage the popcorn texture.
- Let the solution sit: Allow the cleaning solution to sit on the stain for a few minutes to penetrate and loosen the stain. This will help in the subsequent cleaning process.
- Gently blot the area: After letting the solution sit, gently blot the stained area with the cloth or sponge. Be careful not to apply too much pressure or saturate the ceiling excessively. Blotting is preferred over rubbing to prevent spreading the stain or damaging the texture.
- Repeat if necessary: If the stain persists, you can repeat the process of applying the cleaning solution and blotting. However, avoid scrubbing aggressively as it may cause further damage to the popcorn texture.
- Rinse with clean water: Once the stain has been removed, dampen a clean cloth or sponge with clean water and gently wipe the area to rinse off any residual cleaning solution.
- Allow to dry: Give the ceiling sufficient time to air dry before proceeding to the next step. You can use a fan or open windows to promote airflow and aid in the drying process.
By following these steps, you can effectively remove stains and spots from your popcorn ceiling and restore its original appearance. Remember to always test any cleaning solution on a small, inconspicuous area first to ensure it doesn’t cause any undesirable effects on the ceiling.
Read more: How To Redo A Popcorn Ceiling
Step 4: Cleaning Grease and Cooking Residue
Kitchen areas, especially those near stovetops and cooking areas, can accumulate grease and cooking residue on popcorn ceilings. These stains can be stubborn and require a specific approach to effectively remove them. Follow these steps to clean grease and cooking residue from your popcorn ceiling:
- Prep the area: Place drop cloths or plastic sheeting on the floor and cover any nearby furniture or appliances to protect them from cleaning solutions and potential drips.
- Prepare the cleaning solution: In a bucket or basin, mix a solution of warm water and mild dish detergent. Use a ratio of approximately 1 tablespoon of detergent per gallon of water.
- Dip a sponge or cloth: Dip a clean, white cloth or sponge into the cleaning solution and gently squeeze out any excess liquid. The cloth or sponge should be damp but not dripping.
- Gently wipe the affected areas: Starting from the edge of the grease or cooking residue stain, gently wipe the area with the damp cloth or sponge. Use gentle, circular motions without applying too much pressure to avoid damaging the popcorn texture.
- Rinse the cloth or sponge regularly: As the cloth or sponge becomes soiled, rinse it out in clean water and wring out any excess liquid. This will prevent spreading grease or residue on other areas of the ceiling.
- Continue wiping until the stain is removed: Repeat the process of wiping with the damp cloth or sponge, rinsing, and wringing out until the grease or cooking residue stain is completely removed.
- Rinse with clean water: Once the stain is gone, dampen a clean cloth or sponge with clean water and gently wipe the area to remove any leftover cleaning solution.
- Air dry the ceiling: Allow the ceiling to air dry completely before moving on to the next step. You can help speed up the drying process by using a fan or opening windows to improve air circulation.
By following these steps, you can effectively clean grease and cooking residue from your popcorn ceiling. Regularly cleaning your ceiling in high-grease areas will help maintain its cleanliness and prevent the buildup of stubborn residue.
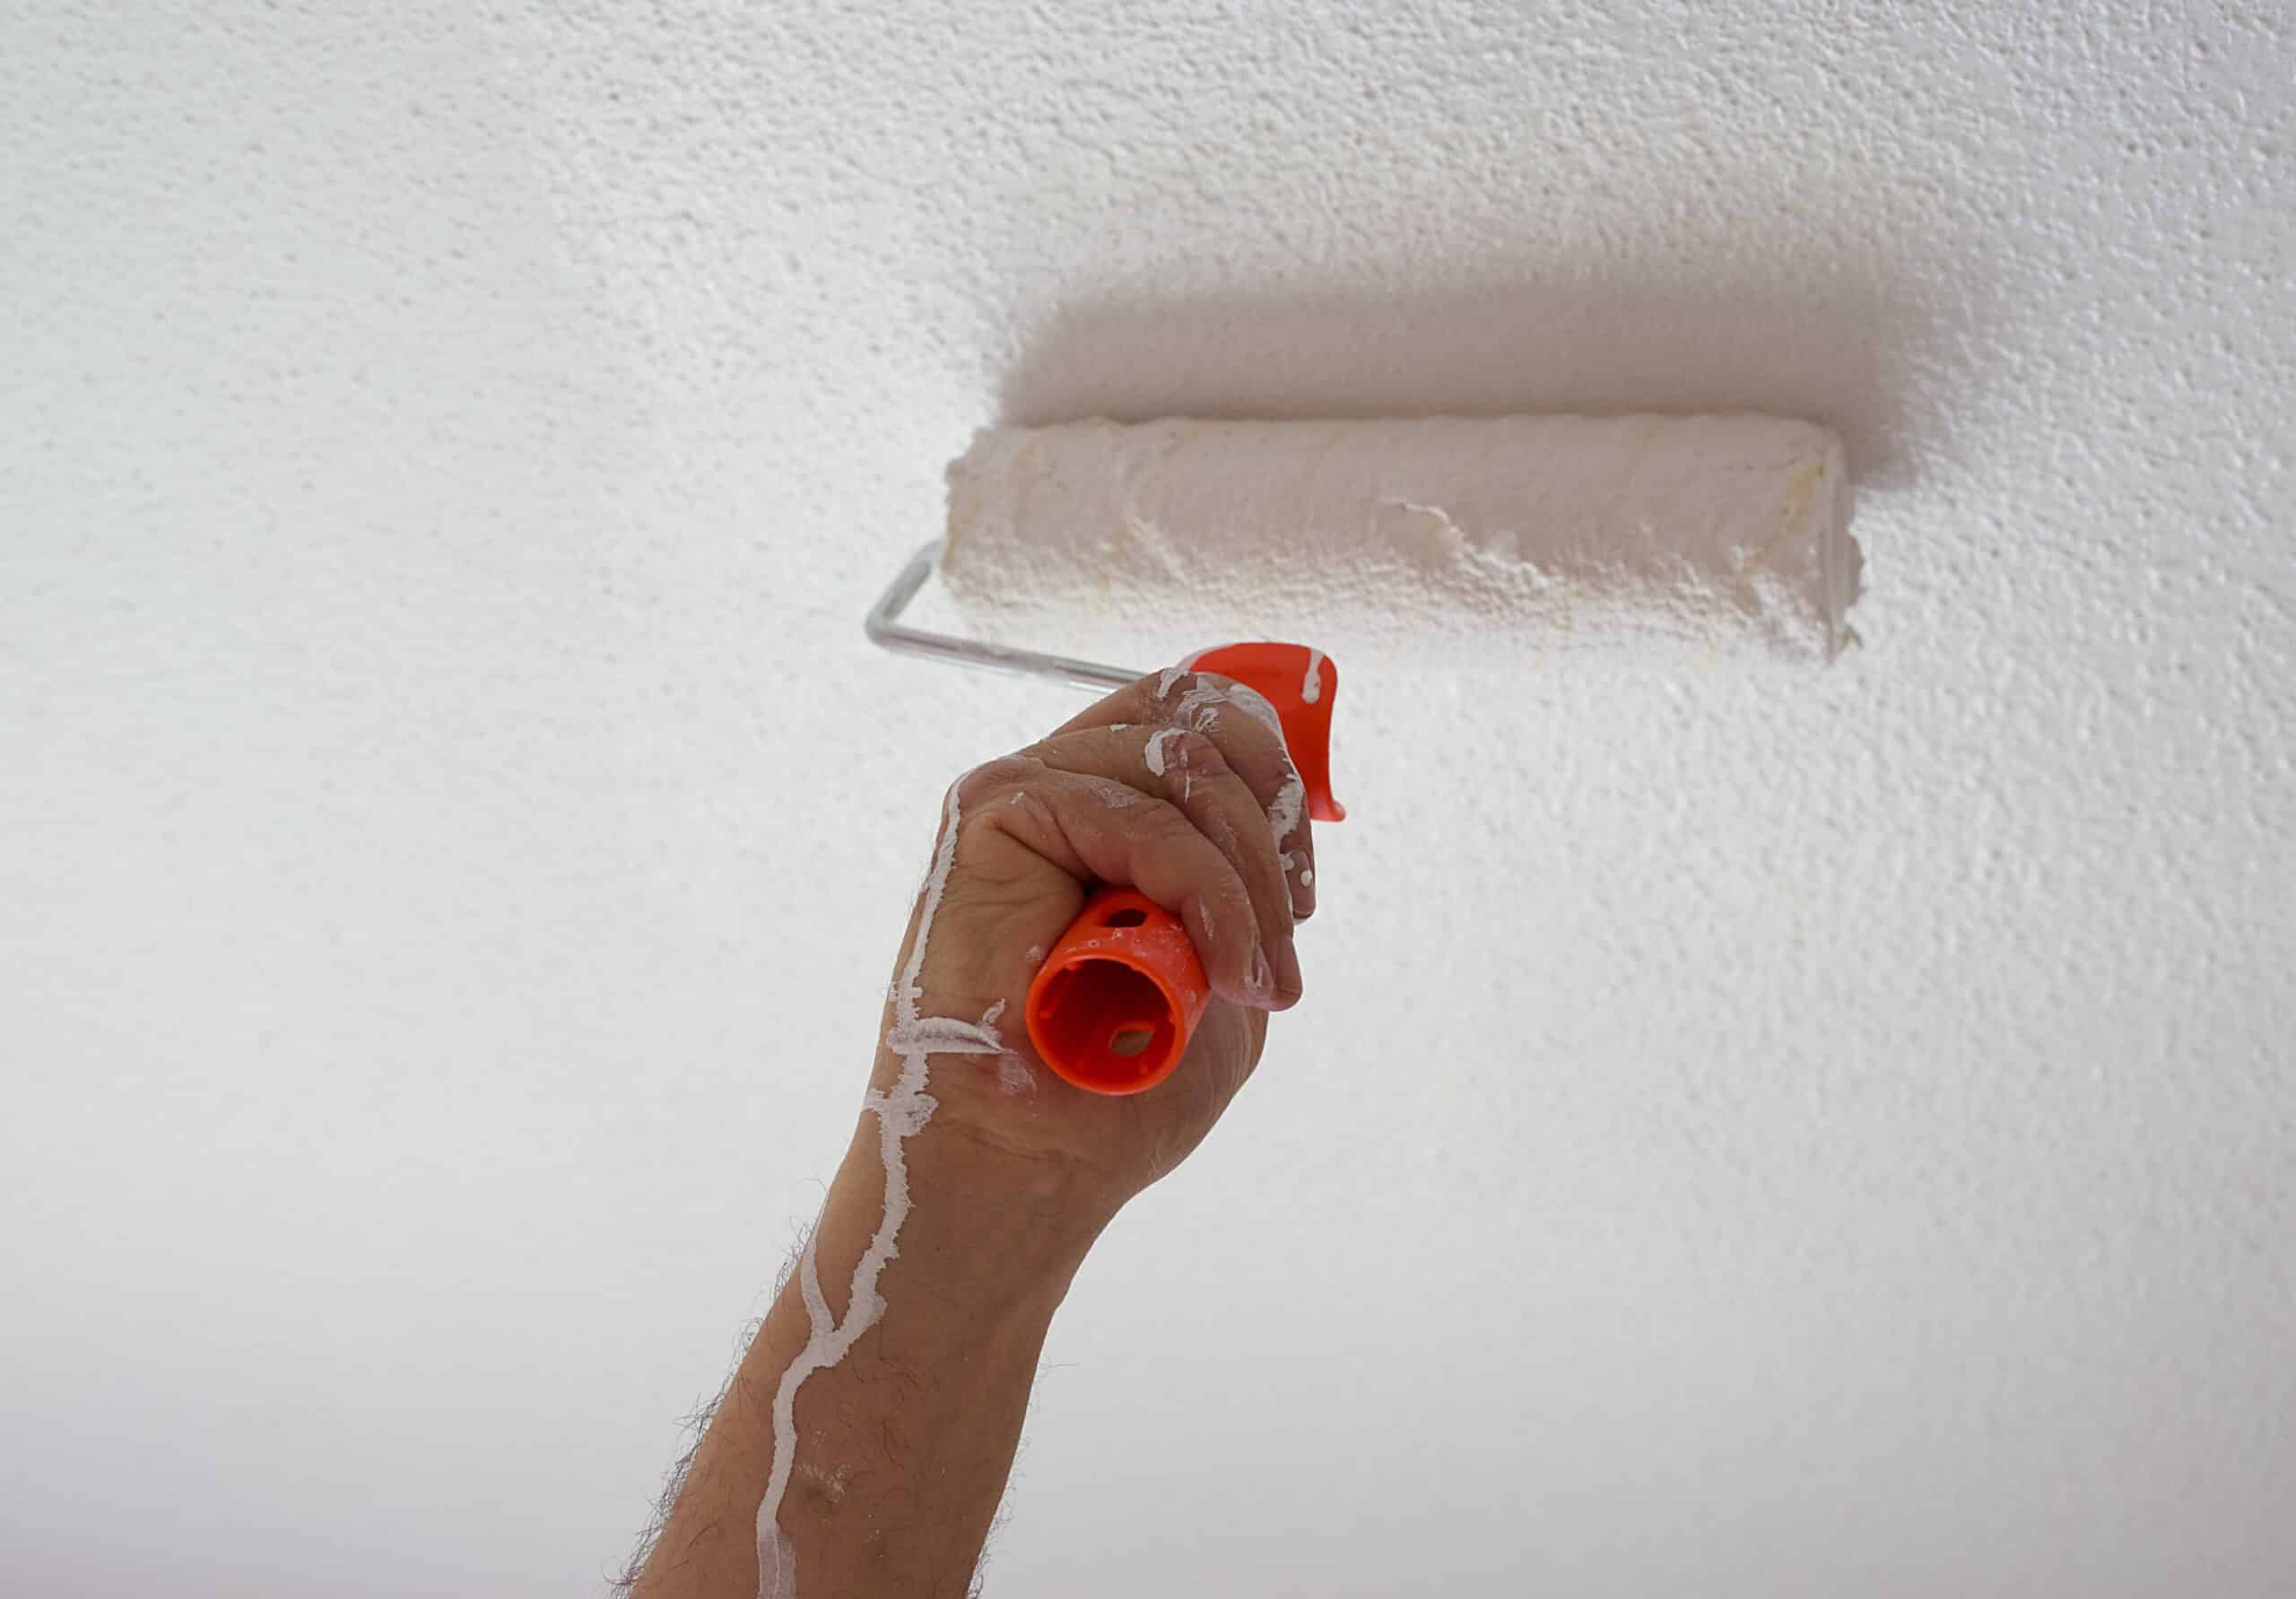
Use a soft-bristled brush or vacuum with a brush attachment to gently remove dust and cobwebs from the popcorn ceiling. Avoid using water or harsh cleaning products to prevent damage to the texture.
Step 5: Cleaning Smoke and Nicotine Stains
Smoke and nicotine stains on popcorn ceilings can be challenging to remove due to their discoloration and stubborn nature. However, with the right approach, you can restore the beauty of your ceiling. Follow these steps to clean smoke and nicotine stains from your popcorn ceiling:
- Prep the area: Place drop cloths or plastic sheeting on the floor and cover any nearby furniture or appliances to protect them from cleaning solutions and potential drips.
- Create a cleaning solution: In a spray bottle, mix equal parts of water and white vinegar. Vinegar is a natural and effective cleaner that can help remove smoke and nicotine stains.
- Test in an inconspicuous area: Before applying the cleaning solution to the entire stain, test it on a small, hidden area of the ceiling to ensure it doesn’t cause any discoloration or damage.
- Spray the cleaning solution: Spray the vinegar and water solution directly onto the smoke or nicotine stain. Let it sit for a few minutes to penetrate the stain.
- Gently wipe the stain: Using a clean, white cloth or sponge, gently wipe the stain in a circular motion. Avoid applying excessive pressure or rubbing too vigorously to prevent damage to the texture.
- Rinse with clean water: Dampen a clean cloth or sponge with clean water and gently wipe the area to remove any residual vinegar solution.
- Repeat if necessary: If the stain is still visible, you can repeat the process of spraying the cleaning solution, letting it sit, and wiping gently. However, give the ceiling time to dry thoroughly before attempting another round of cleaning.
- Allow the ceiling to dry: After cleaning, allow the ceiling to air dry completely. Use a fan or open windows to improve ventilation and speed up the drying process.
By following these steps, you can effectively clean smoke and nicotine stains from your popcorn ceiling. However, if the stains are severe or persistent, you may need to consider repainting or seeking professional assistance to achieve the desired results.
Step 6: Dealing with Water Stains
Water stains on popcorn ceilings are not only unsightly but can also indicate a potential water leak or moisture issue. It’s important to address these stains promptly to prevent further damage and prevent the growth of mold and mildew. Follow these steps to effectively deal with water stains on your popcorn ceiling:
- Identify the source of the water stain: Before you begin the cleaning process, it’s crucial to identify and address the cause of the water stain. Look for any leaks or areas of water damage on your roof or plumbing system. Fixing the source of the water leak is crucial to prevent future stains.
- Prep the area: Place drop cloths or plastic sheeting on the floor and cover any nearby furniture or appliances to protect them from any potential drips or cleaning solutions.
- Create a bleach solution: In a spray bottle, mix equal parts of water and bleach. Bleach can help kill any mold or mildew that may have developed due to the water stain.
- Test in an inconspicuous area: Before applying the bleach solution to the entire stain, test it on a small, hidden area of the ceiling to ensure it doesn’t cause any discoloration or damage.
- Spray the bleach solution: Spray the bleach solution directly onto the water stain. Allow it to sit for a few minutes to penetrate and kill any mold or mildew.
- Gently wipe the stain: Using a clean, white cloth or sponge, gently wipe the stain in a circular motion. Be careful not to apply excessive pressure or scrub too vigorously, as it may damage the popcorn texture.
- Rinse with clean water: Dampen a clean cloth or sponge with clean water and gently wipe the area to remove any residual bleach solution.
- Allow the ceiling to dry: After cleaning, allow the ceiling to air dry completely. Use a fan or open windows to improve air circulation and speed up the drying process.
- Inspect for further damage: Once the ceiling is dry, inspect it for any remaining signs of water damage or potential areas of concern. If you notice any lingering water stains or additional issues, consult a professional to address the problem.
By following these steps, you can effectively deal with water stains on your popcorn ceiling. Remember to address the source of the water leak to prevent future stains and ensure the structural integrity of your home.
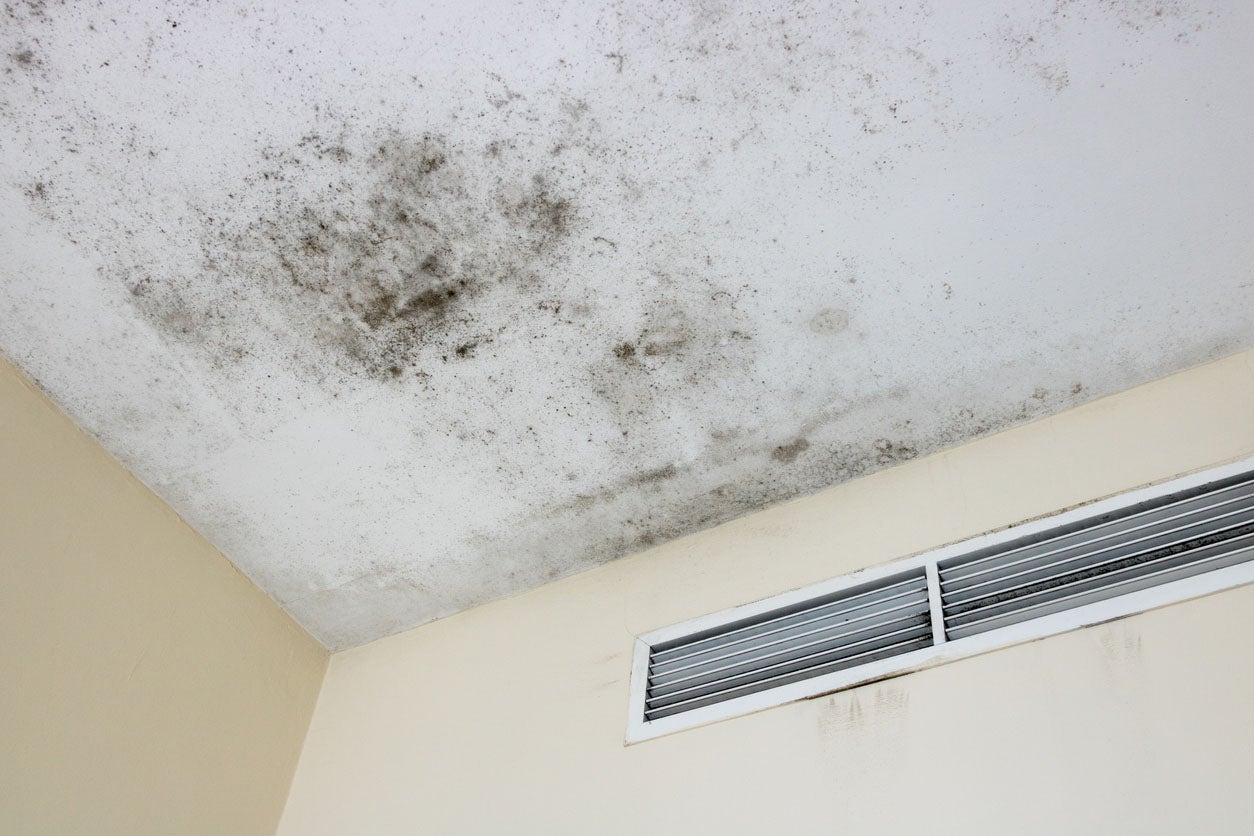
Step 7: Cleaning Mold and Mildew
Finding mold and mildew on your popcorn ceiling can be concerning, as it not only affects the appearance but also poses health risks. It’s crucial to address mold and mildew promptly and take appropriate measures to clean and prevent its growth. Follow these steps to effectively clean mold and mildew from your popcorn ceiling:
- Wear protective gear: Before you start cleaning, put on safety goggles, a dust mask, and gloves to protect yourself from mold spores and cleaning solutions.
- Prep the area: Place drop cloths or plastic sheeting on the floor and cover any nearby furniture or appliances to protect them from any potential drips or cleaning solutions.
- Mix a cleaning solution: In a spray bottle, combine equal parts of water and white vinegar. Vinegar is a natural cleaner and can help kill mold and mildew.
- Test in an inconspicuous area: Before applying the cleaning solution to the entire area, test it on a small, hidden section of the ceiling to ensure it won’t cause any discoloration or damage to the popcorn texture.
- Spray the cleaning solution: Spray the vinegar and water solution directly onto the mold and mildew spots. Make sure to thoroughly saturate the affected area.
- Scrub the affected area: Using a soft-bristled brush or sponge, gently scrub the mold and mildew spots in a circular motion. Be careful not to apply too much pressure to avoid damaging the popcorn texture.
- Rinse with clean water: Dampen a clean cloth or sponge with clean water and gently wipe the area to remove any residual cleaning solution.
- Inspect for further mold growth: After cleaning, thoroughly inspect the ceiling for any signs of remaining mold or mildew. If you notice any lingering growth or spread, it’s recommended to consult a professional mold remediation specialist.
- Maintain proper ventilation and moisture control: To prevent future mold and mildew growth, ensure proper ventilation in the room and address any excess moisture issues. Use exhaust fans in high-moisture areas, fix any leaks promptly, and control humidity levels.
By following these steps, you can effectively clean mold and mildew from your popcorn ceiling and minimize the risk of further growth. Remember to take preventive measures to maintain a healthy and mold-free environment.
Read more: How To Do Popcorn Ceiling
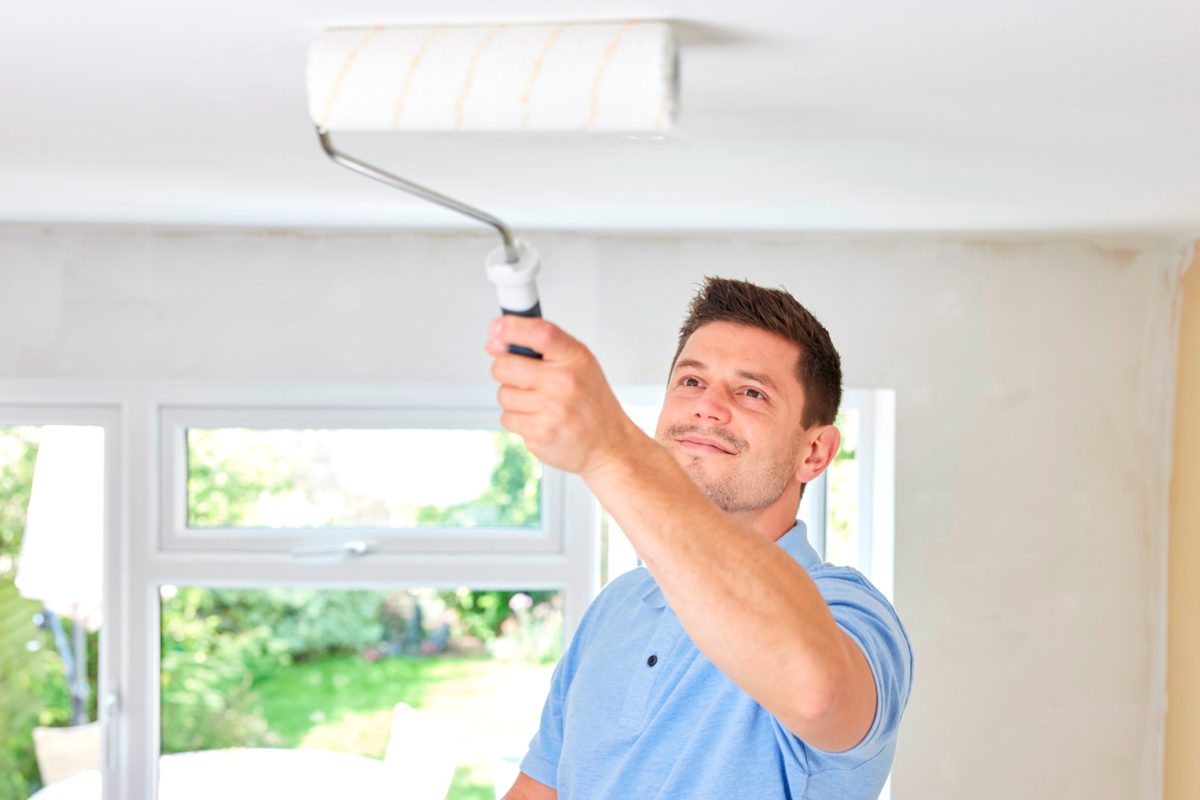
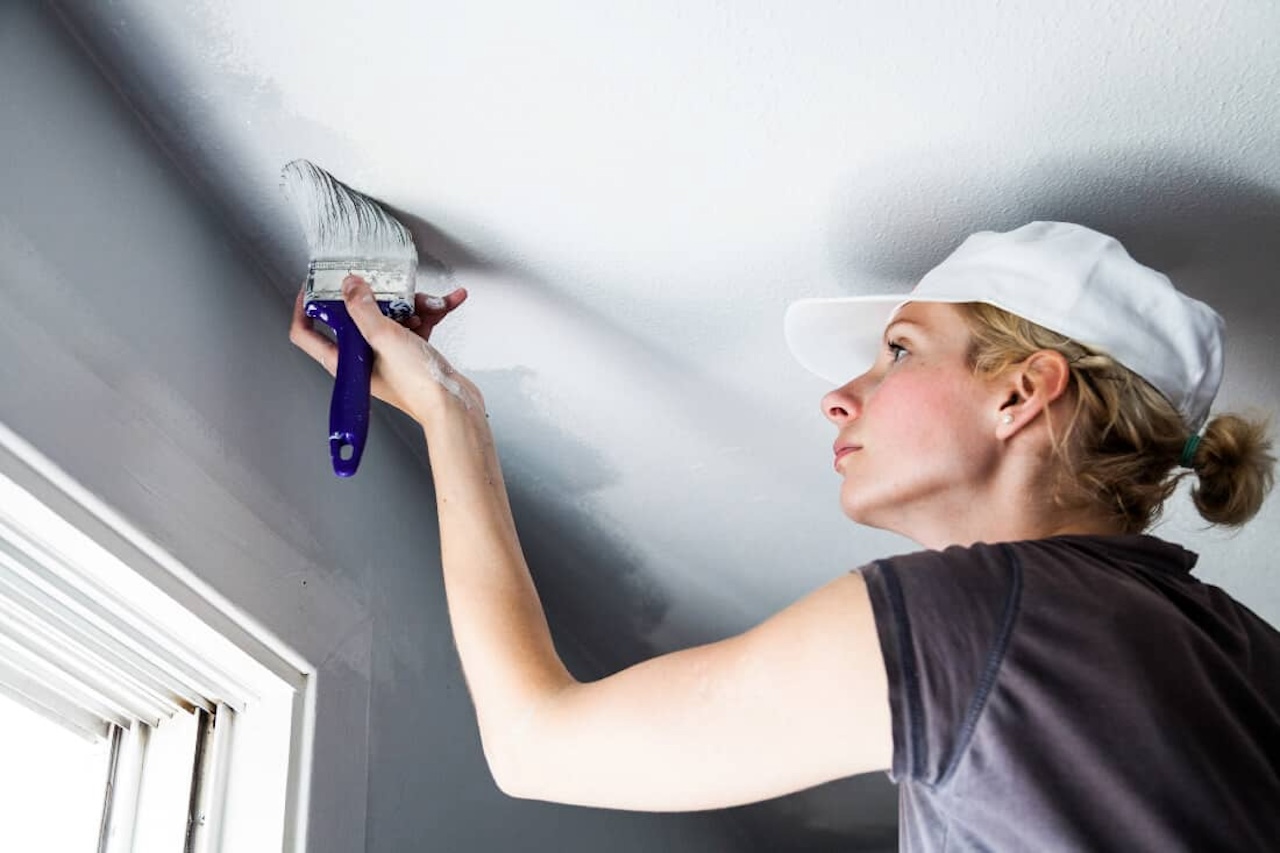
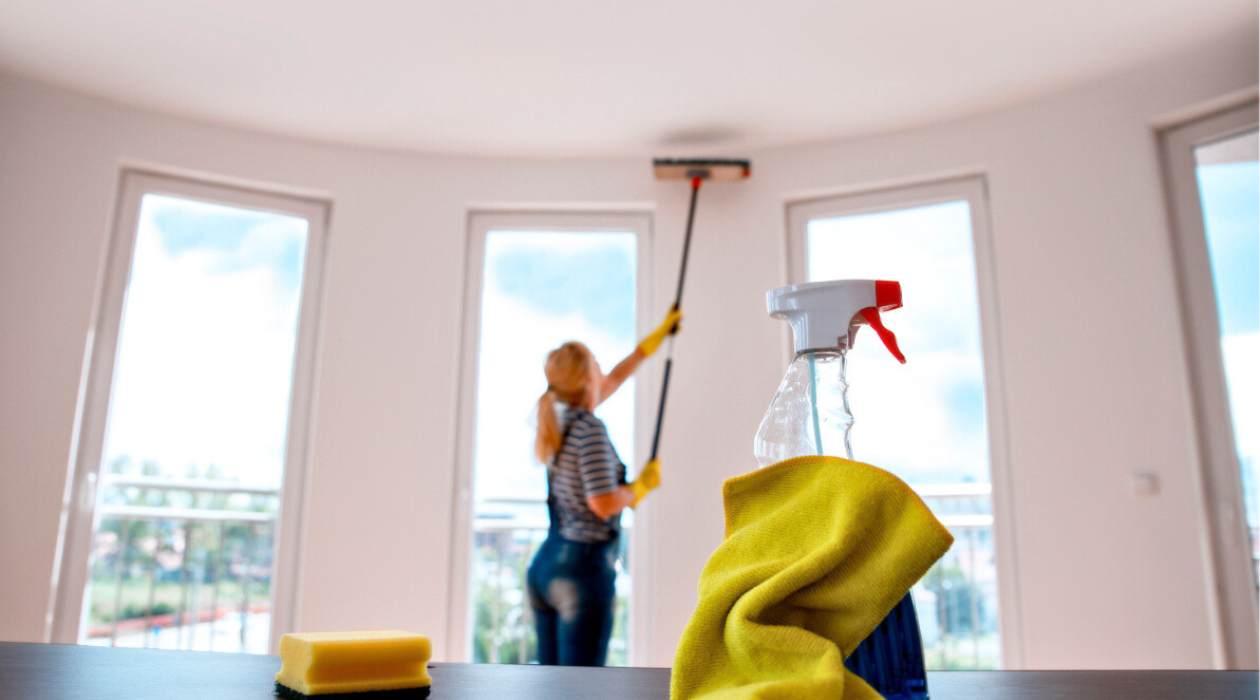
Step 8: Washing the Ceiling
After addressing stains, dirt, and mold on your popcorn ceiling, it’s time to give it a thorough washing to remove any remaining residue and achieve a clean and fresh look. Follow these steps to effectively wash your popcorn ceiling:
- Prep the area: Place drop cloths or plastic sheeting on the floor and cover any nearby furniture or appliances to protect them from any potential drips or cleaning solutions.
- Fill a spray bottle with warm water: Using a spray bottle, fill it with warm water. You can add a small amount of mild dish detergent or vinegar to enhance the cleaning power.
- Spray the ceiling: Begin at one corner of the ceiling and spray the water onto a small section of the popcorn surface. Avoid saturating the ceiling excessively.
- Gently wipe with a cloth or sponge: Using a clean, white cloth or sponge, gently wipe the sprayed section of the ceiling in a circular motion. This process helps remove any remaining residue and dirt.
- Rinse and repeat: After wiping a section, rinse the cloth or sponge with clean water and wring out any excess liquid. Repeat the process of spraying, wiping, rinsing, and wringing for the entire ceiling.
- Change the water if necessary: If the water in the spray bottle becomes too dirty or soapy, replace it with fresh water and cleaning solution to maintain effective cleaning.
- Pay attention to corners and edges: Ensure to thoroughly clean the corners and edges of the popcorn ceiling, as these areas tend to accumulate more dust and dirt.
- Dry the ceiling: After washing, allow the ceiling to air dry completely. You can assist the drying process by using fans or opening windows to improve airflow.
- Inspect for any remaining stains or dirt: Once the ceiling is dry, inspect it thoroughly to ensure that all stains, dirt, and residue have been removed. If necessary, repeat the washing process for any stubborn areas.
By following these steps, you can effectively wash your popcorn ceiling and restore its cleanliness. Regular ceiling washing maintenance will help keep your popcorn ceiling looking fresh and free from dirt and stains.
Step 9: Drying and Finishing Touches
After washing your popcorn ceiling, it’s important to properly dry it and add some finishing touches to ensure a polished and clean appearance. Follow these steps to complete the cleaning process:
- Allow the ceiling to air dry: After washing, give the ceiling sufficient time to air dry. Avoid using excessive heat or fans directly on the ceiling as it may cause the texture to loosen or peel.
- Inspect for any remaining moisture: Before proceeding with any finishing touches, ensure that the ceiling is completely dry. Look for any signs of moisture or dampness, especially in corners or areas with poor ventilation.
- Check for any touch-ups: Once the ceiling is dry, inspect it for any missed spots or areas that may require additional cleaning or stain removal. Address these areas before moving on to finishing touches.
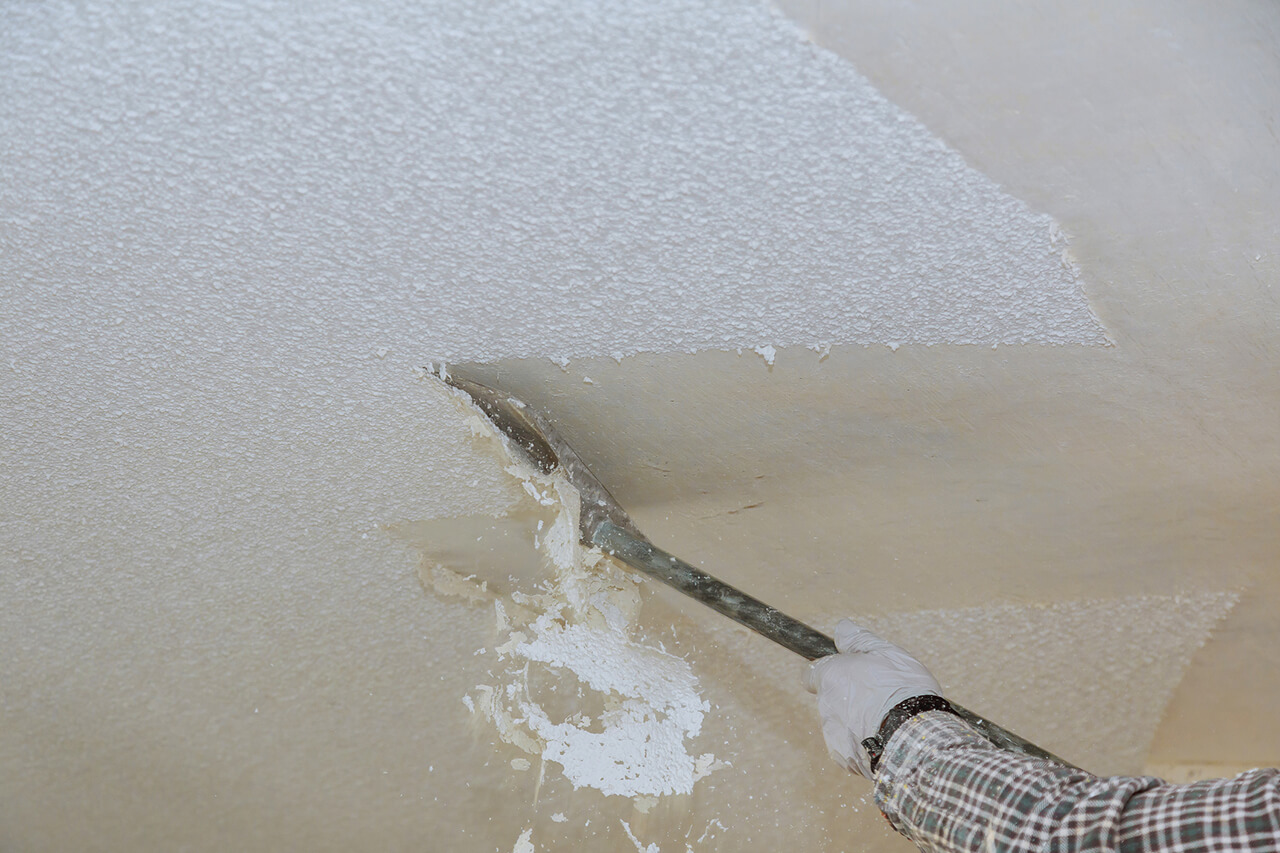
- Repair or touch up the texture if needed: If the washing process caused any damage or loosened the popcorn texture, you may need to repair or touch up those areas. Consult a professional if you’re unsure about how to properly repair the texture.
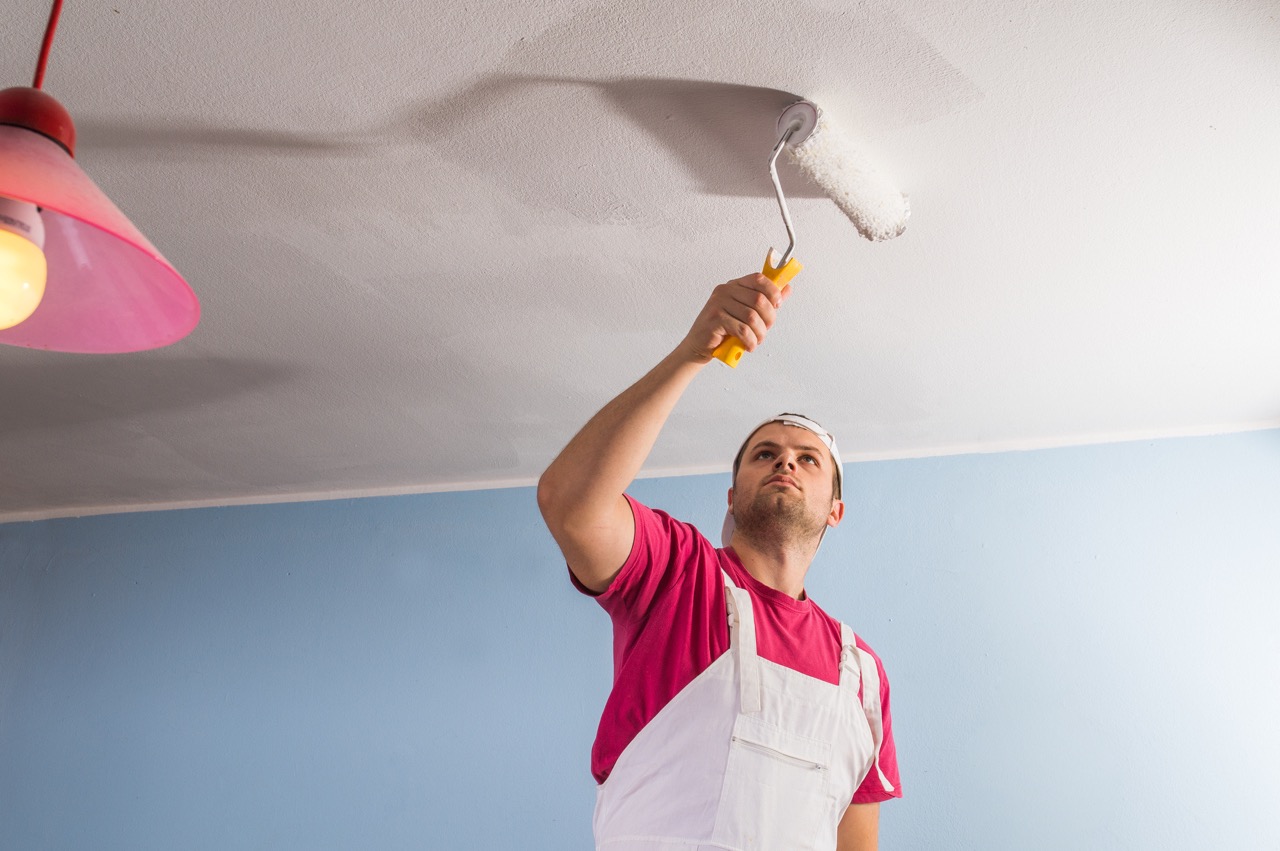
- Paint or seal the ceiling (optional): If desired, you can paint or seal the cleaned popcorn ceiling to enhance its appearance and protect against future stains. Choose a paint or sealant that is specifically formulated for textured ceilings.
- Replace any removed fixtures: If you had to remove light fixtures or other ceiling-mounted objects during the cleaning process, reattach them securely once the ceiling is completely dry.
- Dispose of drop cloths or plastic sheeting: Carefully remove the drop cloths or plastic sheeting used to protect the floors and furniture during the cleaning process. Dispose of any debris or cleaning materials appropriately.
- Enjoy your refreshed ceiling: Stand back and admire your freshly cleaned popcorn ceiling. The hard work and attention to detail will result in a beautifully restored and clean ceiling.
By following these steps and completing the drying process, you can add finishing touches to your popcorn ceiling and fully complete the cleaning endeavor. With a clean and polished ceiling, you’ll enjoy a renewed sense of freshness and beauty in your space.
Conclusion
Cleaning a popcorn ceiling may initially seem like a daunting task, but with the right materials, techniques, and patience, you can restore its beauty and make your living space more inviting. Regular cleaning not only keeps your popcorn ceiling looking fresh but also helps maintain its integrity and prevent potential issues like mold and mildew growth.
In this comprehensive guide, we have covered various steps to effectively clean a popcorn ceiling. From preparing the area and dusting the ceiling to removing stains and addressing specific issues like grease, smoke, water stains, mold, and mildew, each step has its own importance in the cleaning process. By following the provided instructions and tips, you can tackle these challenges and achieve the desired results.
Remember, safety should always be a priority when cleaning a popcorn ceiling. Wear appropriate protective gear, test cleaning solutions in inconspicuous areas, and, if needed, consult professionals for specialized cleaning or repair needs. Additionally, it’s crucial to address the source of any stains or issues, such as water leaks or excessive moisture, to prevent future damage and maintain a healthy environment.
By dedicating time and effort to clean your popcorn ceiling, you can create a visually appealing and fresh living space. So, roll up your sleeves, gather the necessary materials, and transform your popcorn ceiling into a pristine feature that enhances the overall aesthetics of your home.
Frequently Asked Questions about How To Clean A Popcorn Ceiling
Was this page helpful?
At Storables.com, we guarantee accurate and reliable information. Our content, validated by Expert Board Contributors, is crafted following stringent Editorial Policies. We're committed to providing you with well-researched, expert-backed insights for all your informational needs.
0 thoughts on “How To Clean A Popcorn Ceiling”