Home>Storage Ideas>Kitchen Storage>How To Clean Popcorn Ceilings Without Creating More Of A Mess
Kitchen Storage
How To Clean Popcorn Ceilings Without Creating More Of A Mess
Modified: August 28, 2024
Learn how to clean popcorn ceilings in your kitchen without making a bigger mess with our helpful kitchen storage ideas.
(Many of the links in this article redirect to a specific reviewed product. Your purchase of these products through affiliate links helps to generate commission for Storables.com, at no extra cost. Learn more)
Introduction
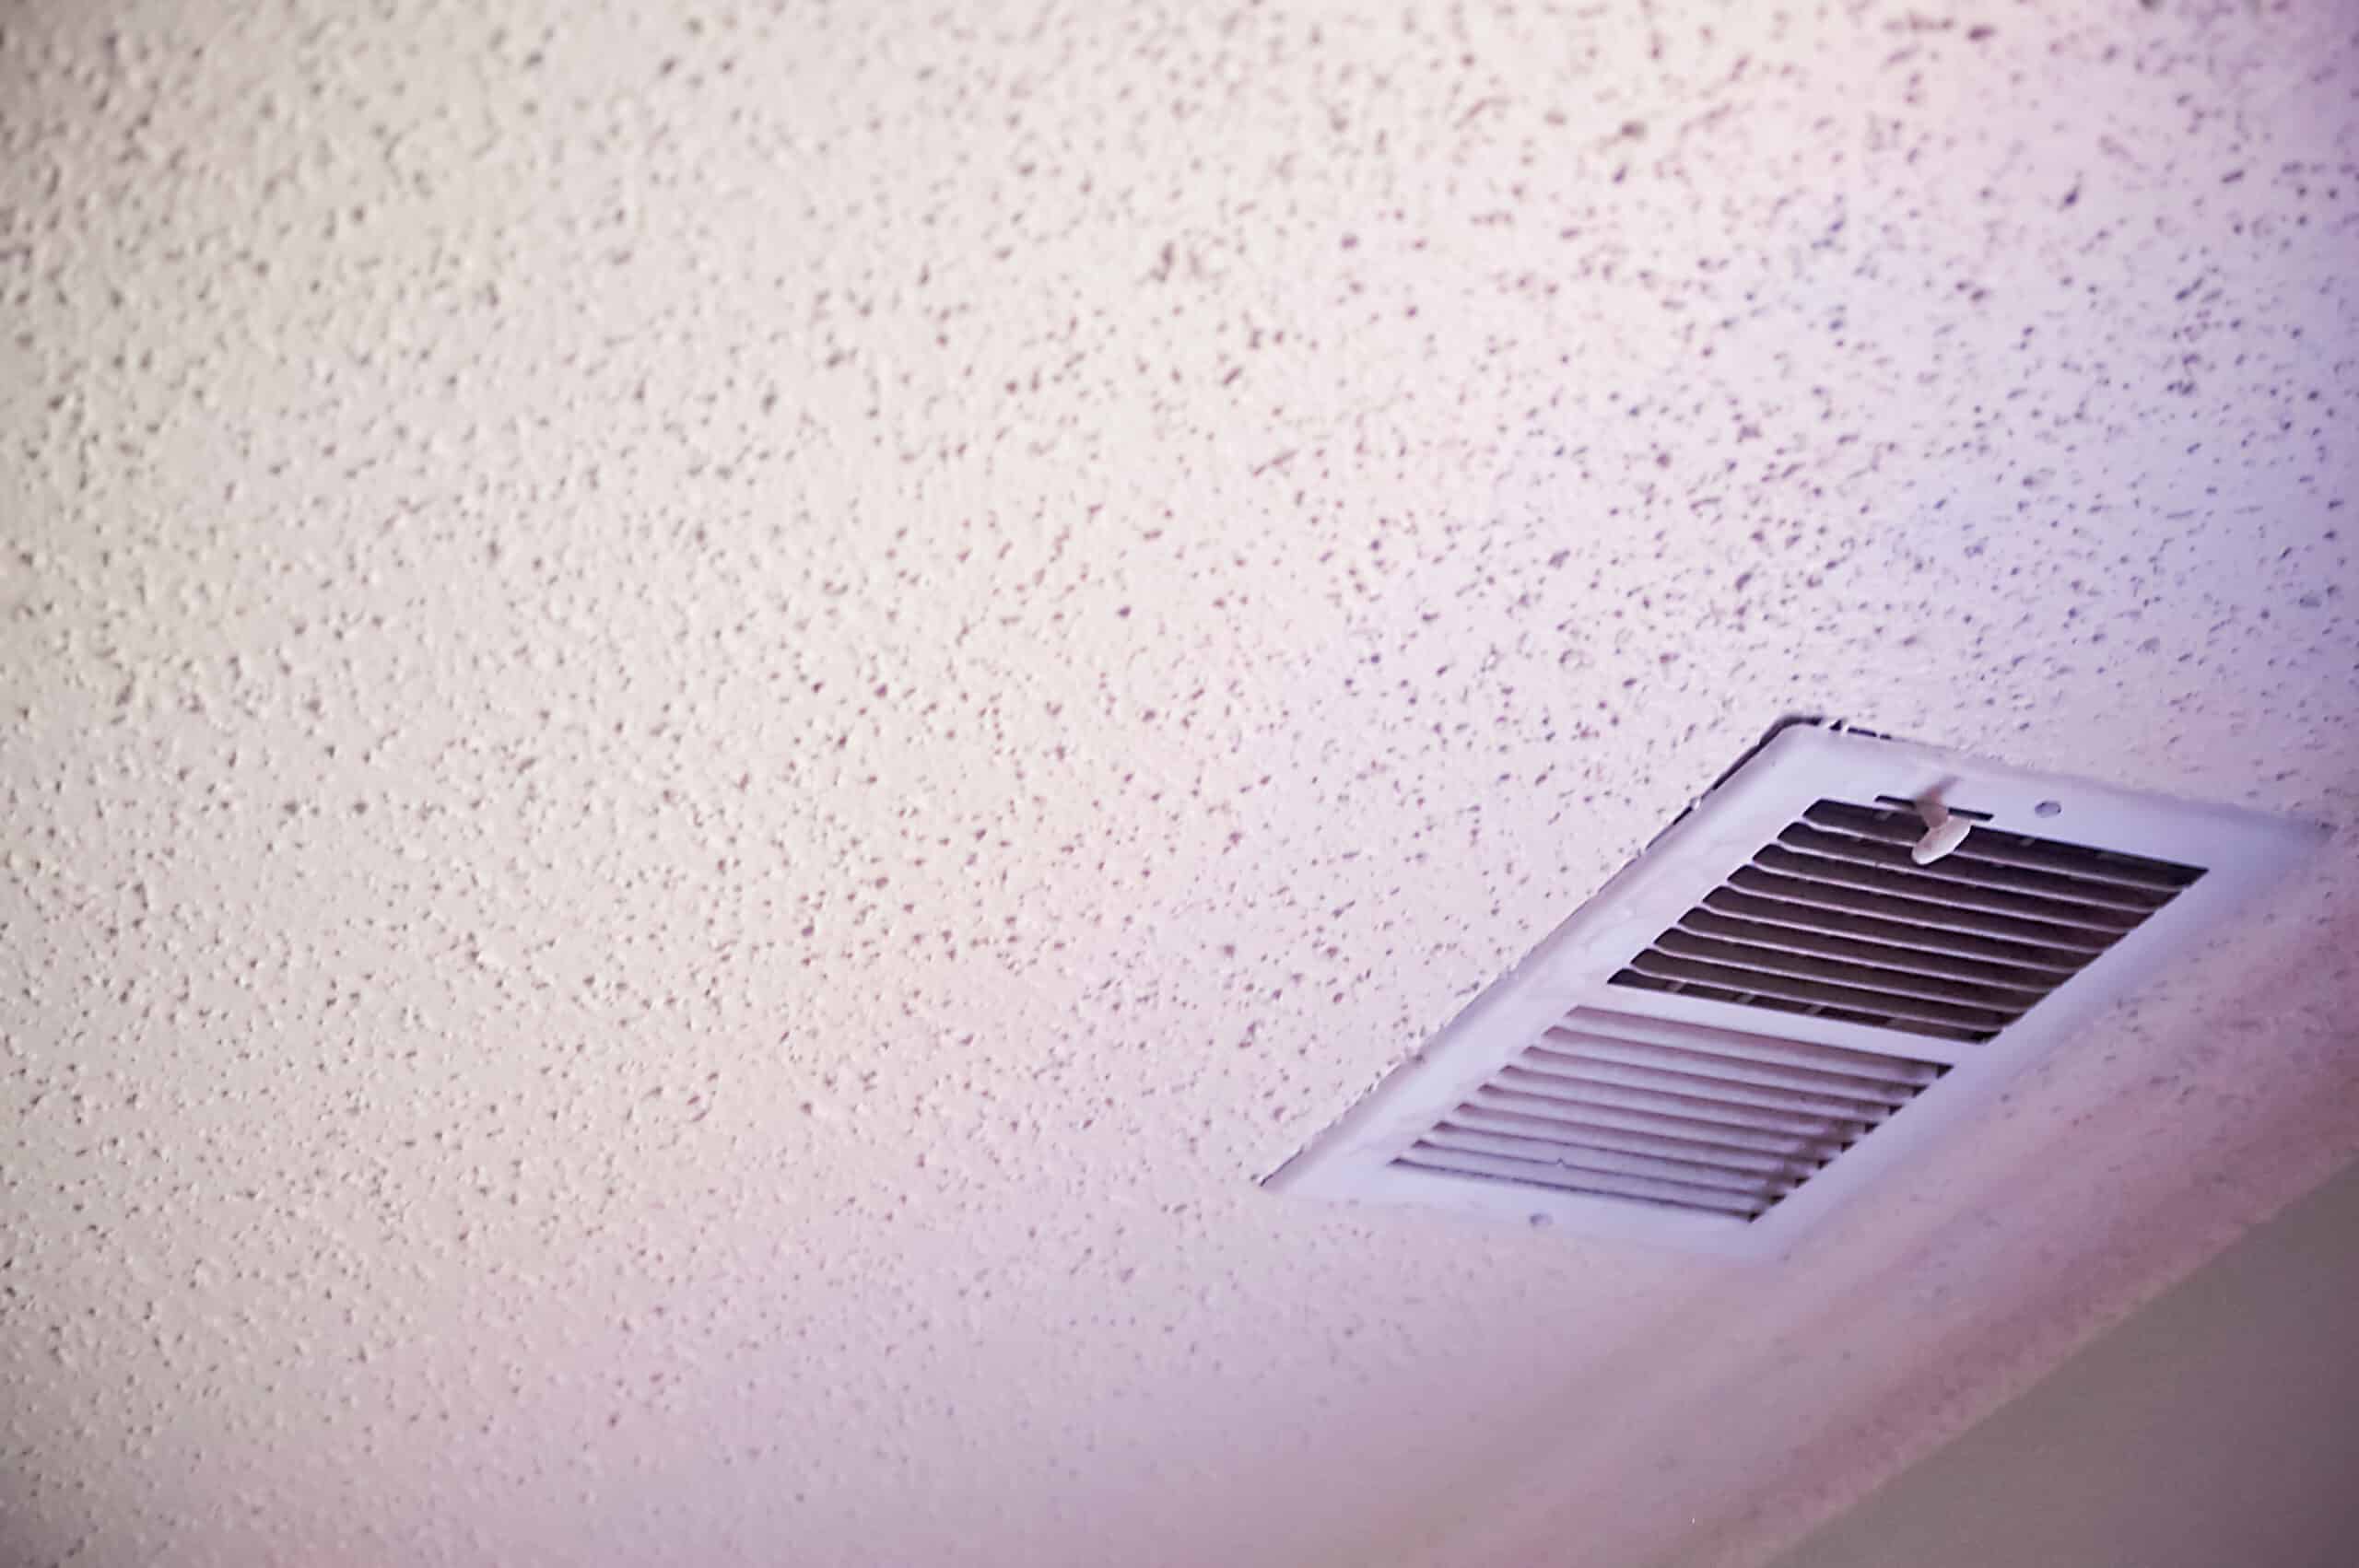
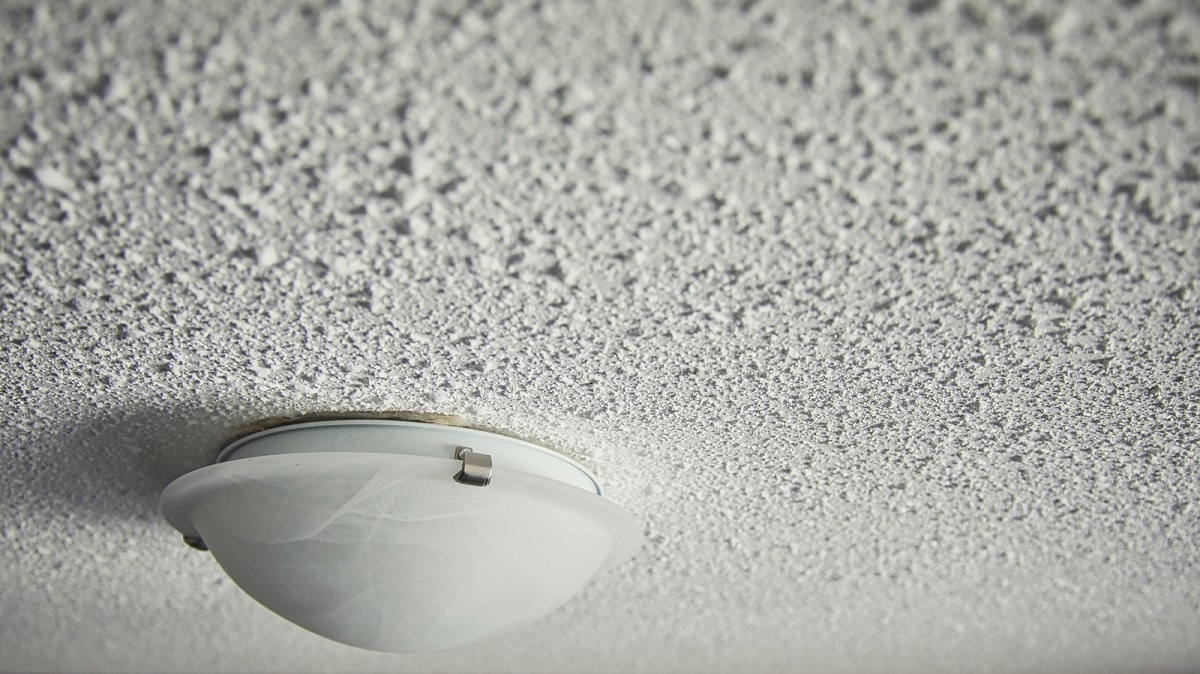
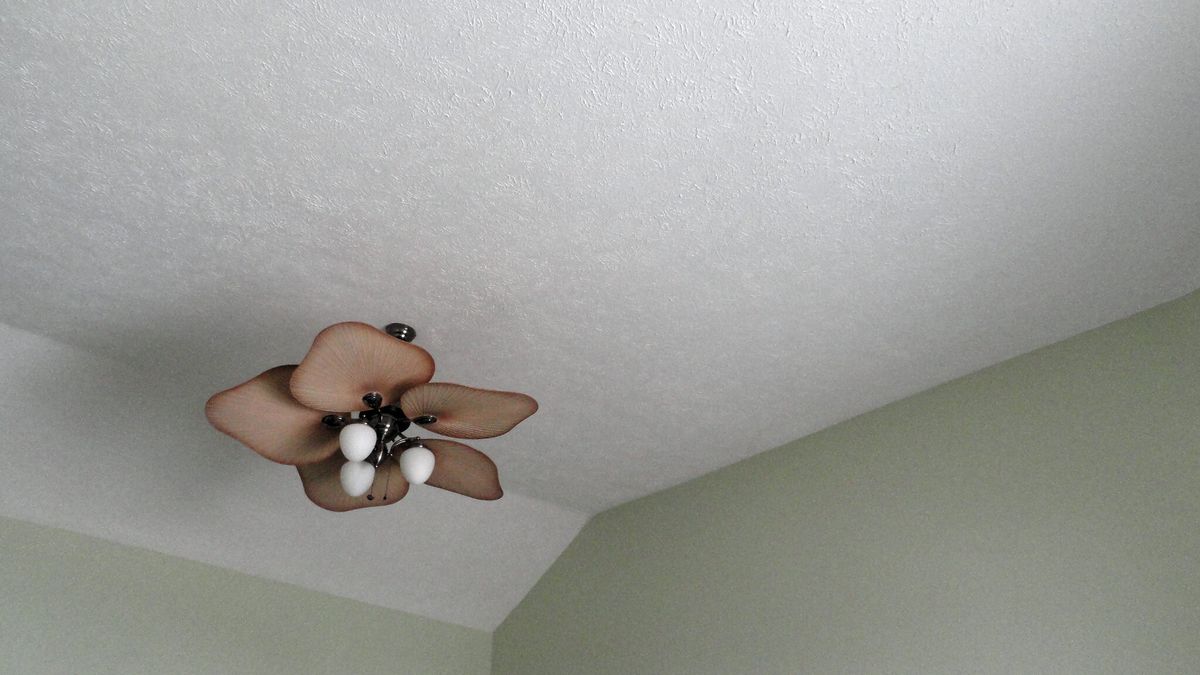
Popcorn ceilings, also known as textured or acoustic ceilings, were a popular design choice in the 1970s and 1980s. This unique style provided a textured surface that helped to cover imperfections and reduce noise. However, over time, popcorn ceilings can accumulate dust, cobwebs, and even stains, which can detract from the overall aesthetic of a room.
Cleaning popcorn ceilings may seem like a daunting task, but with the right materials and techniques, it can be done effectively without creating more of a mess. This article will guide you through the process of cleaning popcorn ceilings, providing you with step-by-step instructions to ensure a successful and hassle-free experience.
Key Takeaways:
- Regular maintenance, proper preparation, and gentle cleaning techniques are essential for effectively cleaning popcorn ceilings without creating a mess. Safety precautions and testing cleaning solutions are crucial for successful results.
- Vacuuming, sponge cleaning, and spraying methods are effective for removing dirt and stains from popcorn ceilings. For stubborn stains, spot-cleaning with specialized cleaners or hiring professional cleaners are viable options.
Read more: How To Paint A Ceiling Without Making A Mess
Materials Needed
Before you begin cleaning your popcorn ceilings, gather the following materials:
- Dust mask or respirator: Protect yourself from breathing in dust or debris by wearing a dust mask or respirator.
- Drop cloth or plastic sheeting: Cover the floor and furniture in the room to protect them from any cleaning solution or debris that may fall.
- Step ladder: Depending on the height of your ceiling, you may need a step ladder to reach high areas.
- Vacuum cleaner with a brush attachment: A vacuum cleaner with a soft brush attachment will be used to remove loose dust and cobwebs.
- Clean, soft sponges or microfiber cloths: These will be used for sponge cleaning or wiping down the ceiling.
- Bucket or spray bottle: Depending on the cleaning method you choose, you will need either a bucket for sponge cleaning or a spray bottle for spraying the cleaning solution onto the ceiling.
- Ceiling cleaner solution: You can either purchase a commercial ceiling cleaner or make your own solution by mixing warm water with a small amount of mild dish soap or vinegar.
- Lint roller or masking tape: These can be used to remove any remaining debris or small particles from the ceiling.
By having these materials ready, you can ensure a smooth and efficient cleaning process for your popcorn ceilings.
Preparation
Before you start cleaning your popcorn ceilings, it’s important to properly prepare the area to minimize the mess and protect your surroundings. Follow these steps to ensure a successful cleaning process:
- Clear the room: Remove any furniture, decorations, or objects that could get in the way or be damaged during the cleaning process. This will give you unrestricted access to the ceiling and prevent any accidental spills or damages.
- Cover the floor and furniture: Lay down a drop cloth or plastic sheeting to protect the floor and any remaining furniture from falling debris or cleaning solution. This will make clean-up easier and prevent any potential damage.
- Put on protective gear: Before you begin cleaning, put on a dust mask or respirator to protect yourself from inhaling dust or debris that may become dislodged from the ceiling during the cleaning process.
- Prepare the cleaning solution: If you’re using a commercial ceiling cleaner, follow the instructions on the packaging to dilute it properly. If you’re making your own solution, mix warm water with a small amount of mild dish soap or vinegar in a bucket or spray bottle.
- Test a small area: Before you clean the entire popcorn ceiling, it’s a good idea to test the cleaning solution on a small, inconspicuous area to ensure it doesn’t cause any discoloration or damage to the surface.
By taking these steps to properly prepare the area, you can ensure a more efficient and effective cleaning process for your popcorn ceilings. Now that you’re ready, let’s move on to the actual cleaning methods.
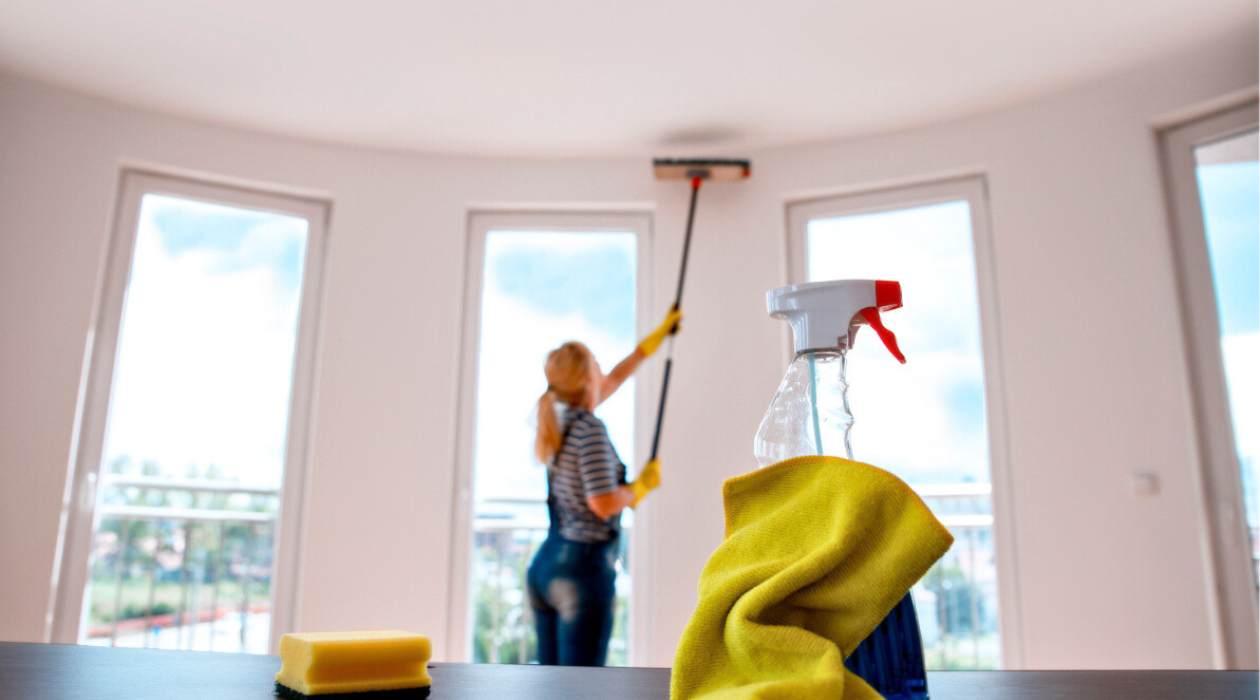
Vacuuming the Popcorn Ceiling
Vacuuming is an effective method for removing loose dust, cobwebs, and surface dirt from your popcorn ceilings. Follow these steps to effectively vacuum your popcorn ceiling:
- Attach the brush attachment: Start by attaching the brush attachment to your vacuum cleaner. The soft bristles on the brush will gently loosen dust and debris without damaging the textured surface of the ceiling.
- Adjust the height: If your vacuum cleaner has adjustable height settings, set it to the appropriate height for easy reach and maneuverability. You may need to use a step ladder to reach higher areas.
- Turn on the vacuum cleaner: Plug in your vacuum cleaner and turn it on. Make sure the suction power is set to a comfortable level, neither too strong nor too weak.
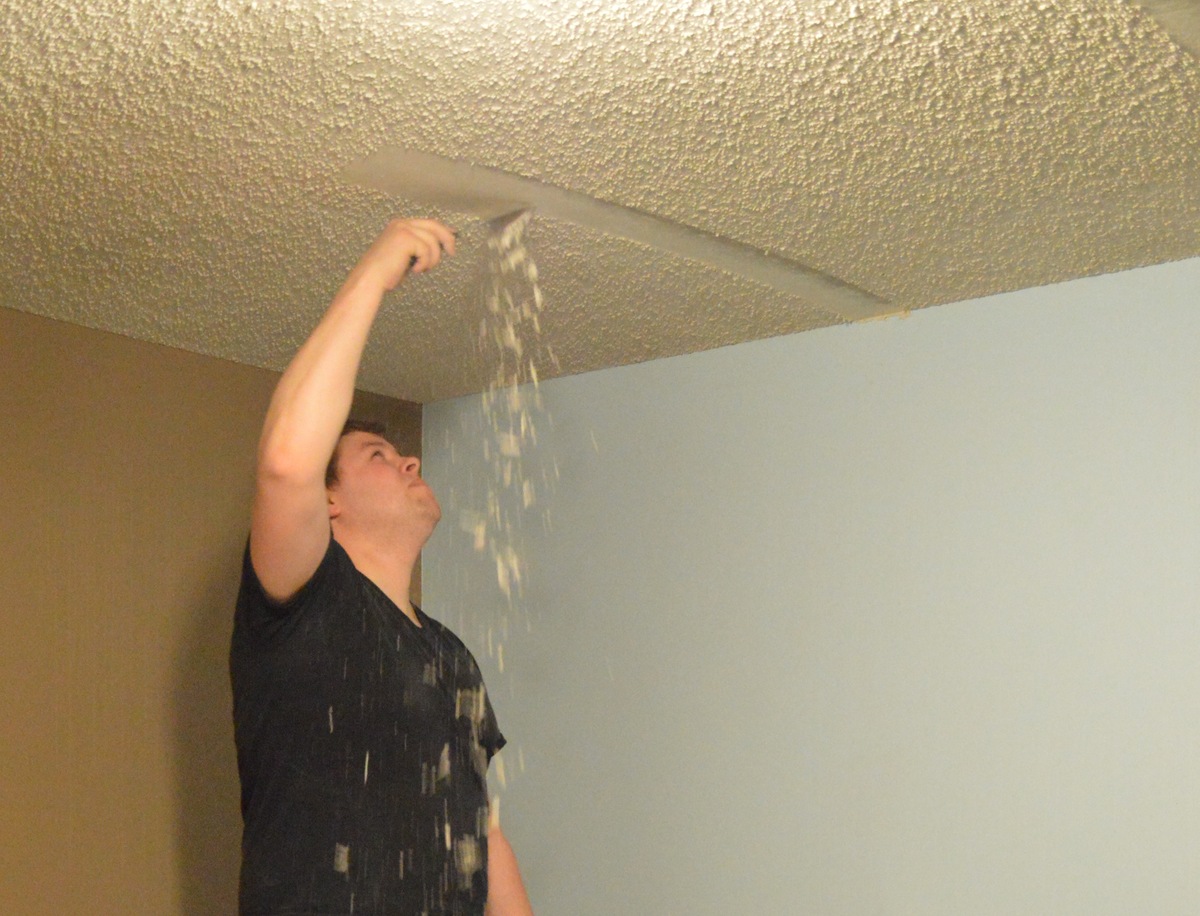
- Gently vacuum the ceiling: Starting from one corner of the room, slowly and gently move the brush attachment across the surface of the popcorn ceiling. Work in small sections, overlapping each pass to ensure thorough cleaning. Use long, sweeping motions and avoid pressing too hard, as this can damage the texture.
- Pay attention to edges and corners: Pay extra attention to the edges and corners of the ceiling, as these areas tend to collect more dust and cobwebs. Use the edge of the brush attachment to get into the corners and along the edges.
- Empty the vacuum cleaner: Once you have finished vacuuming the entire ceiling, empty the contents of the vacuum cleaner into a garbage bag and dispose of it properly. This will prevent any dust or debris from being released back into the air.
Vacuuming your popcorn ceiling regularly will help to prevent dust buildup and keep it looking clean. However, if there are any stubborn stains or spots on the ceiling, you may need to use additional cleaning methods. We’ll cover those next.
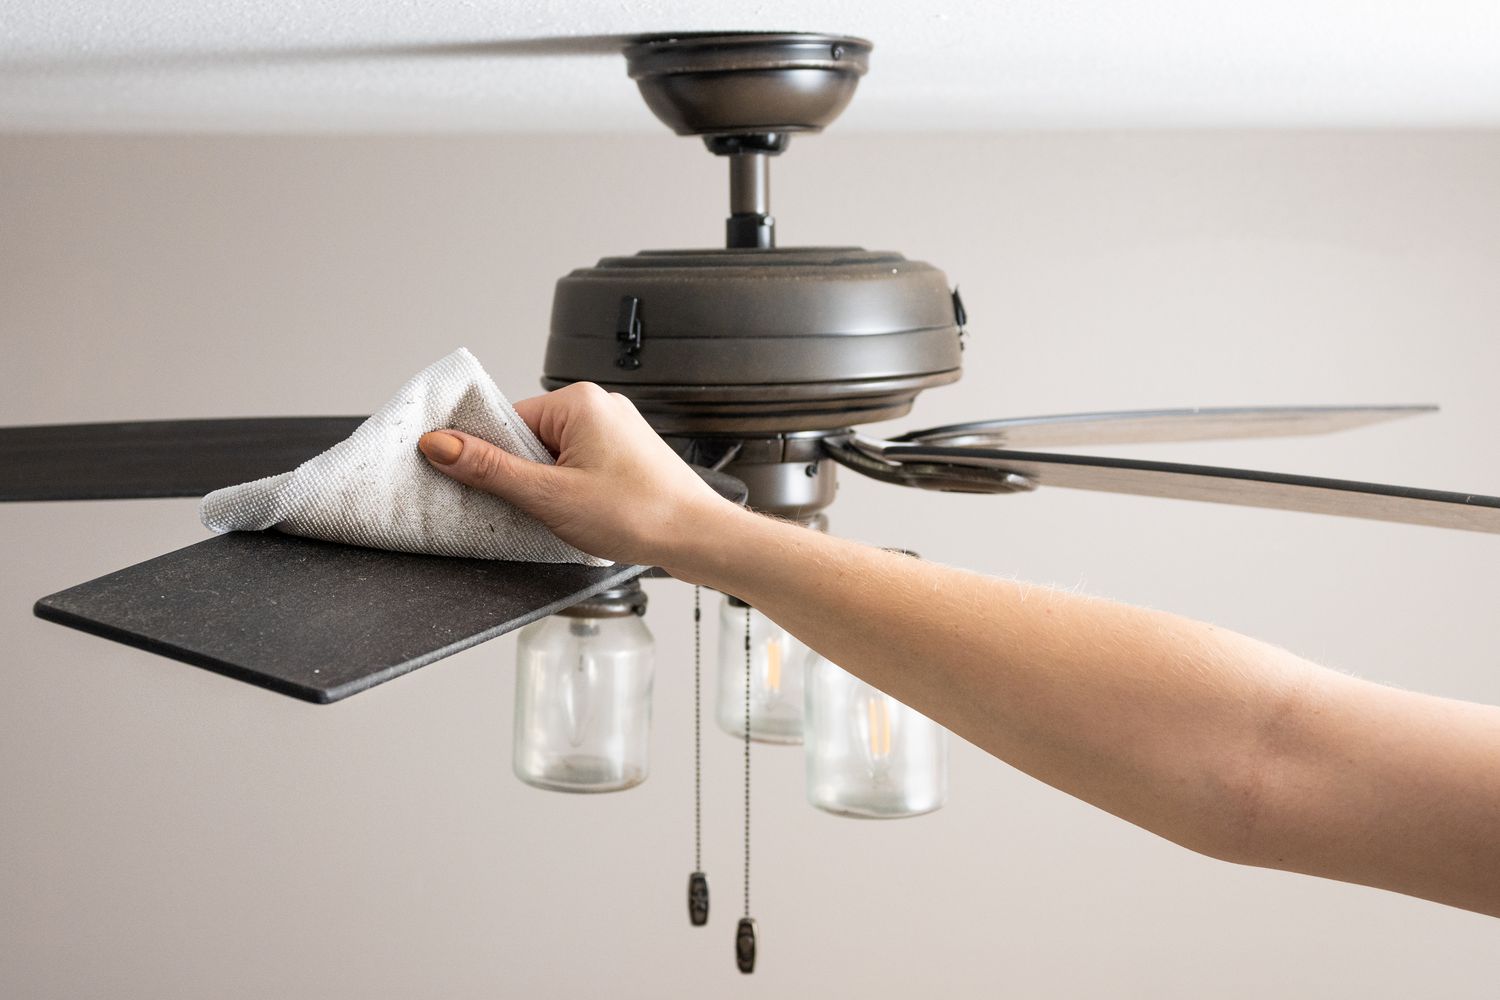
Sponge Cleaning Method
The sponge cleaning method is ideal for removing light stains, dirt, or smudges from your popcorn ceilings. Follow these steps to effectively clean your ceiling using this method:
- Fill a bucket with warm water: Fill a bucket with warm water and add a small amount of mild dish soap or vinegar. Alternatively, you can use a spray bottle to spray the cleaning solution directly onto the ceiling.
- Dampen a soft sponge or microfiber cloth: Dip a clean, soft sponge or microfiber cloth into the cleaning solution and wring out any excess liquid. The sponge should be damp but not dripping wet.
- Start from the top corner: Begin cleaning from the top corner of the ceiling, working your way across in small sections. Use gentle circular motions to clean the surface, applying light pressure to avoid damaging the texture.
- Rinse the sponge frequently: Rinse the sponge or cloth in the cleaning solution frequently to remove any dirt or residue. This will prevent spreading dirt around and ensure a thorough cleaning.
- Work in sections: Clean the ceiling in manageable sections, moving across the room methodically. This will help you keep track of the areas you’ve cleaned and ensure even coverage.
- Change the cleaning solution if necessary: If the cleaning solution becomes too dirty, change it with fresh water and soap or vinegar mixture. Dirty water can leave streaks or residue on the ceiling.
- Dry the ceiling: Once you’ve cleaned the entire ceiling, use a clean, dry cloth to gently pat the surface and remove any excess moisture. Avoid rubbing or scrubbing, as this can damage the texture.
The sponge cleaning method is a gentle yet effective way to clean light stains and dirt from your popcorn ceilings. However, for more stubborn stains or heavily soiled areas, you may need to use the spraying method. We’ll cover that next.
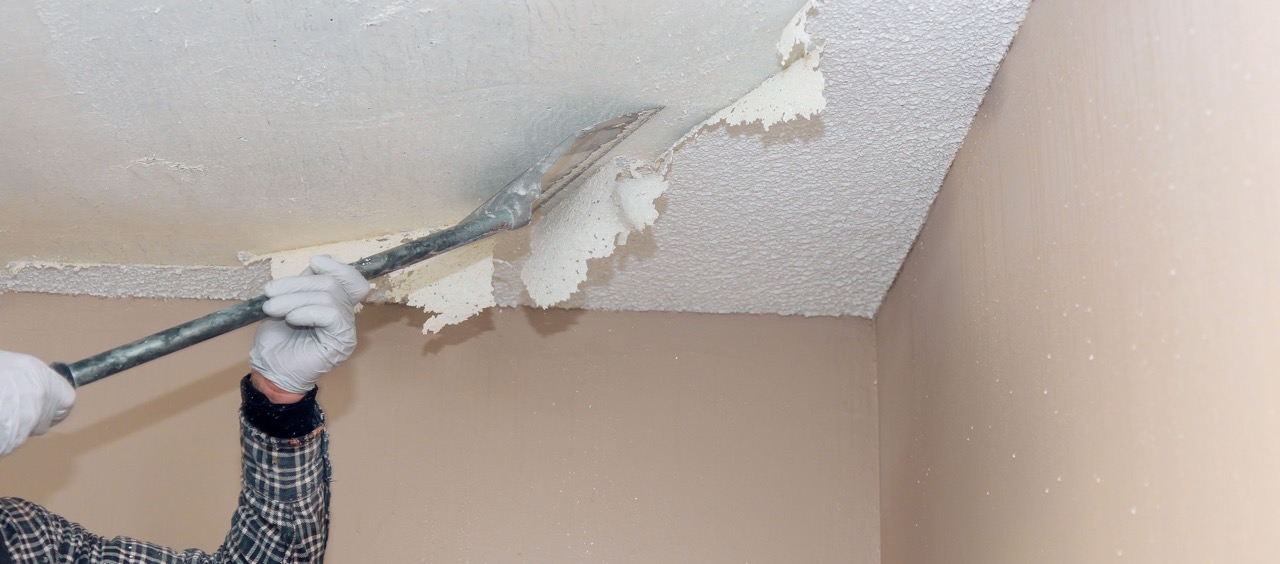
Use a soft-bristled brush or a vacuum with a brush attachment to gently remove dust and cobwebs from popcorn ceilings. Avoid using water or liquid cleaners to prevent the texture from becoming soggy and falling off.
Read more: How To Scrape Popcorn Ceiling
Spraying Method
The spraying method is useful for cleaning larger areas with heavier stains or dirt buildup on your popcorn ceilings. Follow these steps to effectively clean your ceiling using this method:
- Prepare the spray bottle: Fill a spray bottle with warm water and add a small amount of mild dish soap or vinegar. Alternatively, you can use a commercial ceiling cleaner according to the instructions on the packaging.
- Cover the surrounding area: Use plastic sheeting or drop cloths to cover the floor and furniture to protect them from any cleaning solution overspray.
- Test the spray: Test the spray bottle to ensure it sprays a gentle mist rather than a strong stream. Adjust the nozzle if needed to get the desired spray pattern.
- Start at a corner: Begin spraying the cleaning solution onto the ceiling, starting from a corner and working your way across the room. Hold the spray bottle several inches away from the ceiling to avoid saturating the texture.
- Let the solution sit: Allow the cleaning solution to sit on the ceiling for a few minutes to break down the stains or dirt. This will make it easier to wipe away later.
- Gently wipe the ceiling: Using a clean, soft sponge or microfiber cloth, gently wipe the ceiling in circular motions, applying light pressure to remove the dirt and stains. Work in small sections, rinsing the sponge or cloth frequently.
- Change the cleaning solution if necessary: If the cleaning solution becomes too dirty, change it with fresh water and soap or vinegar mixture. Dirty solution can leave streaks or residue on the ceiling.
- Dry the ceiling: Once you’ve cleaned the entire ceiling, use a clean, dry cloth to gently pat the surface and remove any excess moisture. Avoid rubbing or scrubbing, as this can damage the texture.
The spraying method is effective for cleaning larger areas or more stubborn stains on your popcorn ceilings. However, if there are still some stubborn stains or spots remaining, you can try additional methods to remove them.
Removing Stubborn Stains or Spots
If you have stubborn stains or spots on your popcorn ceilings that haven’t been fully removed with the sponge or spraying method, you can try these additional techniques:
- Spot-cleaning with a sponge: Dampen a clean sponge or cloth with a mixture of warm water and mild dish soap or vinegar. Gently dab the stained area, focusing on the spot, and avoid rubbing vigorously. Rinse the sponge frequently and repeat until the stain is removed. Pat dry with a clean cloth.
- Using a paste: Create a paste by mixing baking soda with water until it forms a thick consistency. Apply the paste to the stain, gently rubbing it in with a soft cloth or sponge. Let it sit for a few minutes, then wipe it off with a damp cloth. Repeat if necessary.
- Spot-cleaning with a cleaner: If the stain persists, you can try using a specialized stain remover or ceiling cleaner. Follow the instructions on the packaging and apply it to the stain using a clean cloth or sponge. Gently blot and wipe the stain until it is lifted. Rinse the area with clean water and pat dry.
- Hiring a professional cleaner: For stubborn or extensive stains that you are unable to remove on your own, consider hiring a professional cleaner who specializes in popcorn ceiling cleaning. They have the knowledge and equipment to effectively clean and restore your ceilings.
It’s important to note that the texture of popcorn ceilings can be delicate, so always test any cleaning method or product in an inconspicuous area first to ensure it doesn’t cause any damage or discoloration.
Remember, prevention is key to maintaining clean popcorn ceilings. Regularly dusting and vacuuming can help prevent dirt and stains from accumulating. Additionally, addressing any spills or stains as soon as they occur can make them easier to remove.
With these techniques and a little patience, you can successfully remove stubborn stains or spots from your popcorn ceilings, restoring their beauty and maintaining a clean and inviting space.
Tips for Effective Cleaning
Cleaning popcorn ceilings can be a meticulous task, but with these tips, you can ensure an effective and efficient cleaning process:
- Regular maintenance: Regularly dusting and vacuuming your popcorn ceilings can help prevent dirt and stains from building up. Make it a part of your cleaning routine to keep your ceilings looking fresh.
- Be gentle: When cleaning your popcorn ceilings, use gentle motions and avoid applying excessive force. Harsh scrubbing or rubbing can damage the texture and cause it to flake or peel off.
- Test first: Before applying any cleaning solution or technique to your popcorn ceilings, test it on a small, inconspicuous area to ensure it doesn’t cause any discoloration or damage. This will help you avoid any potential problems.
- Work in small sections: To ensure thorough cleaning, work in small sections, whether you’re vacuuming or using the sponge or spraying method. This will help you keep track of the areas you’ve cleaned and prevent missing any spots.
- Rinse frequently: If you’re using a cleaning solution, rinse your sponge or cloth frequently to avoid spreading dirt or residue. Clean water will ensure a more effective removal of dirt and cleaning solution.
- Protect your surroundings: Cover your floors and furniture with drop cloths or plastic sheeting to protect them from any cleaning solution, dust, or debris that may fall during the cleaning process. This will make clean-up easier and prevent any potential damage.
- Proper ventilation: Make sure you have proper ventilation in the room while cleaning your popcorn ceilings. Open windows or use fans to circulate air and prevent the build-up of fumes from cleaning solutions.
- Be mindful of safety: When working with a ladder, always ensure it is stable and secure. Use caution when climbing, descending, or reaching to clean high areas. Protect your eyes and hands with safety goggles and gloves, especially when using cleaning solutions.
- Hire professionals if needed: If you’re unsure or uncomfortable cleaning your popcorn ceilings, or if you have extensive stains or damage, consider hiring a professional cleaner who specializes in popcorn ceiling cleaning. They have the expertise and equipment to ensure a thorough and safe cleaning process.
By following these tips, you can achieve effective and safe cleaning of your popcorn ceilings, maintaining their beauty and prolonging their lifespan.
Conclusion
Cleaning popcorn ceilings may seem like a daunting task, but with the right materials and techniques, it can be accomplished effectively without creating more of a mess. Regular maintenance, such as dusting and vacuuming, can help prevent dirt and stains from accumulating and make the cleaning process easier. Additionally, following the proper steps, such as preparing the area, using the appropriate cleaning methods, and being mindful of safety precautions, will ensure a successful cleaning experience.
Whether you choose to vacuum, use the sponge cleaning method, or employ the spraying method, each technique has its merits in effectively removing dirt, stains, and debris from your popcorn ceilings. In cases where stubborn stains persist, spot-cleaning with a sponge or using specialized cleaners are viable options. However, it’s important to always test any cleaning solutions or techniques on a small, inconspicuous area beforehand to avoid any potential damage.
By implementing regular maintenance and incorporating the tips provided, you can keep your popcorn ceilings looking clean and fresh. Remember to work in small sections, rinse your cleaning tools frequently, and protect your surroundings to minimize any mess or damage. Safety precautions, such as proper ventilation and using stable ladders, should not be overlooked to avoid accidents or harm.
If you’re unsure or uncomfortable with cleaning your popcorn ceilings yourself, don’t hesitate to seek the assistance of professional cleaners who specialize in this particular task. They have the expertise and knowledge to handle the job efficiently and safely.
In conclusion, with careful preparation, the right materials, and the appropriate cleaning techniques, you can restore the beauty of your popcorn ceilings and create a clean and inviting atmosphere in your home. By properly maintaining and cleaning your ceilings, you can enjoy their unique aesthetic appeal for years to come.
Frequently Asked Questions about How To Clean Popcorn Ceilings Without Creating More Of A Mess
Was this page helpful?
At Storables.com, we guarantee accurate and reliable information. Our content, validated by Expert Board Contributors, is crafted following stringent Editorial Policies. We're committed to providing you with well-researched, expert-backed insights for all your informational needs.
0 thoughts on “How To Clean Popcorn Ceilings Without Creating More Of A Mess”