Home>Articles>How To Clean Defrost Drain On Frigidaire Refrigerator

Articles
How To Clean Defrost Drain On Frigidaire Refrigerator
Modified: August 28, 2024
Learn how to clean and unclog the defrost drain on your Frigidaire refrigerator with our informative articles. Keep your fridge running smoothly and prevent leaks.
(Many of the links in this article redirect to a specific reviewed product. Your purchase of these products through affiliate links helps to generate commission for Storables.com, at no extra cost. Learn more)
Content-Length: 419
Introduction
Maintaining a clean and well-functioning refrigerator is essential for preserving the freshness and quality of your food. One crucial component of your refrigerator that often requires attention is the defrost drain. The defrost drain is responsible for directing water that accumulates during the defrost cycle away from your refrigerator. Over time, this drain can become clogged with debris, leading to issues such as water leakage and ice buildup in your appliance. To prevent these problems and ensure the optimal performance of your Frigidaire refrigerator, regular cleaning of the defrost drain is necessary.
In this article, we will provide you with a comprehensive guide on how to clean the defrost drain on your Frigidaire refrigerator. By following these simple steps, you can save yourself from costly repairs and extend the lifespan of your appliance. Additionally, a clean defrost drain promotes energy efficiency, as the refrigerator does not need to work as hard to maintain the desired temperature.
Before we dive into the cleaning process, it’s important to note that safety should always be the top priority. Remember to unplug your refrigerator before attempting any maintenance or cleaning tasks to avoid the risk of electric shock. Now let’s get started on cleaning your Frigidaire refrigerator’s defrost drain to ensure it continues to run smoothly.
Please note that while the steps provided in this article are specific to Frigidaire refrigerators, the general principles can be used for cleaning the defrost drain on other refrigerator brands as well. Always refer to your appliance’s manual for any brand-specific instructions or precautions.
Now that you understand the importance of keeping your defrost drain clean and are aware of the safety precautions, let’s move on to the next section, where we will provide an overview of the defrost drain and why it needs regular maintenance.Content-Length: 463
Key Takeaways:
- Regularly cleaning the defrost drain on your Frigidaire refrigerator prevents water leakage, ice buildup, and foul odors, promoting energy efficiency and prolonging the appliance’s lifespan.
- Prioritize safety by unplugging the refrigerator before cleaning the defrost drain. Follow the step-by-step guide to ensure proper drainage and maintain a well-functioning appliance.
Read more: How To Defrost Frigidaire Freezer
Overview of Defrost Drain
The defrost drain is a small opening or tube located at the back of your refrigerator’s freezer compartment. During the defrost cycle, ice that has built up on the evaporator coils melts into water. This water then flows down into the defrost drain, where it is directed out of the refrigerator and into a drip pan or collection tray.
Over time, the defrost drain can become clogged with food particles, dirt, and other debris. When this happens, the water has nowhere to go and ends up pooling at the bottom of the freezer or leaking out onto the floor. Not only does this create a mess, but it can also lead to more serious issues such as ice buildup, foul odors, and even damage to the refrigerator’s internal components.
Cleaning the defrost drain is essential for preventing these problems and ensuring that your refrigerator functions properly. Regular maintenance of the defrost drain helps to keep it clear and allows the water from the defrost cycle to flow freely, preventing any potential damage or leaks.
By understanding the importance of the defrost drain and how it works, you can see why it is crucial to include regular cleaning of this component in your refrigerator maintenance routine. Neglecting the cleaning of the defrost drain can lead to costly repairs and inconvenience down the line.
In the next section, we will discuss the specific steps you need to follow to clean the defrost drain on your Frigidaire refrigerator. These steps are straightforward and can be completed with basic tools and cleaning supplies. So let’s get started and ensure that your refrigerator’s defrost drain remains clear and functioning optimally.Content-Length: 434
Importance of Cleaning the Defrost Drain
Regularly cleaning the defrost drain of your Frigidaire refrigerator is essential for several reasons. First and foremost, a clean defrost drain prevents water from pooling at the bottom of the freezer or leaking onto the floor. This accumulation of water can cause damage to your refrigerator’s interior, leading to mold growth, foul odors, and potential electrical issues.
Furthermore, a clogged defrost drain can result in ice buildup on the freezer floor. This not only reduces the available storage space but also affects the efficiency of the refrigerator. The presence of excess ice can obstruct proper airflow, causing the appliance to work harder to maintain the desired temperature. This, in turn, leads to increased energy consumption and higher electricity bills.
Cleaning the defrost drain also helps to prevent the growth of bacteria and unpleasant odors. When debris accumulates in the drain, it provides a breeding ground for bacteria. Over time, this can result in a foul smell emanating from your refrigerator, making it unpleasant to use and potentially contaminating your food.
Regular maintenance of the defrost drain is also crucial for extending the lifespan of your Frigidaire refrigerator. A clean and properly functioning defrost drain reduces the strain on the appliance’s components, allowing them to work optimally. This can help prevent unnecessary wear and tear, minimizing the risk of breakdowns and costly repairs.
In addition to the practical benefits, cleaning the defrost drain is a simple task that can be easily incorporated into your regular refrigerator maintenance routine. By taking a few minutes every few months to clean the drain, you can prevent potential problems and ensure that your Frigidaire refrigerator operates smoothly and efficiently.
Now that we understand the importance of cleaning the defrost drain let’s move on to the specific steps you can take to clean the drain and maintain the optimal performance of your Frigidaire refrigerator.Content-Length: 219
Step 1: Unplug the Refrigerator
Before you begin any maintenance or cleaning tasks on your Frigidaire refrigerator, it is crucial to ensure your safety. The first step in cleaning the defrost drain is to unplug the refrigerator from the power source. This step prevents the risk of electric shock while you work on the appliance.
Locate the power cord at the back of the refrigerator and gently pull it from the outlet. Make sure the cord is completely disconnected and secure it away from any water or cleaning solutions that you may use during the cleaning process.
Remember, the defrost drain is usually located in the freezer compartment, which may contain frozen food. Be mindful of any perishable items and take necessary precautions to keep them from spoiling during the cleaning process.
By unplugging the refrigerator and ensuring it is safe to work on, you can proceed to the next steps with peace of mind knowing that your safety is the top priority.
Next, we will move on to finding the location of the defrost drain in your Frigidaire refrigerator.Content-Length: 362
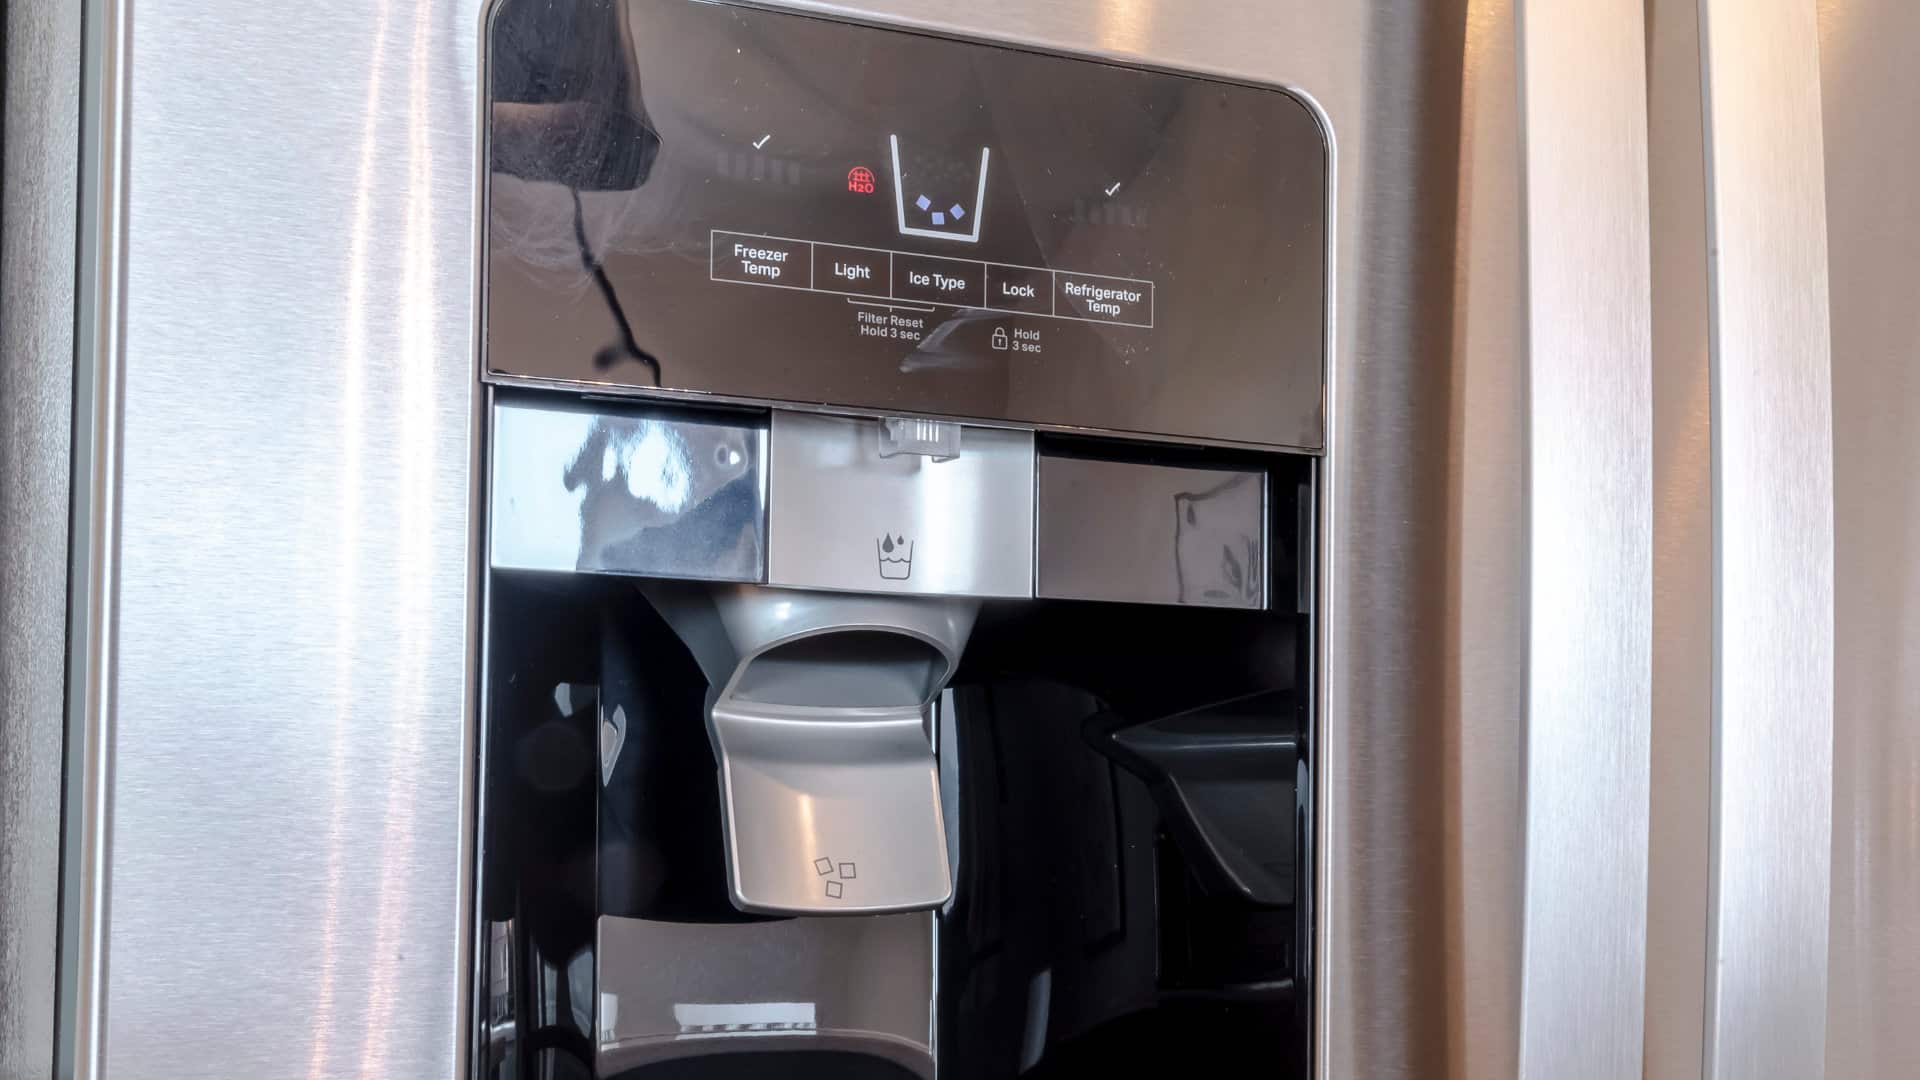
Step 2: Locate the Defrost Drain
To effectively clean the defrost drain on your Frigidaire refrigerator, you need to locate its position within the freezer compartment. While the exact location may vary depending on the model of your refrigerator, here are some general guidelines to help you find it:
1. Open the freezer door: Begin by fully opening the freezer door. This will provide you with better visibility and access to the interior components.
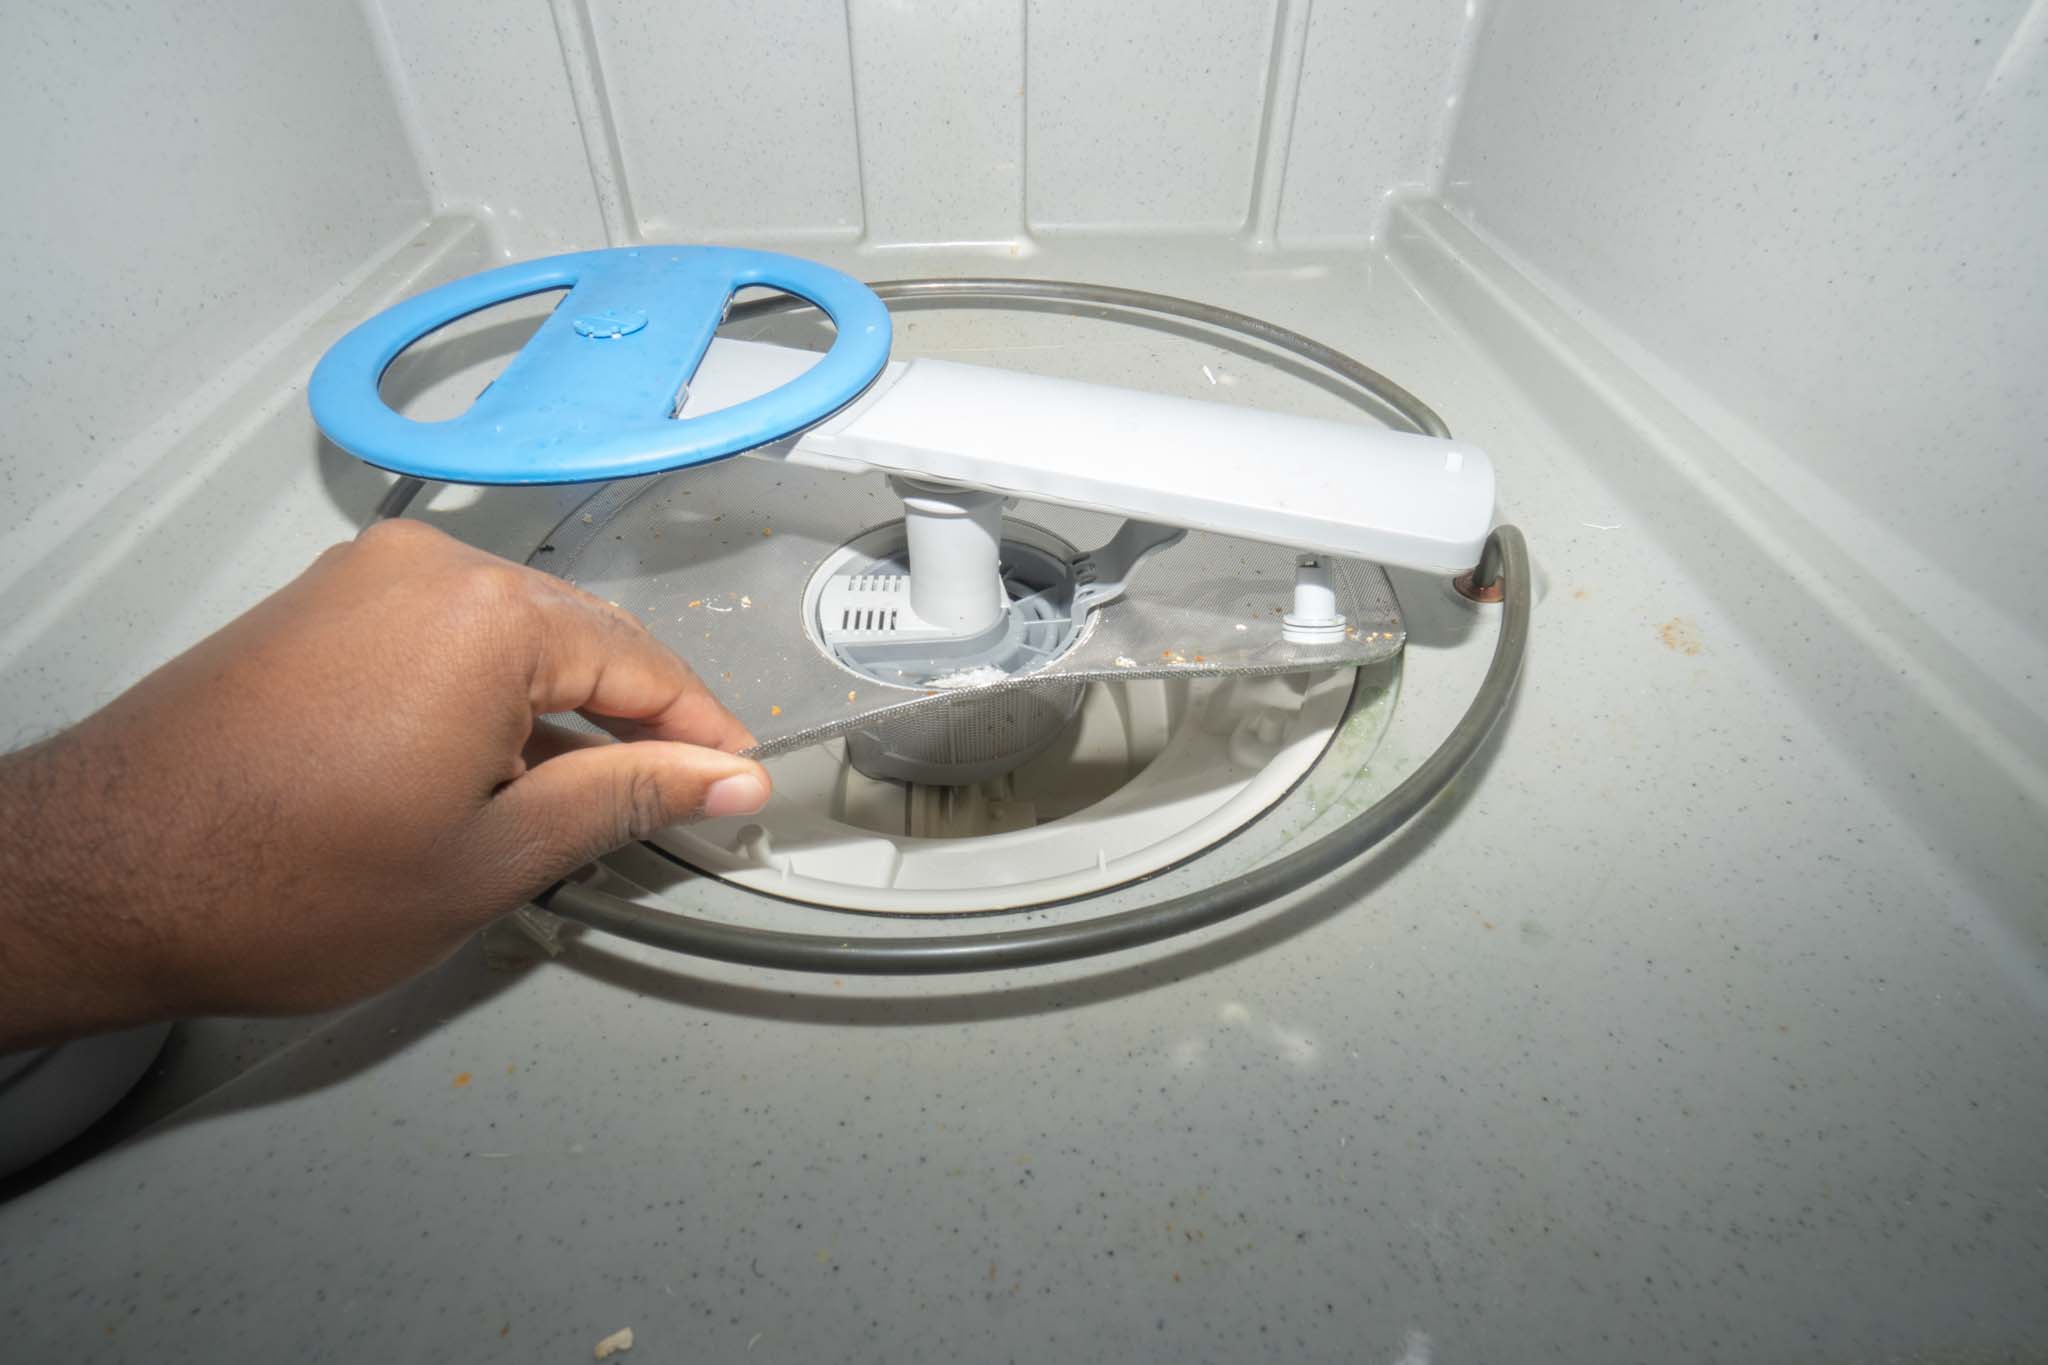
2. Look for a drain hole or tube: Take a close look at the back wall or floor of the freezer compartment. You should be able to spot a small hole or opening where the defrost drain is located. It is often located near the bottom of the freezer.
3. Check for any obstructions: Make sure the drain hole is not obstructed by ice, debris, or other objects. If you notice any blockage, you will need to clear it before proceeding with the cleaning process.
In some Frigidaire refrigerator models, the defrost drain may be concealed by a cover or panel. If you are unable to locate it easily, refer to the appliance’s manual or contact Frigidaire customer support for assistance.
Once you have successfully located the defrost drain, you can move on to the next step and prepare the freezer compartment for cleaning.Content-Length: 244
Read more: How To Defrost Frigidaire Ice Maker
Step 3: Remove the Vegetable Crisper
Before you can start cleaning the defrost drain, you will need to access the area inside the freezer where the drain is located. In most Frigidaire refrigerators, this can be done by removing the vegetable crisper.
Follow these steps to remove the vegetable crisper:
1. Open the refrigerator door: Begin by opening the refrigerator door fully to access the vegetable crisper.
2. Empty the crisper: Remove any items or produce stored in the vegetable crisper. Place the items aside or transfer them to another container to keep them fresh while you clean.
3. Locate the crisper drawer slides: Look for the slides or levers that hold the crisper in place. These are typically located on the sides or back of the crisper compartment.
4. Release the drawer slides: Depending on the model, you may need to push a lever or press a release button to release the crisper drawer from the slides. Gently pull the drawer towards you once it is released.
5. Lift and remove the crisper: Carefully lift the vegetable crisper upwards, ensuring that it is completely detached from the refrigerator. Set it aside in a safe place where it won’t be damaged.
With the vegetable crisper removed, you now have clear access to the area where the defrost drain is located. This will allow you to proceed with the next steps of cleaning the drain effectively.Content-Length: 405
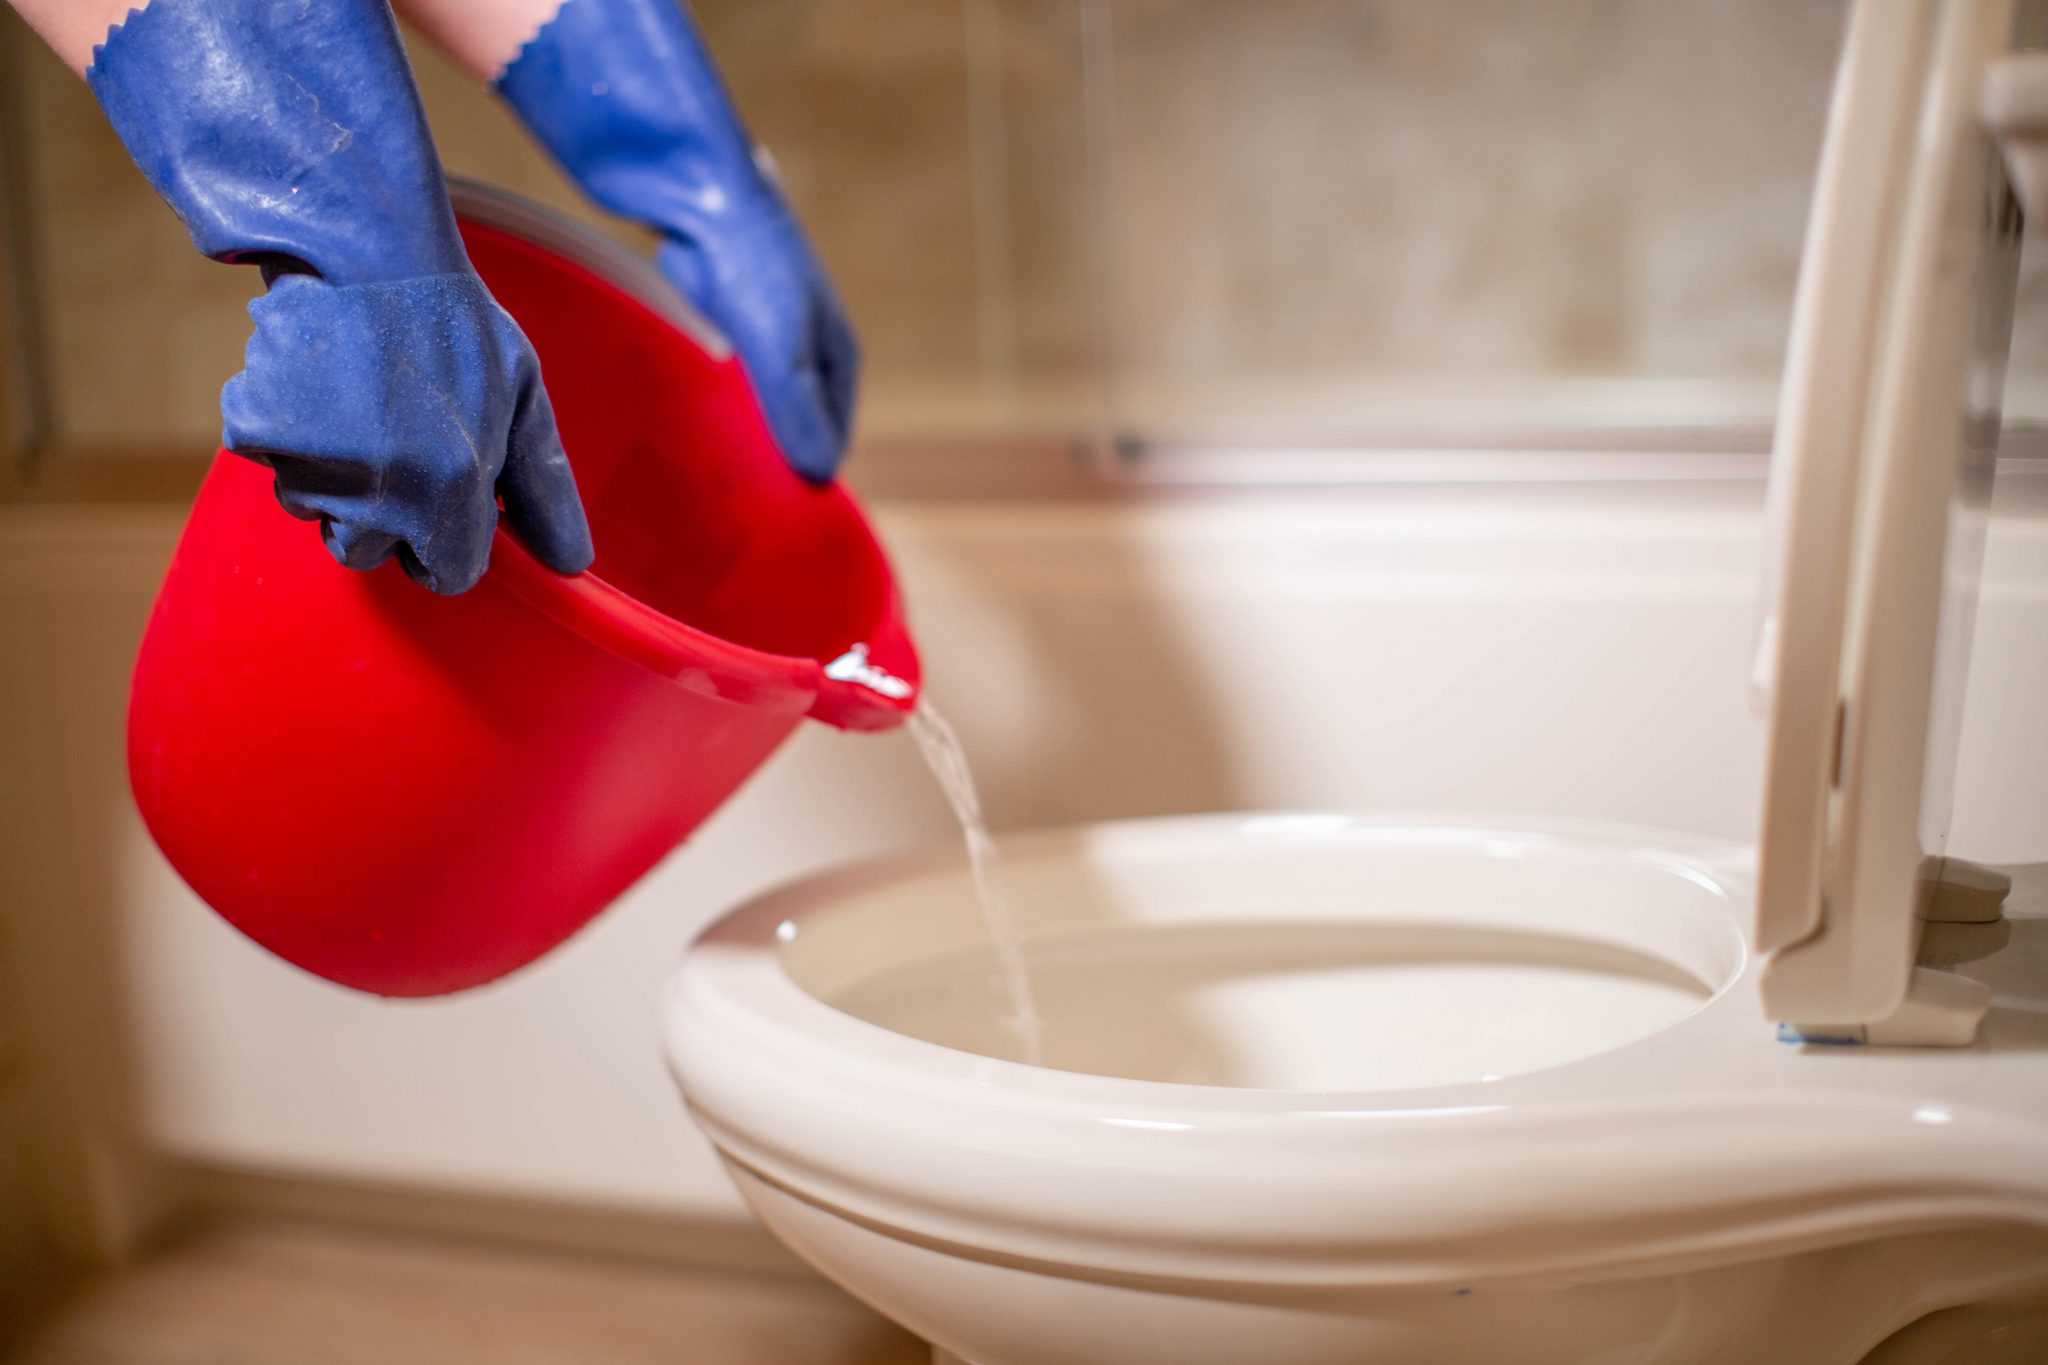
Use a mixture of warm water and mild soap to clean the defrost drain on your Frigidaire refrigerator. Gently pour the solution down the drain to remove any debris or clogs. You can also use a pipe cleaner or a turkey baster to help dislodge any stubborn blockages.
Step 4: Clear Small Debris
Now that you have access to the area around the defrost drain, it’s time to clear any small debris that may be obstructing the drain or causing a blockage. Follow these steps to clear small debris effectively:
1. Inspect the area: Take a close look at the drain hole or tube and the surrounding area. Look for any visible debris such as food particles, ice buildup, or dust. Use a flashlight if needed to get a better view.
2. Clear the debris with a soft brush or cloth: Using a soft-bristled brush or a cloth, gently remove any loose debris from around the drain. Be careful not to apply too much force or scratch the surface. Remember, the goal is to clear the drain without causing any damage to your Frigidaire refrigerator.
3. Use a mild detergent, if necessary: If you notice stubborn residue or sticky debris, you can dampen a cloth with a mixture of mild detergent and warm water. Gently wipe the area around the drain to remove the residue. Avoid using abrasive cleaners or harsh chemicals as they can damage the refrigerator’s surfaces.
4. Check for proper drainage: Once you have cleared the small debris, ensure that water can flow freely into the drain hole or tube. You can pour a small amount of water into the drain to see if it drains properly. If the water appears to be draining slowly or not at all, this may indicate a more significant blockage that needs to be resolved in the next steps.
By clearing small debris from around the defrost drain, you can ensure that water can flow smoothly through the drain system, preventing any potential water leakage or ice buildup in your Frigidaire refrigerator. Now, let’s move on to the next step and use a solution to clear the drain effectively.Content-Length: 388
Step 5: Use a Solution to Clear the Drain
If you have cleared the small debris but are still experiencing issues with water not draining properly from your Frigidaire refrigerator, it may be necessary to use a solution to clear the drain more effectively. Follow these steps to use a solution to clear the drain:
1. Create a cleaning solution: In a small bowl, combine equal parts warm water and vinegar. Vinegar is a natural cleaning agent that helps remove stubborn residue and disinfect the drain.
2. Soak a cloth or sponge: Dip a cloth or sponge into the cleaning solution, ensuring it is thoroughly soaked but not dripping.
3. Apply the solution: Gently scrub the drain hole or tube with the cloth or sponge, focusing on the area where water accumulates. Be careful not to apply too much pressure or damage the surrounding components.
4. Let the solution sit: Allow the cleaning solution to sit in the drain for a few minutes. This will give it time to break down any remaining debris or blockages.
5. Flush with warm water: After the solution has had time to work, flush the drain by pouring warm water into the drain. This will help remove any loosened debris and ensure that the drain is clear.
6. Repeat if necessary: If the drain is still not clear, you may need to repeat the process and use the cleaning solution again. Stubborn blockages may require multiple attempts to completely clear the drain.
Using a cleaning solution can be an effective way to break down build-up and remove any remaining debris in the defrost drain of your Frigidaire refrigerator. Remember to always use caution when working with cleaning solutions, and avoid using harsh chemicals that may damage the refrigerator’s surfaces.
Once you have successfully used a solution to clear the drain, you can proceed to the next step and clean the drain tube to further ensure proper drainage and prevent future clogs.Content-Length: 412
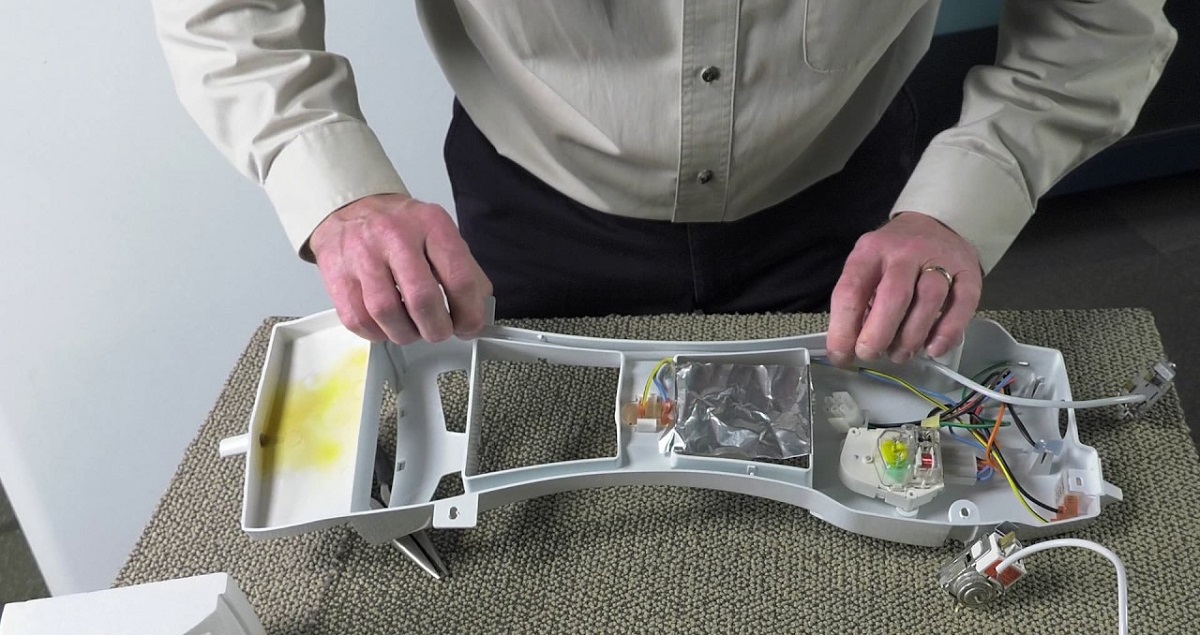
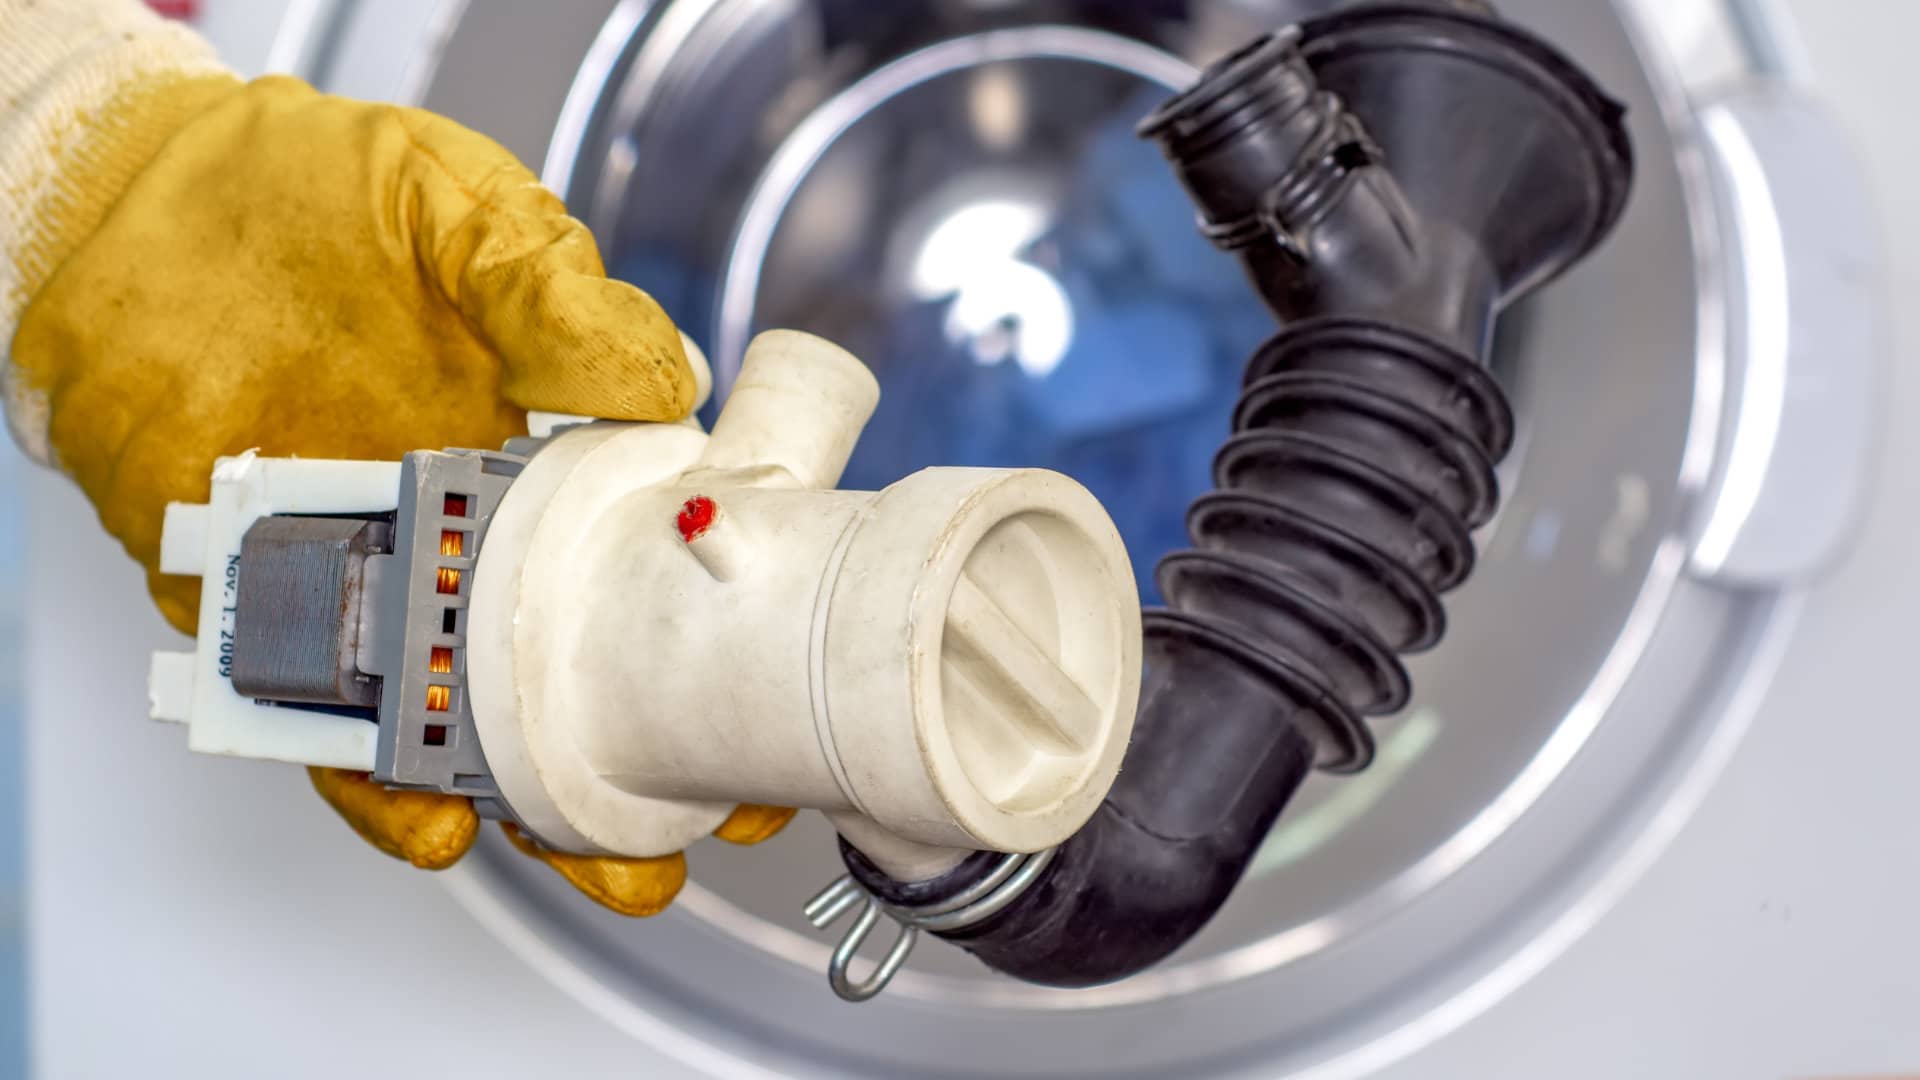
Step 6: Clean the Drain Tube
Cleaning the drain tube is an essential step in ensuring proper drainage and preventing future clogs in your Frigidaire refrigerator’s defrost drain. Follow these steps to clean the drain tube effectively:
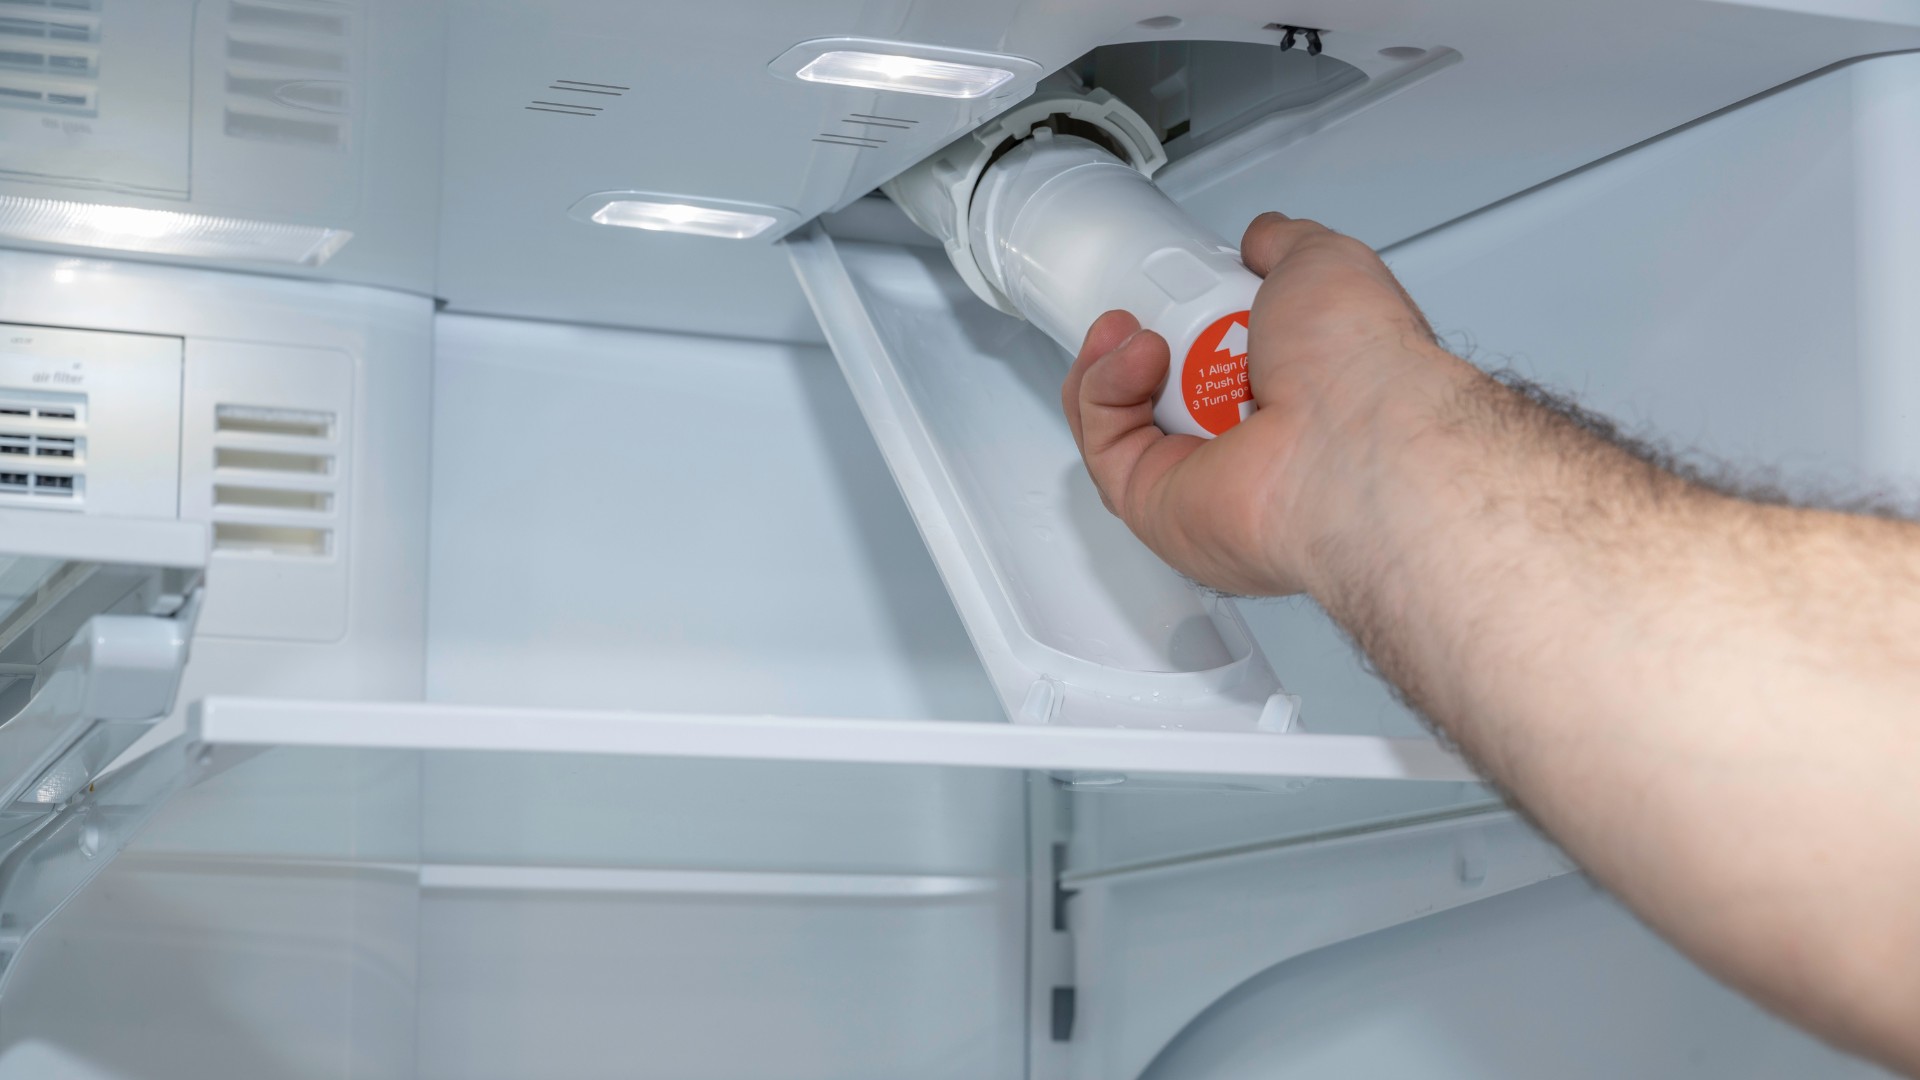
1. Locate the drain tube: The drain tube is a small plastic or rubber tube connected to the defrost drain. It is typically located at the back of the refrigerator, near the compressor or condenser coils.
2. Disconnect the drain tube: Carefully disconnect the drain tube from the defrost drain. You may need to gently twist or pull to remove it.
Note: Some models may have a clamp or attachment holding the tube in place. Use caution and refer to your refrigerator’s manual for specific instructions on disconnecting the drain tube.
3. Prepare a cleaning solution: In a small bowl, mix equal parts warm water and mild detergent. Stir the solution to create a soapy mixture.
4. Clean the drain tube: Use a bottle brush or a small, flexible brush to scrub the interior of the drain tube. Insert the brush into the tube and gently rotate it to loosen any debris or residue. Be careful not to apply too much force to avoid damaging the tube.
5. Rinse the drain tube: After scrubbing, rinse the drain tube thoroughly with warm water to remove any loosened debris or soap residue. Ensure that the water flows freely through the tube.
6. Reconnect the drain tube: Once the drain tube is clean and rinsed, reattach it to the defrost drain. Make sure it is securely connected to prevent leaks.
By cleaning the drain tube, you can ensure that any water accumulated during the defrost cycle is properly directed away from your Frigidaire refrigerator and out of the appliance.
After cleaning the drain tube, move on to the next step and reassemble the vegetable crisper to complete the cleaning process.Content-Length: 191
Read more: How To Defrost Samsung Refrigerator
Step 7: Replace the Vegetable Crisper
After completing the cleaning and maintenance tasks on your Frigidaire refrigerator’s defrost drain, it’s time to put everything back in place and ensure the proper functioning of the appliance.
1. Take the cleaned vegetable crisper: Carefully lift the vegetable crisper and align it with the slides or levers that hold it in place.
2. Insert the crisper drawer: Push the crisper drawer back into its original position until it securely slides into place.
3. Ensure proper alignment: Make sure the crisper is properly aligned and sitting flush with the refrigerator walls. Ensure that there are no obstructions that could prevent the crisper from closing properly.
By replacing the vegetable crisper, you ensure that the refrigerator compartment is organized and functioning as intended. It also helps to maintain the optimal freshness of your produce by providing a proper storage environment.
With the vegetable crisper in place, we can now proceed to the final step, which is to plug in the refrigerator and power it on, completing the cleaning process.Content-Length: 302
Step 8: Plug in the Refrigerator
The final step in cleaning the defrost drain on your Frigidaire refrigerator is to plug it back into the power source and turn it on. Follow these steps:
1. Locate the power cord: Find the power cord at the back of the refrigerator.
2. Plug it in: Insert the power cord firmly into a nearby electrical outlet. Ensure that the plug is secure and properly inserted.
3. Power on the refrigerator: Look for the power switch or control panel on the refrigerator. Press the power button or turn the dial to the “On” position.
4. Wait for the refrigerator to start: Give the refrigerator a few moments to start up and begin cooling. You may hear the humming sound of the compressor or see the interior lights turn on.
By plugging in the refrigerator and turning it on, you are allowing it to resume its normal operation. The cooling process will now be restored, and your Frigidaire refrigerator will be ready to keep your food fresh once again.
Keep in mind that it may take some time for the refrigerator to reach the desired temperature, especially if you have just cleaned the defrost drain. Monitor the temperature settings as needed and ensure that the refrigerator is operating smoothly.
Congratulations! You have successfully cleaned the defrost drain on your Frigidaire refrigerator. By following these steps and performing regular maintenance, you can keep your appliance running efficiently and prolong its lifespan. Remember to incorporate defrost drain cleaning into your routine maintenance schedule to prevent clogs, leaks, and other potential issues.Content-Length: 397
Conclusion
Maintaining a clean and properly functioning defrost drain is crucial for the optimal performance of your Frigidaire refrigerator. By following the step-by-step guide provided in this article, you can easily clean the defrost drain and prevent potential issues such as water leakage, ice buildup, and foul odors.
Regularly cleaning the defrost drain helps to ensure that water from the defrost cycle can flow freely and efficiently out of the refrigerator. This prevents water accumulation, mold growth, and damage to internal components. Additionally, a clean defrost drain promotes energy efficiency, saving you money on electricity bills.
Remember to prioritize safety by always unplugging the refrigerator before beginning any maintenance tasks. Take your time to locate the defrost drain and clear any small debris before using a cleaning solution to effectively clear the drain. Cleaning the drain tube and reassembling the vegetable crisper are also important steps to ensure proper drainage and organization in the refrigerator.
By incorporating regular cleaning of the defrost drain into your refrigerator maintenance routine, you can enjoy a well-functioning appliance, prolong its lifespan, and maintain the quality and freshness of your food.
If you have any concerns or encounter difficulties during the cleaning process, it is always recommended to consult the appliance’s manual or reach out to Frigidaire customer support for assistance. They can provide valuable guidance specific to your refrigerator model.
By taking the time to clean and maintain your Frigidaire refrigerator’s defrost drain, you are investing in the longevity and efficiency of your appliance. So, roll up your sleeves and give your refrigerator the care it deserves – your future self will thank you for it!
Just tackled that pesky defrost drain? Keep the momentum going and dive into our guide on fridge upkeep with our next piece on refrigerator repair. Whether dealing with a minor hiccup or a major issue, understanding the ins and outs of your fridge's mechanics can save you time and money. Don't let a malfunction spoil your day; learn how to diagnose and fix common refrigerator problems effortlessly.
Frequently Asked Questions about How To Clean Defrost Drain On Frigidaire Refrigerator
Was this page helpful?
At Storables.com, we guarantee accurate and reliable information. Our content, validated by Expert Board Contributors, is crafted following stringent Editorial Policies. We're committed to providing you with well-researched, expert-backed insights for all your informational needs.


0 thoughts on “How To Clean Defrost Drain On Frigidaire Refrigerator”