Articles
How To Clean Ice Maker In Refrigerator
Modified: February 20, 2024
Learn step-by-step instructions and effective tips to clean the ice maker in your refrigerator with our helpful articles. Enhance performance and ensure hygienic ice production.
(Many of the links in this article redirect to a specific reviewed product. Your purchase of these products through affiliate links helps to generate commission for Storables.com, at no extra cost. Learn more)
Introduction
Having a clean ice maker in your refrigerator is essential for maintaining good hygiene and ensuring that the ice you and your family consume is safe and free from any contaminants. Over time, ice makers can accumulate mold, mildew, and mineral deposits that not only affect the quality and taste of the ice but can also pose health risks. Therefore, regular cleaning of your ice maker is crucial to keep it functioning optimally and to preserve the integrity of your ice.
In this article, we will guide you through the step-by-step process of cleaning your ice maker in the refrigerator. By following these simple instructions and using the right tools and materials, you can ensure that your ice maker remains clean, efficient, and safe for use.
Key Takeaways:
- Regularly cleaning your ice maker is crucial for maintaining freshness, preventing contamination, improving efficiency, and prolonging its lifespan. Prioritize cleaning to enjoy safe, great-tasting ice and avoid potential health risks.
- In addition to cleaning, follow maintenance tips such as changing the water filter, keeping the ice maker well-ventilated, using ice regularly, checking for leaks, and monitoring ice quality. These practices ensure optimal performance and longevity of your ice maker.
Read more: How To Clean A Refrigerator Ice Maker
Why Clean Your Ice Maker
Keeping your ice maker clean is important for several reasons:
- Maintaining Freshness: Over time, residual water and ice can accumulate, leading to the growth of bacteria, mold, and mildew. This can result in unpleasant odors and flavors in your ice, affecting the taste of your beverages.
- Preventing Contamination: An unclean ice maker can become a breeding ground for harmful bacteria and other pathogens. Consuming contaminated ice can lead to gastrointestinal issues and other health problems.
- Improving Efficiency: A buildup of mineral deposits, such as lime scale, can hinder the ice maker’s performance and efficiency. Regular cleaning helps to remove these deposits, ensuring that your ice maker produces ice at its optimal capacity.
- Prolonging Lifespan: Neglecting to clean your ice maker can result in clogs and damage to the internal components. Regular cleaning helps to prevent blockages and extends the lifespan of your ice maker.
By prioritizing the cleaning of your ice maker, not only will you enjoy better-tasting and safer ice, but you will also prolong the life of your appliance and save on potential repairs or replacements in the future.
Tools and Materials Needed
Before you start cleaning your ice maker, gather the following tools and materials:
- Warm Water: You will need warm water for cleaning the ice bin, ice maker parts, and water reservoir. Make sure the water is not too hot as it may damage the components.
- Mild Dish Soap: Use a mild dish soap to clean the ice maker. Avoid using harsh chemicals or abrasive cleaners as they can damage the appliance.
- Soft Cloth or Sponge: Have a soft cloth or sponge on hand for wiping down the ice maker and removing any residue.
- Soft Brush or Toothbrush: A soft brush or toothbrush can be useful for scrubbing away any stubborn debris or buildup in hard-to-reach areas.
- Vinegar: Vinegar is an effective natural cleaner that can help remove mineral deposits from the ice maker. Dilute it with water before use.
- Container or Bucket: Prepare a container or bucket to collect any water or melted ice during the cleaning process.
- Towel or Dish Rack: Set aside a clean towel or dish rack to place the ice bin and other components to dry after cleaning.
Having these tools and materials readily available will make the cleaning process easier and more efficient. Remember to read and follow the manufacturer’s instructions for cleaning your specific ice maker model.
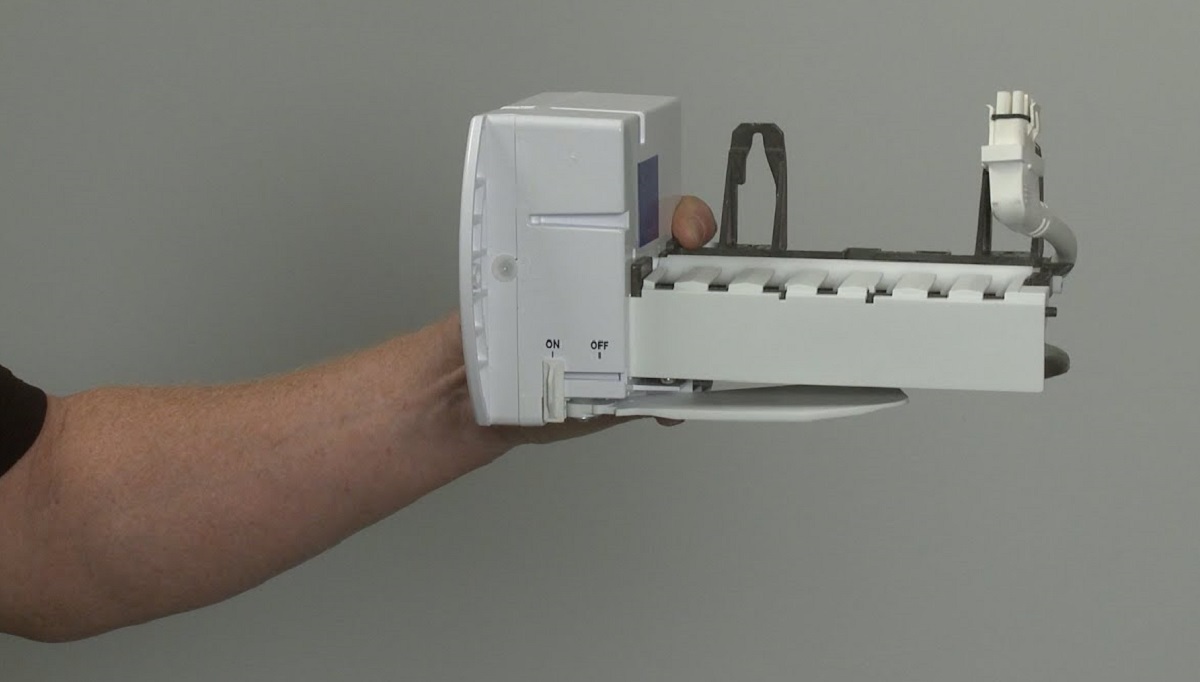
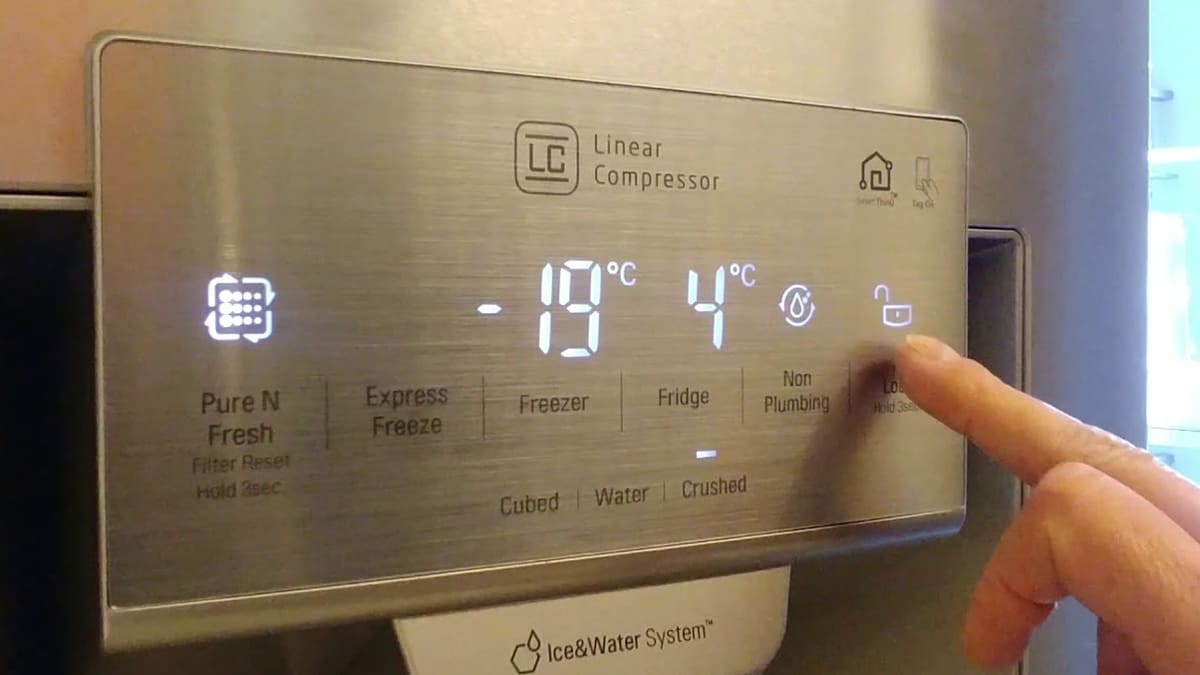
Step 1: Turn Off the Ice Maker
Before you begin cleaning your ice maker, it is important to turn it off to avoid any accidents or damage. Follow these steps to properly turn off the ice maker:
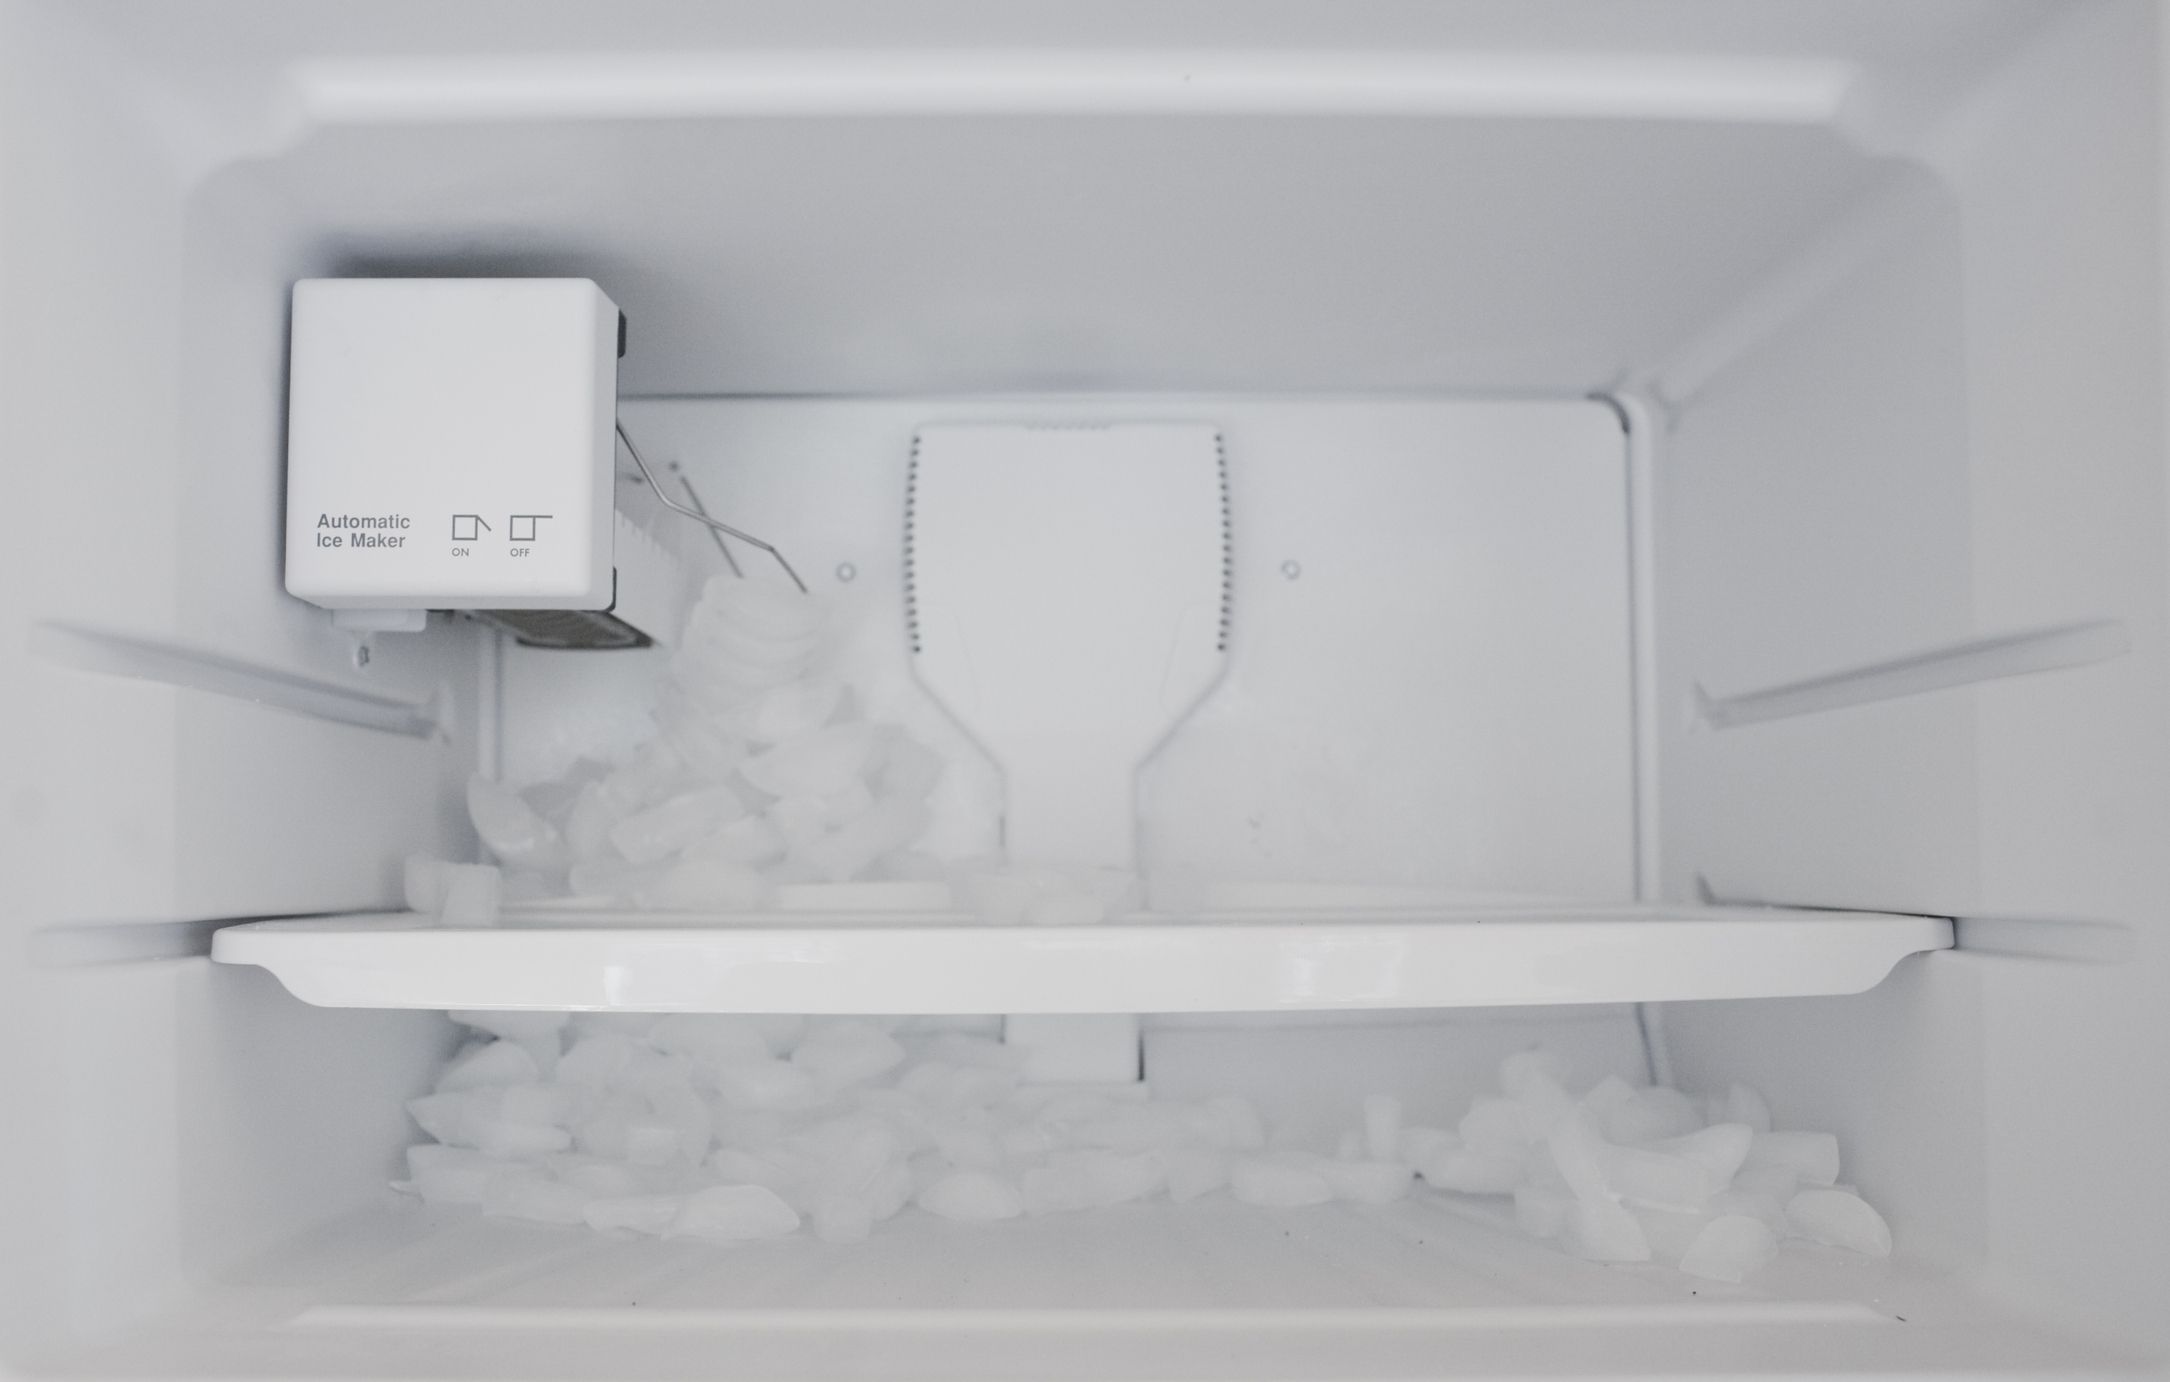
- Locate the power switch or control panel of your ice maker. This is usually located on the front or side of the unit.
- Switch the ice maker to the “off” position. If there is no power switch, unplug the refrigerator from the electrical outlet to ensure that the ice maker is completely turned off.
- If your refrigerator has a water supply line connected to the ice maker, make sure to also turn off the water supply to prevent any water leakage during the cleaning process.
By turning off the ice maker and disconnecting the power, you eliminate the risk of injury and prevent any water flow or ice production while cleaning.
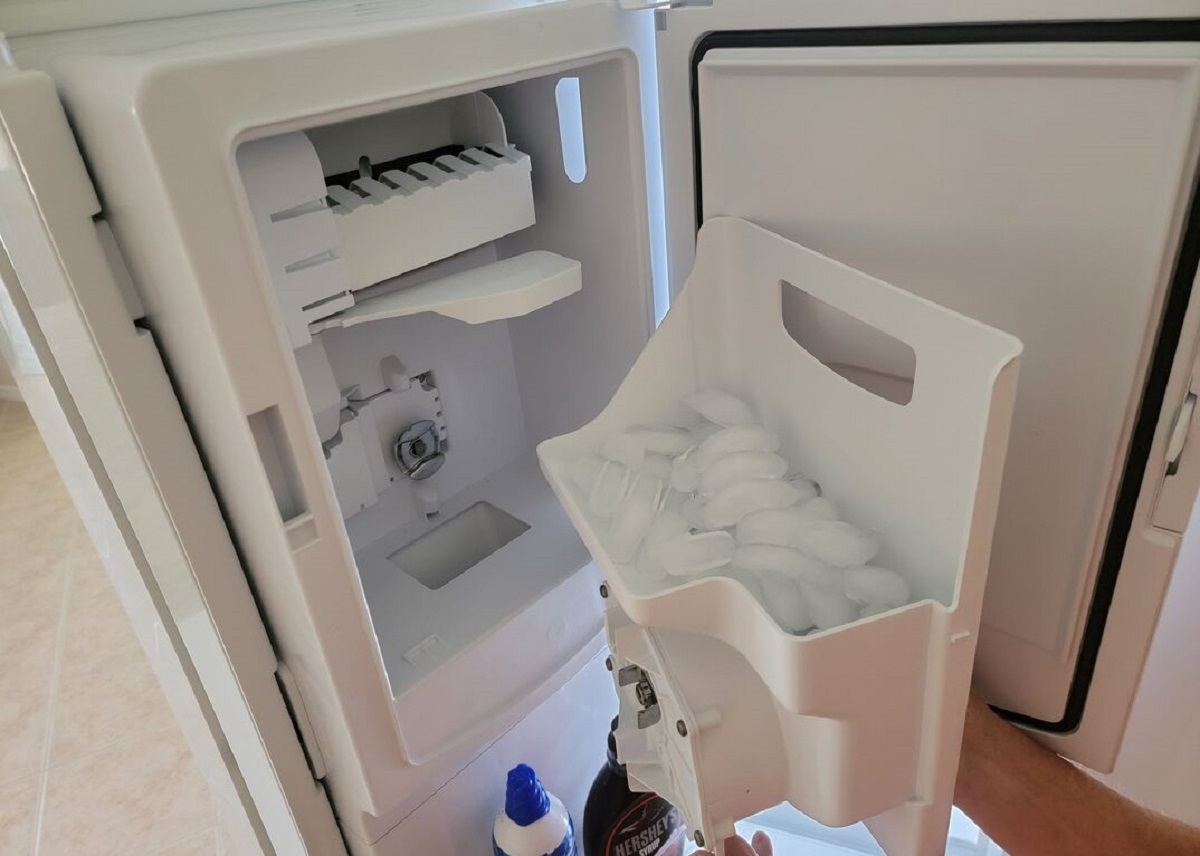
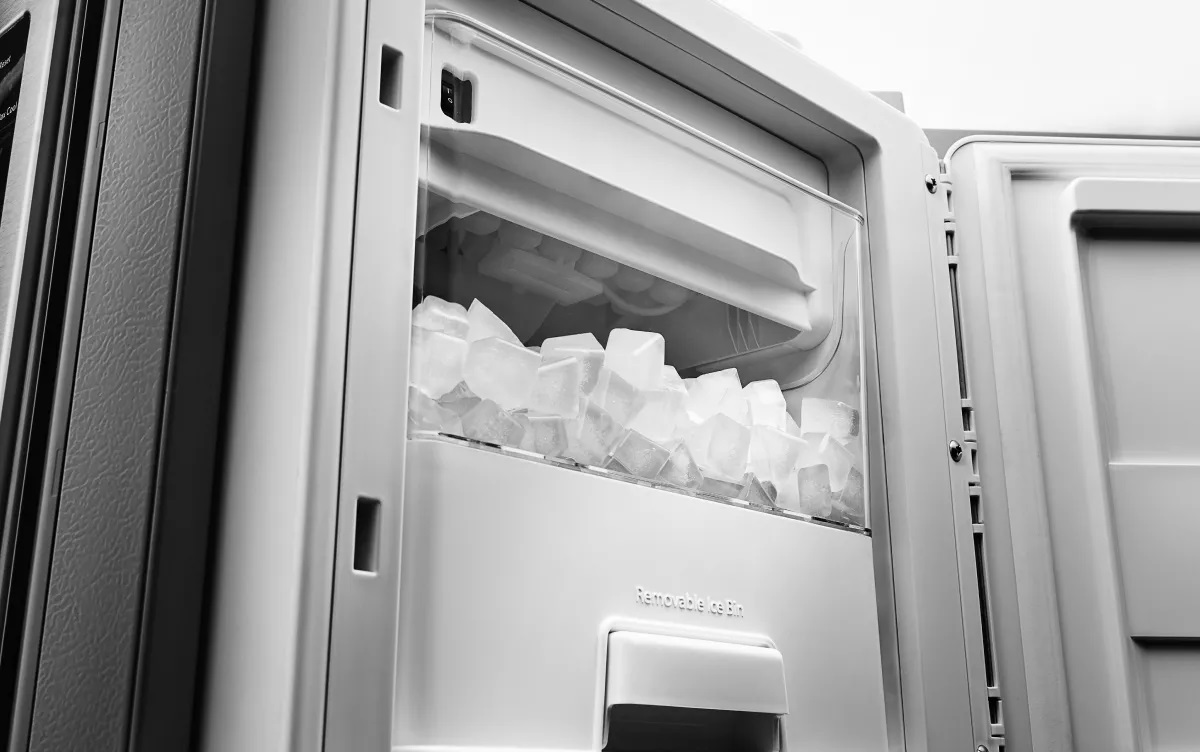
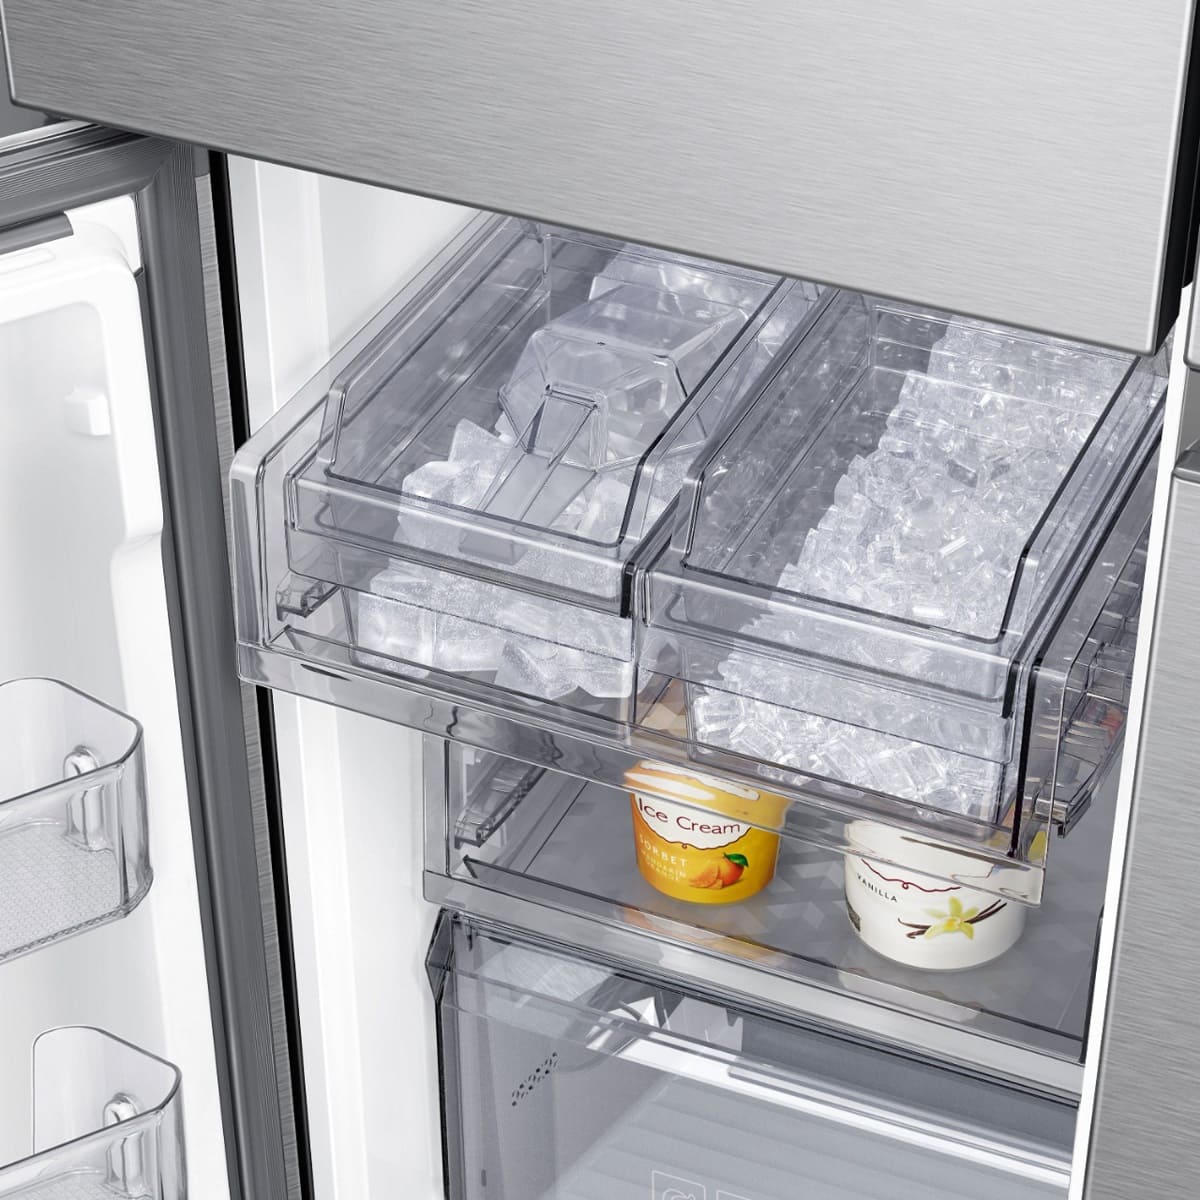
Step 2: Empty and Clean the Ice Bin
Now that the ice maker is safely turned off, it’s time to empty and clean the ice bin. Follow these steps:
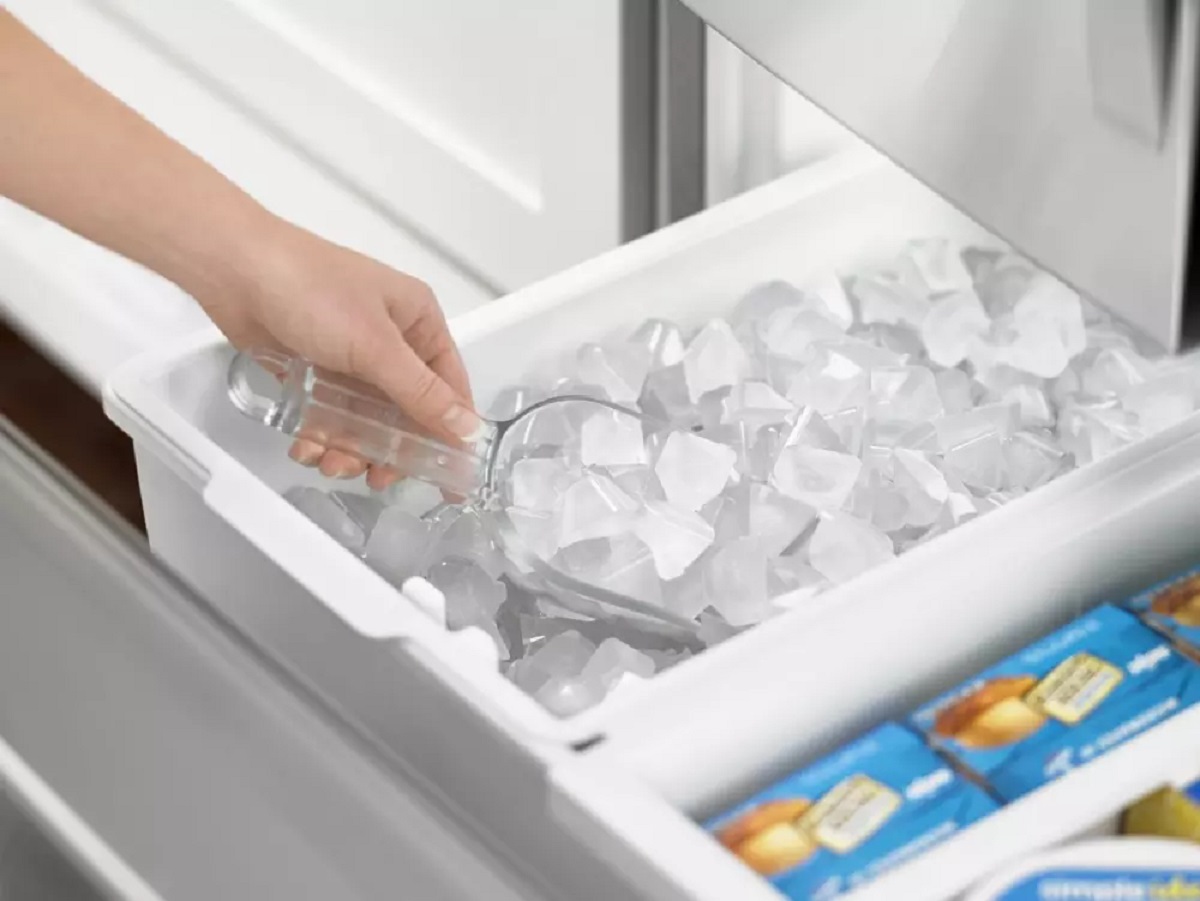
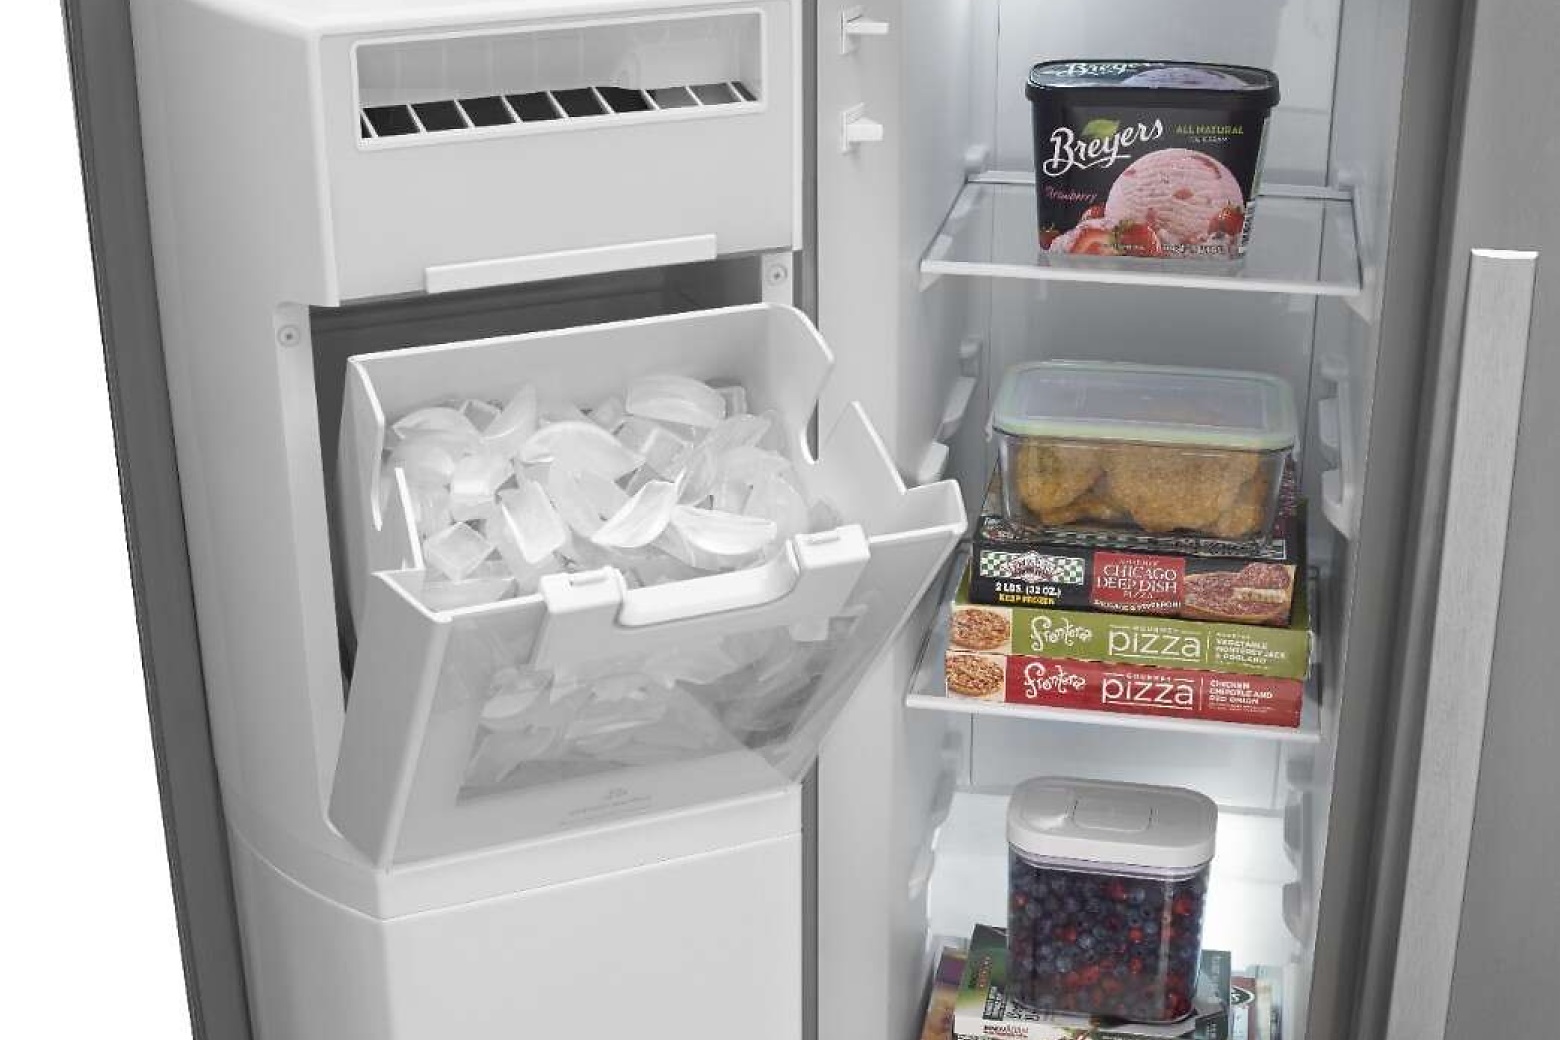
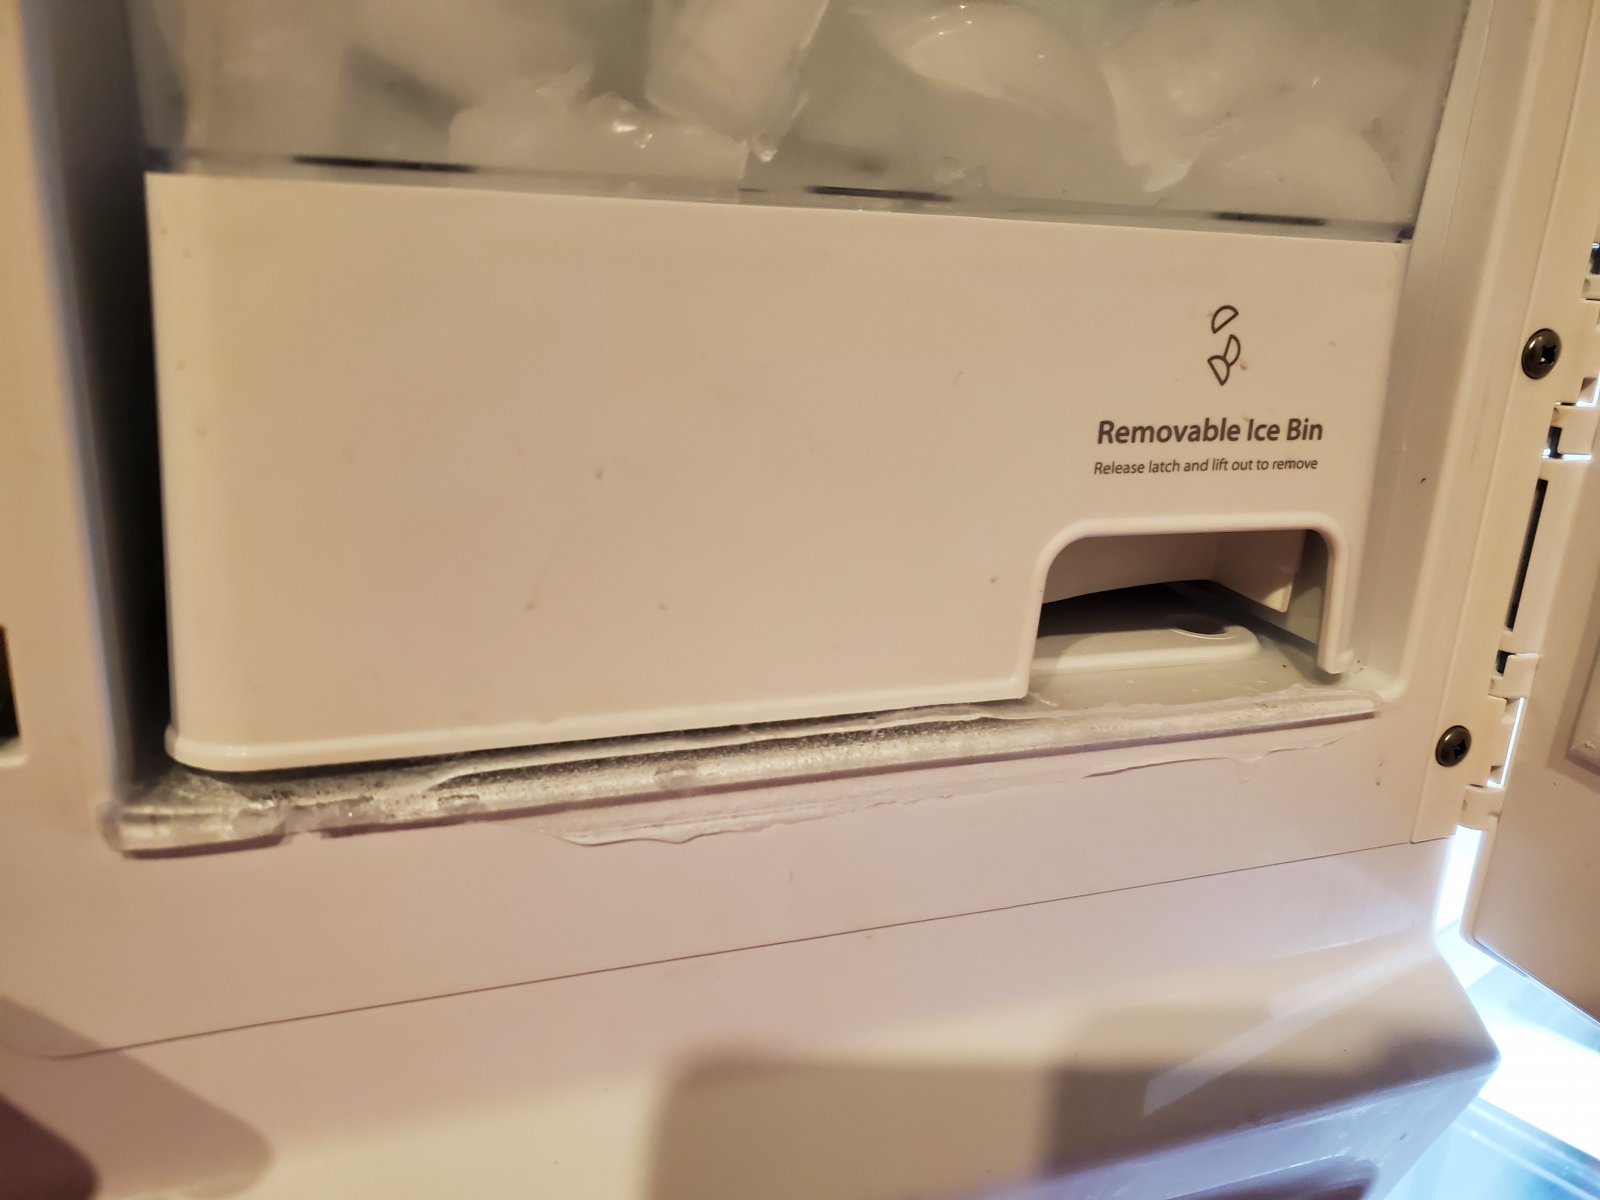
- Remove the ice bin from the freezer compartment. Depending on your refrigerator model, you may need to press a button or lift a lever to release the ice bin.
- Transfer any remaining ice cubes to a container or sink. Dispose of any old or discolored ice.
- Wash the ice bin with warm water and mild dish soap. Use a sponge or cloth to scrub away any residue or buildup. Pay extra attention to the corners and crevices of the bin.
- Rinse the ice bin thoroughly to remove any soap residue.
- Allow the ice bin to air dry completely before placing it back into the freezer. Alternatively, you can use a clean towel to dry it.
It is important to remove any remaining ice and clean the ice bin regularly to prevent the growth of bacteria and maintain the quality of the ice produced by your ice maker.
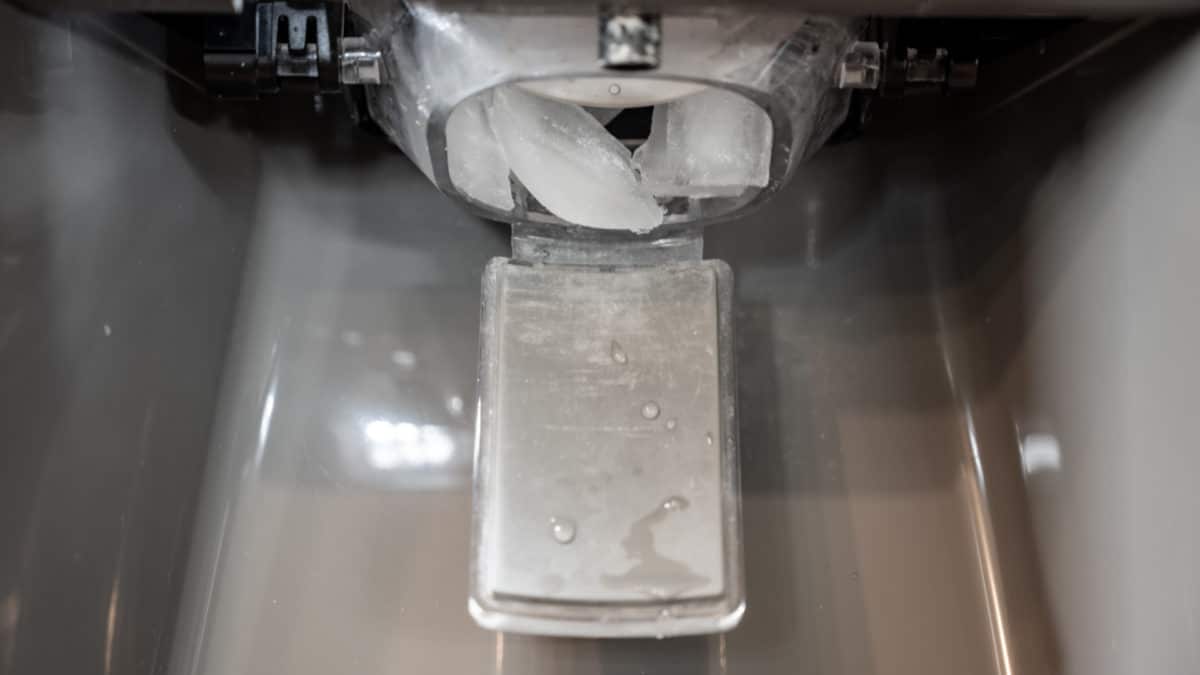
Step 3: Remove and Clean the Ice Maker Parts
Now that you have cleaned the ice bin, it’s time to focus on cleaning the individual components of the ice maker. Follow these steps:
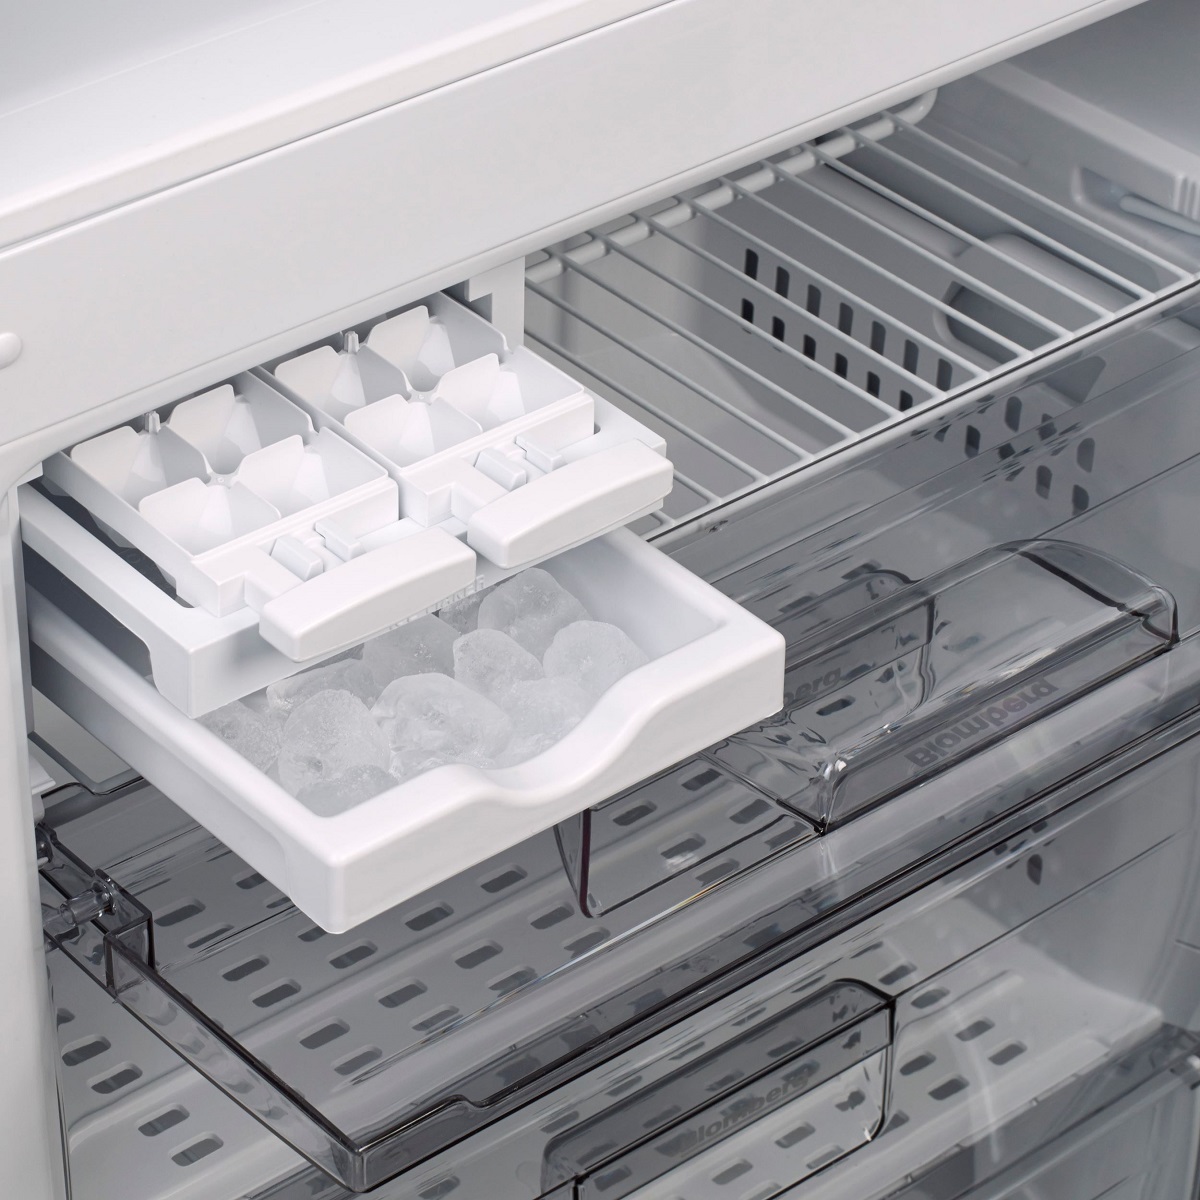
- Refer to your refrigerator’s user manual to locate and remove the specific ice maker parts that can be cleaned. These may include the ice maker tray, ice mold, and ice scoop.
- Fill a sink or basin with warm water and add a few drops of mild dish soap. Submerge the ice maker parts in the soapy water.
- Use a soft brush or toothbrush to gently scrub the parts and remove any debris or buildup. Pay attention to hard-to-reach areas and ensure that all surfaces are thoroughly cleaned.
- Rinse the ice maker parts under running water to remove any soap residue.
- Inspect the parts for any signs of damage or wear. If any parts are damaged, refer to the manufacturer’s instructions for replacement or repair.
- Place the cleaned ice maker parts on a clean towel or dish rack to air dry completely.
By regularly cleaning the individual components of your ice maker, you ensure that they are free from residue and buildup, which can impact the performance and quality of your ice.
To clean the ice maker in your refrigerator, mix equal parts of water and white vinegar and pour it into the ice maker. Run a cycle to allow the solution to clean the interior. Then, run a cycle with clean water to rinse it out.
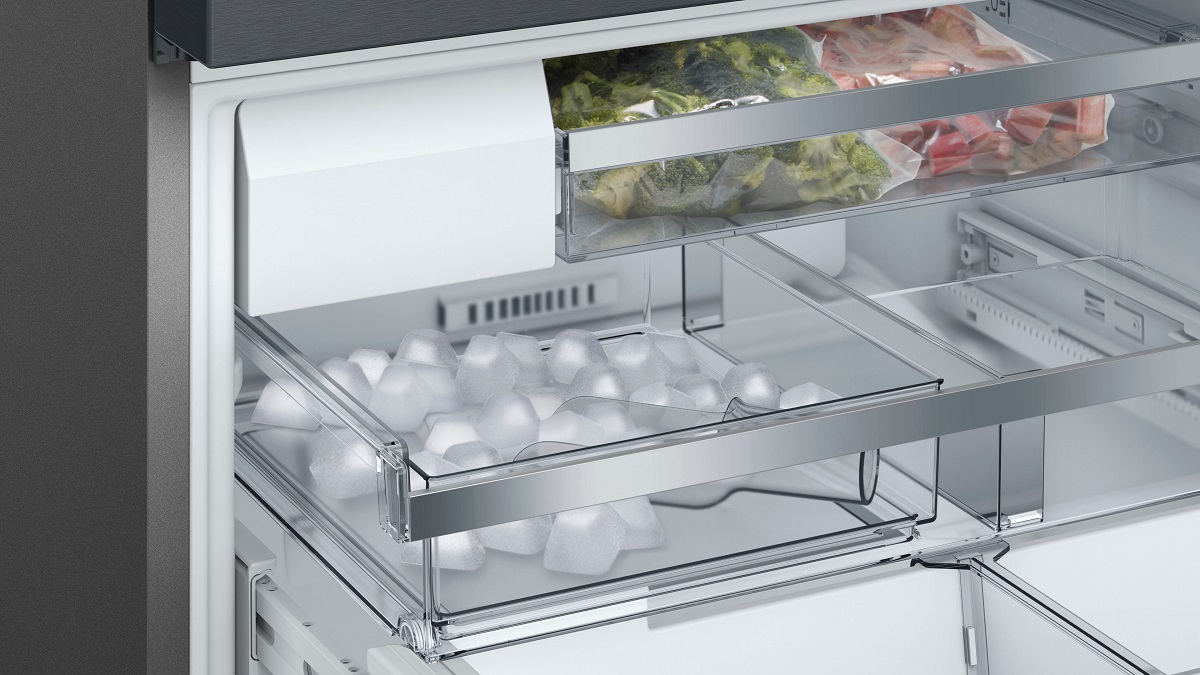
Step 4: Clean the Water Reservoir
The water reservoir of your ice maker is responsible for providing the water that freezes into ice cubes. It’s important to clean this component to ensure the water used to make ice is clean and free from impurities. Follow these steps to clean the water reservoir:
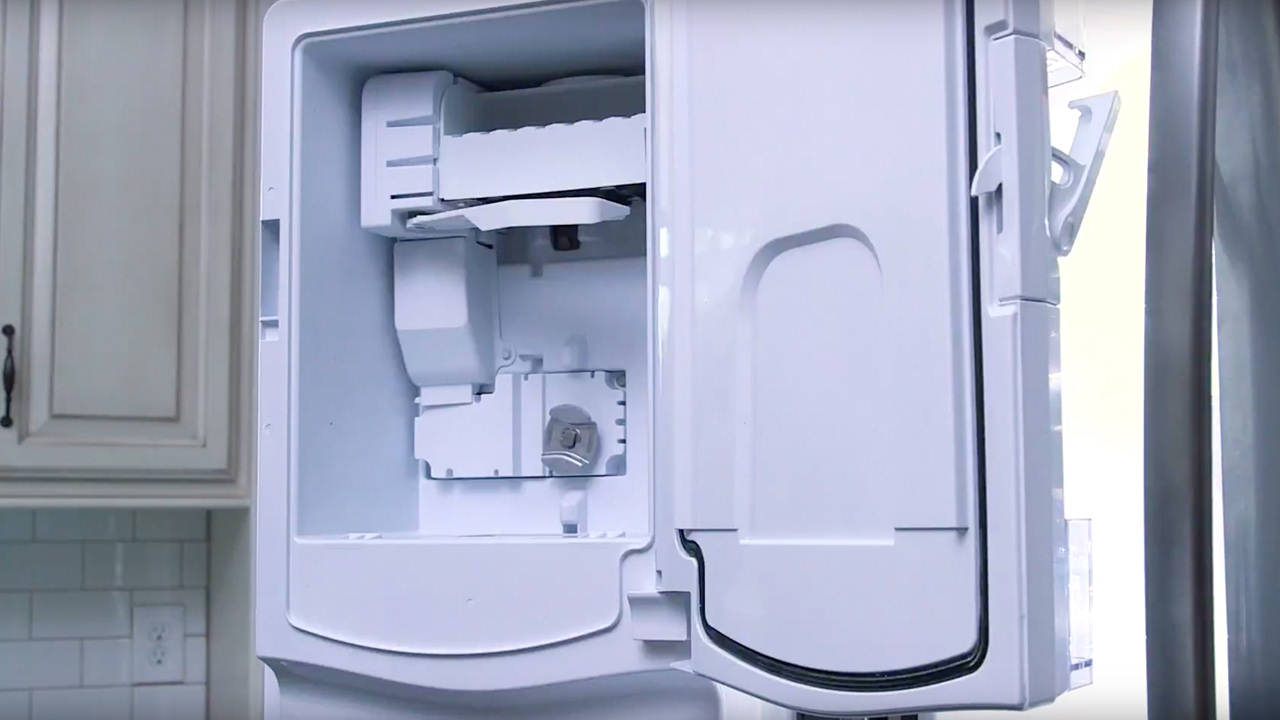
- Locate the water reservoir of your ice maker. This is typically found behind or inside the ice maker unit.
- Refer to your refrigerator’s user manual for instructions on how to access and remove the water reservoir.
- Once removed, empty any remaining water from the reservoir into a sink or container.
- Fill the reservoir with a mixture of equal parts warm water and vinegar. The vinegar helps to remove mineral deposits and disinfect the reservoir.
- Allow the vinegar solution to sit in the water reservoir for about 10-15 minutes to loosen any buildup.
- Use a soft brush or cloth to gently scrub the interior walls of the reservoir. Pay close attention to any areas with stubborn mineral deposits.
- Rinse the water reservoir thoroughly with clean water to remove the vinegar solution and any loosened debris.
- Ensure that the water reservoir is completely dry before reinstalling it into the ice maker unit.
Regularly cleaning the water reservoir helps maintain the quality of the water used to make ice and prevents the buildup of minerals that can affect the taste and texture of your ice cubes.
Step 5: Clean the Outside of the Ice Maker
In addition to cleaning the internal components, it’s also important to clean the exterior of your ice maker to keep it looking fresh and hygienic. Follow these steps to clean the outside of the ice maker:
- Mix warm water with a mild dish soap in a bucket or sink.
- Dip a soft cloth or sponge into the soapy water and wring out any excess liquid.
- Gently wipe down the exterior surface of the ice maker, paying attention to areas prone to fingerprints, smudges, or spills.
- If there are any stubborn stains or residue, use a soft brush or toothbrush dipped in the soapy water to scrub these areas.
- Rinse the cloth or sponge with clean water and wipe away any soap residue from the surface of the ice maker.
- Dry the ice maker using a clean, dry cloth to prevent any water spots or streaks.
- For stainless steel surfaces, you can use a specialized stainless steel cleaner or polish to restore shine and remove any fingerprints.
Regularly cleaning the outside of your ice maker helps maintain its appearance and prevents the buildup of dirt and grime. It also gives your kitchen a more polished and clean look.
Step 6: Reassemble and Turn On the Ice Maker
After completing the cleaning process, it’s time to reassemble the ice maker and get it back up and running. Follow these steps:
- Make sure all the components of the ice maker, including the ice bin, ice maker parts, and water reservoir, are completely dry.
- Carefully reattach the ice maker parts, following the manufacturer’s instructions. Ensure that they are securely in place.
- If you removed the water reservoir, reinstall it back into the ice maker unit. Make sure it is properly aligned and connected.
- Double-check that all connections are secure and that there are no loose or damaged components.
- Turn on the ice maker by either switching the power control to the “on” position or plugging the refrigerator back into the electrical outlet.
- If your ice maker has a water supply line, turn on the water supply and allow it to fill the water reservoir. Check for any leaks or issues with water flow.
- Once the ice maker is back on, allow it to go through a complete ice-making cycle before using the ice. This ensures that any remaining cleaning agents or residue is flushed out.
With the ice maker reassembled and turned on, you can now enjoy fresh, clean ice once again.
Additional Tips for Maintaining Your Ice Maker
Aside from regular cleaning, here are some additional tips to help you maintain the optimal performance and longevity of your ice maker:
- Change the water filter: If your refrigerator has a water filter for the ice maker, follow the manufacturer’s recommendations for regular replacement. This will ensure that the water supplied to the ice maker is clean and free from impurities.
- Keep the ice maker well-ventilated: Make sure there is ample space around the ice maker for proper airflow. Avoid blocking the vents or placing items on top of or around the ice maker, as this can hinder its performance.
- Use the ice regularly: Regularly using the ice from your ice maker helps prevent ice from clumping together and keeps the ice maker in good working condition.
- Check for leaks: Routinely inspect the water supply line and connections for any leaks. If you notice any signs of leakage, address them promptly to prevent water damage or further issues.
- Monitor the ice quality: Keep an eye on the quality and clarity of your ice. If you notice any unusual taste, odor, or discoloration, it may be a sign that your ice maker needs cleaning or maintenance.
- Follow manufacturer’s instructions: Always refer to the manufacturer’s instructions and guidelines specific to your ice maker model for maintenance and cleaning. This ensures that you are taking the necessary steps to care for your ice maker correctly.
By incorporating these additional tips into your ice maker maintenance routine, you can ensure that your ice maker operates efficiently and produces clean, great-tasting ice for your enjoyment.
Conclusion
Cleaning your ice maker in the refrigerator is an important task to maintain the cleanliness, performance, and longevity of your appliance. By regularly cleaning the ice bin, removing and cleaning the ice maker parts, cleaning the water reservoir, and taking care of the outside of the ice maker, you can ensure that the ice produced is safe, fresh, and free from any contaminants.
Regular maintenance and proper cleaning will not only result in better-tasting ice but also help prevent bacterial growth, minimize the risk of contamination, and improve the efficiency of your ice maker. By following the steps outlined in this article and incorporating the additional tips, you can keep your ice maker in optimal condition and enjoy clean and refreshing ice for your beverages.
Remember to consult your refrigerator’s user manual for specific instructions and recommendations from the manufacturer. By giving your ice maker the care it needs, you can ensure its longevity and enjoy a constant supply of ice for your everyday needs.
Frequently Asked Questions about How To Clean Ice Maker In Refrigerator
Was this page helpful?
At Storables.com, we guarantee accurate and reliable information. Our content, validated by Expert Board Contributors, is crafted following stringent Editorial Policies. We're committed to providing you with well-researched, expert-backed insights for all your informational needs.

0 thoughts on “How To Clean Ice Maker In Refrigerator”