Home>Articles>How To Clean Refrigerator Ice Maker Water Line

Articles
How To Clean Refrigerator Ice Maker Water Line
Modified: August 27, 2024
Learn how to effectively clean your refrigerator ice maker water line with our informative articles. Keep your ice maker running smoothly and prevent clogs.
(Many of the links in this article redirect to a specific reviewed product. Your purchase of these products through affiliate links helps to generate commission for Storables.com, at no extra cost. Learn more)
Introduction
Welcome to our guide on how to clean the refrigerator ice maker water line. If you’ve noticed a decrease in ice production or a strange taste in your ice cubes, it may be time to clean the water line of your refrigerator’s ice maker. Over time, mineral deposits, bacteria, and mold can accumulate in the water line, affecting the quality and functionality of your ice maker.
Regularly cleaning the ice maker water line not only helps to maintain the efficiency of your refrigerator but also ensures that your ice cubes are fresh and free from any contaminants. In this article, we will walk you through the step-by-step process of cleaning the water line, ensuring that you can enjoy clean and great-tasting ice at all times.
Before we begin, it’s important to note that safety should always be a priority. Make sure to unplug your refrigerator or turn off the power supply before attempting any maintenance procedures. Additionally, refer to your refrigerator’s user manual for specific instructions related to your model.
Now, let’s dive into the details and learn more about how to clean the refrigerator ice maker water line effectively and safely.
Key Takeaways:
- Regularly cleaning the refrigerator ice maker water line ensures fresh, great-tasting ice cubes and prolongs the appliance’s lifespan. Follow safety precautions and maintenance tips for optimal performance.
- Disconnect, clean, and reconnect the water line using simple tools and materials. Test the ice maker to ensure proper functionality and enjoy a steady supply of clean ice.
Understanding the Ice Maker Water Line
Before we start cleaning the ice maker water line, it’s essential to understand how it works and how it connects to your refrigerator’s water supply.
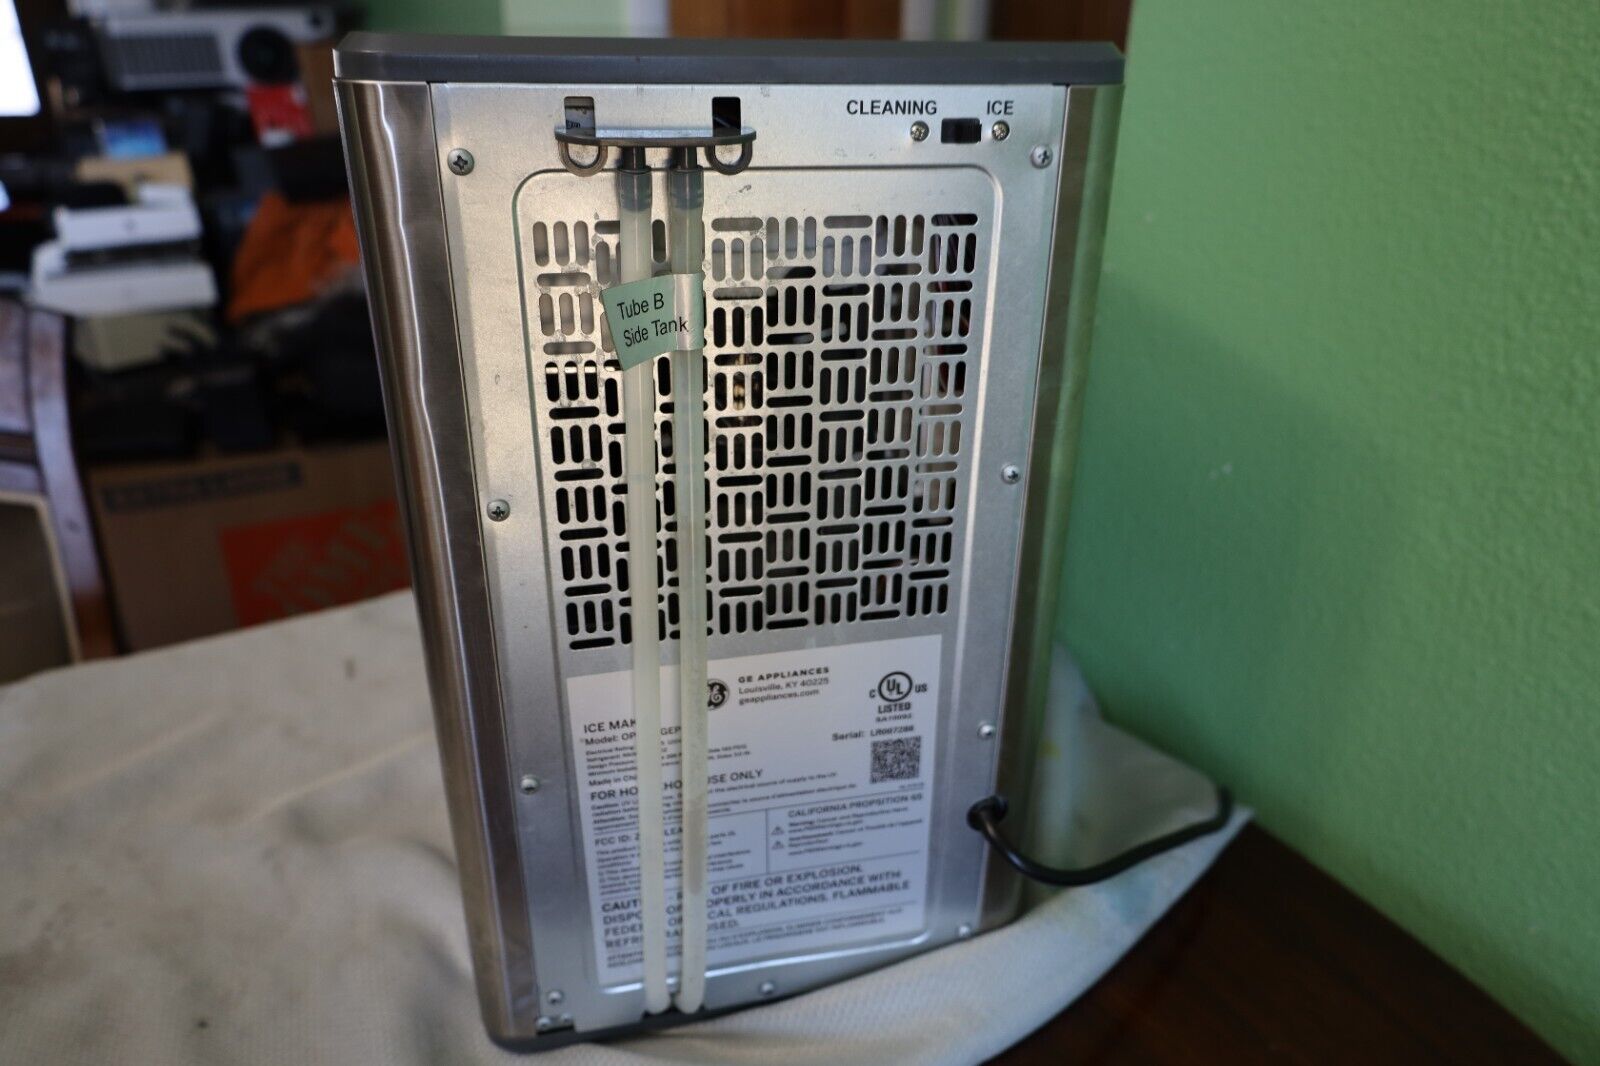
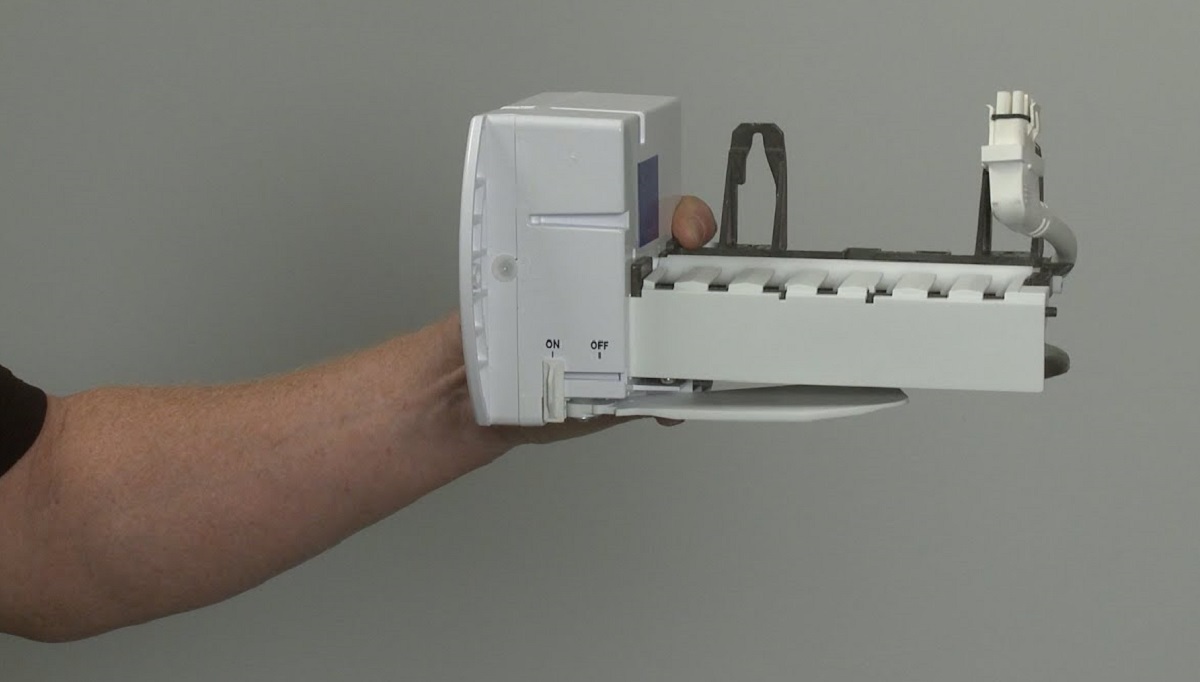
The ice maker water line is responsible for delivering water to the ice maker tray, where it is frozen into ice cubes. In most refrigerators, the water line is connected to your home’s water supply, either through a direct connection or a water filter system.
When you dispense water or activate the ice maker, a valve opens to allow water to flow through the water line and fill the ice maker tray. Over time, however, minerals from the water can build up inside the water line, leading to clogs and affecting the overall performance of your ice maker.
Understanding how the ice maker water line works helps us recognize the importance of regular cleaning. By keeping the water line clean and free from debris, you can ensure a steady supply of ice and prevent any potential issues that may arise from a clogged line.
In the next sections, we will guide you through the process of safely disconnecting the water supply, cleaning the water line, and reconnecting the water supply to your refrigerator’s ice maker.
Safety Precautions
Before you start cleaning the refrigerator ice maker water line, it is important to follow a few safety precautions to protect yourself and your appliance. Here are some guidelines to keep in mind:
- Turn off the power: Start by unplugging your refrigerator or turning off the power supply to avoid any electrical accidents during the cleaning process.
- Protect your hands: Wear protective gloves to shield your hands from any sharp edges or possible contact with contaminants when handling the water line.
- Use eye protection: Safety goggles or glasses are recommended to prevent any splashing of cleaning solution into your eyes.
- Be cautious with cleaning agents: Read and follow the instructions on any cleaning agents or solutions you use. Some chemicals may be harmful if not used properly, so always handle them with care.
- Work in a well-ventilated area: Make sure you are working in a properly ventilated area to avoid inhaling any fumes from cleaning agents.
- Refer to the user manual: Check your refrigerator’s user manual for specific safety instructions and precautions related to your model.
By following these safety precautions, you can ensure a safe and hassle-free cleaning process for your refrigerator’s ice maker water line.
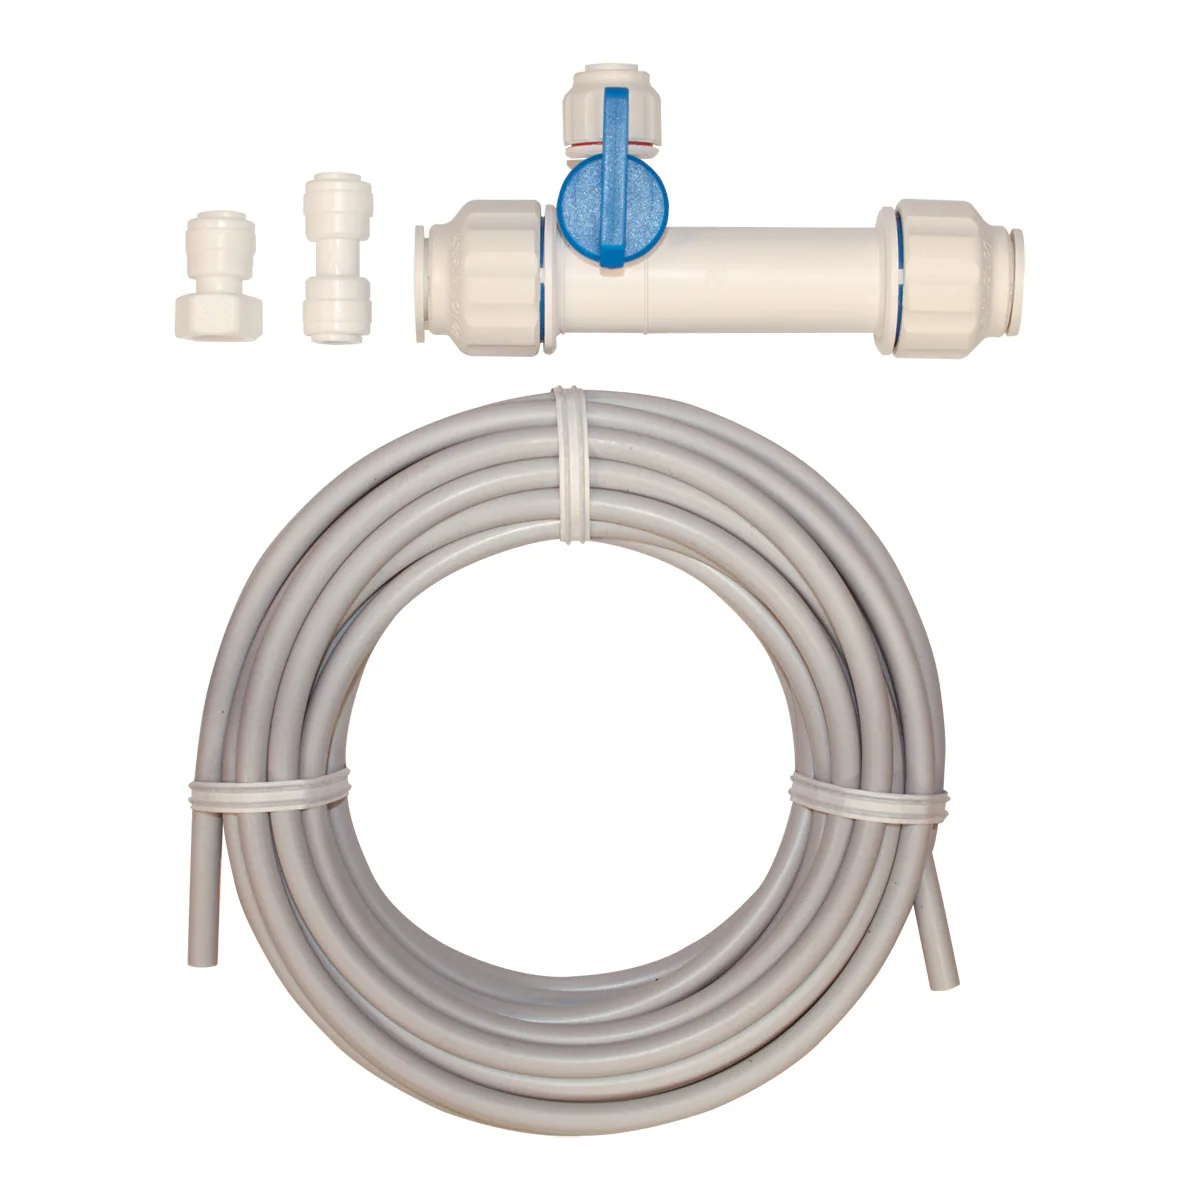
Tools and Materials Needed
Before you begin cleaning the refrigerator ice maker water line, gather the necessary tools and materials to make the process more efficient. Here’s a list of items you will need:
- Adjustable wrench or pliers: These tools will help you loosen and tighten the connections to disconnect and reconnect the water line.
- Bucket or container: You’ll need a bucket or container to catch any water that may drain from the water line when disconnecting it.
- Soft cloth or sponge: Use a soft cloth or sponge to wipe down and clean the exterior of the water line.
- Mild detergent or cleaning solution: Prepare a solution of mild detergent or a recommended cleaning solution to clean the water line.
- Vinegar or lemon juice: These natural cleaning agents can help remove mineral deposits and eliminate any unpleasant odors in the water line.
- Clean water: Have a source of clean water available to rinse the water line after cleaning.
- Pipe brush or long bottle brush: These brushes are useful for scrubbing the interior of the water line and removing any debris.
Having these tools and materials ready beforehand will make the cleaning process more convenient and ensure that you have everything you need to effectively clean the ice maker water line.
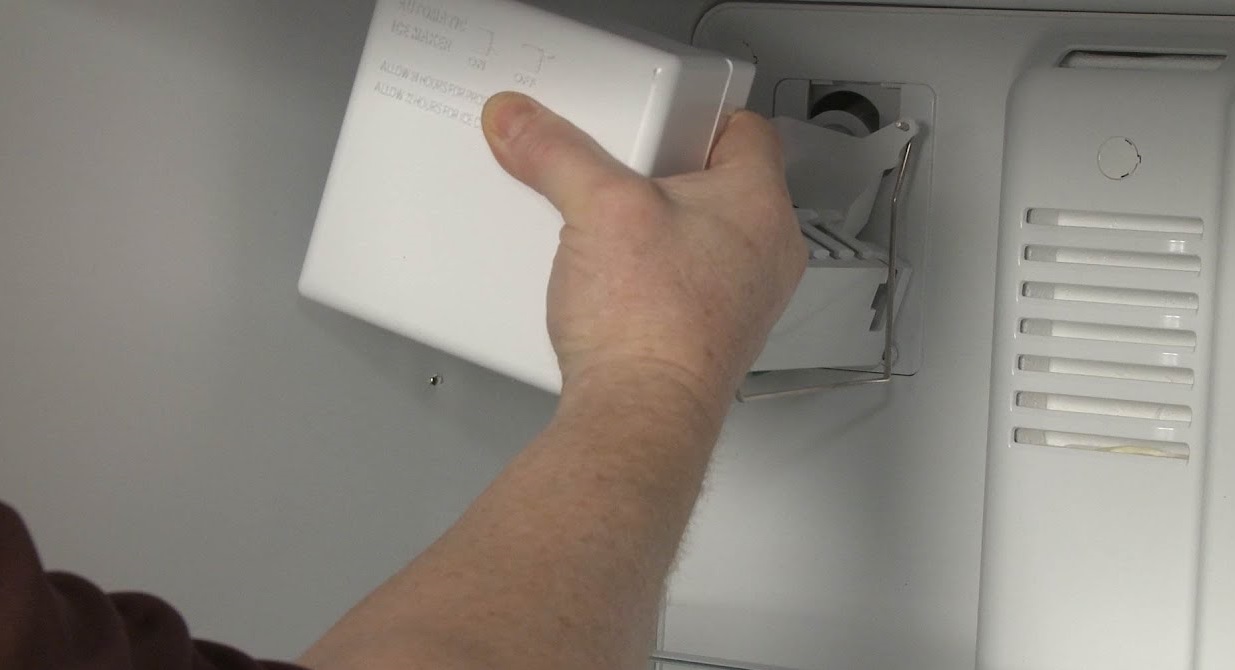
Disconnecting the Water Supply
Now that you have gathered the necessary tools and materials, it’s time to proceed with disconnecting the water supply to your refrigerator’s ice maker. Here’s a step-by-step guide:
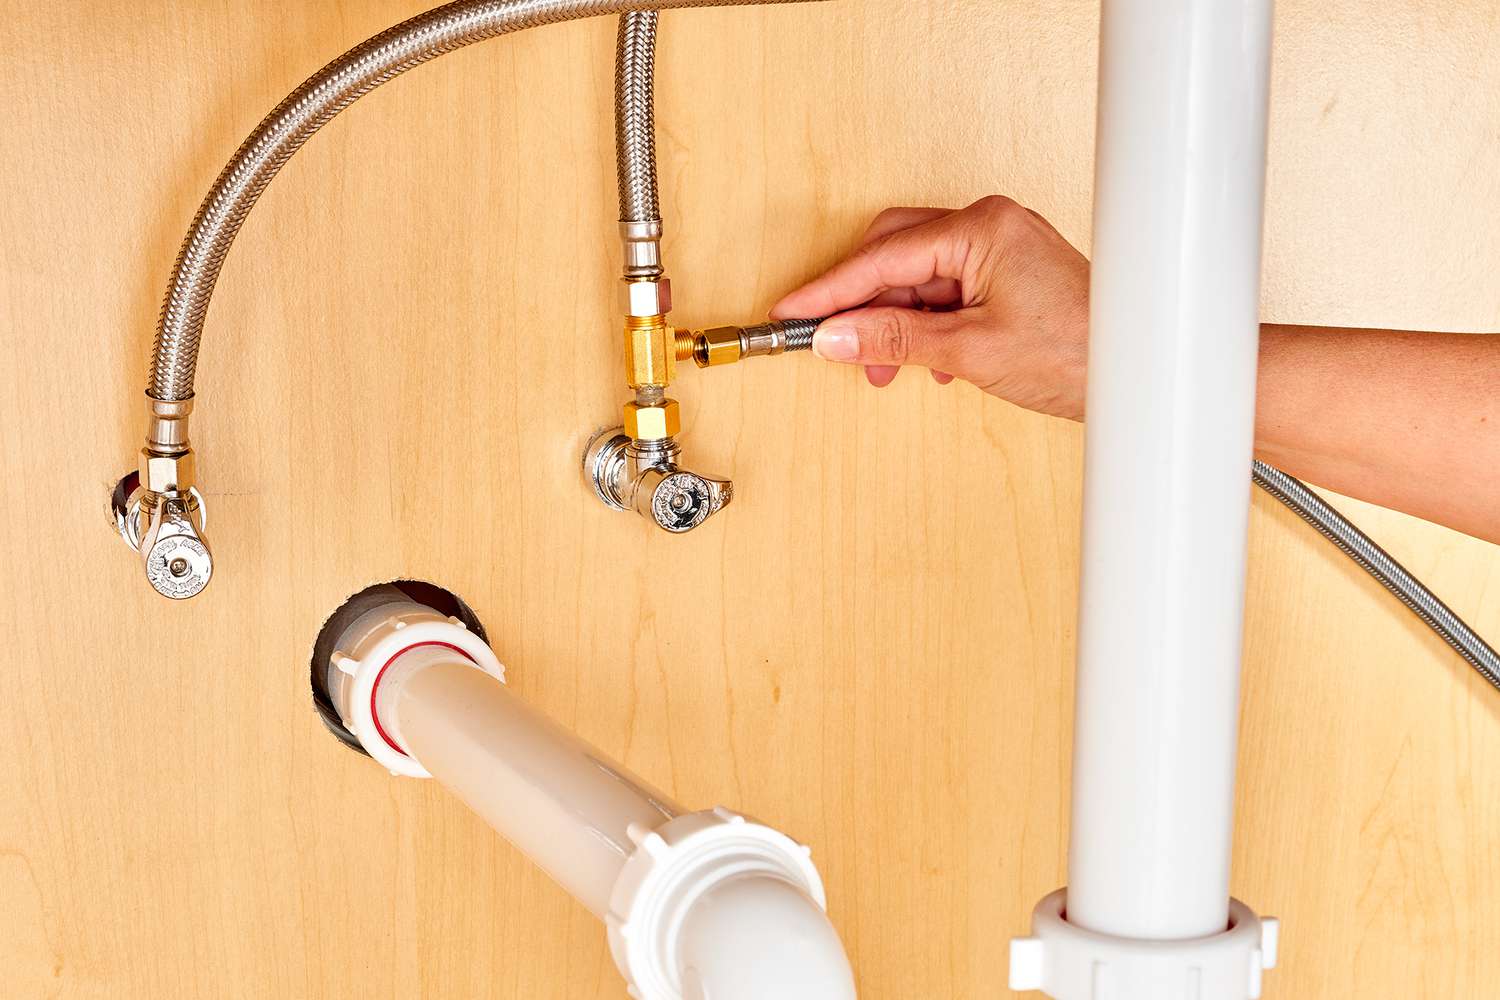
- Locate the water shut-off valve: The water shut-off valve is usually located behind the refrigerator or under the sink. Turn it off by rotating the valve handle clockwise until it is fully closed. This step ensures that no water will flow into the water line during the cleaning process.
- Unplug the refrigerator: Disconnect the power cord or turn off the power supply to your refrigerator to avoid any electrical hazards during the maintenance.
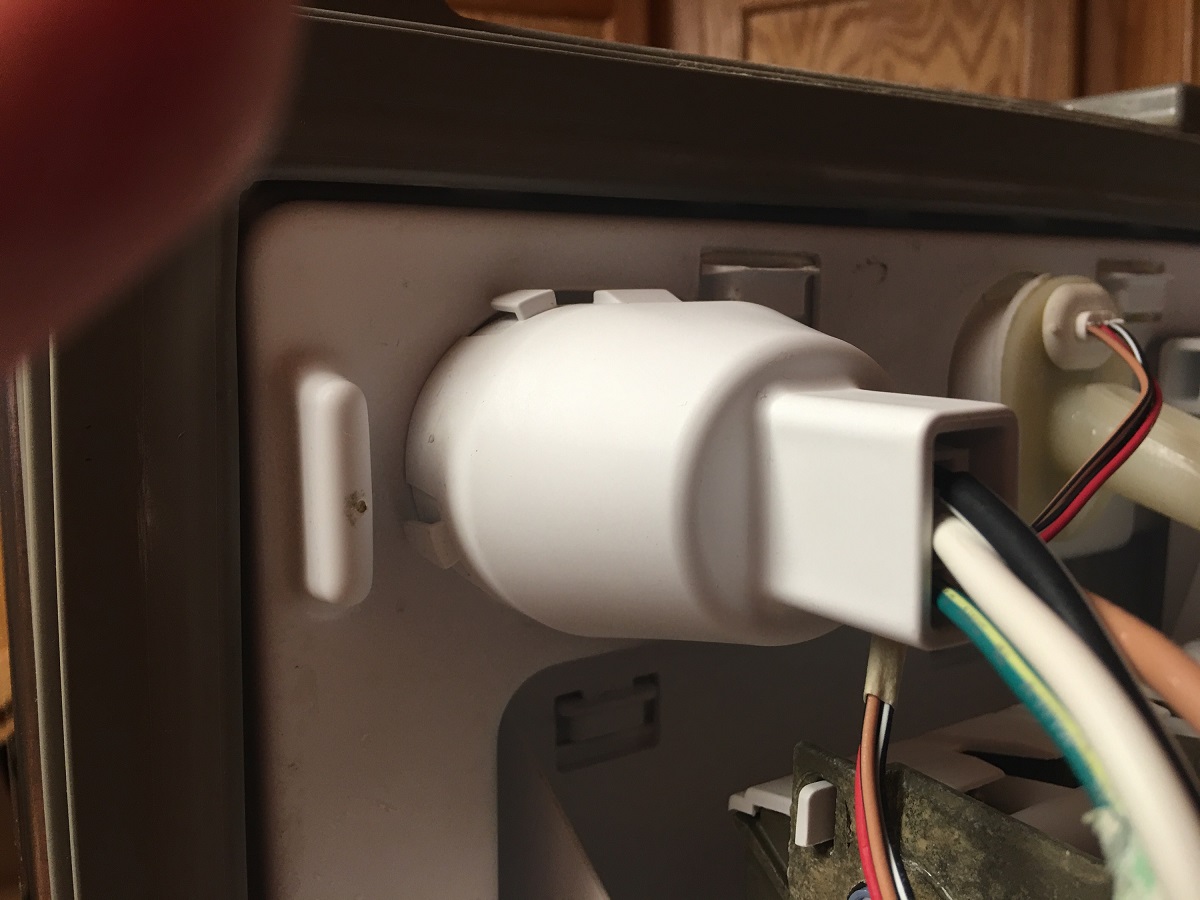
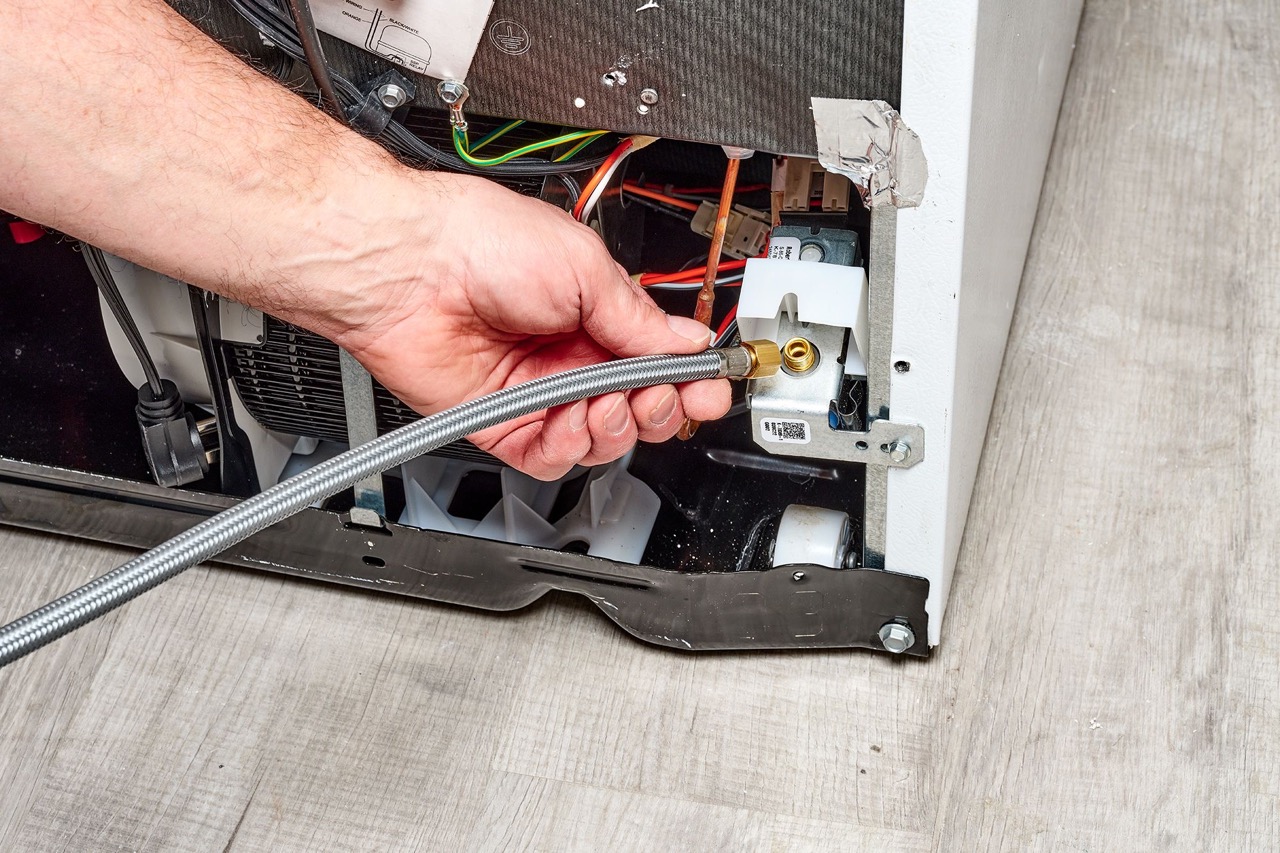
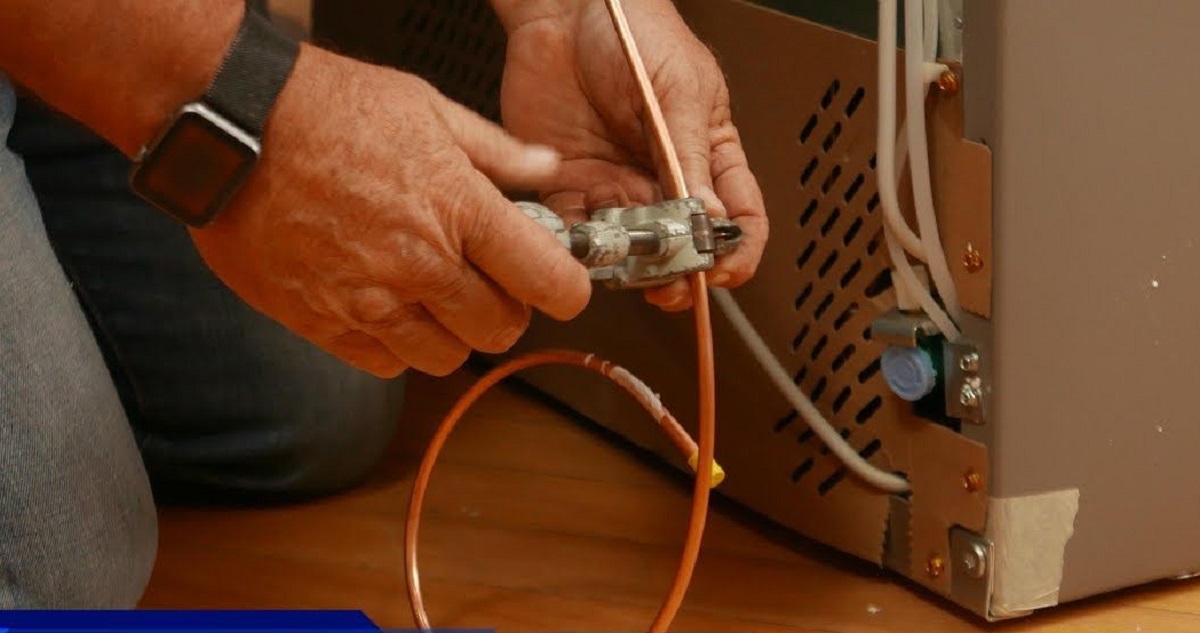
- Locate the water supply line: The water supply line is a flexible tube that connects to the back of the refrigerator. Trace the line until you find the connection point.
- Prepare a bucket or container: Position a bucket or a container under the connection point to catch any water that may drain when disconnecting the line.
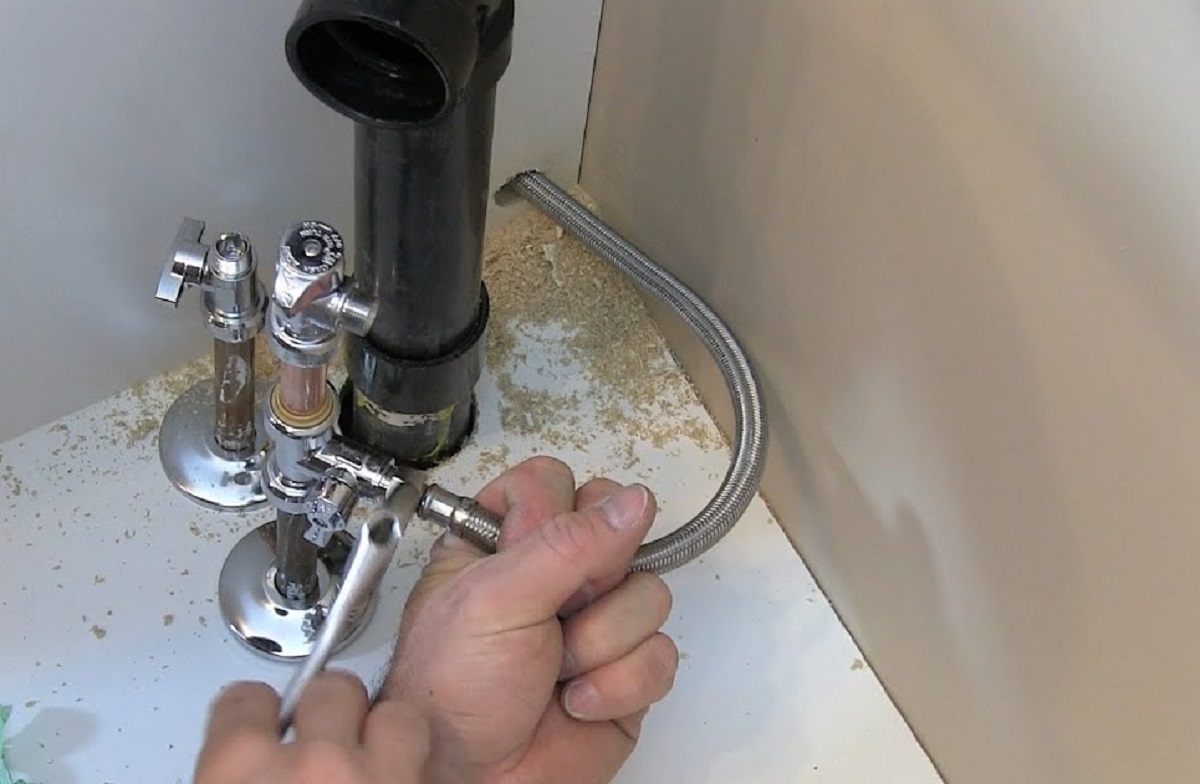
- Use an adjustable wrench or pliers: Loosen the nuts or connectors securing the water supply line to the refrigerator. Carefully detach the line from the refrigerator by turning the nuts counterclockwise. Be cautious as there may still be some residual water in the line.
- Allow residual water to drain: Let any remaining water in the line drain into the bucket or container. This may take a few moments, so be patient.
Once the water supply line is disconnected and any remaining water is drained, you’re ready to move on to the next step – cleaning the refrigerator ice maker water line.
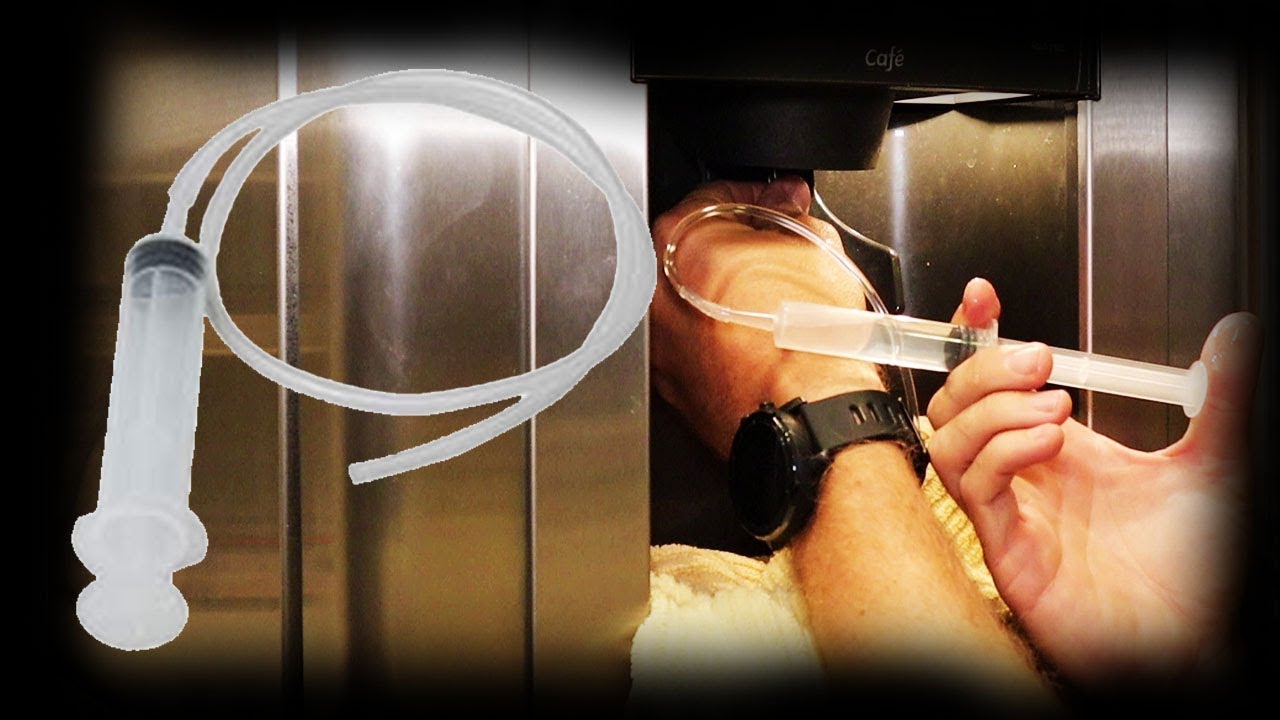
To clean the refrigerator ice maker water line, mix equal parts of white vinegar and water and use a turkey baster to flush the mixture through the line. This will help remove any mineral deposits and keep the water flowing smoothly.
Read more: How To Unclog Water Line To Ice Maker
Cleaning the Water Line
Now that the water supply is disconnected, it’s time to clean the refrigerator ice maker water line. Follow these steps to ensure a thorough cleaning:
- Mix a cleaning solution: Prepare a solution of mild detergent or a recommended cleaning solution by following the instructions on the product. Alternatively, you can use a mixture of equal parts white vinegar and water or lemon juice and water as a natural cleaning agent.
- Dampen a cloth or sponge: Dip a soft cloth or sponge into the cleaning solution. Make sure it’s moist, but not dripping with excess liquid.
- Clean the exterior of the water line: Gently wipe down the exterior of the water line with the damp cloth or sponge to remove any dirt or grime. Pay attention to the areas near the connectors and valves.
- Scrub the interior of the water line: Insert a pipe brush or long bottle brush into the open end of the water line. Use a back-and-forth motion to gently scrub the interior of the line, removing any debris or mineral deposits that may have accumulated.
- Rinse the water line: After scrubbing the interior, flush out the cleaning solution by running clean water through the line. Hold the water line over the sink or a bucket and let water flow through it for a few seconds to ensure that all traces of the cleaning solution are removed.
- Inspect for cleanliness: Take a close look at the water line to ensure that it’s clean and free from any blockages or debris. If necessary, repeat the cleaning process until the water line is thoroughly cleaned.
- Dry the water line: Use a dry cloth or towel to wipe off any excess moisture from the exterior of the water line. Make sure it’s completely dry before reconnecting it to the refrigerator.
Once the water line is clean and dry, you’re ready to move on to the next step – reconnecting the water supply to your refrigerator’s ice maker.
Reconnecting the Water Supply
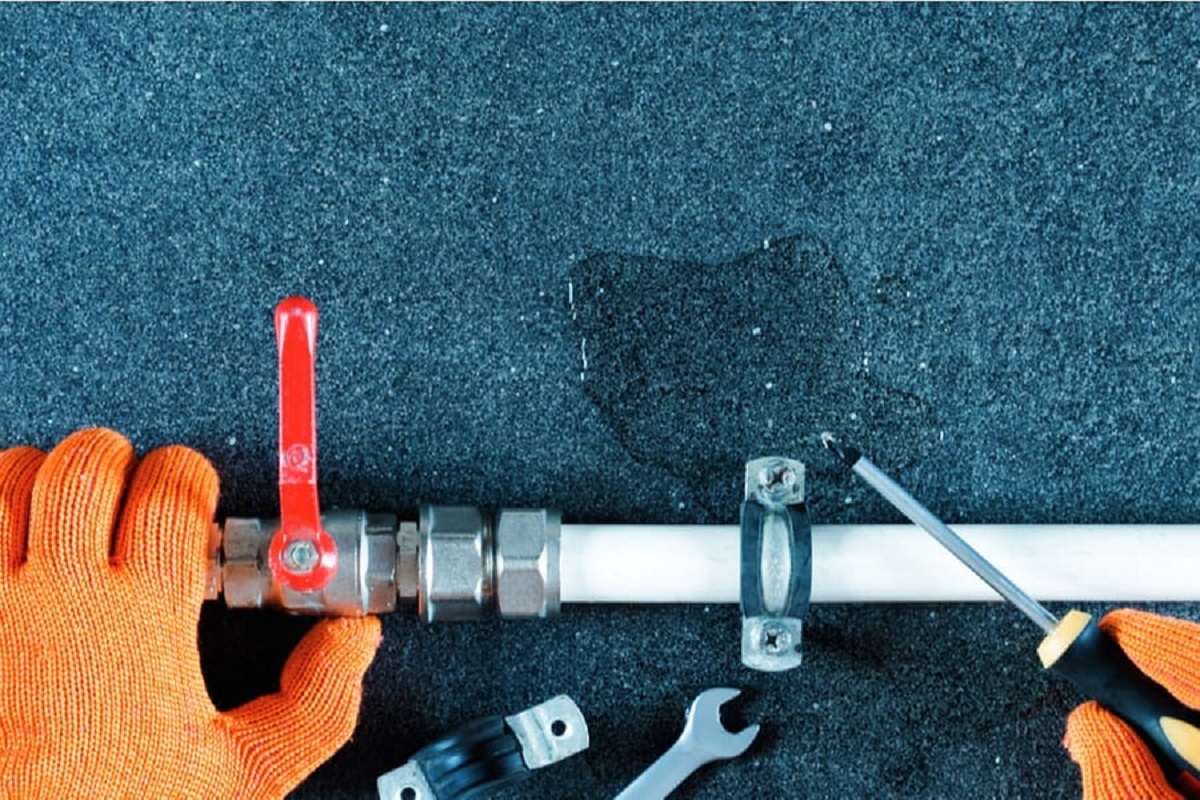
After cleaning the refrigerator ice maker water line, it’s time to reconnect the water supply to your appliance. Follow these steps to ensure a proper reconnection:
- Inspect the water line: Take a close look at the water line to ensure there are no signs of damage or wear. Replace the line if you notice any cracks or leaks.
- Position the water line: Carefully position the water line near the connection point on the back of the refrigerator. Make sure it is aligned properly for a secure and leak-free connection.
- Use an adjustable wrench or pliers: Attach the nuts or connectors to the water line by turning them clockwise. Tighten them securely to ensure a proper seal but avoid overtightening, as it can cause damage to the connectors or the water line.
- Tighten the connections: Use an adjustable wrench or pliers to tighten the nuts connecting the water line to the refrigerator. Again, make sure the connections are secure but be careful not to over-tighten.
- Turn on the water supply: Locate the water shut-off valve and turn it on by rotating the valve handle counterclockwise until it is fully open. This will restore the water flow to the refrigerator’s ice maker.
- Check for leaks: Monitor the connections and the water line for any signs of leaking. If you notice any leaks, tighten the connections further or consider replacing the water line.
Once you have successfully reconnected the water supply to your refrigerator’s ice maker, it’s time to move on to the final step – testing the ice maker.
Testing the Ice Maker
After cleaning the water line and reconnecting the water supply, it’s important to test the ice maker to ensure that it’s functioning properly. Follow these steps to test the ice maker:
- Plug in the refrigerator: Ensure that the power supply is restored to your refrigerator by plugging it back in or turning on the power.
- Allow time for ice production: Give the ice maker some time to start producing ice. Depending on the model, it may take a few hours or up to 24 hours for the first batch of ice to be ready.
- Monitor ice production: Check periodically to see if ice cubes are being produced. If you notice a steady flow of fresh ice, then your cleaning efforts have been successful.
- Take note of any issues: If the ice maker still isn’t producing ice or you notice any unusual sounds or behavior, refer to your refrigerator’s user manual for troubleshooting tips or consider contacting a professional for assistance.
By testing the ice maker, you can ensure that it’s working properly, providing you with a consistent supply of clean and refreshing ice cubes.
Maintenance Tips
To keep your refrigerator ice maker water line in optimal condition and prevent future issues, it’s important to follow some regular maintenance tips. Here are a few suggestions:
- Regularly clean the water line: Make it a habit to clean the water line at least once every six months to remove any build-up of minerals, bacteria, or mold. This will help maintain the efficiency and performance of your ice maker.
- Replace the water filter: If your refrigerator has a water filter, follow the manufacturer’s recommendations on when to replace it. A clogged or expired filter can affect the quality of your ice cubes and hinder water flow.
- Check for leaks: Regularly inspect the water line and connections for any signs of leaks. Addressing leaks promptly can prevent water damage and potential issues with your ice maker.
- Monitor ice quality: Keep an eye on the quality of the ice cubes your ice maker produces. If you notice any strange tastes or odors, it may be a sign that the water line needs cleaning or the filter needs replacing.
- Keep the area clean: Wipe down the exterior of your refrigerator regularly to remove any dust or debris. A clean environment helps maintain the performance and longevity of the appliance.
- Follow the manufacturer’s guidelines: Refer to your refrigerator’s user manual for specific maintenance instructions and recommended cleaning products. Following the manufacturer’s guidelines will ensure that you’re taking the best care of your appliance.
By following these maintenance tips, you can extend the lifespan of your refrigerator’s ice maker water line and continue to enjoy clean, fresh ice cubes on a regular basis.
Read more: How To Replace Ice Maker Water Line
Conclusion
Cleaning the refrigerator ice maker water line is an important maintenance task that ensures the efficiency and functionality of your ice maker. By removing mineral deposits, bacteria, and mold from the water line, you can enjoy clean and great-tasting ice cubes.
In this guide, we have discussed the step-by-step process of cleaning the water line, including disconnecting the water supply, cleaning the line, and reconnecting the water supply. We have also provided safety precautions and maintenance tips to help you maintain the health and performance of your ice maker.
Remember to follow safety precautions when working with electrical appliances and cleaning solutions. Always refer to your refrigerator’s user manual for specific instructions and recommendations.
Regularly cleaning and maintaining your refrigerator ice maker water line will not only optimize the performance of your ice maker but also prolong the lifespan of your appliance. So, take the time to clean your water line regularly and enjoy fresh, clean ice cubes for all your cooling needs.
Thank you for reading, and we hope this guide has been helpful in assisting you with cleaning your refrigerator ice maker water line.
After mastering how to clean your refrigerator ice maker water line, why stop there? Dive deeper into appliance upkeep with a guide on maintaining your ice maker. For those dealing with stubborn mineral buildup, our detailed instructions on how to clear out your ice maker will prove invaluable. Don't forget, cleanliness extends beyond the fridge. Discover our clever oven cleaning hacks for achieving a spotless kitchen appliance effortlessly. Each article offers practical advice, ensuring your appliances aren't just clean but also operate at peak performance.
Frequently Asked Questions about How To Clean Refrigerator Ice Maker Water Line
Was this page helpful?
At Storables.com, we guarantee accurate and reliable information. Our content, validated by Expert Board Contributors, is crafted following stringent Editorial Policies. We're committed to providing you with well-researched, expert-backed insights for all your informational needs.

0 thoughts on “How To Clean Refrigerator Ice Maker Water Line”