Articles
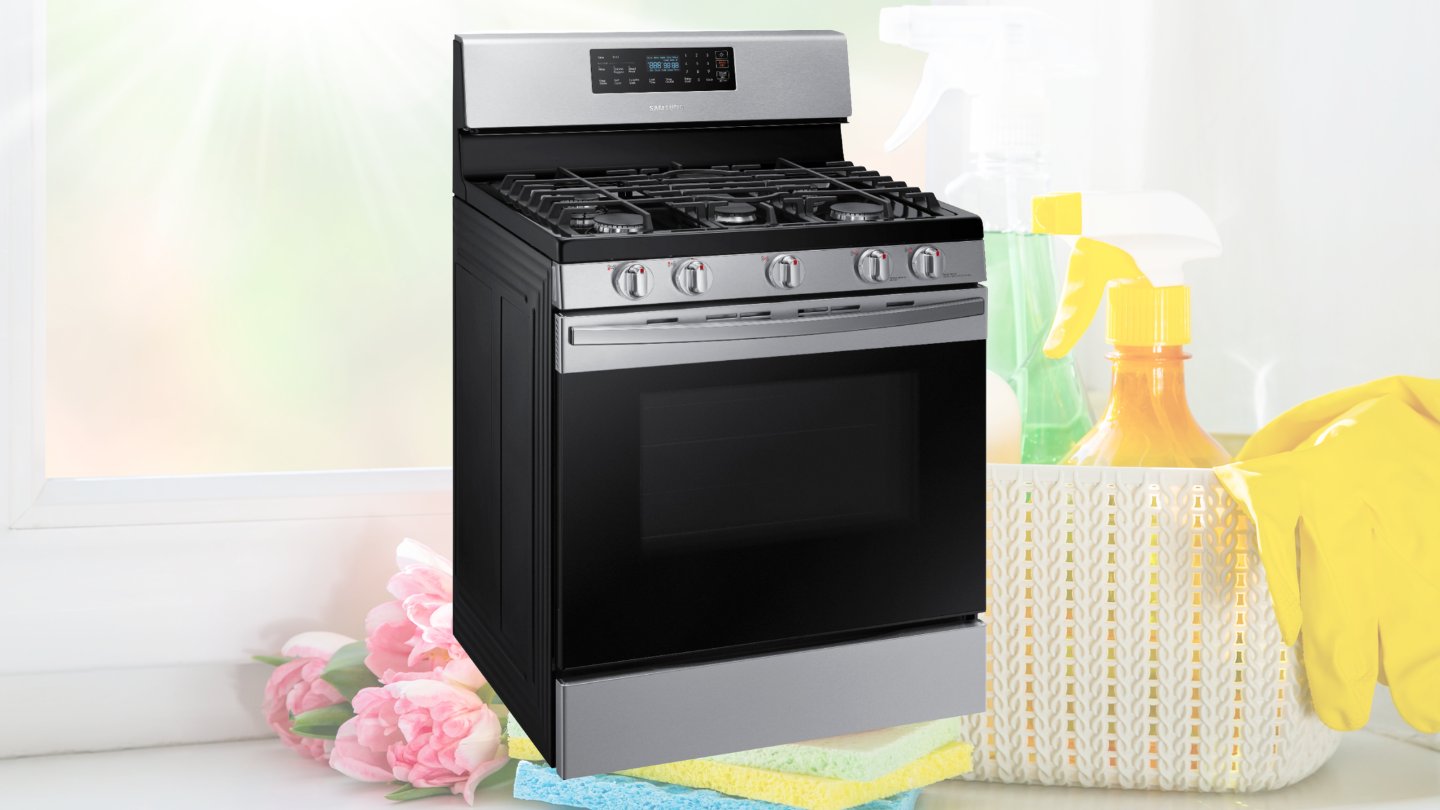
How To Clean Drip Pans Under Stove Burners
Modified: October 19, 2024
Learn effective methods and techniques to clean the drip pans under your stove burners with our informative articles. Keep your kitchen spotless with easy-to-follow tips and tricks.
(Many of the links in this article redirect to a specific reviewed product. Your purchase of these products through affiliate links helps to generate commission for Storables.com, at no extra cost. Learn more)
Introduction
Keeping your kitchen clean and tidy is essential for maintaining a healthy and hygienic environment. One area that often gets overlooked during regular cleaning routines is the drip pans located under the stove burners. Over time, these drip pans can accumulate grease, food debris, and stains, which not only affect the appearance of your stove but can also impact its performance. Therefore, it is important to include cleaning the drip pans as part of your regular kitchen maintenance.
In this article, we will guide you through the process of cleaning the drip pans under your stove burners. We will provide step-by-step instructions and offer tips on how to remove tough stains. By following these guidelines, you can restore the shine and functionality of your stove, making it a pleasure to cook in your kitchen once again.
Before we dive into the cleaning process, let’s take a look at the materials you’ll need to gather to ensure a successful cleaning session.
Key Takeaways:
- Regularly cleaning the drip pans under your stove burners is crucial for maintaining a sparkling and functional stove. Gather the necessary materials, remove the burners, and employ effective cleaning methods to restore your stove’s shine.
- Don’t overlook the importance of drying and reassembling the stove burners after cleaning the drip pans. Regular maintenance ensures optimal stove performance and a more enjoyable cooking experience in your kitchen.
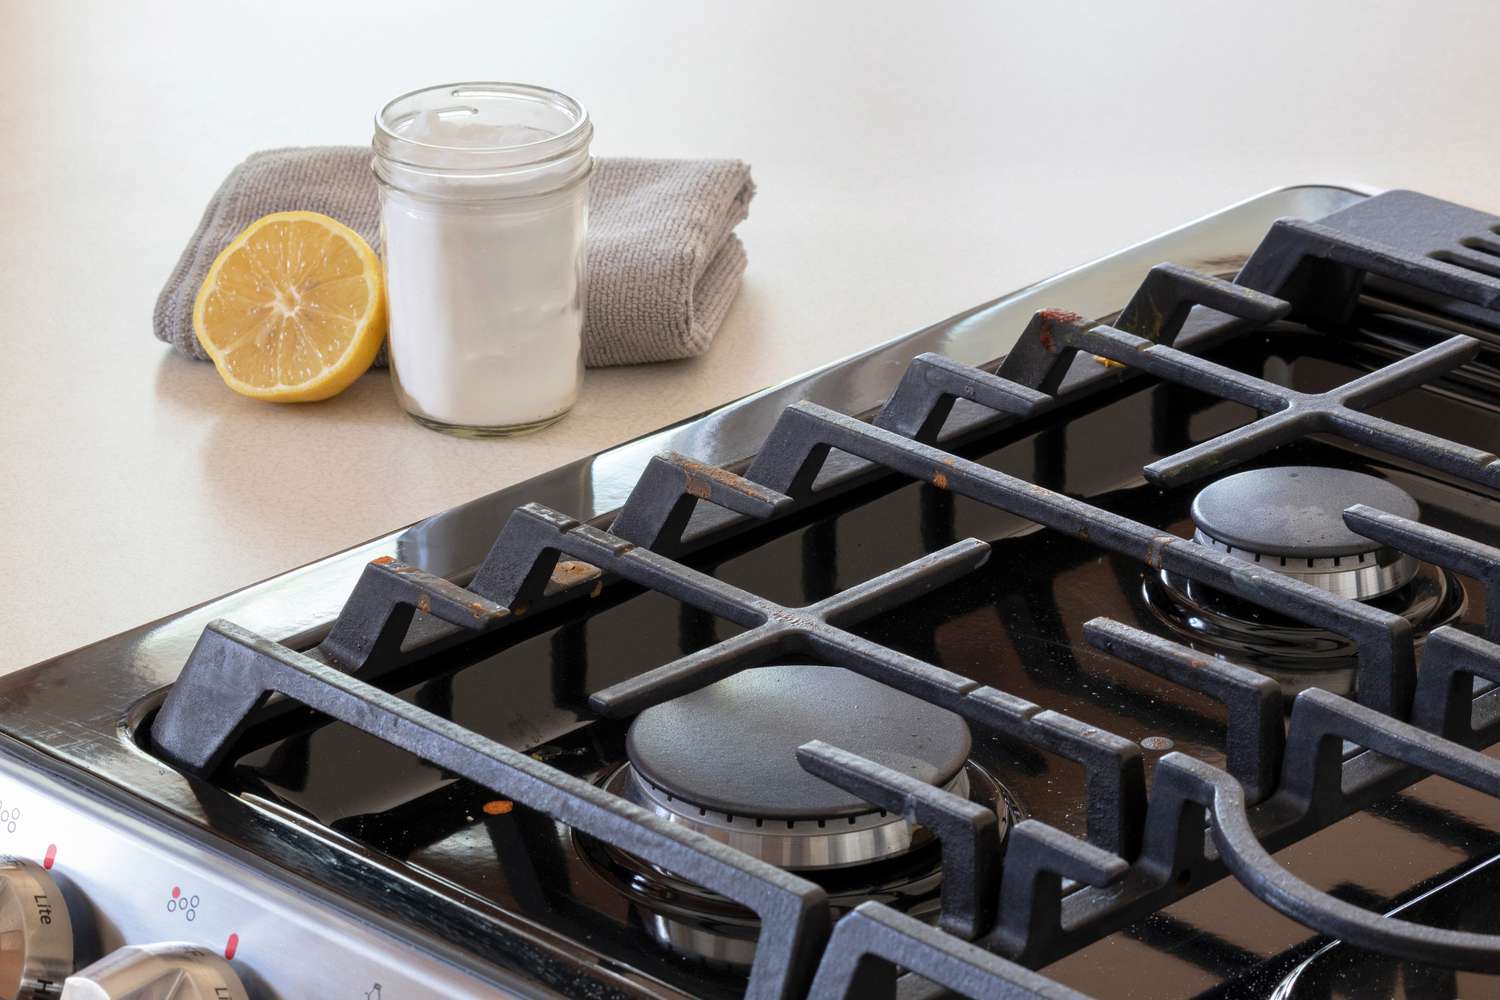
Step 1: Gathering the necessary materials
Before you can begin cleaning the drip pans under your stove burners, it’s important to gather the necessary materials. Having everything prepared ahead of time will make the cleaning process more efficient and streamlined. Here are the items you’ll need:
- Dish soap or degreaser: Choose a soap or degreaser that is effective at cutting through grease and grime. This will help in removing the built-up residue on the drip pans.
- Baking soda: Baking soda is a versatile and natural cleaning agent that can help to eliminate tough stains and odors.
- A cleaning brush or sponge: Select a brush or sponge with sturdy bristles that can effectively scrub away dirt and grime. Having a variety of sizes and shapes will help you reach all the nooks and crannies of the drip pans.
- Rubber gloves: Protect your hands from the cleaning agents and potential sharp edges by wearing rubber gloves.
- Old towels or rags: These will come in handy for wiping down and drying the drip pans.
Once you have gathered all the necessary materials, you can move on to the next step: removing the stove burners.
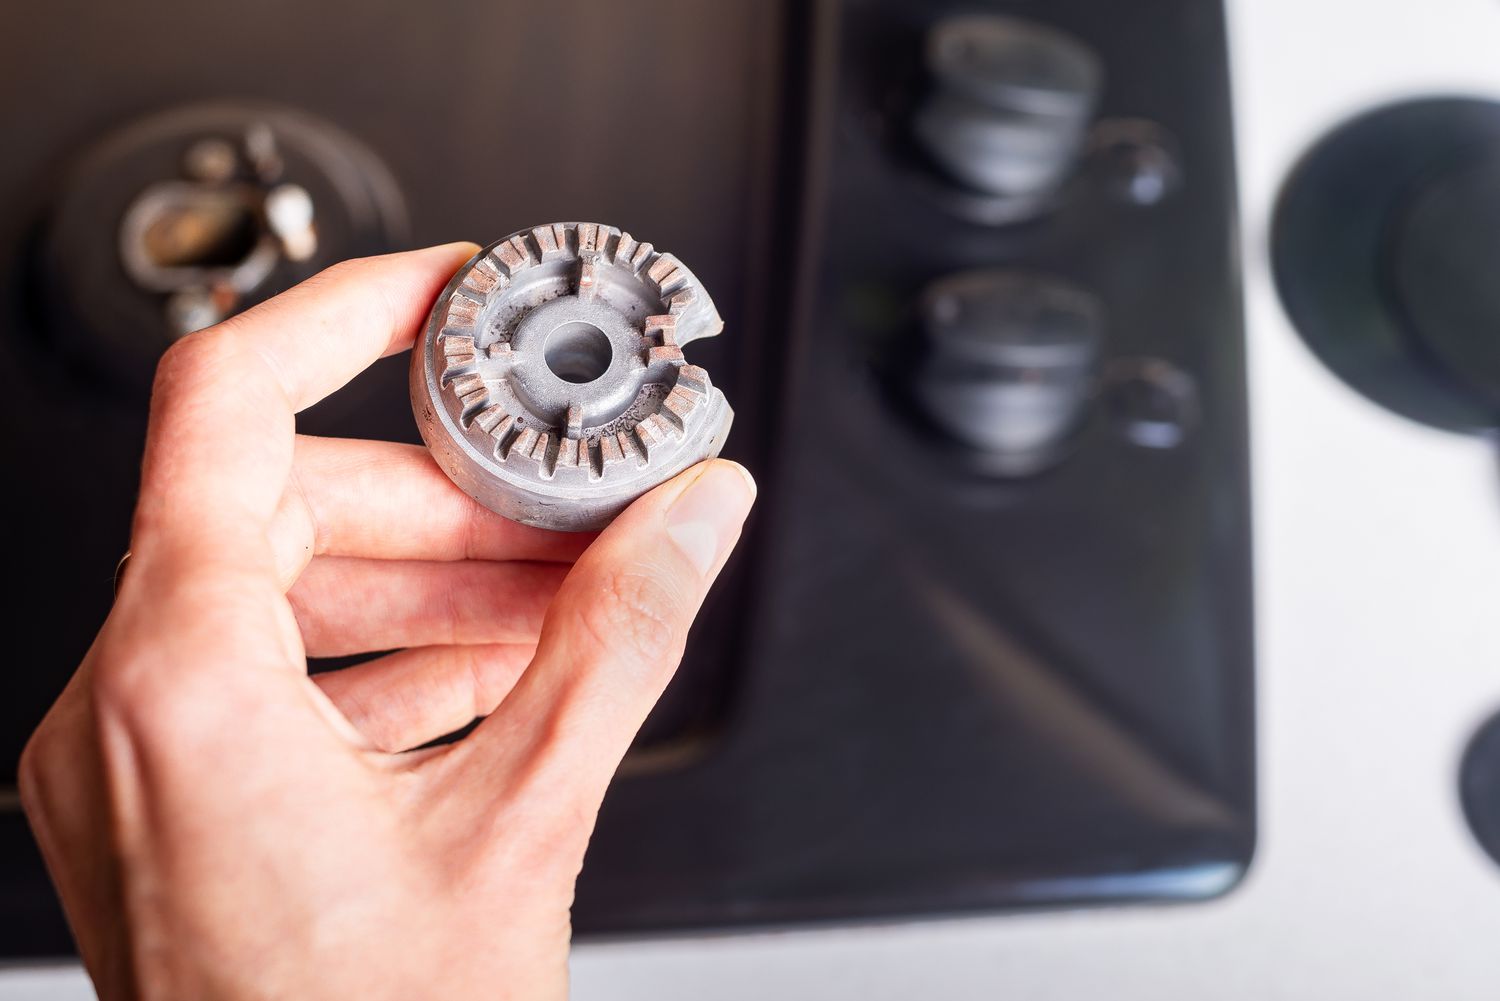
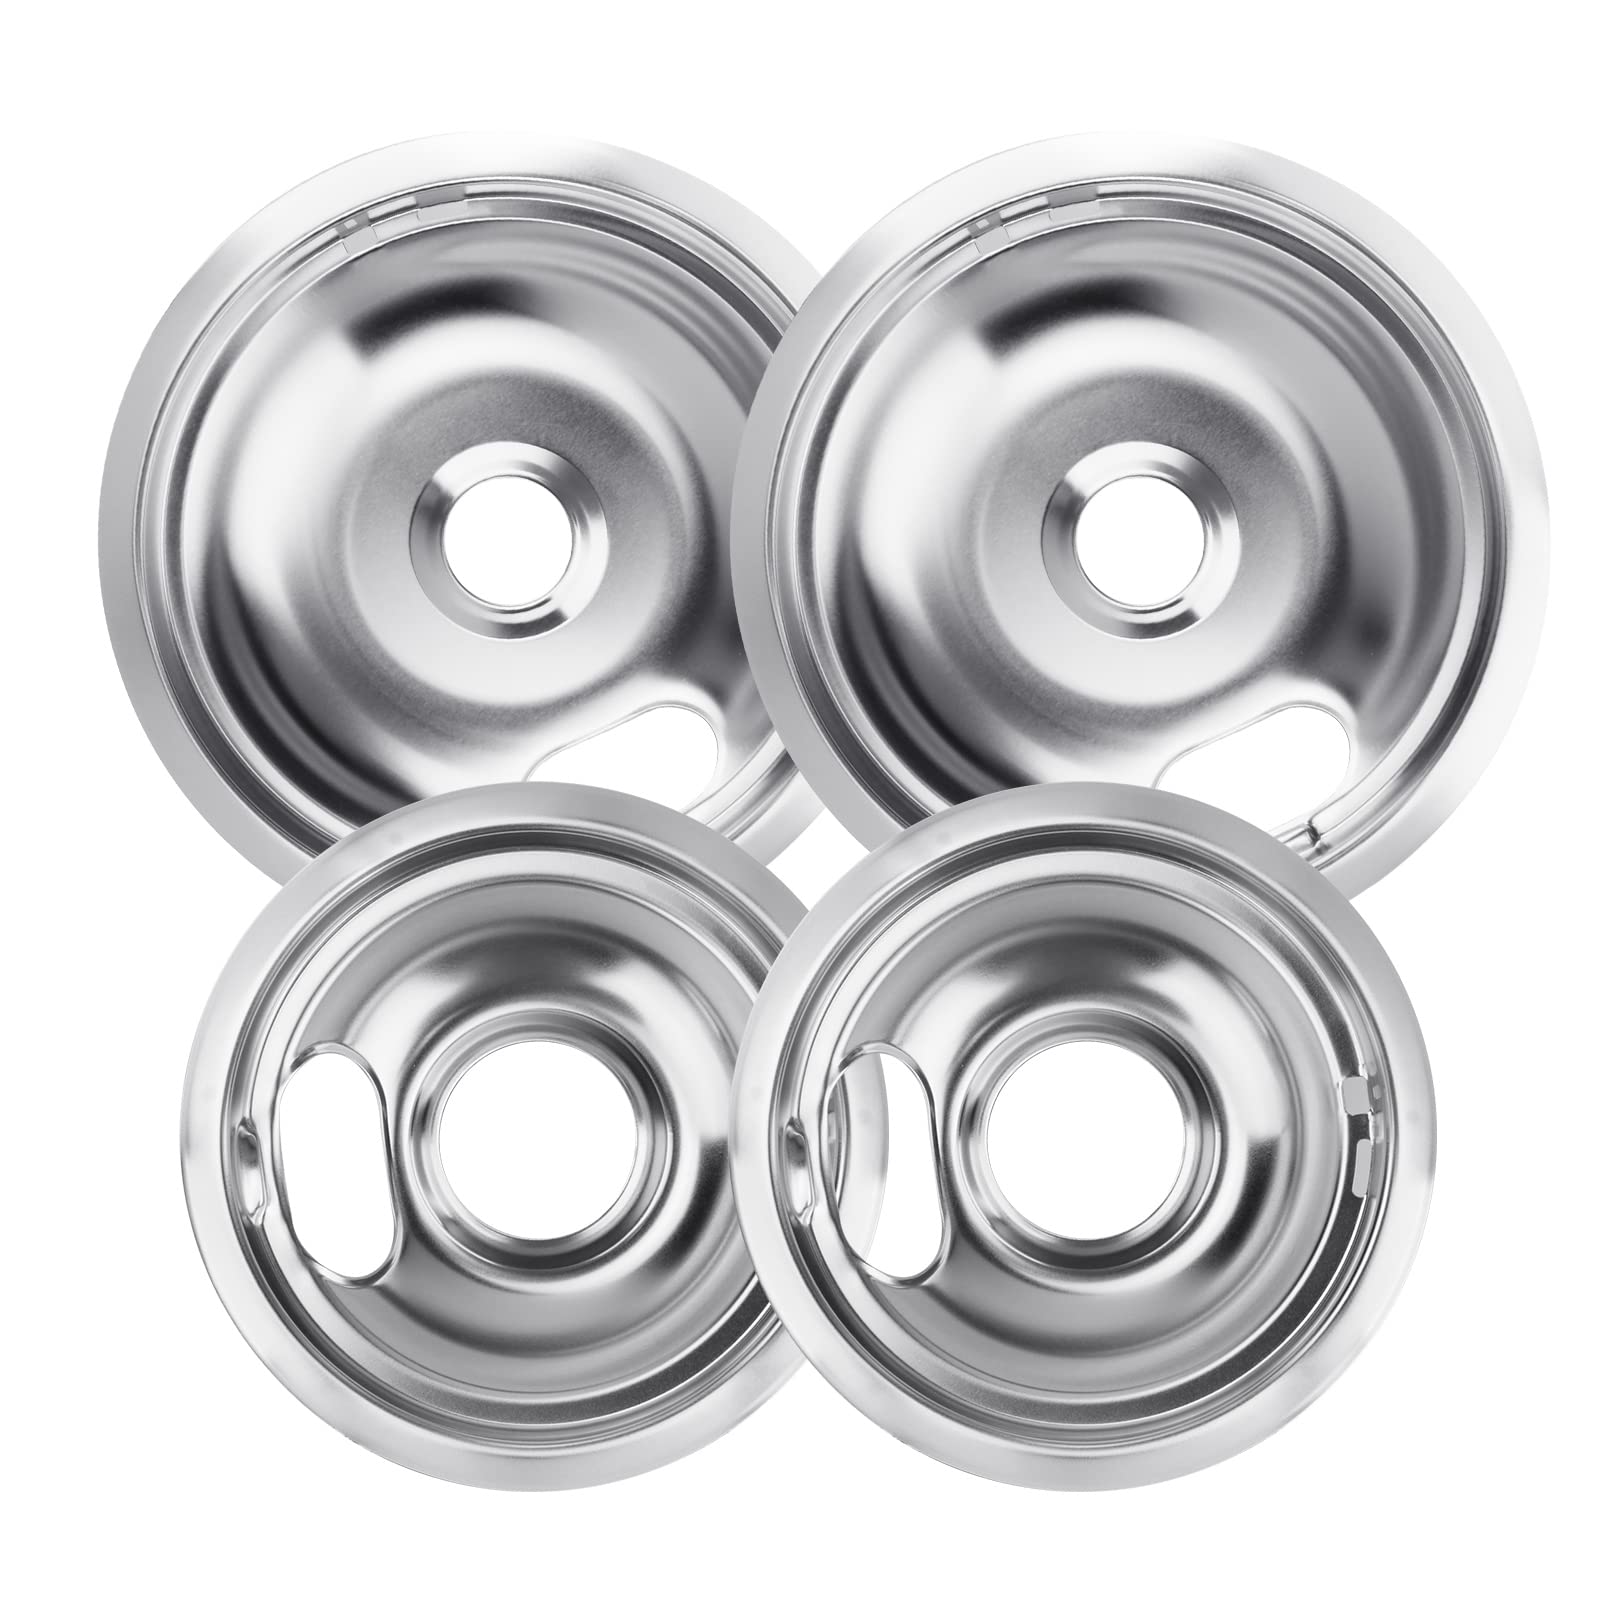
Step 2: Removing the stove burners
Before you can access the drip pans, you’ll need to remove the stove burners. Follow these steps to safely remove them:
- Ensure that the stove is turned off and completely cooled down before attempting to remove the burners. This will help prevent any accidental burns.
- Identify the burner knobs or controls and turn them to the “Off” position.
- Lift the burner grates off the stovetop surface and set them aside.
- Locate the burner caps, which sit directly on top of the burners, and carefully lift them off.
- Depending on your stove model, the burners may be secured in place with screws or clips. Use a screwdriver or release the clips to detach the burners from the stovetop.
- Gently lift each burner, taking care not to damage the igniters or any other components. Place the burners on a clean and safe surface.
By removing the stove burners, you will have greater access to the drip pans, making the cleaning process easier and more effective. Now that you have the burners safely removed, let’s move on to cleaning the drip pans in the next step.
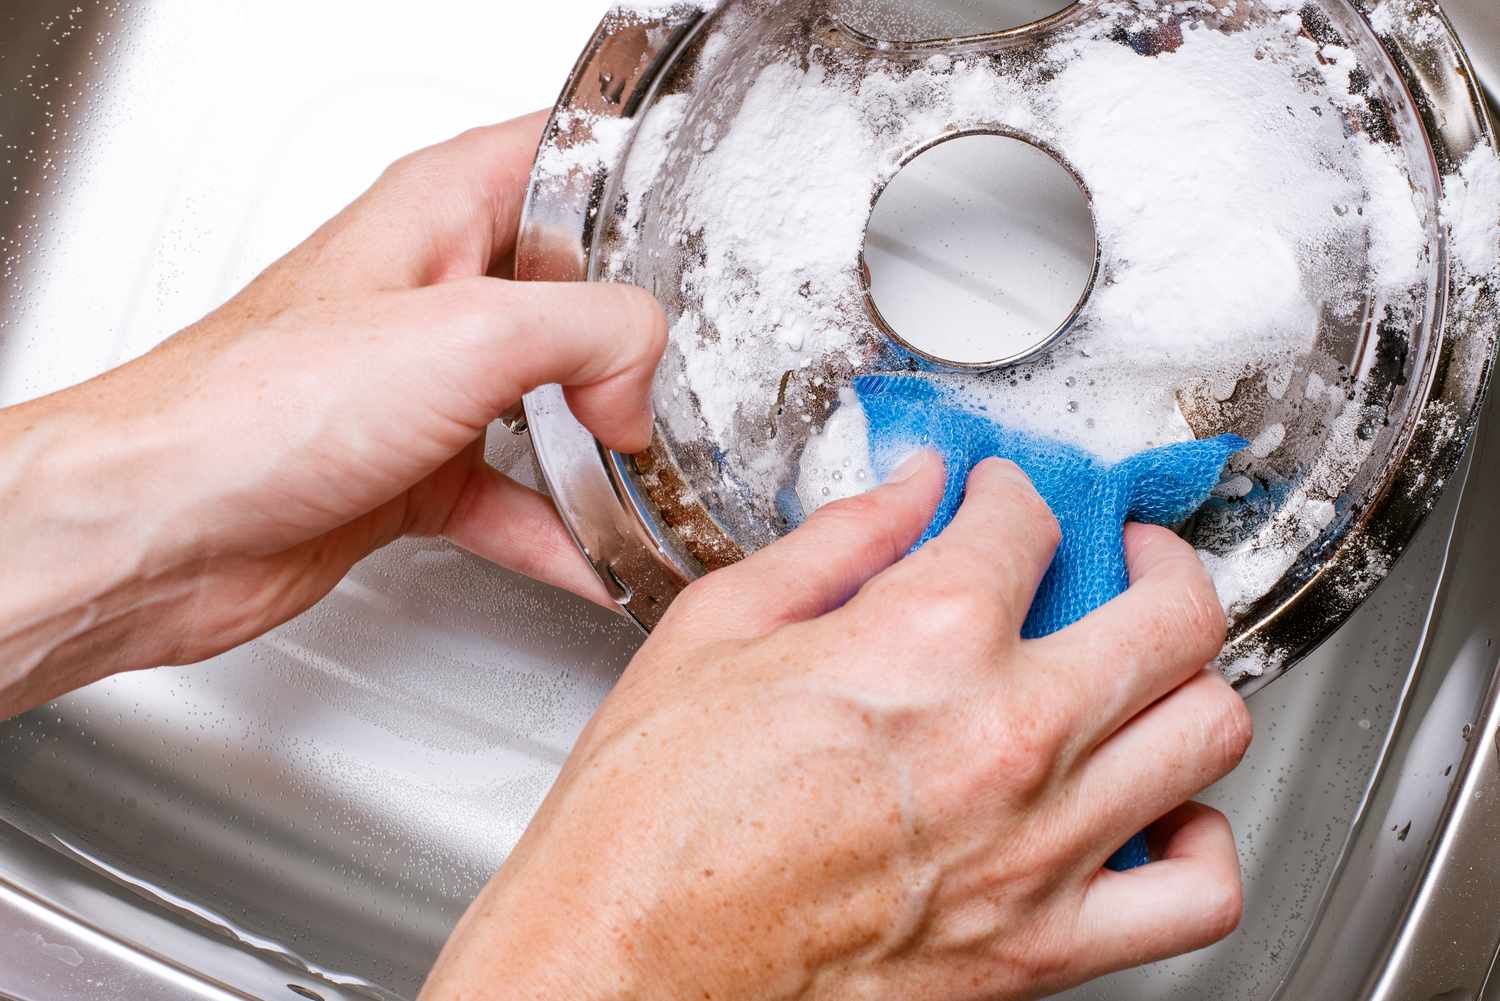
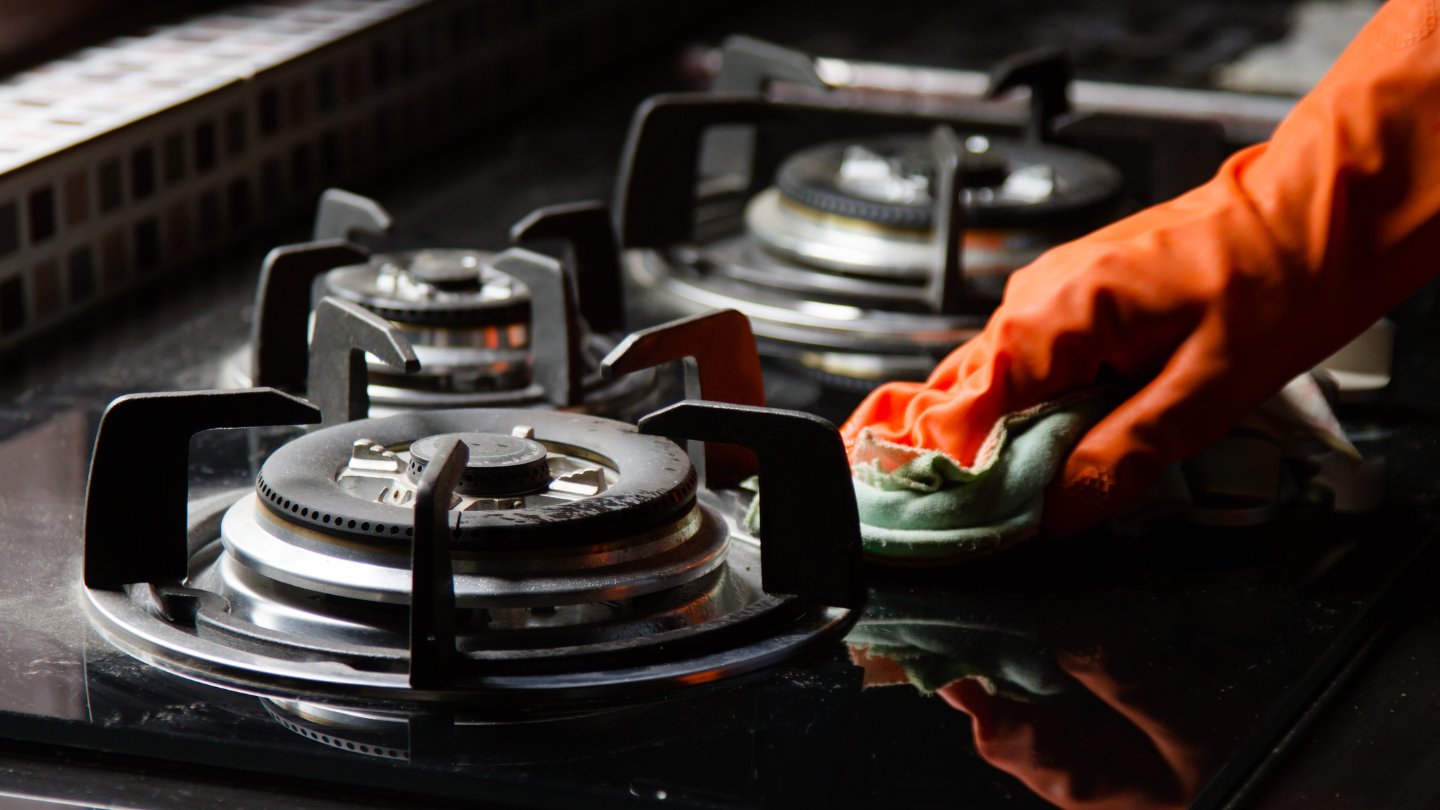
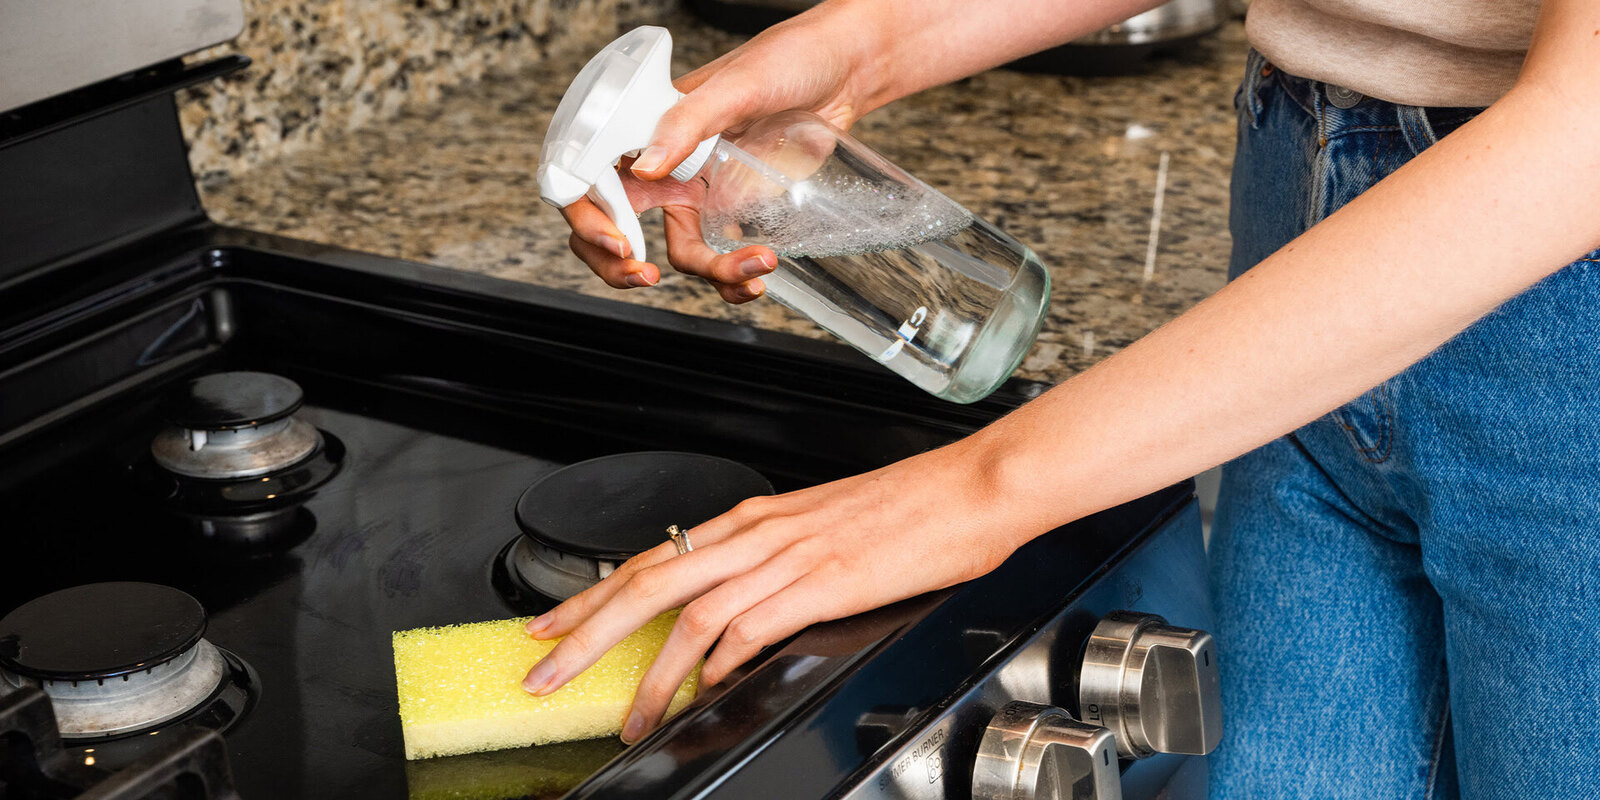
Step 3: Cleaning the drip pans
Now that you have successfully removed the stove burners, it’s time to focus on cleaning the drip pans. Follow these steps to restore their original shine:
- Inspect the drip pans for any loose debris or large food particles. Dispose of them in a trash bag or garbage can.
- Fill a sink or basin with warm water and add a few drops of dish soap or a degreaser. Mix well to create a soapy solution.
- Place the drip pans in the soapy water and let them soak for about 10 minutes. This will help to loosen stubborn stains and grease.
- Using a cleaning brush or sponge, scrub the drip pans thoroughly. Pay extra attention to the corners, edges, and areas with heavy buildup.
- Rinse the drip pans with clean water to remove any remaining soap residue.
- If the drip pans are still stained or have stubborn residue, you can create a paste by mixing baking soda with a small amount of water. Apply the paste to the affected areas and scrub gently.
- Rinse the drip pans once again to remove the baking soda paste.
After cleaning the drip pans, you will notice that they appear much cleaner and free from dirt and grime. However, if there are still tough stains present, don’t worry! We’ll address how to tackle those in the next step.
To clean drip pans under stove burners, remove them and soak in a mixture of hot water and dish soap. Scrub with a non-abrasive sponge and rinse thoroughly. For stubborn stains, use a paste of baking soda and water.
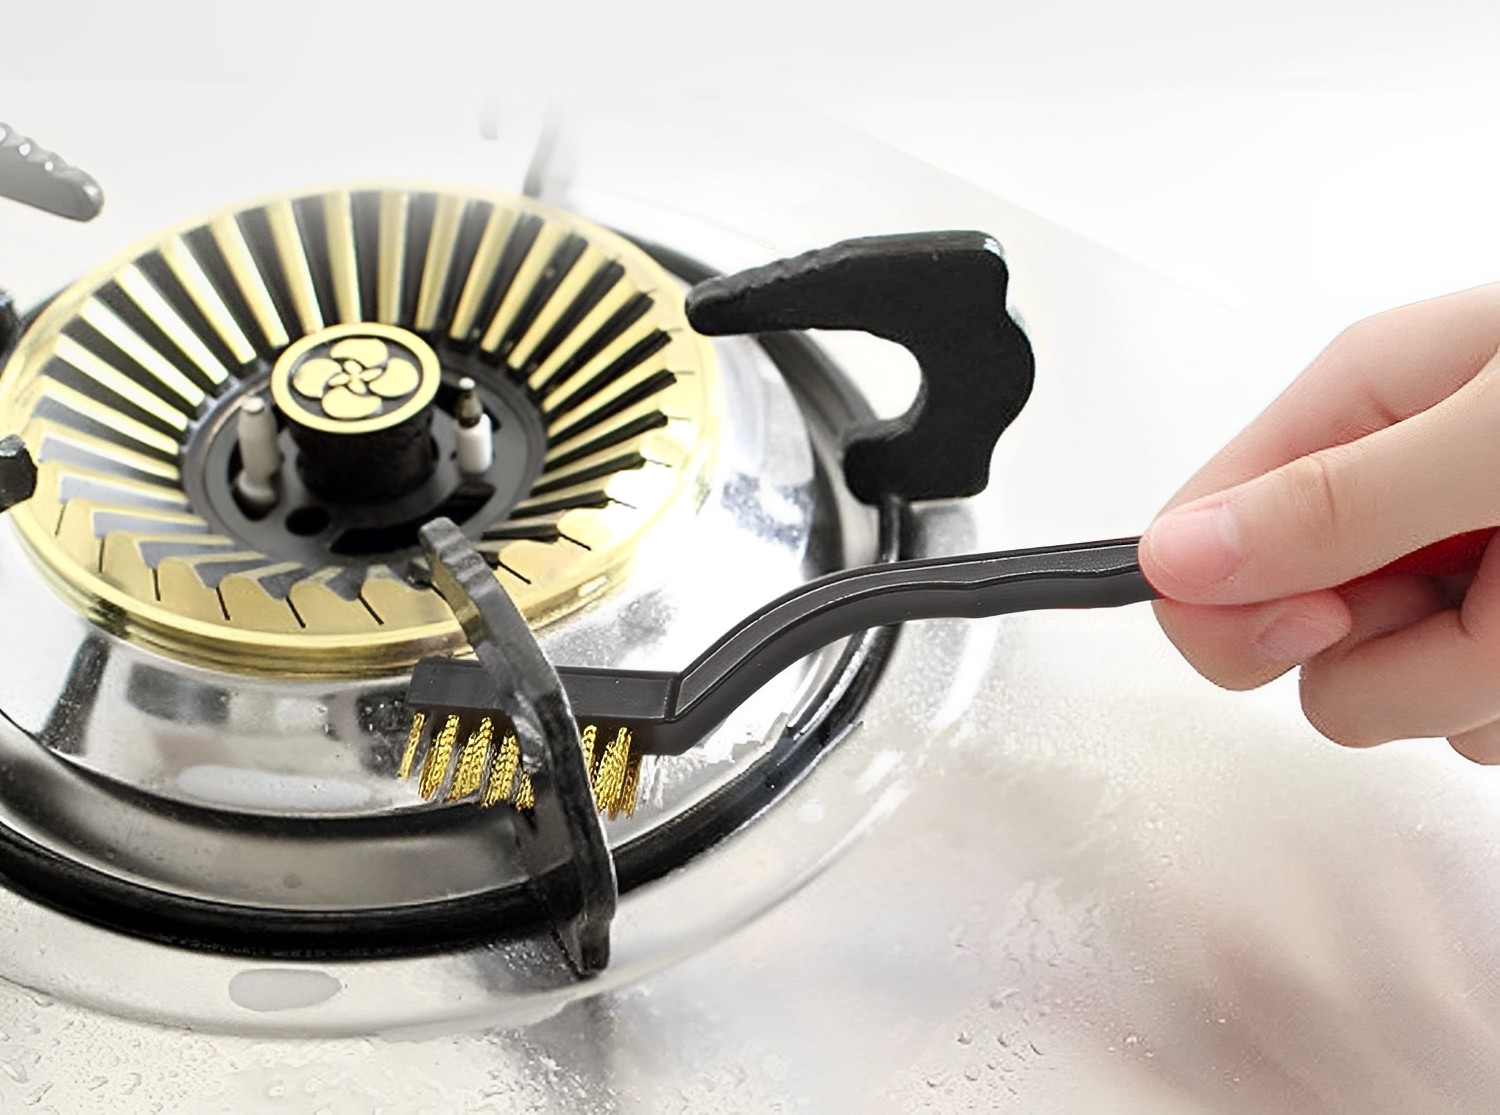
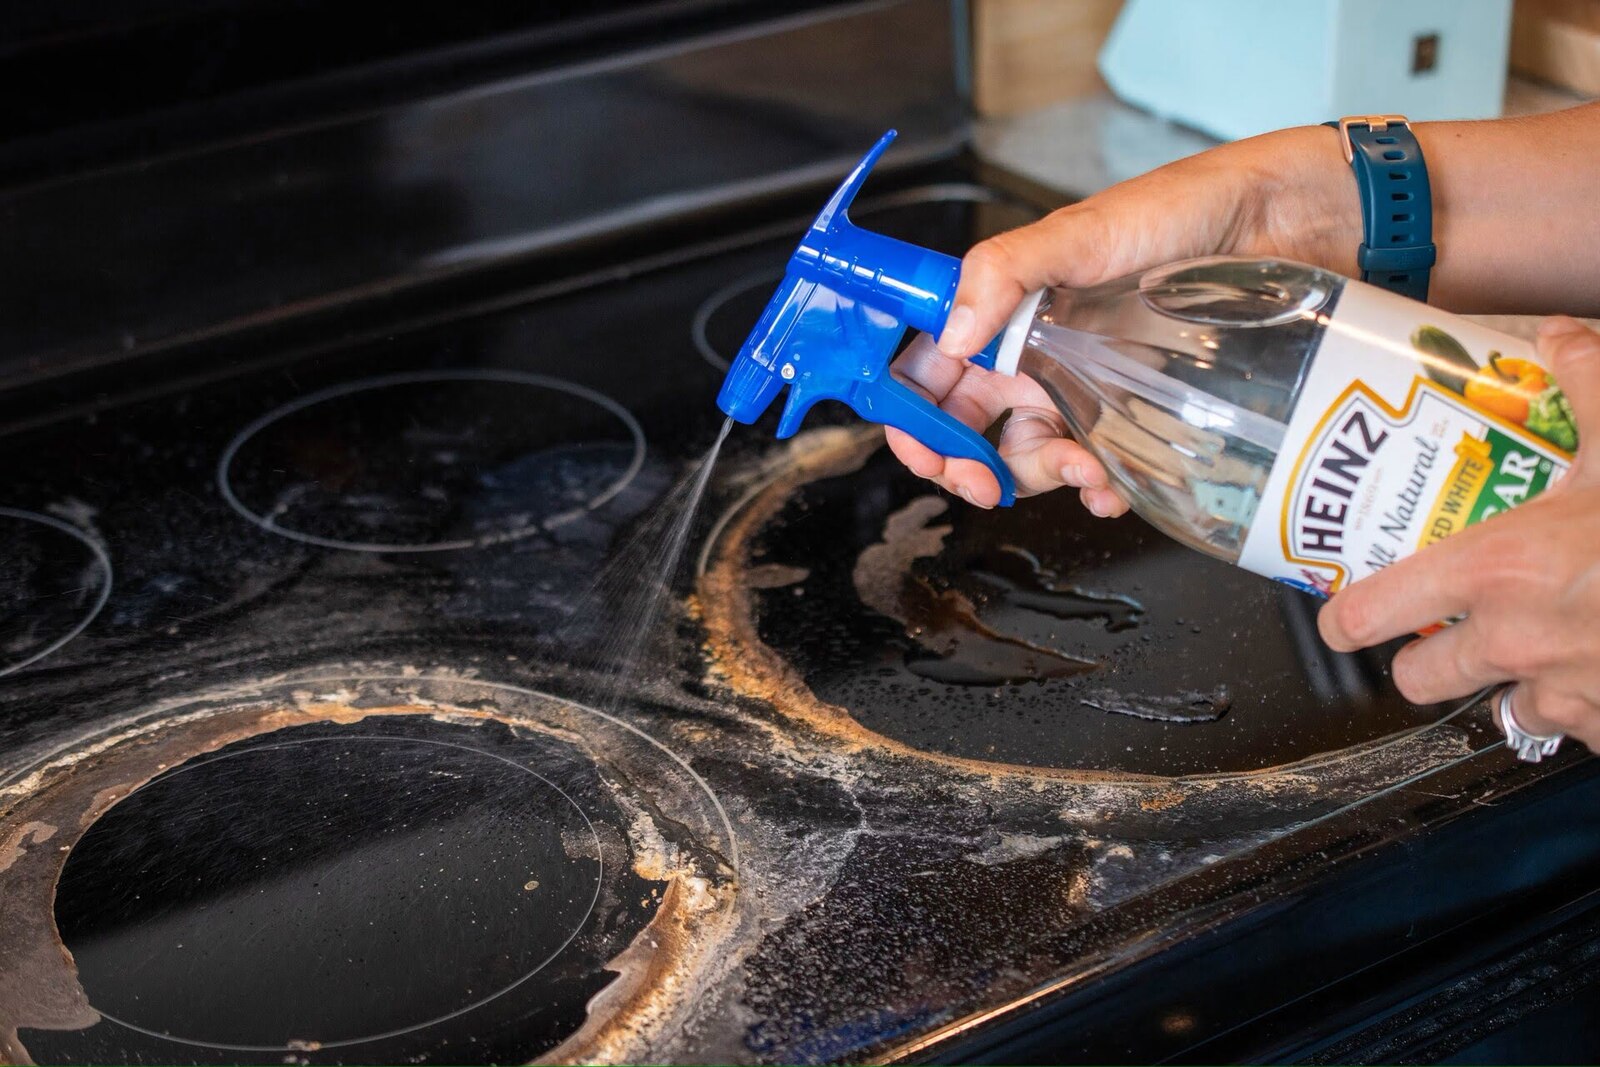
Step 4: Scrubbing away tough stains
Sometimes, despite our best efforts, there may still be tough stains or stubborn residue on the drip pans. Here are a few methods you can try to tackle those challenging spots:
- Vinegar solution: Create a mixture of equal parts white vinegar and water. Soak the affected areas of the drip pans in this solution for about 15-20 minutes. Then, scrub them with a brush or sponge. The acidic properties of vinegar help to break down tough stains and grease.
- Lemon and salt: Cut a lemon in half and sprinkle some salt on the cut side. Use the lemon halves to scrub the stained areas of the drip pans, squeezing the juice as you go. The natural acidity of the lemon combined with the abrasive salt can help to lift stubborn stains.
- Baking soda paste: If the stains persist, create a paste by mixing baking soda with a small amount of water. Apply the paste to the stubborn areas and let it sit for about 30 minutes. Then, scrub the drip pans with a brush or sponge. Baking soda is known for its gentle abrasive properties, which can aid in removing tough stains.
- Commercial cleaners: If all else fails, you can opt for a commercial oven cleaner or a degreaser specifically designed for stove surfaces. Follow the instructions on the product label and use it accordingly to remove stubborn stains. Always ensure proper ventilation and wear gloves when using chemical cleaners.
After scrubbing away the tough stains, rinse the drip pans thoroughly with clean water. Make sure to remove any residue from the cleaning solutions used. Now, proceed to the final step to complete the cleaning process.
Read more: How To Clean Kitchen Stove Burners
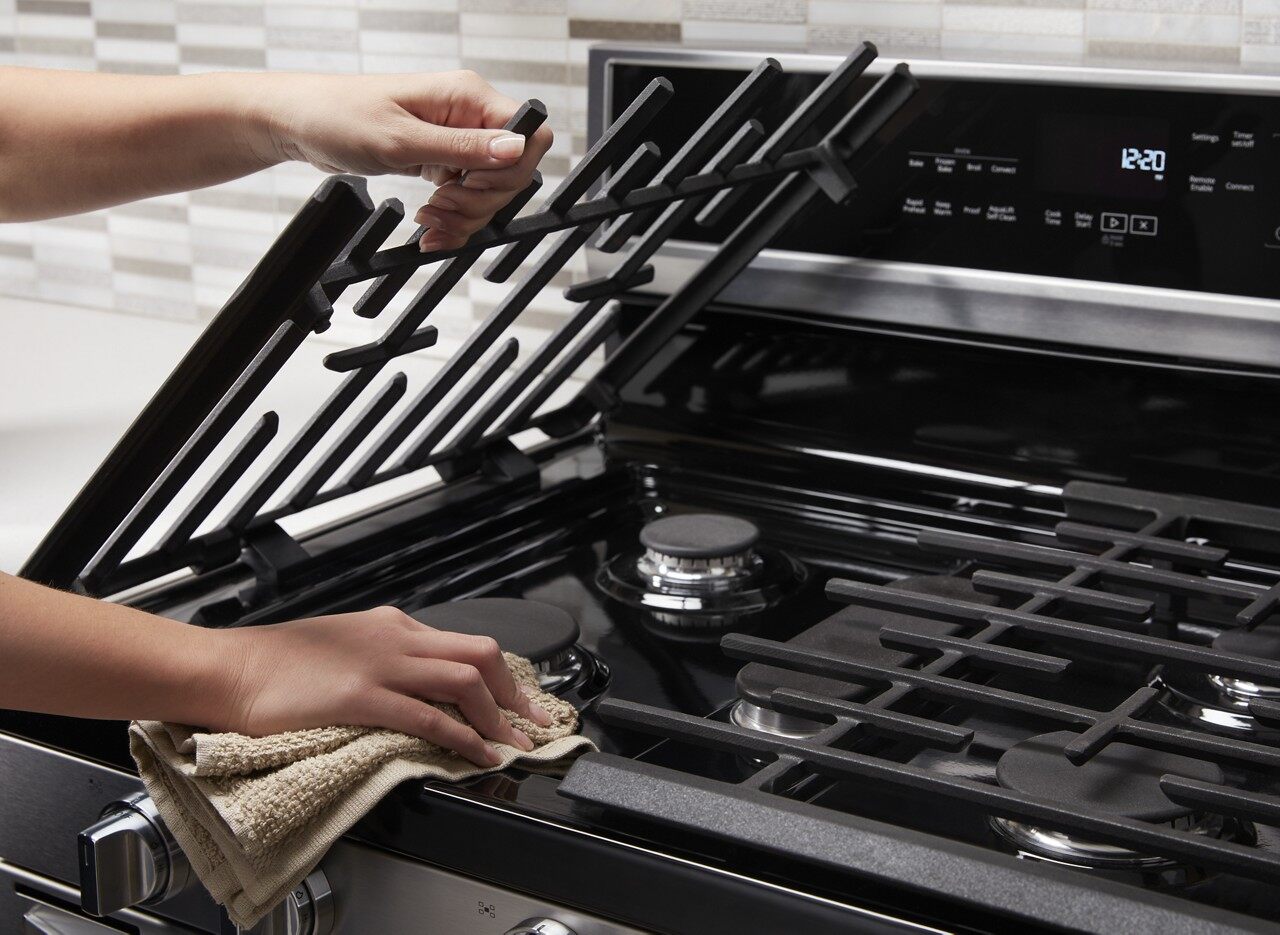
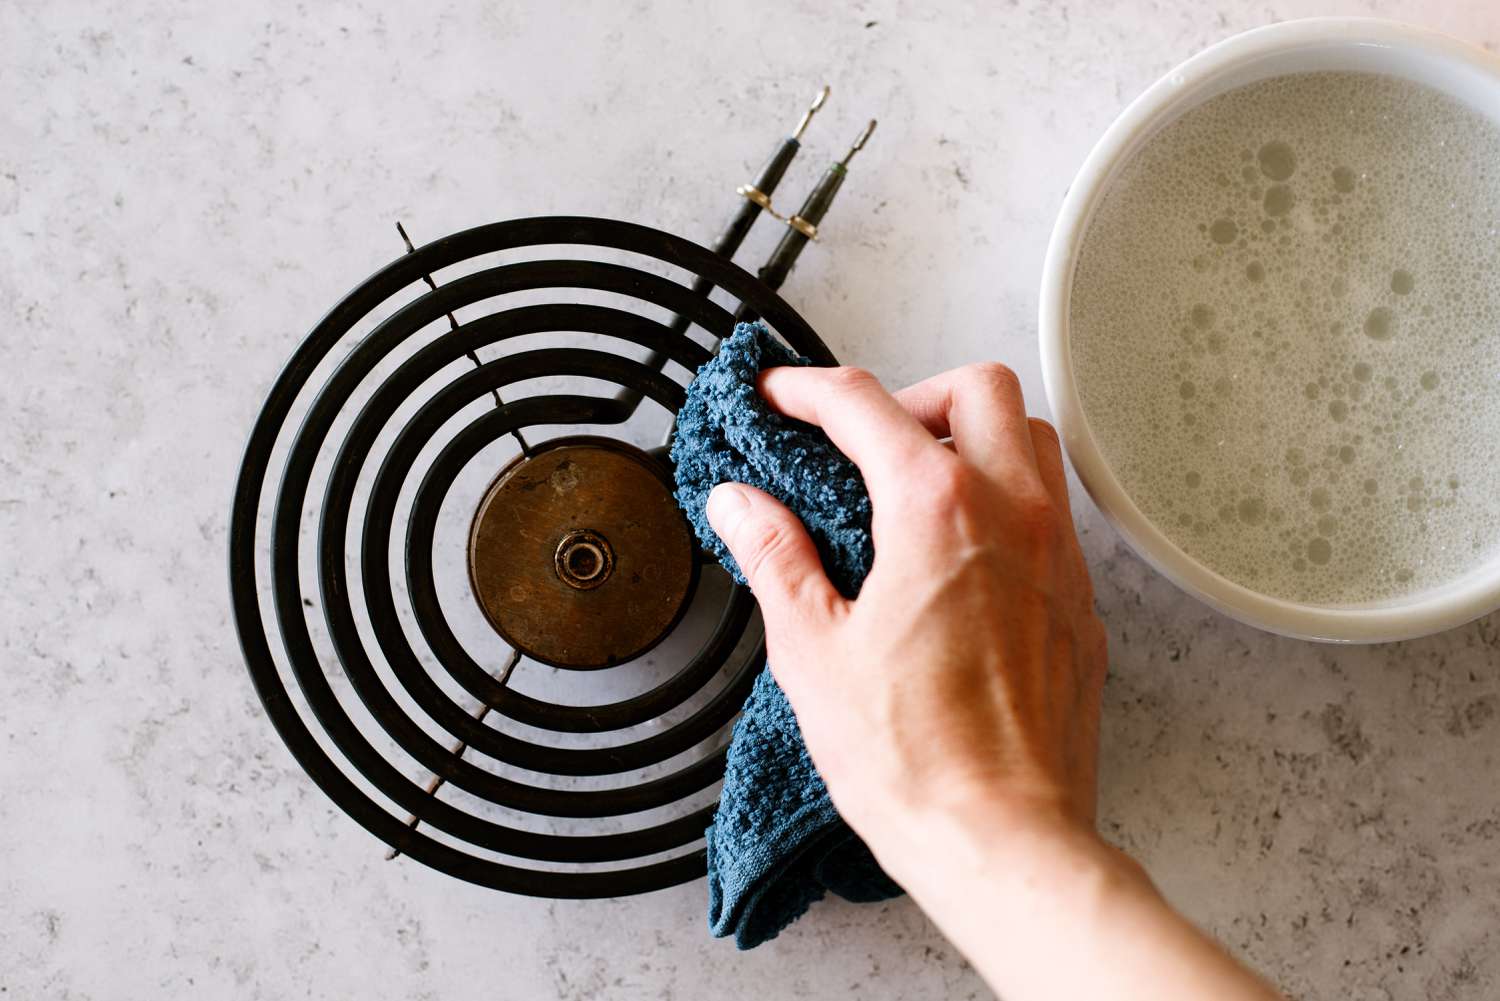
Step 5: Drying and reassembling the stove burners
Once you have finished cleaning the drip pans to your satisfaction, it’s time to dry them thoroughly and reassemble the stove burners. Follow these steps to complete the process:
- Using a clean towel or rag, gently dry the drip pans to remove any excess water. Ensure that they are completely dry before proceeding.
- Check the burners for any moisture or debris. Use a dry cloth or paper towel to wipe them clean.
- Depending on your stove model, you may need to apply a thin layer of oil to the burner ports or grates to prevent them from rusting. Refer to your stove’s user manual for specific instructions.
- Align and place the burners back onto the stovetop, making sure they are properly seated in their designated positions.
- Replace the burner caps by gently pushing them back into place.
- Finally, put the burner grates back on top of the burners, ensuring they are securely positioned.
With the drip pans cleaned, dried, and the stove burners reassembled, you’ve successfully completed the cleaning process! Take a step back and admire the sparkling and refreshed appearance of your stove.
Remember to regularly clean the drip pans as part of your kitchen maintenance routine to prevent buildup and ensure the longevity of your stove. By keeping the drip pans clean, you can maintain optimal performance and a more enjoyable cooking experience in your kitchen.
Now go ahead and enjoy your sparkling clean stove and get ready to whip up some delicious meals!
Conclusion
Cleaning the drip pans under your stove burners is an essential task that should not be forgotten in your regular kitchen maintenance routine. Over time, these drip pans can accumulate grease, food debris, and stains, affecting the appearance and performance of your stove. By following the step-by-step guide outlined in this article, you can easily restore the shine and functionality of your stove.
Remember to gather all the necessary materials before getting started. Dish soap or degreaser, baking soda, a cleaning brush or sponge, rubber gloves, and old towels or rags are all important tools to have on hand for an effective cleaning session.
Removing the stove burners is the first step in the cleaning process. Be sure to turn off the stove, let it cool down, and safely lift off the burners, along with the burner caps. With the burners removed, you can now focus on cleaning the drip pans.
Soak the drip pans in warm, soapy water to loosen any dirt or grime. Use a cleaning brush or sponge to scrub away stubborn stains. For tough stains, methods like vinegar solution, lemon and salt, or a baking soda paste can be employed. Commercial cleaners can also be used as a last resort.
Once the drip pans are clean, make sure to dry them thoroughly before reassembling the stove burners. Check for any moisture or debris on the burners and wipe them clean. Apply oil to prevent rusting if required. Carefully place the burners back into position and replace the burner caps and grates securely.
Regularly cleaning the drip pans will prevent buildup and maintain the optimal performance of your stove. Enjoy the sparkling clean appearance of your stove and the improved cooking experience in your kitchen.
Now that you have the knowledge and tools to clean the drip pans under your stove burners, it’s time to roll up your sleeves and get started. With a little effort and dedication, you’ll have a spotless stove that not only looks great but also functions at its best.
Frequently Asked Questions about How To Clean Drip Pans Under Stove Burners
Was this page helpful?
At Storables.com, we guarantee accurate and reliable information. Our content, validated by Expert Board Contributors, is crafted following stringent Editorial Policies. We're committed to providing you with well-researched, expert-backed insights for all your informational needs.


0 thoughts on “How To Clean Drip Pans Under Stove Burners”