Articles
How To Clean Under The Stove Burners
Modified: January 19, 2024
Learn effective techniques and tips for cleaning under your stove burners in this comprehensive article. Discover the best products and methods to keep your kitchen spotless.
(Many of the links in this article redirect to a specific reviewed product. Your purchase of these products through affiliate links helps to generate commission for Storables.com, at no extra cost. Learn more)
Introduction
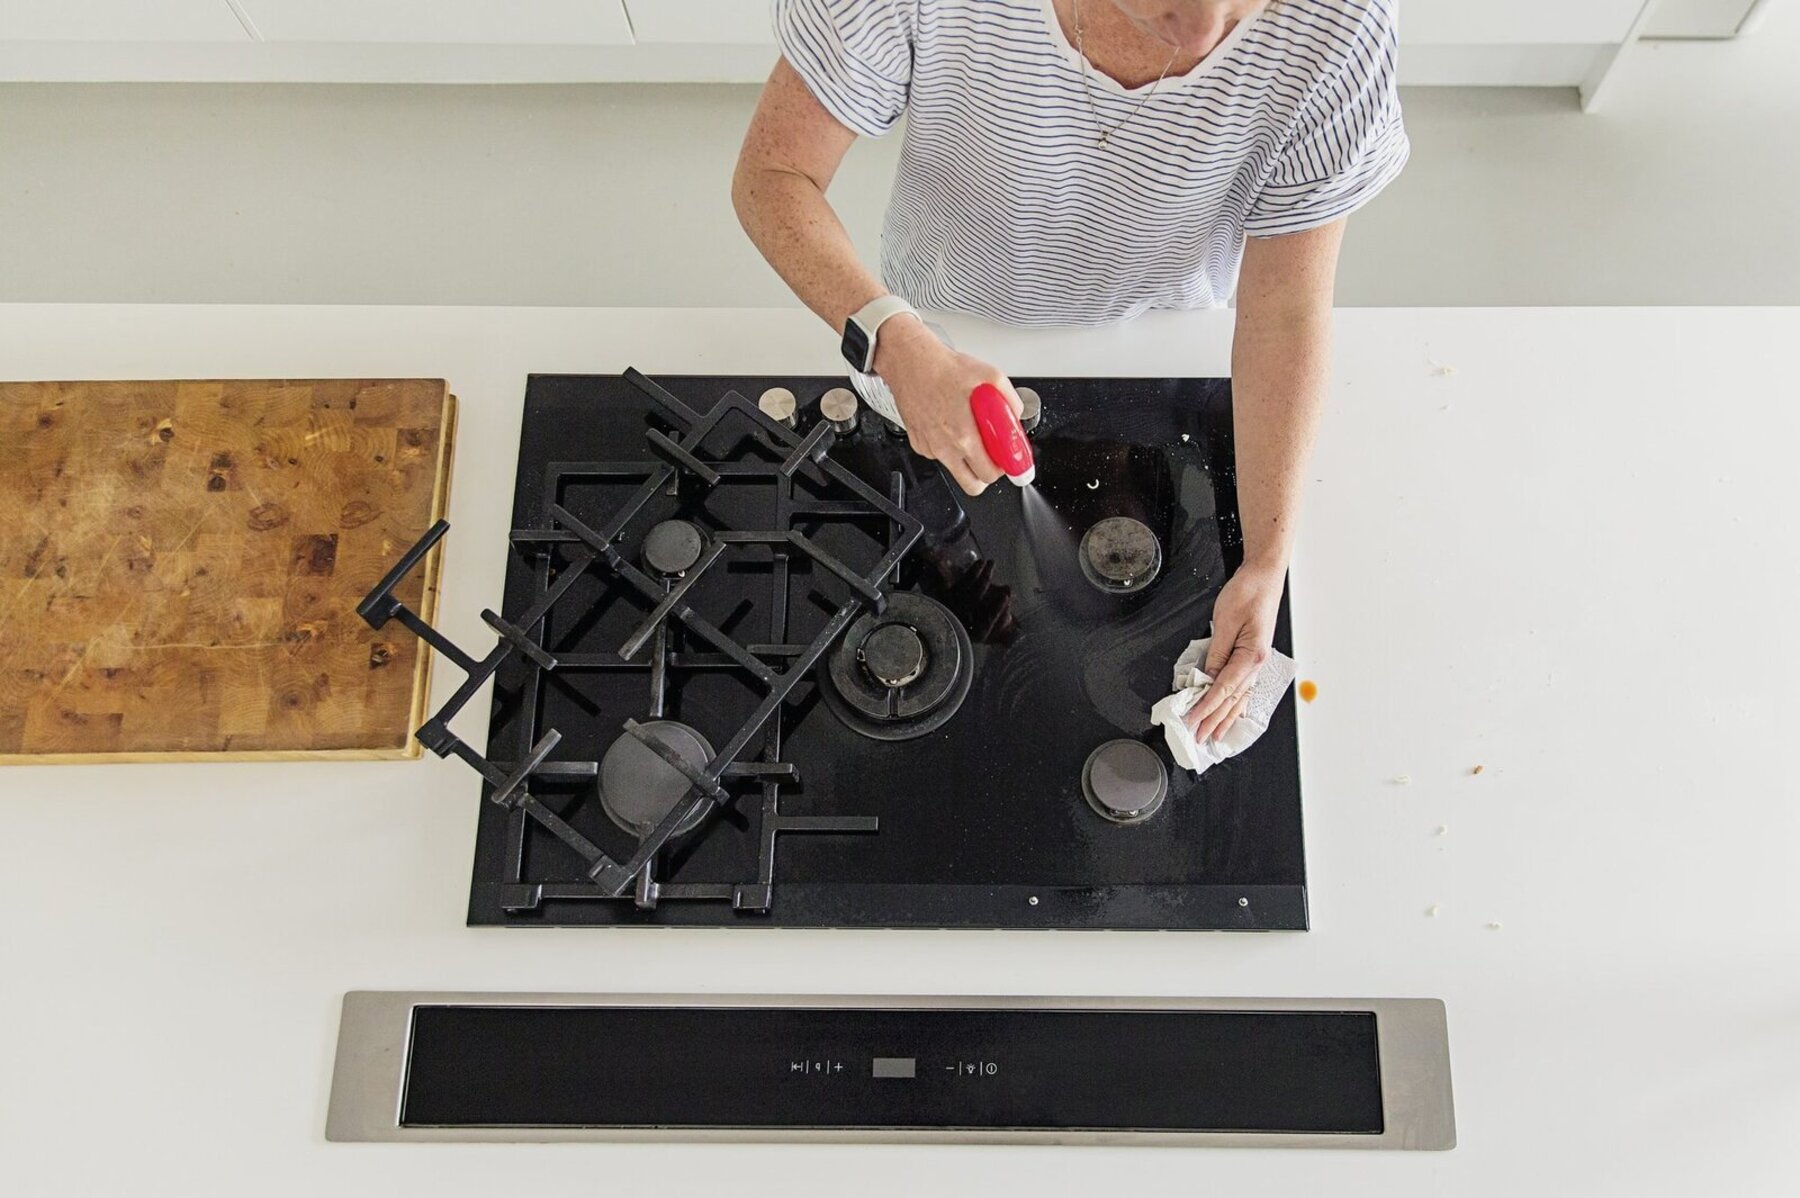
Welcome to our comprehensive guide on how to clean under the stove burners. Over time, dirt, food spills, and grease can accumulate underneath the burner grates, making it a challenging task to keep your stovetop clean and hygienic. However, with the right tools and techniques, you can easily tackle this cleaning task and restore the shine and functionality of your stove.
Regular cleaning not only enhances the appearance of your kitchen but also prevents the build-up of dirt and grime that can affect the performance of your burners. A clean stovetop ensures even heat distribution and can help prolong the lifespan of your appliance.
In this guide, we will walk you through the step-by-step process of cleaning under the stove burners. From removing the burner grates and caps to cleaning the burner heads and stovetop surface, we will cover everything you need to know to keep your stove sparkling clean.
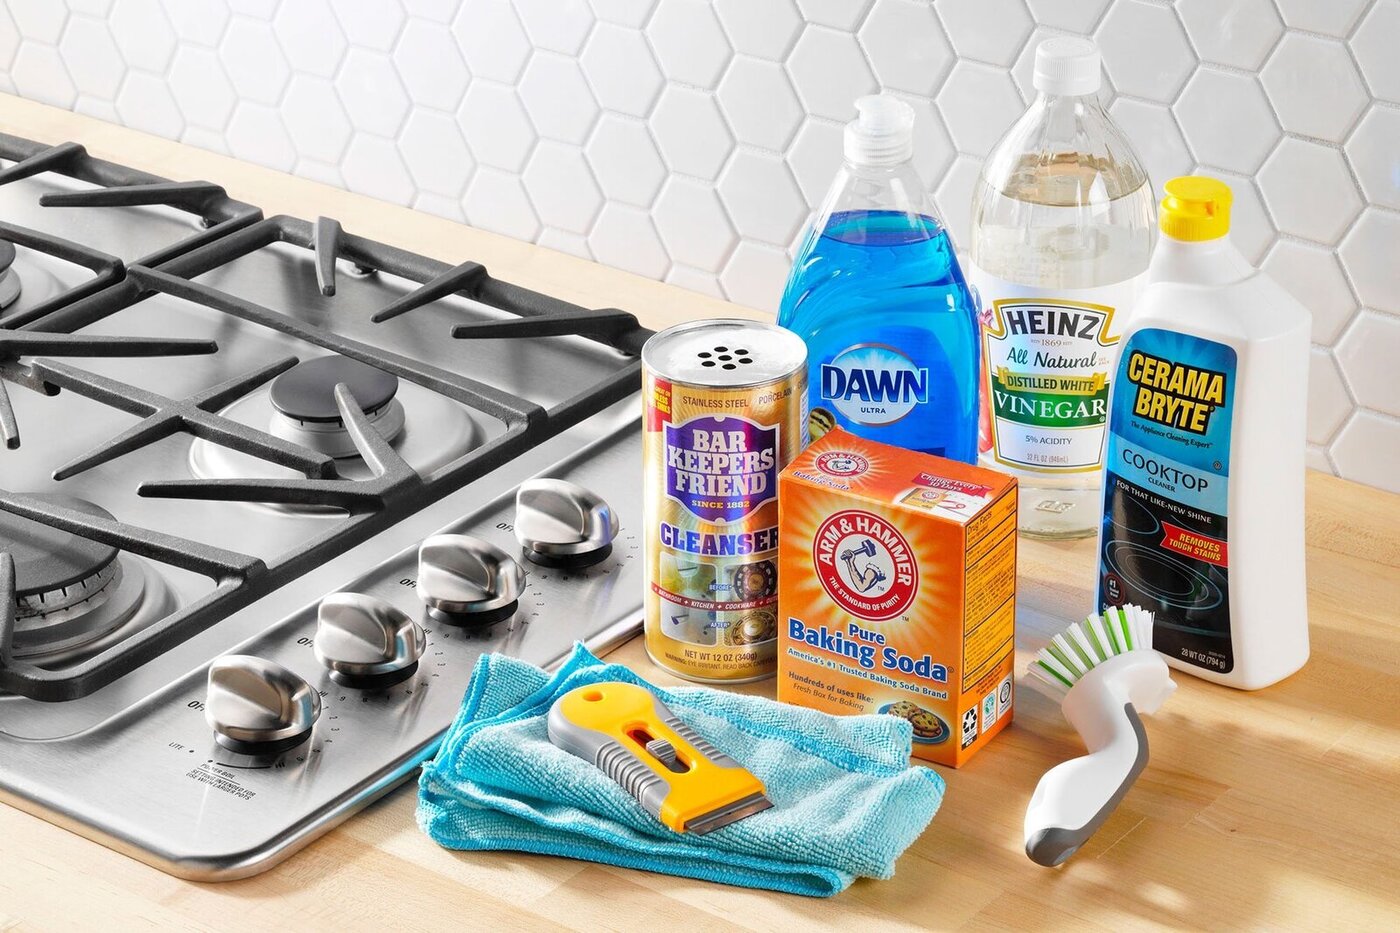
Before we dive into the cleaning process, let’s gather the tools and materials you will need:
Key Takeaways:
- Regularly cleaning under the stove burners not only enhances the appearance of your kitchen but also ensures optimal performance and longevity of your appliance. Follow the comprehensive guide for a sparkling clean stove.
- Incorporating regular cleaning maintenance into your routine and following the maintenance tips provided will help keep your stove in top shape. Enjoy a cleaner, more inviting kitchen and a reliable cooking experience.
Read more: How To Clean Drip Pans Under Stove Burners
Tools and Materials Needed
Before you begin the cleaning process, it’s important to gather all the necessary tools and materials to ensure a smooth and effective cleaning experience. Here’s a list of what you will need:
- Protective gloves: To protect your hands from any cleaning solutions or chemicals.
- Apron or old clothing: To protect your clothes from any spills or splashes.
- Safety goggles: To protect your eyes from any splashing liquids or particles.
- Scrub brush or sponge: To scrub away the built-up grime and grease.
- Microfiber cloth or paper towels: To wipe down surfaces and absorb any excess moisture.
- Mild dish soap or kitchen cleaner: To help break down and remove stubborn stains and grease.
- Vinegar: A natural and effective cleaning agent that can help dissolve tough stains and eliminate odors.
- Baking soda: A versatile cleaner that can be used to tackle stubborn stains and remove odors.
- Toothbrush: To reach and clean hard-to-reach areas, such as crevices and corners.
- Bucket or sink: To fill with warm water for rinsing the cleaning tools.
Once you have gathered all the necessary tools and materials, you’re ready to move on to the cleaning process. But before we get started, let’s go over some essential safety precautions to ensure a secure and accident-free cleaning experience.
Step 1: Safety Precautions
Before you begin cleaning under the stove burners, it’s important to take some safety precautions to protect yourself and prevent any accidents. Here are some essential safety measures to keep in mind:
- Turn off the stove: Before starting any cleaning activities, always make sure the stovetop and burners are completely turned off. This will prevent any accidental burns or injuries.
- Allow the stove to cool down: Give the stove enough time to cool down before you start cleaning. Hot surfaces can cause burns, so it’s crucial to ensure the burners and stove are cool to the touch.
- Wear protective gear: Put on a pair of protective gloves to shield your hands from any cleaning solutions or chemicals. Safety goggles can also be worn to protect your eyes from splashing liquids or particles.
- Ensure good ventilation: Open windows or turn on the kitchen exhaust fan to ensure there is proper ventilation during the cleaning process. Some cleaning solutions can emit strong fumes, so it’s important to have fresh air circulating.
- Keep children and pets away: To avoid any accidents or injuries, it’s best to keep children and pets away from the cleaning area. Sharp objects and cleaning solutions can be hazardous, so it’s important to work in a safe and controlled environment.
By following these safety precautions, you can ensure a secure and accident-free cleaning process. Once you’ve taken these necessary measures, you’re ready to move on to the next step: removing the burner grates and caps.
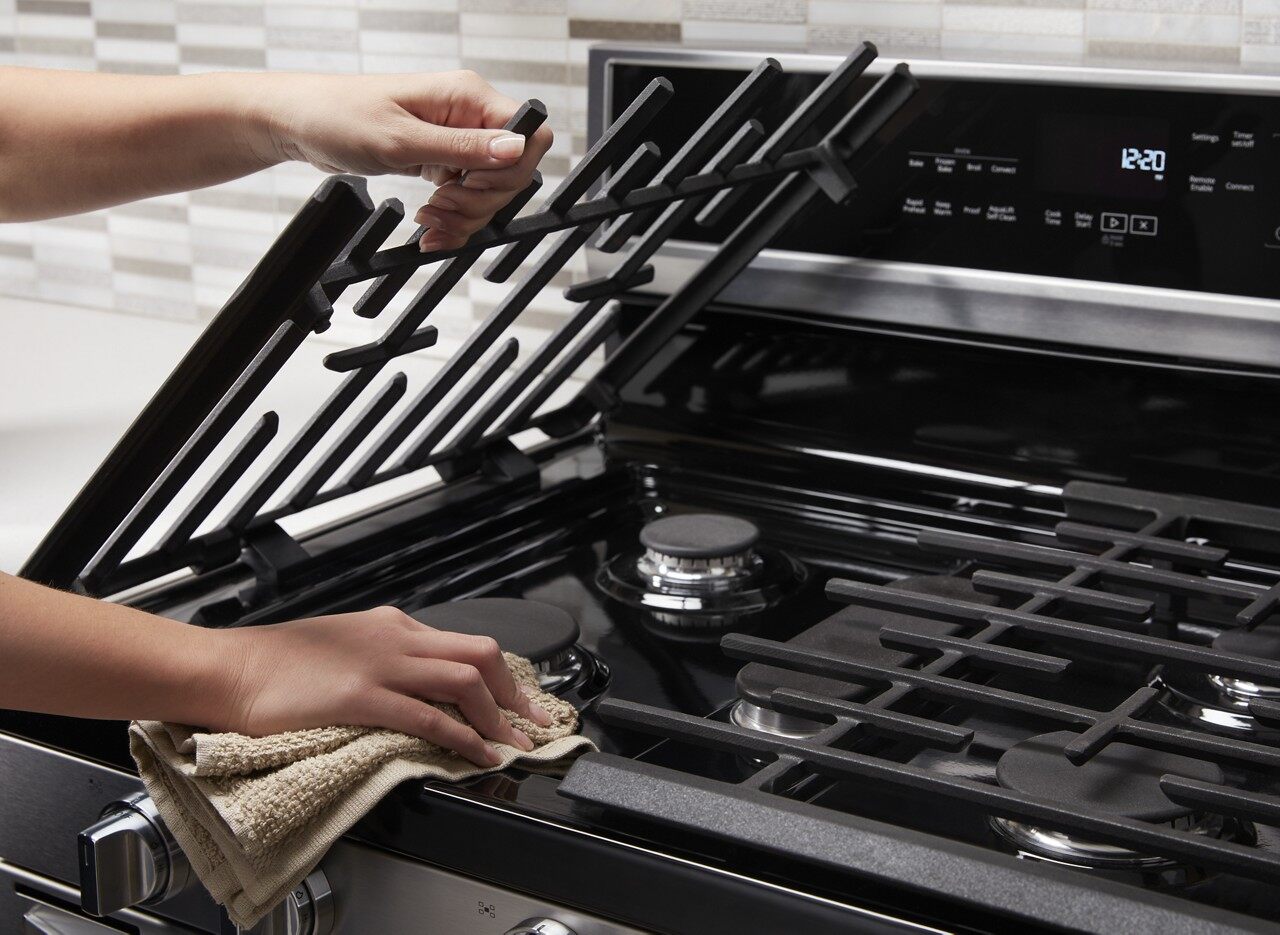
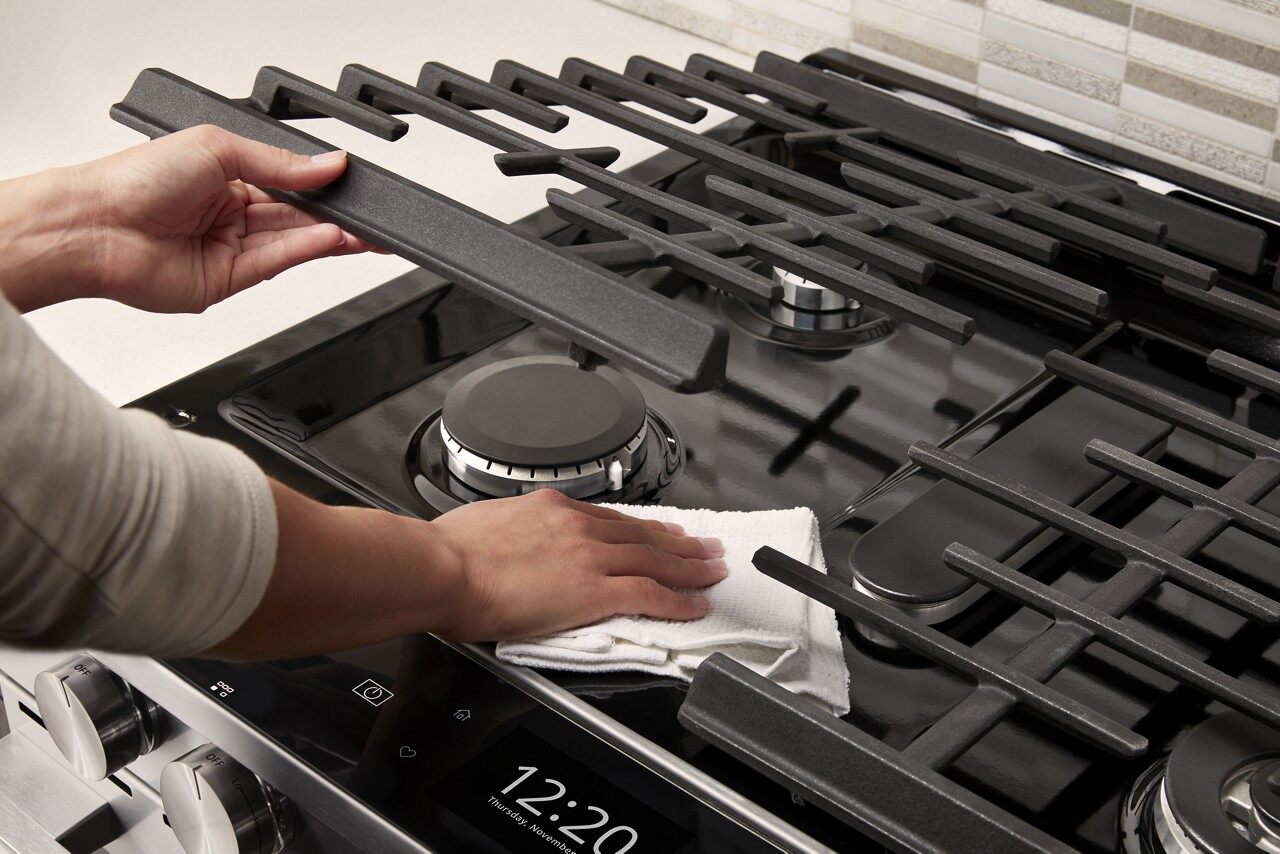
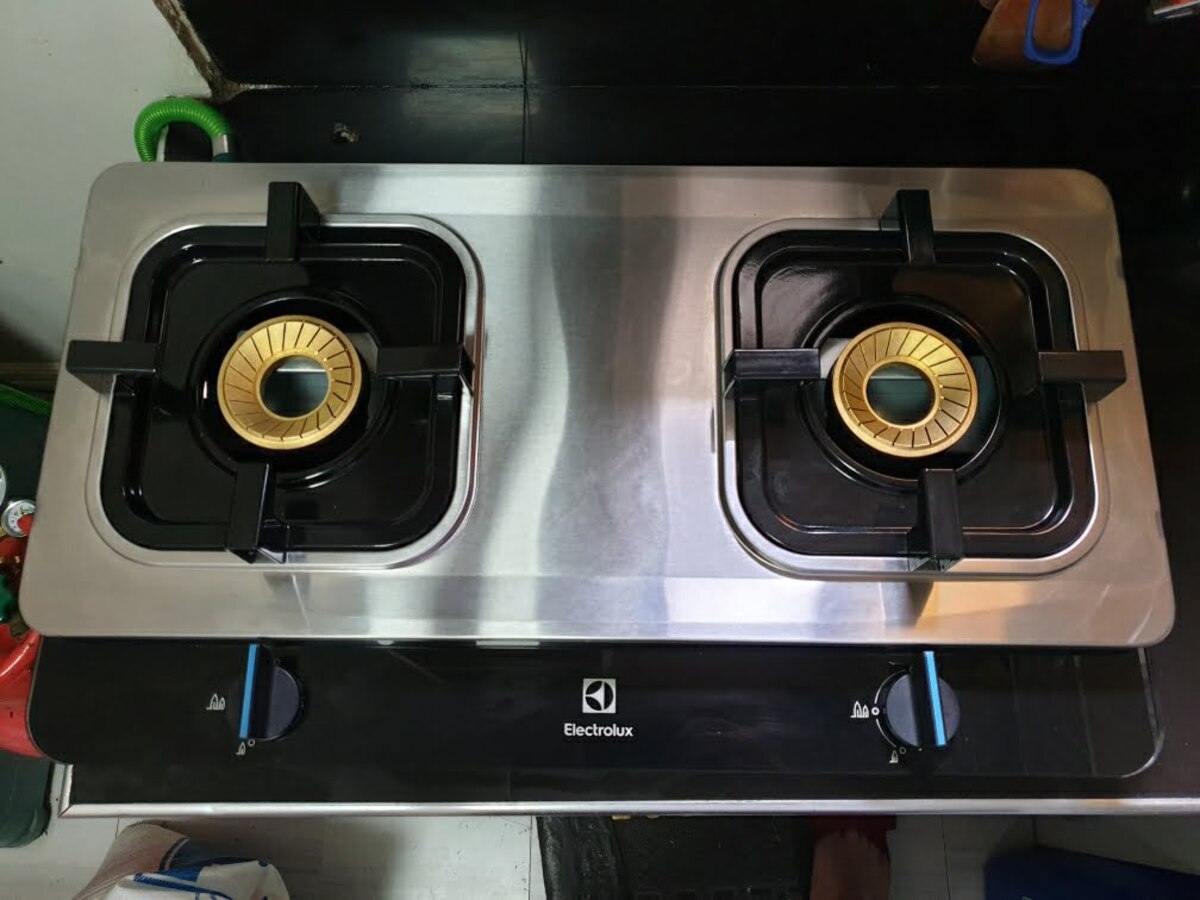
Step 2: Removing the Burner Grates and Caps
Now that you have taken the necessary safety precautions, it’s time to remove the burner grates and caps. These components can accumulate grease and food debris, so removing them is the first step in accessing the areas underneath. Here’s how you can remove the burner grates and caps:
- Ensure that the stove burners are completely turned off and cool to the touch.
- Gently lift the burner grates off the stove surface. These grates are usually made of cast iron or porcelain-coated steel and can be quite heavy, so use caution when handling them.
- If your stove has burner caps, carefully lift them off the burners. These caps sit on top of the burner heads and help distribute the heat evenly. They may be held in place by retaining clips or screws, so check your stove’s manual for specific instructions on removing them.
- Set aside the burner grates and caps in a safe area.
By removing the burner grates and caps, you can access the areas underneath and ensure a thorough clean. Once you have removed these components, it’s time to move on to the next step: cleaning the burner grates and caps.
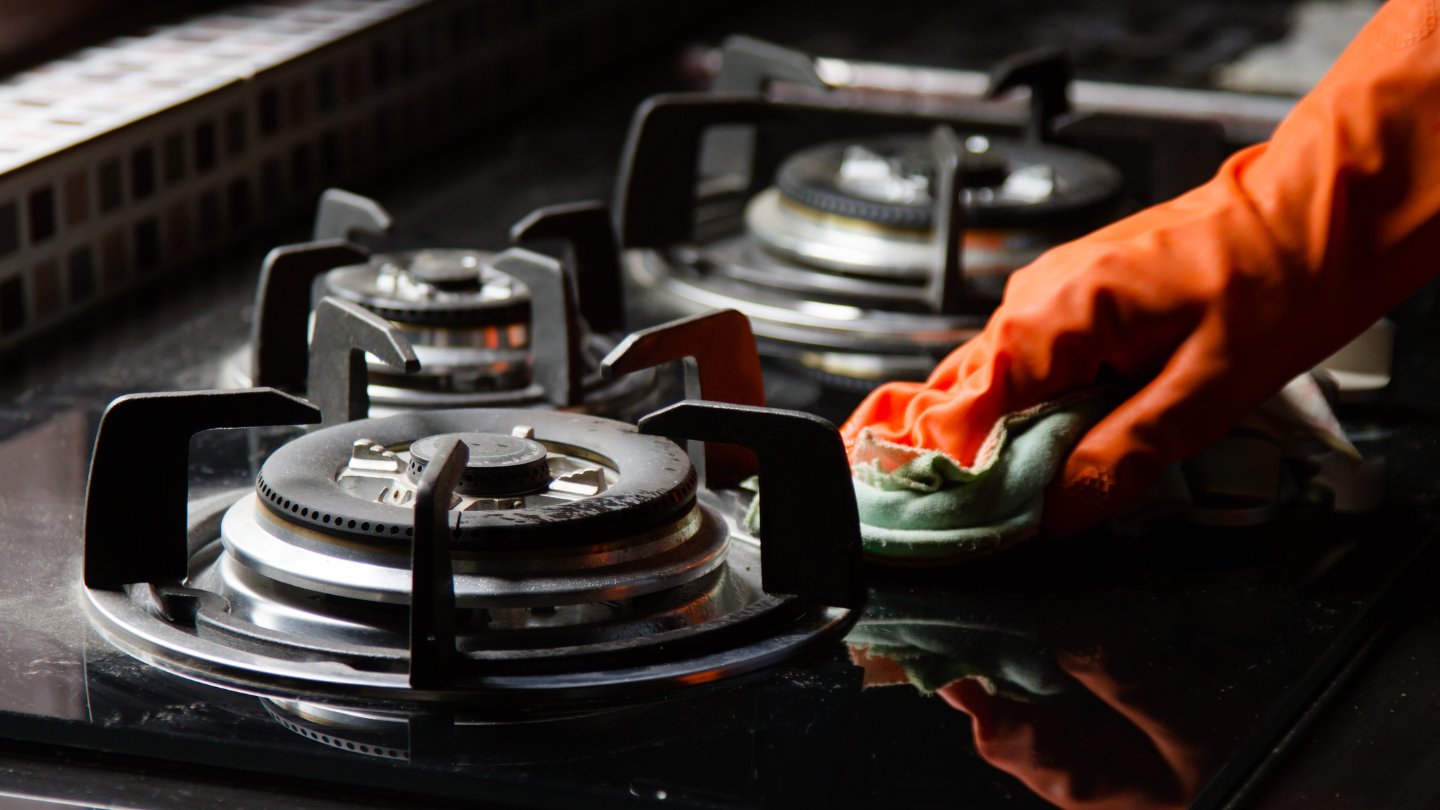
Step 3: Cleaning the Burner Grates and Caps
Now that you have removed the burner grates and caps, it’s time to clean them and remove any built-up grime and grease. The burner grates and caps are exposed to heat and spills, making them prone to stubborn stains. Here’s how you can effectively clean the burner grates and caps:
- Fill a sink or bucket with warm water and add a few drops of mild dish soap or kitchen cleaner. This will help break down the grease and grime on the burner grates and caps.
- Place the burner grates and caps in the soapy water mixture and let them soak for about 15-20 minutes. This will help loosen any stubborn stains.
- After soaking, use a scrub brush or sponge to scrub away the residue on the burner grates and caps. Pay close attention to the areas with built-up grease or food debris.
- Rinse the burner grates and caps thoroughly with clean water to remove any soap residue.
- If there are still stubborn stains, create a paste using equal parts baking soda and water. Apply the paste to the affected areas and let it sit for a few minutes. Then, scrub the stains with a scrub brush or sponge.
- Rinse the burner grates and caps again with clean water and pat them dry with a microfiber cloth or paper towels.
Once the burner grates and caps are clean and dry, you can move on to the next step: removing the burner heads.
Note: If your burner grates and caps are dishwasher-safe, you can opt to clean them in the dishwasher following the manufacturer’s instructions.
Read more: How To Clean Stove Burners And Grates
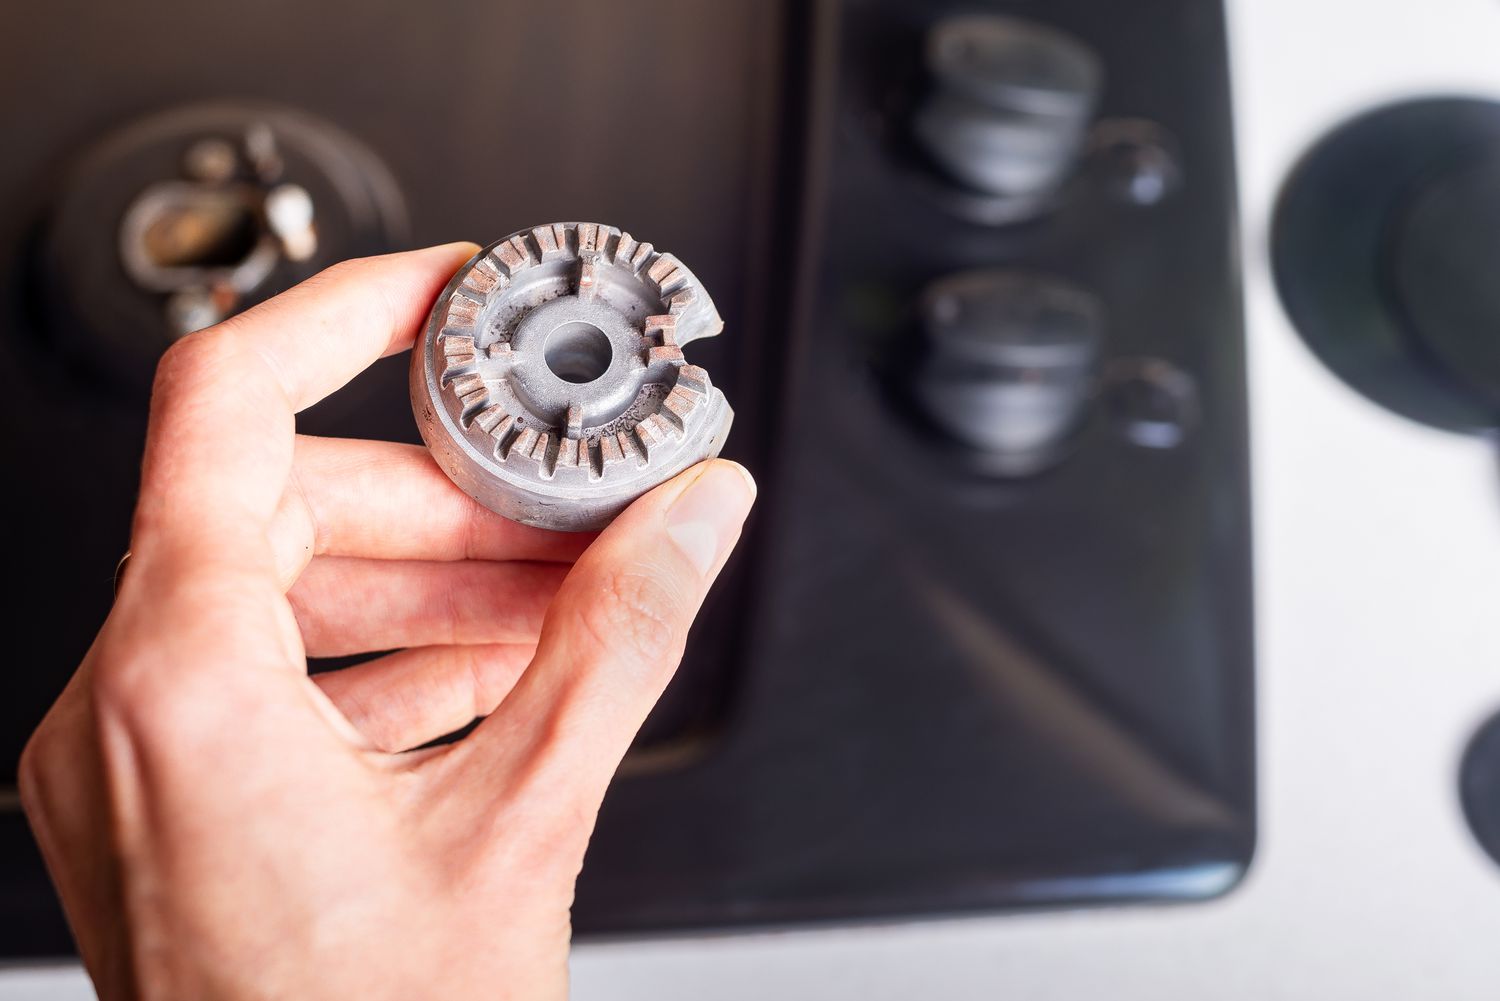
Step 4: Removing the Burner Heads
Now that you have cleaned the burner grates and caps, it’s time to remove the burner heads. The burner heads are the components that distribute the gas and create the flame, and they can also accumulate dirt and debris over time. Here’s how you can remove the burner heads:
- Ensure that the stove burners are completely turned off and cool to the touch.
- Locate the burner heads on each burner. They are usually located underneath the burner caps.
- Gently lift the burner caps off the burners if you haven’t done so already.
- Depending on your stove model, the burner heads may be held in place by screws or retaining clips. Use a screwdriver or pliers to loosen and remove these fasteners.
- Once the fasteners are removed, carefully lift the burner heads off the stove. Be cautious as the burner heads may still have residual heat.
- Set the burner heads aside in a safe area.
By removing the burner heads, you can access and clean the areas beneath them, ensuring a thorough cleaning of your stovetop. With the burner heads removed, let’s move on to the next step: cleaning the burner heads.
Use a vacuum attachment or a long, flexible brush to clean under the stove burners. Make sure to unplug the stove and remove the burners before cleaning. Wipe down the area with a damp cloth to remove any remaining debris.
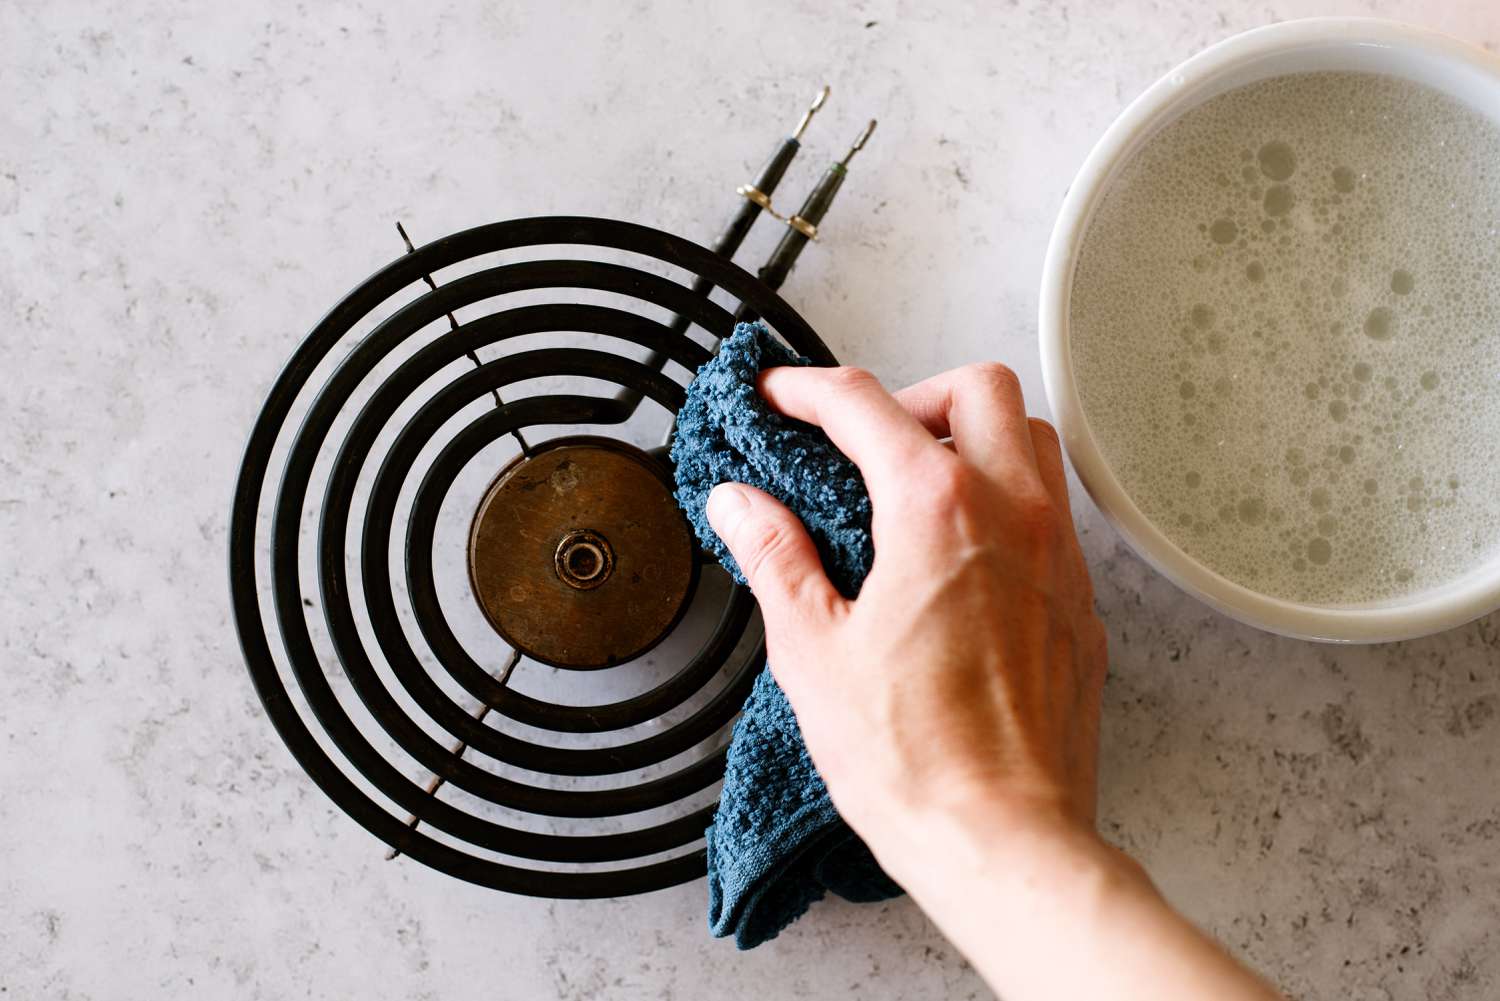
Step 5: Cleaning the Burner Heads
Now that you have removed the burner heads, it’s time to clean them and remove any dirt or debris that may have accumulated. Cleaning the burner heads will ensure optimal gas flow and flame performance. Here’s how you can effectively clean the burner heads:
- Fill a sink or bucket with warm water and add a few drops of mild dish soap or kitchen cleaner. This will help break down any grease or residue on the burner heads.
- Place the burner heads in the soapy water mixture and let them soak for about 15-20 minutes. This will help loosen any stubborn dirt or debris.
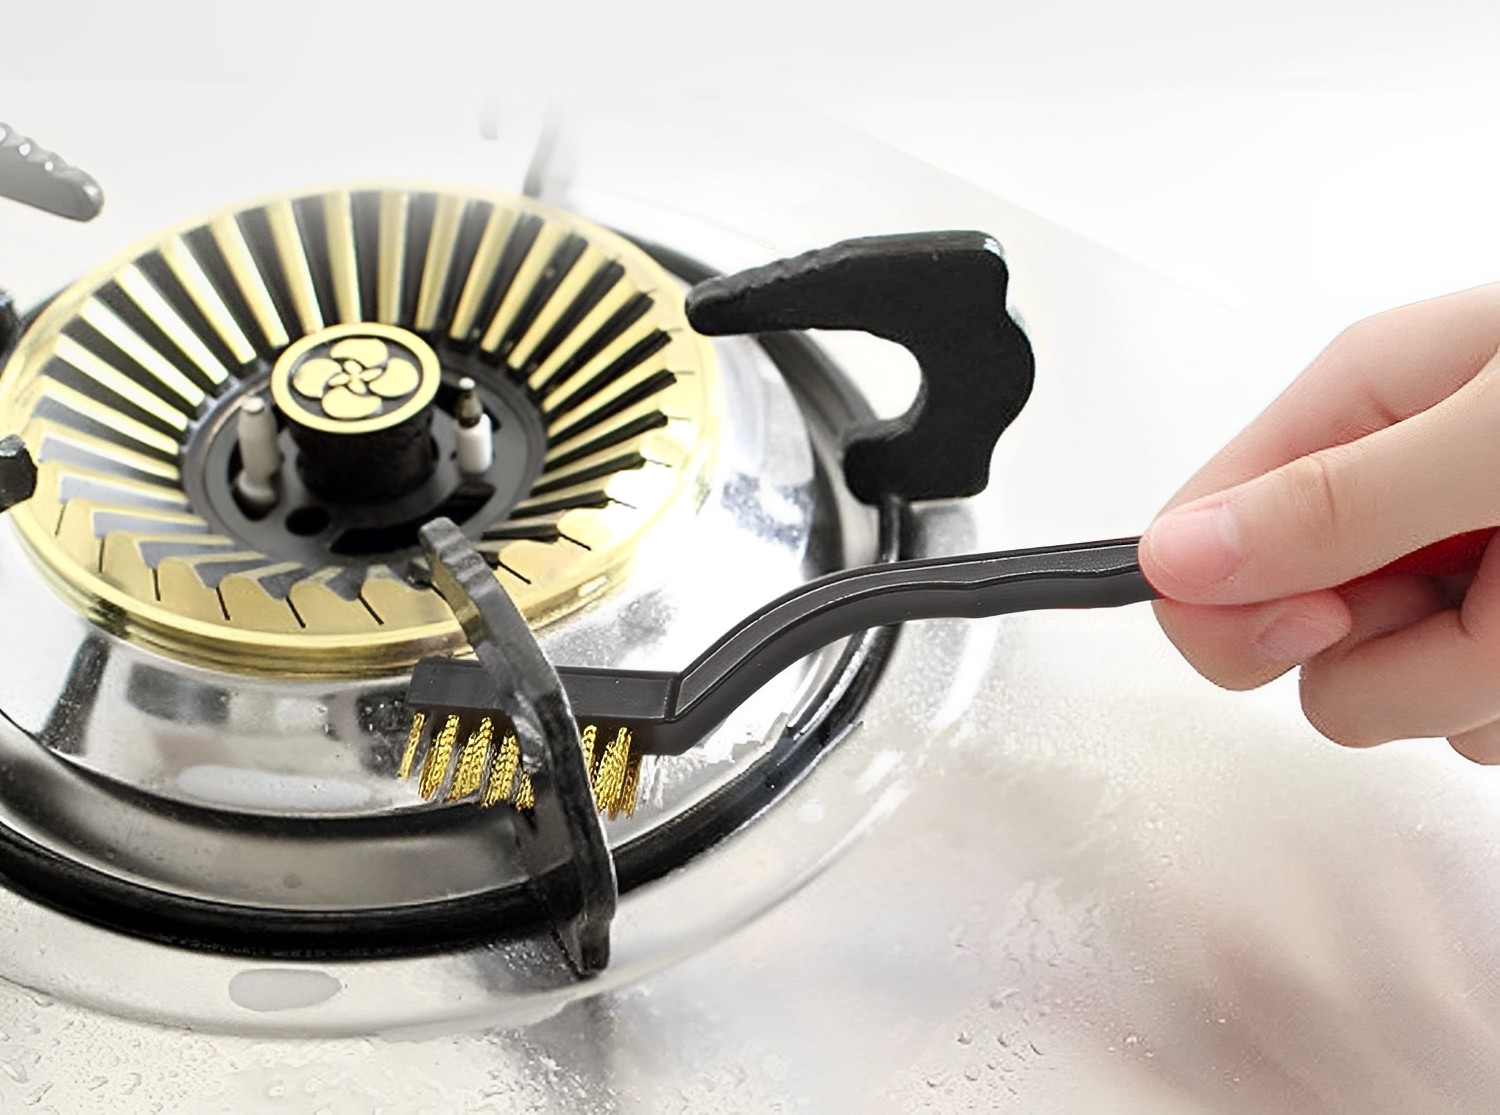
- After soaking, use a scrub brush or an old toothbrush to gently scrub the burner heads. Pay attention to any clogged holes or areas with built-up residue.
- Rinse the burner heads thoroughly with clean water to remove any soap or residue.
- If there are stubborn stains or greasy residue, you can create a paste using equal parts baking soda and water. Apply the paste to the burner heads and let it sit for a few minutes. Then, scrub the stains with a brush or toothbrush.
- Rinse the burner heads again with clean water to remove any leftover paste or residue.
- Allow the burner heads to dry completely before reassembling them.
By thoroughly cleaning the burner heads, you ensure that they are free from dirt and debris, allowing for efficient gas flow and optimal flame performance. Now that the burner heads are clean and dry, let’s move on to the next step: cleaning the stovetop surface.
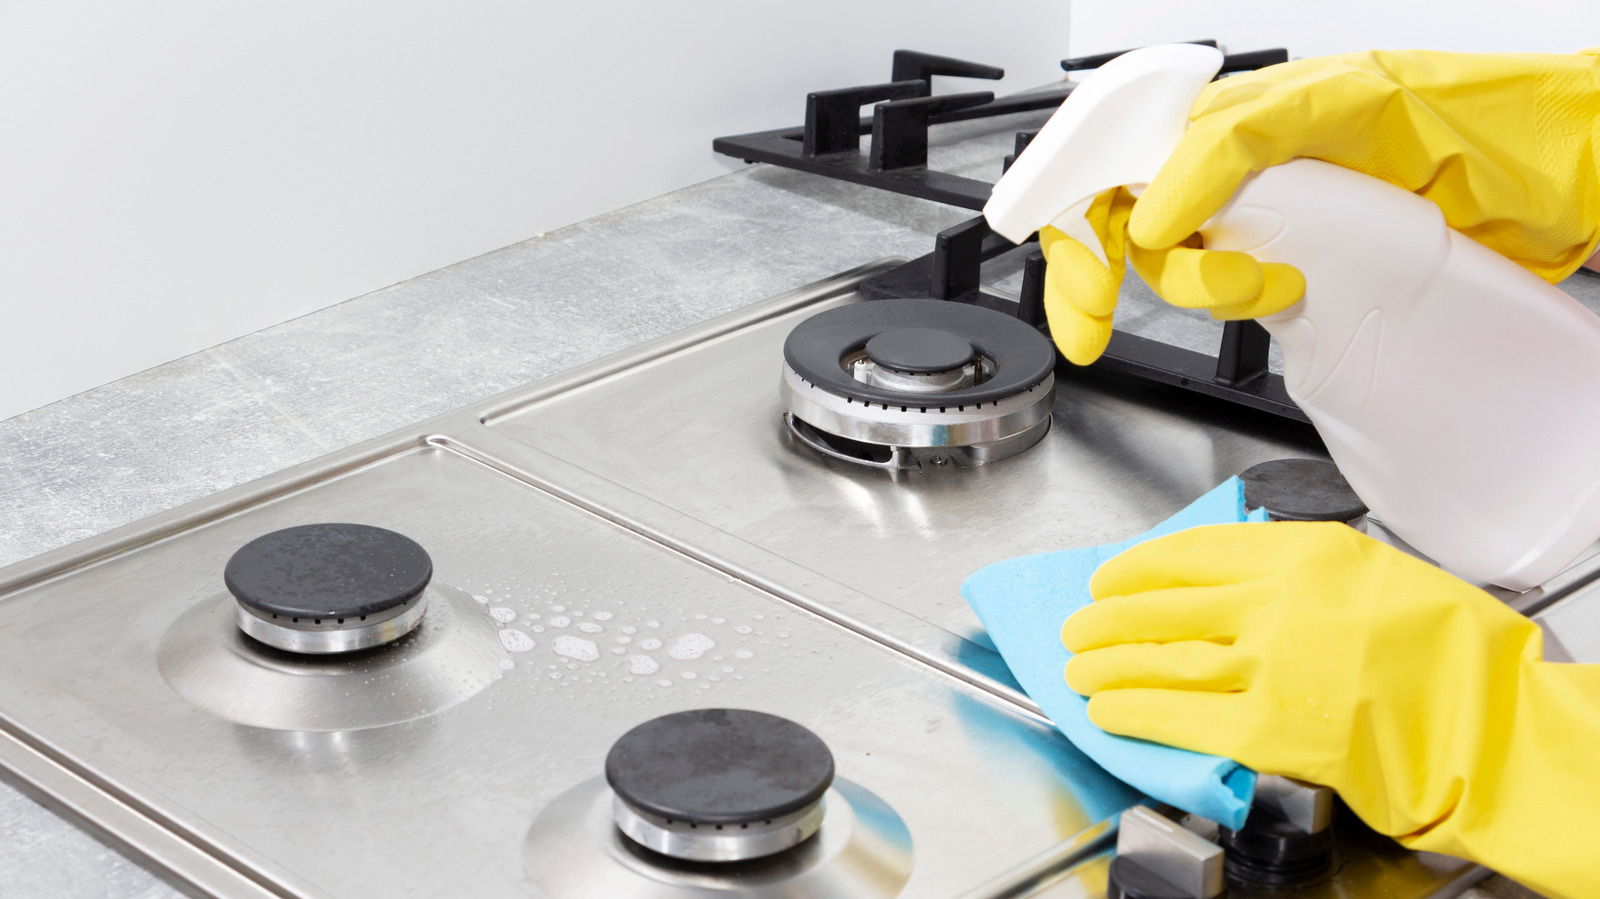
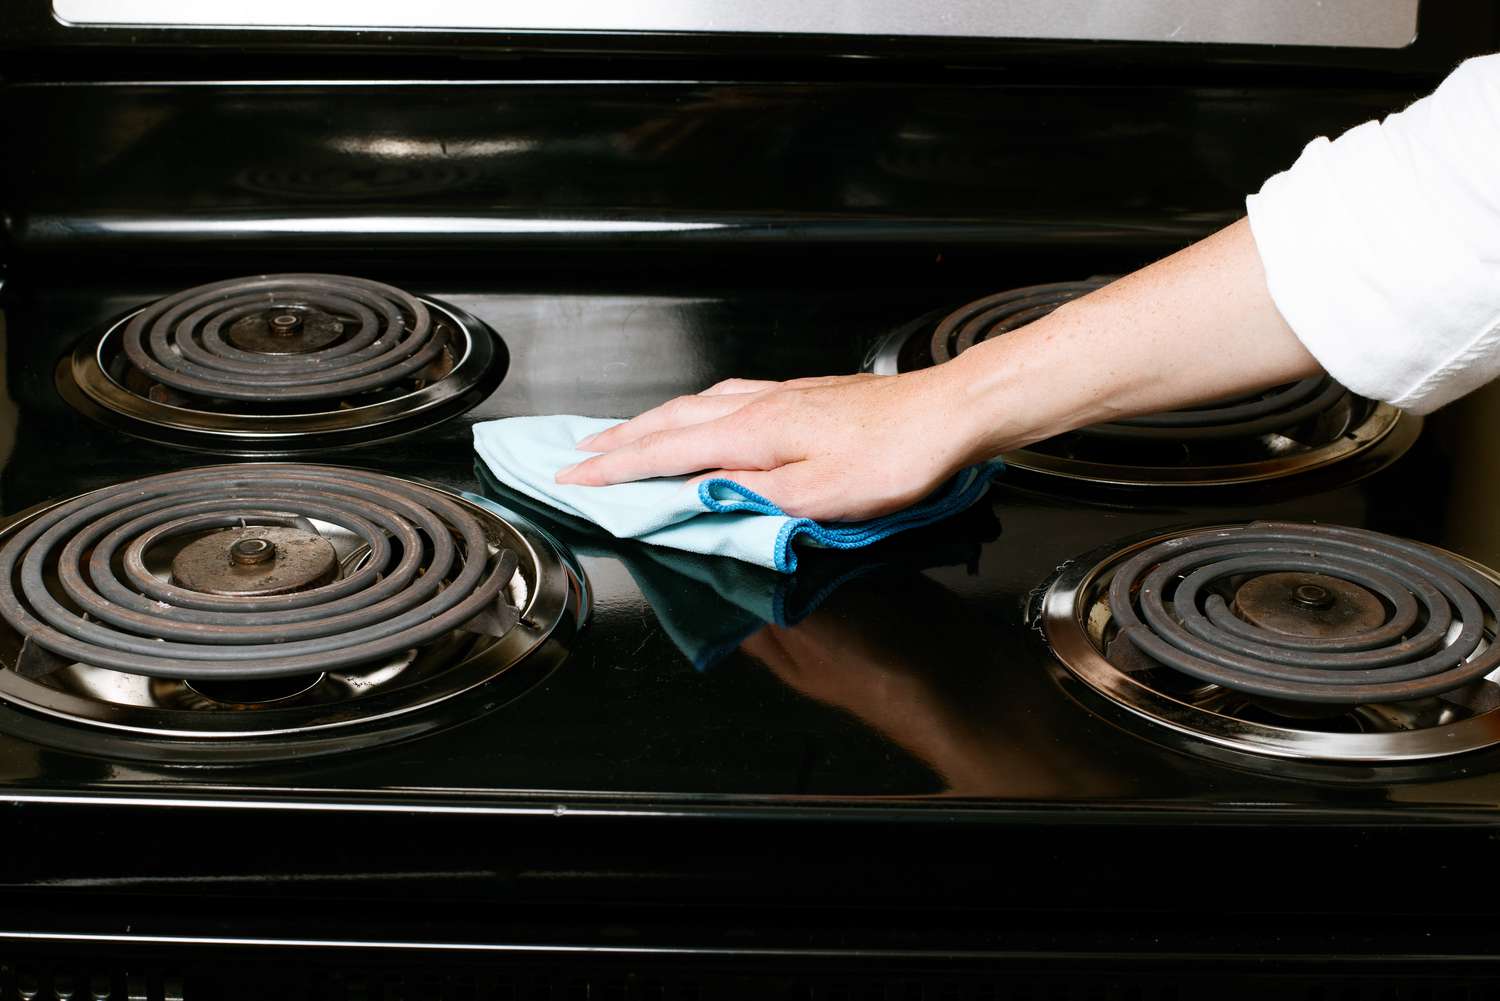
Step 6: Cleaning the Stovetop Surface
Now that you have cleaned the burner grates, caps, and heads, it’s time to focus on cleaning the stovetop surface. The stovetop surface can accumulate spills, grease, and food particles, so it’s important to give it a thorough cleaning. Here’s how you can effectively clean the stovetop surface:
- Before you begin, ensure that the stove burners are completely turned off and cool to the touch.
- Remove any loose debris or food particles from the stovetop surface. You can use a soft-bristle brush or a paper towel to gently sweep away the debris.
- Mix a solution of equal parts vinegar and water in a spray bottle. Vinegar is a natural and effective cleaning agent that can help dissolve stains and eliminate odors.
- Spray the vinegar and water solution onto the stovetop surface. Let it sit for a few minutes to allow the vinegar to work its magic on the stains.
- Using a non-abrasive sponge or cloth, scrub the stovetop surface in a circular motion to remove any stains or residue. Pay special attention to any stubborn spots.
- If there are tough stains or burnt-on food, you can create a paste using baking soda and water. Apply the paste to the stains and let it sit for a few minutes before scrubbing.
- Rinse the stovetop surface with clean water to remove any leftover vinegar or baking soda residue.
- Dry the stovetop surface with a clean microfiber cloth or paper towels to prevent water spots or streaks.
By following these steps, you will effectively clean the stovetop surface and remove any stains or residue that may have accumulated. With the stovetop surface clean and shiny, let’s move on to the next step: reassembling the burner components.
Step 7: Reassembling the Burner Components
Now that you have cleaned the burner grates, caps, heads, and stovetop surface, it’s time to reassemble the burner components and get your stove back in working order. Here’s how you can reassemble the burner components:
- Ensure that the stovetop surface is completely dry before proceeding with reassembling the burner components.
- Start by placing the clean burner heads back onto the stove in their respective positions. Make sure they are properly aligned and seated securely.
- If your stove has burner caps, place them back on top of the burner heads. Ensure they are properly aligned and fit snugly.
- Retrieve the clean burner grates and place them back onto the stovetop surface. Make sure they are properly positioned and aligned with the burner heads and caps.
Take a moment to ensure that all the burner components are securely in place and properly aligned. This will ensure optimal performance and safety when using your stove.
With the burner components reassembled, you’ve successfully completed the cleaning process. However, to keep your stove in top shape, there are a few final touches and maintenance tips to keep in mind.
Read more: How To Clean Flat Stove Burners
Step 8: Final Touches and Maintenance Tips
Congratulations on successfully cleaning under your stove burners! Now, let’s add some final touches and go over some maintenance tips to keep your stove looking and performing its best:
- Wipe down the entire surface of your stove, including the knobs and control panel, with a microfiber cloth or gentle cleaning solution. This will remove any remaining dirt or residue and give your stove a polished finish.
- Regularly clean your stove burners and stovetop surface to prevent build-up of grease and grime. A weekly cleaning routine will help maintain a clean and efficient stovetop.
- Avoid using harsh or abrasive cleaners that can damage the surface of your stove. Stick to mild dish soap, kitchen cleaners, vinegar, or baking soda for effective and safe cleaning.
- Remember to clean spills and splatters as soon as they occur to prevent them from hardening and becoming more difficult to remove.
- Check the burner ports and flame openings for any blockages regularly. Use a toothpick or a small wire to gently remove any debris that may be obstructing the flow of gas.
- Consider using stovetop protectors or liners to catch spills and prevent them from reaching the surface underneath the burners. These liners can be easily cleaned or replaced to keep your stove clean and protected.
- Avoid using abrasive scrub brushes or steel wool on your stove’s surface as they can scratch and damage the finish. Stick to non-abrasive sponges and brushes for safe and effective cleaning.
- If you have a gas stove, regularly inspect the gas supply lines and connections for any leaks or damage. If you detect any issues, contact a professional for inspection and repair.
By following these final touches and maintenance tips, you’ll ensure that your stove remains clean, safe, and in optimal working condition. Regular maintenance and cleaning will help prevent any malfunctions and prolong the life of your stove.
Thank you for following this comprehensive guide on how to clean under the stove burners. By implementing these steps and tips, you’ll have a sparkling clean stove that looks great and performs flawlessly. Happy cooking!
Note: Always refer to your stove’s manufacturer manual for any specific cleaning instructions and precautions.
Conclusion
Cleaning under the stove burners may seem like a daunting task, but with the right tools, techniques, and a little bit of effort, you can easily tackle this cleaning chore. Regularly cleaning your stove burners not only enhances the appearance of your kitchen but also ensures optimal performance and longevity of your appliance.
In this comprehensive guide, we walked you through the step-by-step process of cleaning under the stove burners. From safety precautions to removing the burner grates, caps, and heads, to cleaning the stovetop surface, we covered all the essential steps to achieve a sparkling clean stove.
By following the tips and techniques provided, you can effectively remove dirt, grease, and food debris, leaving your stove looking pristine and operating at its best. Remember to use mild cleaning solutions, such as dish soap, vinegar, or baking soda, and always prioritize safety by wearing protective gloves and ensuring the stove is turned off and cool before cleaning.
Additionally, incorporating regular cleaning maintenance into your routine and following the maintenance tips we provided will help keep your stove in top shape. This includes wiping down the surface, checking for blockages, and inspecting gas connections for any potential leaks or damage.
We hope that this guide has been helpful in guiding you through the process of cleaning under your stove burners. With a clean and well-maintained stove, you can enjoy not only a cleaner and more inviting kitchen but also a reliable and efficient cooking experience.
So, roll up your sleeves, gather your cleaning supplies, and give your stove the cleaning it deserves. Your sparkling clean stove awaits!
Frequently Asked Questions about How To Clean Under The Stove Burners
Was this page helpful?
At Storables.com, we guarantee accurate and reliable information. Our content, validated by Expert Board Contributors, is crafted following stringent Editorial Policies. We're committed to providing you with well-researched, expert-backed insights for all your informational needs.


0 thoughts on “How To Clean Under The Stove Burners”