Articles
How To Clean Vomit From Floor
Modified: May 6, 2024
Learn effective methods and tips for cleaning up vomit from your floor in this informative article. Remove stains and odors easily with step-by-step instructions.
(Many of the links in this article redirect to a specific reviewed product. Your purchase of these products through affiliate links helps to generate commission for Storables.com, at no extra cost. Learn more)
Introduction
Dealing with vomit on the floor is never a pleasant experience, but accidents happen. Whether it’s a result of illness, excessive alcohol consumption, or a reaction to something eaten, cleaning up vomit requires a careful approach to ensure that the area is not only clean but also free from bacteria and odors.
Having the right tools and materials on hand is crucial for a successful cleanup. From preparation to the final steps of disinfecting and deodorizing, this guide will walk you through the process of cleaning vomit from your floor effectively and efficiently.
Before starting the cleanup process, it’s essential to protect yourself by wearing gloves and ensuring good ventilation in the area to prevent any potential spread of illness or unpleasant odors. By following these steps, you’ll be able to clean up vomit from your floor and restore cleanliness and freshness to your space.
Key Takeaways:
- Proper preparation, effective blotting, and thorough scrubbing are essential steps in cleaning vomit from the floor. Following these steps ensures a successful cleanup and a fresh, sanitized environment.
- Choosing the right cleaning solutions, disinfectants, and odor neutralizers is crucial for restoring cleanliness and eliminating odors. Attention to detail and safety measures are key throughout the entire cleanup process.
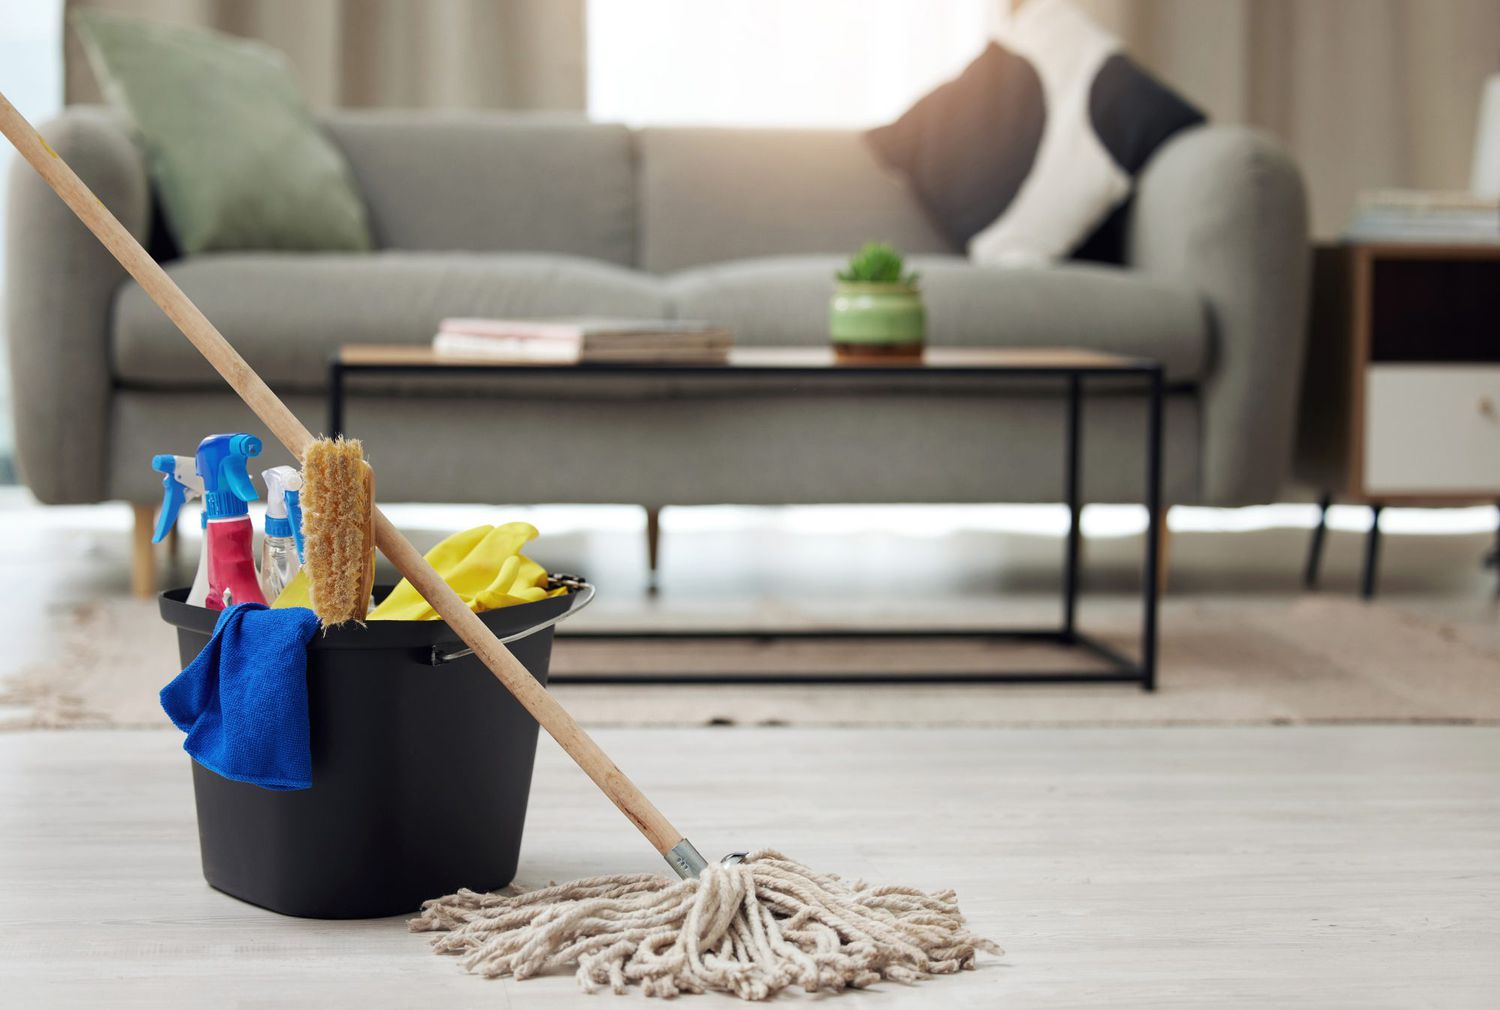
Tools and Materials Needed
Before you begin the vomit cleanup process, gather the following tools and materials:
- Disposable gloves or rubber gloves
- Disposable face mask (optional, but recommended)
- Disposable paper towels or absorbent cloths
- Plastic trash bags
- Dustpan or scraper
- Broom or vacuum cleaner with a HEPA filter
- Mild detergent or dish soap
- Warm water
- Vinegar or hydrogen peroxide
- Spray bottle
- Scrub brush or soft cloth
- Disinfectant spray
- Odor neutralizer or deodorizing powder
Having these tools and materials ready will make the cleanup process more efficient and effective. Once you have everything prepared, you can start following the steps to clean the vomit from your floor.
Step 1: Preparation
Before you dive into the task of cleaning up vomit from your floor, it’s important to take a few moments to prepare the area. Follow these steps for proper preparation:
- Put on protective gear: Start by wearing disposable gloves to protect your hands from coming into direct contact with the vomit. Consider wearing a disposable face mask as well, especially if the odor is particularly strong.
- Ventilate the area: Open windows or turn on the ventilation system to keep the air circulating. This will help to minimize any unpleasant odors and ensure a fresh environment throughout the cleanup process.
- Clear the surrounding area: Remove any objects or furniture near the vomit to create a clear space for cleaning. This will prevent the spread of the substance and make it easier to access the affected area.
- Contain the mess: Lay down plastic trash bags or a drop cloth around the vomit area to catch any stray particles or liquids. This will help contain the mess and make the cleanup process less messy.
Once you have completed these preparation steps, you are ready to move on to the next stage of the cleanup process: removing the solid matter.
Step 2: Remove Solid Matter
Now that you have taken the necessary precautions and prepared the area, it’s time to remove the solid matter from the floor. Follow these steps to safely and effectively remove the vomit:
- Use a dustpan or scraper: Gently scoop up any solid matter using a dustpan or scraper. Be careful not to press too hard, as this may smear the vomit and make the cleanup more challenging.
- Dispose of the solid waste: Place the solid waste into a plastic bag, seal it tightly, and dispose of it in an outdoor trash bin. This will help prevent any lingering odors or germs from spreading indoors.
- Scrape the residue: If there is any remaining residue on the floor, use a scraper or the edge of the dustpan to carefully scrape it off. Be gentle to avoid damaging the floor surface.
By removing the solid matter, you have eliminated a significant portion of the mess. However, there may still be stains and liquid remaining on the floor. So, let’s move on to the next step: blotting the area.
Step 3: Blotting the Area
After removing the solid matter, the next step is to blot the remaining liquid from the floor. This will help absorb any excess moisture and prevent it from seeping further into the flooring. Follow these steps for effective blotting:
- Use disposable paper towels or absorbent cloths: Place a stack of disposable paper towels or absorbent cloths over the vomit residue. Press down gently to allow the material to absorb as much liquid as possible.
- Avoid rubbing or scrubbing: When blotting, it is important to avoid rubbing or scrubbing the area. This can spread the vomit and make the stain more difficult to remove. Instead, focus on applying gentle pressure to absorb the liquid.
- Repeat the process: If the paper towels or absorbent cloths become saturated, replace them with fresh ones and continue the blotting process until the liquid is no longer being absorbed.
By thoroughly blotting the area, you are reducing the moisture and preparing the floor for the next step: applying a cleaning solution. This will help break down any residual stains and odors, ensuring a thorough cleanup.
Read more: How To Clean Vomit Out Of A Mattress
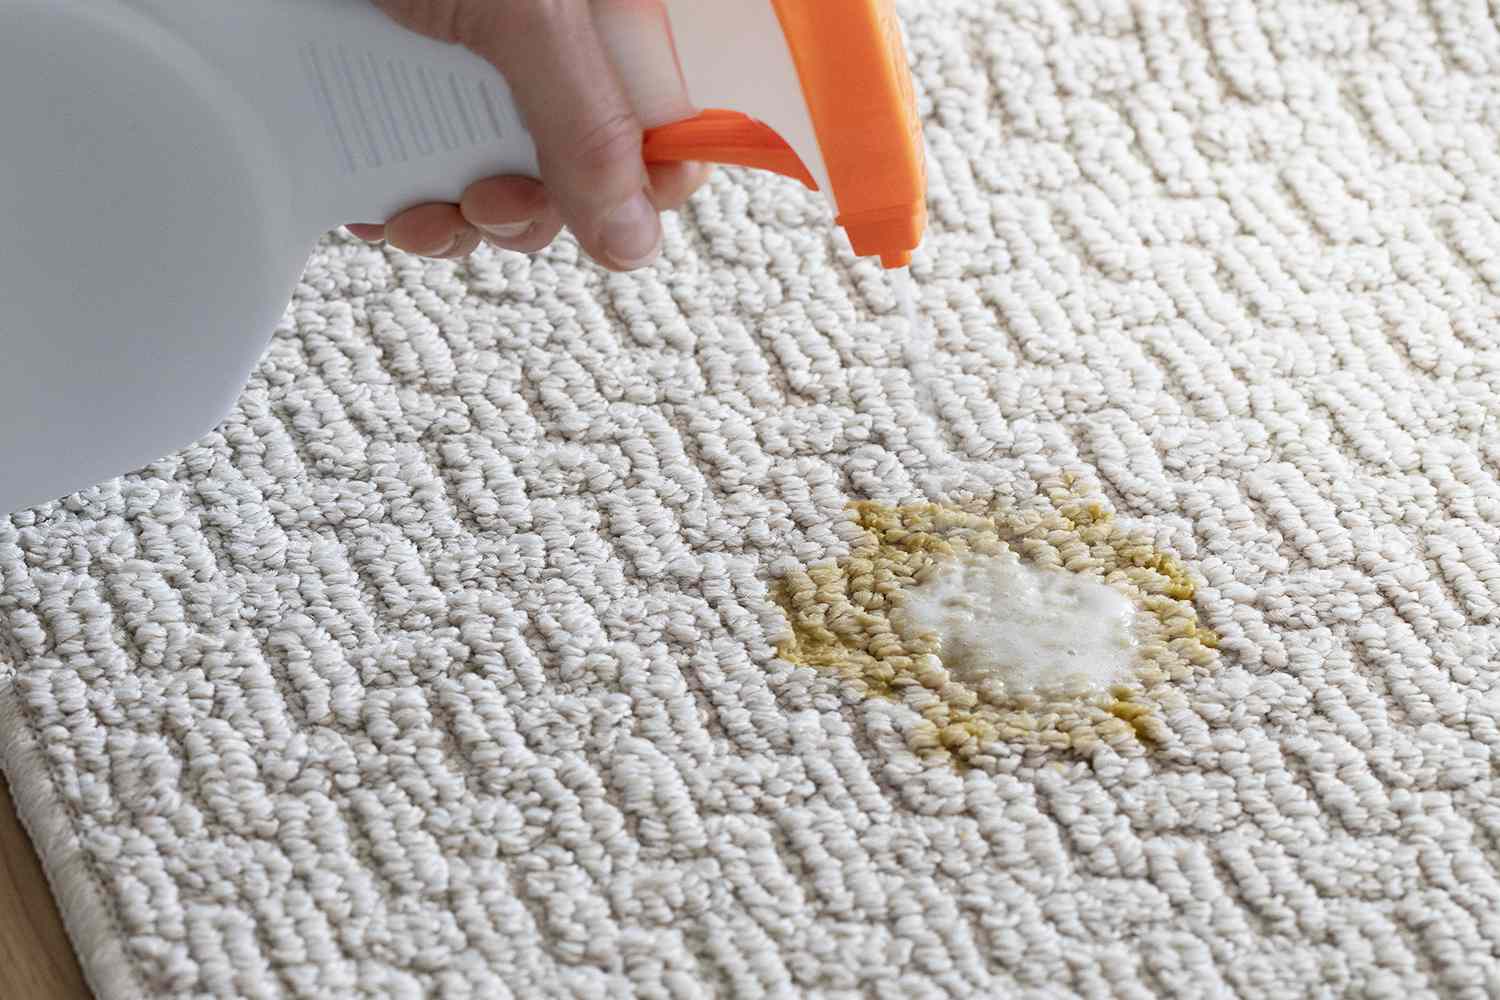
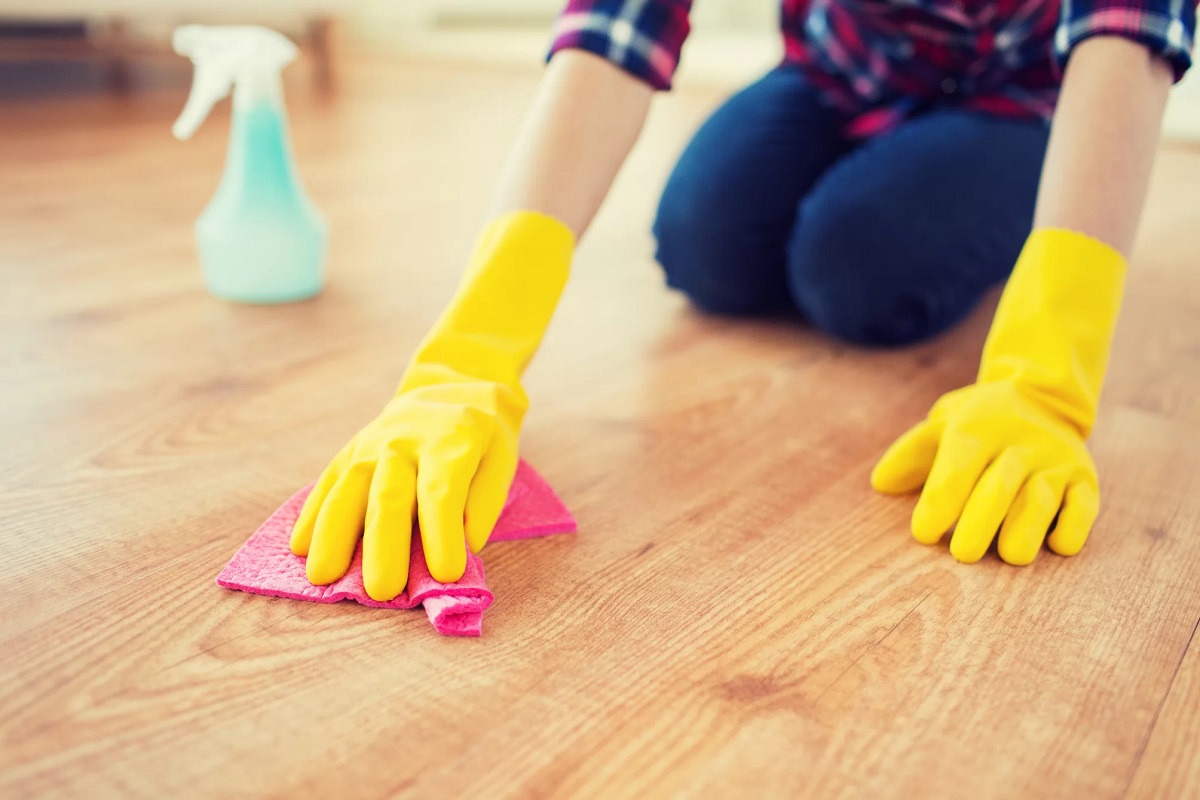
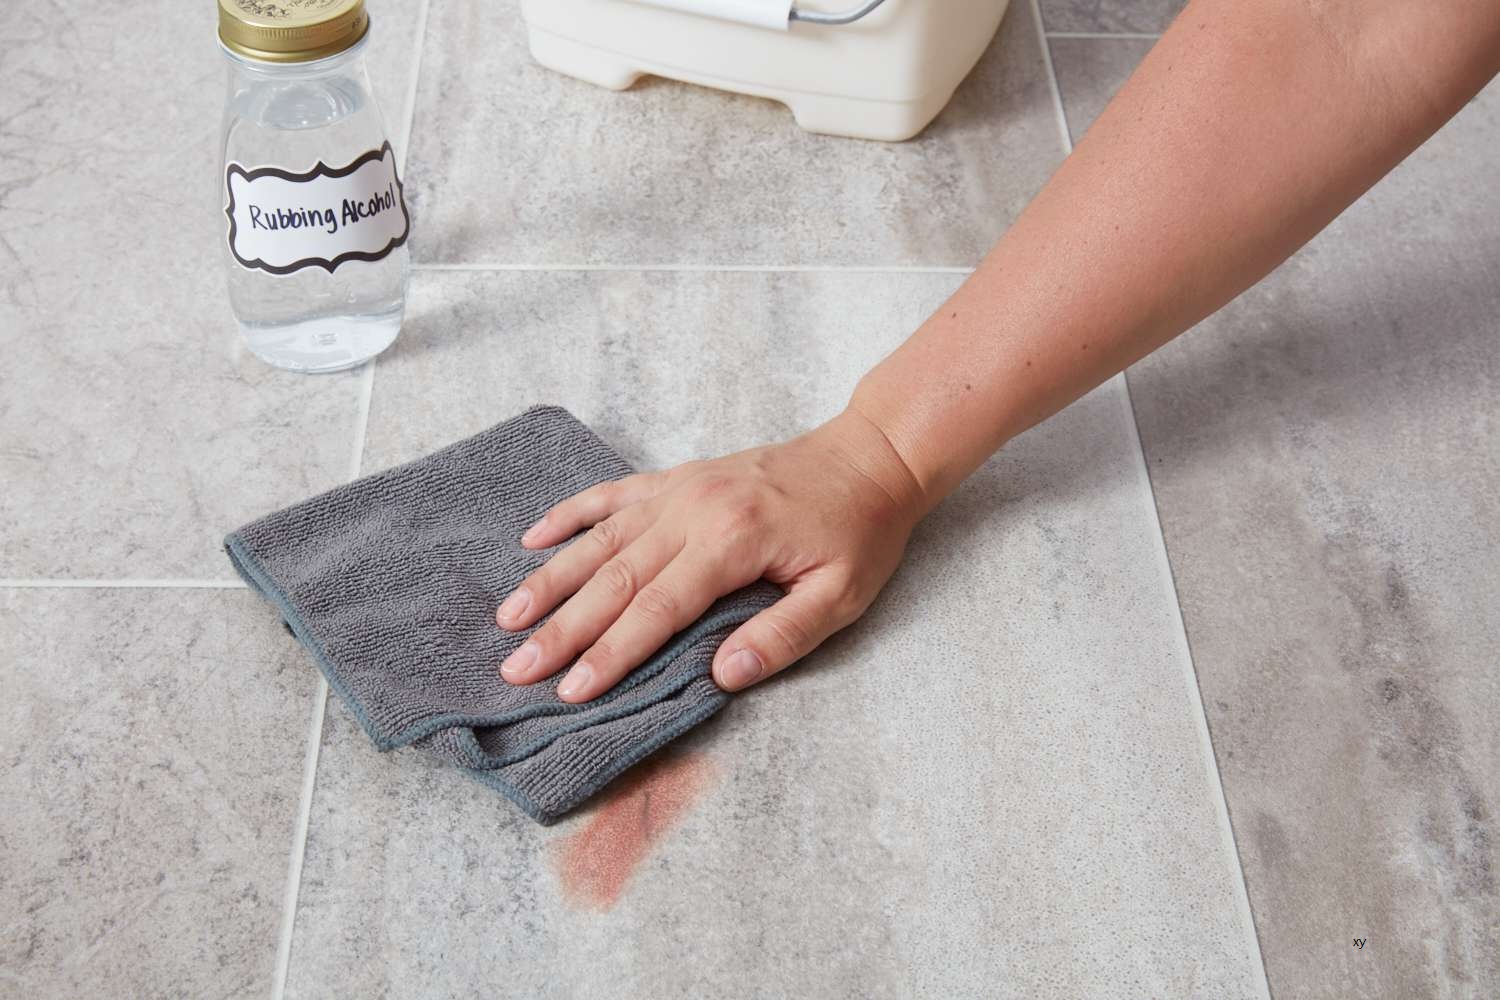
Step 4: Applying Cleaning Solution
After blotting the area, it’s time to apply a cleaning solution to break down any remaining stains and sanitize the floor surface. Follow these steps to effectively apply a cleaning solution:
- Create a cleaning solution: In a spray bottle, mix a small amount of mild detergent or dish soap with warm water. Alternatively, you can use a solution of equal parts vinegar and water, or hydrogen peroxide diluted with water.
- Spray the cleaning solution: Lightly mist the cleaning solution over the affected area, making sure to fully saturate any remaining stains or residue. Avoid oversaturating the floor, as excessive moisture can be detrimental to certain types of flooring materials.
- Let the solution sit: Allow the cleaning solution to sit on the floor for a few minutes. This will give it time to penetrate the stains and loosen any embedded grime.
By applying a cleaning solution, you are breaking down the remaining stains and preparing the floor for scrubbing. The next step will guide you on how to effectively scrub the floor to remove any lingering residue.
Sprinkle baking soda on the vomit to absorb the liquid. Once dry, use a paper towel to scoop up the vomit and then clean the area with a mixture of water and vinegar.
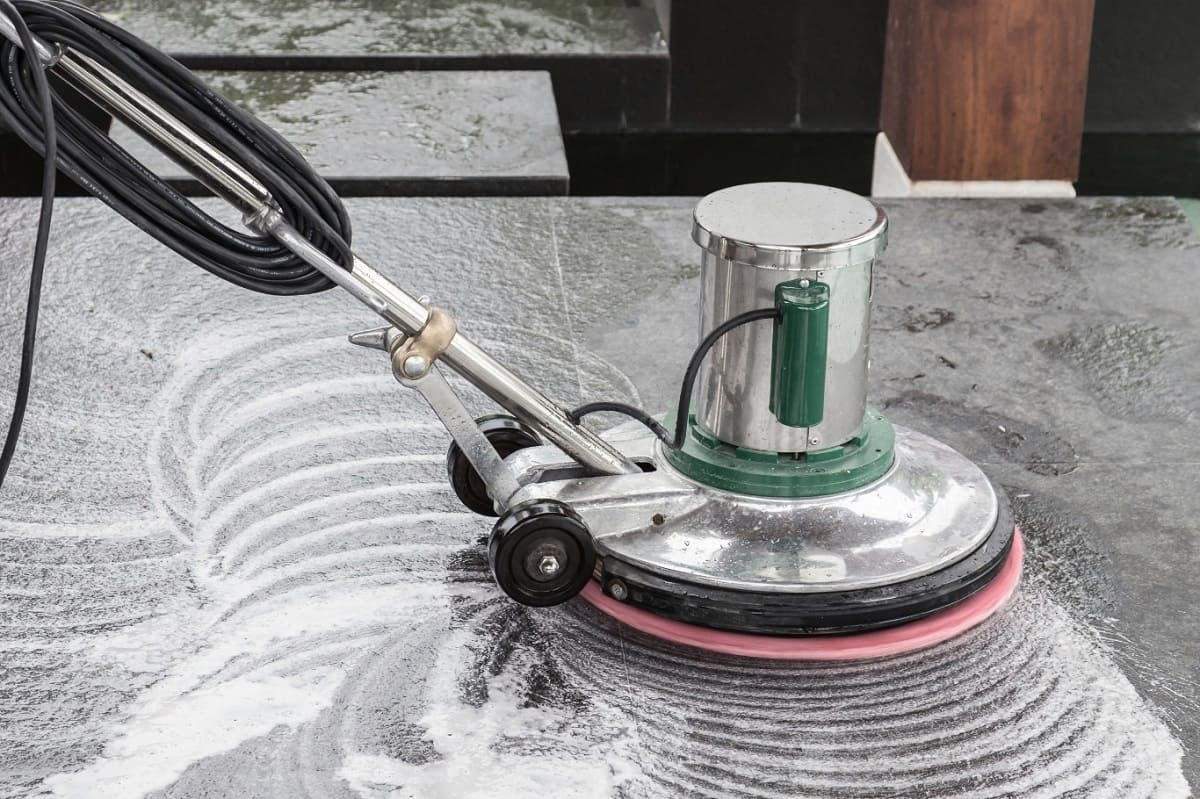
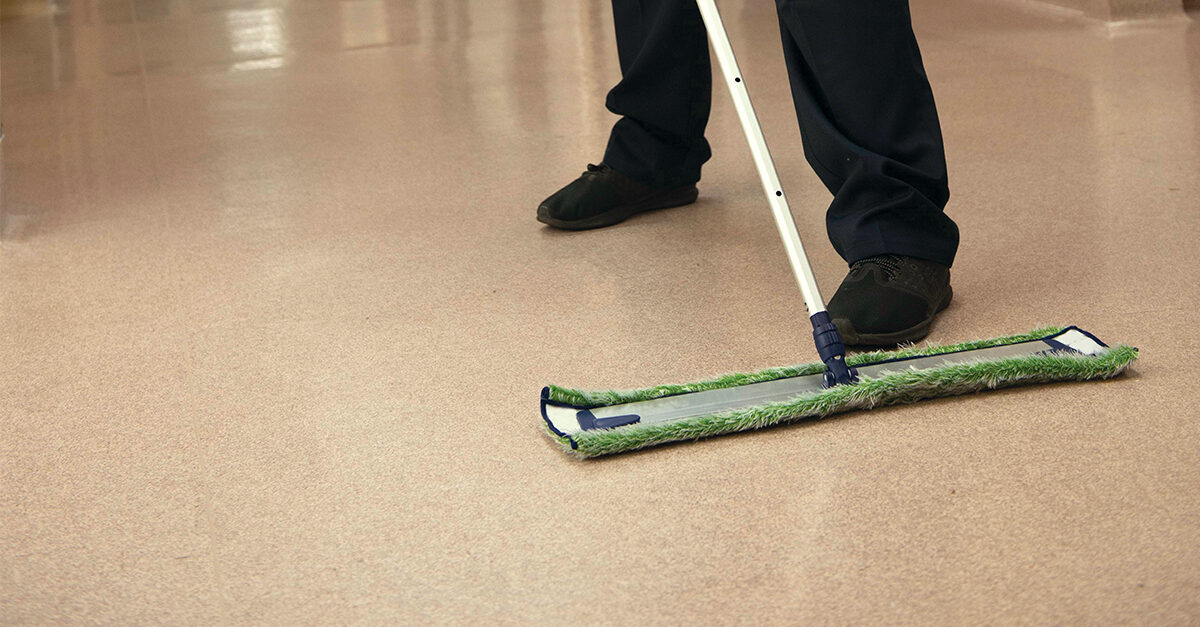
Step 5: Scrubbing the Floor
To ensure a thorough cleanup, it’s important to scrub the floor after applying the cleaning solution. Follow these steps to effectively scrub the floor and remove any remaining residue:
- Choose a scrub brush or soft cloth: Select a scrub brush or a soft cloth depending on the type of flooring you have. A scrub brush with stiff bristles works well for tile or laminate floors, while a soft cloth is suitable for more delicate surfaces like hardwood or vinyl.
- Gently scrub the area: Using the scrub brush or cloth, scrub the floor in a circular motion. Apply light pressure to avoid damaging the floor surface. Focus on the stained areas or any spots where residue remains.
- Work in sections: Divide the floor into smaller sections and tackle them one at a time. This will ensure that you give enough attention to each area and prevent the cleaning solution from drying before you have a chance to rinse it off.
- Pay attention to grout lines: If you have tile flooring, pay special attention to the grout lines. Use a small brush or toothbrush to gently scrub the grout and remove any stains or residue.
- Rinse the floor: After scrubbing each section, rinse the floor with clean water. This will help remove any remaining cleaning solution and residue.
By scrubbing the floor, you are effectively removing the remaining residue and stains. However, the cleaning process doesn’t end here. The next step will guide you on how to properly rinse and dry the floor for a spotless finish.
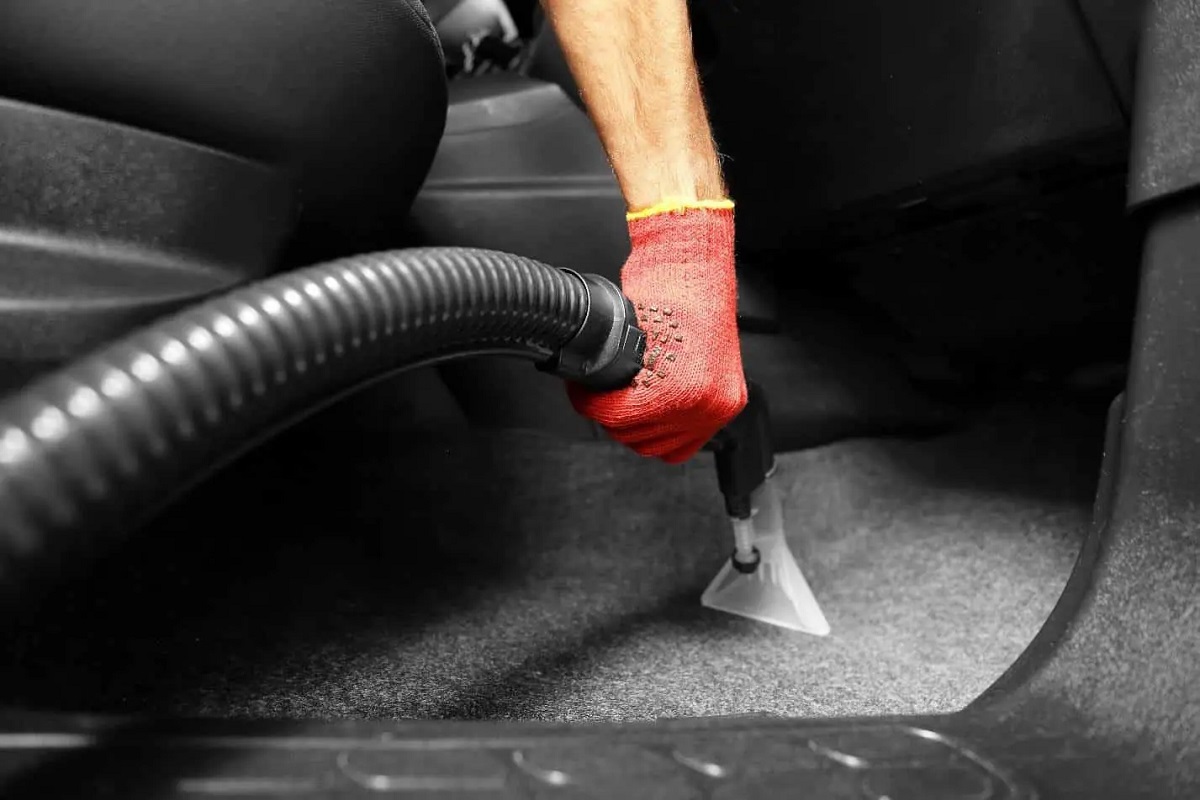
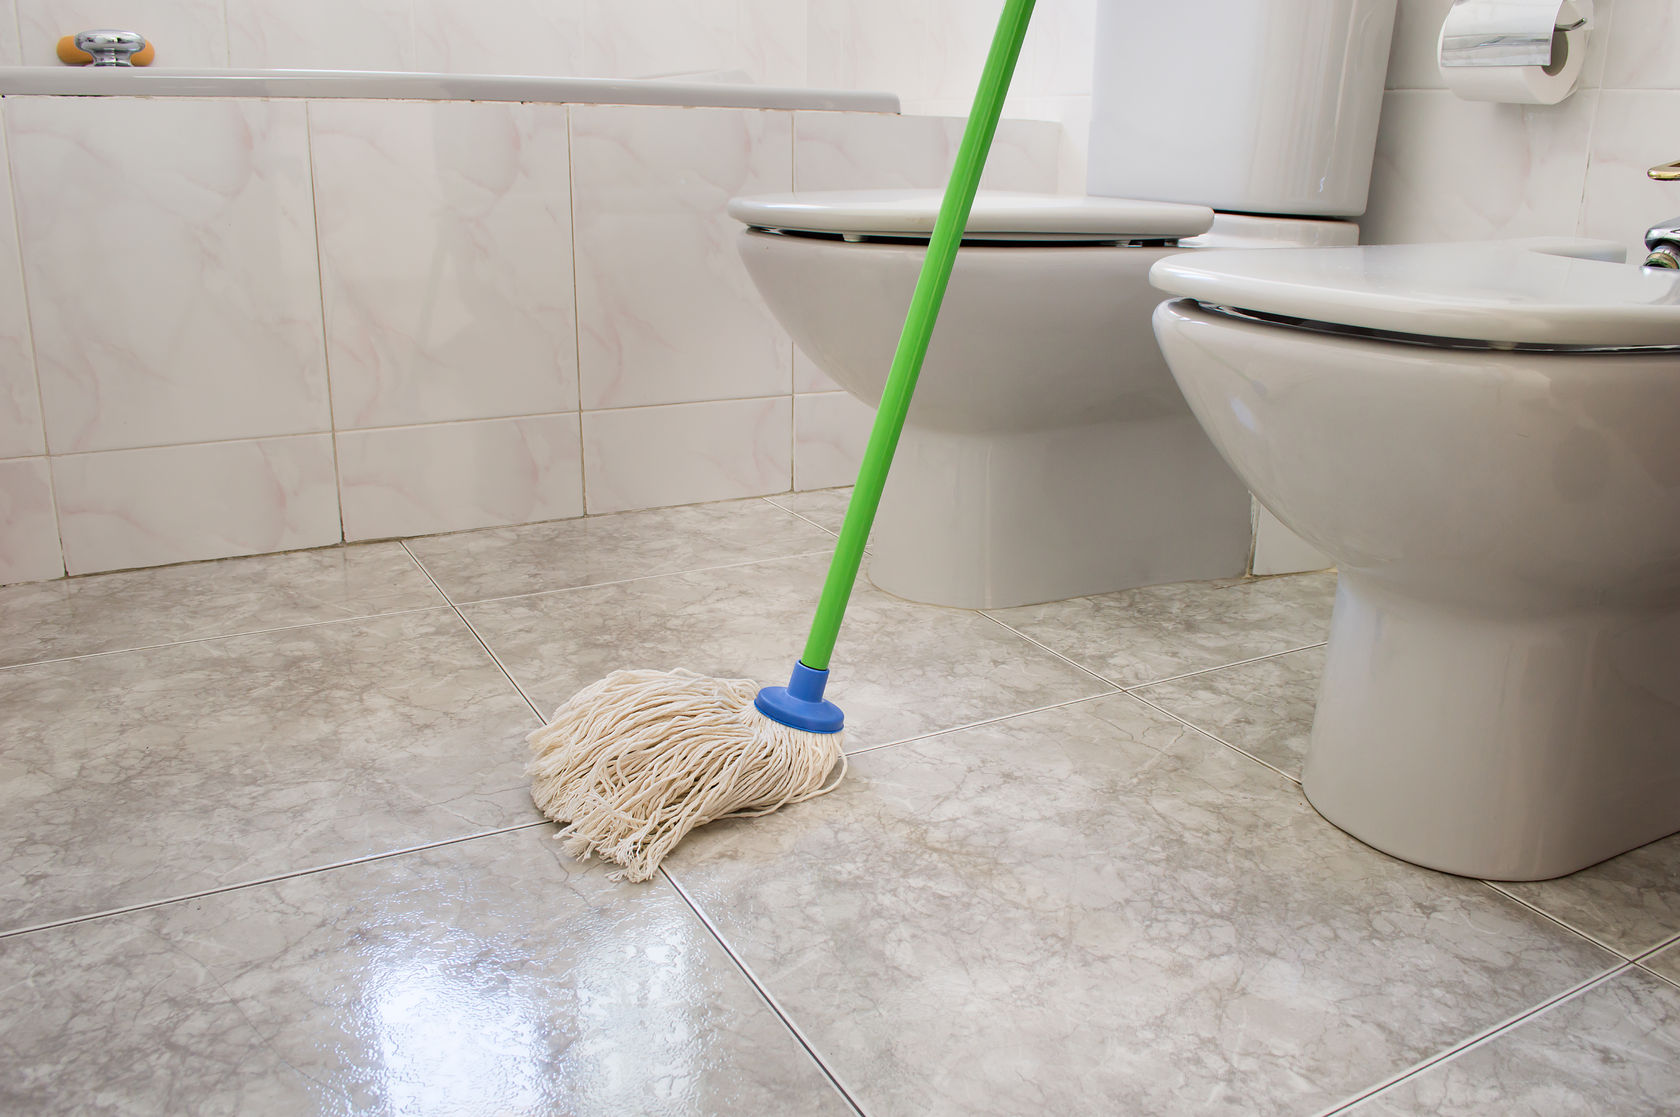
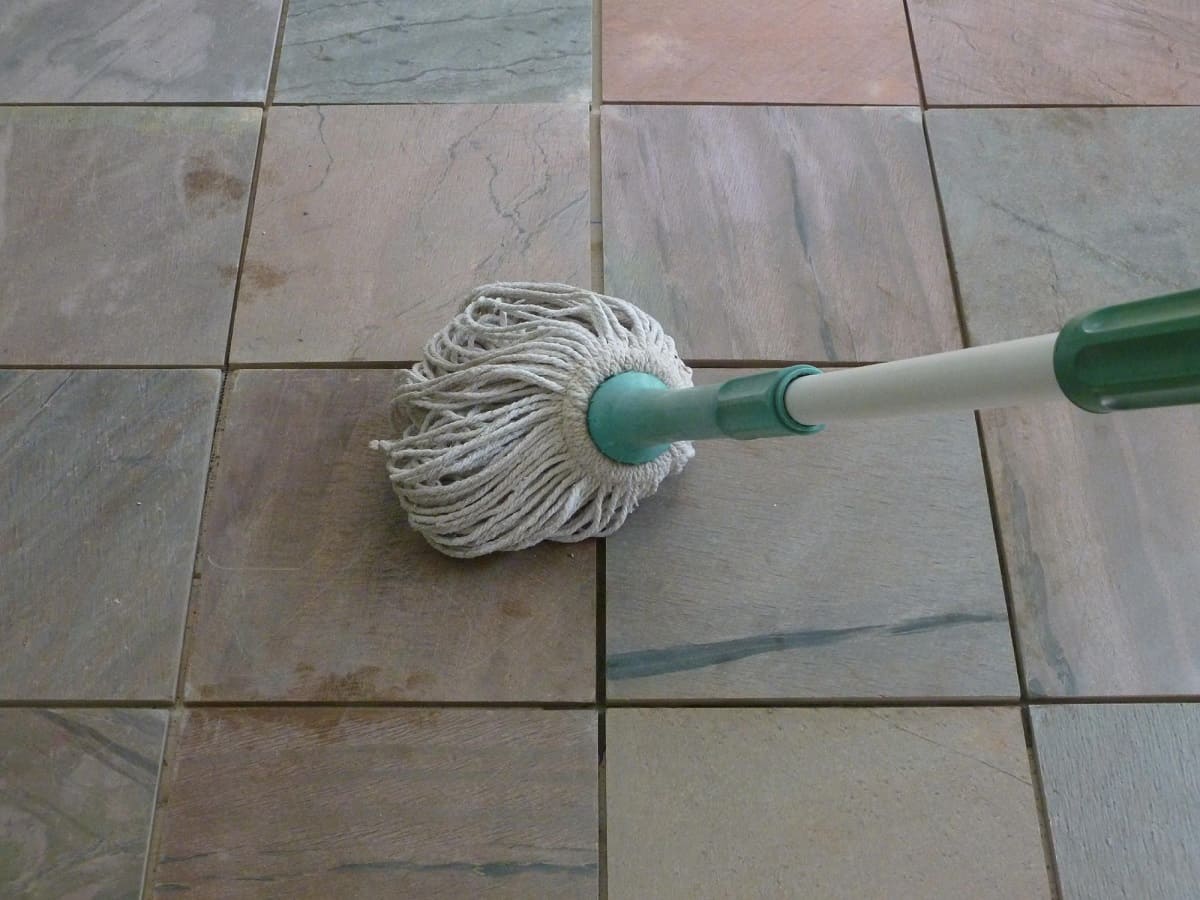
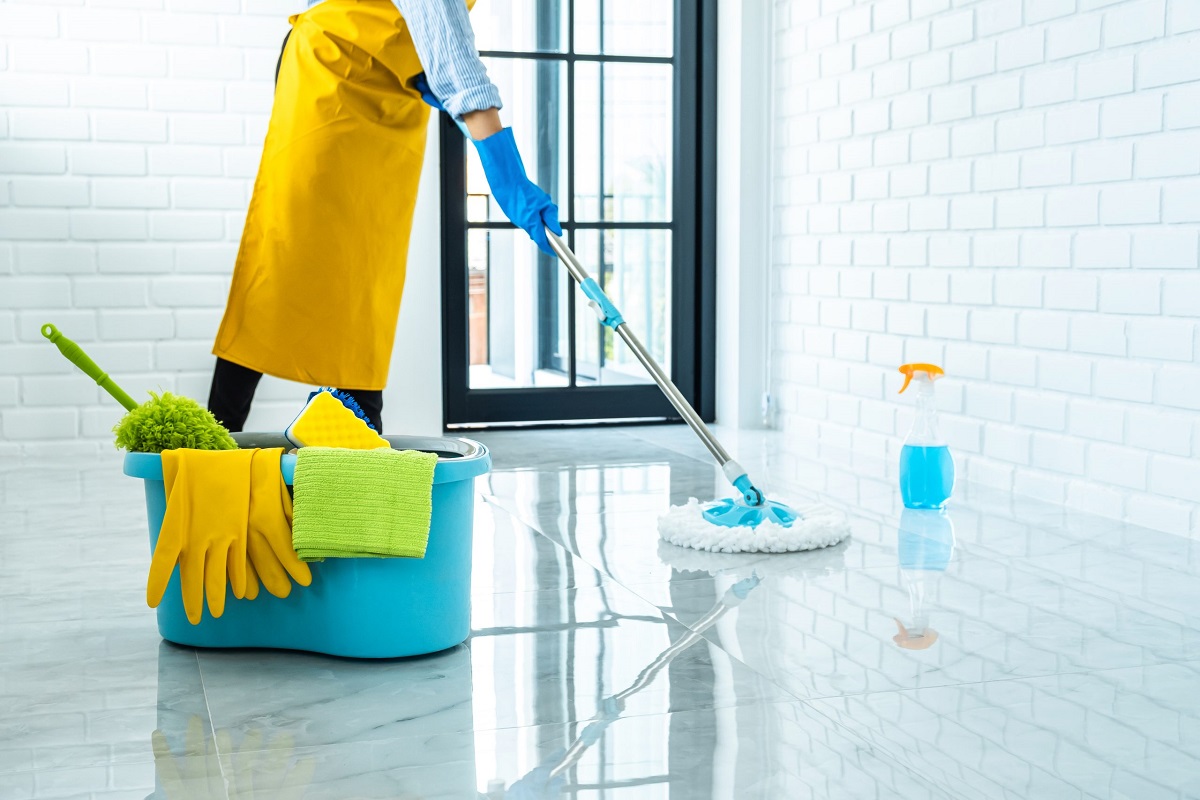
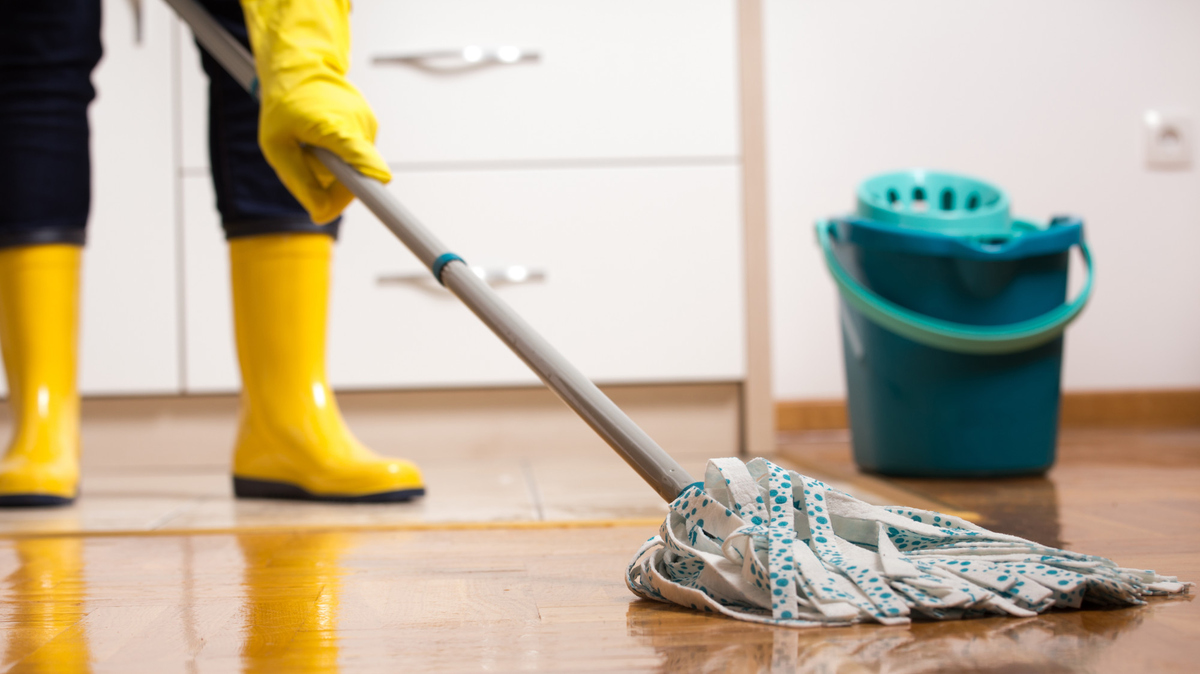
Step 6: Rinse and Dry the Floor
After scrubbing the floor, it’s important to thoroughly rinse off any remaining cleaning solution and residue. Follow these steps to effectively rinse and dry the floor:
- Fill a bucket with clean water: Fill a bucket with clean water, ensuring that it’s at a comfortable temperature. This water will be used for rinsing the floor.
- Use a clean mop or sponge: Dip a clean mop or sponge into the bucket of water and wring out any excess moisture. You want it to be damp, not soaking wet, as excessive moisture can damage certain flooring materials.
- Mop the floor: Mop the floor with the damp mop or sponge, starting from one end and working your way towards the other. Make sure to rinse the mop or sponge frequently in the bucket of clean water to avoid spreading dirt or residue.
- Change the water as needed: If the water in the bucket becomes dirty, cloudy, or shows signs of residue, empty it and refill it with clean water. This will ensure that you are effectively rinsing the floor.
- Dry the floor: After rinsing, use clean, dry towels or a mop to absorb any excess moisture from the floor. Make sure to thoroughly dry the floor to prevent slips and falls.
By rinsing and drying the floor, you are removing any remaining cleaning solution and ensuring that the surface is clean and dry. However, to ensure a truly sanitized and odor-free environment, it’s important to move on to the next step: disinfecting the area.
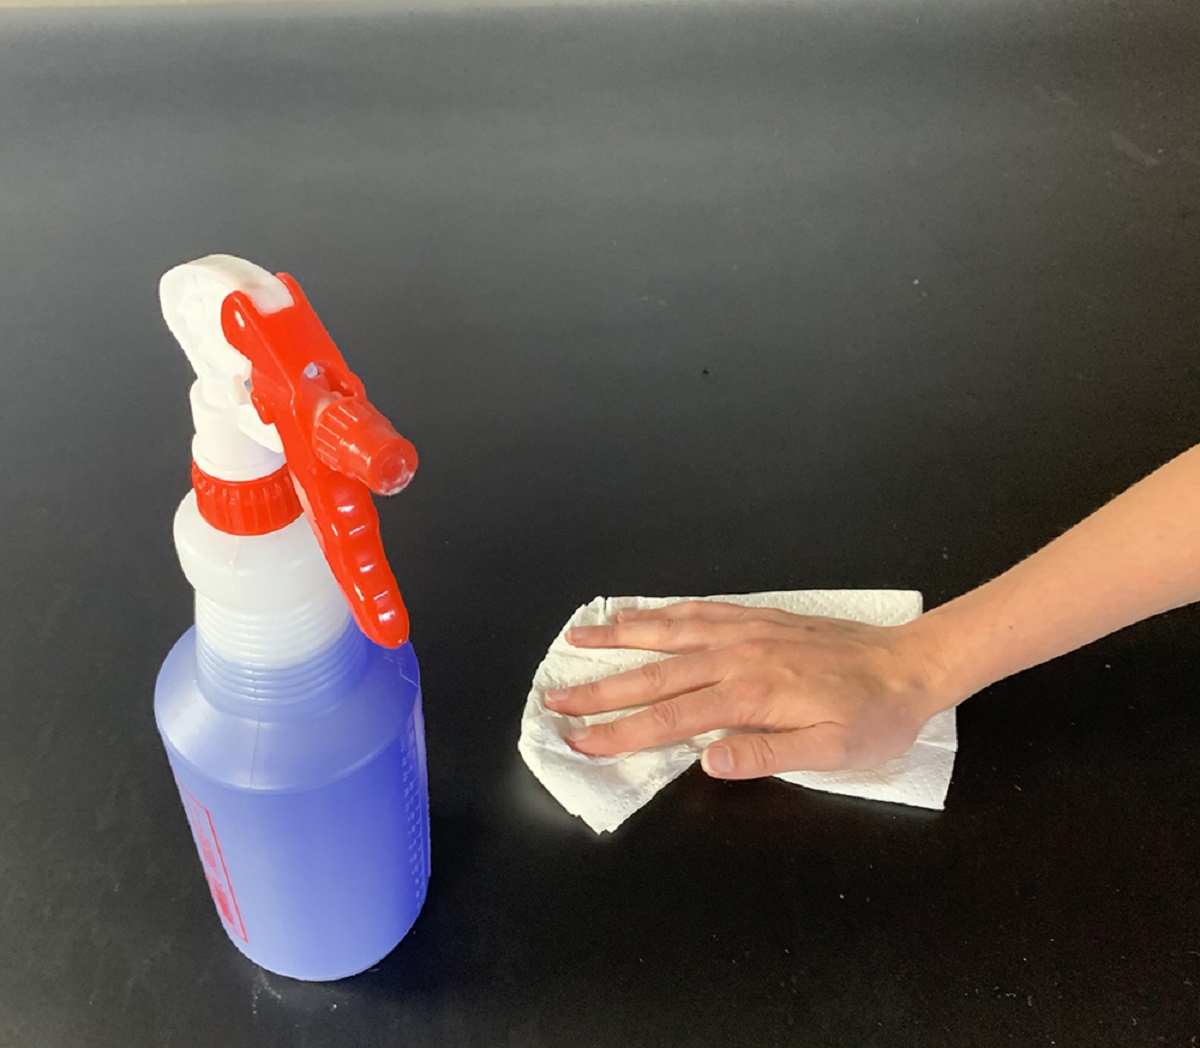
Step 7: Disinfecting the Area
Disinfecting the area is a crucial step in the vomit cleanup process as it helps eliminate bacteria and prevent the spread of germs. Follow these steps to effectively disinfect the area:
- Select a disinfectant: Choose a disinfectant that is appropriate for the type of flooring you have. Look for disinfectant sprays or wipes that are specifically designed for use on your flooring material.
- Read the instructions: Before using the disinfectant, carefully read and follow the instructions provided. Pay attention to any safety precautions or specific application techniques.
- Apply the disinfectant: Spray or apply the disinfectant onto the affected area. Make sure to cover all surfaces that came into contact with the vomit, including the surrounding floor area.
- Leave it to sit: Allow the disinfectant to sit on the floor as instructed on the product label. This will give it time to effectively kill any remaining bacteria or germs.
- Wipe or rinse if necessary: Depending on the instructions provided, you may need to wipe or rinse the floor after the disinfectant has sat for the recommended duration. Follow the product instructions carefully to ensure proper disinfection.
By taking the extra step to disinfect the area, you are ensuring a clean and sanitized floor surface. However, there is one final step to complete the vomit cleanup process: deodorizing the floor to eliminate any lingering odors.
Read more: How To Clean Dog Poop From Floor
Step 8: Deodorizing the Floor
After thorough cleaning and disinfecting, it’s important to deodorize the floor to eliminate any lingering odors. Follow these steps to effectively deodorize the floor:
- Choose an odor neutralizer: Select an odor-neutralizing product specifically designed for use on floors. Look for products that contain enzymes or natural deodorizers to help eliminate the smell.
- Follow the product instructions: Read and follow the instructions provided on the odor neutralizer carefully. Pay attention to the recommended application method and any safety precautions.
- Apply the odor neutralizer: Spray or apply the odor neutralizer directly onto the area where the vomit was located. Make sure to cover the entire affected area, including the surrounding floor area.
- Allow it to work: Leave the odor neutralizer to work its magic for the recommended amount of time specified on the product label. This will give it the opportunity to neutralize and eliminate any remaining odors.
- Aerate the room: Open windows or turn on fans to help circulate fresh air throughout the room. This will aid in the process of odor elimination and ensure a fresher environment.
By deodorizing the floor, you are effectively eliminating any remaining odors and leaving the area smelling fresh and clean. With these steps completed, you have successfully cleaned vomit from your floor and restored cleanliness and freshness to your space.
Remember, accidents happen, but with the right tools, materials, and step-by-step process, you can handle any cleanup effectively and efficiently.
It’s important to emphasize that safety is paramount throughout the cleanup process. Always wear protective gear, properly ventilate the area, and dispose of waste in a sanitary manner.
Having addressed the cleaning and deodorizing process, we hope this guide has been helpful in assisting you with cleaning vomit from your floor. May your space be rejuvenated and ready for many more pleasant moments!
Conclusion
Cleaning vomit from the floor is never a pleasant task, but with the right approach and tools, you can effectively restore cleanliness and freshness to your space. By following the step-by-step process outlined in this guide, you can tackle the cleanup process with confidence and efficiency.
Remember to always prioritize safety by wearing gloves, ensuring good ventilation, and properly disposing of waste. It’s crucial to protect yourself from coming into direct contact with the vomit and to prevent the spread of germs and odors.
Throughout the process, be diligent in your efforts to remove solid matter, blot the area, apply a cleaning solution, scrub the floor, rinse and dry the floor, disinfect the area, and deodorize the floor. Each step plays a vital role in achieving a thorough and successful cleanup.
It’s important to choose appropriate cleaning solutions and disinfectants for your specific type of flooring to avoid any damage. Always check product instructions and follow them accordingly.
By following these steps and giving attention to detail, you can effectively eliminate traces of vomit, bacteria, and odors from your floor, leaving your space clean and fresh once again.
We hope this guide has provided valuable insights and guidance for successfully cleaning vomit from your floor. Remember to take your time, stay safe, and achieve a clean and comfortable living environment.
Accidents happen, but with the right knowledge and tools, you can face them head-on and restore cleanliness and freshness to your space.
Now that you've mastered how to clean vomit from your floor, why stop there? Keep your home spotless with our next guides. Dive into cleaning tips where you'll learn to refresh every nook of your fridge, ensuring it's as pristine as your floors. Then, tackle those stubborn bathroom challenges with our stain removal advice, perfect for dealing with tough toilet seat stains. Both articles are packed with practical advice to help you maintain a fresh, clean home effortlessly.
Frequently Asked Questions about How To Clean Vomit From Floor
Was this page helpful?
At Storables.com, we guarantee accurate and reliable information. Our content, validated by Expert Board Contributors, is crafted following stringent Editorial Policies. We're committed to providing you with well-researched, expert-backed insights for all your informational needs.

0 thoughts on “How To Clean Vomit From Floor”