Articles
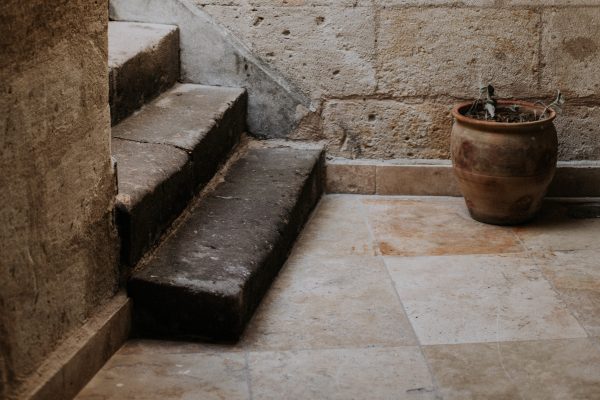
How To Clean A Stone Floor
Modified: October 21, 2024
Learn how to effectively clean and maintain your stone floor with our informative articles. Discover expert tips and techniques for a spotless finish.
(Many of the links in this article redirect to a specific reviewed product. Your purchase of these products through affiliate links helps to generate commission for Storables.com, at no extra cost. Learn more)
Introduction
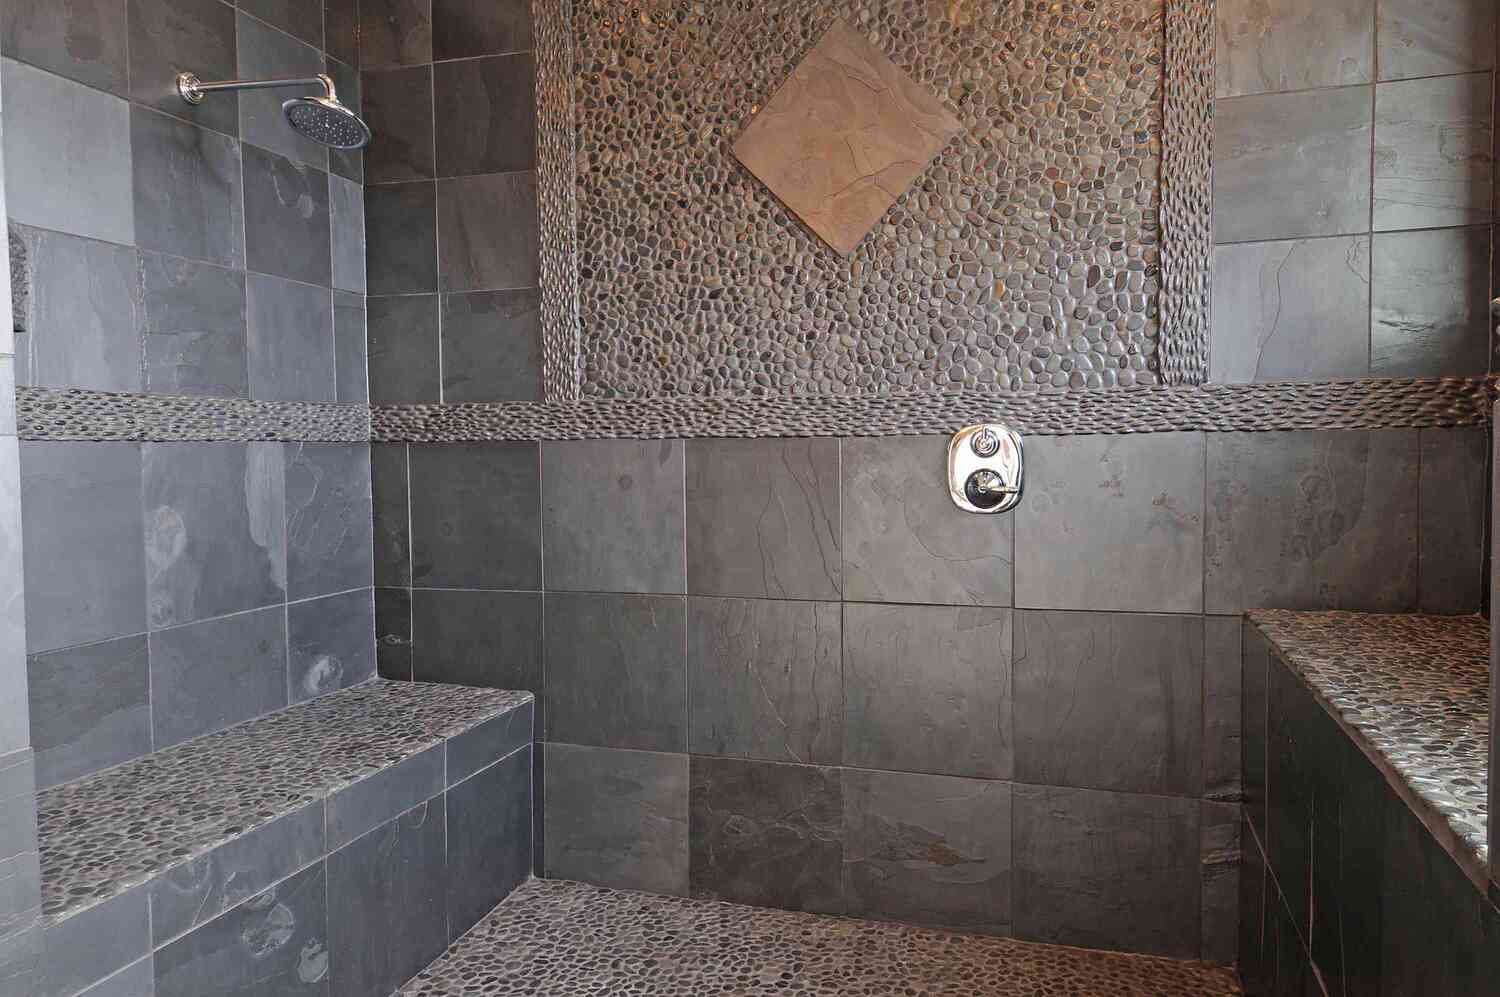
Stone floors add a touch of elegance and natural beauty to any space, but they require proper care and maintenance to retain their luster and durability. Whether you have marble, granite, slate, or any other type of stone flooring, regular cleaning is essential to preserve its appearance and longevity. In this comprehensive guide, we will walk you through the step-by-step process of cleaning and maintaining your stone floor, ensuring that it remains a stunning focal point in your home or business.
By following these expert tips and techniques, you can effectively remove dirt, grime, and stains without causing damage to the stone surface. With the right tools and a little elbow grease, you can achieve a gleaming, pristine floor that exudes timeless charm. Let’s delve into the essential steps for cleaning and caring for your stone floor, allowing you to enjoy its natural splendor for years to come.
Key Takeaways:
- Properly cleaning a stone floor involves gathering the right supplies, sweeping or vacuuming, choosing a suitable cleaner, mopping and rinsing, and ensuring thorough drying to maintain its natural beauty and longevity.
- Optional polishing can enhance the stone floor’s aesthetic appeal, but it’s crucial to use the right polish and follow the manufacturer’s guidelines for a smooth and radiant finish that showcases its timeless elegance.
Read more: How To Clean Stone Coasters
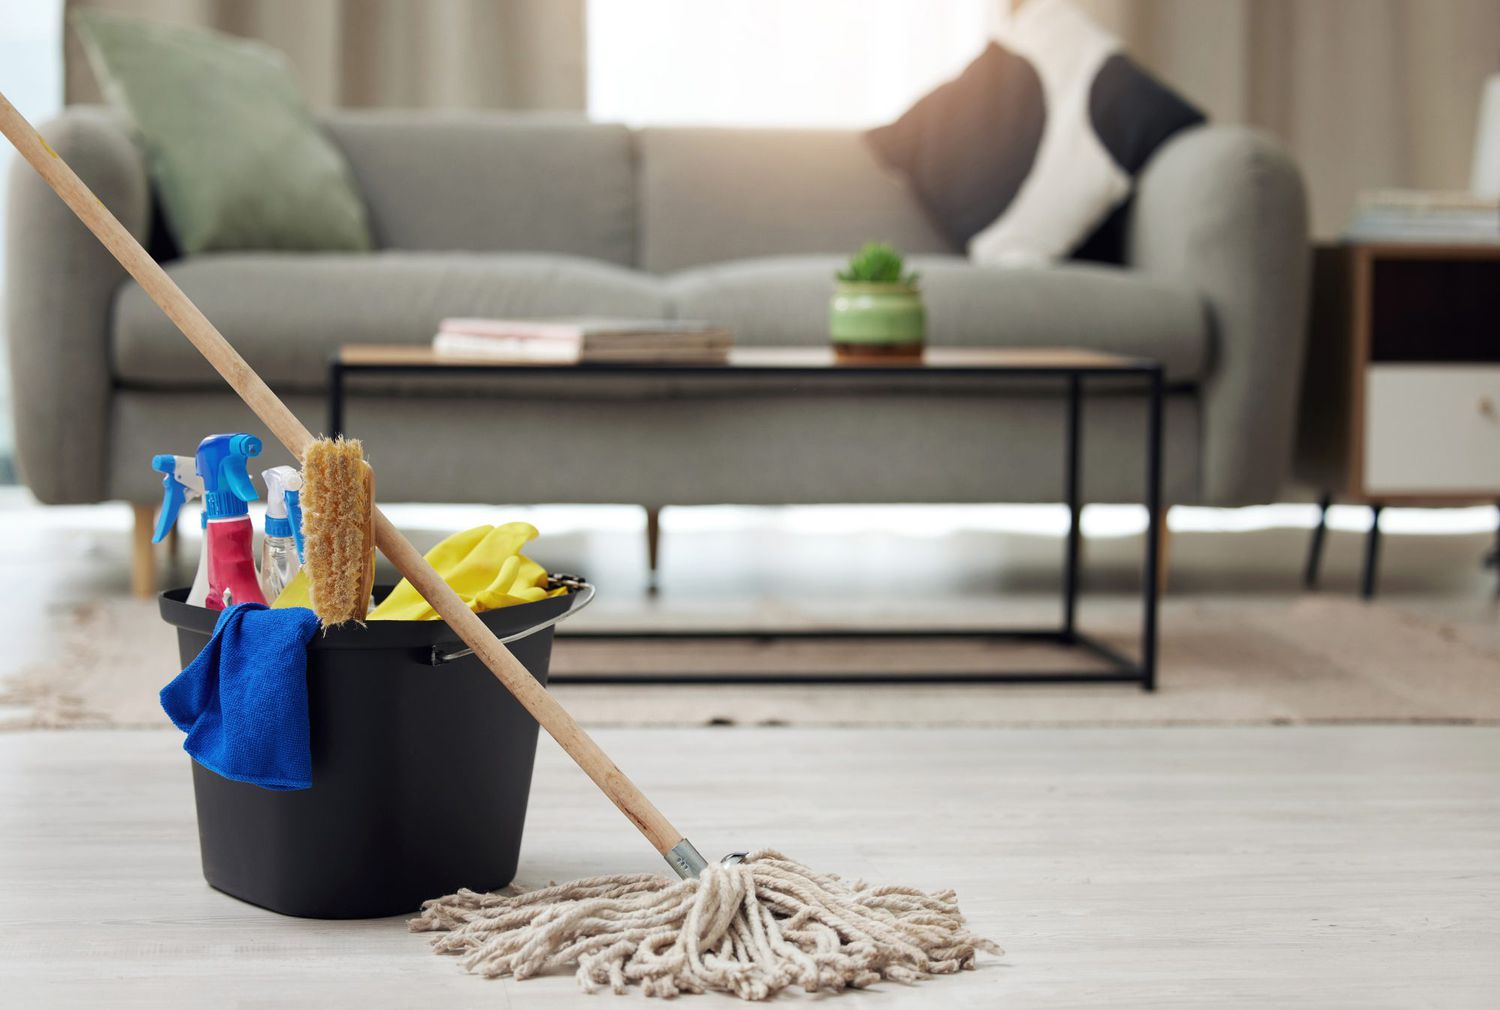
Gather Your Supplies
Before embarking on the stone floor cleaning journey, it’s crucial to gather the necessary supplies to ensure a thorough and effective cleaning process. Here’s a list of items you’ll need:
- Broom or vacuum cleaner: To remove loose dirt, dust, and debris from the surface of the floor.
- Soft-bristled brush or microfiber mop: Ideal for gentle scrubbing and cleaning without scratching the stone surface.
- Stone-specific cleaner: Look for a pH-neutral cleaner designed specifically for stone floors. Avoid using acidic or abrasive cleaners that can damage the stone.
- Bucket: For mixing the cleaning solution and water.
- Warm water: Essential for diluting the cleaning solution and rinsing the floor.
- Soft, absorbent cloths or mop: For drying the floor after cleaning.
- Stone sealer (optional): If your stone floor requires sealing, ensure you have the appropriate sealer on hand.
- Protective gloves and goggles: Recommended when working with cleaning solutions to protect your skin and eyes.
By gathering these supplies before you begin, you’ll be well-equipped to tackle the task of cleaning your stone floor with confidence and precision. Proper preparation sets the stage for a successful cleaning process and helps safeguard the integrity of your valuable stone flooring.
Sweep or Vacuum the Floor
Prior to delving into the cleaning process, it’s essential to remove loose dirt, dust, and debris from the surface of your stone floor. This initial step prevents abrasive particles from scratching the stone during the subsequent cleaning stages. Depending on your preference and the size of the area, you can opt to sweep or vacuum the floor.
If you choose to sweep the floor, use a soft-bristled broom to gently sweep away dirt and dust. Ensure that the bristles are not too stiff, as harsh bristles can potentially scratch the stone surface. Work methodically from one end of the room to the other, directing the debris toward a dustpan for easy disposal. For larger spaces, consider using a vacuum cleaner with a soft brush attachment to effectively remove loose particles without causing damage.
When using a vacuum cleaner, ensure that the wheels and attachments are free of any rough or sharp edges that could scratch the stone. Opt for a vacuum with adjustable suction settings to prevent excessive force on the stone surface. Take care to reach into corners and along baseboards, as dirt and dust tend to accumulate in these areas. By thoroughly sweeping or vacuuming the floor, you lay the foundation for a more thorough and successful cleaning process, setting the stage for a beautifully revitalized stone floor.
Choose the Right Cleaner
When it comes to cleaning stone floors, selecting the appropriate cleaner is paramount to preserving the natural beauty and integrity of the surface. It’s crucial to avoid harsh or acidic cleaners that can etch or damage the stone, particularly if it’s a porous variety such as marble or limestone. Instead, opt for a pH-neutral cleaner specifically formulated for use on stone surfaces. These gentle yet effective cleaners are designed to lift dirt and grime without compromising the stone’s finish.
Before using any new cleaning product, it’s advisable to perform a spot test in an inconspicuous area of the floor to ensure compatibility and to assess any potential adverse reactions. Once you’ve confirmed the suitability of the cleaner, follow the manufacturer’s instructions for dilution ratios and application methods. In most cases, you’ll need to mix the cleaner with warm water in a bucket, creating a diluted cleaning solution that’s safe for use on your stone floor.
If you’re dealing with specific stains or discoloration on your stone floor, there are specialized stone cleaners available for addressing these issues. For example, there are products designed to target rust stains, oil-based stains, or efflorescence. By choosing the right cleaner tailored to your specific cleaning needs, you can effectively tackle stains and blemishes while safeguarding the natural beauty of your stone floor.
By selecting a suitable cleaner and adhering to the recommended application guidelines, you can ensure that your stone floor receives the gentle yet thorough cleaning it deserves, preserving its timeless allure and elegance.
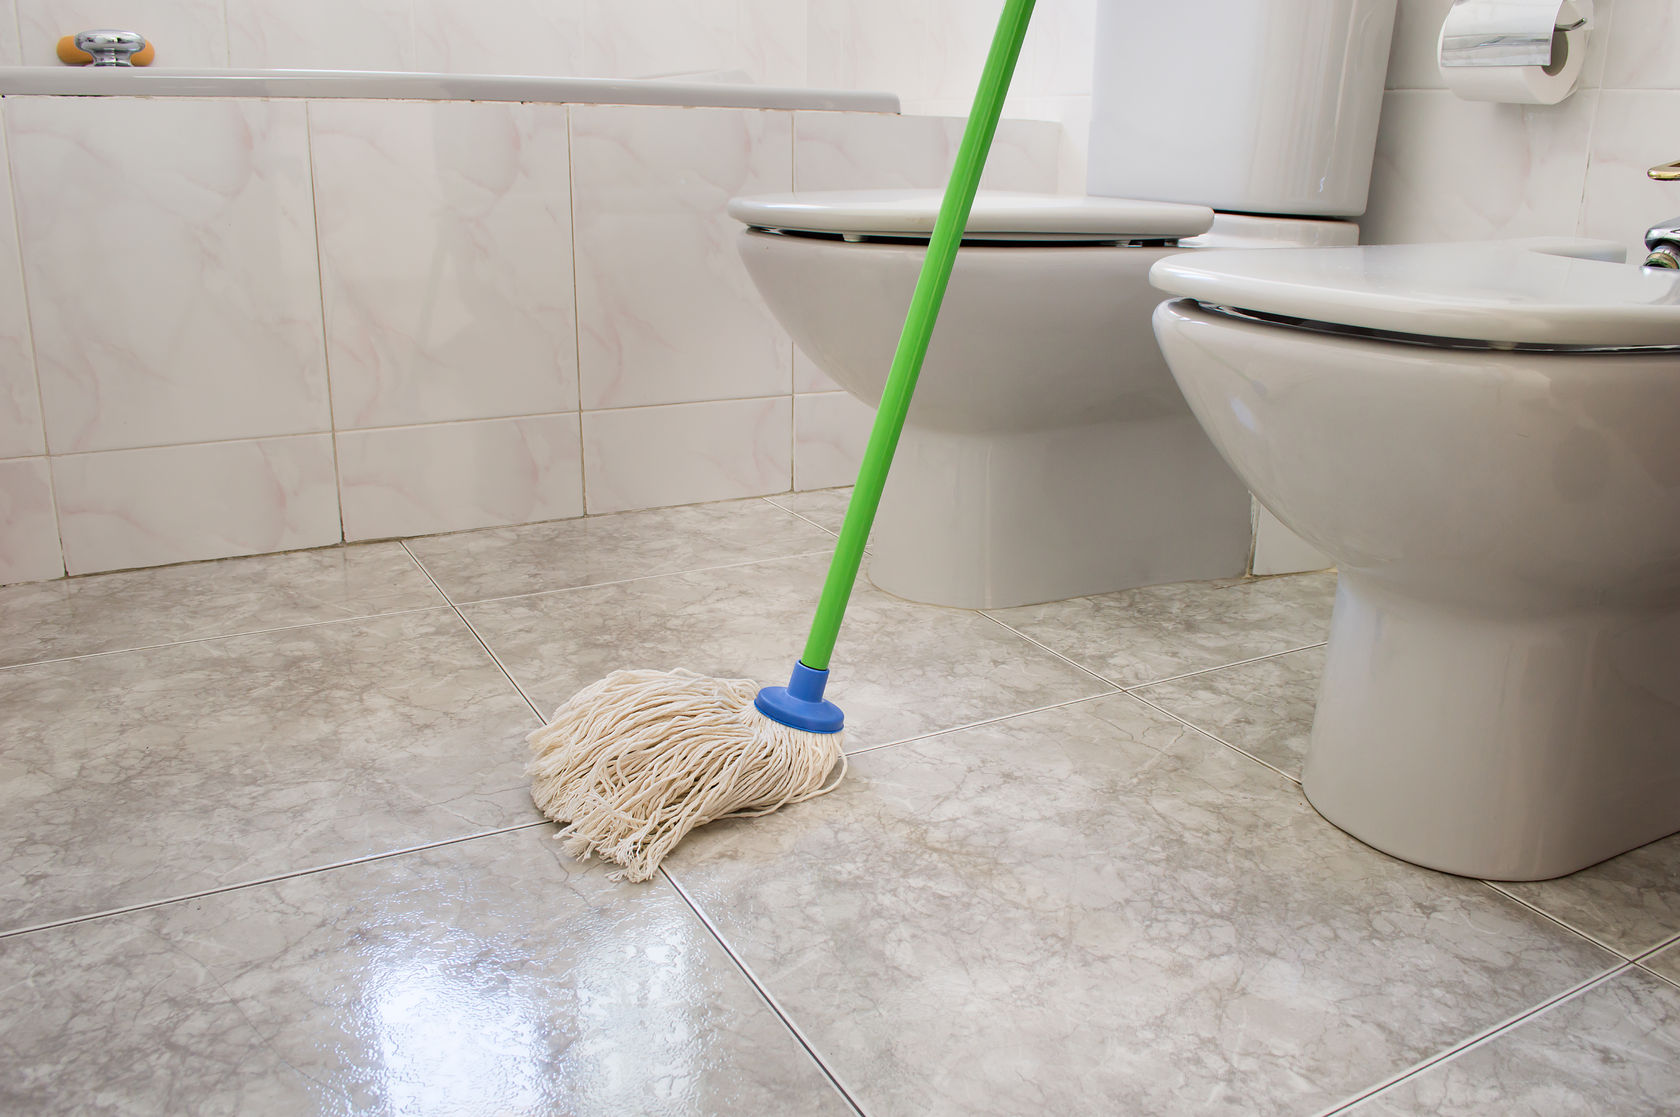
Mop the Floor
Once you’ve prepared the diluted cleaning solution, it’s time to begin the meticulous process of mopping your stone floor. To avoid potential damage, opt for a soft-bristled brush or a microfiber mop specifically designed for use on stone surfaces. These gentle tools effectively lift dirt and grime without scratching or dulling the stone’s finish.
Begin by dipping the mop or brush into the cleaning solution, ensuring it’s thoroughly saturated but not dripping. Working in small sections, gently mop the floor, using smooth, overlapping strokes to ensure comprehensive coverage. Pay particular attention to any areas with noticeable stains or discoloration, applying slightly more pressure to lift stubborn grime without exerting excessive force on the stone.
As you progress, periodically rinse the mop or brush in the cleaning solution to prevent redistributing dirt onto the floor. Avoid using excessive amounts of water, as prolonged exposure to moisture can potentially damage certain types of stone. Additionally, take care to change the cleaning solution if it becomes visibly soiled, ensuring that you’re effectively removing dirt and grime rather than spreading it around.
For hard-to-reach areas and corners, a soft-bristled brush can be particularly effective in dislodging dirt and ensuring a thorough clean. By meticulously mopping the entire floor, you can achieve a revitalized and gleaming surface, free from unsightly blemishes and grime.
Once the entire floor has been mopped and thoroughly cleaned, allow it to air dry for a brief period before proceeding to the next crucial step in the cleaning process.
Use a pH-neutral cleaner and a soft mop to clean your stone floor. Avoid using harsh chemicals or abrasive tools that can damage the surface. Always dry the floor thoroughly to prevent water stains.
Read more: How To Clean Fireplace Stone
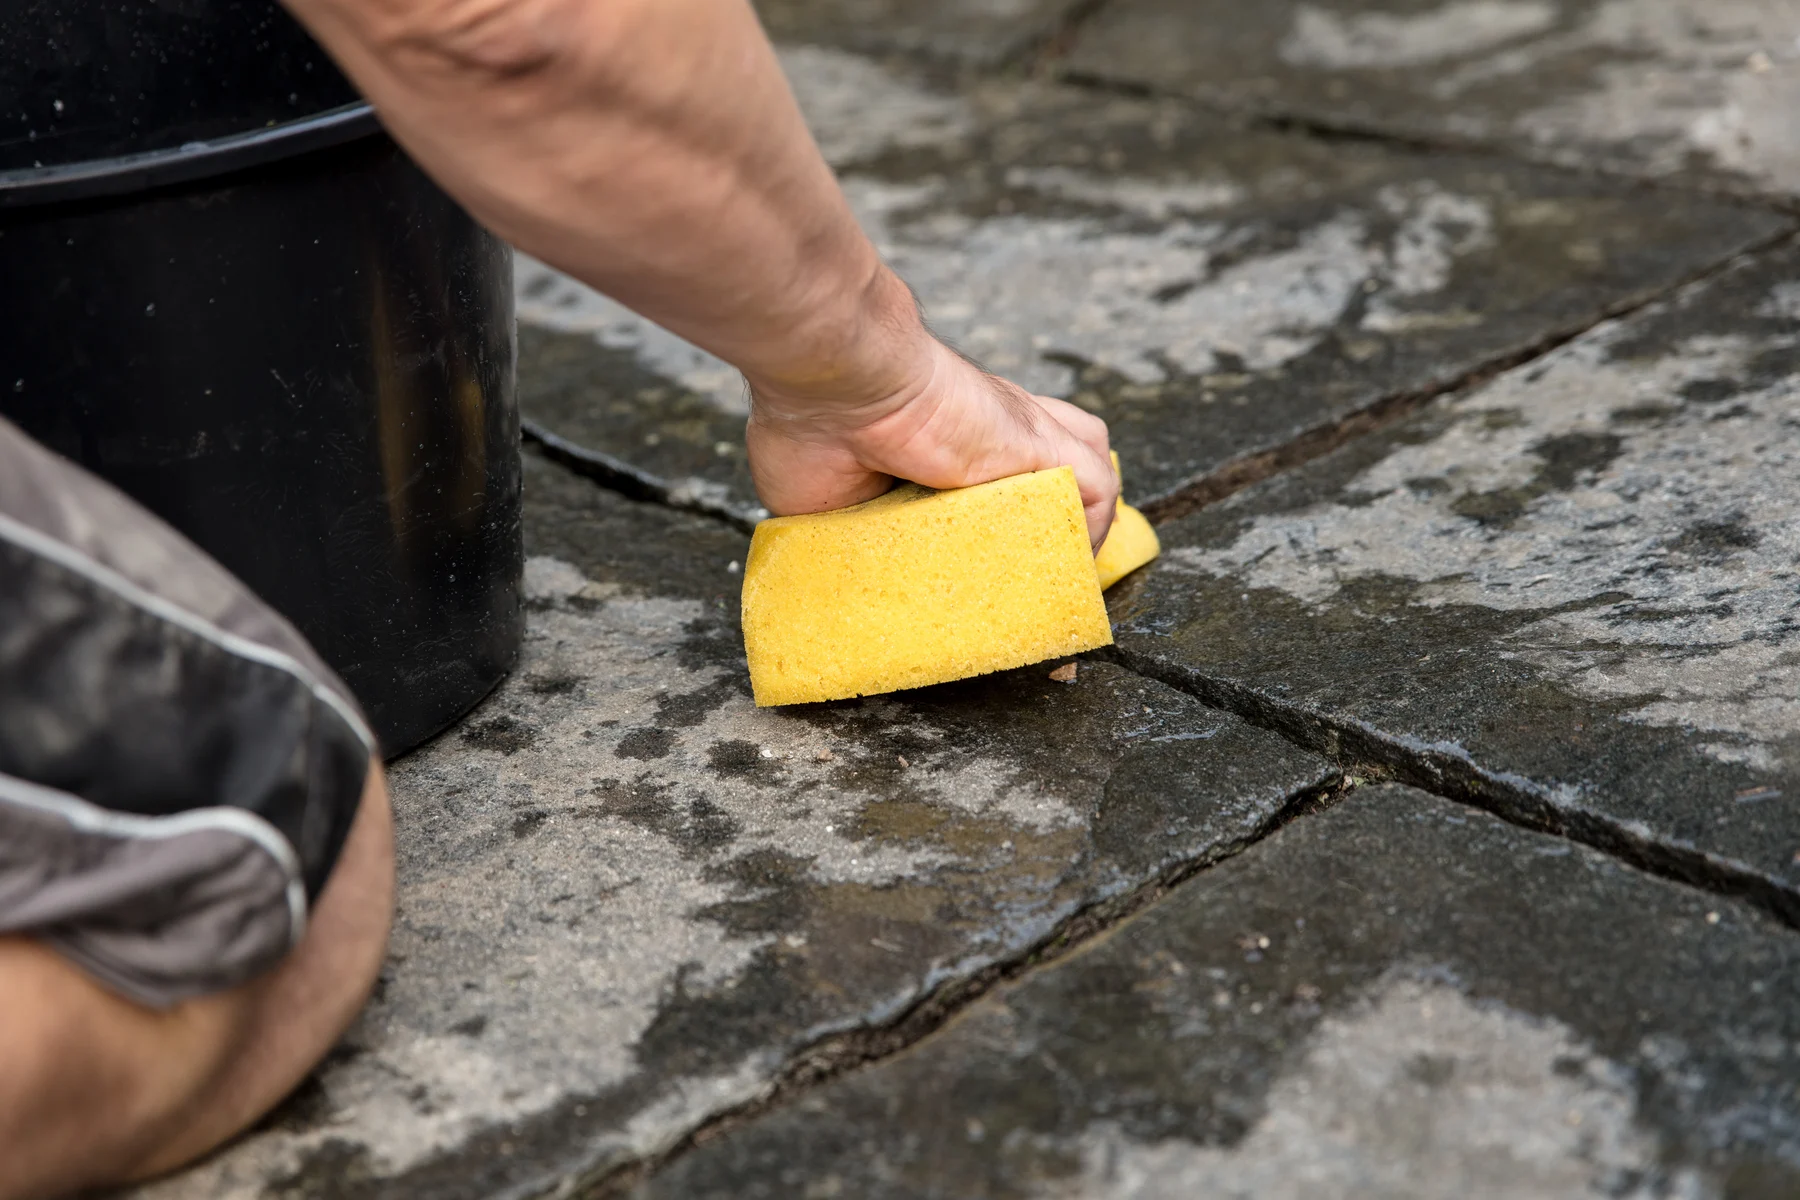
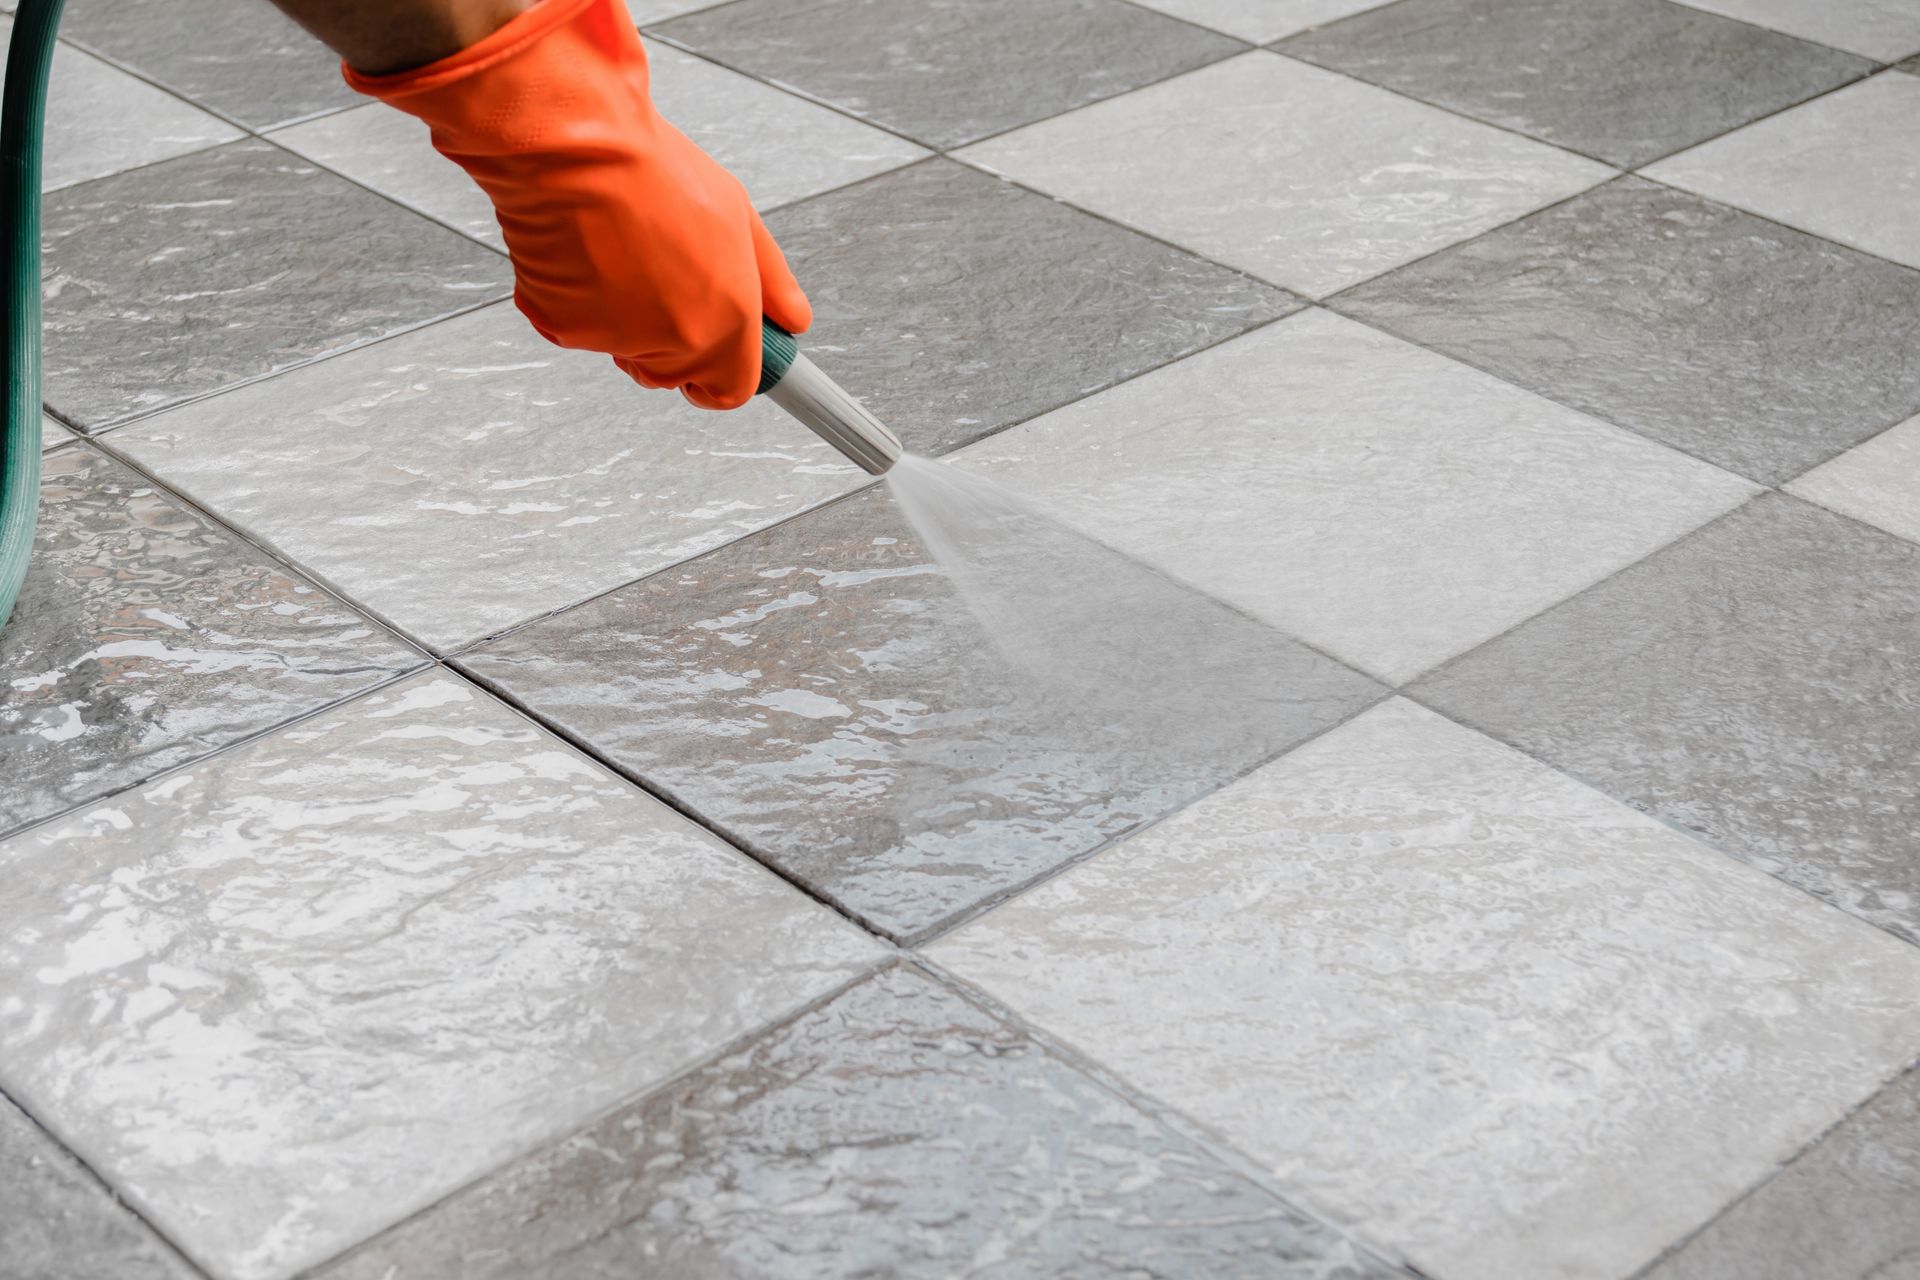
Rinse the Floor
After completing the mopping process, it’s essential to thoroughly rinse the stone floor to remove any residual cleaning solution and lingering dirt. Proper rinsing not only ensures a pristine finish but also helps prevent streaking or hazing on the surface of the stone.
Using a clean bucket of warm water, carefully rinse out any remnants of the cleaning solution from your mop or brush. Then, dampen the mop or brush with the fresh water, ensuring it’s not overly saturated. Working in sections, gently mop the floor with the clean water, effectively removing any remaining traces of the cleaning solution and lifting away stubborn grime.
As you rinse the floor, pay close attention to ensure that all areas are thoroughly cleansed and free from any soapy residue. If necessary, change the rinse water multiple times during the process to maintain its cleanliness and effectiveness. This meticulous rinsing stage is crucial for achieving a spotless and streak-free finish on your stone floor.
Once the entire floor has been rinsed, allow it to air dry naturally. Avoid walking on the wet floor during this time to prevent tracking dirt or debris onto the freshly cleaned surface. This brief drying period sets the stage for the final step in the cleaning process, ensuring that your stone floor emerges impeccably clean and ready to showcase its natural beauty.
Dry the Floor
After the thorough rinsing process, it’s crucial to ensure that your stone floor is adequately dried to prevent water spots and streaking. Proper drying also minimizes the risk of slips and falls on the freshly cleaned surface. To effectively dry the floor, you’ll need soft, absorbent cloths or a clean, dry mop specifically designated for this purpose.
Begin by gently patting the floor with the cloths or using the dry mop to absorb excess moisture. Work methodically across the entire surface, paying close attention to corners and edges where water may accumulate. It’s important to avoid using excessive force or pressing the cloths or mop too firmly against the stone, as this can potentially cause lint or fibers to adhere to the surface.
If you’re working with a larger area, you may need to replace the cloths or mop head as they become damp to ensure efficient drying. By consistently using dry, absorbent materials, you can effectively remove residual moisture and achieve a clean, streak-free finish on your stone floor.
Once the majority of the moisture has been absorbed, allow the floor to air dry for a brief period to ensure that any remaining dampness evaporates naturally. This final drying stage sets the foundation for the optional yet impactful step of polishing your stone floor to enhance its luster and visual appeal.
By diligently drying the floor, you can be confident that your stone surface will emerge immaculately clean and free from any lingering moisture, ready to showcase its natural splendor in your home or business.
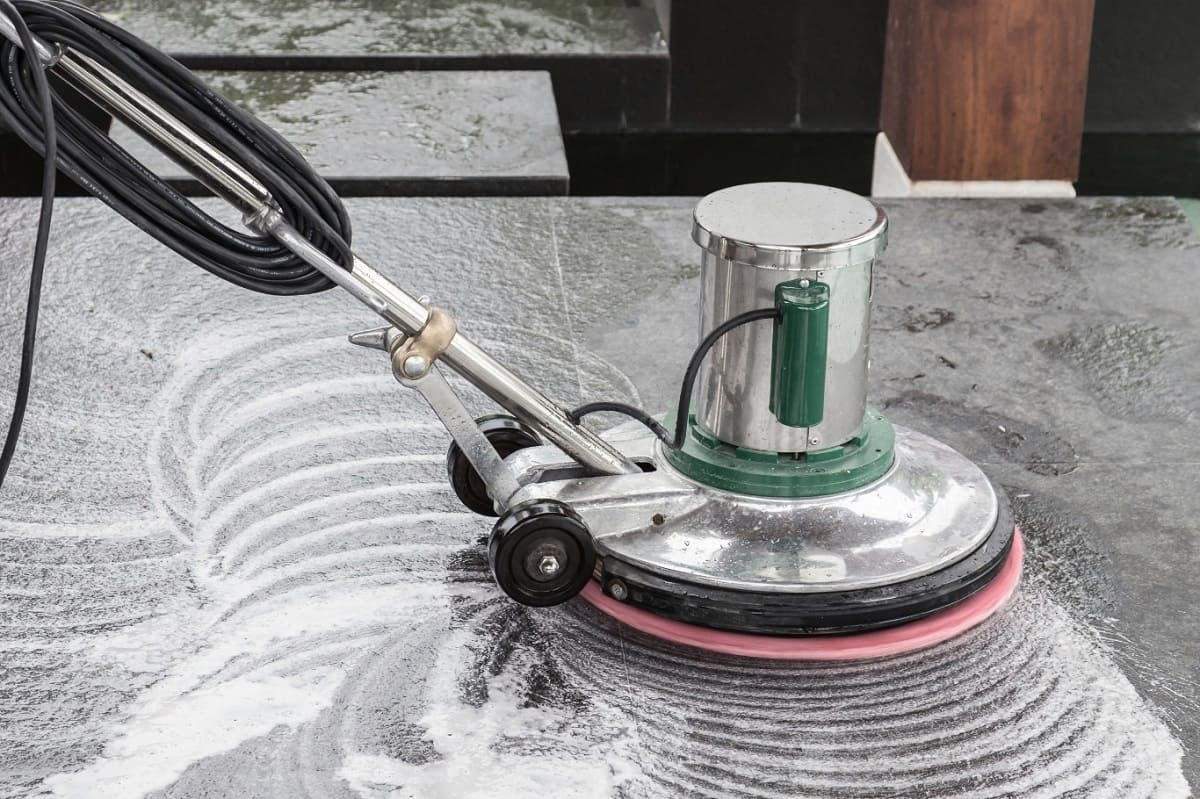
Polish the Floor (Optional)
While polishing your stone floor is an optional step, it can elevate the overall aesthetic appeal and enhance the natural luster of the surface. Polishing is particularly beneficial for certain types of stone, such as marble and granite, as it can bring out their inherent beauty and create a stunning, reflective finish.
Before proceeding with the polishing process, it’s important to ensure that the floor is completely clean and dry. Any residual dirt or moisture can interfere with the polishing results, so meticulous preparation is essential. Additionally, it’s crucial to use a polish specifically formulated for the type of stone flooring you have, as different stones may require different products and techniques.
When applying the polish, work in small sections to ensure even coverage and optimal results. Using a soft, clean cloth or a polishing pad, apply the polish according to the manufacturer’s instructions, using gentle, circular motions. Allow the polish to set for the recommended duration, allowing it to penetrate the stone and enhance its natural sheen.
After the specified period, use a separate clean cloth to gently buff the polished areas, creating a smooth and radiant finish. Take care to avoid walking on the polished sections until the polish has fully set and dried, typically within the timeframe indicated by the product instructions.
Upon completion, stand back and admire the revitalized beauty of your stone floor. The optional polishing step can breathe new life into your flooring, accentuating its unique characteristics and creating a captivating focal point in your living space.
By carefully following the manufacturer’s guidelines and exercising patience and precision, you can achieve a polished finish that showcases the timeless elegance and natural allure of your stone floor.
Conclusion
Cleaning and maintaining a stone floor is a labor of love that yields enduring rewards. By following the comprehensive steps outlined in this guide, you can effectively preserve the natural beauty, durability, and timeless elegance of your stone flooring. With the right supplies and a methodical approach, you can transform a lackluster floor into a stunning focal point that exudes sophistication and charm.
From the initial step of gathering the necessary supplies to the optional yet impactful polishing stage, each phase of the cleaning process plays a crucial role in revitalizing your stone floor. By sweeping or vacuuming the floor, choosing the right cleaner, meticulously mopping and rinsing, and ensuring thorough drying, you can achieve a pristine finish that showcases the inherent splendor of the stone.
Whether your stone floor graces a residential or commercial space, proper care and maintenance are essential for preserving its allure and longevity. By embracing these expert cleaning techniques, you can safeguard your investment and enjoy a radiant, immaculate floor for years to come.
As you bask in the beauty of your revitalized stone floor, take pride in the meticulous care and attention you’ve devoted to its maintenance. The gleaming, pristine surface serves as a testament to your dedication and commitment to preserving the timeless allure of natural stone in your living or working environment.
With regular cleaning and maintenance, your stone floor will continue to captivate and inspire, adding a touch of sophistication and natural splendor to your surroundings. Embrace the rewarding process of caring for your stone floor, and relish in the enduring elegance it brings to your home or business.
Frequently Asked Questions about How To Clean A Stone Floor
Was this page helpful?
At Storables.com, we guarantee accurate and reliable information. Our content, validated by Expert Board Contributors, is crafted following stringent Editorial Policies. We're committed to providing you with well-researched, expert-backed insights for all your informational needs.


0 thoughts on “How To Clean A Stone Floor”