Articles
How To Clean Shower Floor Tile
Modified: October 28, 2024
Learn effective methods and tips for cleaning your tile shower floor with our informative articles. Say goodbye to dirt and grime with our expert advice.
(Many of the links in this article redirect to a specific reviewed product. Your purchase of these products through affiliate links helps to generate commission for Storables.com, at no extra cost. Learn more)
Introduction
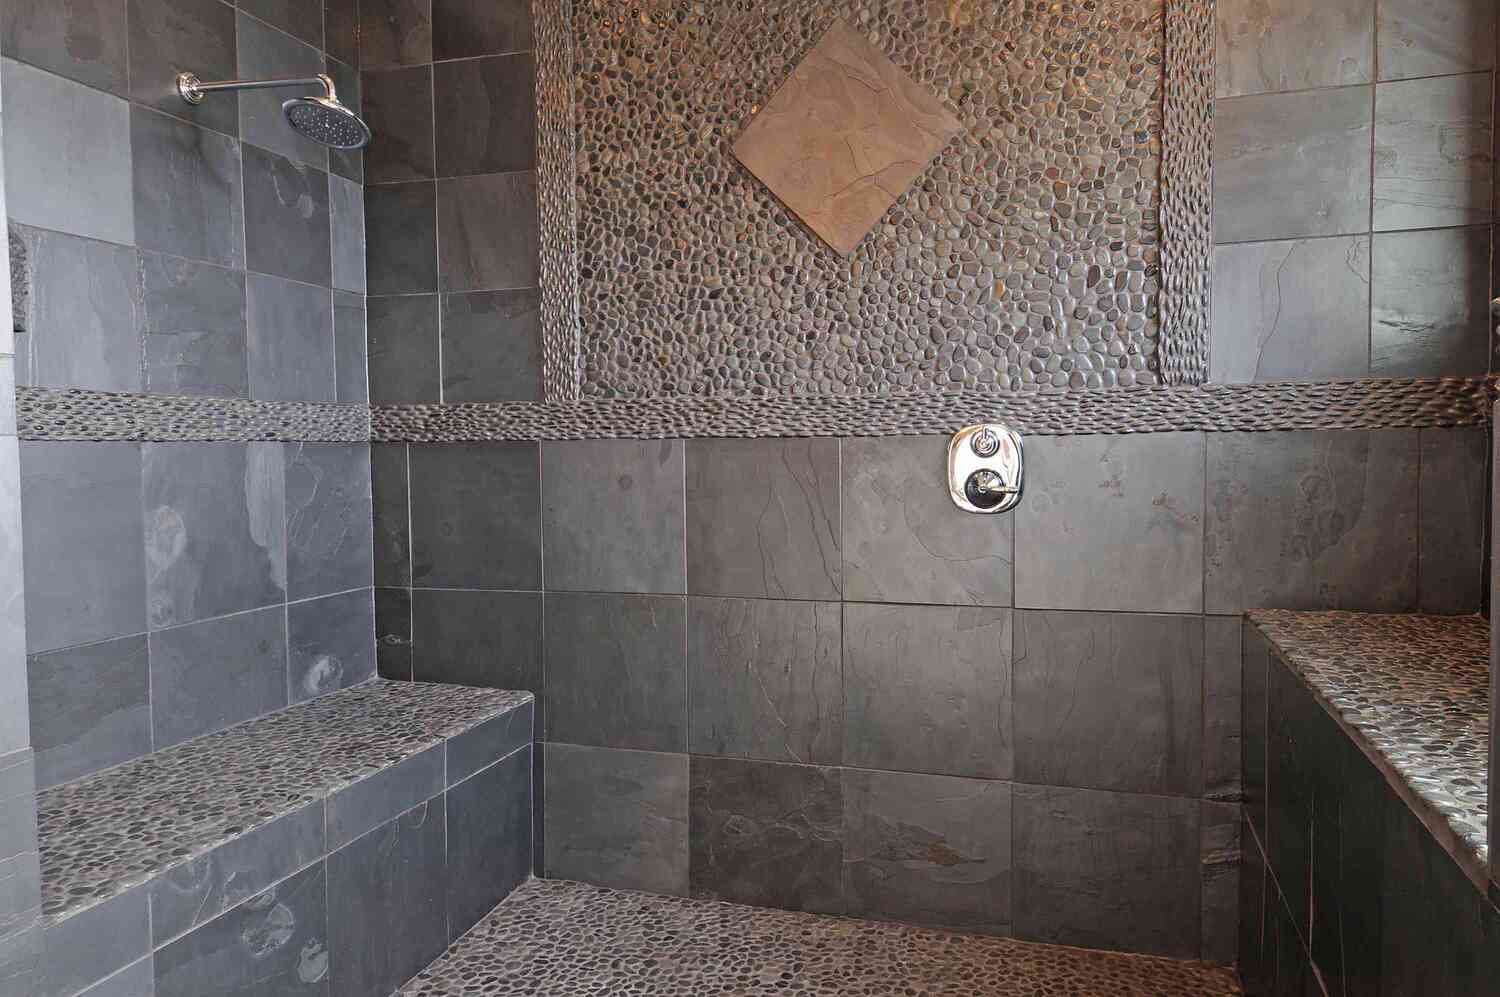
Welcome to our comprehensive guide on how to clean a tile shower floor. A clean and well-maintained shower floor not only enhances the aesthetic appeal of your bathroom but also ensures a hygienic and pleasant bathing experience. Over time, dirt, grime, soap scum, and mineral deposits can build up on the tile surface and in the grout lines, making it essential to establish a regular cleaning routine. In this article, we will walk you through the step-by-step process of effectively cleaning your tile shower floor and provide tips on preventing mold and mildew growth. So let’s get started and bring back the sparkle to your tile shower floor!
Key Takeaways:
- Keep your tile shower floor clean and hygienic by using natural cleaning solutions like vinegar and baking soda. Regular maintenance and preventive measures can help prevent mold and mildew growth, ensuring a sparkling shower floor for years to come.
- Gather necessary materials, prepare the tile surface, and follow step-by-step instructions to effectively clean and maintain your tile shower floor. From removing grime and stains to preventing mold and mildew, a little effort goes a long way in keeping your shower floor pristine.
Read more: How To Remove Shower Floor Tile
Necessary Materials
Before you begin cleaning your tile shower floor, gather the following materials to ensure a thorough and efficient cleaning process:
- Protective gloves
- Old clothes or apron
- Safety goggles
- Vinegar
- Baking soda
- Liquid dish soap
- Spray bottle
- Scrub brush or old toothbrush
- Sponge or cloth
- Bucket
- Hot water
- Microfiber towel or mop
These materials are easily accessible and can be found at your local supermarket or home improvement store. It is important to wear protective gloves, old clothes, and safety goggles to safeguard yourself from any harsh cleaning chemicals and potential splashes during the cleaning process.
Now that you have everything you need, let’s move on to the next step: preparing the tile shower floor for cleaning.
Preparing the Tile Shower Floor
Before you start cleaning your tile shower floor, it is important to remove any loose debris and give the surface a quick rinse. Follow these steps to prepare the tile shower floor for a more effective cleaning:
- Remove any loose items: Take out any removable objects such as shampoo bottles, soap dishes, or shower caddies. This will allow you to clean the entire surface without any obstructions.
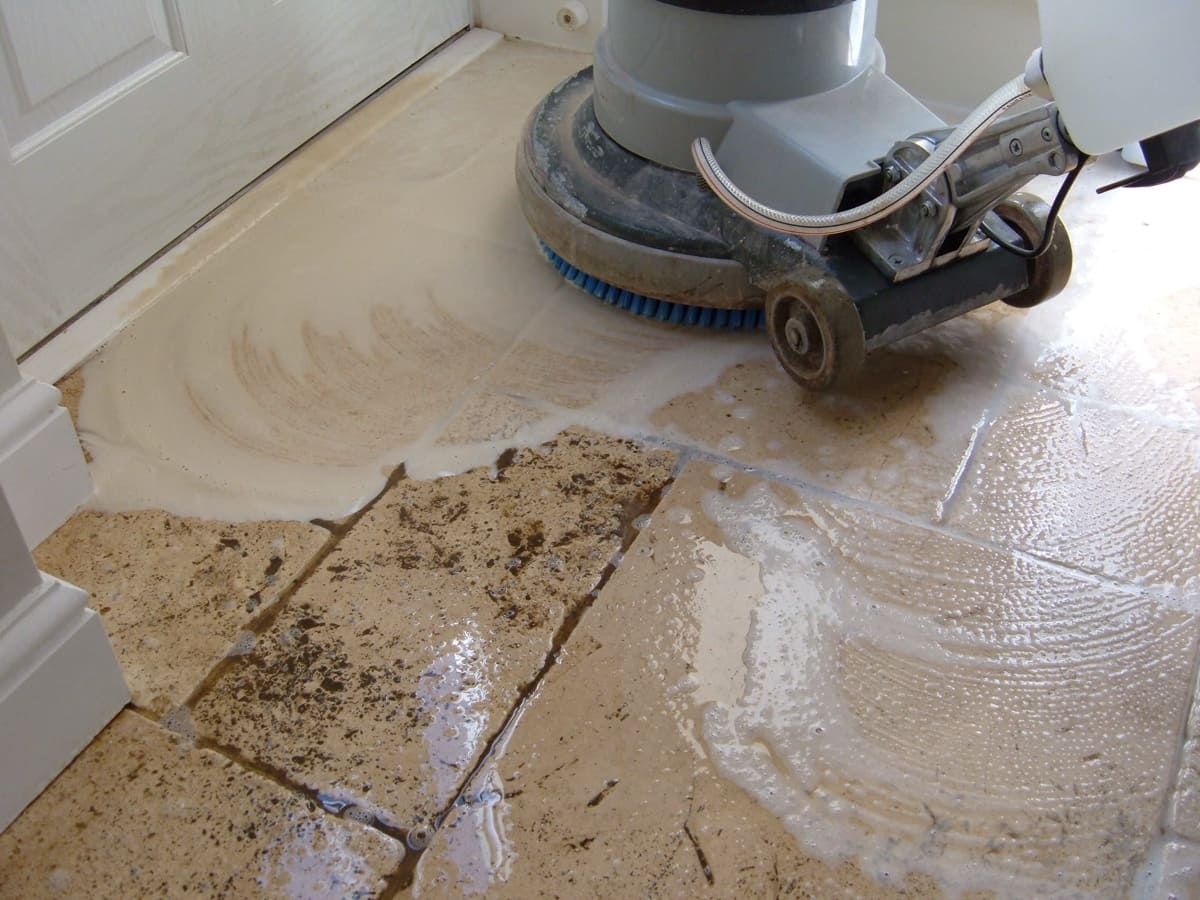
- Sweep or vacuum: Use a broom or vacuum cleaner to remove any loose dirt, hair, or debris from the tile shower floor. Pay particular attention to the corners and edges where dirt tends to accumulate.
- Rinse with warm water: Thoroughly wet the entire tile shower floor with warm water. This will help loosen any surface dirt and make the cleaning process more effective.
By following these steps, you will create a clean canvas to work with. Now, let’s move on to the next section, where we will discuss how to remove grime and stains from your tile shower floor.
Removing Grime and Stains
Over time, grime and stains can accumulate on your tile shower floor, making it look dull and unappealing. Luckily, with the right cleaning techniques, you can effectively remove grime and restore the shine to your tiles. Follow these steps to tackle grime and stains:
- Create a vinegar solution: Mix equal parts of vinegar and water in a spray bottle. Vinegar is a natural cleaner that helps dissolve grime and mineral deposits without causing any damage to the tile surface.
- Spray the solution: Generously spray the vinegar solution onto the tile shower floor, ensuring that the entire surface is covered. Let it sit for a few minutes to allow the vinegar to penetrate and loosen the grime.
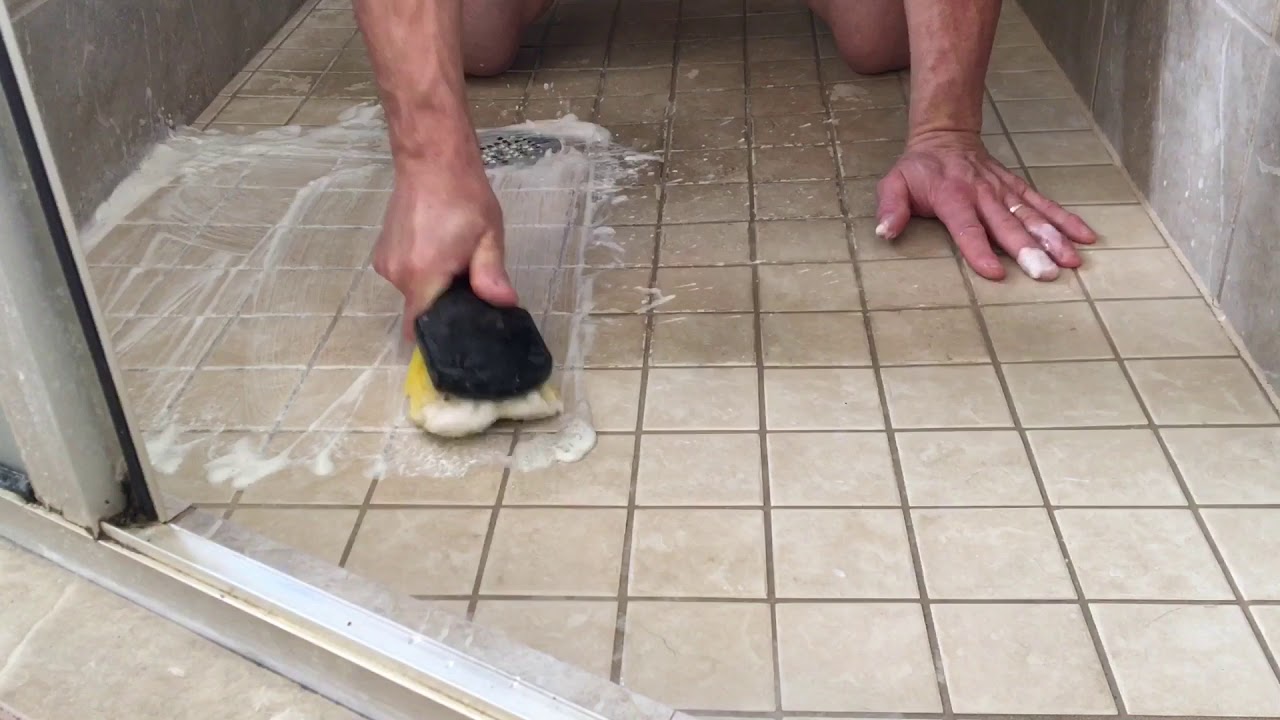
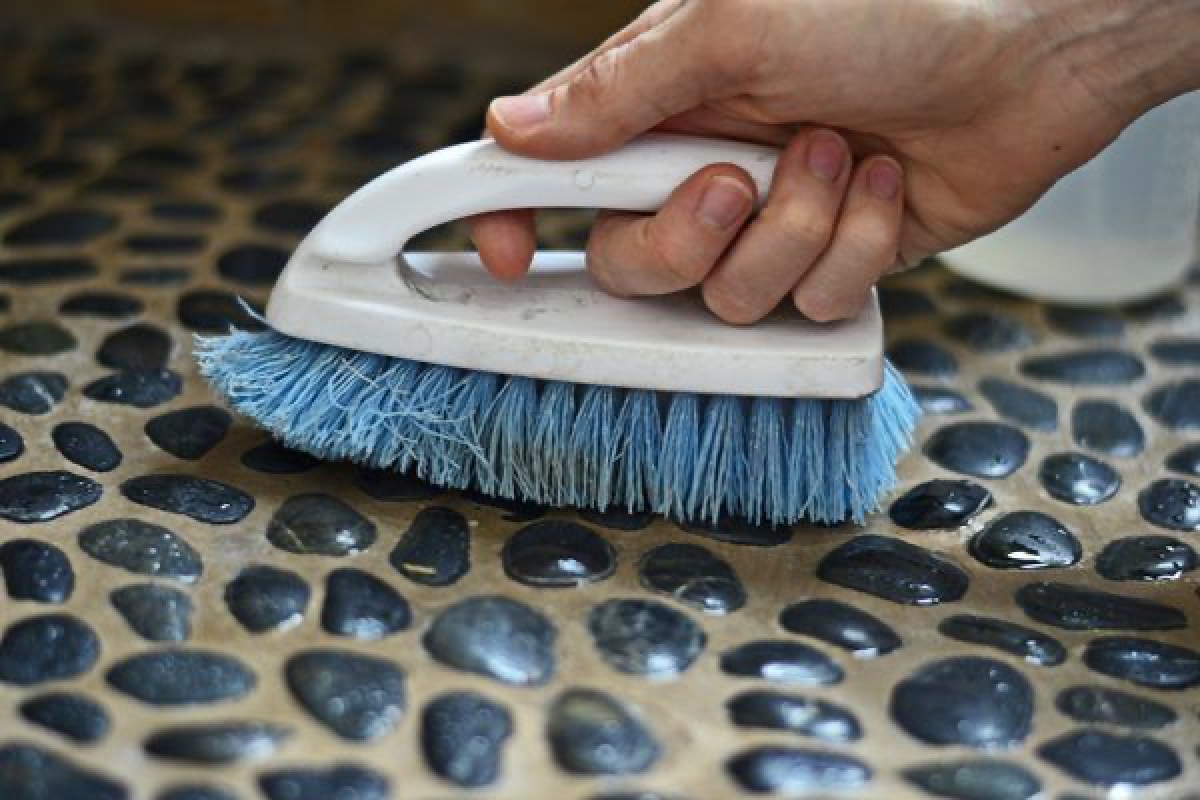
- Scrub the floor: Use a scrub brush or an old toothbrush to gently scrub the tile surface in circular motions. Pay extra attention to any stubborn stains or high-traffic areas. The bristles of the brush will help lift away the grime and reveal the clean tile underneath.
- Rinse with hot water: Once you have scrubbed the entire tile shower floor, rinse it thoroughly with hot water. This will remove any residues and leftover grime.
If there are still stubborn stains or areas that require further cleaning, you can create a paste using baking soda and water. Apply the paste to the stains, let it sit for a few minutes, then scrub gently with a brush before rinsing with water.
Now that you have successfully removed grime and stains from your tile shower floor, it’s time to focus on cleaning the grout. Move on to the next section for step-by-step instructions.
To clean a tile shower floor, mix equal parts of water and white vinegar in a spray bottle. Spray the solution onto the tile, let it sit for a few minutes, then scrub with a brush or sponge. Rinse thoroughly with water.
Cleaning the Grout
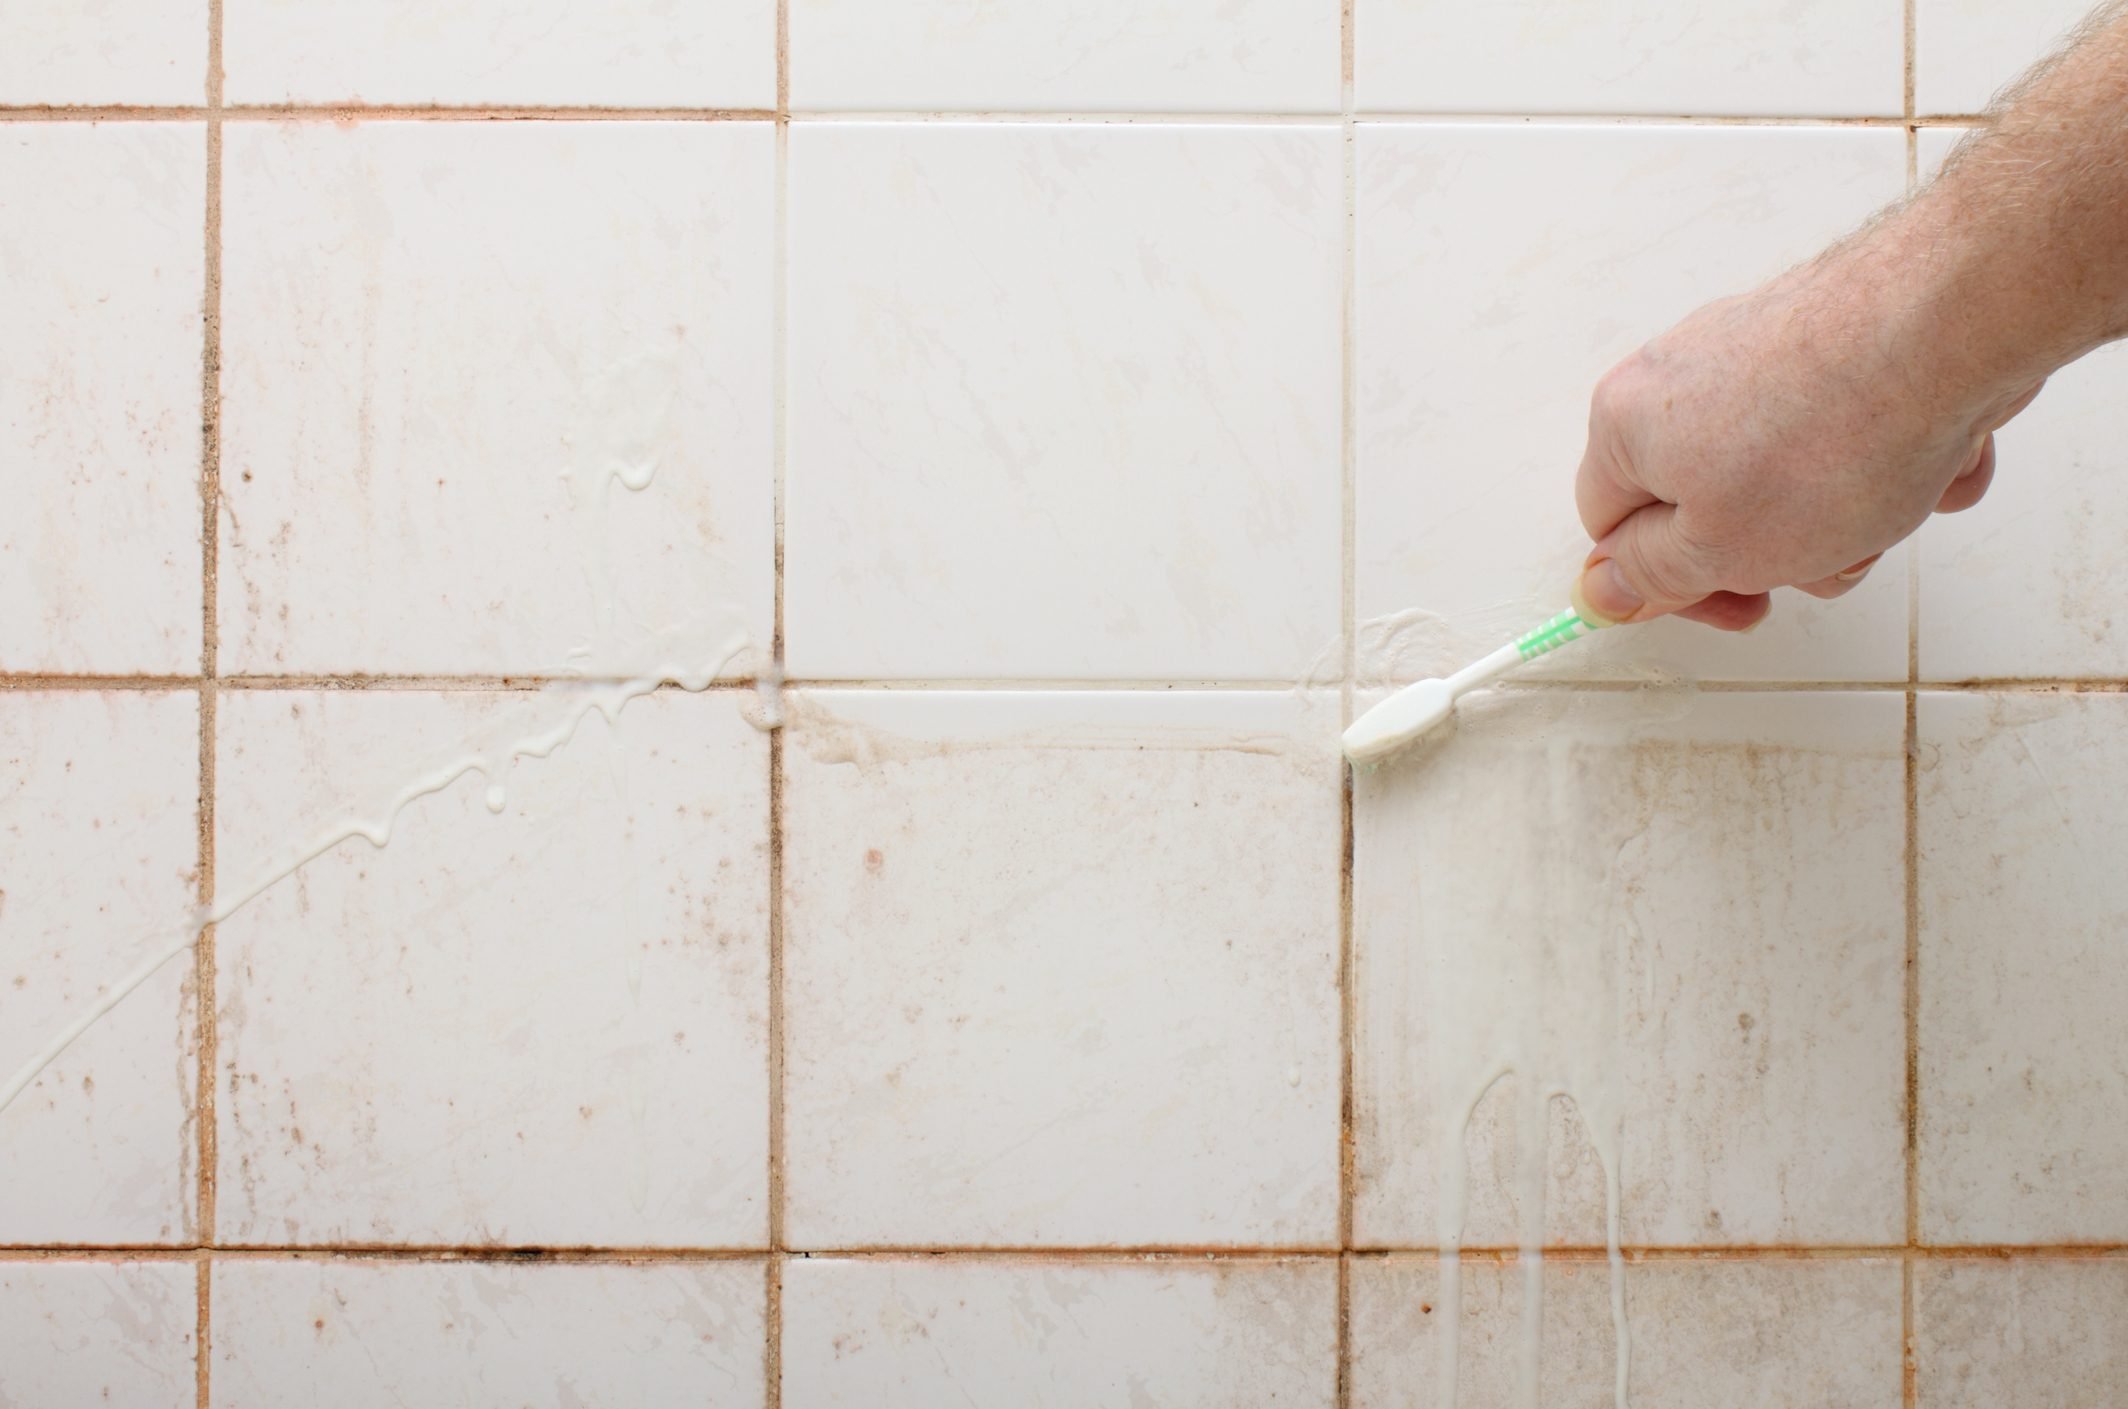
The grout lines in your tile shower floor can easily become discolored and dirty over time. Cleaning the grout not only improves the appearance of your tile, but it also helps prevent the growth of mold and mildew. Follow these steps to effectively clean the grout:
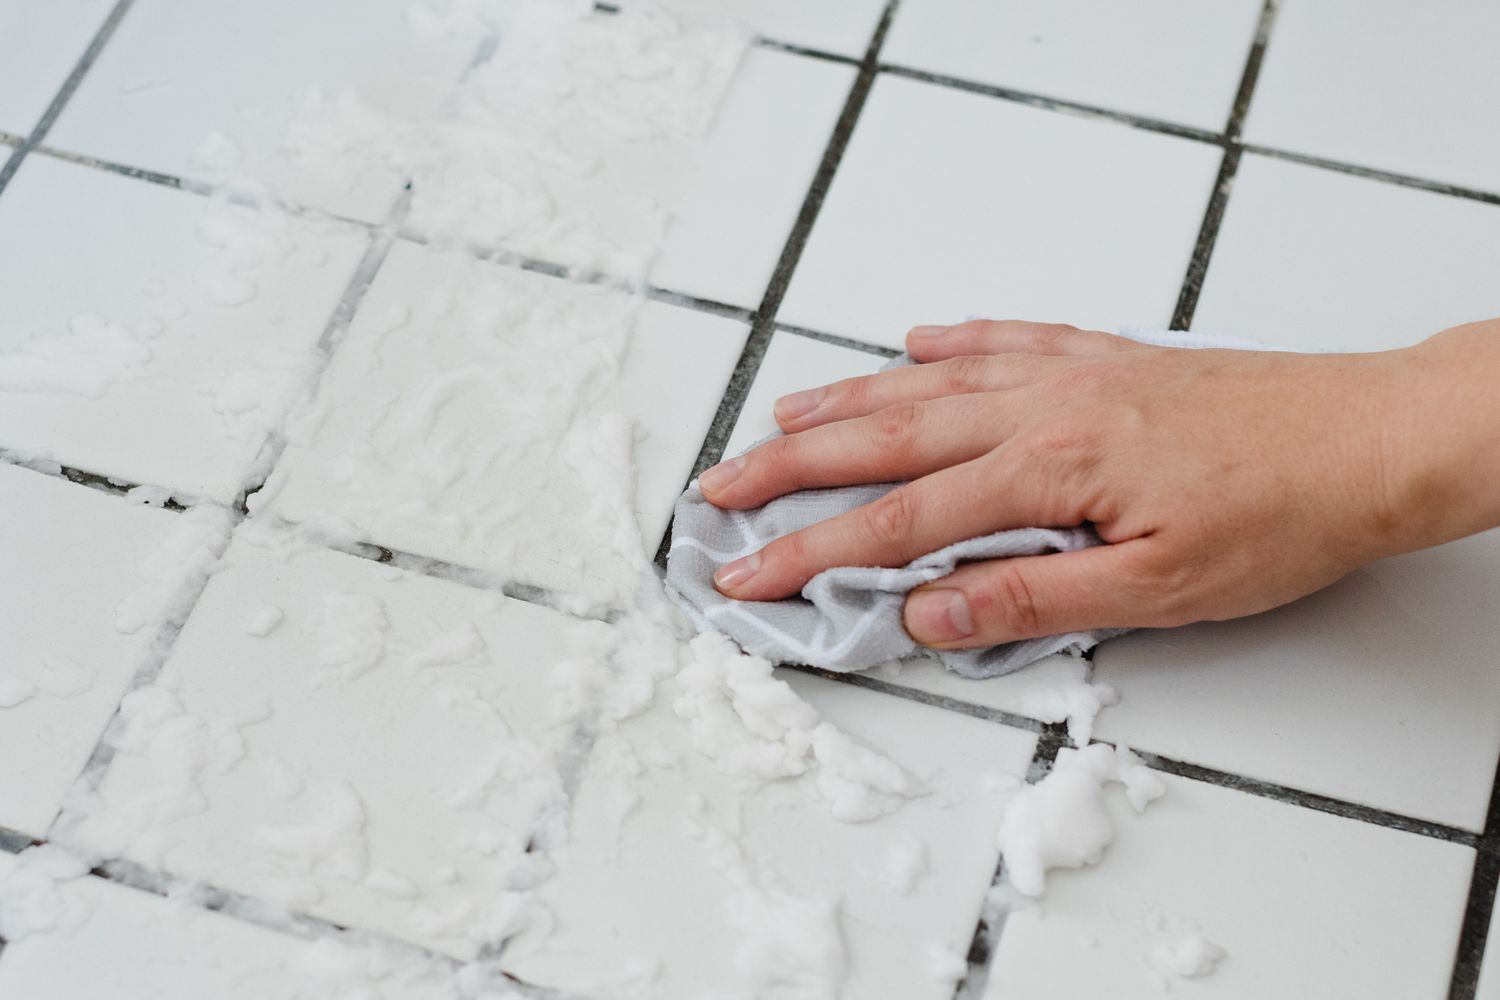
- Create a baking soda paste: Mix baking soda with enough water to create a thick paste. Baking soda is a natural and gentle abrasive that helps lift dirt and stains from the grout.
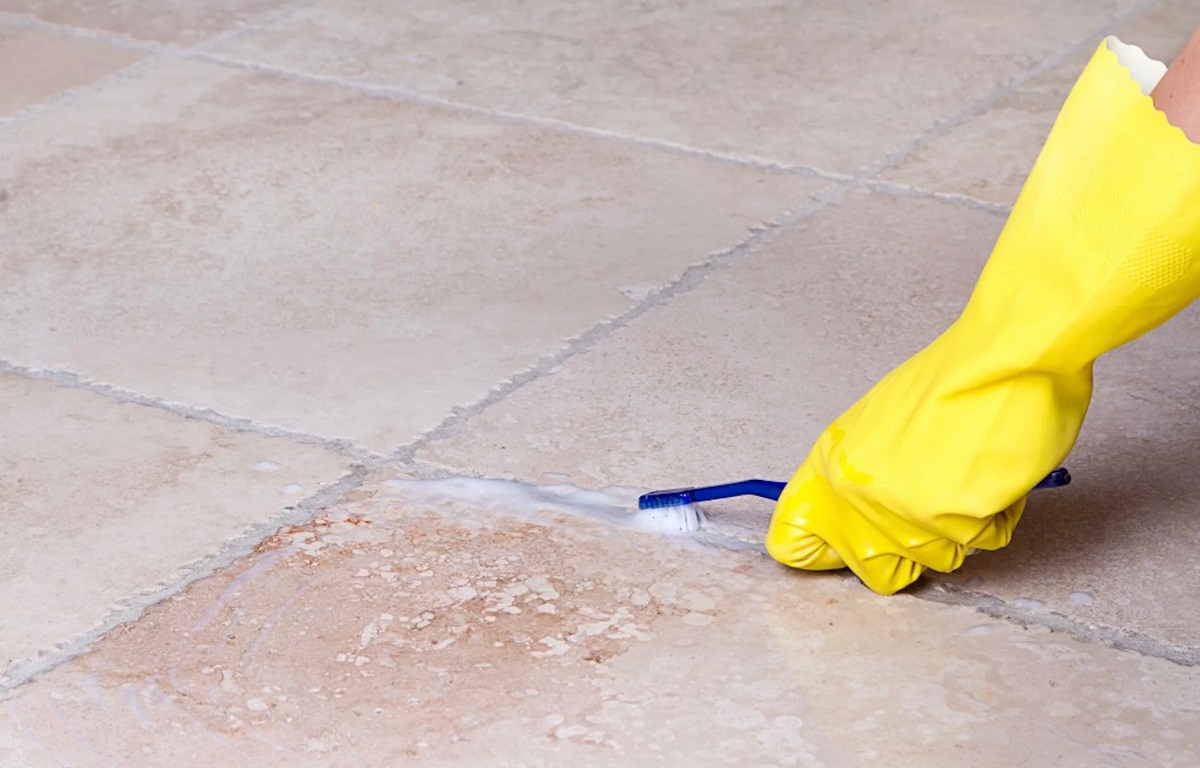
- Apply the paste: Use an old toothbrush or a specialized grout brush to apply the baking soda paste directly onto the grout lines. Make sure to cover the entire length of the grout.
- Scrub the grout: Gently scrub the grout lines using circular motions. Use firm but not excessive pressure to avoid damaging the grout. The baking soda paste will work to lift dirt and stains as you scrub.
- Rinse with hot water: Once you have scrubbed all the grout lines, rinse the tile shower floor with hot water to remove any residue. This will reveal clean and refreshed grout lines.
If there are any stubborn stains or heavily discolored areas, you can use a mixture of vinegar and water in a spray bottle. Spray the solution onto the stained grout lines, let it sit for a few minutes, then scrub with the brush before rinsing.
Once the grout is clean and bright, it’s important to take preventive measures to keep it that way. Move on to the next section to learn about preventing mold and mildew in your tile shower floor.
Read more: How To Tile A Shower Floor Slope
Preventing Mold and Mildew
Mold and mildew thrive in moist environments, making the shower floor a perfect breeding ground. To prevent the growth of mold and mildew, follow these tips:
- Keep the shower area well-ventilated: After each use, make sure to open windows or turn on the bathroom fan to ventilate the shower area. Proper airflow will help dry out any moisture and discourage mold and mildew growth.
- Squeegee the shower floor: After showering, use a squeegee to remove excess water from the tile shower floor. Pay special attention to the grout lines, as water can easily accumulate there. Removing excess water helps prevent the growth of mold and mildew.
- Avoid leaving wet items on the floor: Towels, bathmats, and other wet items should be hung up to dry outside the shower area. Leaving them on the shower floor can create a damp environment, which is conducive to mold and mildew growth.
- Regularly clean the shower curtain or door: Mold and mildew can also develop on shower curtains or doors. Clean or replace them regularly to prevent any potential growth and ensure a clean and hygienic shower area.
- Use a mold and mildew-resistant sealant: Apply a mold and mildew-resistant sealant to the grout lines and any areas prone to moisture. This will help create a protective barrier and make it more difficult for mold and mildew to establish a foothold.
By following these preventive measures, you can significantly reduce the chances of mold and mildew growth on your tile shower floor. Now let’s move on to the aftercare and maintenance section to ensure your tile shower floor stays clean and pristine.
Aftercare and Maintenance
Once you have thoroughly cleaned your tile shower floor, it’s important to establish a regular aftercare and maintenance routine to keep it looking its best. Follow these tips to maintain a clean and hygienic shower floor:
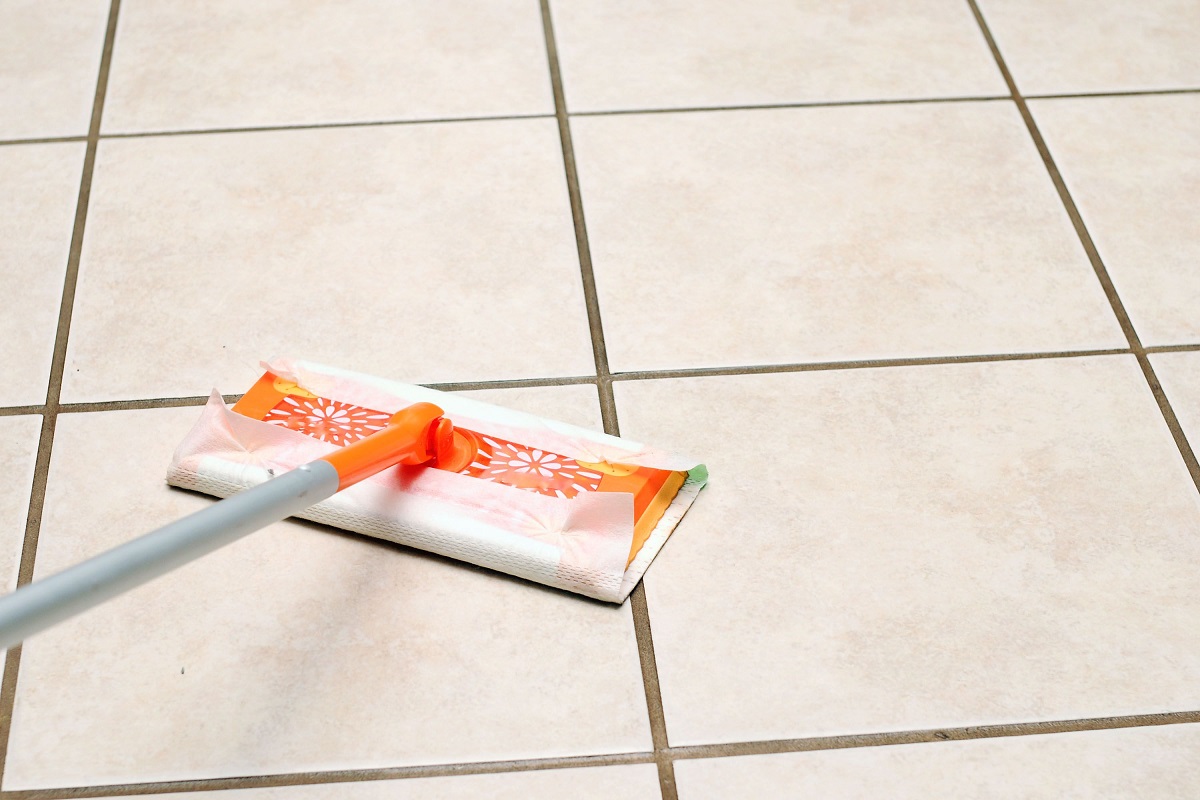
- Wipe down the tiles after each use: After showering, use a towel or squeegee to quickly wipe down the tile surfaces and remove any water droplets. This helps prevent the buildup of dirt and minerals.
- Regularly clean the grout: To prevent the grout from becoming dirty or discolored, schedule regular cleanings using the baking soda paste or a specialized grout cleaner. This will help keep the grout lines bright and free from mold or mildew.
- Address any leaks or water damage: Inspect your shower area regularly for any signs of leaks or water damage. If you notice any issues, address them promptly to prevent further damage and the potential growth of mold and mildew.
- Avoid harsh chemicals: While it may be tempting to use strong chemical cleaners, they can damage the tile and grout over time. Stick to gentle and natural cleaning solutions like vinegar and baking soda.
- Seal the grout periodically: Depending on the type of grout used, it may be necessary to reapply a sealant every year or two. This helps protect the grout from spills and stains, keeping it looking fresh and clean.
By following these aftercare and maintenance tips, you can extend the lifespan of your tile shower floor and keep it looking beautiful for years to come. Now, let’s wrap up this article with a recap of the key points.
Conclusion
Cleaning and maintaining a tile shower floor is crucial for not only its appearance but also for ensuring a hygienic and pleasant bathing experience. By following the step-by-step instructions provided in this guide, you can effectively remove grime and stains from the tiles and grout, prevent the growth of mold and mildew, and establish a regular aftercare and maintenance routine.
Remember to gather the necessary materials before starting the cleaning process, including protective gloves, cleaning solutions like vinegar and baking soda, and brushes or sponges. Preparing the tile shower floor by removing loose debris and rinsing it with warm water will set the stage for a more effective cleaning.
When removing grime, spraying a vinegar solution and gently scrubbing with a brush will help lift dirt and mineral deposits from the tiles. Cleaning the grout requires a baking soda paste and scrubbing it with a toothbrush or specialized grout brush.
Preventing mold and mildew growth involves keeping the shower area well-ventilated, squeegeeing excess water, avoiding wet items on the floor, and using a mold and mildew-resistant sealant. Regular aftercare and maintenance, such as wiping down tiles after each use and addressing any leaks, are essential to keep the shower floor clean and pristine.
By implementing these cleaning and maintenance practices, you can enjoy a beautiful, sparkling, and hygienic tile shower floor for years to come. So, why wait? Roll up your sleeves and give your tile shower floor the attention it deserves!
Frequently Asked Questions about How To Clean Shower Floor Tile
Was this page helpful?
At Storables.com, we guarantee accurate and reliable information. Our content, validated by Expert Board Contributors, is crafted following stringent Editorial Policies. We're committed to providing you with well-researched, expert-backed insights for all your informational needs.


0 thoughts on “How To Clean Shower Floor Tile”