Articles
How To Clean Marley Floor
Modified: November 1, 2024
Learn the best techniques and products for cleaning your Marley floor with our informative articles. Achieve a spotless and well-maintained dance surface today!
(Many of the links in this article redirect to a specific reviewed product. Your purchase of these products through affiliate links helps to generate commission for Storables.com, at no extra cost. Learn more)
Introduction
Marley floors, also known as vinyl dance floors, are commonly used in dance studios, theaters, and performance spaces. These floors provide a smooth and resilient surface that is ideal for dancing and other physical activities. However, like any other type of flooring, Marley floors require regular cleaning and maintenance to keep them in optimal condition.
In this article, we will guide you through the step-by-step process of cleaning a Marley floor. Whether you are a dance studio owner, a dancer, or simply have a Marley floor in your home, following these cleaning techniques will help you keep your floor looking fresh, clean, and safe for use.
Before we dive into the cleaning process, it is important to gather the necessary materials to ensure an effective cleaning experience. Let’s take a look at what you will need.
Key Takeaways:
- Keep your Marley floor clean and safe for dancing by following a step-by-step cleaning process. Gather the necessary materials, prepare the area, sweep, mop, and apply finishing touches for a vibrant and inviting dance surface.
- Prioritize safety during the cleaning process by wearing protective gear, using proper ventilation, and avoiding abrasive materials. Regular cleaning and proactive care will extend the lifespan of your Marley floor, keeping it in optimal condition for years to come.
Read more: How To Clean A Floor
Materials Needed
Before you start cleaning your Marley floor, make sure you have the following materials on hand:
- Soft-bristle broom or dust mop
- Vacuum cleaner with a soft brush attachment
- Mild detergent or Marley floor cleaner
- Mop
- Bucket
- Clean microfiber or cotton mop head
- Soft cloth or sponge
- Warm water
- Rubber gloves
- Protective eyewear
- Knee pads (optional, for added comfort during floor cleaning)
Having these materials ready will ensure that you can effectively and efficiently clean your Marley floor without causing any damage to the surface.
Now that you have gathered the necessary materials, let’s move on to the preparation step before cleaning the floor.
Preparation
Before you begin cleaning your Marley floor, it is important to prepare the area and take some precautionary measures. Here are the steps you should follow:
- Clear the floor: Remove any objects or furniture from the Marley floor to ensure that you have unrestricted access to clean the entire surface.
- Sweep or vacuum: Use a soft-bristle broom or a vacuum cleaner with a soft brush attachment to remove loose dirt, dust, and debris from the floor. This will prevent scratching the surface during the cleaning process.
- Check for stains: Inspect the floor for any stubborn stains or marks that may require special attention. Identifying these areas beforehand will help you plan your cleaning approach accordingly.
- Prepare the cleaning solution: If you are using a mild detergent or a Marley floor cleaner, mix it with warm water in a bucket according to the instructions on the product label. Make sure to wear rubber gloves for protection and avoid using excessive amounts of cleaning solution, as it can leave residue on the floor.
- Put on protective eyewear: Cleaning solutions can sometimes splash or accidentally get into your eyes. To protect yourself, wear protective eyewear during the cleaning process.
By following these preparation steps, you will create a clean and safe environment for effectively cleaning your Marley floor. Now that everything is set, let’s move on to the actual process of cleaning the floor.
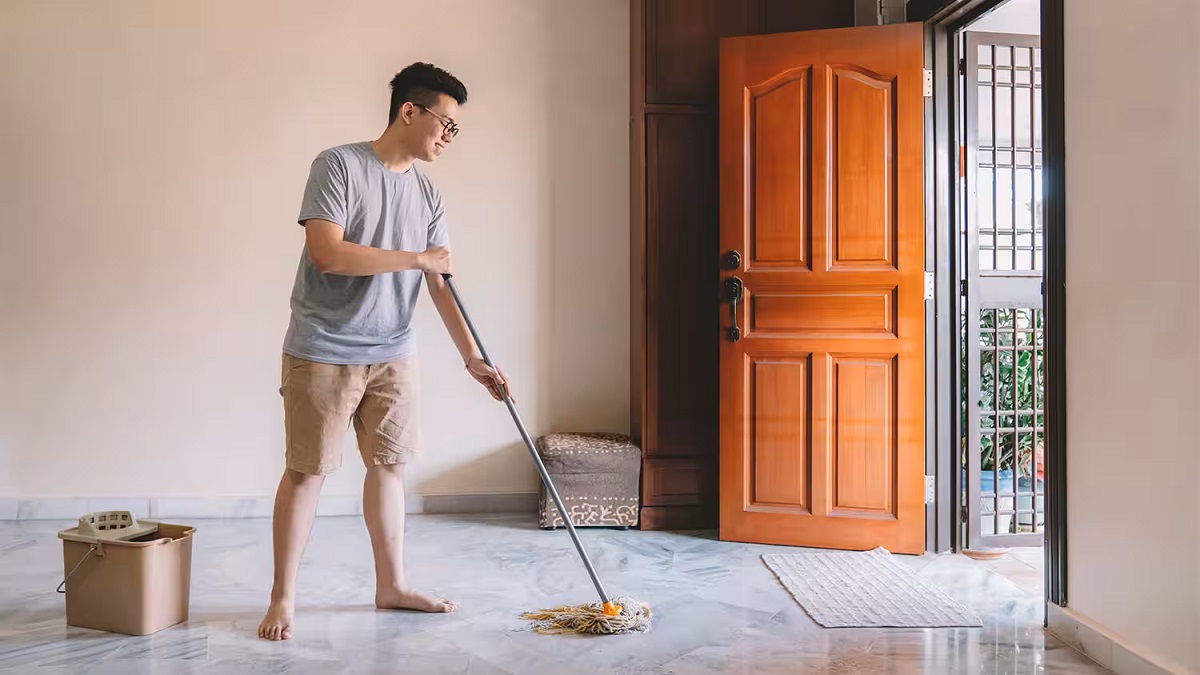
Sweeping and Dusting the Floor
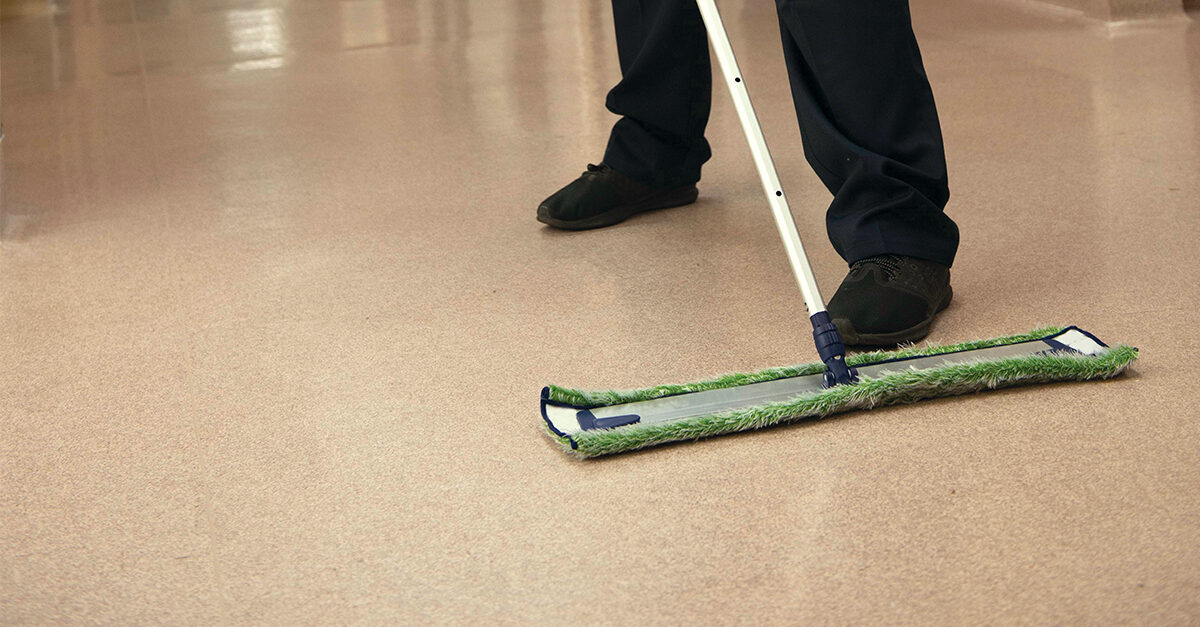
Once you have prepared the area, it’s time to start cleaning your Marley floor. The first step is to sweep and dust the floor to remove any loose dirt and debris. Follow these steps:
- Start with a soft-bristle broom or a dust mop. Begin at one corner of the room and work your way towards the opposite side, sweeping in a gentle motion.
- Pay attention to the corners and edges of the floor, as dirt tends to accumulate in these areas. Use a hand brush or a small broom to reach these difficult spots.
- If you prefer to use a vacuum cleaner, make sure to attach a soft brush attachment to prevent scraping or damaging the floor. Move the vacuum cleaner in a slow and gentle manner, covering the entire surface of the floor.
- Pay extra attention to any visible stains or marks on the floor. Gently brush or vacuum these areas to remove any loose dirt or debris that may be causing the discoloration.
- Once you have successfully swept or vacuumed the entire floor, go over it one more time to make sure you haven’t missed any dirt or debris.
By thoroughly sweeping or dusting the floor, you are removing the top layer of dirt and preparing the surface for mopping. This step is crucial to prevent scratching the floor during the cleaning process. Next, we will move on to mopping the floor.
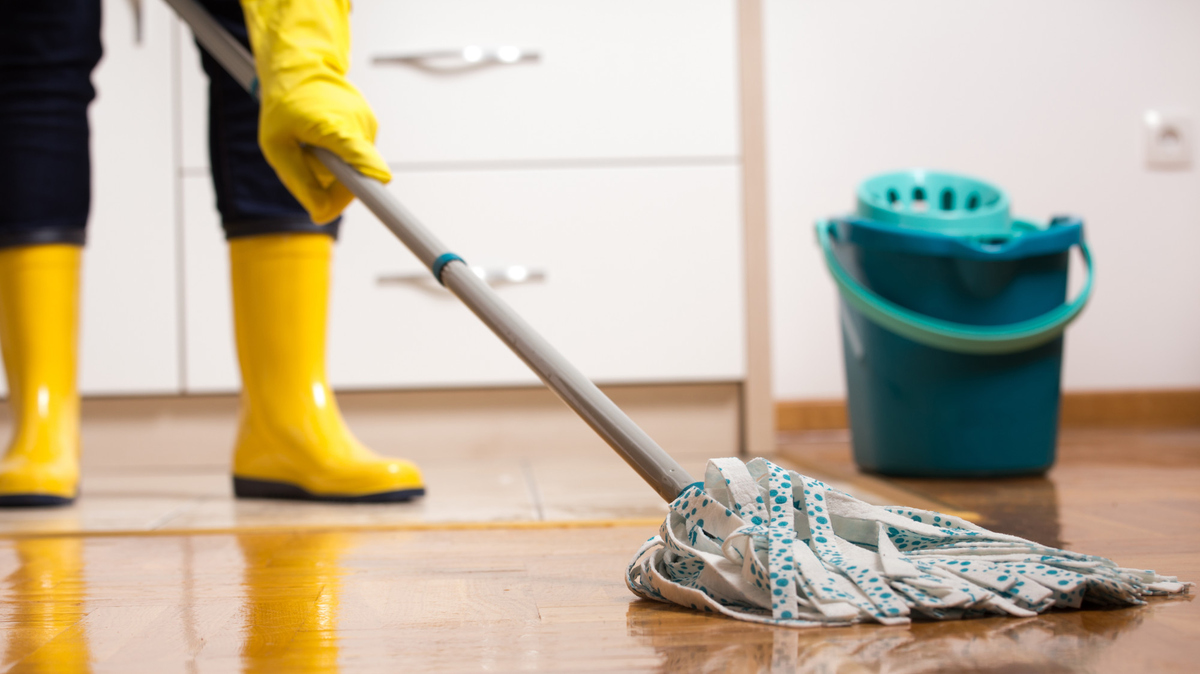
Mopping the Floor
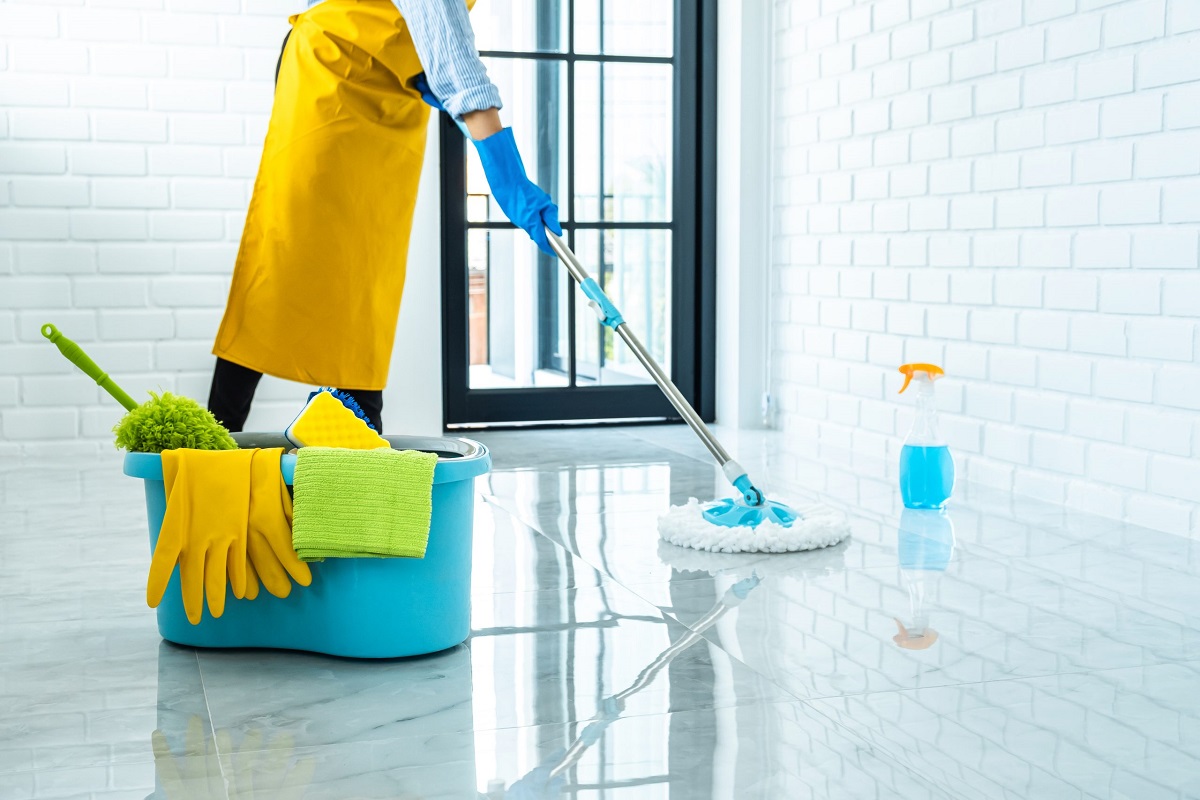
After you have swept and dusted the Marley floor, it’s time to proceed with mopping. Mopping will remove any remaining dirt or residue from the floor and leave it looking clean and refreshed. Here are the steps to follow:
- Fill a bucket with warm water and add a small amount of mild detergent or Marley floor cleaner, following the instructions on the product label. Avoid using excessive amounts of cleaning solution, as it can leave a residue on the floor.
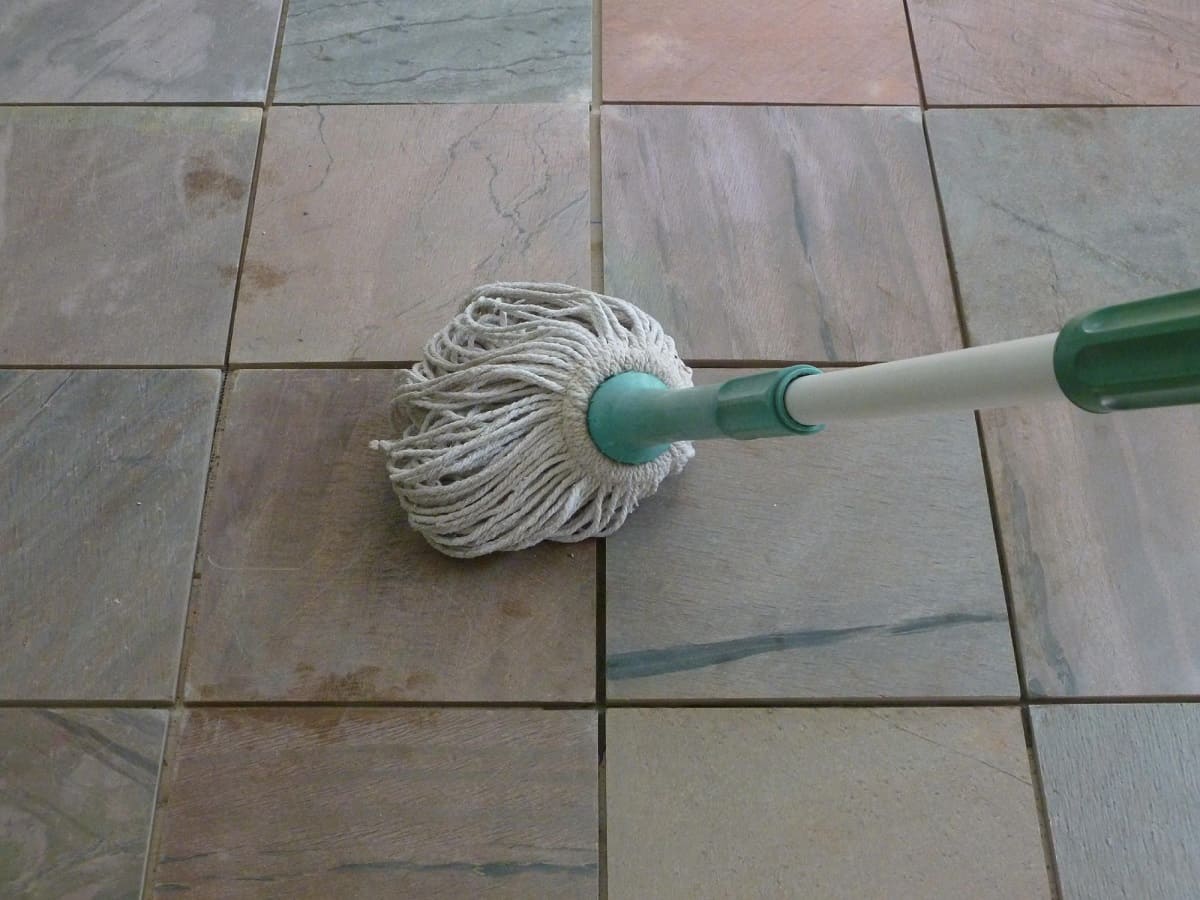
- Dip a clean microfiber or cotton mop head into the cleaning solution, ensuring it is thoroughly saturated but not dripping.
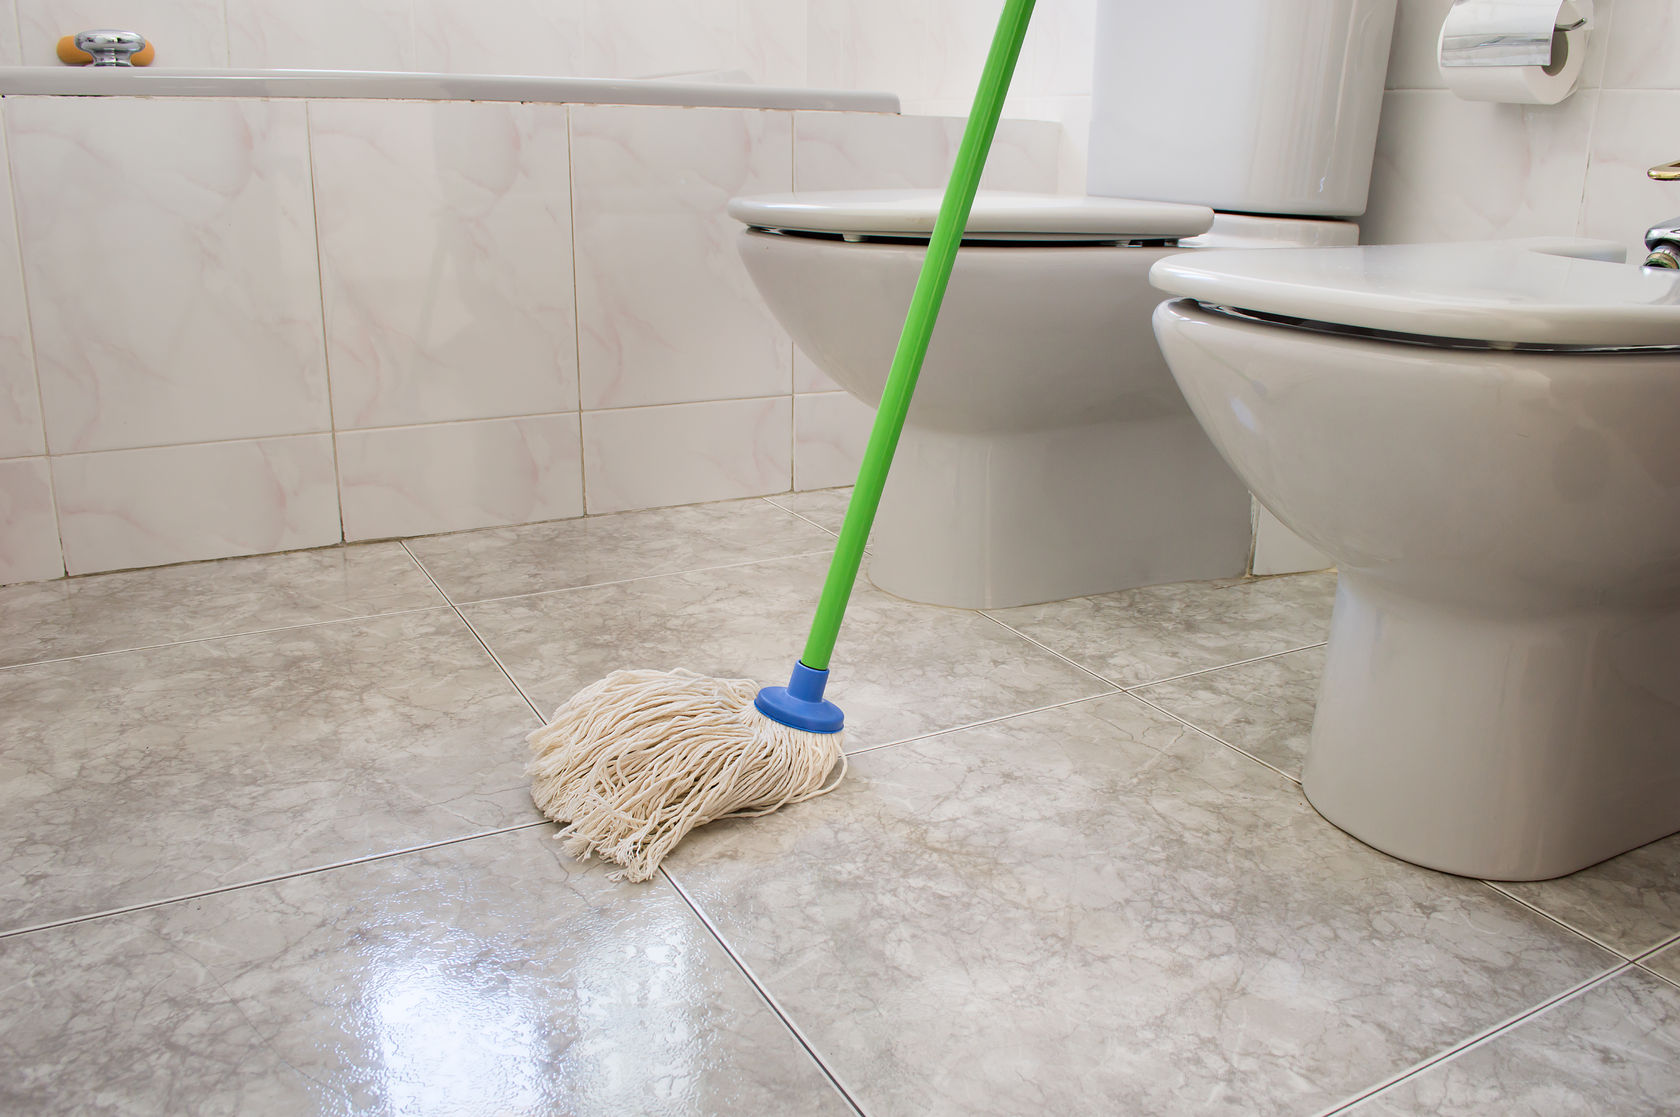
- Starting from one corner of the room, mop the floor in a back-and-forth motion, working your way towards the opposite side. Apply gentle pressure to remove any stubborn dirt or stains.
- Periodically rinse the mop head in the cleaning solution and wring out any excess water. This will prevent spreading dirt or residue across the floor.
- Pivoting the mop head to a clean area, continue mopping the floor until you have covered the entire surface.
- If you come across any stubborn stains or marks, dampen a soft cloth or sponge with the cleaning solution and gently scrub the affected area. Make sure not to apply excessive force that could damage the floor.
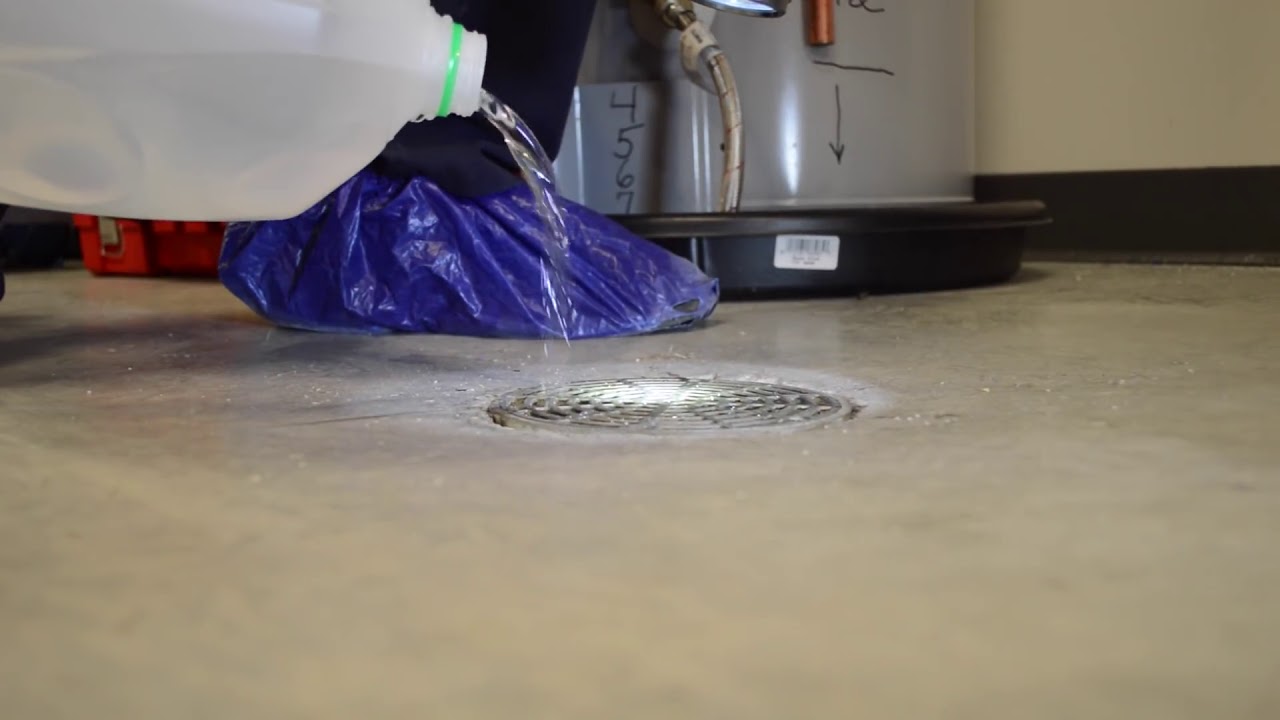
- Once you have mopped the entire floor, empty the dirty cleaning solution and refill the bucket with clean water. Rinse the mop head and repeat the mopping process, this time using only clean water. This will remove any detergent residue from the floor.
- Finally, allow the floor to air dry naturally. Avoid walking on the floor until it is completely dry to prevent slipping on the wet surface.
By following these steps, you will effectively mop your Marley floor and remove any dirt or stains that may have accumulated. However, in case you encounter stubborn stains that require additional attention, we will cover stain removal techniques in the next section.
Use a damp mop with a mild cleaning solution to clean Marley floors. Avoid using harsh chemicals or excessive water to prevent damage to the surface.
Read more: How To Clean Car Floor
Removing Stains
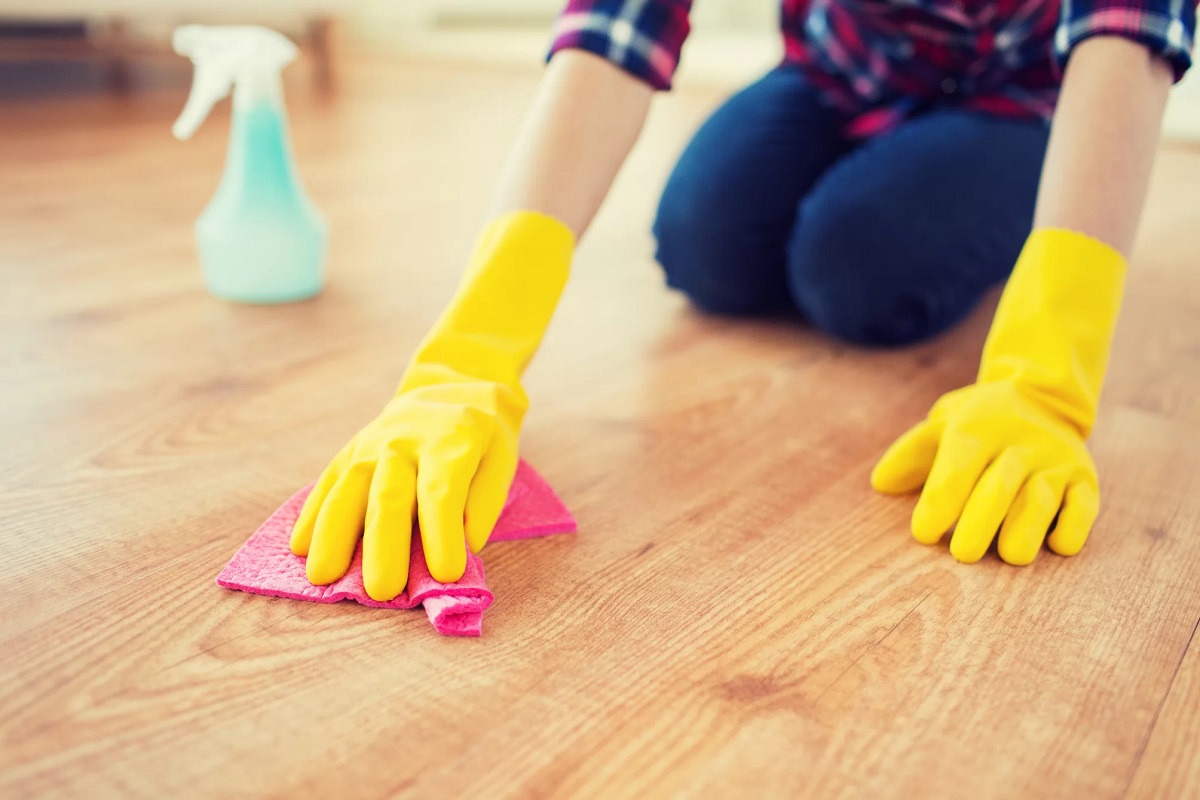
While Marley floors are known for their durability and stain resistance, occasional stains may still occur. Whether it’s from spilled drinks, scuff marks, or other types of stubborn stains, here are some effective techniques to remove them:
- Identify the type of stain: Before applying any stain removal methods, it’s essential to identify the type of stain on your Marley floor. This will help determine the appropriate cleaning solution or technique to use.
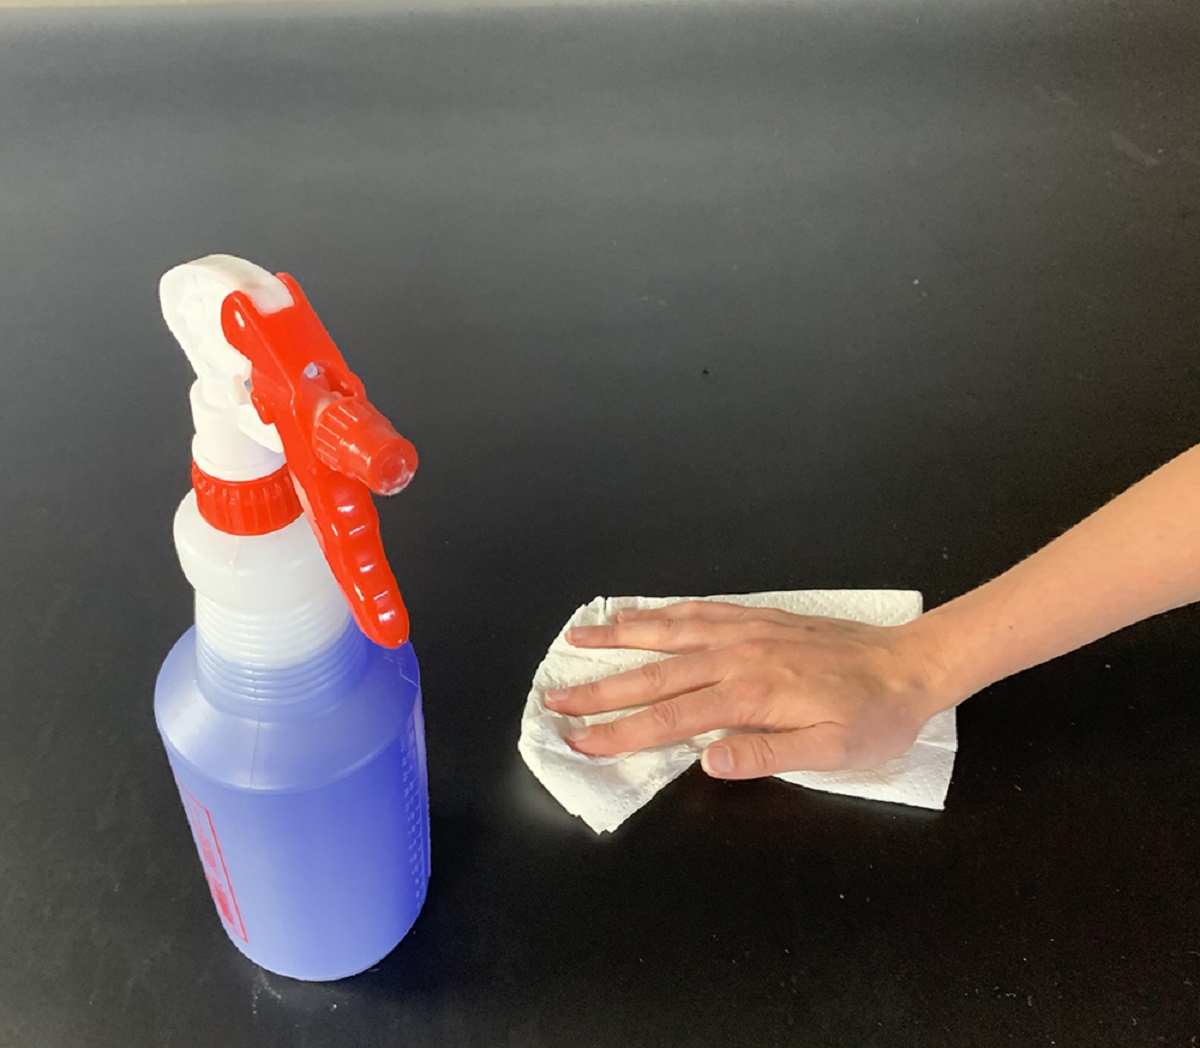
- Gently blot the stain: If the stain is still fresh, use a soft cloth or paper towel to gently blot and absorb as much of the stain as possible. Avoid rubbing or scrubbing, as it may spread the stain or damage the floor.
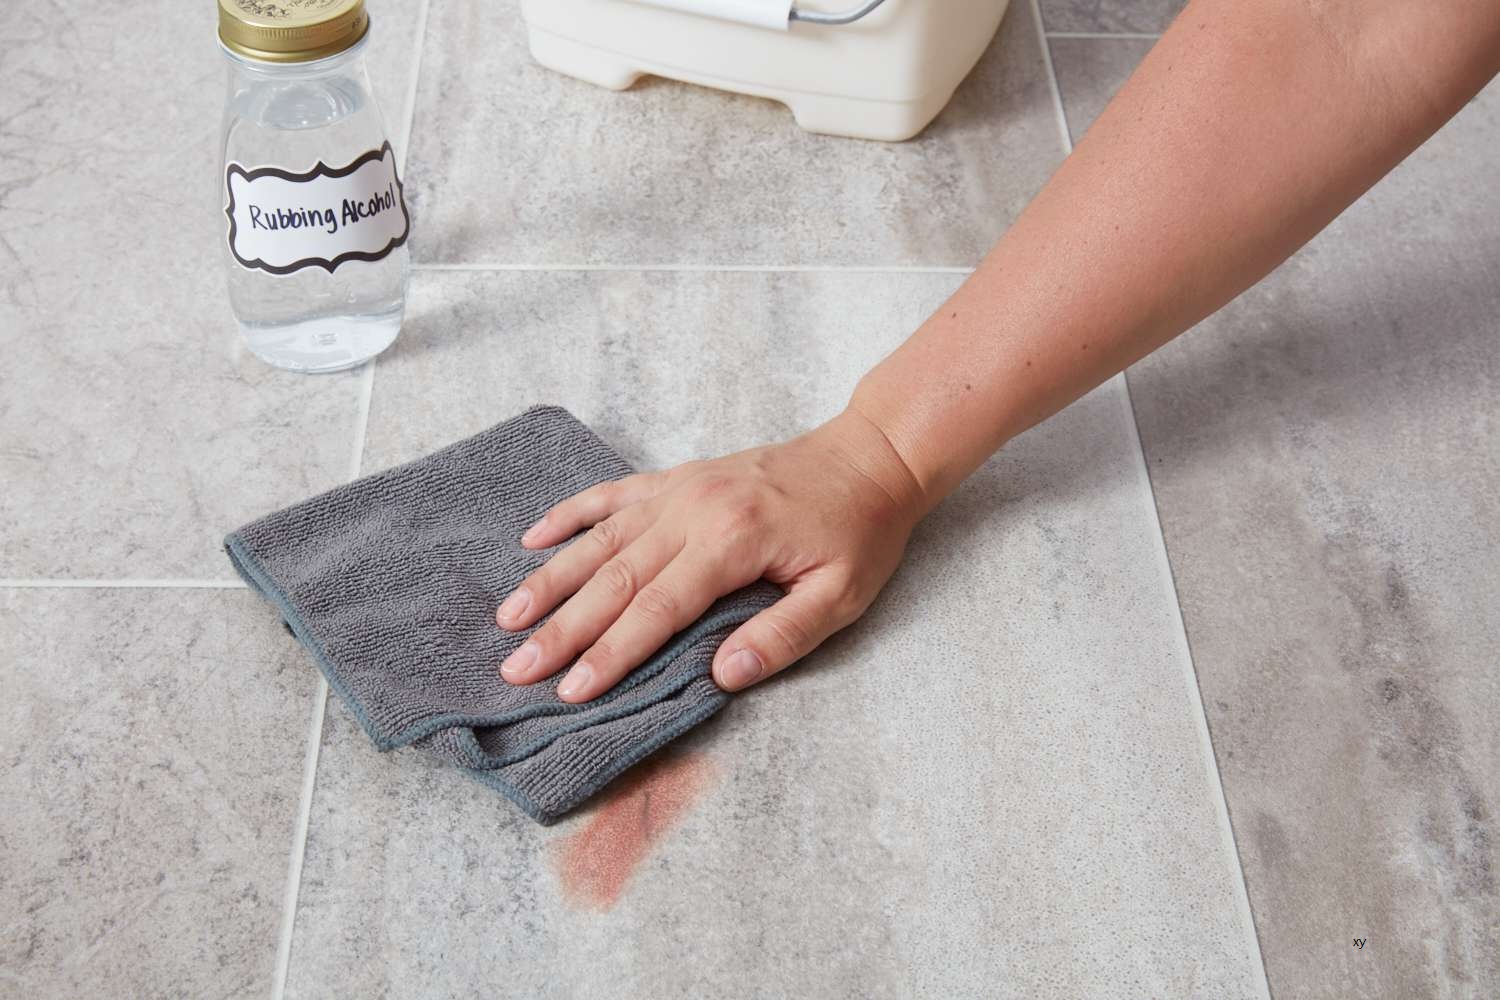
- Prepare a stain removal solution: Depending on the type of stain, prepare a suitable stain removal solution. For general stains, a mixture of warm water and mild detergent should suffice. For specific stains like ink or grease, you may need to use specialty cleaners.
- Apply the solution: Dampen a soft cloth or sponge with the stain removal solution and gently dab it onto the stained area. Allow the solution to penetrate the stain for a few minutes.
- Gently scrub the stain: Using gentle circular motions, softly scrub the stain with the cloth or sponge. Be careful not to apply excessive force that could damage the floor.
- Rinse and repeat: Rinse the area with clean water to remove the stain removal solution. If the stain persists, repeat the process until the stain is completely gone.
- Dry the area: After successfully removing the stain, use a clean cloth or towel to dry the area to prevent any moisture damage to the floor.
Remember, it’s crucial to act promptly when dealing with stains to prevent them from setting deeper into the floor. If you’re unsure about how to tackle a specific stain, consult the manufacturer’s guidelines or seek professional advice.
Now that you know how to remove stains from your Marley floor, let’s move on to the final steps of drying and adding finishing touches.
Drying and Finishing Touches
After cleaning and removing stains from your Marley floor, it’s important to properly dry the surface and add some finishing touches. Follow these steps to ensure a complete cleaning process:
- Allow the floor to air dry: After mopping or spot cleaning, give your Marley floor ample time to air dry. Avoid walking on the floor until it is completely dry to prevent any accidental slips.
- Check for moisture: Before proceeding, make sure the floor is completely dry by lightly touching the surface with your hand. If you feel any moisture, allow the floor more time to dry.
- Inspect the floor: Once dry, inspect the entire floor to ensure cleanliness. Check for any missed spots or lingering stains that may require further attention.
- Add a finishing touch: For an extra layer of cleanliness and shine, you can use a Marley floor polish or a vinyl floor sealer. Follow the manufacturer’s instructions when applying these products to avoid any damage to the floor.
- Replace furniture and objects: Once you are satisfied with the cleanliness and appearance of your Marley floor, you can safely return any furniture or objects that were removed during the cleaning process.
Remember, maintaining regular cleaning habits and taking proactive measures can prolong the lifespan of your Marley floor and keep it looking its best. It is recommended to perform routine cleaning and maintenance on a regular basis to prevent dirt build-up and reduce the likelihood of stubborn stains.
Now that you have learned how to clean and maintain your Marley floor, let’s discuss some important safety precautions to keep in mind during the cleaning process.
Safety Precautions
While cleaning your Marley floor, it’s essential to prioritize safety to prevent any accidents or injuries. Here are some important safety precautions to keep in mind:
- Wear protective gloves: When handling cleaning solutions or chemicals, always wear rubber or latex gloves to protect your hands.
- Use eye protection: To prevent any accidental splashes or contact with cleaning solutions, wear protective eyewear such as safety goggles or glasses.
- Avoid using abrasive materials: Only use soft-bristle brooms, dust mops, and non-abrasive cloths or sponges to clean the floor. Abrasive materials can scratch or damage the Marley surface.
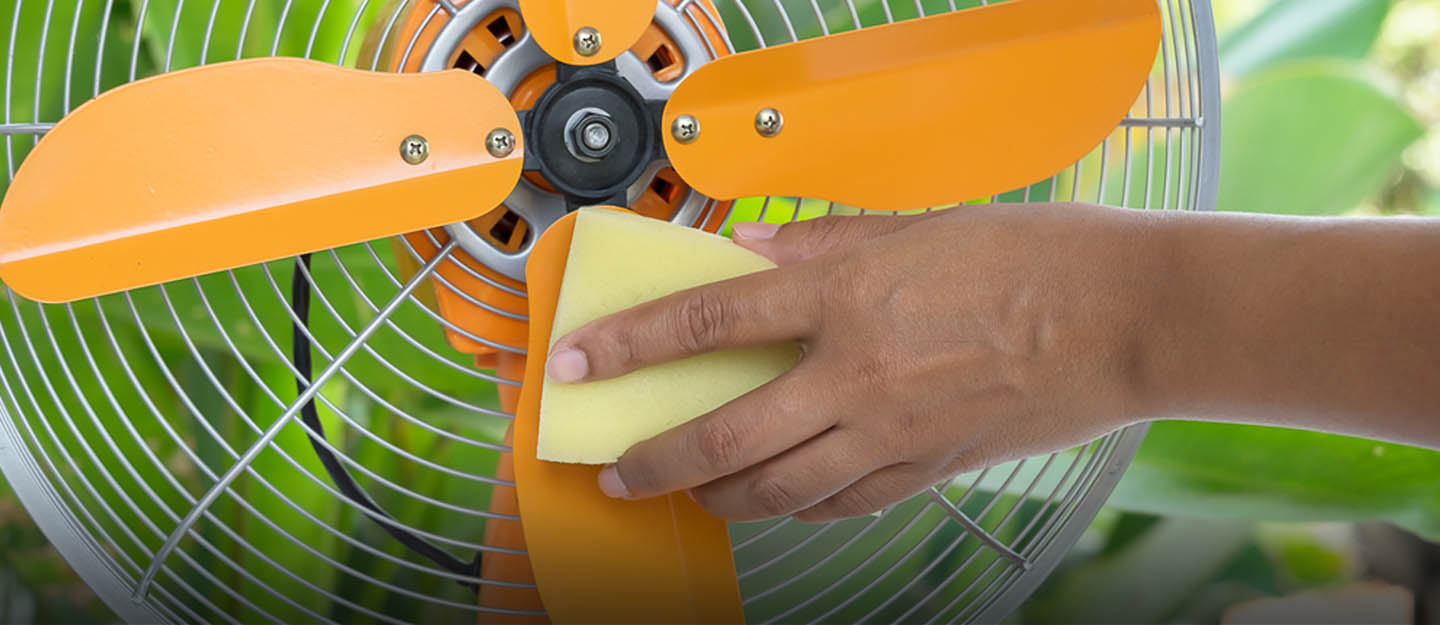
- Ensure proper ventilation: When using cleaning products with strong fumes, make sure the area is well-ventilated by opening windows or turning on fans. This will help prevent inhalation of harmful chemicals.
- Be cautious of slippery surfaces: During the cleaning process, the floor may become wet, which can make it slippery. Take precautionary measures such as placing warning signs and avoiding walking on the wet surface.
- Store cleaning products safely: Keep cleaning solutions and chemicals out of reach of children and pets. Store them in a secure location to avoid accidental ingestion or spillage.
- Follow manufacturer’s instructions: Always read and follow the instructions provided by the manufacturer for cleaning solutions, Marley floor cleaners, and any other products used during the cleaning process.
By adhering to these safety precautions, you can ensure a safe and effective cleaning experience for your Marley floor. Remember, if you have any concerns or doubts about the cleaning process, it’s best to consult professionals or seek guidance from the manufacturer.
With that being said, you now have a comprehensive guide on how to clean and maintain your Marley floor. By following these steps and incorporating regular cleaning habits, you can keep your Marley floor looking its best, prolong its lifespan, and create a safe environment for dancing and other activities.
Now it’s time to put these steps into action and enjoy a clean and beautiful Marley floor!
Conclusion
Cleaning and maintaining your Marley floor is crucial to preserve its beauty, safety, and longevity. By following the step-by-step process outlined in this article, you can effectively remove dirt, dust, stains, and debris from your Marley floor, ensuring a clean and safe surface for dancing, performing, or everyday use.
Remember to gather the necessary materials before starting the cleaning process, including a soft-bristle broom or dust mop, vacuum cleaner, mild detergent or Marley floor cleaner, mop, bucket, clean microfiber or cotton mop head, soft cloth or sponge, warm water, rubber gloves, protective eyewear, and optional knee pads for added comfort.
Begin by preparing the area, sweeping or dusting the floor to remove loose dirt and debris. Next, mop the floor using a cleaning solution made from warm water and mild detergent. Take care to clean any stubborn stains using specialized stain removal techniques. After cleaning, allow the floor to air dry completely.
For added shine and protection, consider applying a Marley floor polish or vinyl floor sealer. Finally, replace any furniture or objects that were moved during the cleaning process and enjoy your clean and vibrant Marley floor.
Throughout the entire cleaning process, prioritize safety by wearing protective gloves and eyewear, using proper ventilation, avoiding abrasive materials, and being cautious of slippery surfaces. Store cleaning products safely and follow the manufacturer’s instructions for optimal results.
Maintaining a regular cleaning routine and being proactive in caring for your Marley floor will help extend its lifespan and keep it looking its best for years to come. Remember, when in doubt, consult professionals or seek guidance from the manufacturer.
Now that you have the knowledge and tools to clean and maintain your Marley floor, go ahead and give it the care it deserves. Enjoy a clean and inviting space for dancing, performing, or simply appreciating the beauty of your Marley floor!
Frequently Asked Questions about How To Clean Marley Floor
Was this page helpful?
At Storables.com, we guarantee accurate and reliable information. Our content, validated by Expert Board Contributors, is crafted following stringent Editorial Policies. We're committed to providing you with well-researched, expert-backed insights for all your informational needs.
0 thoughts on “How To Clean Marley Floor”