Articles
How To Clean Freezer Floor
Modified: March 19, 2024
Learn effective techniques and methods for cleaning the freezer floor with our informative articles. Say goodbye to dirt and grime with our expert tips.
(Many of the links in this article redirect to a specific reviewed product. Your purchase of these products through affiliate links helps to generate commission for Storables.com, at no extra cost. Learn more)
Introduction
Welcome to our comprehensive guide on how to clean your freezer floor. A clean freezer not only promotes better food storage and hygiene but also helps maintain its efficiency and prolongs its lifespan. The freezer floor often accumulates dirt, spills, and even frost, making it important to regularly clean this area. In this article, we will provide you with step-by-step instructions on gathering the necessary supplies, removing items from the freezer, defrosting, cleaning the floor, walls, and shelves, as well as tips on maintaining a clean freezer.
By following our expert advice, you’ll be able to tackle this task efficiently and have a sparkling-clean freezer in no time.
Key Takeaways:
- Regularly cleaning and maintaining your freezer is essential for food safety, efficiency, and longevity. Follow our expert guide to achieve a sparkling-clean freezer and enjoy hassle-free meal preparation.
- Organize, restock, and maintain your freezer to maximize its efficiency and minimize food waste. With proper cleaning and care, you can ensure a well-organized freezer space and preserve the quality of your frozen items.
Read more: How To Clean Walk In Freezer Floor
Gathering the necessary supplies
Before you begin cleaning your freezer floor, it’s essential to have the right tools and supplies at hand. Here’s a list of items you’ll need:
- Soft cloths or microfiber towels
- Warm water
- White vinegar
- Baking soda
- A bucket or basin
- A sponge or scrub brush
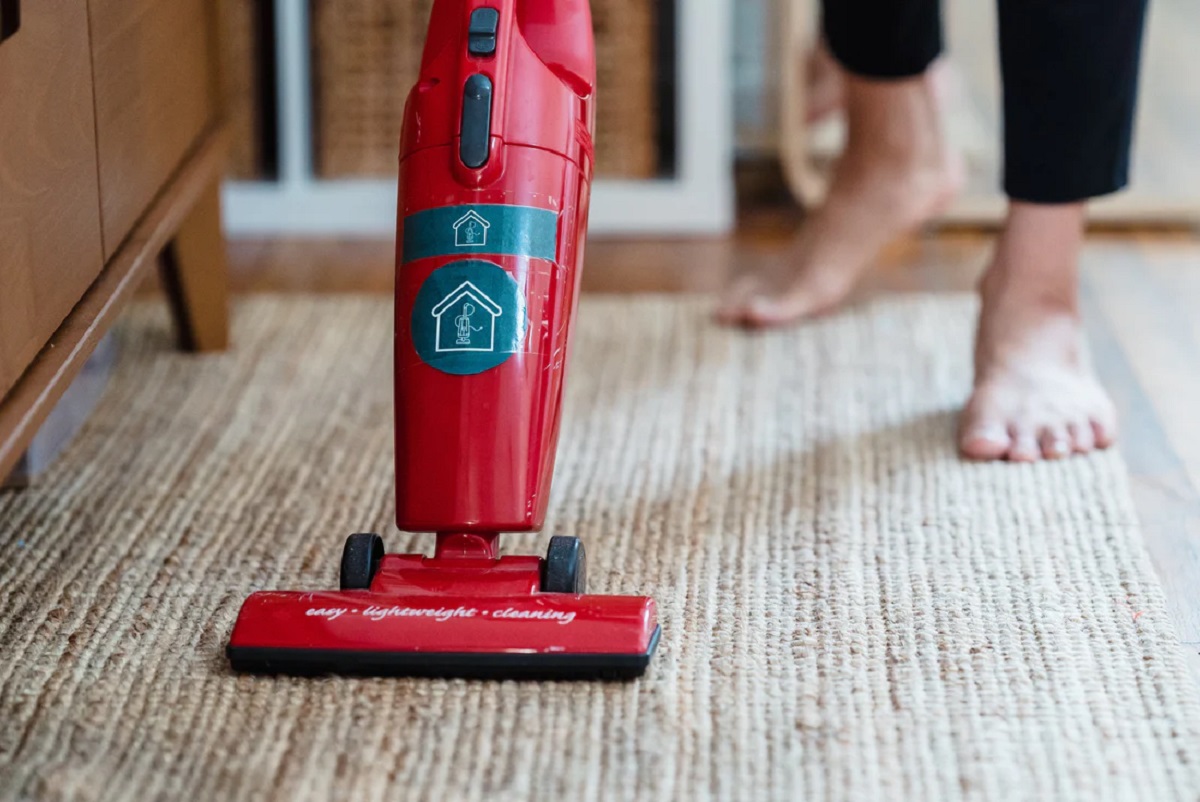
- A vacuum cleaner with a brush attachment
- A plastic scraper or spatula
- A garbage bag or bin
Make sure all the supplies are clean and in good condition before you begin. Checking and preparing these materials beforehand will ensure a smooth and efficient cleaning process.
Removing items from the freezer
Now that you have gathered the necessary supplies, it’s time to start cleaning your freezer. First, you’ll need to remove all the items from the freezer. This step is crucial to ensure a thorough cleaning and to prevent any items from getting damaged.
Begin by unplugging the freezer or switch it off, depending on the type of freezer you have. This will prevent it from running while you are cleaning. Next, open the freezer door and carefully take out all the items, placing them in a cooler or another suitable storage container to keep them cold while you clean.
Be diligent in checking the expiration dates on the food items and discard anything that is expired or shows signs of spoilage. This is also an opportune time to declutter your freezer and get rid of any items that you no longer need or use.
Once you have cleared out all the items, make sure to close the freezer door properly to prevent it from thawing while you continue the cleaning process. If necessary, you can place a towel or blanket over the top of the freezer to help insulate it and keep it cold.
With the freezer emptied and the food items safely stored, you are now ready to move on to the next step: defrosting the freezer.
Defrosting the freezer
Defrosting your freezer is an essential step in cleaning the freezer floor. Over time, ice and frost can accumulate, affecting the freezer’s efficiency and storage capacity. Here’s how to defrost your freezer:
- Turn off the freezer: Unplug the freezer or switch it off to prevent it from running while you defrost it. This will make the process easier and safer.
- Prepare for melting ice: Place towels or old newspapers around the base of the freezer to catch any water or ice that may melt during the defrosting process. This will help prevent any water damage.
- Speed up the defrosting process (optional): If you want to speed up the defrosting process, you can place bowls of hot water inside the freezer. Close the door and let the hot water create steam, which will help melt the ice faster.
- Allow the ice to melt: Leave the freezer door open and let the ice melt naturally. This may take a few hours, so be patient. Avoid using sharp objects or scraping the ice to speed up the process, as this can damage the freezer.
- Dispose of melted water: Once the ice has melted, carefully remove the towels or newspapers from around the freezer and dispose of any resulting water in a sink or drain. Be sure to wipe down any excess moisture to prevent slipping.
It’s important to note that some modern freezers come with automatic defrosting features. In such cases, you may not need to manually defrost the freezer. However, it’s still a good idea to follow the manufacturer’s guidelines to ensure proper cleaning.
Now that your freezer is defrosted, it’s time to move on to the next step: cleaning the freezer floor.
Cleaning the freezer floor
Now that the freezer is defrosted, it’s time to tackle the cleaning of the freezer floor. Here’s a step-by-step guide:
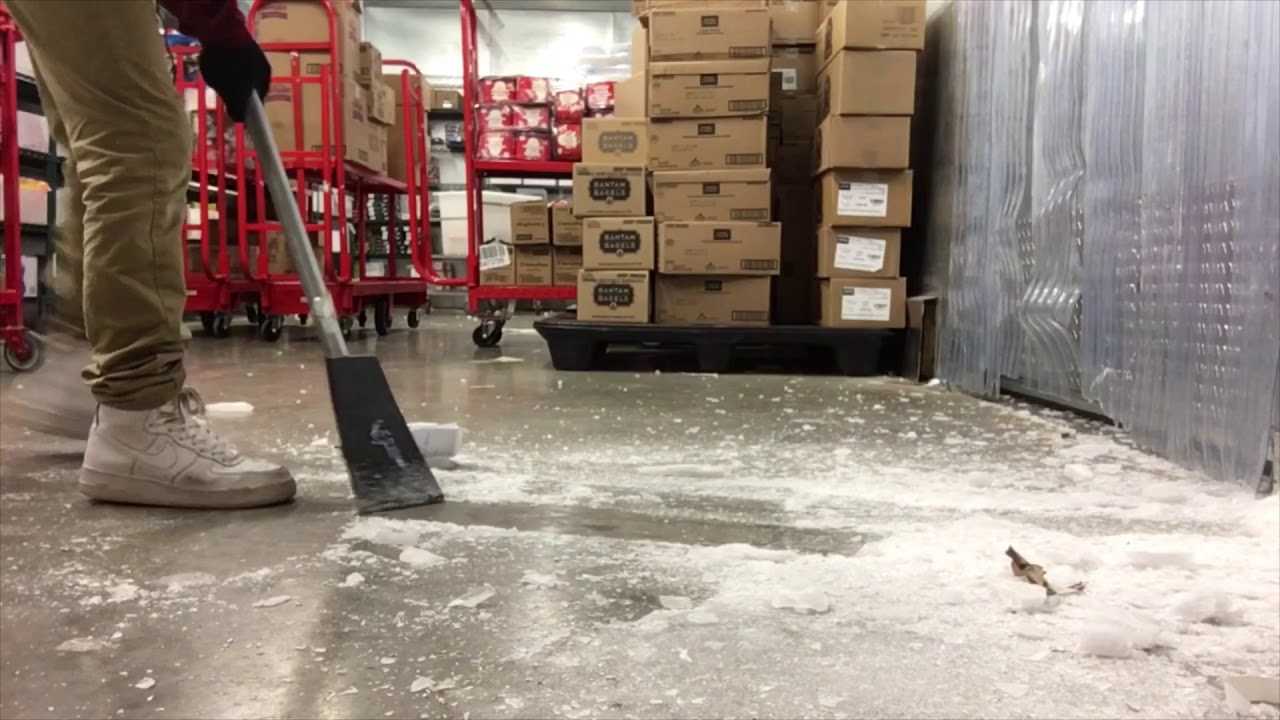
- Remove loose debris: Use a plastic scraper or spatula to gently scrape off any loose debris, dirt, or ice from the freezer floor. Be careful not to scratch the floor surface.
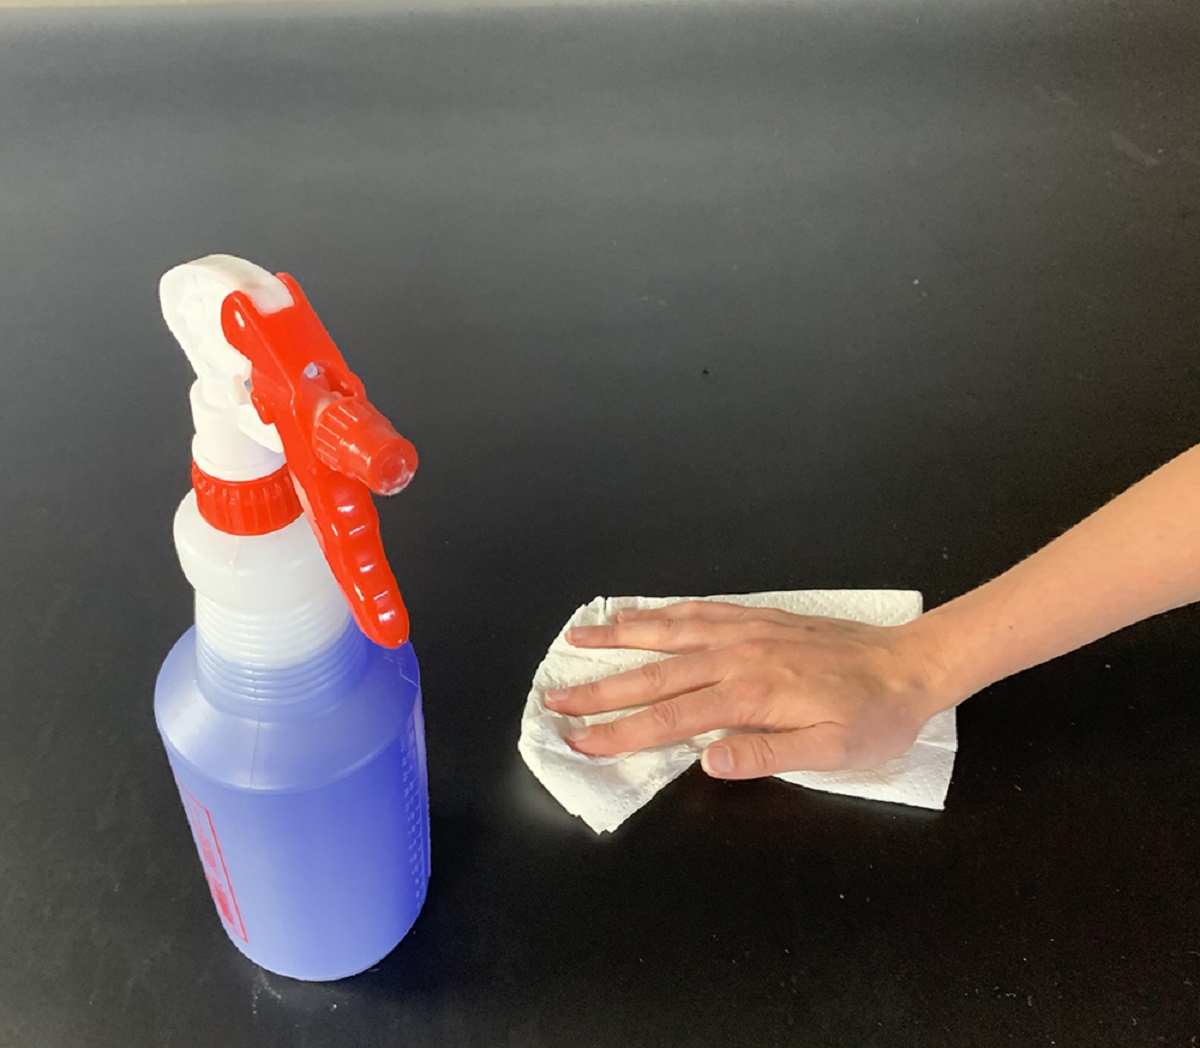
- Create a cleaning solution: In a bucket or basin, mix equal parts warm water and white vinegar. The vinegar helps to disinfect and remove odors from the freezer.
- Dip the cloth or sponge: Dip a soft cloth or sponge into the cleaning solution and wring out any excess liquid. You want the cloth or sponge to be damp, not soaking wet.
- Clean the floor: Gently scrub the freezer floor with the damp cloth or sponge, paying special attention to any stubborn stains or spills. Use circular motions or back-and-forth motions to effectively clean the entire surface.
- Focus on corners and edges: Take extra care to clean the corners and edges of the freezer floor, as these areas can accumulate more dirt and debris. Use a small brush or toothbrush to reach into tight spaces.
- Remove any leftover residue: If there are still stains or residue on the freezer floor, sprinkle a small amount of baking soda onto the affected areas. Use the damp cloth or sponge to scrub the baking soda into the floor, working it in a circular motion. Baking soda acts as a natural abrasive and helps to remove tough stains.
- Rinse with clean water: Once you have cleaned the entire freezer floor, rinse the cloth or sponge with clean water and go over the surface again to remove any cleaning residue or vinegar smell.
- Dry the floor: Use a clean, dry cloth or towel to thoroughly dry the freezer floor. Make sure there is no remaining moisture to prevent any ice or frost from forming.
After cleaning the freezer floor, take a moment to admire your hard work. The freezer floor should now be clean and free from any dirt, stains, or odors. Now, it’s time to move on to cleaning the freezer walls and shelves.
To clean the freezer floor, start by unplugging the freezer and removing all items. Use a mixture of warm water and mild detergent to scrub the floor, then dry thoroughly before plugging the freezer back in.
Read more: How To Clean A Floor
Cleaning the freezer walls and shelves
Now that the freezer floor is sparkling clean, it’s time to turn your attention to the walls and shelves. Here’s how you can effectively clean these areas:
- Remove shelves and drawers: Start by removing any removable shelves, drawers, or compartments from the freezer. This will make it easier to clean them separately.
- Create a cleaning solution: In a bucket, mix warm water with a small amount of dish soap. This mild solution will help remove grime and stains from the freezer walls and shelves.
- Dip a cloth or sponge: Dip a soft cloth or sponge into the cleaning solution, making sure it is damp but not saturated.
- Wipe down the walls: Starting from the top, wipe down the freezer walls with the damp cloth or sponge. Pay extra attention to any areas with visible stains or spills. Use circular motions or back-and-forth strokes to effectively clean the surfaces.
- Clean the shelves: Take the removable shelves and drawers and clean them separately using the same cleaning solution and a cloth or sponge. Rinse them thoroughly with clean water and dry them before placing them back into the freezer.
- Remove tough stains: For any stubborn stains or residue, you can create a paste by mixing baking soda with a small amount of water. Apply the paste to the stains and let it sit for a few minutes before using a soft brush or sponge to scrub them away.
- Rinse and dry: Once you have finished cleaning the walls and shelves, rinse the cloth or sponge with clean water and wipe down the surfaces again to remove any soap residue. Dry the walls and shelves thoroughly with a clean, dry cloth or towel before placing the shelves back into the freezer.
After cleaning the freezer walls and shelves, take a moment to admire the overall cleanliness of your freezer. The walls and shelves should now be free from any dirt, stains, or odors, ensuring a hygienic storage space for your food items.
Now that everything is clean, it’s time to reorganize and restock your freezer!
Reorganizing and restocking the freezer
Now that your freezer is clean and fresh, it’s the perfect time to reorganize and restock it to maximize its efficiency and make it easier to find what you need. Follow these steps to efficiently reorganize and restock your freezer:
- Sort and assess your items: Take a moment to evaluate the items you removed from the freezer and decide which ones you want to keep, discard, or use in the near future. Toss out any expired or freezer-burnt items.
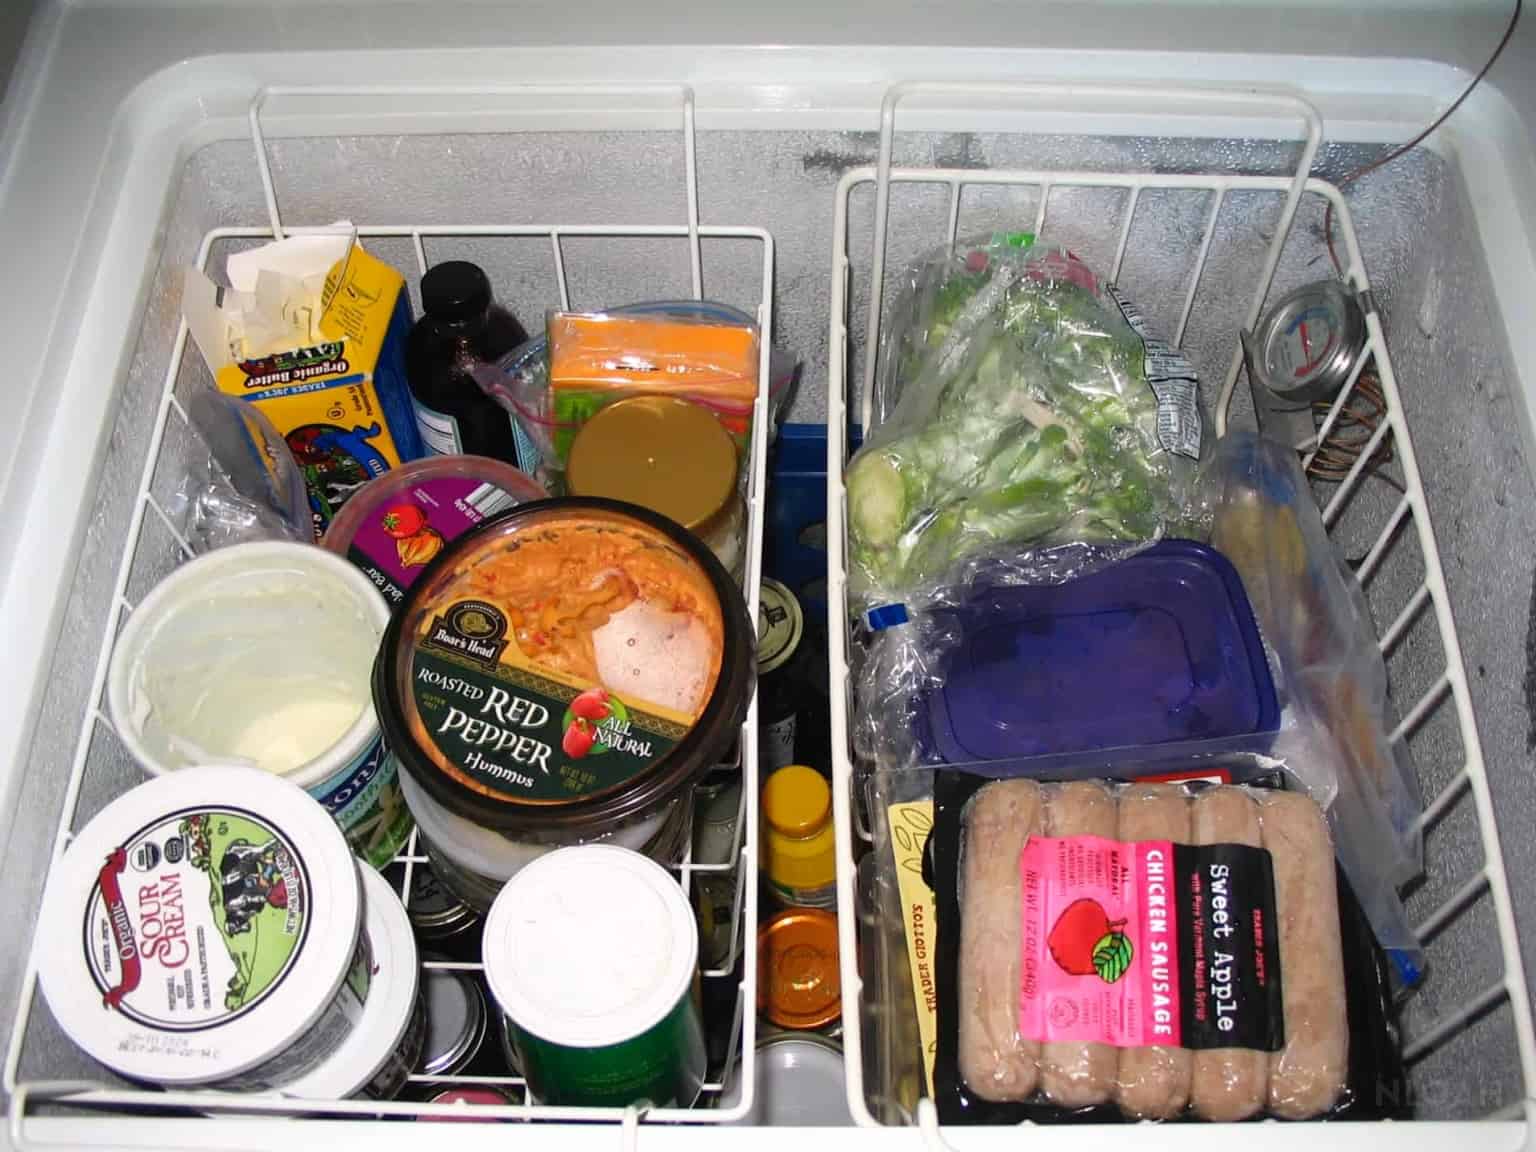
- Create zones: Divide your freezer into zones, such as meat, vegetables, fruits, and prepared meals. This will help you find things more easily and prevent cross-contamination.
- Use labeled containers: Invest in clear, airtight containers or resealable freezer bags for smaller items. Label them with the contents and date to keep track of what you have and when it was frozen.
- Organize and stack items: Arrange items neatly in their designated zones, with the oldest items in front for easier access. Stack containers vertically to save space, leaving some room for air circulation.
- Utilize freezer-safe organizers: Consider using wire baskets, dividers, or plastic bins to keep like items together and prevent them from shifting or getting buried in the freezer.
- Make a freezer inventory: Take note of what you put into the freezer to have a handy inventory of your items. This will help reduce waste, plan meals, and prevent overbuying.
- Maintain proper temperature: Check and adjust the temperature settings of your freezer to maintain efficient freezing and food preservation. The ideal freezer temperature is around 0°F (-18°C).
By following these tips, you can easily locate and access items in your freezer while keeping them organized and preserving their quality. Plus, a well-organized freezer helps reduce food waste and saves you time and money.
Now that your freezer is reorganized and restocked, let’s move on to the final step: maintaining a clean freezer.
Maintaining a clean freezer
After all the effort you put into cleaning and organizing your freezer, it’s important to maintain its cleanliness to ensure optimal performance and food safety. Here are some tips for keeping your freezer clean:
- Regularly check for spills or leaks: Keep an eye on any spills or leaks that may occur inside the freezer. If you notice anything, clean it up immediately to prevent it from becoming a stubborn stain.
- Wipe up spills promptly: Whenever you notice a spill or a sticky spot inside the freezer, wipe it up promptly with a damp cloth or sponge. This will prevent the spill from freezing and becoming harder to clean later.
- Rotate items regularly: As you use items from your freezer, make sure to rotate your stock. Use older items first and bring newer items to the front. This helps prevent food from getting forgotten and becoming freezer-burnt.
- Keep it organized: Take a few minutes every now and then to reorganize your freezer and ensure items are properly placed in their designated zones. This will help you access what you need quickly and avoid any clutter.
- Perform regular deep cleanings: Every few months, consider doing a deep cleaning of your freezer to remove any built-up frost, dust, or grime. Follow the cleaning steps mentioned earlier to defrost and clean the freezer thoroughly.
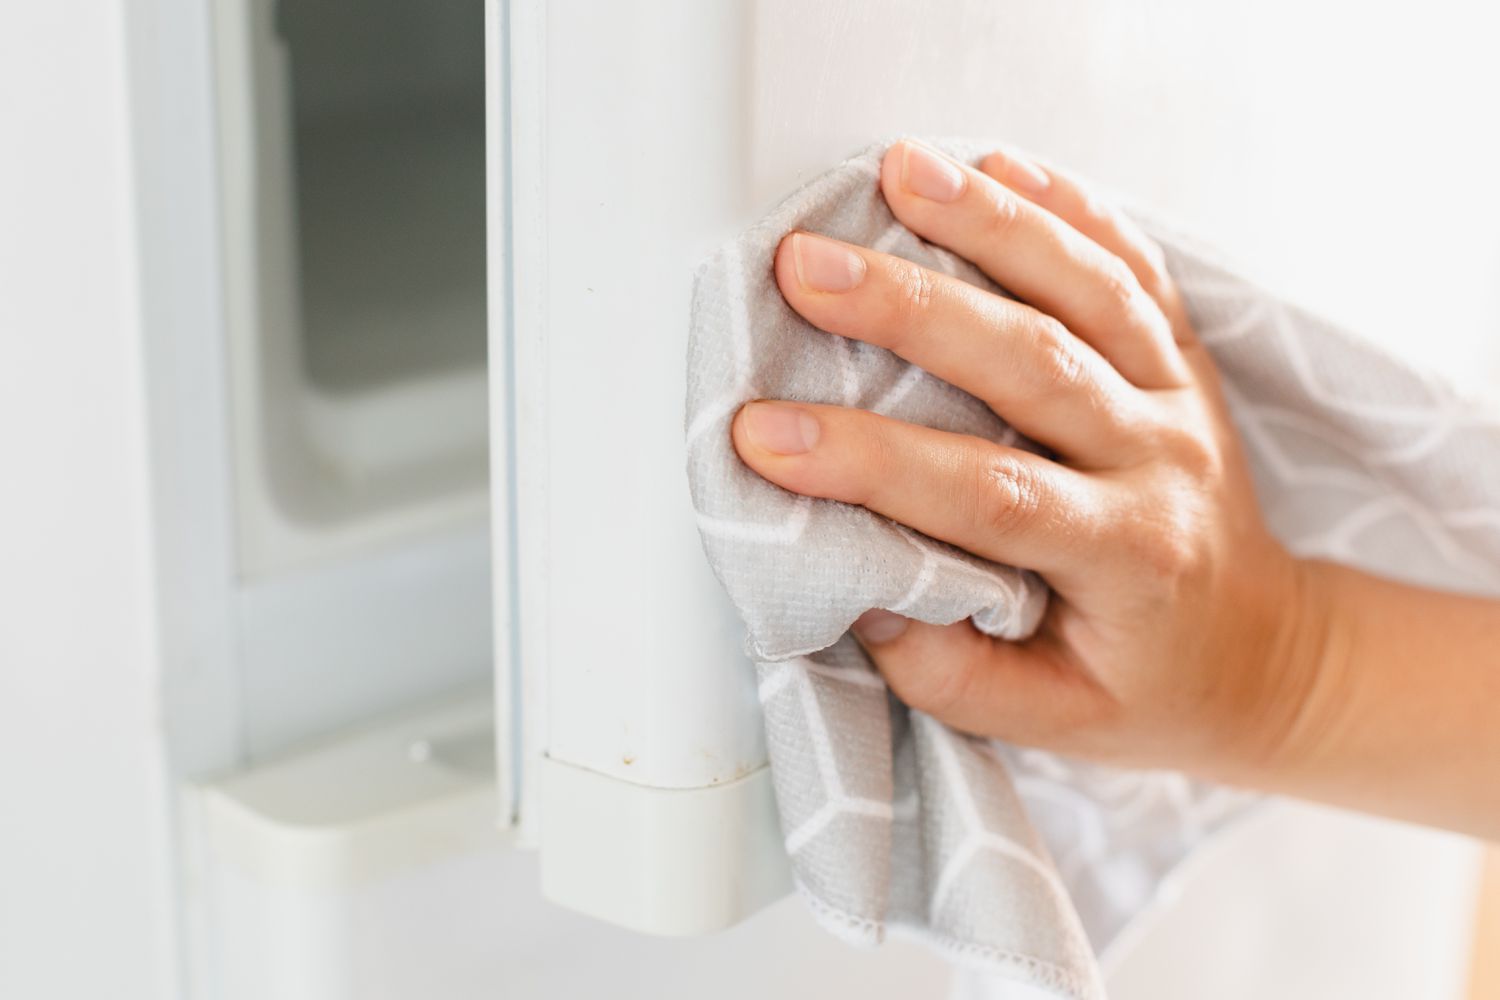
- Check the door seal: Inspect the door seal regularly to ensure it forms a tight seal when closed. Wipe it down with mild soapy water to remove any residue that may interfere with the seal’s effectiveness.
- Use freezer-safe packaging: When storing food in the freezer, use freezer-safe containers or bags to avoid freezer burn and maintain food quality. Ensure items are properly sealed to prevent odors from spreading.
- Avoid overloading the freezer: Do not overload the freezer, as it restricts proper air circulation and can lead to inefficient cooling. Leave space between items for air to circulate and freeze food evenly.
- Regularly clean the exterior: Don’t forget to clean the exterior of the freezer as well. Wipe it down with a damp cloth and mild soapy water to remove fingerprints, food splatters, and dust.
By following these maintenance tips, you can keep your freezer clean, organized, and in optimal condition. Not only will this ensure your food stays fresh and safe, but it will also extend the lifespan of your freezer.
Remember, a clean freezer is the key to food preservation and hassle-free meal preparation. So, make it a habit to maintain the cleanliness of your freezer for a neat and efficient kitchen.
Congratulations on completing the cleaning and maintenance of your freezer! Enjoy the benefits of a clean and organized freezer for years to come.
Conclusion
Cleaning your freezer floor is an essential task that not only promotes better food storage and hygiene but also helps maintain its efficiency and prolong its lifespan. With the step-by-step process outlined in this guide, you now have the knowledge and tools to effectively clean your freezer.
By gathering the necessary supplies, removing items from the freezer, defrosting, and cleaning the floor, walls, and shelves, you can achieve a clean and organized freezer space. Regular maintenance, such as checking for spills, rotating items, and performing deep cleanings, will help you maintain a clean freezer and ensure its optimal performance.
Remember to maintain proper temperature settings, organize your freezer, and use freezer-safe packaging to prevent food waste and ensure food stays fresh. With these practices, you can enjoy a well-organized freezer, easy access to your frozen items, and peace of mind knowing your food is properly stored.
So, roll up your sleeves, gather your supplies, and give your freezer the cleaning and care it deserves. Your efforts will not only result in a clean and fresh freezer, but it will also enhance the overall functionality and longevity of this important appliance in your kitchen.
Now, it’s time to put your newfound knowledge into action and enjoy the benefits of a clean and well-maintained freezer. Happy cleaning!
Frequently Asked Questions about How To Clean Freezer Floor
Was this page helpful?
At Storables.com, we guarantee accurate and reliable information. Our content, validated by Expert Board Contributors, is crafted following stringent Editorial Policies. We're committed to providing you with well-researched, expert-backed insights for all your informational needs.


0 thoughts on “How To Clean Freezer Floor”