Articles
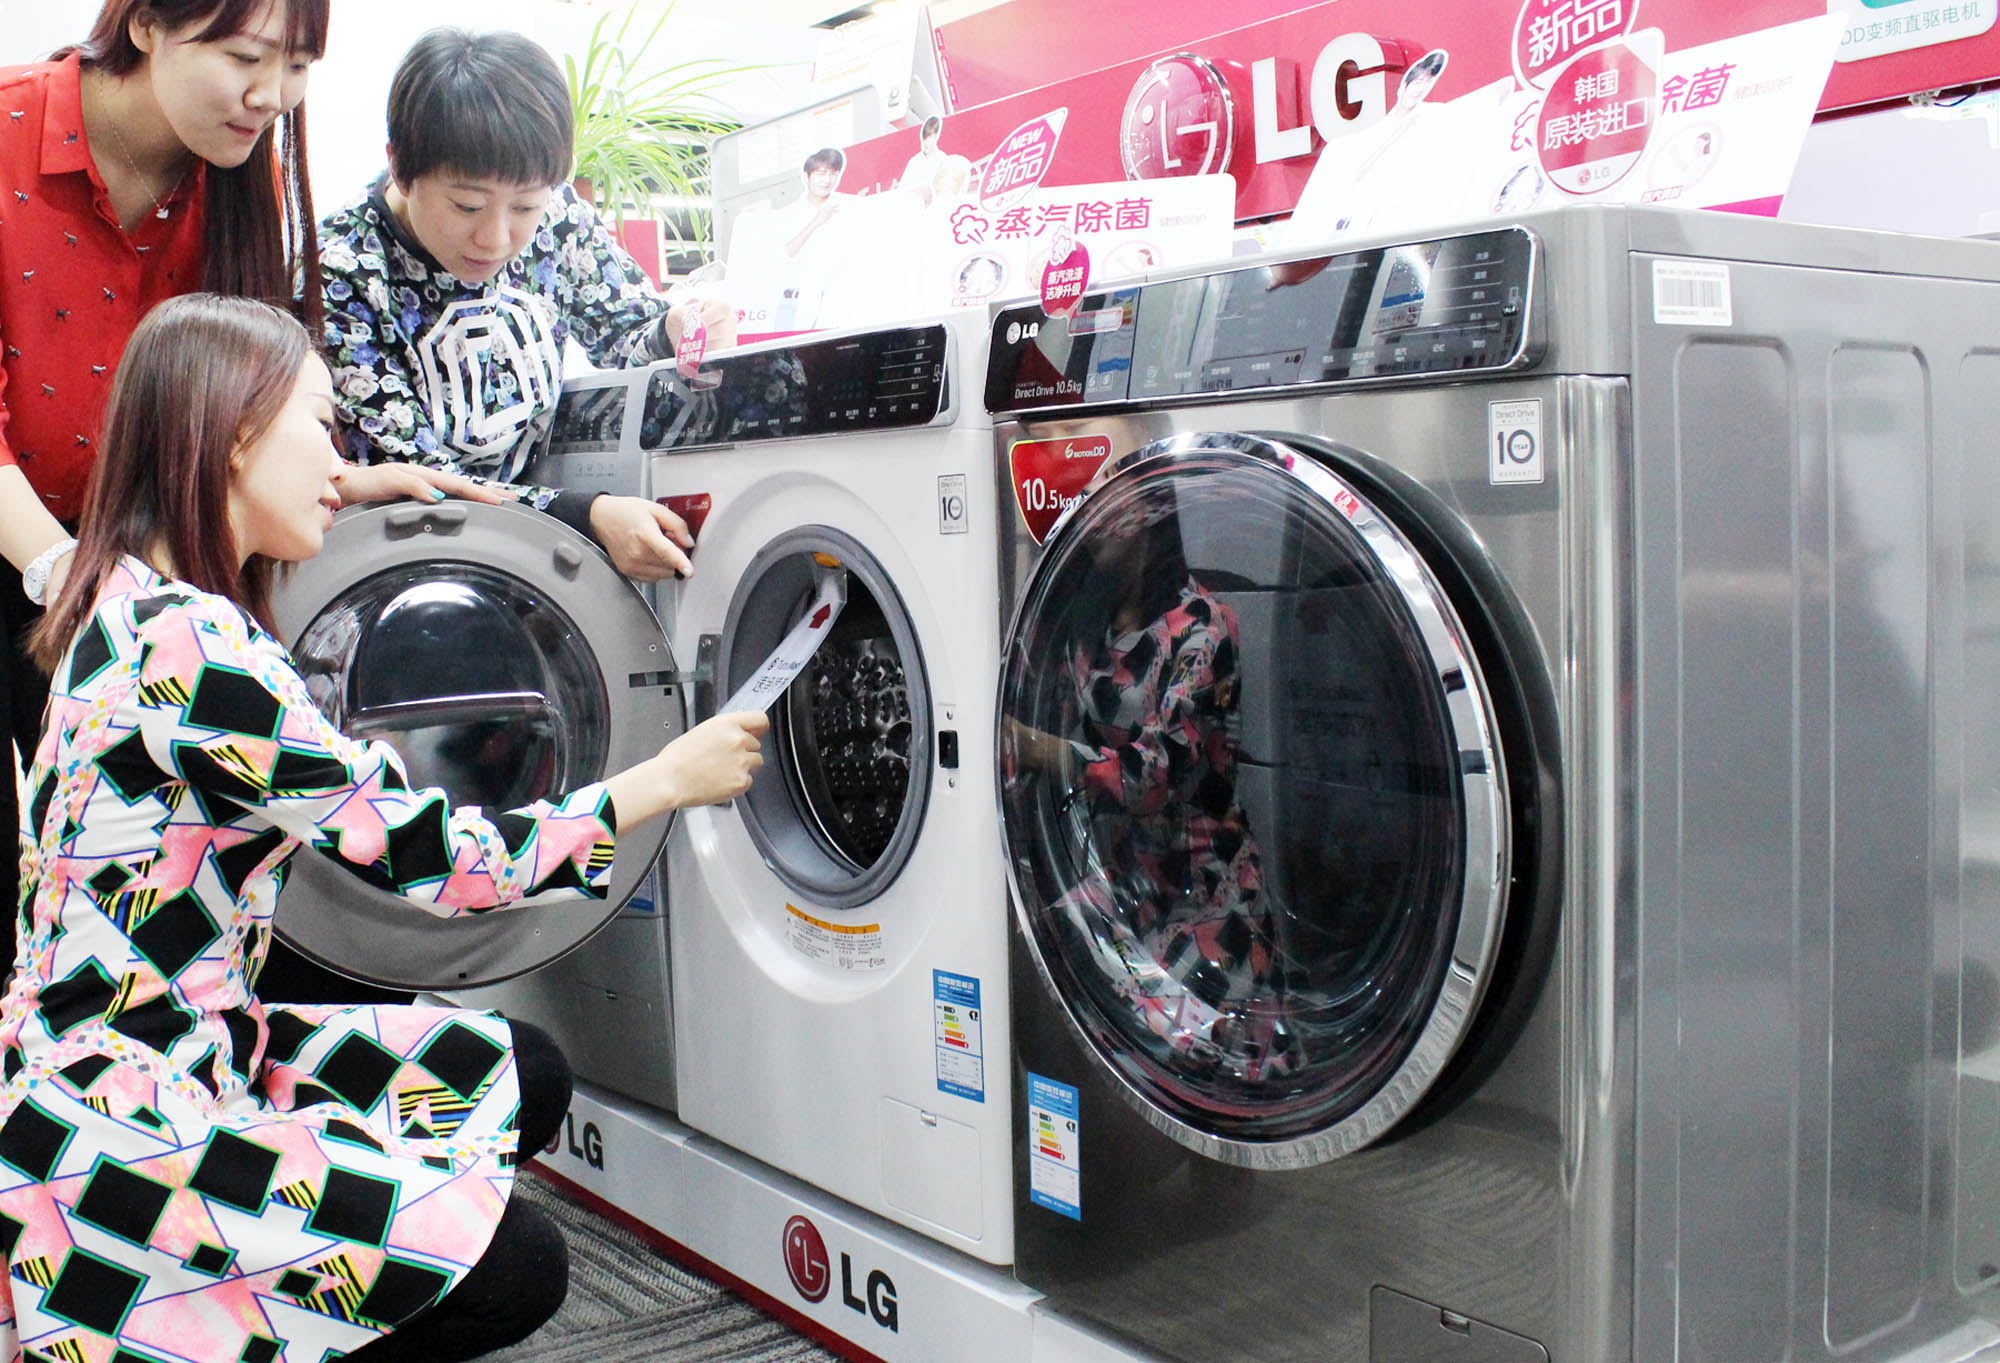
How To Clean LG Washer
Modified: March 2, 2024
Learn the best techniques for cleaning your LG washer with these helpful articles. Keep your washer in top shape and prevent buildup and odors.
(Many of the links in this article redirect to a specific reviewed product. Your purchase of these products through affiliate links helps to generate commission for Storables.com, at no extra cost. Learn more)
Introduction
Welcome to our comprehensive guide on how to clean your LG washer! Over time, washing machines can accumulate dirt, grime, and odor-causing bacteria, which can affect the efficiency and cleanliness of your laundry. Regular cleaning of your LG washer not only extends its lifespan but also ensures that your clothes come out fresh and clean with every wash. In this article, we will walk you through the step-by-step process of cleaning your LG washer, from the exterior surfaces to the drum, gasket, filter, drain pump, and more. So let’s roll up our sleeves and get started!
Key Takeaways:
- Regularly cleaning your LG washer, from the exteriors to the filter and drain pump, ensures optimal performance, prevents odors, and extends its lifespan, providing fresh and clean laundry every time.
- Implementing prevention tips such as leaving the door open, wiping down the drum, and using the right amount of detergent helps maintain the cleanliness and efficiency of your LG washer in the long run.
Read more: How To Clean A Washer And Dryer
Gather Necessary Supplies
Before you begin cleaning your LG washer, it’s important to gather all the necessary supplies. Here’s a list of items you’ll need:
- Warm water
- Mild detergent or washer cleaner
- Bleach (optional)
- Vinegar (optional)
- Soft cloth or sponge
- Toothbrush or small brush
- Old toothbrush or small brush
- Bucket
- Gloves
Make sure you have these supplies on hand before you start cleaning your LG washer. It’s important to use mild cleaning solutions to avoid damaging the machine’s surfaces. Now that you have everything ready, let’s move on to preparing the LG washer for cleaning!
Preparing the LG Washer for Cleaning
Before diving into the cleaning process, it’s essential to take a few steps to ensure the safety of both you and your LG washer. Follow these instructions to prepare the washer for cleaning:
- Turn off the power: Locate the power cord of your LG washer and unplug it from the electrical outlet. This step is crucial to avoid any accidents or injury during the cleaning process.
- Disconnect the water supply: If your LG washer is connected to a water supply, turn off the water source and disconnect the supply hoses. This step will prevent any water leakage and allow you to clean the machine without any interference.
- Empty the drum: Remove any clothing or items from the drum of the washer. It’s essential to start the cleaning process with an empty machine to ensure thorough cleaning and prevent any debris from getting stuck during the process.
Once you’ve completed these steps, you’re ready to move on to the actual cleaning process.
Cleaning the Exteriors
The exteriors of your LG washer can accumulate dust, dirt, and fingerprints over time. Cleaning the exteriors not only improves the overall appearance of the machine but also prevents the transfer of dirt onto your clothes. Here’s a step-by-step guide to cleaning the exteriors:
- Prepare a cleaning solution: Fill a bucket with warm water and add a small amount of mild detergent. Mix the solution until it forms suds.
- Dampen a soft cloth or sponge: Dip a soft cloth or sponge into the cleaning solution and squeeze out any excess liquid. You want the cloth to be damp but not soaking wet.
- Wipe down the exteriors: Gently wipe down the exterior surfaces of the LG washer with the damp cloth or sponge. Pay attention to areas that are prone to dirt buildup, such as the control panel, door handle, and detergent dispenser.
- Remove stubborn stains: If there are any stubborn stains on the exteriors, use a mild detergent directly on the stain and gently scrub with the cloth or sponge. Avoid using abrasive cleaners or scrub brushes, as they can damage the surface of the machine.
- Dry the exteriors: To avoid water streaks or spots, use a clean, dry cloth to wipe down the exteriors of the machine after cleaning. Ensure that the surfaces are completely dry before proceeding to the next step.
Once you’ve completed cleaning the exteriors, take a moment to admire the shine and cleanliness of your LG washer. Now, let’s move on to cleaning the drum and gasket!
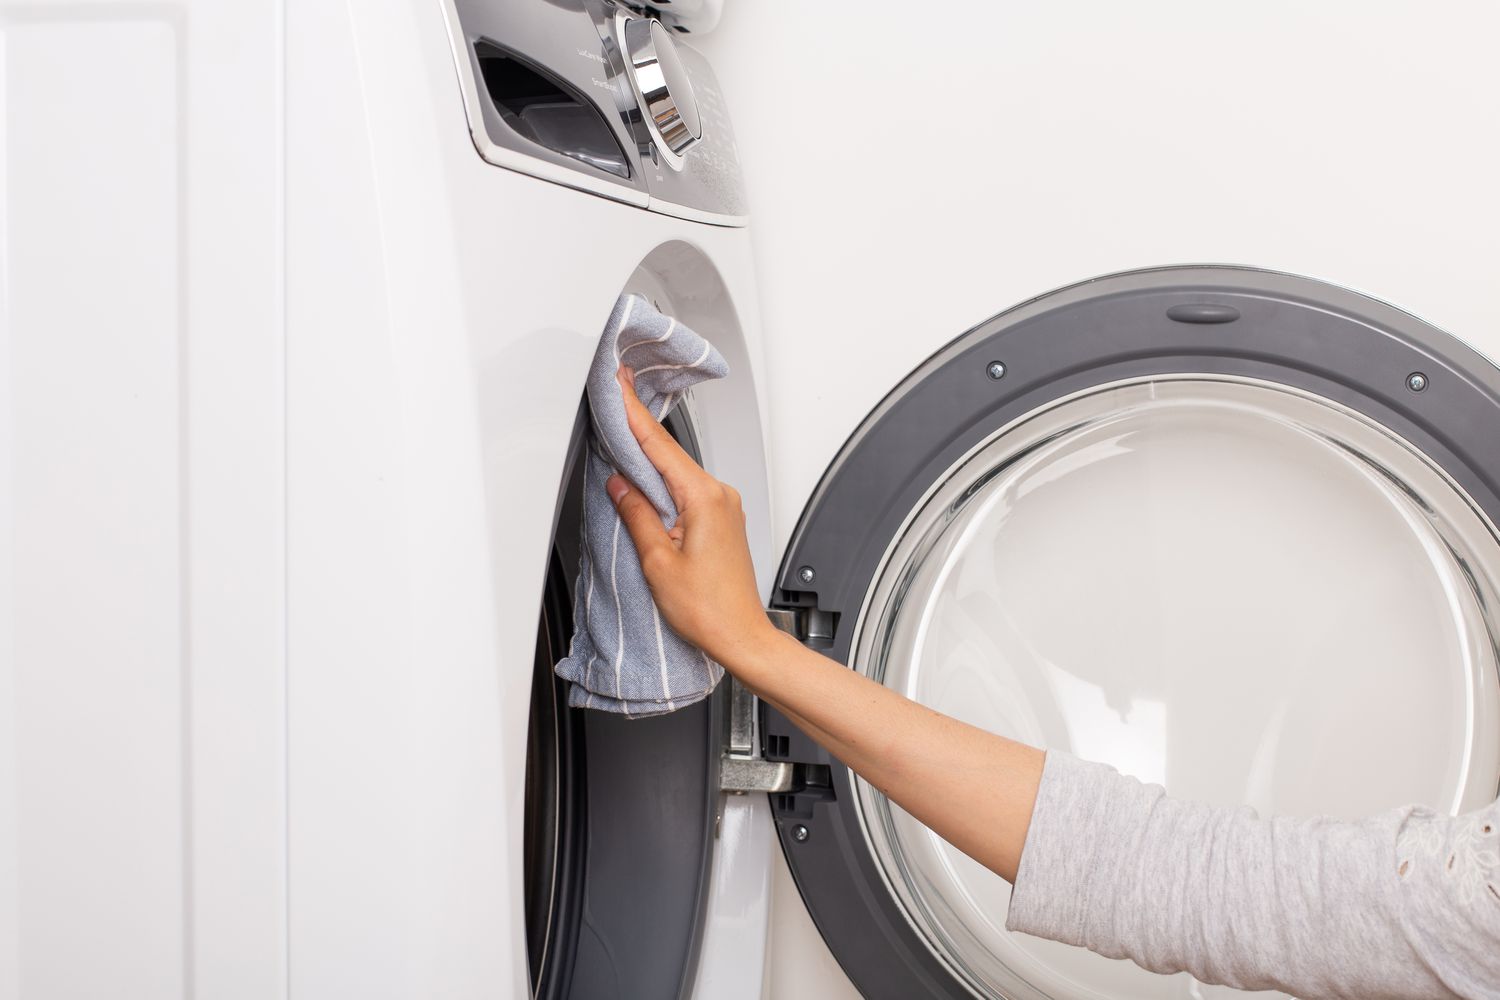
Cleaning the Drum and Gasket
The drum and gasket of your LG washer are areas where dirt, grime, and residue can accumulate over time. Cleaning these parts is essential for maintaining the cleanliness and efficiency of your machine. Follow these steps to clean the drum and gasket:
- Inspect the drum: Start by inspecting the drum of your LG washer for any visible debris or residue. If you notice any large chunks of dirt or lint, remove them manually.
- Prepare a cleaning solution: Mix a solution of warm water and mild detergent or a washer cleaner according to the manufacturer’s instructions. Ensure that the solution is well-diluted.
- Dampen a soft cloth: Dip a soft cloth into the cleaning solution and wring out any excess liquid. The cloth should be damp but not dripping.
- Wipe down the drum: Begin wiping down the interior of the drum with the damp cloth, starting from the top and working your way down. Pay attention to areas where dirt and residue may accumulate, such as the agitator, paddles, and the inner edge of the drum.
- Clean the gasket: The rubber gasket around the door of your LG washer can harbor dirt, grime, and mildew. Use a toothbrush or small brush dipped in the cleaning solution to scrub the gasket and remove any buildup. Take care to clean both the inner and outer surfaces of the gasket.
- Rinse and dry: Once you’ve finished cleaning the drum and gasket, rinse them thoroughly with clean water to remove any residual cleaning solution. Use a dry cloth or towel to wipe them dry.
Cleaning the drum and gasket helps to prevent odors and keeps your laundry fresh and clean. Now, let’s move on to removing and cleaning the detergent tray.
Read more: How To Buy A Washer And Dryer
Removing and Cleaning the Detergent Tray
The detergent tray in your LG washer can become a breeding ground for bacteria, mold, and residue buildup. It’s important to regularly remove and clean the detergent tray to ensure optimal performance and cleanliness. Here’s how to remove and clean the detergent tray:
- Locate the detergent tray: The detergent tray is usually located on the top left side of the washer. It consists of compartments for detergent, fabric softener, and bleach.
- Remove the tray: Gently pull the detergent tray towards you to slide it out of its housing. Be careful not to force it or apply too much pressure, as you could damage the tray or the machine.
- Disassemble the parts: Once the detergent tray is removed, disassemble the different compartments by pulling them apart. Some trays may have additional parts, such as a syphon cap or a siphon tube. Take note of the arrangement of the parts to easily reassemble them later.
- Clean the tray and compartments: Using warm water and a mild detergent, scrub the detergent tray and compartments with a small brush or an old toothbrush to remove any residue or buildup. Pay extra attention to any caked-on detergent or fabric softener.
- Rinse and dry: After cleaning, thoroughly rinse the detergent tray and compartments with clean water. Ensure that all soap residues are removed.
- Reassemble and reinsert the tray: Once the detergent tray and compartments are clean and dry, reassemble them in their correct positions. Slide the tray back into its housing until it clicks into place.
Regularly cleaning the detergent tray helps maintain the effectiveness of your laundry products and prevents potential clogs and odors. Now, let’s move on to cleaning the filter.
To clean an LG washer, run a cleaning cycle with a washing machine cleaner or a mixture of vinegar and baking soda to remove any residue and odors. Wipe down the door seal and detergent dispenser regularly to prevent mold and mildew buildup.
Cleaning the Filter
The filter in your LG washer helps to trap lint, debris, and other small particles from your laundry. Over time, the filter can become clogged, affecting the machine’s performance and efficiency. Cleaning the filter is an essential step to keep your washer running smoothly. Follow these steps to clean the filter:
- Locate the filter: The filter is typically located at the front of the machine, near the bottom. Look for a small access door or panel.
- Prepare a towel or bucket: Place a towel or a bucket under the filter area to catch any water or debris that may come out during the cleaning process.
- Open the filter access door: Carefully open the filter access door or panel. Be cautious as there may be some residual water inside the machine.
- Remove the filter: Gently twist and pull the filter to remove it from its housing. Be prepared for any water or debris that may come out when removing the filter.
- Clean the filter: Rinse the filter under running water to remove any lint, dirt, or debris. Use a small brush or toothbrush to scrub away any stubborn buildup. Ensure that the filter is completely clean before reinstalling it.
- Reinstall the filter: Insert the clean filter back into its housing and secure it in place. Ensure that it is properly seated and locked.
Cleaning the filter on a regular basis helps to prevent clogs, enhance washing performance, and prolong the lifespan of your LG washer. Now, let’s move on to cleaning the drain pump.
Cleaning the Drain Pump
The drain pump in your LG washer plays a crucial role in removing water from the machine during the wash and spin cycles. Over time, the drain pump can become clogged with debris, causing drainage issues and unpleasant odors. Cleaning the drain pump is essential to maintain the efficiency of your washer. Follow these steps to clean the drain pump:
- Locate the drain pump filter: The drain pump filter is typically located at the bottom front of the washer behind a small access door or panel. Place a towel or bucket beneath the pump area to catch any water that may spill out.
- Open the access door: Carefully open the access door or panel to reveal the drain pump filter. Be cautious as there may be some residual water inside the machine.
- Remove any excess water: If there is standing water in the machine, use a small container to scoop out as much water as possible before cleaning the drain pump. This step will prevent excessive water spillage during the cleaning process.
- Remove the drain pump filter: Gently twist and pull the drain pump filter to remove it from its housing. Be prepared for any remaining water and debris to come out.
- Clean the drain pump filter: Rinse the filter under running water to remove any lint, dirt, or debris. Use a small brush or toothbrush to scrub away any stubborn buildup. Ensure that the filter is completely clean before reinstalling it.
- Inspect the pump cavity: After removing the filter, take a moment to inspect the pump cavity for any visible obstructions or debris. Use a flashlight if necessary to get a clear view.
- Reinstall the drain pump filter: Insert the clean filter back into its housing and secure it in place. Ensure that it is properly seated and locked.
Regularly cleaning the drain pump helps prevent blockages, improve drainage efficiency, and maintain the overall performance of your LG washer. Now, let’s move on to cleaning the dispenser drawer.
Cleaning the Dispenser Drawer
The dispenser drawer in your LG washer is where you add detergent, fabric softener, and bleach for each wash cycle. Over time, residue and buildup can accumulate in the drawer, leading to clogs and ineffective dispensing. Cleaning the dispenser drawer is crucial to maintain the cleanliness and functionality of your washer. Follow these steps to clean the dispenser drawer:
- Remove the drawer: Pull out the dispenser drawer to its fully extended position. Most LG washers have a release or locking mechanism that needs to be pressed or pulled to remove the drawer completely.
- Disassemble the parts: Take apart the different compartments of the dispenser drawer, including the sections for detergent, fabric softener, and bleach. Some drawers may have additional components, such as siphon caps or removable trays.
- Prepare a cleaning solution: Mix warm water with a small amount of mild detergent or use a washer cleaner according to the manufacturer’s instructions. Stir the solution to create a soapy mixture.
- Scrub the compartments: Dip a soft brush or toothbrush into the cleaning solution and scrub the compartments of the dispenser drawer. Pay special attention to any stubborn residue or buildup. You can also use a small sponge or cloth for this step.
- Rinse thoroughly: Rinse each compartment under running water to remove any soap residue. Ensure that the water runs freely through the dispenser drawer to ensure proper dispensing in future wash cycles.
- Clean the housing area: While the drawer is removed, clean the area where the dispenser drawer sits using a damp cloth. Wipe away any dirt or grime that may have accumulated.
- Reassemble and reinstall: Once the dispenser drawer and compartments are clean and dry, reassemble them in the correct order. Make sure each part fits securely and snaps into place. Slide the drawer back into its housing until it locks into position.
Regularly cleaning the dispenser drawer helps to ensure that your detergent, fabric softener, and bleach are dispensed properly, providing effective cleaning for your laundry. Now, let’s move on to cleaning the control panel.
Read more: How To Stack Washer And Dryer
Cleaning the Control Panel
The control panel of your LG washer is the central hub where you select different wash cycles, adjust settings, and monitor the progress of your laundry. Over time, dust, fingerprints, and spills can accumulate on the control panel, affecting its appearance and functionality. Cleaning the control panel is important for maintaining a clean and user-friendly interface. Follow these steps to clean the control panel:
- Turn off the washer: Before cleaning the control panel, ensure that the washer is turned off and unplugged from the power source. This will prevent any accidental changes or damage during the cleaning process.
- Prepare a cleaning solution: Mix a small amount of mild detergent with warm water to create a gentle cleaning solution. Alternatively, you can use a non-abrasive household cleaner specifically designed for electronics.
- Dampen a soft cloth: Dip a soft cloth or sponge into the cleaning solution and wring out any excess liquid. The cloth should be slightly damp but not soaking wet.
- Wipe the control panel: Gently wipe the control panel with the damp cloth, paying attention to areas with visible dirt, smudges, or spill marks. Use gentle, circular motions to clean the surface, ensuring that you don’t press too hard to avoid damaging any buttons or screens.
- Pay attention to crevices: Use a soft-bristled toothbrush or a small brush to clean hard-to-reach areas and crevices around buttons, knobs, and screens. Be gentle to prevent any damage.
- Dry the control panel: After wiping the control panel, use a clean, dry cloth to remove any excess moisture. Ensure that the control panel is completely dry before turning the washer back on.
Cleaning the control panel helps to maintain the appearance and functionality of your LG washer. By keeping it clean, you can easily navigate the settings and ensure a smooth laundry experience. Now that you have successfully cleaned all the essential parts of your LG washer, let’s move on to some prevention tips for keeping your washer clean in the long run.
Prevention Tips for Keeping Your LG Washer Clean
Cleaning your LG washer is essential for maintaining its efficiency and prolonging its lifespan. However, prevention is key to ensure that your washer stays clean in the long run. Here are some tips to help you prevent dirt, grime, and odor buildup in your LG washer:
- Leave the washer door open: After each wash cycle, prop the door open slightly to allow air circulation inside the drum. This helps to prevent the growth of mold and mildew.
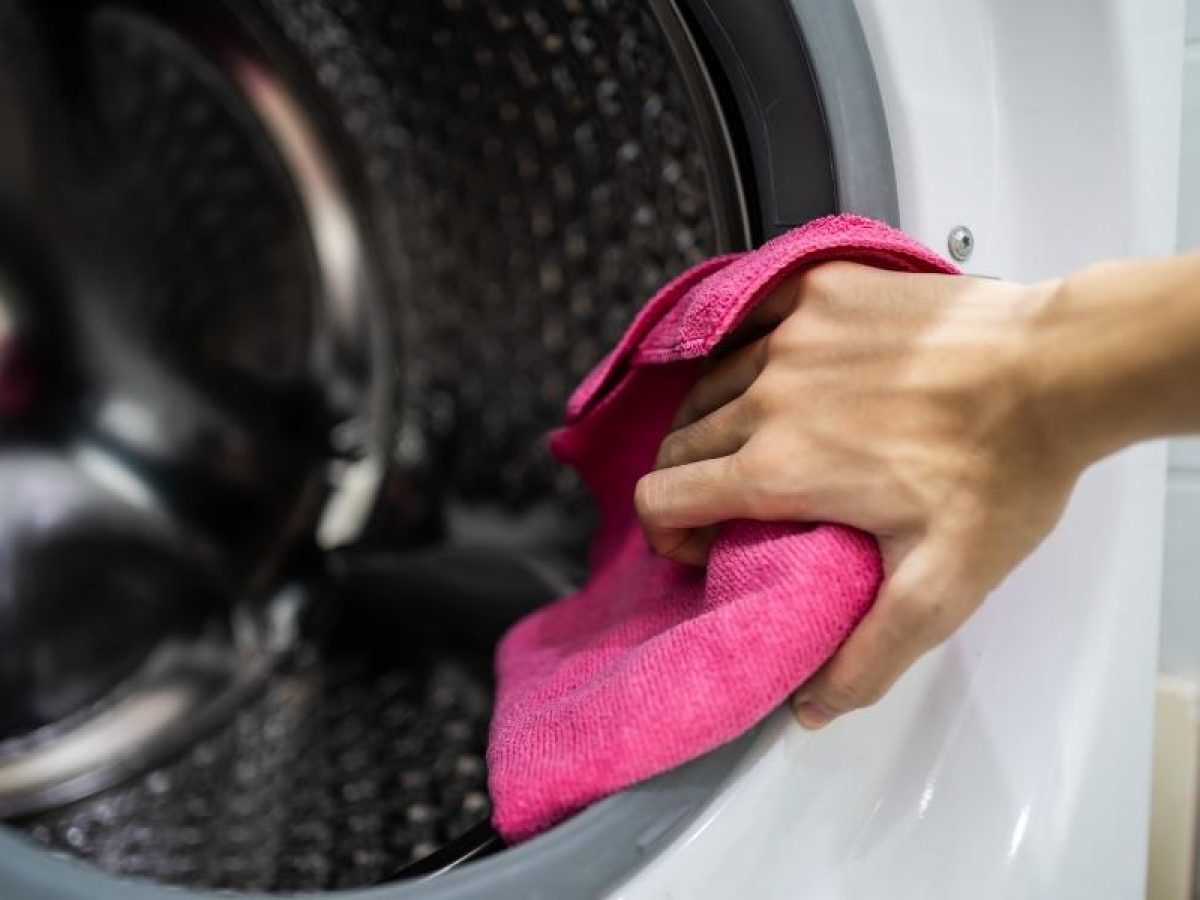
- Wipe down the drum and gasket: After each use, quickly wipe down the drum and rubber gasket with a clean, dry cloth to remove any moisture or residue.
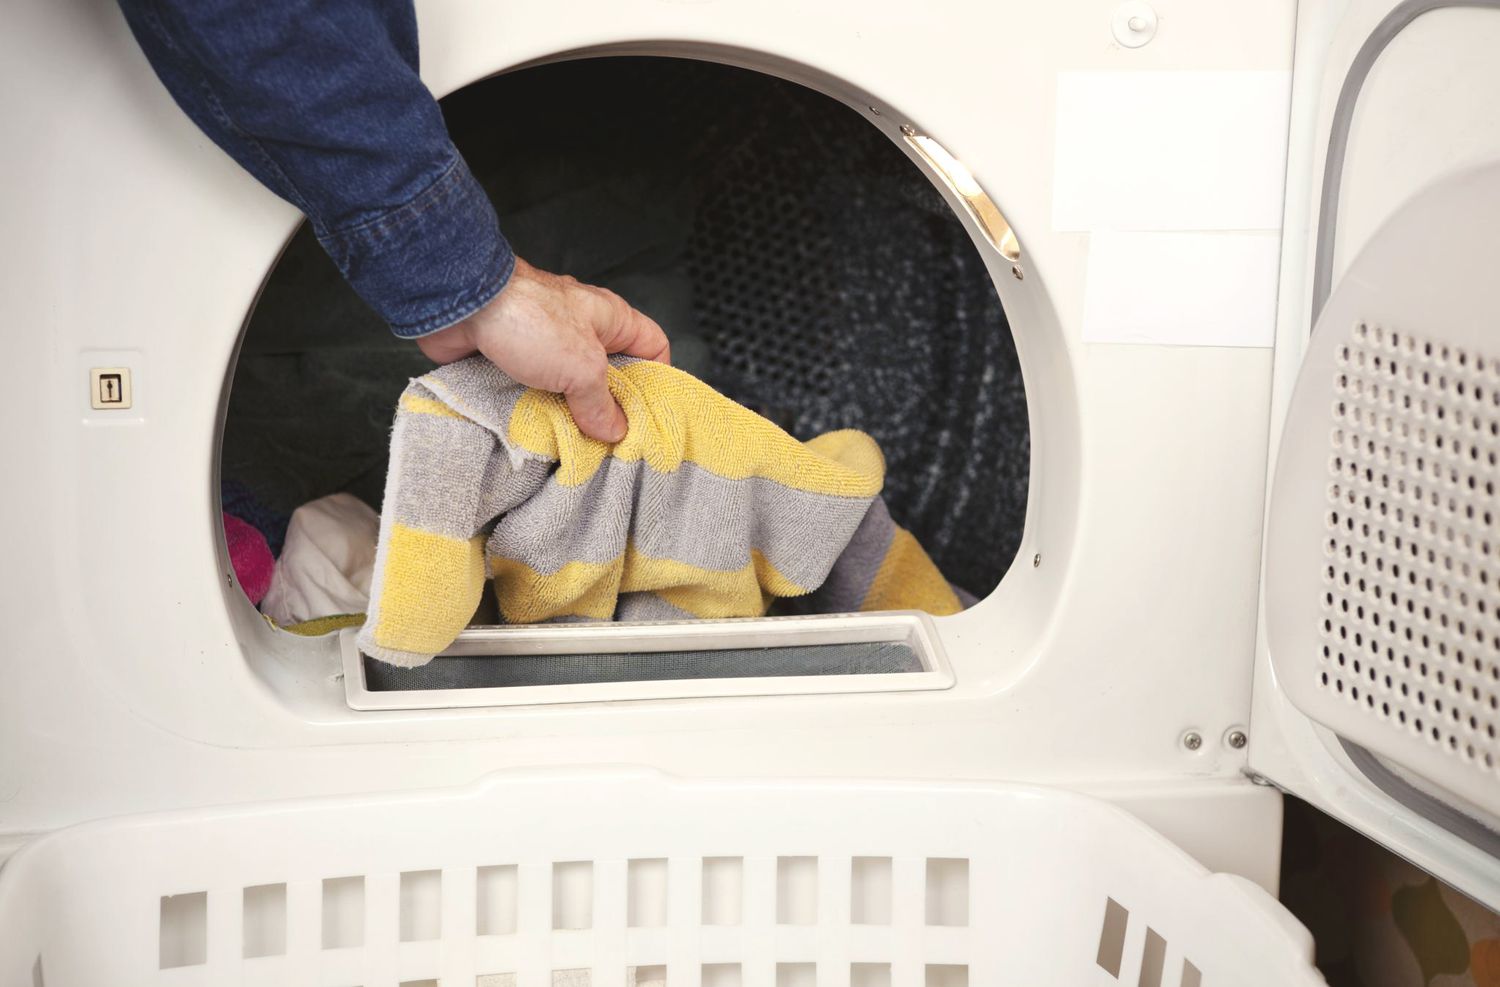
- Remove damp clothing promptly: Avoid leaving wet or damp clothes sitting in the washer for extended periods. Transfer them to the dryer or hang them up to dry as soon as possible to prevent musty odors.
- Use the right amount of detergent: Overloading the washer with excessive detergent can lead to residue buildup. Follow the manufacturer’s guidelines for the recommended amount of detergent for each load.
- Clean the detergent tray regularly: As mentioned earlier, regularly clean the detergent tray to prevent clogs and buildup. This will ensure that your laundry products are dispensed properly.
- Check pockets before loading: Before loading clothes into the washer, check pockets for any small items like coins, keys, or tissues. These can get caught in the drum and cause damage or blockages.
- Run a regular cleaning cycle: LG washers often have a cleaning cycle option. Use this feature periodically to clean the drum, gasket, and other internal parts of the washer.
- Inspect and clean the drain pump filter regularly: Make it a habit to check and clean the drain pump filter every few months to prevent blockages and maintain proper drainage.
- Keep the washer clean from the outside: Regularly wipe down the exteriors of the washer with a soft cloth to remove dust, dirt, and fingerprints.
- Follow maintenance guidelines: Refer to your LG washer’s user manual for specific maintenance guidelines and recommendations. Follow these instructions to keep your washer in optimal condition.
By following these prevention tips, you can ensure that your LG washer remains clean, fresh, and efficient for years to come. Regular maintenance and care will keep your laundry experience smooth and hassle-free. Now that you’re equipped with the knowledge to keep your LG washer clean, happy washing!
Conclusion
Cleaning your LG washer is an important task that helps to maintain its efficiency, prolong its lifespan, and ensure that your clothes come out fresh and clean with every wash. Throughout this comprehensive guide, we have covered all the essential steps to clean various parts of your LG washer, including the exteriors, drum, gasket, detergent tray, filter, drain pump, and control panel. By following these steps and incorporating prevention tips into your laundry routine, you can keep your washer in optimal condition.
Regular cleaning not only improves the performance of your LG washer but also helps to prevent odors, clogs, and the growth of bacteria or mold. Taking the time to gather the necessary supplies, preparing the washer, and cleaning each component thoroughly ensures that your washer operates at its best.
Remember to leave the washer door open after each use, wipe down the drum and gasket, remove damp clothing promptly, and use the right amount of detergent to maintain cleanliness. In addition, running regular cleaning cycles, inspecting the drain pump filter, and following maintenance guidelines will keep your LG washer in excellent condition for years to come.
By following the step-by-step instructions in this guide and integrating prevention tips into your routine, you can enjoy a fresh, clean, and efficient laundry experience with your LG washer. So, it’s time to roll up your sleeves, gather your cleaning supplies, and give your LG washer the care it deserves. Happy cleaning!
Frequently Asked Questions about How To Clean LG Washer
Was this page helpful?
At Storables.com, we guarantee accurate and reliable information. Our content, validated by Expert Board Contributors, is crafted following stringent Editorial Policies. We're committed to providing you with well-researched, expert-backed insights for all your informational needs.


0 thoughts on “How To Clean LG Washer”