Articles
How To Clean A Whirlpool Washer
Modified: April 22, 2024
Learn how to clean a Whirlpool washer with our informative articles. Follow our step-by-step guides and keep your washer looking and smelling fresh.
(Many of the links in this article redirect to a specific reviewed product. Your purchase of these products through affiliate links helps to generate commission for Storables.com, at no extra cost. Learn more)
Introduction
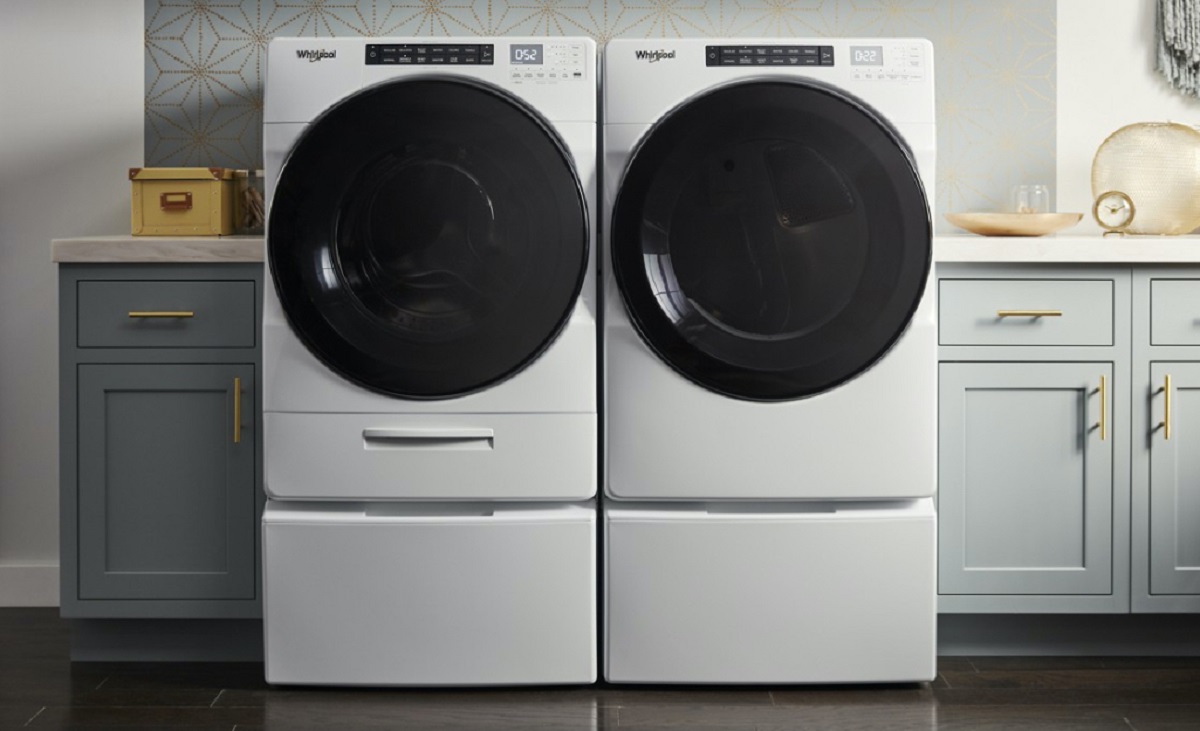
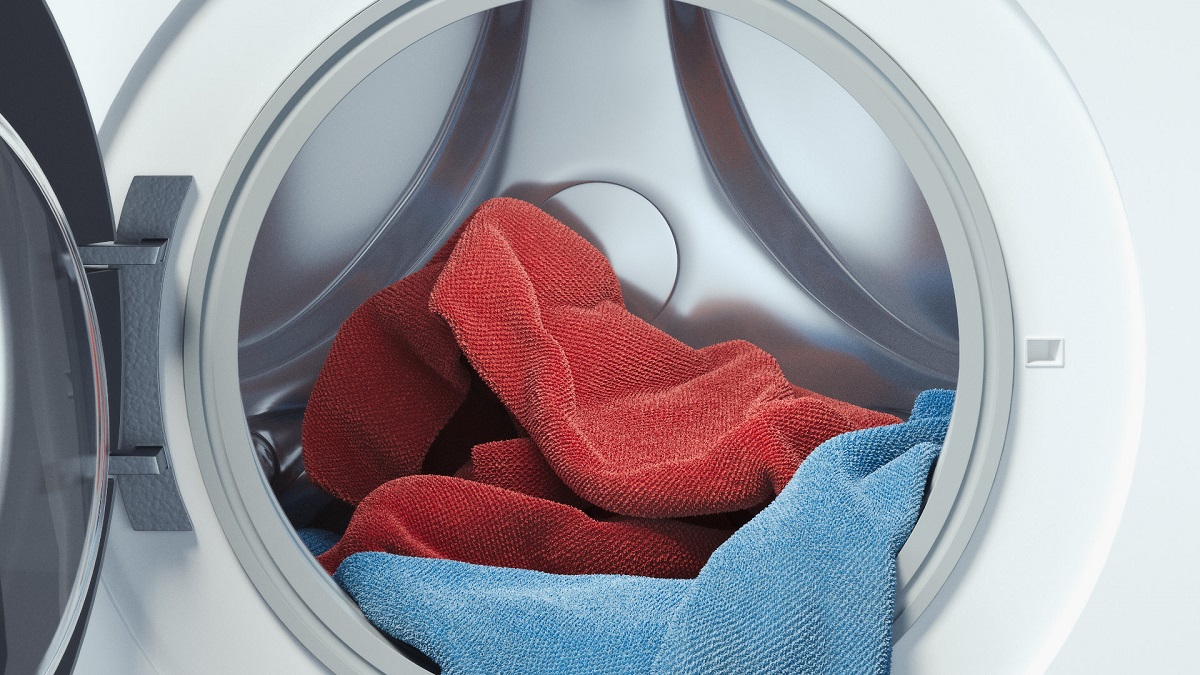
Welcome to our guide on how to clean a Whirlpool washer. As one of the most trusted brands in the appliance industry, Whirlpool washers are known for their durability and efficiency in keeping your clothes clean. However, over time, residue, dirt, and detergent buildup can accumulate inside the washer, leading to unpleasant odors and affecting its performance. Regular cleaning of your Whirlpool washer is essential to maintain its functionality and ensure that your clothes come out fresh and clean with each wash.
In this article, we will walk you through the step-by-step process of cleaning your Whirlpool washer, from unplugging the machine to cleaning the drum, dispenser drawer, filter, and gasket. We will also provide you with essential safety precautions to follow for a hassle-free cleaning experience.
By following our guide, you can keep your Whirlpool washer in optimal condition, prolong its lifespan, and prevent potential issues that may arise due to neglecting proper maintenance.
So, let’s get started with the first step: unplugging the washer.
Key Takeaways:
- Regular cleaning of your Whirlpool washer is crucial to maintain its efficiency, eliminate odors, and ensure fresh, clean laundry. Follow the step-by-step guide and safety precautions for optimal results.
- By incorporating the recommended cleaning routines into your household chores, you can prolong the lifespan of your Whirlpool washer and prevent potential issues. Prioritize safety and enjoy hassle-free laundry maintenance.
Read more: How To Clean Whirlpool Washer Filter
Safety Precautions
Before you begin the cleaning process, it’s essential to take the necessary safety precautions to protect yourself and prevent any accidents or damage to the appliance. Here are a few safety tips to keep in mind:
- Unplug the washer: Always start by disconnecting the washer from the power source. This will ensure that you won’t accidentally turn it on or get electrocuted while cleaning.
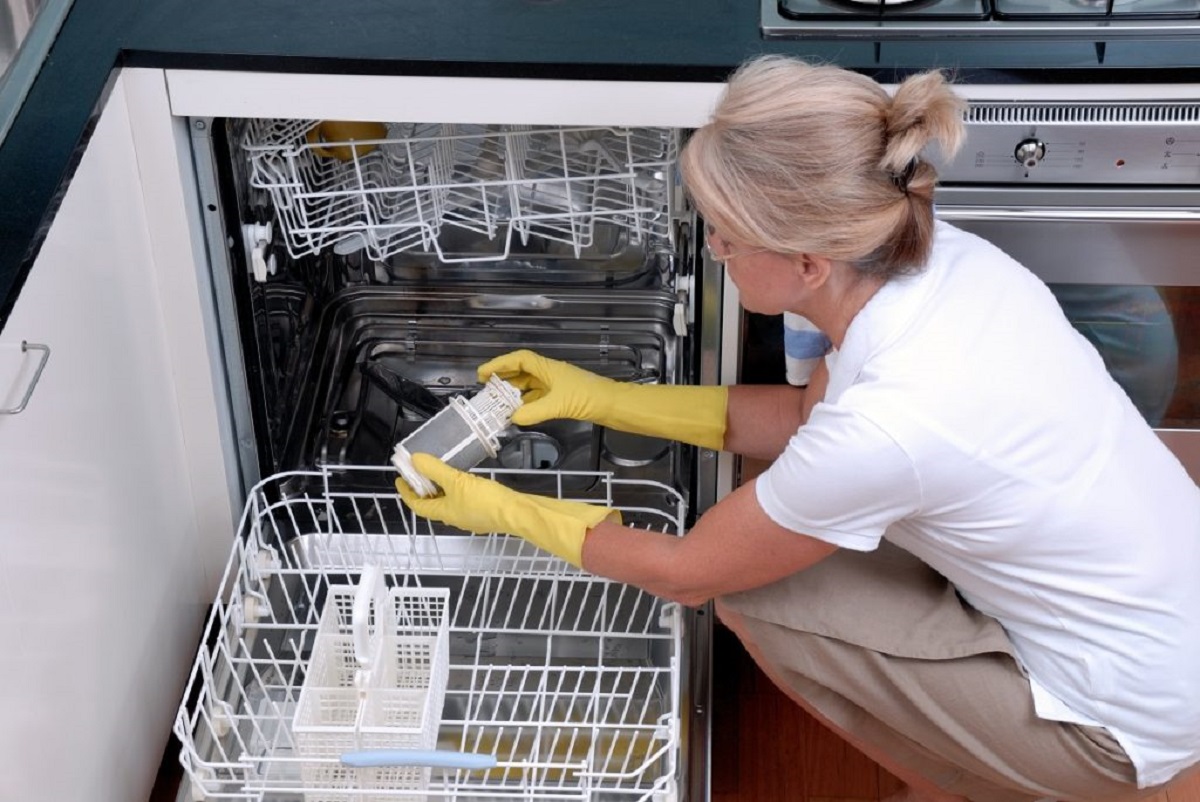
- Wear protective gloves: Cleaning agents and detergents can be harsh on the skin. To protect your hands, it is recommended to wear rubber or latex gloves throughout the cleaning process.
- Use proper ventilation: When working with cleaning agents or any strong chemicals, make sure the area is well-ventilated. Open windows or use a fan to circulate fresh air and prevent inhaling any fumes.
- Read the manufacturer’s instructions: Familiarize yourself with the Whirlpool washer’s user manual, as it contains specific instructions and cleaning recommendations. Following the manufacturer’s guidelines will ensure you don’t inadvertently damage the machine.
- Be cautious with water: While cleaning the drum, dispenser drawer, or other parts with water, avoid excessive moisture on the control panel or electrical components. Wipe away any splashes or spills promptly to prevent short circuits.
- Keep children and pets away: During the cleaning process, it’s important to keep children and pets at a safe distance. Cleaning agents and the disassembled parts may pose a hazard if they are accidentally ingested or mishandled.
- Use appropriate cleaning agents: Whirlpool recommends using mild detergents or cleaning solutions specifically designed for washing machine cleaning. Avoid using abrasive cleaners or bleach, as they can damage the machine’s components.
By following these safety precautions, you can ensure a safe and effective cleaning process for your Whirlpool washer. Now let’s move on to the materials you’ll need before starting the cleaning process.
Materials Needed
Before you begin cleaning your Whirlpool washer, gather the following materials:
- Mild detergent or washing machine cleaner: Choose a cleaning agent that is specifically formulated for washing machines. Avoid using abrasive cleaners or bleach, as they can damage the washer’s components.
- Vinegar: Vinegar is a natural cleaning agent that can help remove residue and eliminate odors. You can use white vinegar or distilled vinegar for this purpose.
- Microfiber or soft cloth: These will be handy for wiping down the exterior surface of the washer, as well as for cleaning the drum and other parts.
- Toothbrush or small brush: A toothbrush or small brush can be used to scrub away stubborn dirt or grime in hard-to-reach areas.
- Bucket or basin: You’ll need a container to mix your detergent or cleaning solution with water, and also a container to catch and drain any excess water while cleaning certain parts of the washer.
- Clean, dry towels: These are useful for drying off parts of the washer after cleaning.
Having these materials on hand will ensure that you have everything you need for a thorough cleaning of your Whirlpool washer. With the necessary tools and cleaning agents, you’ll be able to effectively remove dirt, residue, and odors from your appliance. Now that you’ve gathered the materials, let’s move on to the step-by-step cleaning process.
Step 1: Unplug the Washer
The first step in cleaning your Whirlpool washer is to unplug it from the power source. This is an important safety precaution to prevent any electrical accidents while you’re cleaning the machine. Make sure to locate the power cord and firmly pull it out from the electrical outlet.
By disconnecting the washer from the power supply, you eliminate the risk of accidentally turning it on or encountering any electrical hazards during the cleaning process.
If your washer is hardwired or doesn’t have an easily accessible power cord, you can turn off the circuit breaker that supplies electricity to the appliance. This will ensure that there is no power running to the washer while you work on cleaning it.
Once you’ve unplugged the washer or turned off the circuit breaker, you can proceed to the next step of removing the removable parts for a more thorough cleaning. We’ll cover that in the next section.
Step 2: Remove the Removable Parts
Now that you have unplugged your Whirlpool washer, it’s time to remove the removable parts for a more comprehensive cleaning. These removable parts include the detergent dispenser drawer, drum, gasket, and filter.
Start by opening the washer’s door and pulling out the detergent dispenser drawer. Depending on your model, you may need to press a release button or lift a tab to remove the drawer completely. Rinse the drawer under warm water to remove any residual detergent or fabric softener. Use a toothbrush or small brush to scrub away any stubborn residue.
Next, focus your attention on the drum. Wipe down the interior surface of the drum using a microfiber or soft cloth dampened with a mixture of mild detergent or washing machine cleaner and warm water. Pay special attention to any visible stains or buildup. For stubborn stains, you can create a paste using equal parts baking soda and water, and apply it to the affected areas. Let it sit for a few minutes before scrubbing and rinsing it off.
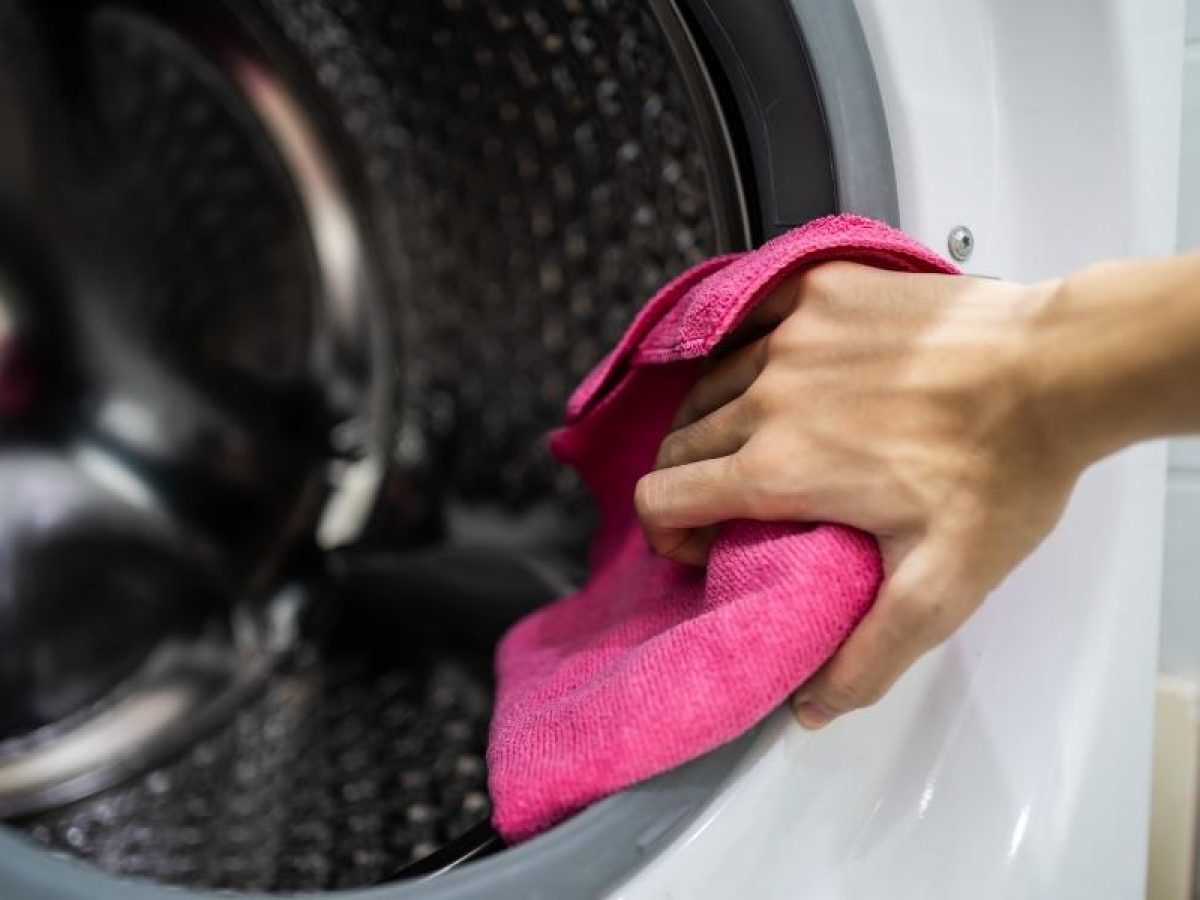
After cleaning the drum, move on to the gasket. The gasket is the rubber seal that surrounds the door opening. Inspect the gasket for any visible dirt or grime. Use a damp cloth or sponge to wipe it clean, making sure to access all the nooks and crannies. Use a toothbrush or small brush to scrub away any stubborn residue. Once the gasket is clean, dry it thoroughly to prevent moisture accumulation.
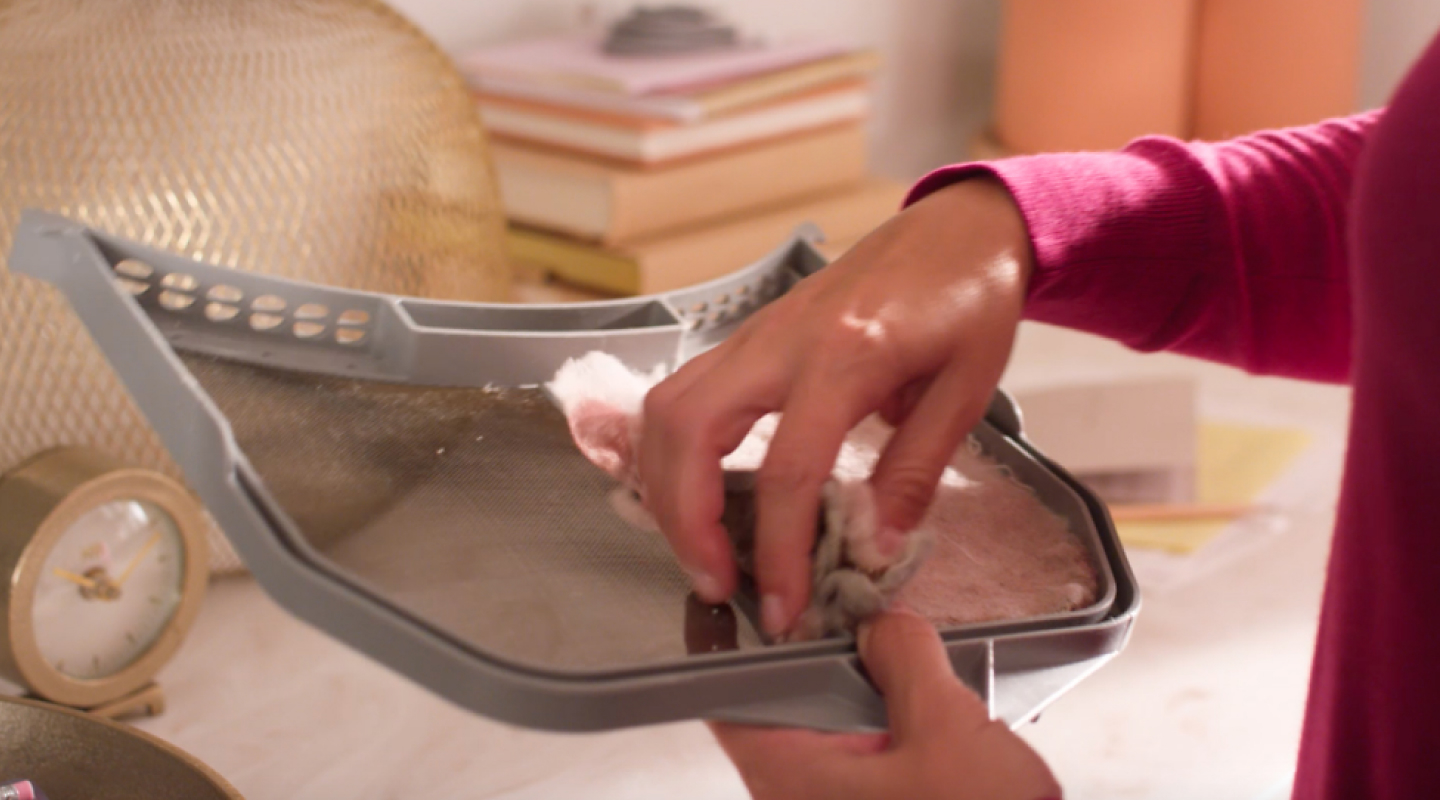
Lastly, locate the filter, which is usually situated at the bottom front of the washer. Check your user manual to locate and remove the filter correctly. Place a towel or basin beneath the filter to catch any excess water. Twist the filter counterclockwise to remove it and empty out any trapped debris or lint. Rinse the filter under running water until it is thoroughly clean, then reinstall it back into its original position.
By removing and cleaning these removable parts, you ensure that no hidden dirt or debris remains inside your Whirlpool washer. Once you’ve completed this step, move on to the next section to learn how to clean the exterior of the washer.
Read more: How To Clean A Whirlpool Duet Washer
Step 3: Wipe Down the Exterior
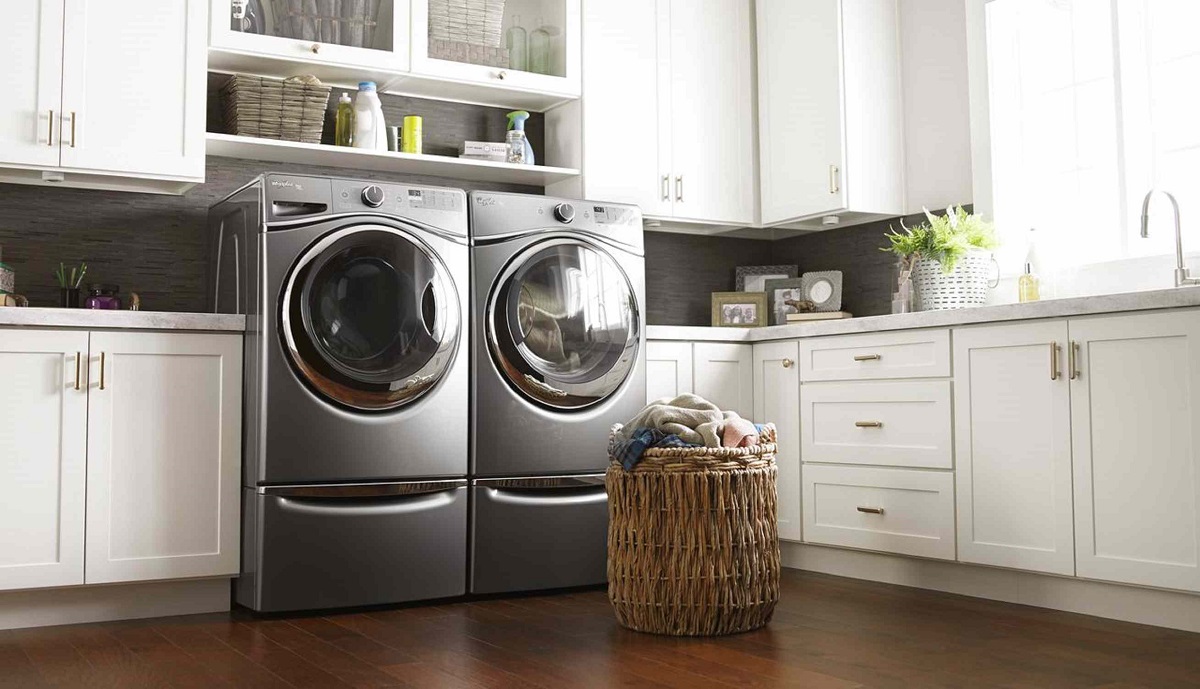
Now that you have removed the removable parts from your Whirlpool washer, it’s time to focus on cleaning the exterior surfaces. Wiping down the exterior not only improves the overall appearance of the washer but also prevents dirt and grime from transferring back onto your freshly cleaned laundry.
Start by dampening a microfiber or soft cloth with a mild detergent or washing machine cleaner mixed with warm water. Gently wipe down the front, sides, and top of the washer, paying attention to any visible stains or smudges. Use a toothbrush or small brush to clean any crevices or hard-to-reach areas.
If you notice any stubborn stains or buildup that won’t come off with the mild detergent mixture, you can try using a non-abrasive cleaner specifically designed for appliance surfaces. Apply a small amount of the cleaner onto a cloth and gently rub the affected areas. Be sure to read and follow the instructions on the cleaner for best results.
Once you have wiped down the exterior surfaces, take a clean, dry cloth and thoroughly dry the washer to prevent any moisture from lingering. This will help prevent the growth of mold or mildew.
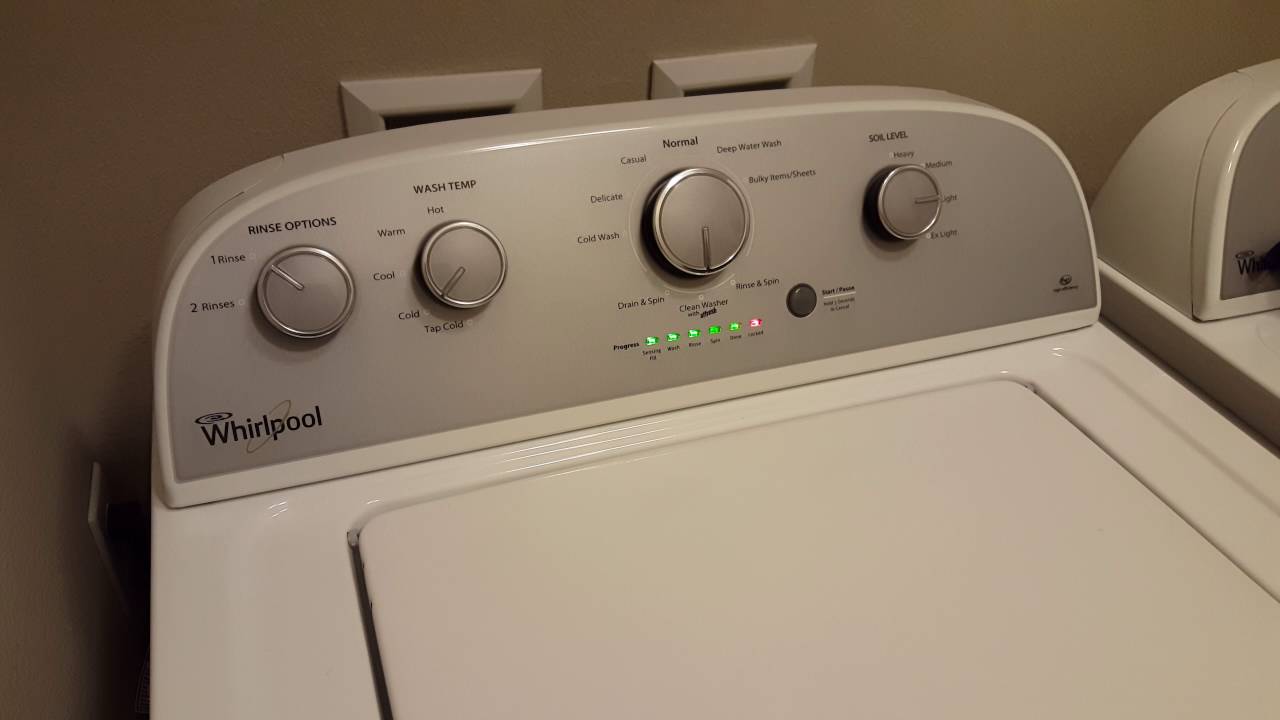
As you clean the exterior, also take a moment to inspect the control knobs, buttons, and display panel. Use a slightly damp cloth to wipe these areas clean, removing any dust or fingerprints. Be cautious not to get excessive moisture on the control panel or electronic components.
With the exterior of your Whirlpool washer now clean and dry, you can move on to the next step, which involves cleaning the drum thoroughly to eliminate any remaining residue or odors.
Step 4: Clean the Drum
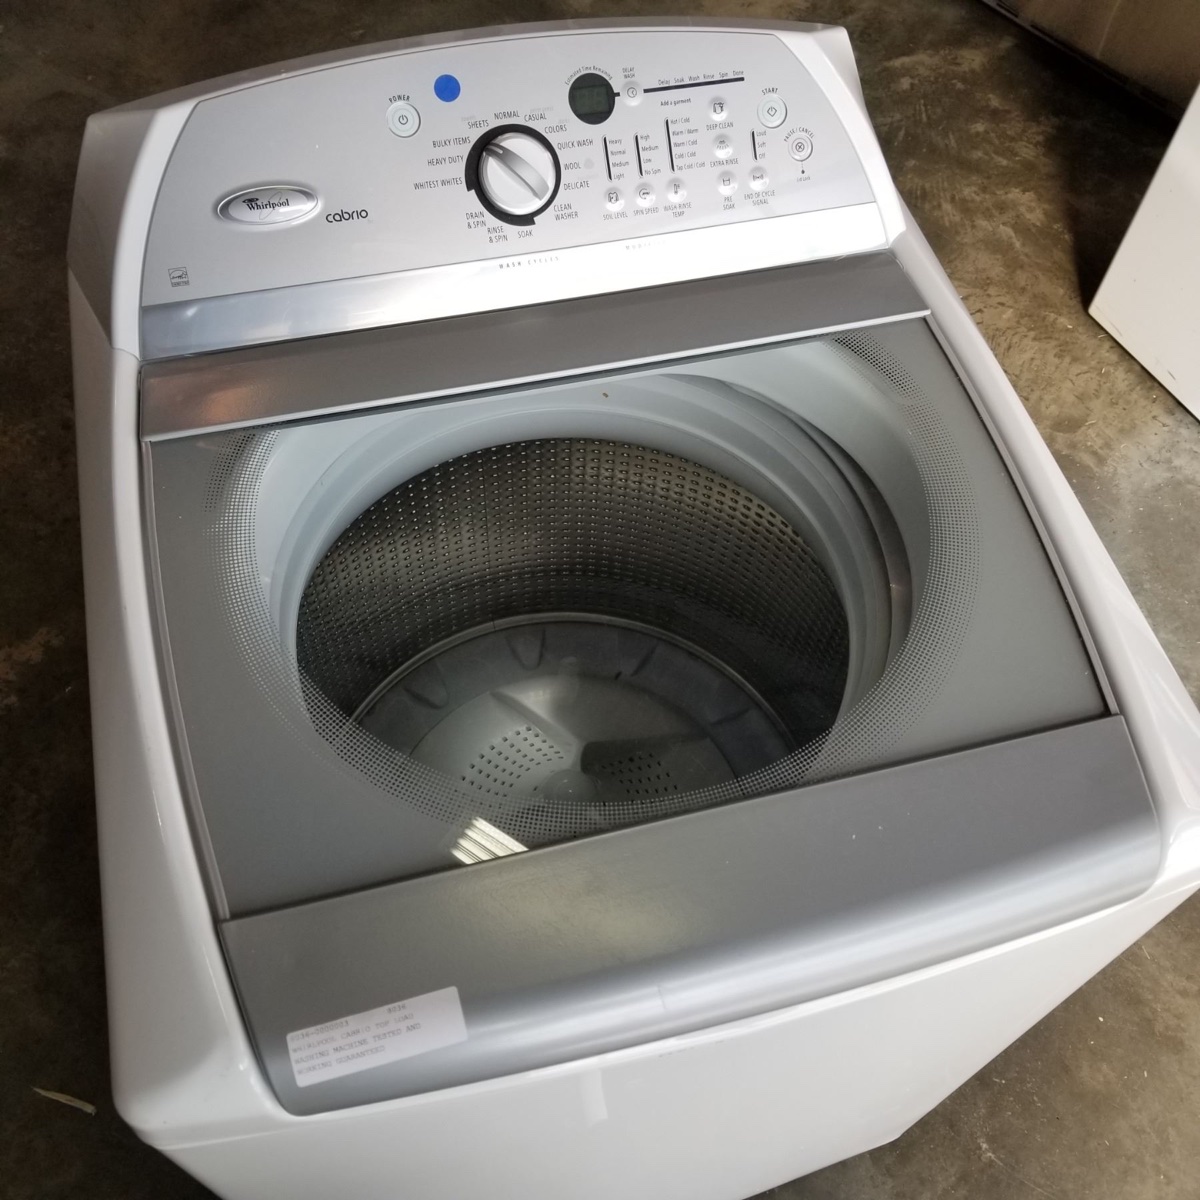
Now that you have cleaned the exterior of your Whirlpool washer, it’s time to give the drum a thorough cleaning. Over time, dirt, grime, and residue can accumulate inside the drum, leading to unpleasant odors and affecting the cleanliness of your laundry. Follow these steps to clean the drum effectively:
- Prepare a cleaning solution by mixing equal parts vinegar and water in a bucket or basin. Vinegar is a natural cleaner that can help remove buildup and eliminate odors.
- Dampen a clean cloth or sponge with the vinegar and water mixture. Wipe down the interior of the drum, paying close attention to any visible stains or spots. Use a toothbrush or small brush to tackle stubborn stains, gently scrubbing in circular motions.
- For a deeper clean, you can run a cleaning cycle with the vinegar and water mixture. Pour the mixture into the detergent dispenser or directly into the drum. Set the washer to the largest load size, hottest water temperature, and longest wash cycle. Let the washer run through a complete cycle.
- After the cleaning cycle is complete, open the washer’s door and inspect the drum. If any residue or stains remain, repeat the wiping and scrubbing process until the drum is clean.
Once you are satisfied with the cleanliness of the drum, take a clean, damp cloth and wipe down the interior surfaces again to remove any traces of the cleaning solution. Finish by thoroughly drying the drum with a clean, dry cloth.
Cleaning the drum of your Whirlpool washer ensures that your laundry comes out fresh and clean with each wash. It eliminates any lingering odors and helps maintain the efficiency of the machine. Now that the drum is clean, let’s move on to the next step: cleaning the dispenser drawer.
To clean a Whirlpool washer, run a cleaning cycle with hot water and a cup of bleach or white vinegar to remove any built-up residue and odors. Wipe down the exterior and door seal with a damp cloth.
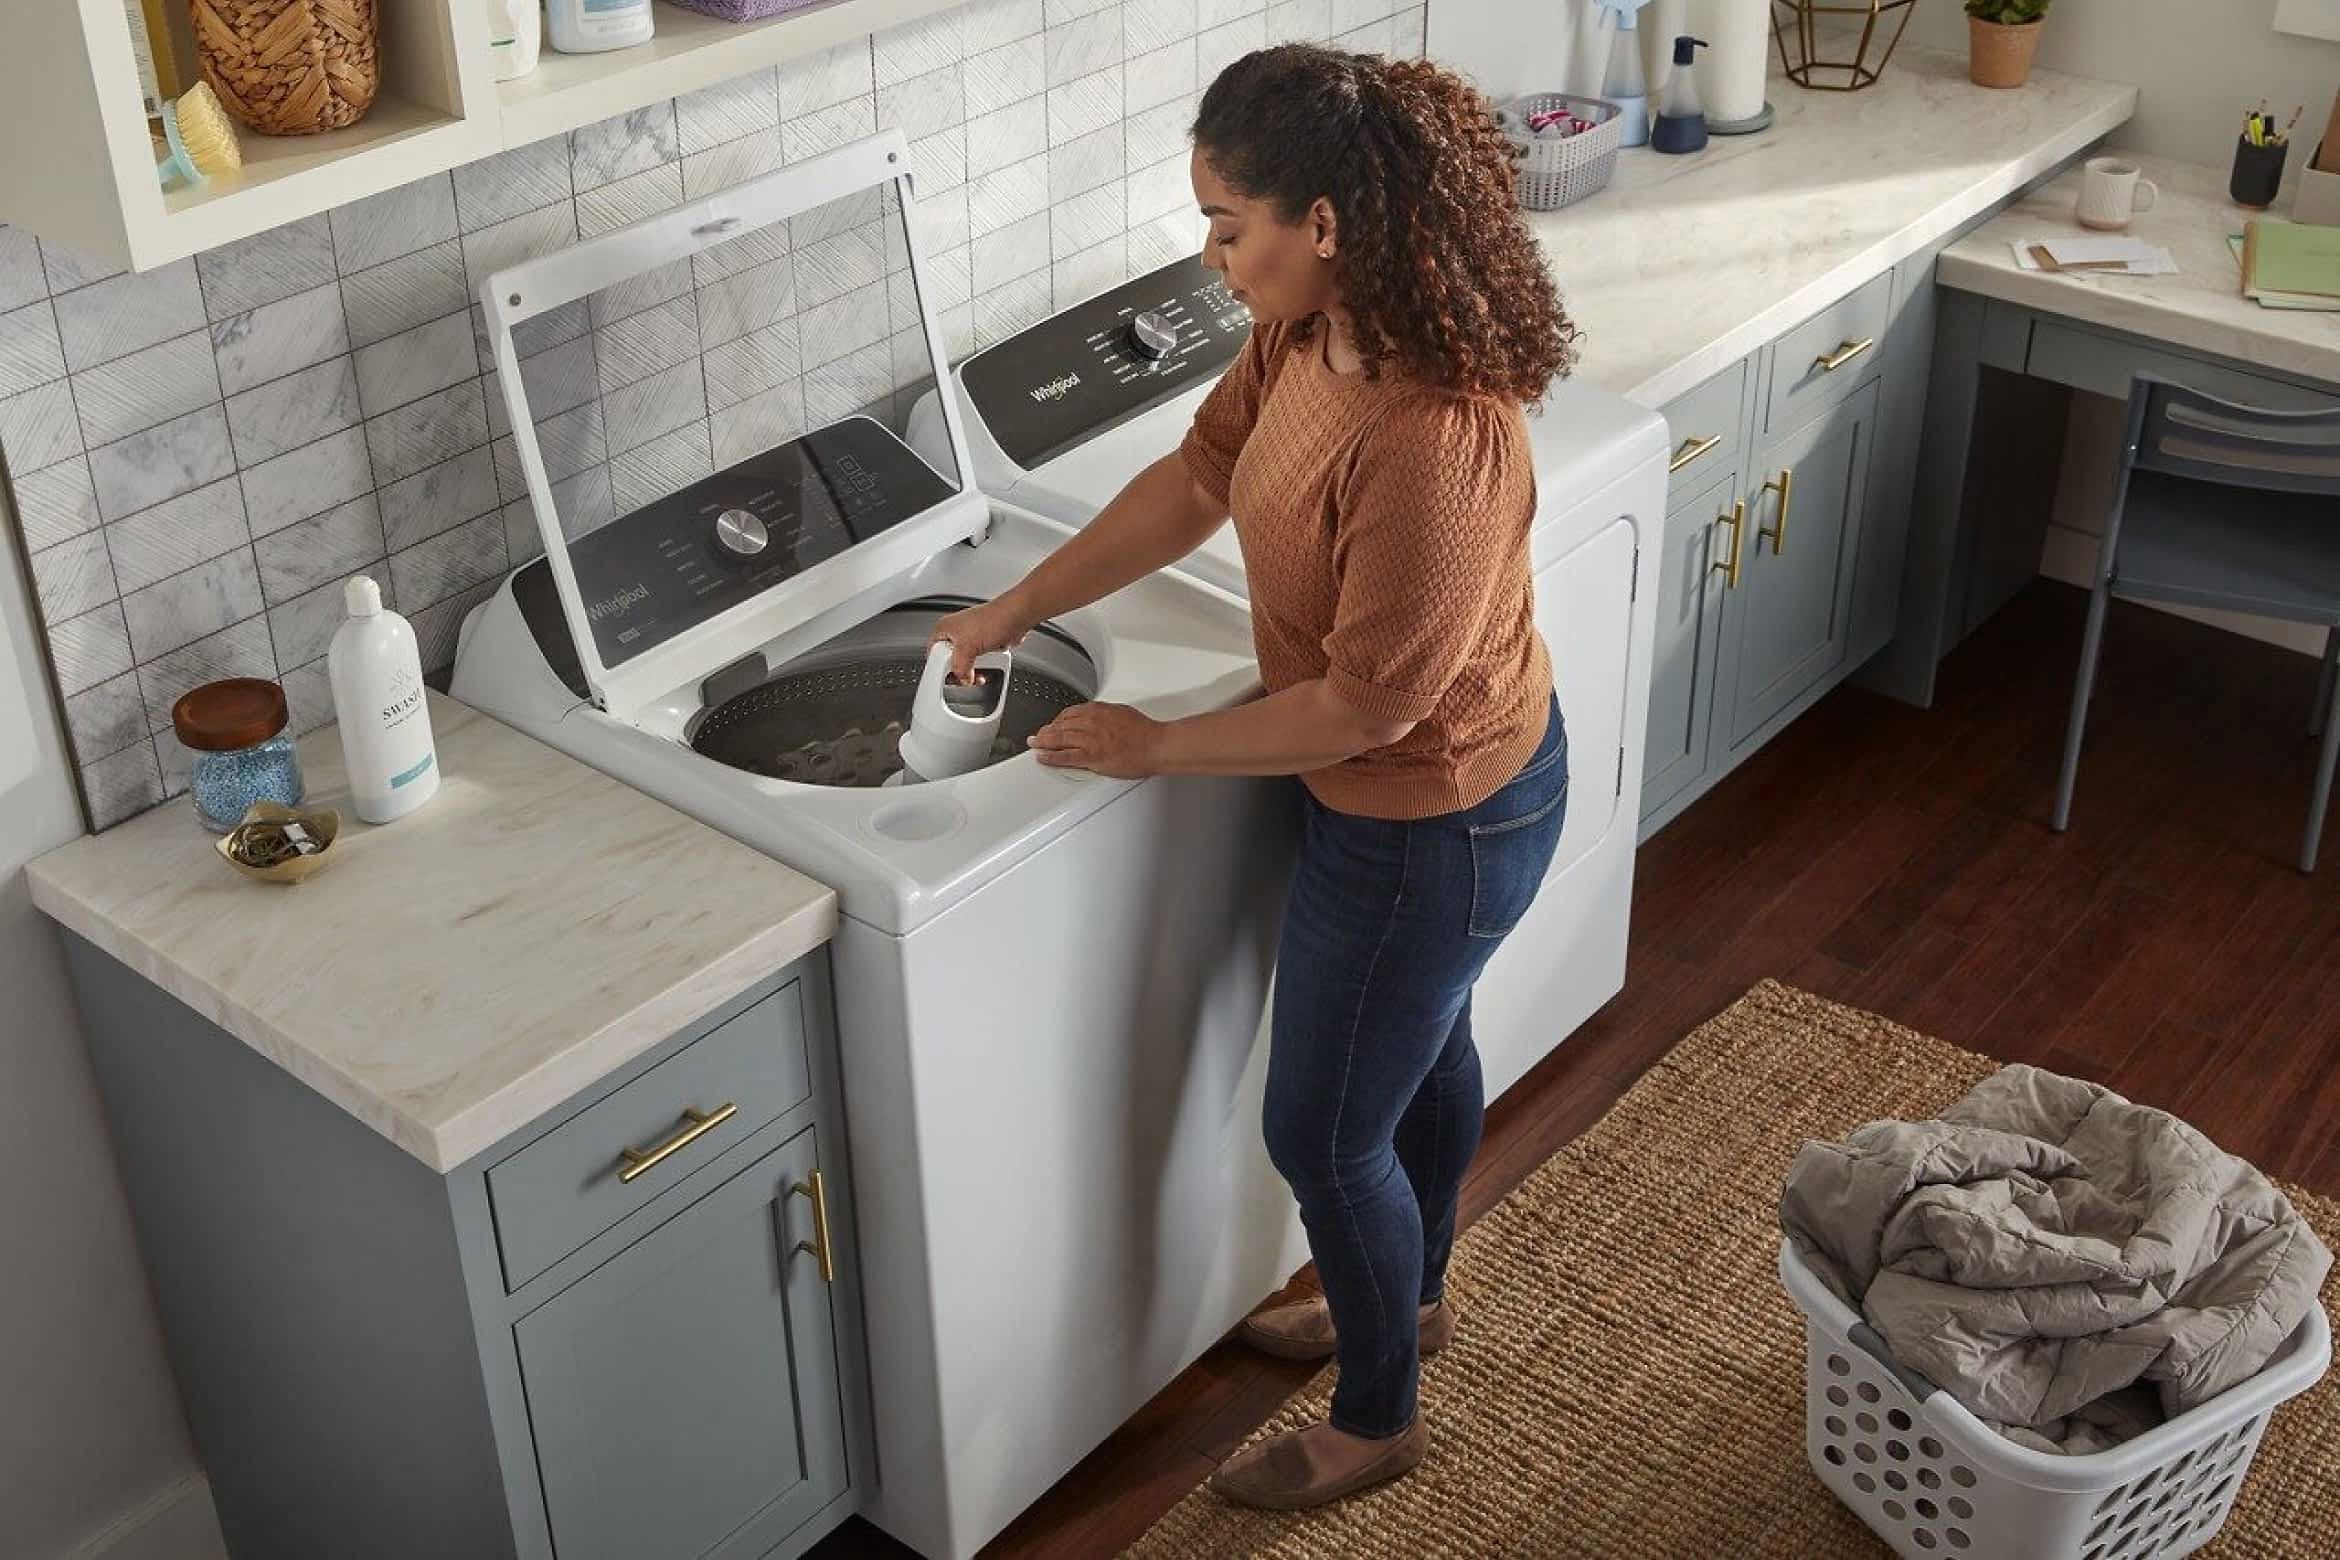
Step 5: Clean the Dispenser Drawer
The dispenser drawer of your Whirlpool washer is where you add detergent, fabric softener, and other laundry additives. Over time, residue and buildup can accumulate in the drawer, leading to clogs and affecting the performance of your washer. Follow these steps to clean the dispenser drawer effectively:
- Start by removing the dispenser drawer from the washer. Refer to your user manual for specific instructions on how to remove the drawer, as the process may vary depending on your model.
- Rinse the dispenser drawer under warm water to remove any leftover detergent or fabric softener. Pay close attention to any clogs or hardened residue that may be present.
- Use a toothbrush or small brush to scrub the interior of the dispenser drawer. Pay attention to the compartments and small openings where the detergent and fabric softener flow through. If there are stubborn stains or buildup, you can soak the drawer in a mixture of warm water and mild detergent for a few minutes before scrubbing.
- Rinse the dispenser drawer thoroughly to remove any soapy residue. Ensure that all compartments and openings are clear of debris or clogs.
- Once the dispenser drawer is clean, wipe the exterior with a damp cloth to remove any dirt or grime. Dry the drawer thoroughly before reinstalling it back into the washer.
Cleaning the dispenser drawer regularly helps maintain proper detergent and fabric softener distribution during each wash cycle. It also prevents clogs and ensures that your laundry receives the optimal amount of cleaning agents.
With the dispenser drawer cleaned and reinstalled, it’s time to move on to the next step: cleaning the filter of your Whirlpool washer.
Step 6: Clean the Filter
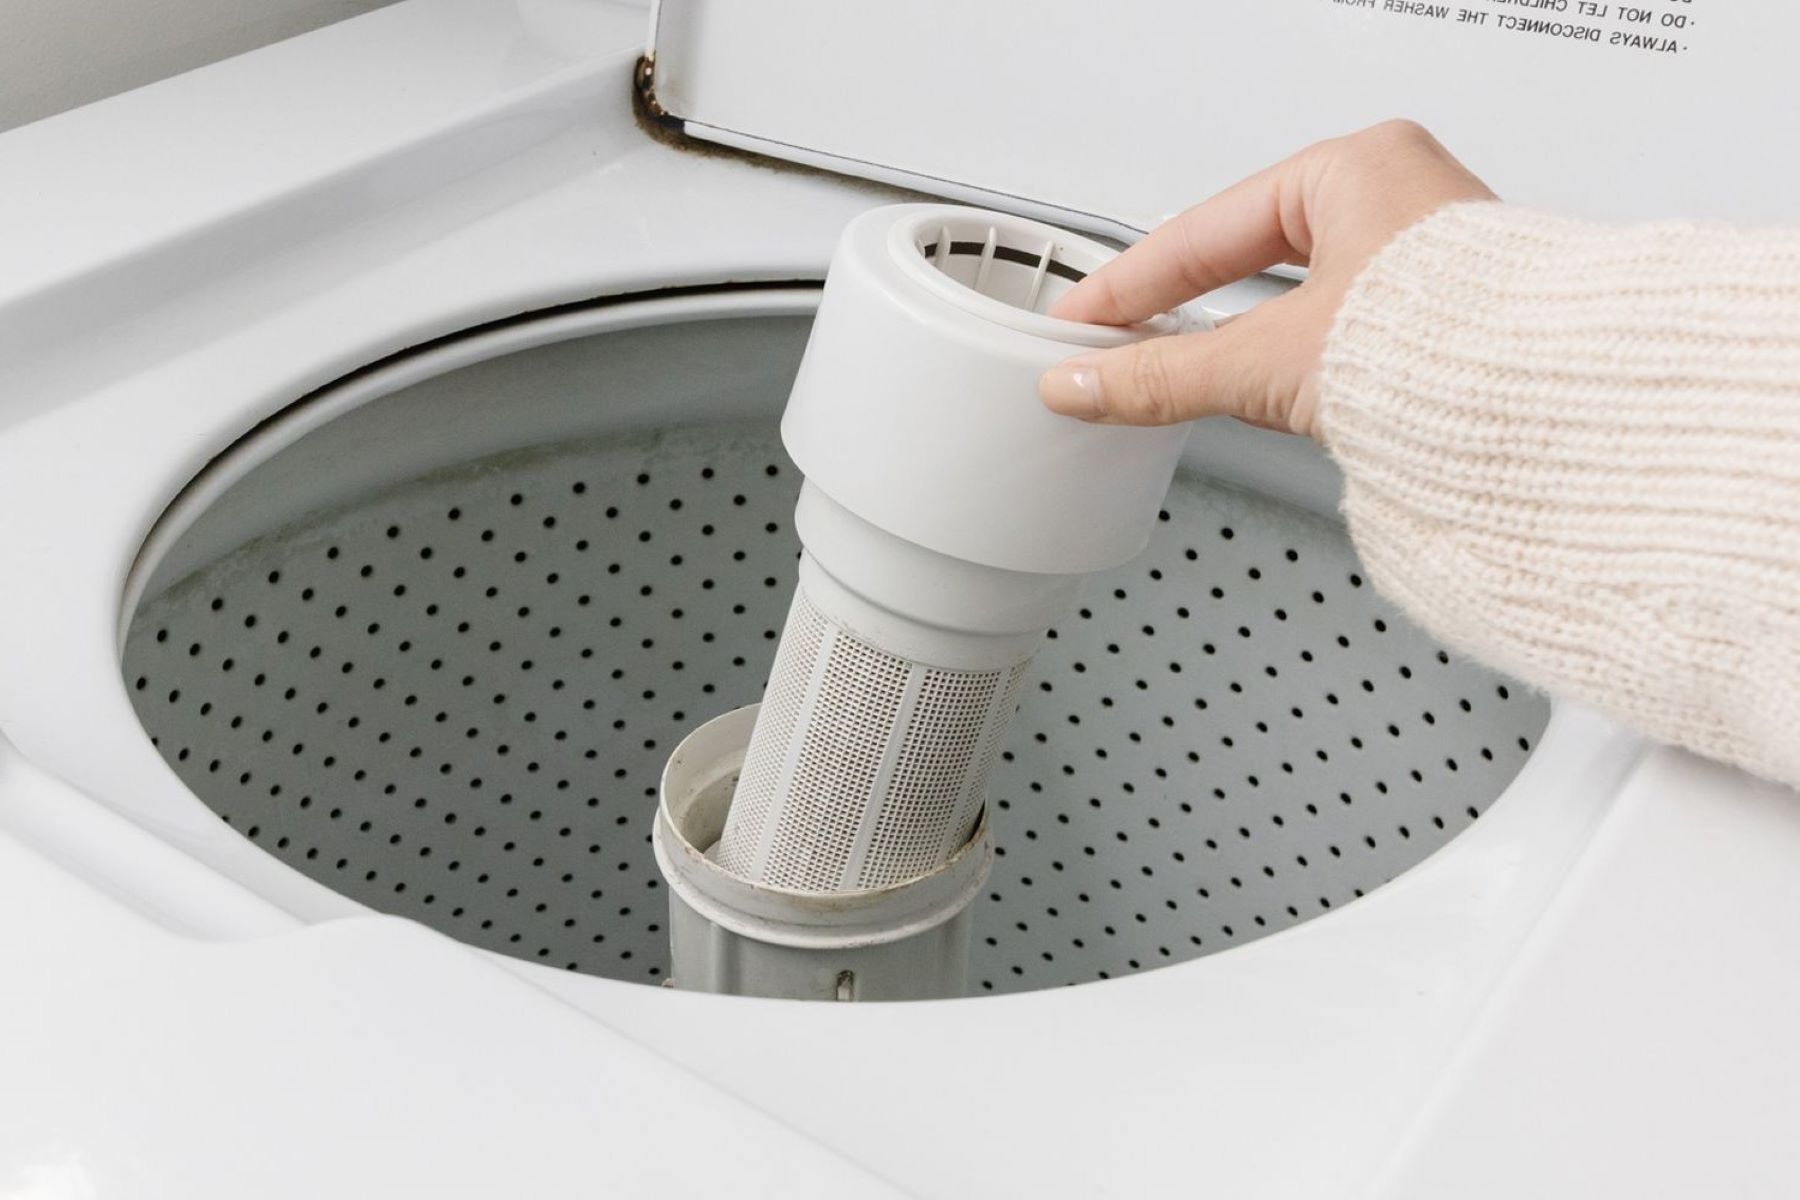
The filter in your Whirlpool washer helps trap debris, lint, and other particles from the laundry. Over time, the filter can become clogged, affecting the washer’s performance and potentially causing drainage issues. Follow these steps to clean the filter and ensure the smooth functioning of your washer:
- Locate the filter, which is typically located at the bottom front of the washer. Check your user manual for the specific location and instructions for your model.
- Place a towel or basin beneath the filter to catch any excess water that may spill out. This will help minimize any mess.
- Using a coin or a screwdriver, rotate the filter counterclockwise until it loosens and can be pulled out. Be cautious as some water may still be trapped inside the filter compartment.
- Remove the filter and empty out any debris or particles that may have accumulated. If the filter is heavily clogged, you can rinse it under running water to remove the stubborn dirt.
- Inspect the filter for any damage. If it appears cracked or warped, it may need to be replaced. Refer to your user manual or contact Whirlpool for assistance in obtaining a new filter.
- Once the filter is clean, reinstall it back into its original position. Ensure that it is securely tightened to prevent any leaks.
Cleaning the filter regularly not only improves the functionality of your Whirlpool washer but also helps protect the machine from potential damage caused by a clogged filter. It is recommended to clean the filter at least once every few months, or more frequently if you notice drainage issues or a decrease in the washer’s performance.
With the filter clean and properly reinstalled, we can move on to the next step: cleaning the gasket of your Whirlpool washer.
Read more: How To Clean Whirlpool Cabrio Washer
Step 7: Clean the Gasket
The gasket, also known as the door seal, of your Whirlpool washer is a rubber seal that prevents water from leaking out of the machine. Over time, dirt, grime, and mold can accumulate on the gasket, resulting in unpleasant odors and potential water leakage. Follow these steps to clean the gasket effectively:
- Start by inspecting the gasket for any visible dirt, mold, or mildew. Pay close attention to the folds and crevices of the gasket, as these areas are prone to buildup.
- Dampen a cloth or sponge with a mild detergent or a mixture of equal parts vinegar and water. Wipe down the gasket, ensuring that you reach all the nooks and crannies. Use a toothbrush or small brush to scrub away any stubborn stains or residues.
- If you notice any mold or mildew, create a paste using equal parts baking soda and water. Apply the paste to the affected areas on the gasket and let it sit for a few minutes to loosen the mold. Scrub the area with a toothbrush, ensuring thorough cleaning.
- Rinse the gasket with a clean, damp cloth to remove any soapy residue. Make sure to remove all traces of the cleaning solution.
- After cleaning, dry the gasket thoroughly using a clean, dry cloth. This helps prevent moisture buildup and the growth of mold or mildew.
Regularly cleaning the gasket of your Whirlpool washer helps maintain its functionality and prevents the buildup of mold or mildew that can cause unpleasant odors. It is recommended to clean the gasket every few weeks or as needed, especially if you notice any buildup or odor coming from the washer.
With the gasket clean and dry, it’s time to move on to the next step: replacing the removable parts that were previously cleaned.
Step 8: Replace the Removable Parts
Now that you have thoroughly cleaned your Whirlpool washer, it’s time to reassemble and replace the removable parts. This includes the detergent dispenser drawer, drum, gasket, and filter. Follow these steps to ensure proper reinstallation:
- Start by inserting the cleaned detergent dispenser drawer back into its designated slot. Make sure it is properly aligned and securely pushed in until it clicks into place.
- Carefully place the drum back into the washer’s cavity, ensuring proper alignment with the door opening. Gently push it back into place until it is secure.
- Position the gasket, or door seal, around the door opening. Take care to tuck the gasket into the folds and crevices of the door opening to ensure a proper seal. Press it firmly against the washer to secure it in place.
- Reinstall the filter into its original position, twisting it clockwise until it is properly tightened. Ensure that the filter is securely in place to prevent any leaks or debris from entering the washer.
Take a moment to double-check that all the parts are correctly installed and securely in place. This ensures that your Whirlpool washer will operate smoothly and effectively during future use.
Now that the removable parts have been replaced, we are almost done with the cleaning process. All that’s left is to plug in the washer and perform some final steps before you can start using it again.
Step 9: Plug in the Washer
Now that you have completed the cleaning process and reinstalled all the removable parts, it’s time to plug in your Whirlpool washer and prepare it for use once again. Follow these final steps:
- Ensure that all the parts, including the detergent dispenser drawer, drum, gasket, and filter, are properly installed and secure.
- Locate the power cord of the washer and plug it into a functioning electrical outlet. Ensure that the plug is inserted securely.
- Turn on the washer and allow it to go through a rinse cycle with no laundry inside. This will help rinse away any remaining cleaning solution or residue from the cleaning process.
- Once the rinse cycle is complete, open the washer’s door and inspect the drum and gasket for any leftover moisture. Use a clean, dry cloth to wipe away any dampness.
- Leave the washer door slightly ajar to allow air circulation and prevent mold or mildew growth. This will also help eliminate any lingering odors.
By following these final steps, you can ensure that your Whirlpool washer is ready for use again. It’s important to perform these steps after cleaning to prevent any moisture buildup and keep your washer in optimal condition.
Congratulations! You have successfully cleaned your Whirlpool washer and restored its cleanliness and functionality. By following these steps regularly, you can maintain the performance of your washer and ensure that your laundry comes out fresh and clean with every wash.
Remember to consult your Whirlpool washer’s user manual for any specific cleaning instructions or recommendations from the manufacturer. Happy washing!
If you need further assistance or have any questions, feel free to reach out to the Whirlpool customer support for guidance.
Conclusion
Cleaning your Whirlpool washer is an essential part of maintaining its performance, eliminating odors, and ensuring that your laundry comes out fresh and clean. By following the step-by-step guide provided in this article, you can effectively clean your washer and keep it in optimal condition.
We started by emphasizing the importance of safety precautions, such as unplugging the washer and wearing protective gloves, to prevent any accidents or damage. We then outlined the materials needed for the cleaning process, including mild detergent, vinegar, microfiber cloths, and brushes.
The step-by-step instructions covered in detail how to unplug the washer, remove and clean the removable parts, wipe down the exterior, clean the drum, clean the dispenser drawer, clean the filter, clean the gasket, replace the removable parts, and finally, plug in the washer.
It’s important to note the significance of regular maintenance and cleaning to prevent issues and prolong the lifespan of your Whirlpool washer. By incorporating these cleaning routines into your household chores, you can ensure that your washer operates efficiently and effectively for years to come.
Remember to consult your Whirlpool washer’s user manual for any specific cleaning instructions or recommendations provided by the manufacturer. Always prioritize safety and follow the guidelines outlined in this guide.
Now that you are equipped with the knowledge and steps to clean your Whirlpool washer, it’s time to roll up your sleeves and give your appliance the care it deserves. Enjoy fresh and clean laundry with each wash, and don’t hesitate to reach out to Whirlpool’s customer support if you need further assistance.
Happy washing!
Frequently Asked Questions about How To Clean A Whirlpool Washer
Was this page helpful?
At Storables.com, we guarantee accurate and reliable information. Our content, validated by Expert Board Contributors, is crafted following stringent Editorial Policies. We're committed to providing you with well-researched, expert-backed insights for all your informational needs.


0 thoughts on “How To Clean A Whirlpool Washer”