Home>Articles>How To Connect A Keyboard And Mouse To A Nintendo Switch Without Adapter
Articles
How To Connect A Keyboard And Mouse To A Nintendo Switch Without Adapter
Modified: January 23, 2024
Learn how to connect a keyboard and mouse to your Nintendo Switch without an adapter in this informative article. Enhance your gaming experience with easy setup and improved controls!
(Many of the links in this article redirect to a specific reviewed product. Your purchase of these products through affiliate links helps to generate commission for Storables.com, at no extra cost. Learn more)
Introduction
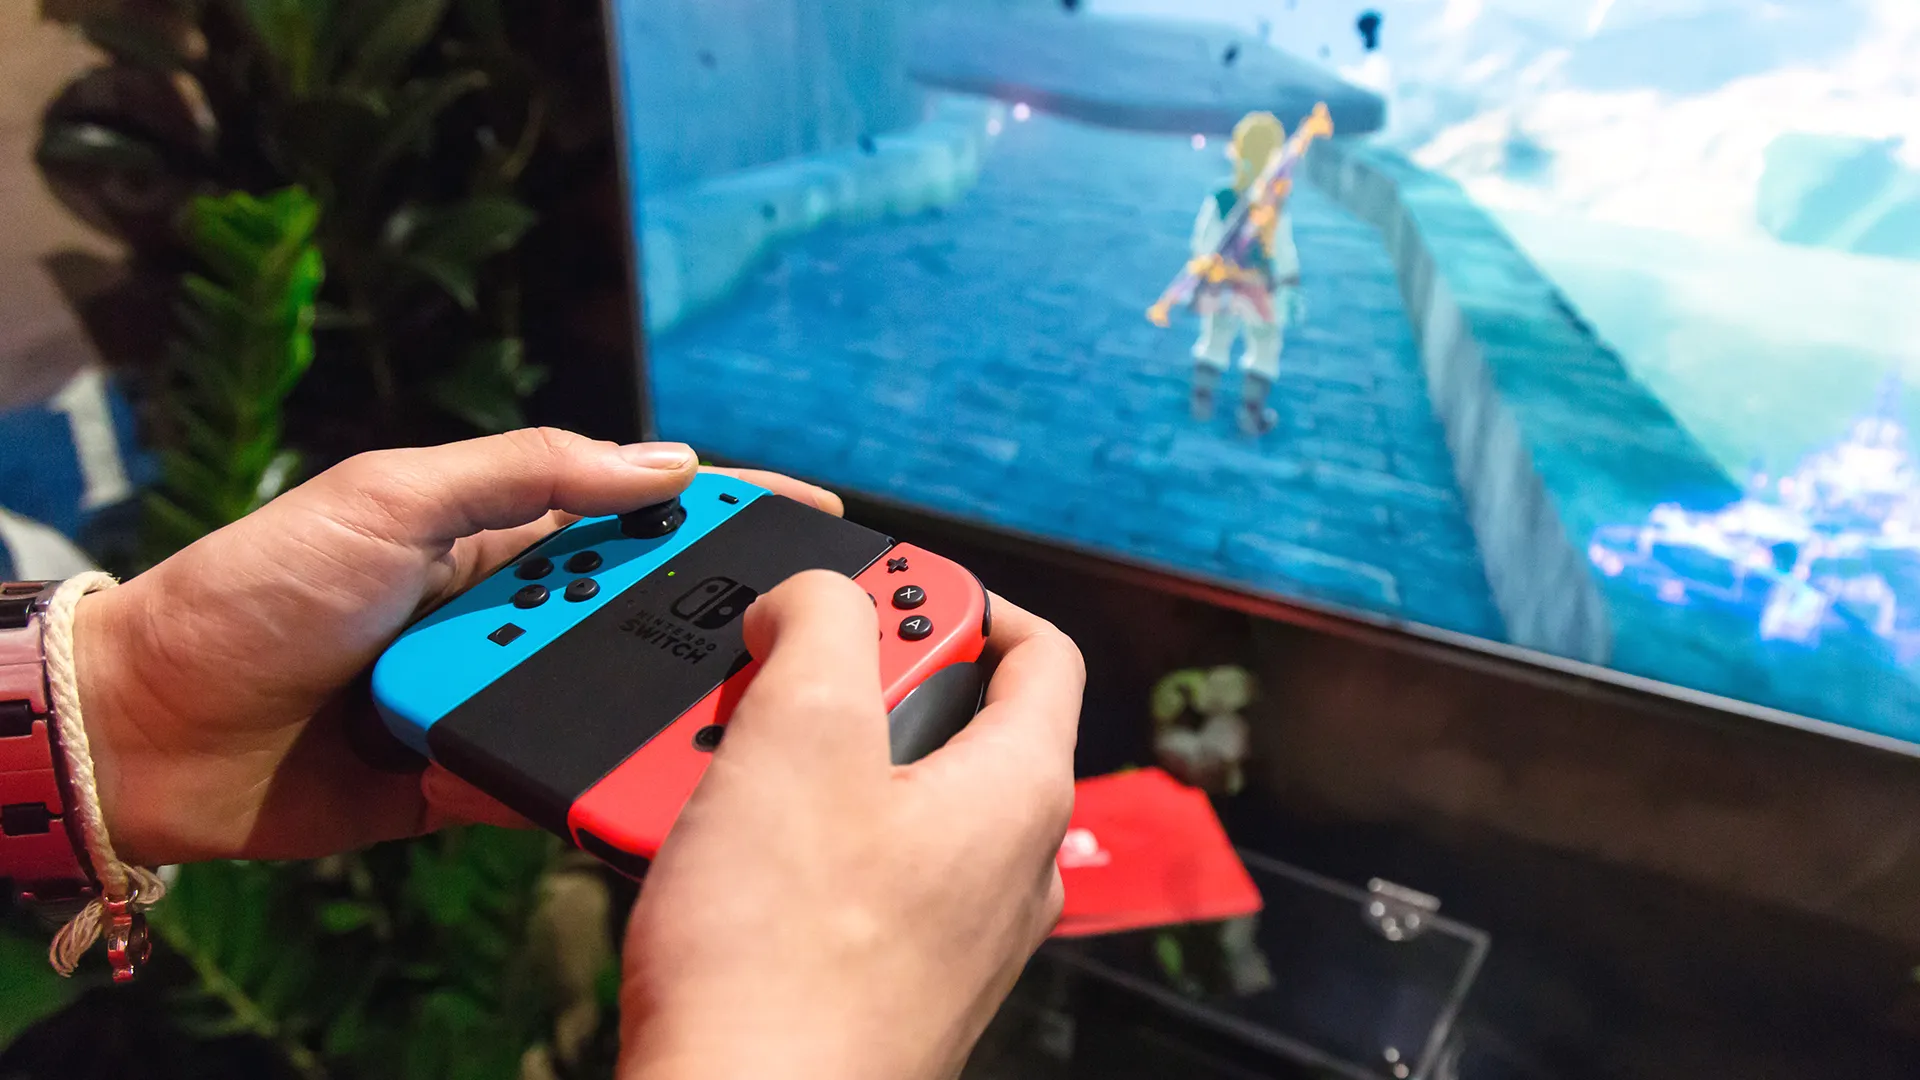
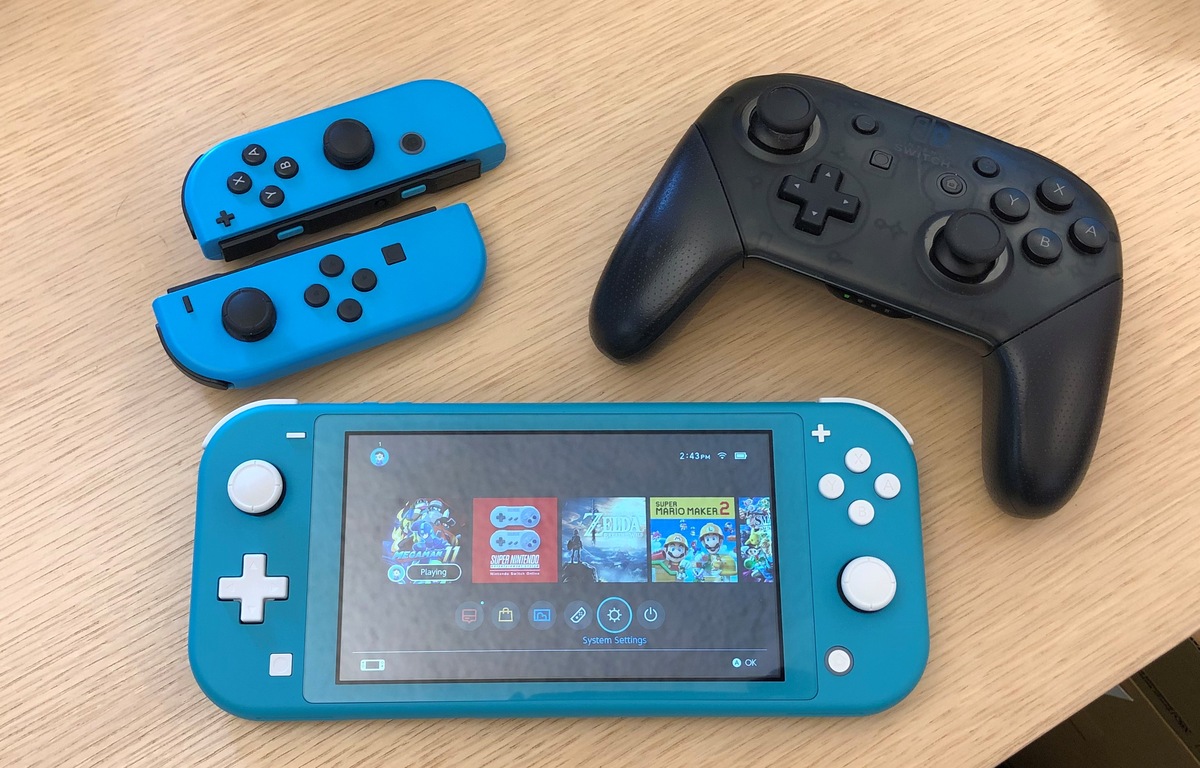
In today’s digital world, gaming has become more than just a hobby – it’s a way of life for many. And if you’re a proud owner of a Nintendo Switch, you know just how immersive and engaging the gaming experience can be. But what if you want to take your gameplay to the next level by connecting a keyboard and mouse? While the Nintendo Switch doesn’t natively support keyboard and mouse inputs, there are a few methods you can try to make it happen.
In this article, we will explore three different methods to connect a keyboard and mouse to your Nintendo Switch without the need for an adapter. Whether you prefer a wired setup, or want the freedom of using wireless peripherals, we’ve got you covered. So, let’s dive in and discover the possibilities of enhancing your gaming experience!
Key Takeaways:
- Elevate your Nintendo Switch gaming experience by connecting a keyboard and mouse using wired or wireless methods. Enjoy enhanced control and precision, whether you prefer the reliability of wired connections or the freedom of wireless peripherals.
- Unleash the full potential of your favorite Nintendo Switch games with keyboard and mouse inputs. From wired USB setups to wireless Bluetooth and USB adapters, there’s a method to suit your gaming needs and elevate your gameplay to new heights.
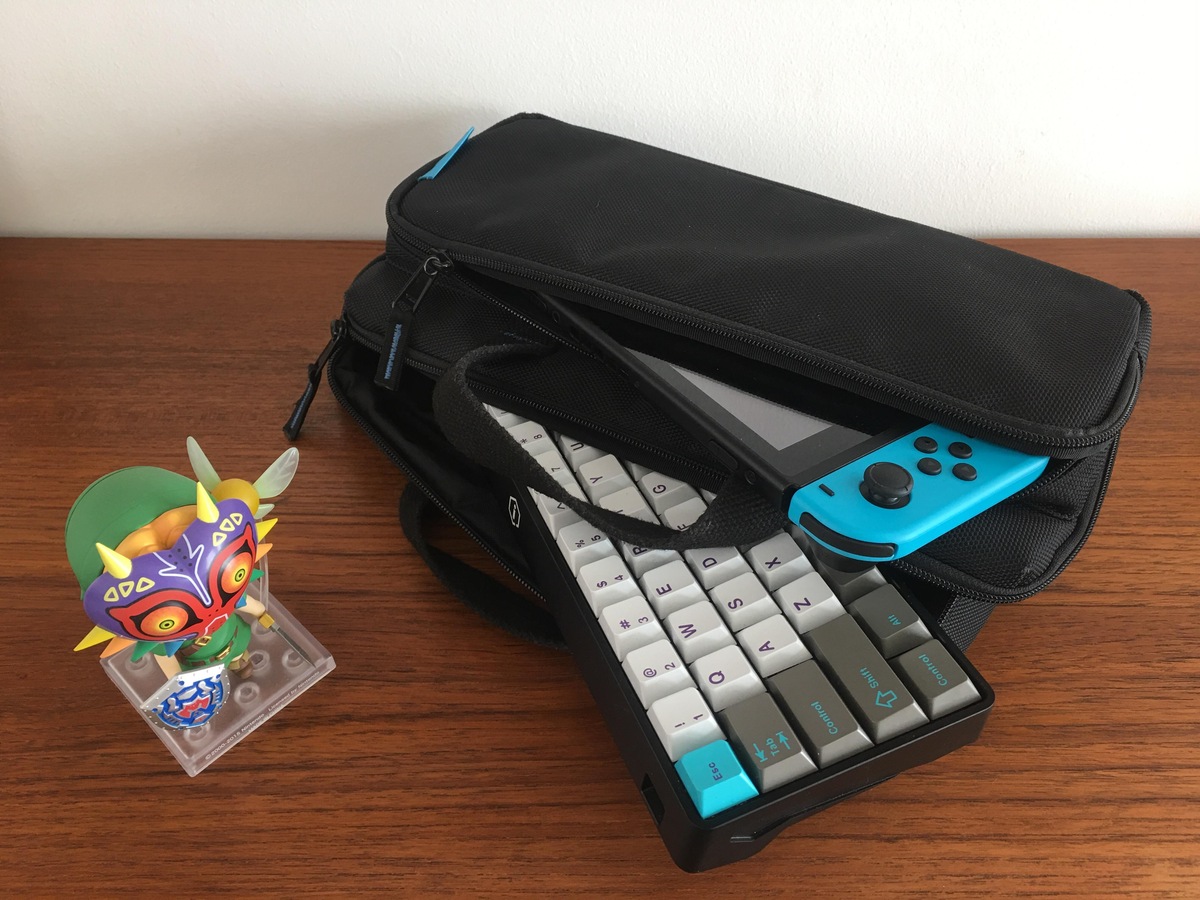
Method 1: Using a Wired USB Keyboard and Mouse
If you have a USB keyboard and mouse lying around, connecting them to your Nintendo Switch is a breeze. Follow these simple steps:
- Step 1: Prepare the USB keyboard and mouse
- Step 2: Connect the USB keyboard to the Nintendo Switch
- Step 3: Connect the USB mouse to the Nintendo Switch
- Step 4: Test the keyboard and mouse connection
- Step 1: Prepare the Bluetooth keyboard and mouse
- Step 2: Enable Bluetooth on the Nintendo Switch
- Step 3: Pair the Bluetooth keyboard with the Nintendo Switch
- Step 4: Pair the Bluetooth mouse with the Nintendo Switch
- Step 5: Test the keyboard and mouse connection
- Elevate your Nintendo Switch gaming experience by connecting a keyboard and mouse using wired or wireless methods. Enjoy enhanced control and precision, whether you prefer the reliability of wired connections or the freedom of wireless peripherals.
- Unleash the full potential of your favorite Nintendo Switch games with keyboard and mouse inputs. From wired USB setups to wireless Bluetooth and USB adapters, there’s a method to suit your gaming needs and elevate your gameplay to new heights.
Ensure that your USB keyboard and mouse are compatible with the Nintendo Switch. Most standard USB keyboards and mice should work without any issues.
Plug the USB keyboard into one of the available USB ports on the Nintendo Switch dock. If you are using the Nintendo Switch Lite, you can skip this step as it does not have USB ports.
Connect the USB mouse to another available USB port on the Nintendo Switch dock. If you are using the Nintendo Switch Lite, you can skip this step.
Turn on your Nintendo Switch and navigate to the Settings menu. Select “Controllers and Sensors” and then “Change Grip/Order.” Your USB keyboard and mouse should be recognized and displayed on the screen. Test the inputs to ensure they are working correctly.
Method 2: Using a Wireless Bluetooth Keyboard and Mouse
If you prefer a wireless setup, you can use a Bluetooth keyboard and mouse to connect to your Nintendo Switch. Here’s how:
Make sure that your Bluetooth keyboard and mouse are compatible with the Nintendo Switch. The keyboard and mouse should support Bluetooth connection.
Turn on your Nintendo Switch and go to the Home screen. Open the System Settings, scroll down to “Controllers and Sensors,” and select “Change Grip/Order.” On the following screen, choose “Change Grip/Order” again to enable pairing mode.
Put your Bluetooth keyboard into pairing mode as per the manufacturer’s instructions. On the Nintendo Switch, select the “Pair New Controllers” option. Your Bluetooth keyboard should appear in the list of available devices. Select it to establish the connection.
Put your Bluetooth mouse into pairing mode, following the manufacturer’s instructions. On the Nintendo Switch, select the “Pair New Controllers” option once again. Your Bluetooth mouse should be listed in the available devices. Choose it to complete the pairing process.
Restart your Nintendo Switch and verify that the keyboard and mouse are connected. Navigate to the Settings menu, then “Controllers and Sensors,” and select “Change Grip/Order.” The keyboard and mouse should be recognized and displayed on the screen. Test them to ensure they are functioning correctly.
Method 3: Using a Wireless USB Adapter
Key Takeaways:
Method 1: Using a Wired USB Keyboard and Mouse
If you have a USB keyboard and mouse lying around, connecting them to your Nintendo Switch is a straightforward process. Just follow these simple steps:
Step 1: Prepare the USB keyboard and mouse
Before you begin, ensure that your USB keyboard and mouse are compatible with the Nintendo Switch. Most standard USB keyboards and mice should work without any issues. If you are unsure, check the manufacturer’s specifications or try connecting them to your computer to see if they are recognized.
Step 2: Connect the USB keyboard to the Nintendo Switch
Plug the USB keyboard into one of the available USB ports on the Nintendo Switch dock. If you are using the Nintendo Switch Lite, you can skip this step, as it does not have USB ports. The USB ports are usually located on the side or back of the dock. Make sure to insert the USB connector fully and securely.
Step 3: Connect the USB mouse to the Nintendo Switch
Connect the USB mouse to another available USB port on the Nintendo Switch dock. If you are using the Nintendo Switch Lite, you can skip this step as well. Just like with the keyboard, insert the USB connector of the mouse into the USB port on the dock. Ensure it is firmly connected.
Step 4: Test the keyboard and mouse connection
Once you have connected the USB keyboard and mouse to the Nintendo Switch, turn on the console and navigate to the Settings menu. Select “Controllers and Sensors” and then “Change Grip/Order.” On the following screen, your USB keyboard and mouse should be recognized and displayed. Use the keyboard and mouse to test if the inputs are working correctly. You can click around or type on the keyboard to check their functionality.
It’s important to note that not all games on the Nintendo Switch support keyboard and mouse inputs. Some games may only recognize and respond to the console’s Joy-Con controllers or Pro Controller. However, for games that do support keyboard and mouse, this wired setup can provide a more familiar and precise control option.
Using a wired USB keyboard and mouse with your Nintendo Switch can be advantageous in terms of responsiveness and consistent connection. It eliminates the need for batteries and reduces input latency. Plus, if you already have USB peripherals lying around, this method allows you to make use of them without any additional purchases.
With your keyboard and mouse connected, you can now enjoy the convenience and precision that these peripherals provide, giving you an edge in your favorite Nintendo Switch games.
Method 2: Using a Wireless Bluetooth Keyboard and Mouse
If you prefer a wireless setup, you can connect a Bluetooth keyboard and mouse to your Nintendo Switch. Here’s how:
Step 1: Prepare the Bluetooth keyboard and mouse
Check that your Bluetooth keyboard and mouse are compatible with the Nintendo Switch. Ensure that they support Bluetooth connectivity. Refer to the manufacturer’s specifications or documentation to confirm compatibility.
Step 2: Enable Bluetooth on the Nintendo Switch
Turn on your Nintendo Switch and go to the Home screen. From there, open the System Settings by selecting the gear icon. Scroll down to the “Controllers and Sensors” section and choose “Change Grip/Order” to enter pairing mode.
Step 3: Pair the Bluetooth keyboard with the Nintendo Switch
Put your Bluetooth keyboard into pairing mode according to the manufacturer’s instructions. Typically, this involves pressing and holding a specific button or combination of keys. Once your keyboard is in pairing mode, select the “Pair New Controllers” option on the Nintendo Switch. The Switch will display a list of available devices, and your Bluetooth keyboard should appear. Select it to establish the connection.
Step 4: Pair the Bluetooth mouse with the Nintendo Switch
Like the keyboard, put your Bluetooth mouse into pairing mode. Refer to the manufacturer’s instructions to activate pairing mode for your specific mouse. Once it’s ready, select the “Pair New Controllers” option on the Nintendo Switch once again. Your Bluetooth mouse should be listed among the available devices. Choose it to complete the pairing process.
Step 5: Test the keyboard and mouse connection
Restart your Nintendo Switch and ensure that both the keyboard and mouse are connected. Navigate to the Settings menu, then “Controllers and Sensors,” and select “Change Grip/Order.” The screen should display both the connected keyboard and mouse. Test the inputs by typing on the keyboard and moving the mouse. If the inputs are recognized and responsive, congratulations! You have successfully connected your wireless Bluetooth keyboard and mouse to your Nintendo Switch.
Using a wireless Bluetooth setup offers flexibility and convenience. You can enjoy playing games without the restrictions of wired connections. However, keep in mind that not all games on the Nintendo Switch support keyboard and mouse inputs. Check each game’s compatibility before diving in. Additionally, make sure your Bluetooth peripherals have enough battery life to prevent any interruptions during gameplay.
With a wireless Bluetooth keyboard and mouse, you have more freedom to play games on your Nintendo Switch comfortably. So, go ahead and immerse yourself in your favorite games with the ease and precision of wireless peripherals.
Method 3: Using a Wireless USB Adapter
If you prefer a wireless setup but don’t have a Bluetooth keyboard and mouse, you can still connect them to your Nintendo Switch using a wireless USB adapter. Here’s how:
Step 1: Purchase a wireless USB adapter
First, you will need to purchase a wireless USB adapter that is compatible with the Nintendo Switch. Look for adapters that specifically mention support for keyboard and mouse connectivity. You can find these adapters online or at electronics stores.
Step 2: Connect the wireless USB adapter to the Nintendo Switch
Once you have the wireless USB adapter, connect it to one of the available USB ports on the Nintendo Switch dock. If you are using the Nintendo Switch Lite, you will need a USB-C adapter that supports USB-A. Plug the USB adapter into the USB-C port on the bottom of the Switch Lite.
Step 3: Pair the keyboard and mouse with the wireless USB adapter
Now, it’s time to pair your keyboard and mouse with the wireless USB adapter. Each adapter may have slightly different pairing instructions, so refer to the manufacturer’s guidelines. Typically, you will need to put your keyboard and mouse into pairing mode by pressing specific buttons or switches. Once in pairing mode, the adapter should recognize the devices and establish a connection.
Step 4: Test the keyboard and mouse connection
After pairing, restart your Nintendo Switch and ensure that the keyboard and mouse are connected to the wireless USB adapter. Navigate to the Settings menu, then “Controllers and Sensors,” and select “Change Grip/Order.” The screen should display the connected keyboard and mouse. Test the inputs by typing on the keyboard and moving the mouse. If everything is working smoothly, congratulations! You have successfully connected your keyboard and mouse to your Nintendo Switch using a wireless USB adapter.
Using a wireless USB adapter provides a convenient solution for connecting non-Bluetooth peripherals to your Nintendo Switch. It allows you to enjoy the freedom of wireless input while gaming. Just keep in mind that not all games on the Nintendo Switch support keyboard and mouse inputs, so be sure to check compatibility before playing.
With your wireless USB adapter, keyboard, and mouse connected, you’re ready to elevate your gaming experience on the Nintendo Switch. Enjoy the precision and flexibility that these peripherals bring to your favorite games!
Conclusion
Connecting a keyboard and mouse to your Nintendo Switch can greatly enhance your gaming experience, providing more precise control and familiarity, especially for games that support keyboard and mouse inputs. While the Nintendo Switch doesn’t natively support keyboard and mouse connectivity, there are several methods you can use to make it happen.
In this article, we explored three different methods:
The first method involved using a wired USB keyboard and mouse. By simply connecting them to the available USB ports on the Nintendo Switch dock, you can enjoy the responsiveness and reliability of a wired setup.
The second method involved a wireless Bluetooth keyboard and mouse. By pairing these devices with the Nintendo Switch through the Settings menu, you can enjoy the convenience and freedom of wireless input.
The third method involved using a wireless USB adapter. This method allows you to connect non-Bluetooth peripherals to the Nintendo Switch by pairing them with the adapter. With this setup, you can enjoy the flexibility of wireless input without the need for a Bluetooth connection.
It’s important to note that not all games on the Nintendo Switch support keyboard and mouse inputs. Before attempting to connect a keyboard and mouse, check the compatibility of your favorite games. Additionally, make sure your peripherals are compatible with the Nintendo Switch and the chosen connection method.
Whether you prefer the reliability of a wired connection, the freedom of wireless Bluetooth, or the versatility of a wireless USB adapter, there’s a method suited to your needs.
Choose the method that works best for you and start enjoying the enhanced control and precision that a keyboard and mouse can bring to your Nintendo Switch gaming experience. Explore new levels, conquer challenges, and immerse yourself in your favorite games like never before!
Frequently Asked Questions about How To Connect A Keyboard And Mouse To A Nintendo Switch Without Adapter
Was this page helpful?
At Storables.com, we guarantee accurate and reliable information. Our content, validated by Expert Board Contributors, is crafted following stringent Editorial Policies. We're committed to providing you with well-researched, expert-backed insights for all your informational needs.


0 thoughts on “How To Connect A Keyboard And Mouse To A Nintendo Switch Without Adapter”