Furniture
How To Connect A Lamp To A Switch
Modified: August 27, 2024
Learn how to easily connect a lamp to a switch with our step-by-step guide. Upgrade your furniture setup with this quick DIY solution.
(Many of the links in this article redirect to a specific reviewed product. Your purchase of these products through affiliate links helps to generate commission for Storables.com, at no extra cost. Learn more)
Introduction
Welcome to our comprehensive guide on how to connect a lamp to a switch! If you’re looking to enhance the functionality and convenience of your lighting setup, connecting your lamp to a switch can be a great solution. Whether you want to control the lamp from a central location or add a switch to an existing lamp without one, this step-by-step guide will walk you through the process.
With just a few simple tools and basic electrical knowledge, you can successfully complete this project and enjoy the benefits of a switch-controlled lamp. Not only will it make turning your lamp on and off easier, but it can also add an extra layer of safety by allowing you to control the lamp without having to unplug it.
Before we dive into the steps, it’s important to note that electrical work should always be approached with caution. Make sure to turn off the power supply before starting any work and, if you’re not confident in your electrical skills, it’s always best to consult a professional electrician.
Now, let’s gather the necessary materials and get started on connecting your lamp to a switch!
Key Takeaways:
- Easily enhance your lighting setup by connecting a lamp to a switch. Enjoy convenience, safety, and control with just a few tools and basic electrical knowledge.
- Follow simple steps to safely and efficiently connect your lamp to a switch. Enjoy the benefits of switch-controlled lighting and eliminate the hassle of unplugging and plugging in your lamp.
Read more: What Is A Rotary Switch On A Lamp
Step 1: Gather the necessary materials
Before you begin connecting your lamp to a switch, it’s essential to gather all the necessary materials. Having everything on hand will make the process smoother and more efficient. Here’s a list of materials you’ll need:
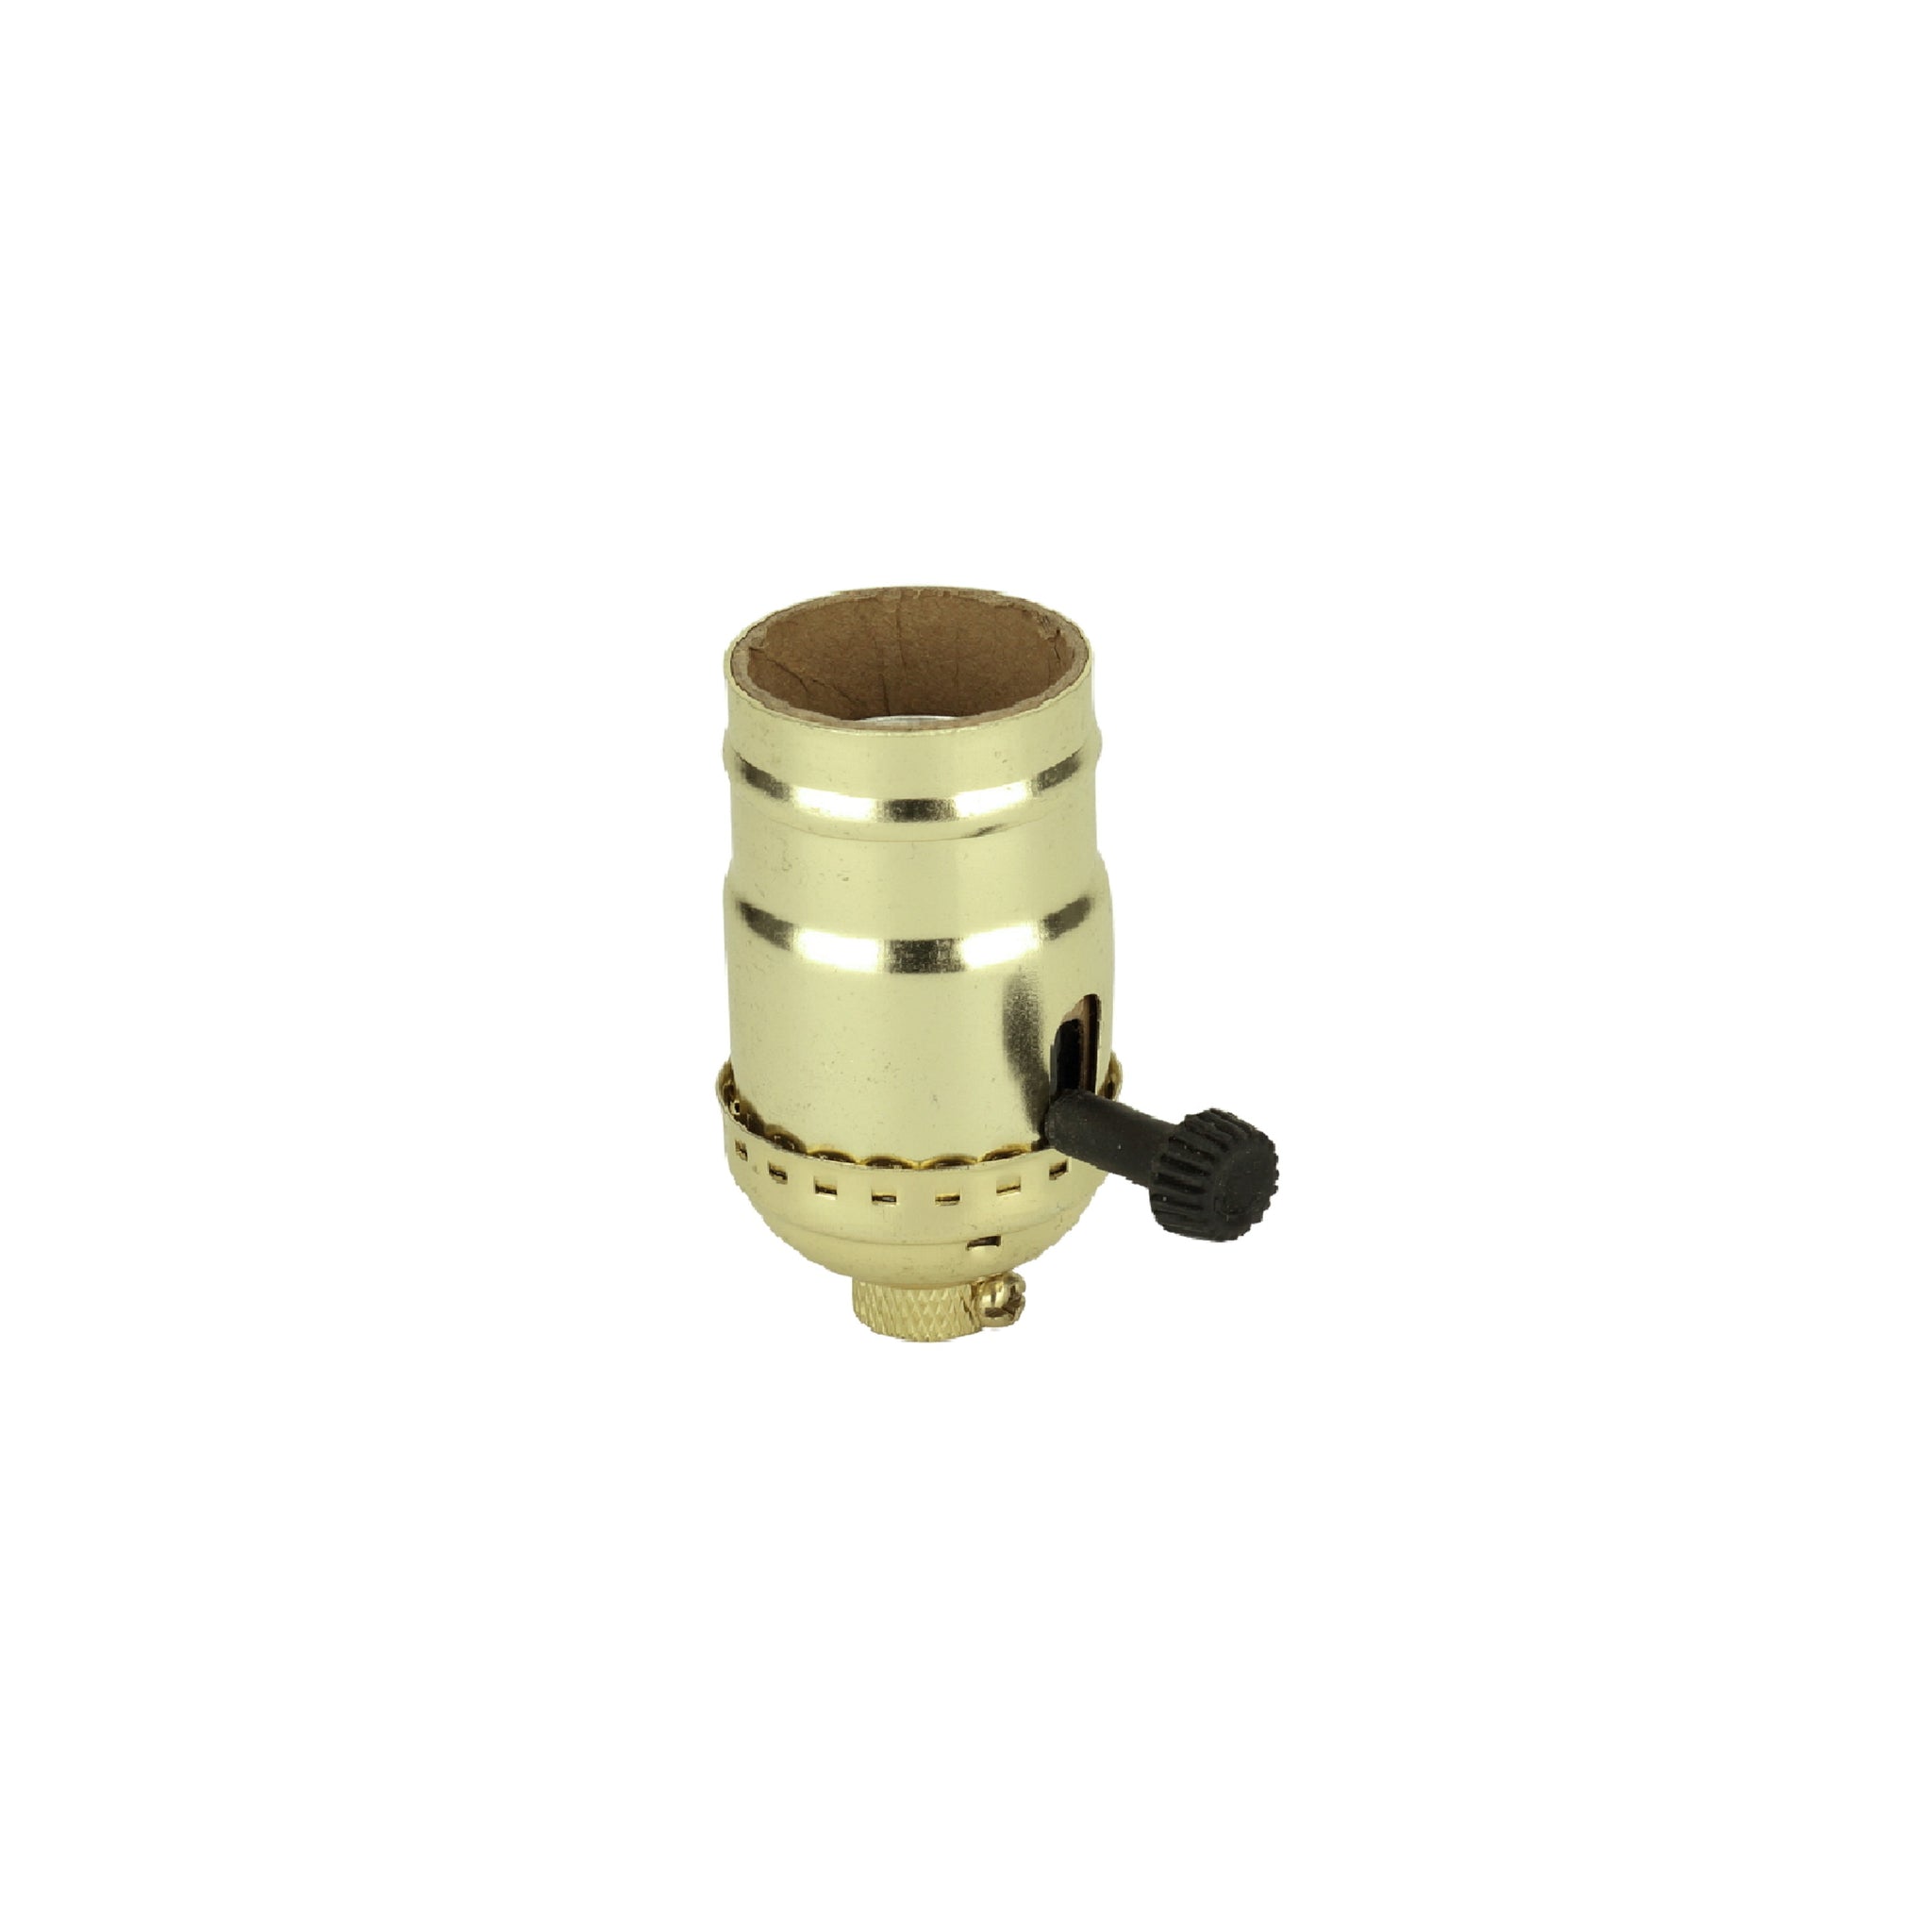
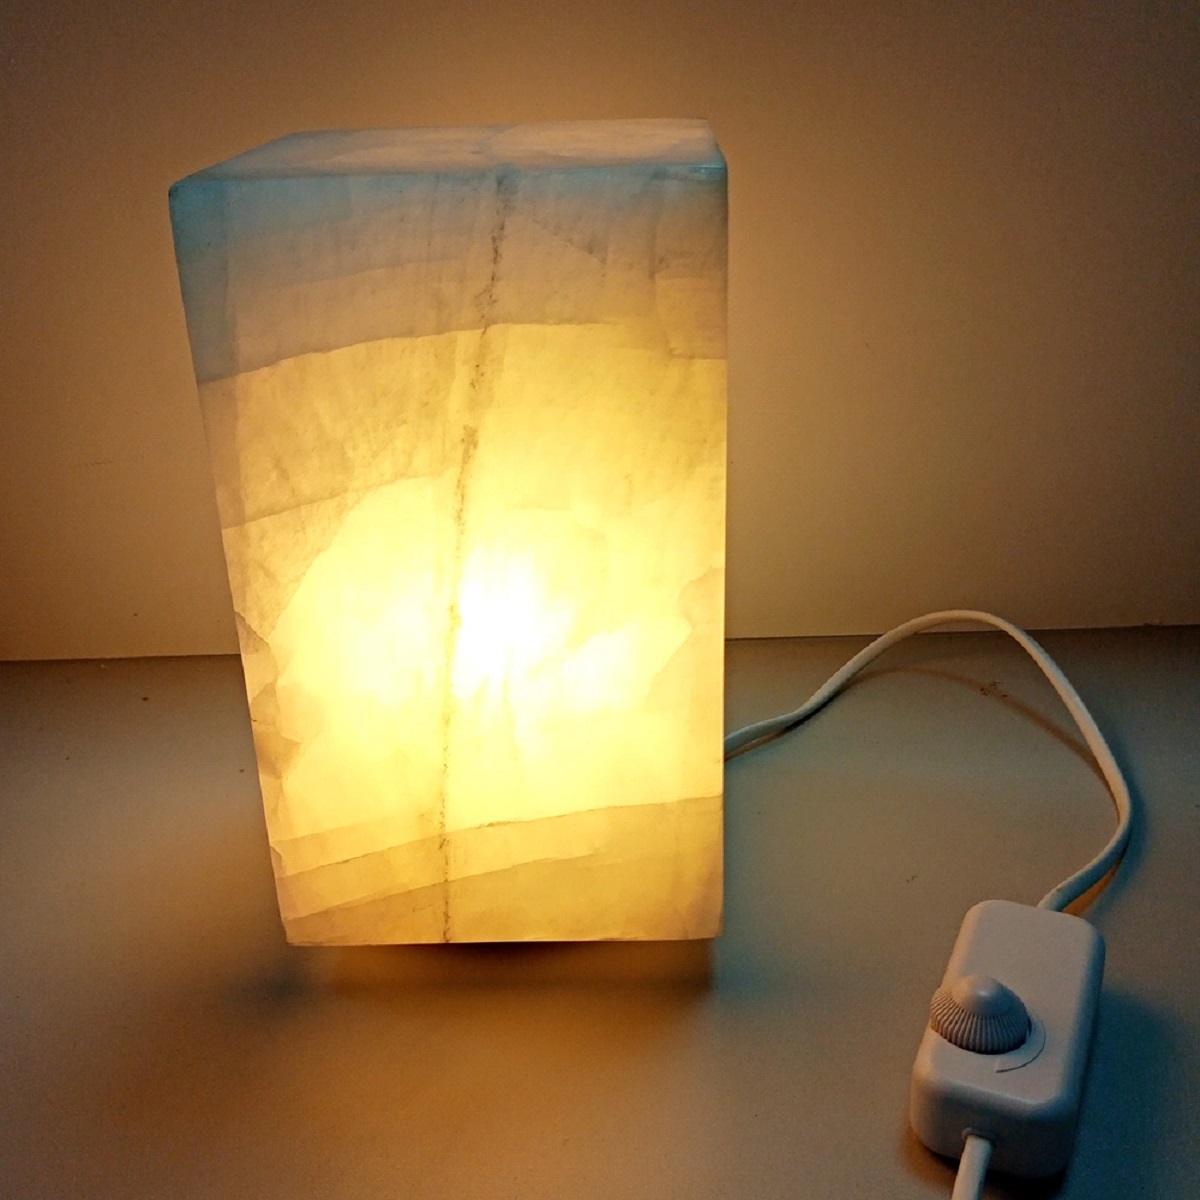
- Lamp: Ensure you have a lamp with a removable plug or a built-in switch socket.
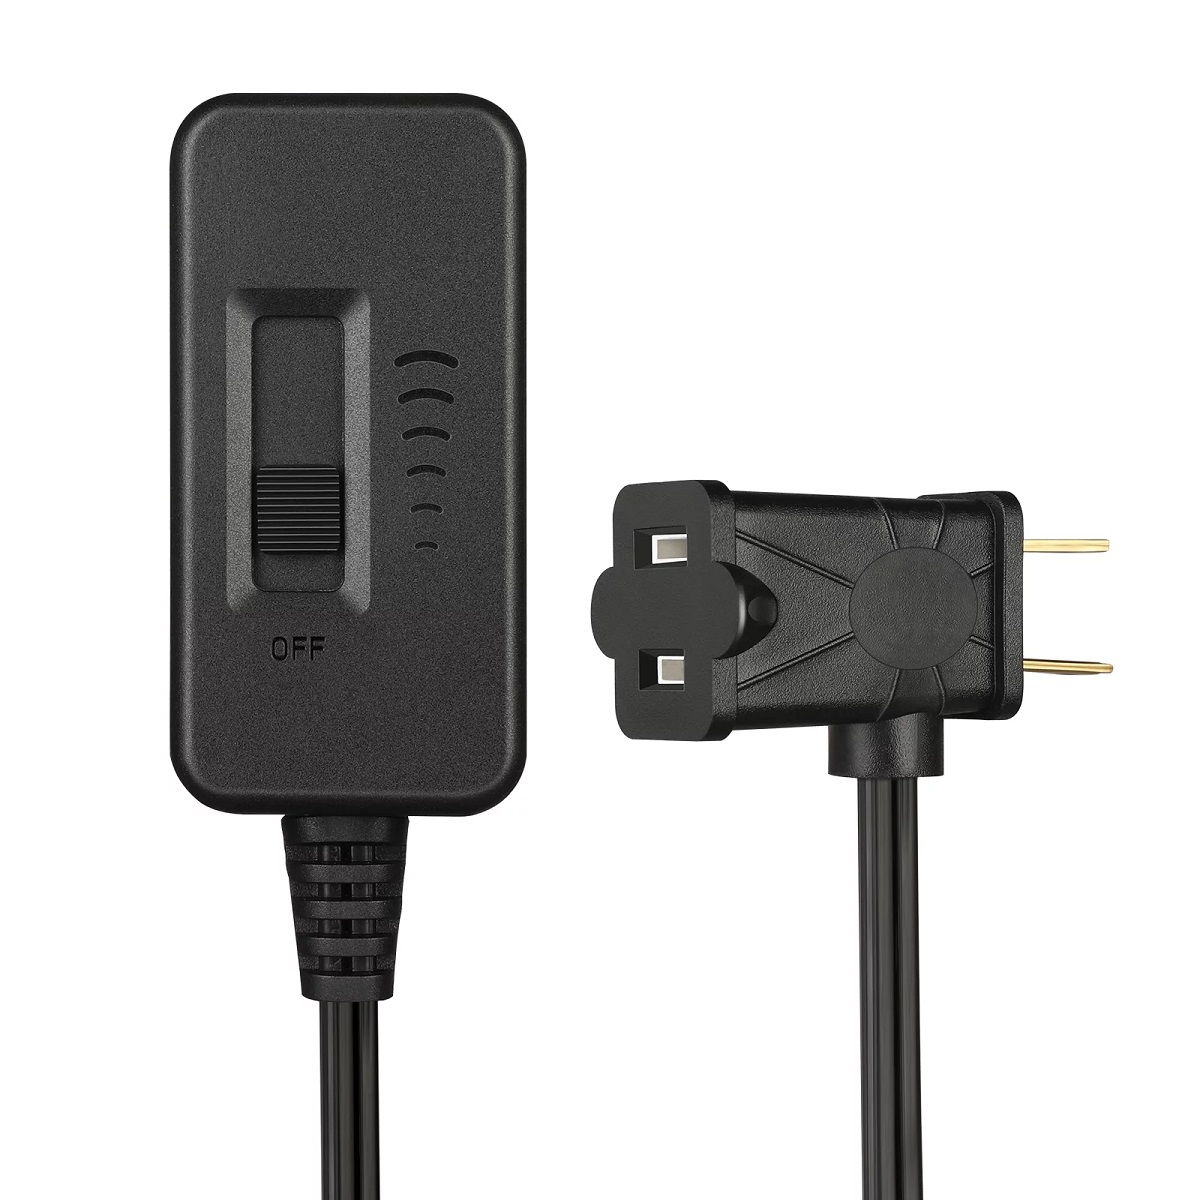
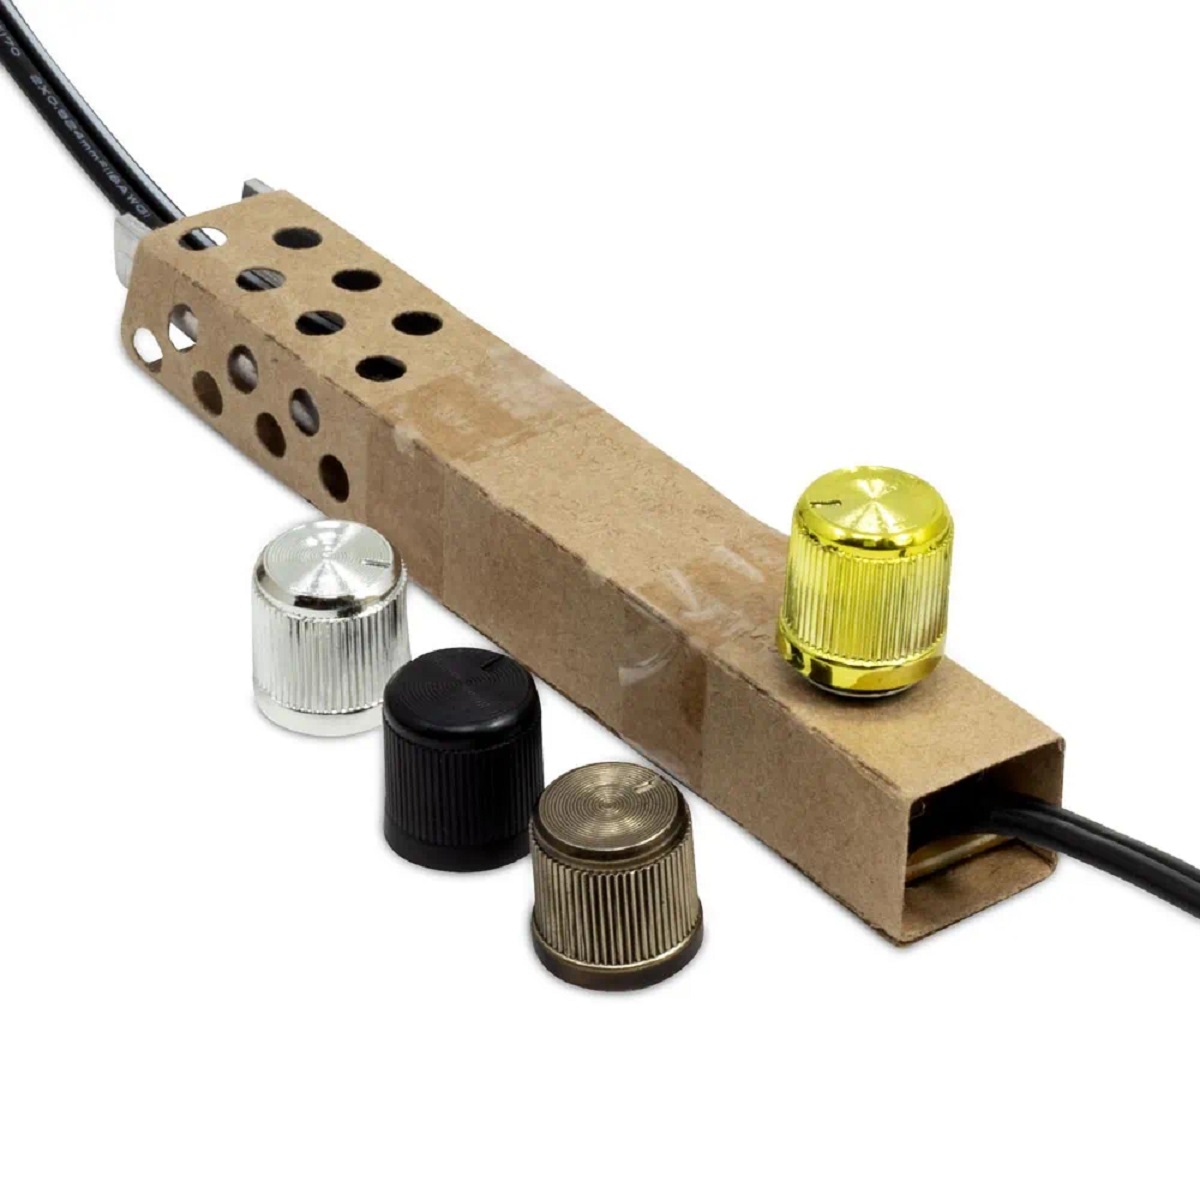
- Switch: Purchase a suitable switch that is compatible with your lamp’s wiring and design.
- Wire: You’ll need electrical wire to connect the lamp to the switch. The gauge of the wire should match the power requirements of your lamp.
- Wire connectors: These are necessary to secure the connections between the wires and the switch.
- Screwdriver: A screwdriver will be needed to remove the existing switch (if applicable) and install the new one.
- Electrical tape: Use electrical tape to insulate the wire connections and ensure they are safe and secure.
It’s important to note that the specific materials you need may vary depending on the design and wiring of your lamp. If you’re unsure about which materials to choose, consult a professional or reference the manufacturer’s instructions for your lamp.
Once you have gathered all the necessary materials, you can move on to the next step: turning off the power supply.
Step 2: Turn off the power supply
Safety should always be the top priority when working with electrical components. Before you begin connecting your lamp to a switch, make sure to turn off the power supply to the area where you’ll be working. This will help prevent any accidents or electrical shocks.
To turn off the power supply, locate the circuit breaker box in your home. The circuit breaker box typically contains a series of switches or fuses that control the power to specific areas or appliances.
Identify the switch or fuse that controls the power to the area where your lamp is located. It may be labeled as “lighting” or indicate the specific room where the lamp is situated. Flip the switch to the “off” position or remove the fuse to cut off the power supply.
Next, it’s a good idea to double-check that the power is indeed off before proceeding. You can do this by attempting to turn on the lamp or using a voltage tester to check for any live electricity. If the lamp does not turn on and the voltage tester does not indicate any live current, you can be confident that the power is off, and it is safe to proceed.
Remember, if you’re unsure about how to turn off the power supply or feel uncomfortable working with electricity, it’s always best to consult a professional electrician. Safety should never be compromised when it comes to electrical work.
With the power supply turned off, you’re ready to move on to step 3: removing the existing switch (if applicable).
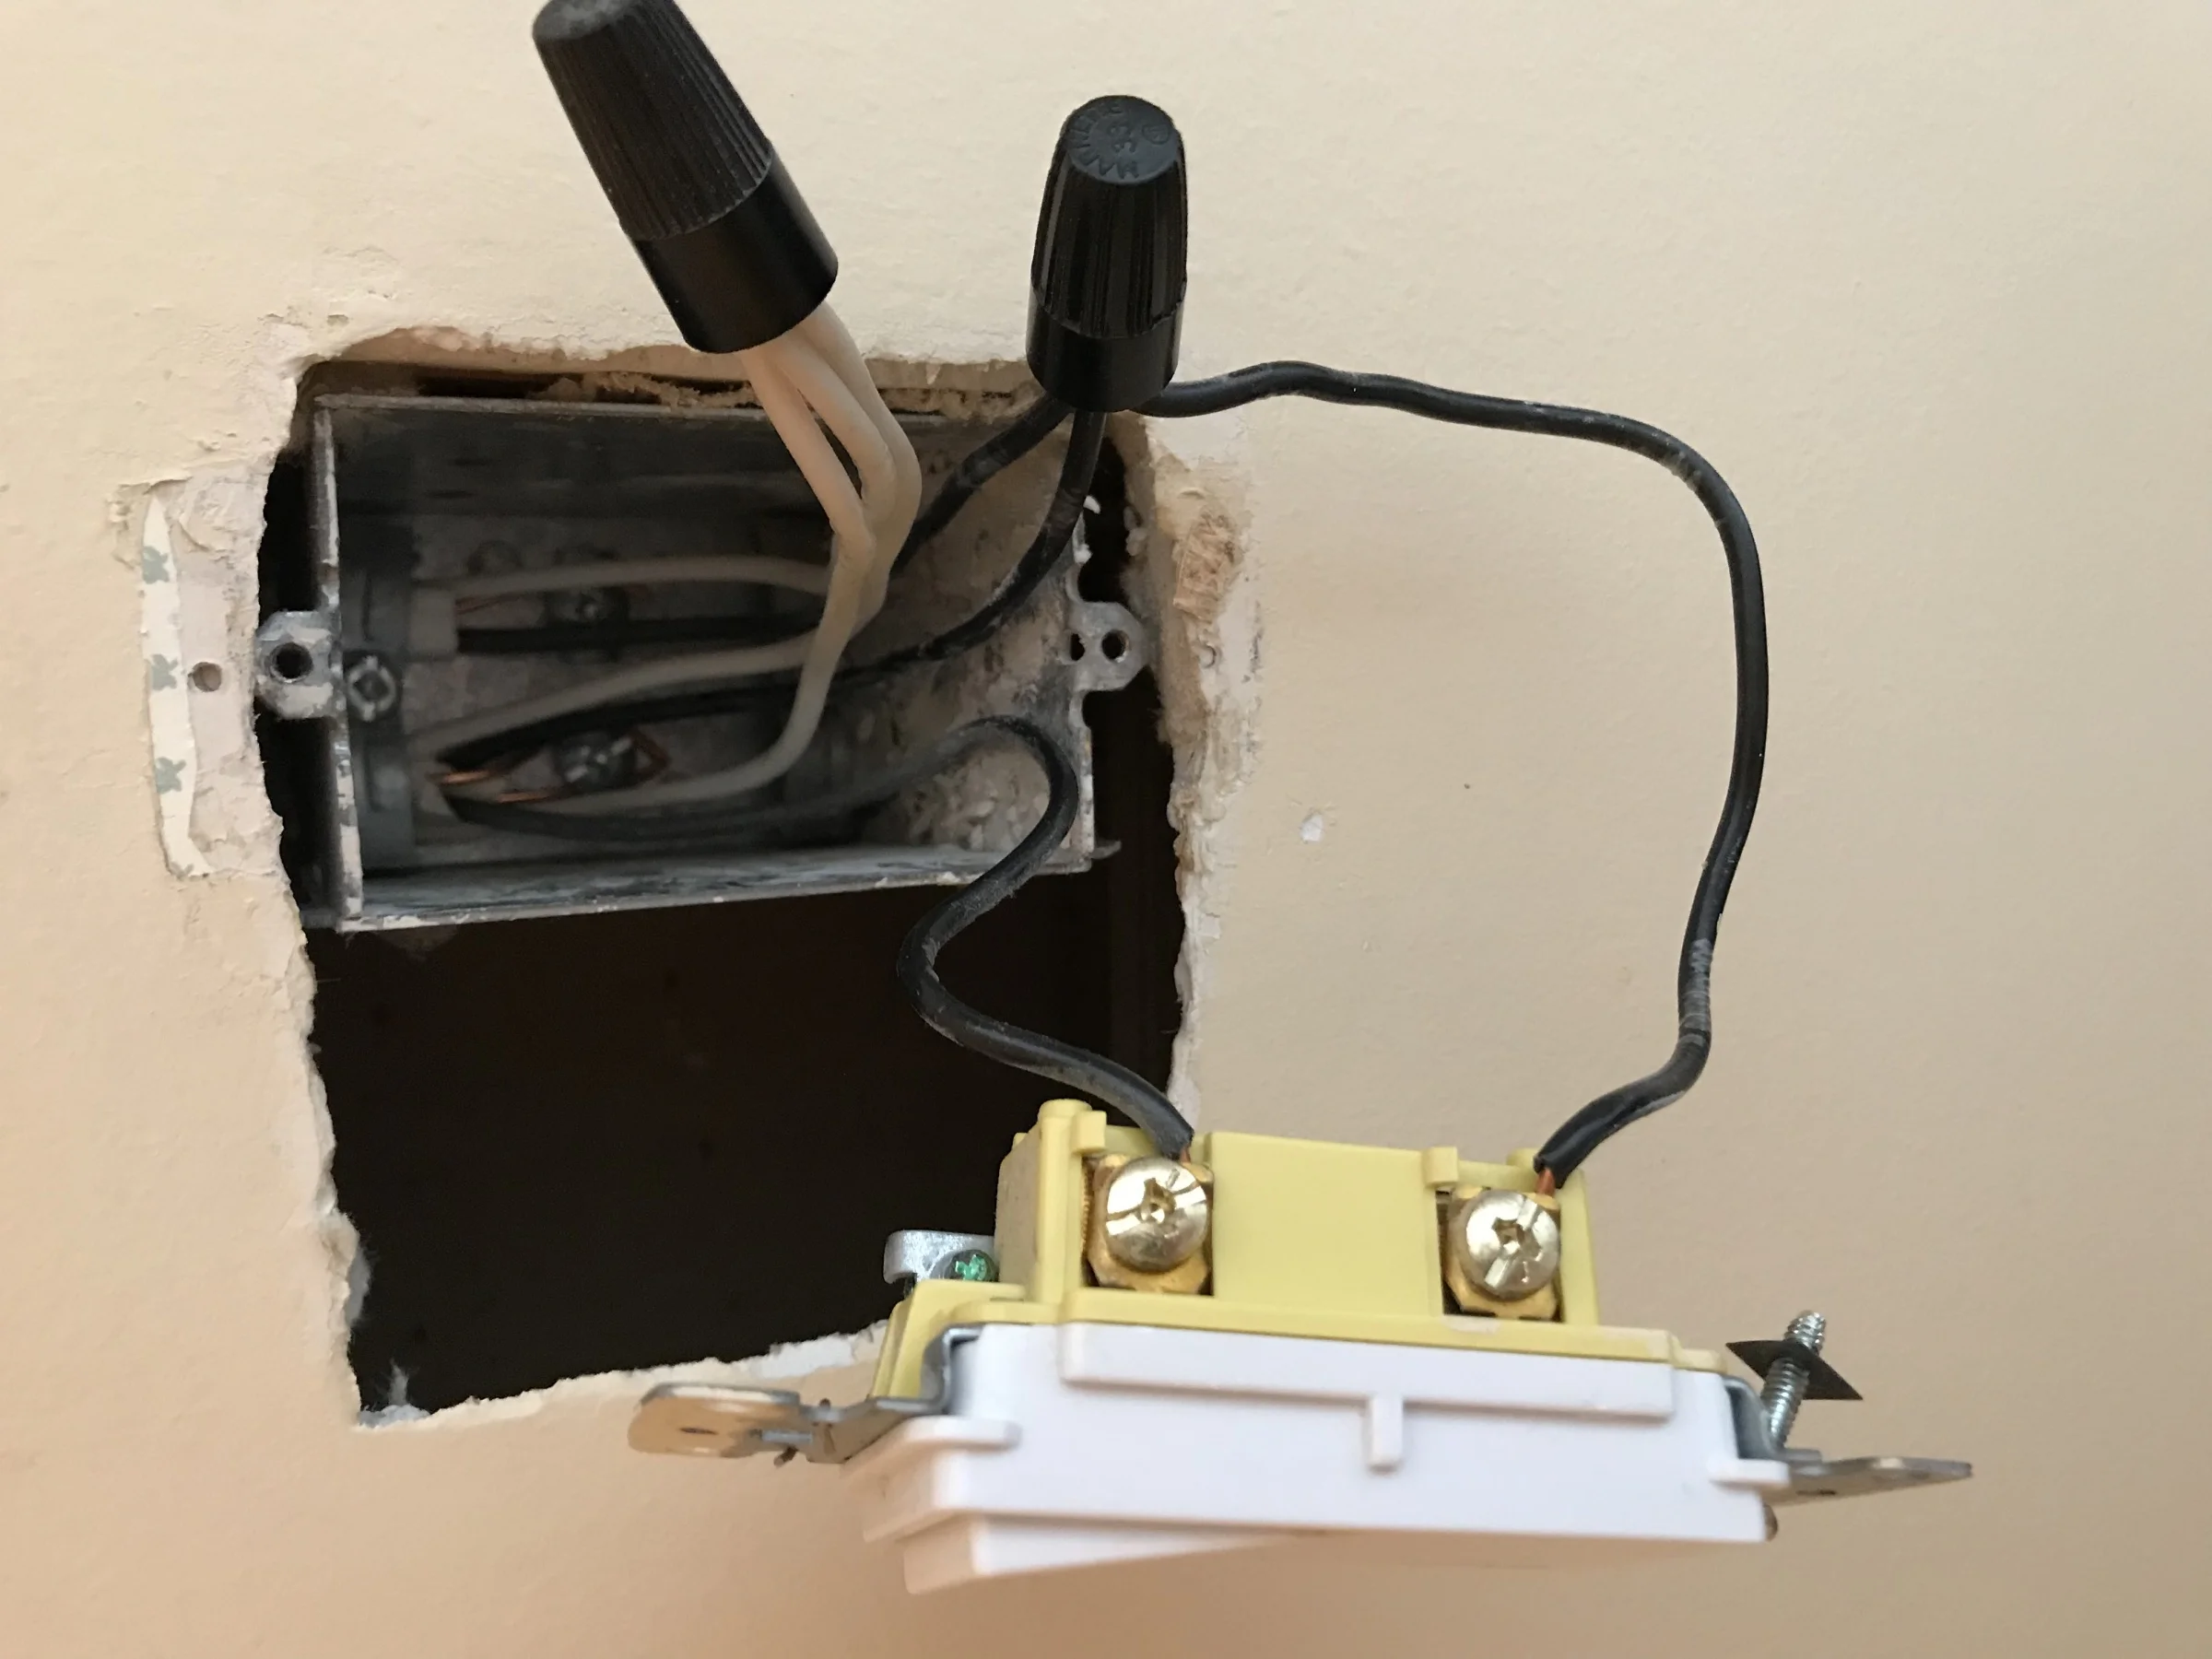
Step 3: Remove the existing switch
If your lamp already has a switch that you want to replace or if you’re adding a switch to an existing lamp without one, you’ll need to remove the old switch before proceeding. Here’s how you can do it:
- Locate the existing switch on your lamp. It is typically located along the electrical cord or on the lamp itself. Check for any screws or fasteners holding the switch in place.
- Using a screwdriver, carefully remove the screws or fasteners that secure the switch to the lamp. Set these aside in a safe place, as you’ll need them later.
- Once the screws or fasteners are removed, gently pull the switch away from the lamp, exposing the wires connected to it.
- Take note of the existing wiring configuration. This will be helpful when connecting the new switch later. You may want to take a photo for reference.
- If there are wire connectors or terminals holding the wires in place, carefully loosen them or remove them to detach the wires from the old switch.
- Once the wires are disconnected, set aside the old switch and any associated components.
It’s important to handle the old switch and wires with care, taking note of how they were connected. This will make it easier to install the new switch in the correct configuration without confusion.
If your lamp does not have an existing switch, you can skip this step and proceed to Step 4: preparing the wires.
Now that the old switch is removed, you’re ready to move on to the next step: preparing the wires for connection.
Step 4: Prepare the wires
Now that the old switch is removed (if applicable), it’s time to prepare the wires for connecting your lamp to the new switch. Follow these steps:
- First, examine the exposed ends of the wires to ensure they are clean and free from any frayed strands or damage. If necessary, trim the ends of the wires to create a fresh and even surface.
- If the wires have any insulation or covering, strip away approximately 1/2 inch (1.27 cm) of the insulation from each wire’s end. This will expose the conductive metal wire inside.
- Double-check the wire gauge and confirm that it is suitable for your lamp’s power requirements. Using wire connectors or wire nuts, securely join the exposed ends of the lamp’s wire to the corresponding wires from the switch.
- Make sure to match the polarity of the wires. The wire colors may vary, but typically black indicates the hot wire (positive) and white or green/yellow indicates the neutral wire (negative).
- Once the connections are made, lightly tug on the wires to ensure they are securely fastened. If they come loose, recheck the connections and tighten them as needed.
- After the wires are properly joined, use electrical tape to wrap around each individual connection. This provides added insulation and helps prevent the wires from accidentally coming apart.
Properly preparing the wires is crucial for maintaining a secure and reliable connection between the lamp and the switch. Take your time to ensure that each wire is clean, stripped, and correctly joined before moving on to the next step.
With the wires prepared, you’re ready to move on to step 5: connecting the wires to the switch.
When connecting a lamp to a switch, always make sure to turn off the power at the circuit breaker before starting any electrical work. This will help prevent any accidents or injuries.
Read more: How To Install A Lamp Cord Switch
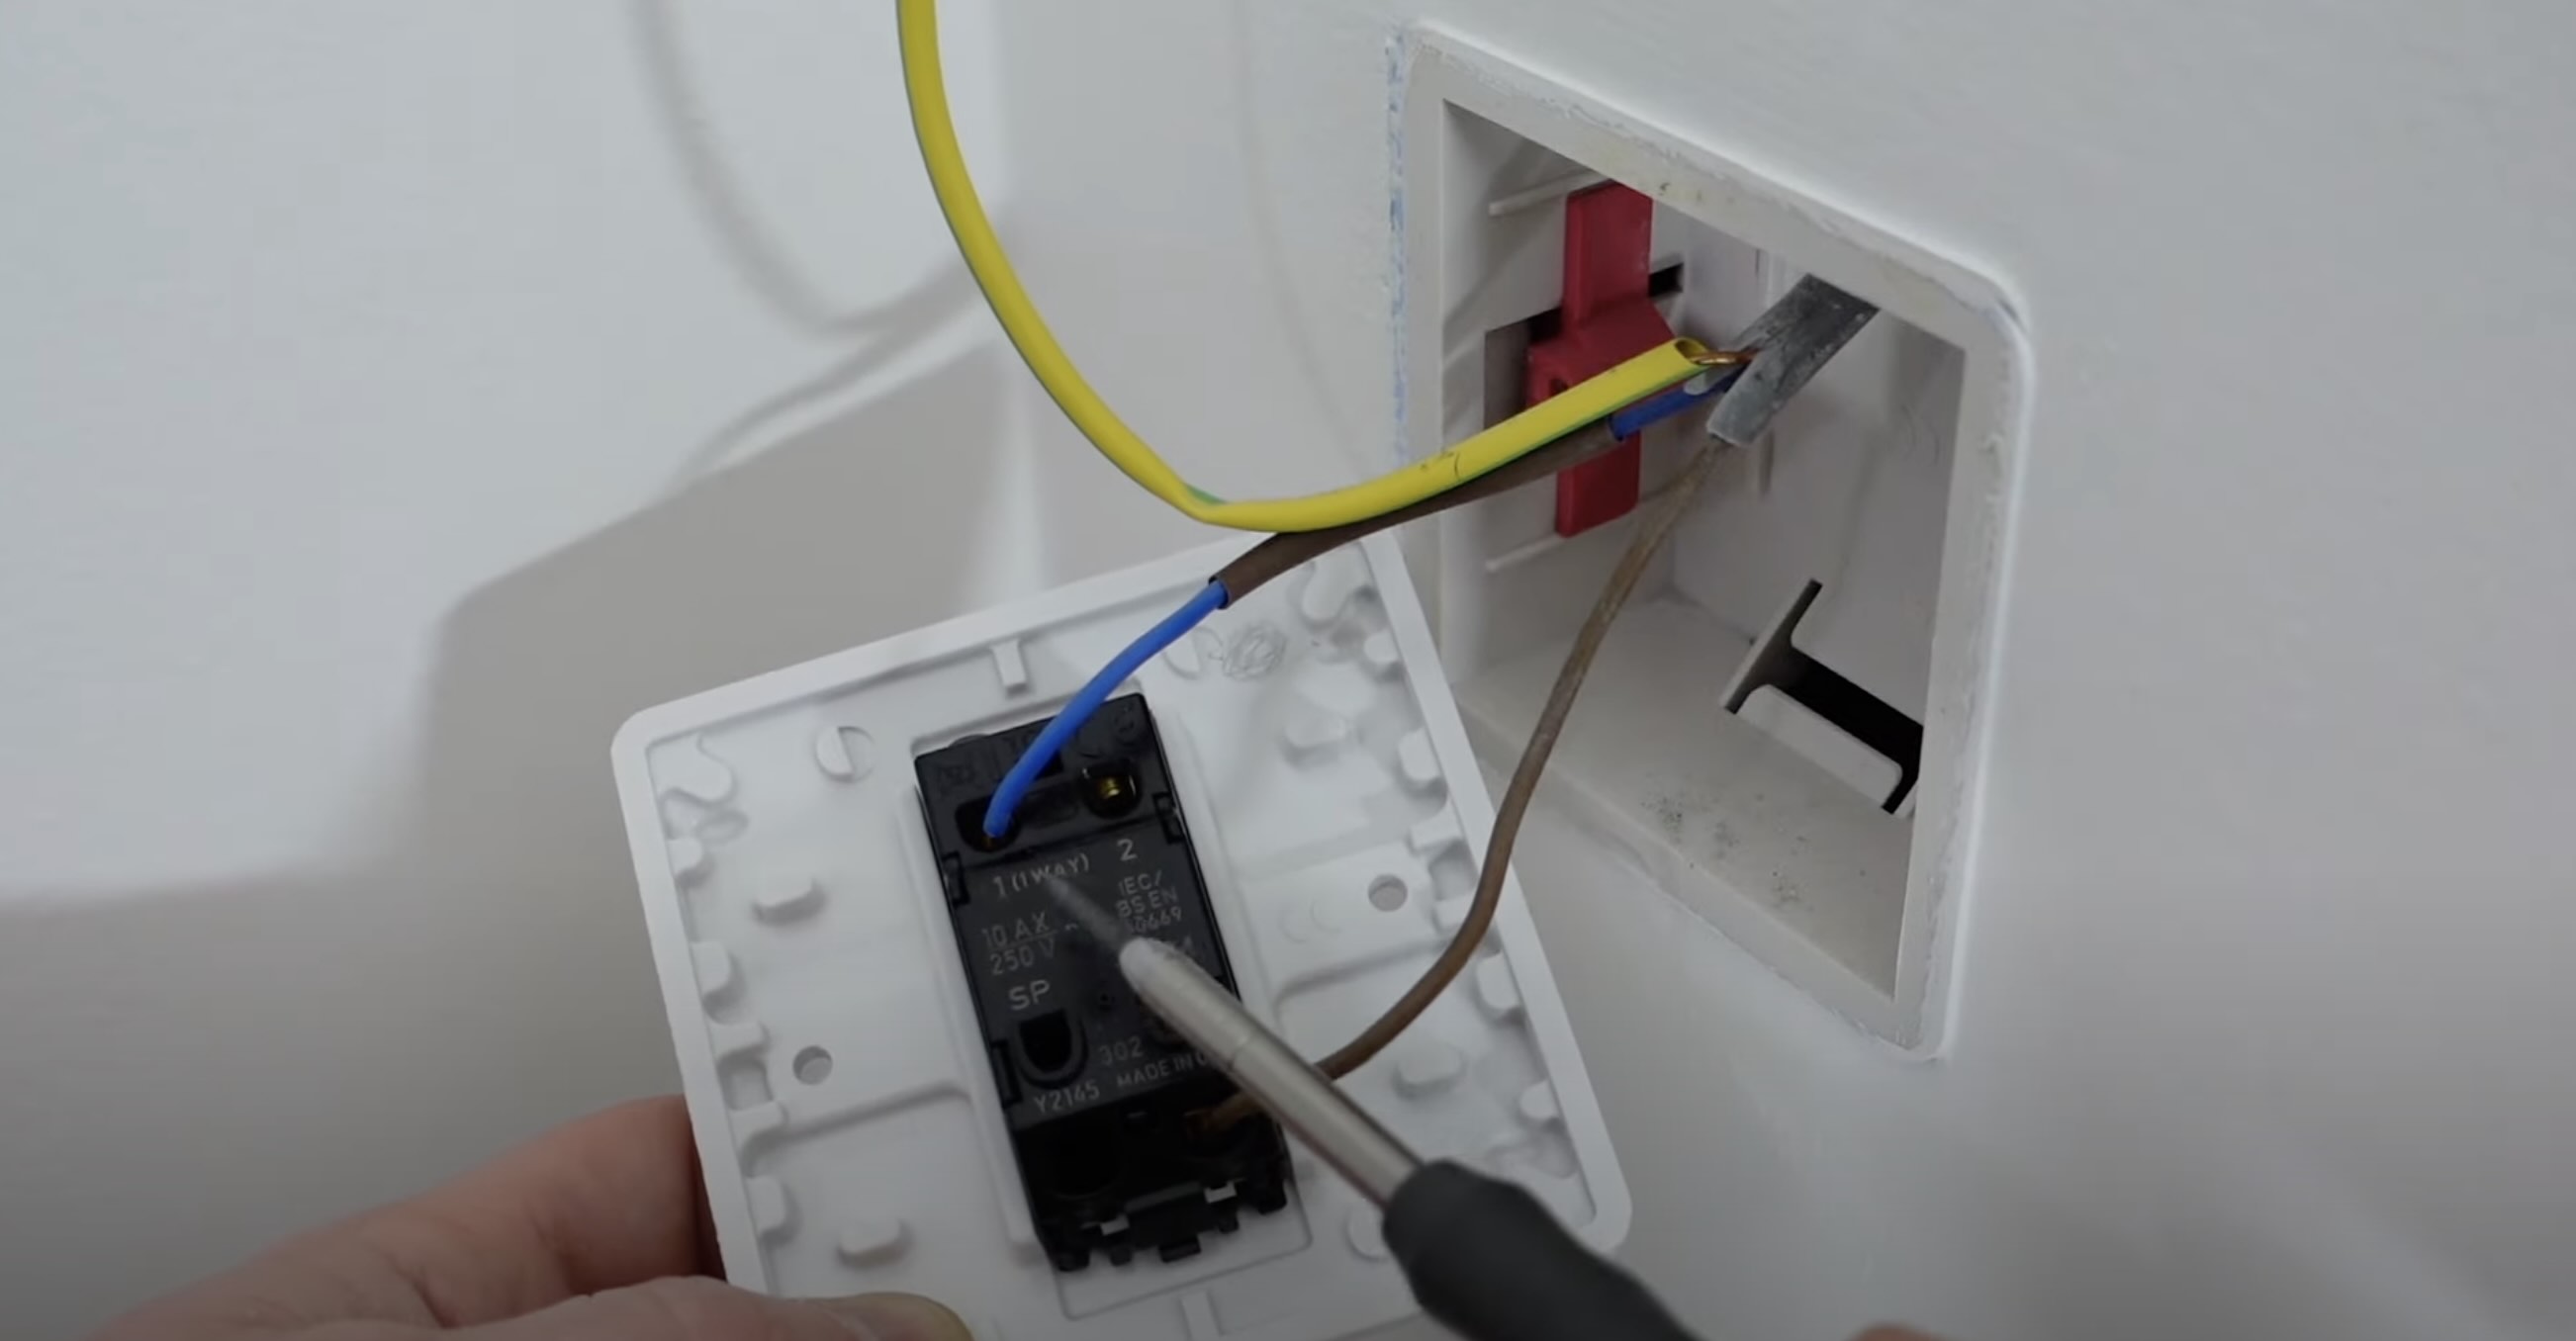
Step 5: Connect the wires to the switch
With the wires prepared, it’s time to connect them to the new switch. Follow these steps to ensure a proper connection:
- Take the switch and locate the screw terminals or wire connectors on its body. These are where the wires from the lamp will be connected.
- Identify the polarity of the switch terminals. Typically, one terminal will be labeled as “Hot” or “L” (for Line) and the other as “Load” or “1” (for the lamp).
- Connect the black wire from the lamp to the “Hot” or “L” terminal of the switch. This is the wire that carries the electrical current to the lamp.
- Connect the white or green/yellow wire from the lamp to the “Load” or “1” terminal of the switch. This wire completes the circuit and provides the return path for the current.
- Using a screwdriver, tighten the screws on the terminals to secure the wires in place. Ensure that the connections are tight but be careful not to over-tighten and damage the wires or the switch.
- After the wires are securely connected, double-check the overall wiring configuration. Verify that the polarity is correct and the connections are sound.
It’s important to follow the manufacturer’s instructions for your specific switch, as the wiring configuration may vary. If you’re unsure about the correct terminals to use or the polarity, consult the switch’s documentation or seek guidance from a professional electrician.
With the wires successfully connected to the switch, you’re ready to move on to step 6: installing the new switch.
Step 6: Install the new switch
With the wires connected to the new switch, it’s time to install it and secure it in place. Follow these steps to ensure a proper installation:
- Position the new switch in the desired location on your lamp. Depending on the design of your lamp, you may need to attach it to the lamp base or the electrical cord.
- Align the screw holes or fastener slots on the switch with the corresponding holes or slots on the lamp.
- Using a screwdriver, insert the screws through the switch and into the lamp, or secure the switch in place using the appropriate fasteners.
- Tighten the screws or fasteners until the switch feels secure and doesn’t move or wobble.
- Double-check the alignment of the switch to ensure it is straight and properly positioned on the lamp.
It’s important to install the new switch carefully to avoid any damage to the lamp or the electrical components. Take your time and make sure that the switch is firmly attached to the lamp.
With the new switch properly installed, you’re ready to move on to step 7: testing the connection.
Step 7: Test the connection
Now that the new switch is installed, it’s time to test the connection and ensure that everything is working as intended. Follow these steps to test the connection:
- With the power supply still turned off, plug the lamp into a functioning power outlet.
- Turn on the power supply to the area where your lamp is located. This can be done by flipping the corresponding switch on the circuit breaker box.
- Once the power is restored, test the switch by flipping it to the “on” position. The lamp should light up.
- Flip the switch to the “off” position and observe if the lamp turns off. This confirms that the switch is controlling the power to the lamp.
- Repeat the on/off switch action a few times to ensure smooth and consistent operation.
If the lamp does not turn on or off when using the switch, double-check the connections between the lamp wires and the switch terminals. Make sure the connections are secure and that the wires are properly seated in the terminals.
If you’re still experiencing issues, it’s advisable to consult a professional electrician to troubleshoot and resolve any wiring or switch problems.
Once you have confirmed that the connection is working correctly, continue to step 8 to secure the switch and cover plate.
Step 8: Secure the switch and cover plate
After testing the connection and ensuring that everything is working properly, it’s time to secure the switch and cover plate for a neat and finished look. Follow these steps to complete the installation:
- Ensure that the switch is in the “off” position and the lamp is unplugged.
- Align the cover plate over the switch and position it correctly on the lamp.
- Using a screwdriver, insert the screws through the cover plate and into the switch or lamp base.
- Tighten the screws until the cover plate feels secure and doesn’t move or shift.
- Double-check the alignment and positioning of the cover plate to ensure it is straight and properly centered.
Securing the switch and cover plate not only provides a professional and tidy appearance but also ensures safety by protecting the electrical components from dust, debris, and accidental contact.
With the switch and cover plate securely in place, your lamp should now be successfully connected and ready to use. Enjoy the convenience and control of being able to turn your lamp on and off with ease!
Remember to always follow safety guidelines when working with electricity and, if you’re unsure or uncomfortable with any step of the process, it’s best to consult a professional electrician.
Congratulations on successfully connecting your lamp to a switch!
Read more: How To Turn On A Lamp Without Switch
Conclusion
Connecting a lamp to a switch is a straightforward process that can greatly enhance the functionality and convenience of your lighting setup. With the right tools, materials, and basic electrical knowledge, you can easily complete this project and enjoy the benefits of a switch-controlled lamp.
Throughout this comprehensive guide, we’ve walked you through each step, from gathering the necessary materials to securing the switch and cover plate. By following these steps and ensuring proper connections, you can create a safe and reliable switch-controlled system for your lamp.
Remember, safety should always be a top priority when working with electricity. Be sure to turn off the power supply, use caution when handling wires, and consult a professional electrician if you have any doubts or concerns.
Adding a switch to your lamp allows for convenient control, eliminating the need to physically unplug and plug in the lamp each time you want to turn it on or off. It also provides an extra layer of safety by keeping the lamp easily accessible and preventing the risk of tripping over cords.
We hope this guide has been informative and helpful in your journey to connect a lamp to a switch. Enjoy the ease and functionality of controlling your lamp with a simple flip of a switch!
Frequently Asked Questions about How To Connect A Lamp To A Switch
Was this page helpful?
At Storables.com, we guarantee accurate and reliable information. Our content, validated by Expert Board Contributors, is crafted following stringent Editorial Policies. We're committed to providing you with well-researched, expert-backed insights for all your informational needs.