Home>Technology>Home Entertainment Systems>How To Hook Up Nintendo Switch To Projector
Home Entertainment Systems
How To Hook Up Nintendo Switch To Projector
Published: December 30, 2023
Learn how to connect your Nintendo Switch to a projector for an immersive gaming experience. Enhance your home entertainment system with this simple setup guide.
(Many of the links in this article redirect to a specific reviewed product. Your purchase of these products through affiliate links helps to generate commission for Storables.com, at no extra cost. Learn more)
Introduction
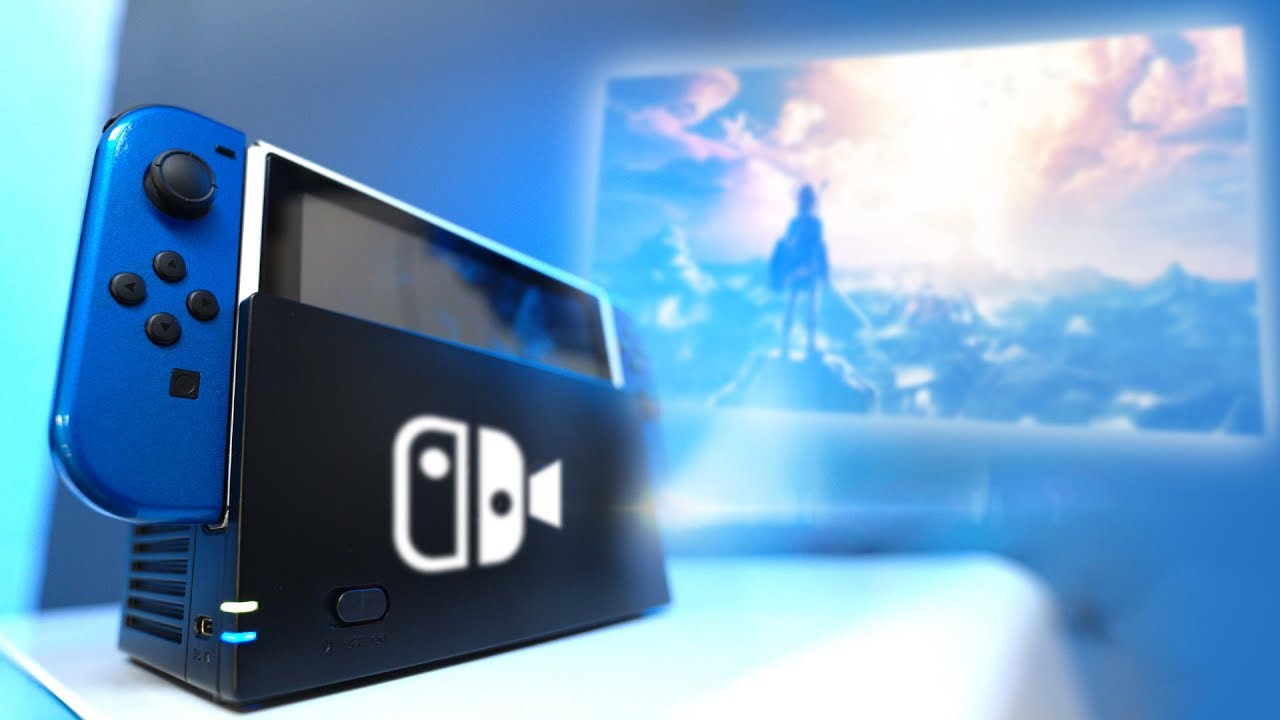
Welcome to the ultimate guide on how to hook up your Nintendo Switch to a projector! If you're a gaming enthusiast or simply love the idea of experiencing your favorite games on a larger-than-life screen, this article is for you. Connecting your Nintendo Switch to a projector opens up a world of immersive gameplay, allowing you to dive into your gaming adventures with larger-than-life visuals and enhanced excitement.
In this comprehensive guide, we'll walk you through the step-by-step process of setting up your projector for Nintendo Switch gaming. Whether you're hosting a gaming night with friends or seeking a more cinematic gaming experience for yourself, this guide will equip you with the knowledge and confidence to seamlessly connect your Nintendo Switch to a projector.
Get ready to elevate your gaming setup and unlock a whole new level of gaming enjoyment. Let's dive into the details of gathering the necessary equipment to get started!
Key Takeaways:
- Elevate your gaming experience by connecting your Nintendo Switch to a projector for larger-than-life visuals and immersive gameplay. Gather the necessary equipment and follow simple steps to enjoy gaming on a grand scale!
- Immerse yourself in captivating gaming adventures on a big screen by seamlessly connecting your Nintendo Switch to a projector. Optimize display and audio settings for an unforgettable gaming ambiance. Get ready for an exhilarating gaming journey!
Read more: How To Hook Up Chromebook To Projector
Gather the Necessary Equipment
Before embarking on the exciting journey of connecting your Nintendo Switch to a projector, it's essential to gather the right equipment. Here's what you'll need:
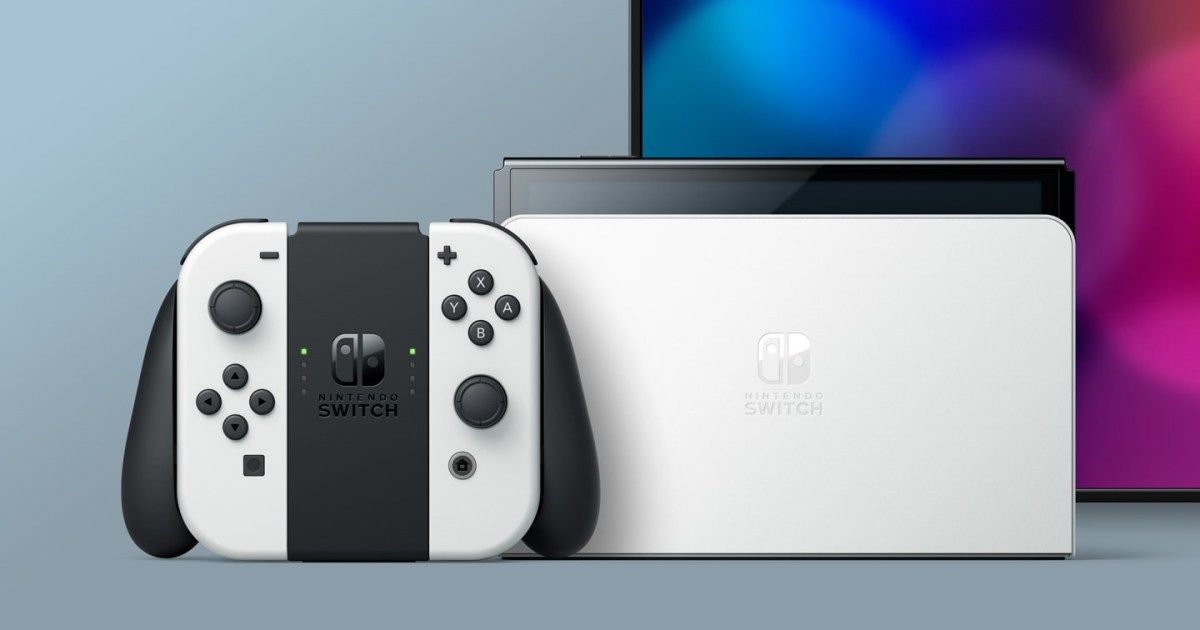
- Nintendo Switch: The heart of your gaming experience, the Nintendo Switch console is the primary device you'll be connecting to the projector.
- Projector: Select a high-quality projector that suits your gaming space. Look for features such as high resolution, ample brightness, and compatibility with gaming consoles.
- HDMI Cable: A reliable HDMI cable is crucial for establishing a seamless connection between your Nintendo Switch and the projector. Ensure that the cable is of sufficient length to accommodate your setup.
- Power Sources: Make sure that both the Nintendo Switch and the projector have access to power sources. Having nearby power outlets or extension cords can facilitate this.
- Optional: External Speakers or Sound System: While not mandatory, incorporating external speakers or a sound system can enhance the audio experience, elevating the overall gaming ambiance.
Once you have all the necessary equipment at your disposal, you're ready to move on to the next step: setting up the projector for your gaming extravaganza!
Set Up the Projector
Now that you have all the essential equipment assembled, it's time to set up the projector for an immersive gaming experience. Follow these steps to ensure a seamless and visually stunning gaming environment:
- Choose an Ideal Location: Select a suitable location for the projector, ensuring that it is positioned at an optimal distance from the screen or wall. Consider factors such as ambient light, screen size, and the projector's throw distance to achieve the best visual results.
- Connect the Power: Plug in the projector and ensure that it is receiving power. Most projectors have a dedicated power input, so connect it to a reliable power source.
- Adjust the Projector Settings: Access the projector's settings menu to configure parameters such as brightness, contrast, and color settings. Fine-tuning these settings can significantly enhance the visual quality of the projected image.
- Position and Secure the Projector: Set up the projector on a stable surface or mount it securely according to the manufacturer's guidelines. Ensure that the projector is level and stable to prevent any disruptions during your gaming sessions.
- Prepare the Screen or Wall: If using a dedicated screen, ensure that it is clean and free from any obstructions. In the absence of a screen, a smooth, white wall can serve as an excellent projection surface.
- Test the Projection: Power on the projector and project a test image to ensure that the setup is functioning correctly. Adjust the focus and alignment as needed to achieve a crisp and well-defined image.
With the projector set up and ready to go, you're one step closer to immersing yourself in the captivating world of Nintendo Switch gaming on a grand scale. The next vital phase involves connecting your Nintendo Switch to the projector, and we'll delve into that process next!
Make sure your projector has an HDMI input. Connect the Nintendo Switch dock to the projector using an HDMI cable. Switch the projector to the correct input source. Enjoy gaming on the big screen!
Connect the Nintendo Switch to the Projector
Now comes the exciting moment of connecting your Nintendo Switch to the projector, paving the way for an expansive and visually stunning gaming experience. Follow these steps to establish a seamless connection:
- Locate the HDMI Port on the Nintendo Switch: The Nintendo Switch features a built-in HDMI output port, typically located on the console's docking station. If you're using the Switch in handheld mode, you may need an additional accessory to enable HDMI output.
- Connect the HDMI Cable: Take the HDMI cable and plug one end into the HDMI output port of the Nintendo Switch. Ensure a secure connection to guarantee uninterrupted gameplay.
- Connect the HDMI Cable to the Projector: Locate the HDMI input port on the projector and connect the other end of the HDMI cable to establish a direct link between the Nintendo Switch and the projector.
- Power On the Devices: Power on both the Nintendo Switch and the projector. Allow the devices to initialize and establish the HDMI connection.
- Select the HDMI Input on the Projector: Access the projector's input settings and select the corresponding HDMI input that is connected to the Nintendo Switch. This step ensures that the projector recognizes the signal from the gaming console.
- Adjust Display Settings: Navigate to the Nintendo Switch's display settings to configure the resolution and other display preferences. Optimize the settings to match the capabilities of your projector for the best visual output.
- Test the Connection: Launch a game or navigate the Nintendo Switch menu to verify that the connection is successful. Adjust the projector's focus and alignment as needed to achieve a captivating and immersive gaming display.
With the Nintendo Switch seamlessly connected to the projector, you're now poised to indulge in an expansive gaming experience that transcends traditional screen sizes. The final step involves adjusting settings and preparing to immerse yourself in your favorite games on a grand scale!
Adjust Settings and Enjoy Your Game
With your Nintendo Switch successfully connected to the projector, it’s time to fine-tune the settings and immerse yourself in an unforgettable gaming experience. Follow these steps to optimize the display and elevate your gaming ambiance:
- Optimize Display Settings: Access the Nintendo Switch’s display settings to tailor the resolution, color balance, and screen size to complement the capabilities of your projector. Adjusting these settings ensures a visually stunning and immersive gaming environment.
- Enhance Audio Experience (Optional): If you have external speakers or a sound system, consider connecting them to the projector for enhanced audio. Immerse yourself in the game’s sound effects and music, elevating the overall gaming experience.
- Create a Comfortable Gaming Environment: Dim the ambient lighting to enhance the contrast and visibility of the projected image. Creating a cozy and dimly lit gaming space can intensify your focus and enjoyment of the gameplay.
- Explore Multiplayer Gaming: With the expansive projection offered by the projector, consider hosting multiplayer gaming sessions with friends or family. The large screen provides an inclusive and thrilling gaming experience for all participants.
- Immerse Yourself in Gaming Adventures: Launch your favorite games and lose yourself in the captivating worlds and adventures presented on the expansive screen. Whether it’s exploring vast landscapes or engaging in intense battles, the projector amplifies the thrill of gaming.
- Adjust Projection for Comfort: Fine-tune the projector’s focus, keystone correction, and screen alignment to ensure a comfortable and visually pleasing gaming experience. Eliminate any distortion or blurriness to maintain a crisp and clear image.
Now that you’ve optimized the settings and prepared your gaming environment, it’s time to embark on an exhilarating gaming journey on a grand scale. Whether you’re delving into captivating storylines, competing in intense multiplayer matches, or simply enjoying the stunning visuals of your favorite games, the combination of the Nintendo Switch and projector creates an immersive gaming experience like no other.
Get ready to savor every moment and lose yourself in the expansive world of Nintendo Switch gaming projected on the big screen. It’s time to elevate your gaming setup and embark on unforgettable gaming adventures!
Frequently Asked Questions about How To Hook Up Nintendo Switch To Projector
Was this page helpful?
At Storables.com, we guarantee accurate and reliable information. Our content, validated by Expert Board Contributors, is crafted following stringent Editorial Policies. We're committed to providing you with well-researched, expert-backed insights for all your informational needs.


0 thoughts on “How To Hook Up Nintendo Switch To Projector”