Articles
How To Connect Starlink Ethernet Adapter
Modified: August 16, 2024
Learn how to connect the Starlink Ethernet Adapter in our informative articles. Discover step-by-step instructions and tips for a seamless setup.
(Many of the links in this article redirect to a specific reviewed product. Your purchase of these products through affiliate links helps to generate commission for Storables.com, at no extra cost. Learn more)
Introduction
In today’s digital era, internet connectivity is crucial for both work and personal use. However, there are still areas with limited access to reliable internet connections. This is where the Starlink internet service comes into play, providing high-speed internet access through a network of satellites circling the Earth.
To enhance the connectivity experience, Starlink offers the Starlink Ethernet Adapter. This device allows users to connect their devices directly to the Starlink satellite dish, enabling a stable and high-speed internet connection. In this article, we will explore the Starlink Ethernet Adapter in detail, understand its benefits, and provide a step-by-step guide on how to connect it to your devices.
Key Takeaways:
- The Starlink Ethernet Adapter provides stable, high-speed internet by connecting devices directly to the satellite dish, offering benefits such as improved speed, low latency, and enhanced security.
- Setting up the Starlink Ethernet Adapter is a straightforward process, but troubleshooting tips are available for common connectivity issues, ensuring a seamless and reliable internet experience.
Read more: What Is Ethernet 2 Adapter
What is the Starlink Ethernet Adapter?
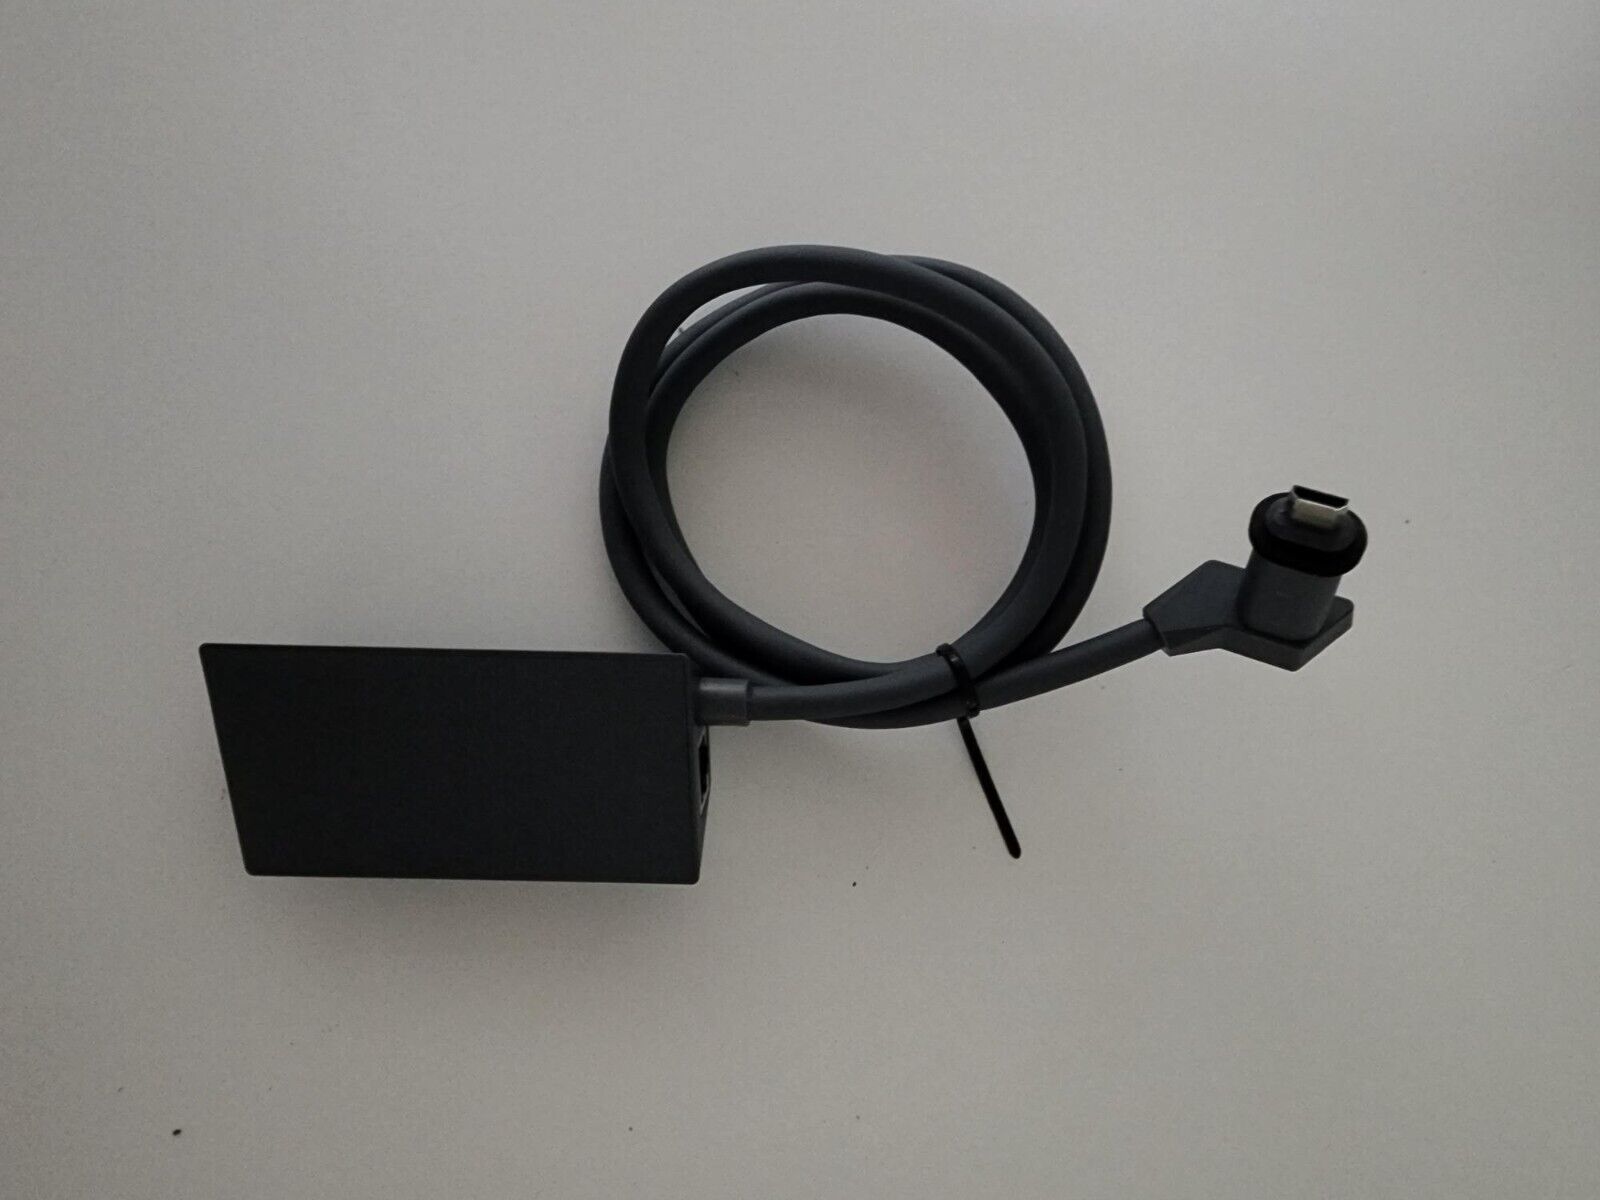
The Starlink Ethernet Adapter is a small device that serves as a bridge between your devices and the Starlink satellite dish. It allows you to connect your devices, such as computers, gaming consoles, or smart TVs, directly to the satellite dish using an Ethernet cable, providing a reliable and fast internet connection.
Unlike traditional internet connections that rely on terrestrial infrastructure, the Starlink internet service utilizes a constellation of low Earth orbit satellites. These satellites communicate with each other and beam the internet signals to the Starlink satellite dish on your property. By connecting your devices through the Starlink Ethernet Adapter, you can take full advantage of the high-speed internet provided by the Starlink service.
The Starlink Ethernet Adapter is designed to be user-friendly, compact, and easy to install. It has a sleek and minimalistic design, allowing you to seamlessly integrate it into your home or office setup without any additional hassle. With its plug-and-play functionality, connecting the Starlink Ethernet Adapter to your devices is a straightforward process, requiring minimal technical expertise.
Furthermore, the Starlink Ethernet Adapter supports Gigabit Ethernet, ensuring that you can experience lightning-fast internet speeds. Whether you’re streaming high-definition videos, participating in video conferences, or engaging in online gaming, the Starlink Ethernet Adapter provides a stable and uninterrupted connection to enhance your digital activities.
It is important to note that the Starlink Ethernet Adapter is an optional accessory for Starlink users. While you can connect your devices directly to the Starlink satellite dish using the Ethernet Adapter, Starlink also offers Wi-Fi connectivity options. This means that you have the flexibility to choose the most suitable connection method based on your specific requirements and preferences.
Benefits of Using the Starlink Ethernet Adapter
The Starlink Ethernet Adapter offers several benefits that enhance your internet connectivity experience. Here are some of the key advantages of using the Starlink Ethernet Adapter:
- Stable and Reliable Connection: By connecting your devices directly to the Starlink satellite dish using the Ethernet Adapter, you can enjoy a stable and reliable internet connection. This eliminates potential signal interference or fluctuations that may occur with wireless connections, ensuring a seamless online experience.
- Improved Speed and Performance: The Starlink Ethernet Adapter supports Gigabit Ethernet, enabling high-speed data transfer between your devices and the satellite dish. This results in improved download and upload speeds, reducing buffering times, and providing a smooth streaming experience for entertainment or work-related purposes.
- Low Latency: Latency, or the delay between data transmission and reception, is a crucial factor for applications that require real-time interaction, such as online gaming or video conferencing. The direct connection provided by the Starlink Ethernet Adapter significantly reduces latency, allowing for a lag-free and responsive online experience.
- Secure Connection: While Wi-Fi networks are convenient, they can be vulnerable to security threats if not properly protected. By using the Starlink Ethernet Adapter, you establish a wired connection that is inherently more secure than wireless connections. This provides peace of mind, especially when dealing with sensitive information or conducting online transactions.
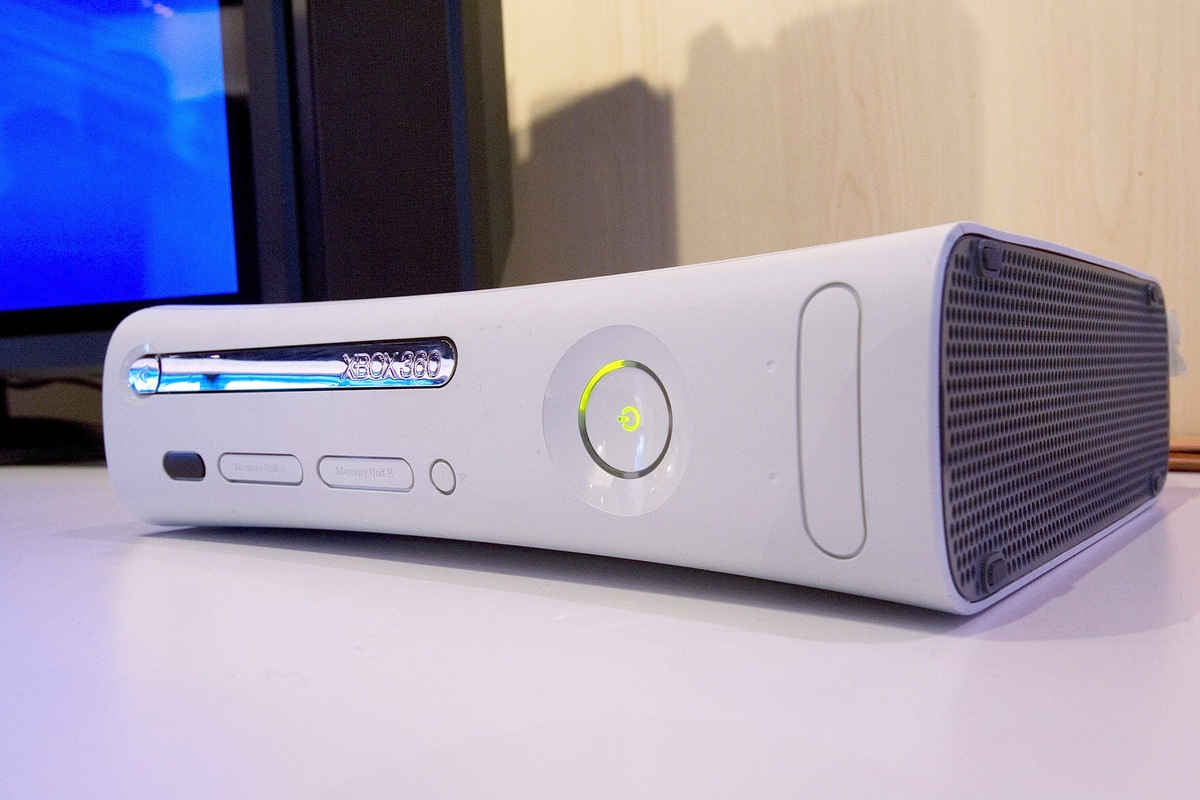
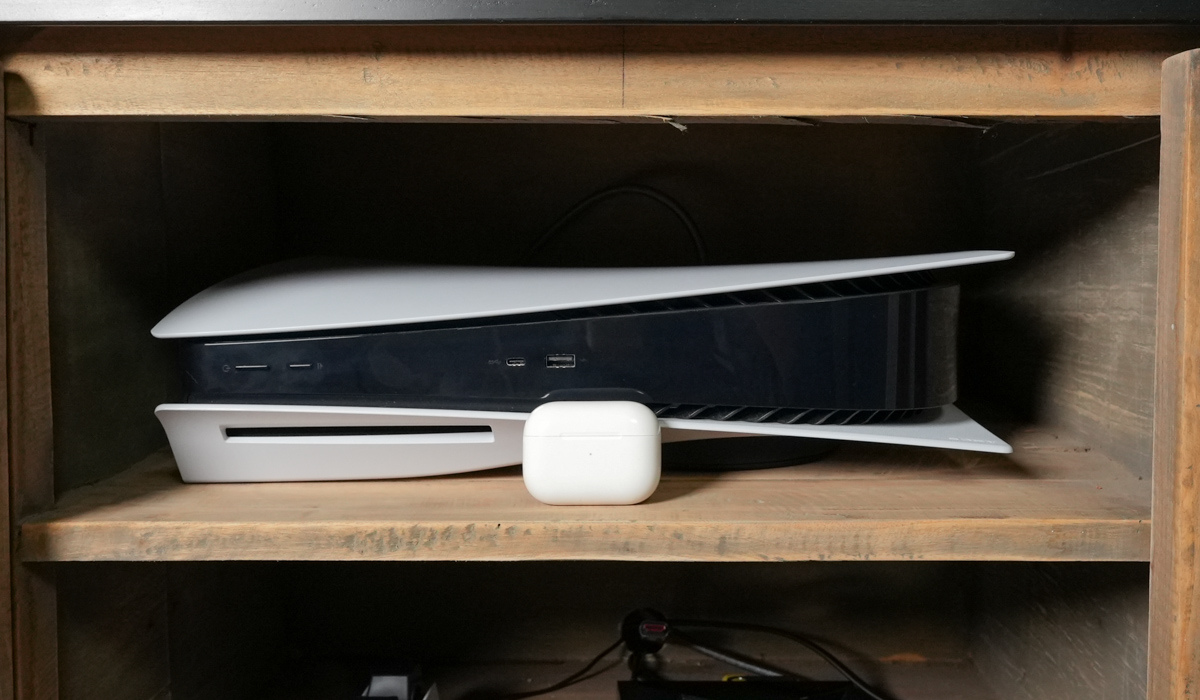
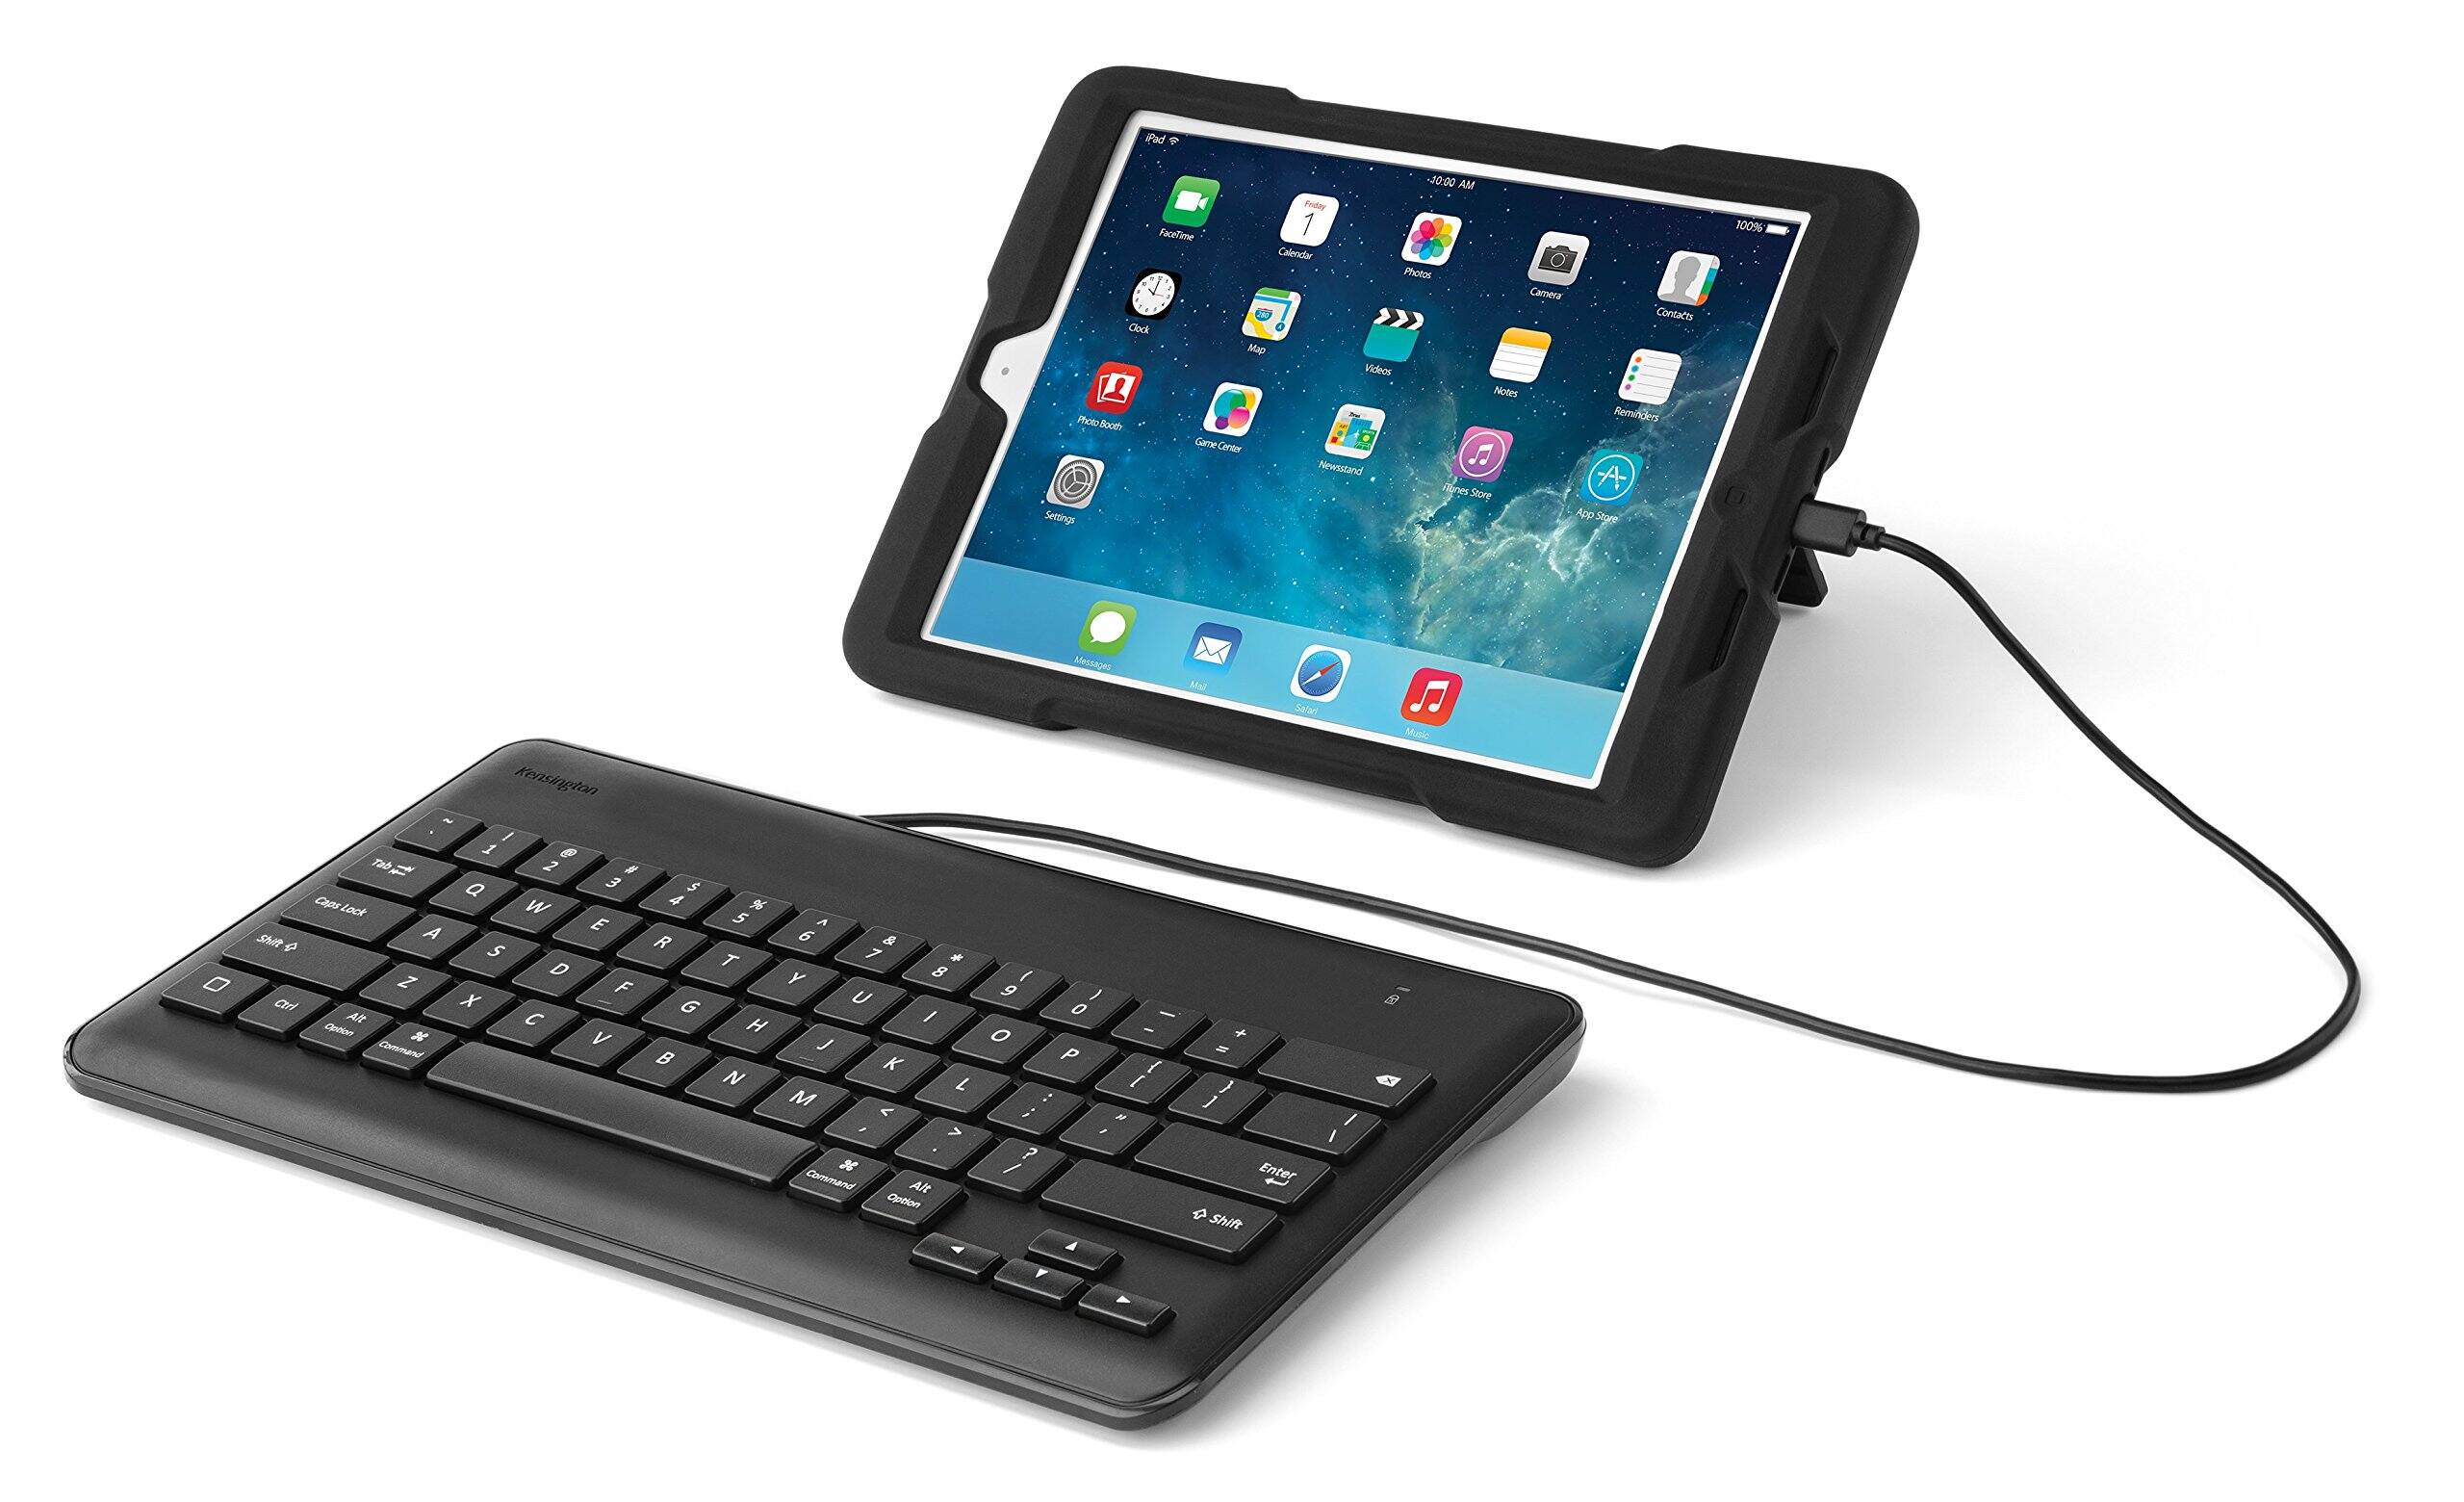
- Flexibility: The Starlink Ethernet Adapter allows you to connect a wide range of devices, including computers, gaming consoles, smart TVs, and more, directly to the satellite dish. This flexibility ensures that all your devices can benefit from the high-speed internet connection provided by the Starlink service.
- Easy Installation and Setup: Setting up the Starlink Ethernet Adapter is a simple and straightforward process. It involves connecting the Ethernet cable from the satellite dish to the adapter and then connecting the adapter to your device. With its plug-and-play functionality, you can start enjoying a reliable internet connection in no time.
Overall, the Starlink Ethernet Adapter enhances your internet connectivity experience by providing a stable, high-speed, and secure connection. Whether you’re engaging in online gaming, streaming your favorite shows, or working remotely, the Ethernet Adapter ensures that you can maximize the potential of your devices with a reliable and fast internet connection.
Requirements for Connecting the Starlink Ethernet Adapter
Connecting the Starlink Ethernet Adapter to your devices requires a few key requirements to ensure a successful setup. Here are the requirements you need to consider:
- Active Starlink Subscription: Before using the Starlink Ethernet Adapter, you need to have an active subscription to the Starlink internet service. The Starlink satellite dish is the primary source of internet connectivity, and the Ethernet Adapter acts as a bridge between the satellite dish and your devices.
- Starlink Satellite Dish: The Starlink Ethernet Adapter can only be connected to the Starlink satellite dish. This dish is installed on your property and receives the internet signals from the Starlink satellite network. Ensure that you have a functional and properly installed satellite dish before proceeding with the Ethernet Adapter setup.
- Ethernet Cable: You will need an Ethernet cable to connect the Starlink Ethernet Adapter to your devices. The length of the cable should depend on the distance between the satellite dish and your device. It is recommended to use high-quality Ethernet cables for optimal performance.
- Power Supply: The Starlink Ethernet Adapter requires a power source to function. Ensure that you have access to a power outlet near the location where you plan to connect the adapter. If needed, use an extension cord or power strip to provide power to the adapter.
- Compatible Devices: The Starlink Ethernet Adapter is compatible with a wide range of devices, including computers, gaming consoles, smart TVs, and more. Ensure that the device you want to connect to the Ethernet adapter has an Ethernet port available. If not, you may need to use an Ethernet-to-USB adapter to establish the connection.
It is important to note that the Starlink Ethernet Adapter is specifically designed for the Starlink internet service. While it may be technically possible to use other Ethernet adapters or devices, it is recommended to use the official Starlink Ethernet Adapter for optimal compatibility and performance.
By ensuring that you meet these requirements, you can proceed with the setup of the Starlink Ethernet Adapter and enjoy a stable and high-speed internet connection on your devices.
When connecting the Starlink Ethernet adapter, make sure to use a high-quality Ethernet cable to ensure a stable and reliable connection. Also, check for any firmware updates for the adapter to ensure optimal performance.
Step-by-Step Guide to Connect the Starlink Ethernet Adapter
Connecting the Starlink Ethernet Adapter to your devices is a straightforward process. Follow these step-by-step instructions to set up the Ethernet Adapter and establish a direct connection to the Starlink satellite dish:
- Ensure Proper Placement: Start by ensuring that the Starlink satellite dish is properly installed and positioned for optimal signal reception. Check the alignment and make any necessary adjustments to ensure a clear line of sight between the satellite dish and the sky.
- Power the Ethernet Adapter: Connect the Starlink Ethernet Adapter to a power outlet using the provided power cable. Ensure that the adapter powers on and the indicator lights are functioning.
- Locate Ethernet Port: Identify the Ethernet port on the back of the Starlink Ethernet Adapter. It is usually labeled as “Ethernet” or “LAN”. This is where you will connect the Ethernet cable.
- Connect the Ethernet Cable: Take one end of the Ethernet cable and plug it into the Ethernet port on the Starlink Ethernet Adapter. Ensure that the connection is secure.
- Connect to Device: Take the other end of the Ethernet cable and connect it to the Ethernet port on your device. This can be a computer, gaming console, smart TV, or any other compatible device with an Ethernet port.
- Power Cycle the Device: If you have just connected the Ethernet Adapter to a device that was previously connected via Wi-Fi, it is recommended to power cycle the device. This helps the device recognize the new Ethernet connection and obtain an IP address from the Starlink network.
- Check Connection Status: Once the device has powered back on, check the network settings or network status on the device. Ensure that it is connected to the internet via the Ethernet connection. You should see an active and stable connection to the Starlink satellite dish.
- Test the Connection: To ensure that the Starlink Ethernet Adapter is working correctly, perform a speed test or access online content to verify the stability and speed of the internet connection. If everything is working as expected, you have successfully connected the Ethernet Adapter to your device.
It is worth noting that the Starlink Ethernet Adapter allows for a single device connection. If you have multiple devices that need to be connected via Ethernet, you will need additional Ethernet Adapters for each device.
By following these simple steps, you can easily set up and connect the Starlink Ethernet Adapter to your device, establishing a direct and reliable connection to the Starlink satellite dish. Enjoy the benefits of high-speed internet without worrying about signal fluctuations or interference.
Read more: How To Connect Swim Adapter Directv
Troubleshooting Common Issues
While connecting the Starlink Ethernet Adapter is usually a smooth process, you may encounter some common issues along the way. Here are a few troubleshooting steps to help resolve any connectivity issues you may experience:
- Check Cable Connections: Ensure that all cable connections are secure. Sometimes, a loose or improperly connected cable can result in a weak or no connection. Double-check the connections between the Ethernet Adapter, Ethernet cable, and your device.
- Restart Devices: If you’re experiencing connectivity issues, try restarting both the Starlink Ethernet Adapter and your device. Sometimes, a simple reboot can resolve temporary glitches or connectivity inconsistencies.
- Verify Power Supply: Make sure that the power supply connected to the Ethernet Adapter is functioning properly. Check the power outlet, power cable, and ensure that the adapter’s indicator lights are illuminated.
- Check Satellite Dish Alignment: Ensure that the Starlink satellite dish is properly aligned and has an unobstructed view of the sky. Physical obstructions or misalignment can result in a weak signal and connectivity issues.
- Update Device Drivers: If you’re connecting the Ethernet Adapter to a computer, ensure that you have the latest network drivers installed. Outdated drivers can cause compatibility issues and impact the adapter’s functionality.
- Disable Wi-Fi Connections: If you’re experiencing connectivity issues, temporarily disable any Wi-Fi connections on your device. This ensures that your device prioritizes the Ethernet connection, preventing conflicts and potential interference.
- Reset Network Settings: If all else fails and you continue to experience connectivity issues, you can try resetting the network settings on your device. This will clear any conflicting settings or configurations that may be causing the problem.
If you have exhausted these troubleshooting steps and still cannot establish a connection with the Starlink Ethernet Adapter, it may be helpful to contact Starlink customer support for further assistance. They can provide additional guidance and help resolve any technical issues specific to your setup.
Remember, setting up the Starlink Ethernet Adapter should generally be a seamless process. However, if you do encounter any issues, these troubleshooting steps should help you diagnose and resolve them quickly, ensuring a stable and reliable internet connection through the Starlink satellite dish.
Conclusion
The Starlink Ethernet Adapter is a valuable accessory for users of the Starlink internet service, providing a direct and reliable connection between your devices and the Starlink satellite dish. By connecting your devices via Ethernet, you can enjoy stable, high-speed internet without worrying about signal fluctuations or interference.
Throughout this article, we’ve explored the benefits of using the Starlink Ethernet Adapter, including enhanced speed and performance, low latency, and increased security. The easy installation process and flexibility of connecting various devices make it a convenient option for both homes and offices.
However, it’s important to note that proper placement of the Starlink satellite dish and meeting the necessary requirements are essential for a successful connection. By ensuring a clear line of sight, using high-quality Ethernet cables, and having an active Starlink subscription, you can optimize your experience with the Ethernet Adapter.
In the event of any connectivity issues, our troubleshooting guide provides helpful tips to resolve common problems. Checking cable connections, restarting devices, and verifying power supply can often solve connectivity issues quickly. If further assistance is needed, contacting Starlink customer support ensures expert guidance to address any technical difficulties.
In conclusion, the Starlink Ethernet Adapter offers a convenient and reliable solution for connecting your devices directly to the Starlink satellite dish. With its stable and high-speed internet connection, you can fully enjoy online gaming, seamless video streaming, and smooth video conferencing experiences. Say goodbye to buffering and unreliable connections, and embrace the reliability and speed of the Starlink Ethernet Adapter.
Frequently Asked Questions about How To Connect Starlink Ethernet Adapter
Was this page helpful?
At Storables.com, we guarantee accurate and reliable information. Our content, validated by Expert Board Contributors, is crafted following stringent Editorial Policies. We're committed to providing you with well-researched, expert-backed insights for all your informational needs.


0 thoughts on “How To Connect Starlink Ethernet Adapter”