Articles
How To Use Usb Ethernet Adapter
Modified: December 7, 2023
Discover how to use a USB Ethernet adapter for seamless connectivity and improved internet speed. Our informative articles provide step-by-step guidance for easy setup and troubleshooting.
(Many of the links in this article redirect to a specific reviewed product. Your purchase of these products through affiliate links helps to generate commission for Storables.com, at no extra cost. Learn more)
Introduction
Welcome to the world of USB Ethernet adapters! In this modern era of interconnected devices, having a strong and reliable internet connection is essential. While most devices today come equipped with built-in Wi-Fi capabilities, there may be instances where you need to connect to a wired Ethernet connection for faster and more stable internet access. That’s where a USB Ethernet adapter comes in handy.
A USB Ethernet adapter is a small and portable device that allows you to connect your computer or other USB-enabled devices to an Ethernet network using a USB port. Whether you’re using a laptop, tablet, or even a gaming console, a USB Ethernet adapter gives you the flexibility to connect to a wired network when Wi-Fi isn’t available or when you require a more secure and stable connection.
In this article, we’ll guide you through the process of using a USB Ethernet adapter and help you get your devices connected to a wired network in no time. We’ll cover everything from checking compatibility to troubleshooting common issues, so let’s dive in!
Key Takeaways:
- Embrace the Reliability of Wired Connections
USB Ethernet adapters offer a reliable and stable internet connection, especially in scenarios where Wi-Fi may not be available or suitable. By following the step-by-step guide, you can seamlessly connect your device to a wired network and enjoy fast, uninterrupted internet access. - Troubleshoot with Confidence
In the event of common issues, such as unrecognized devices or slow speeds, the troubleshooting tips outlined in the guide will assist you in identifying and addressing these issues. With the knowledge and skills gained, you can confidently resolve connectivity challenges and ensure optimal performance.
Read more: How To Use Usb Adapter
What is a USB Ethernet Adapter?
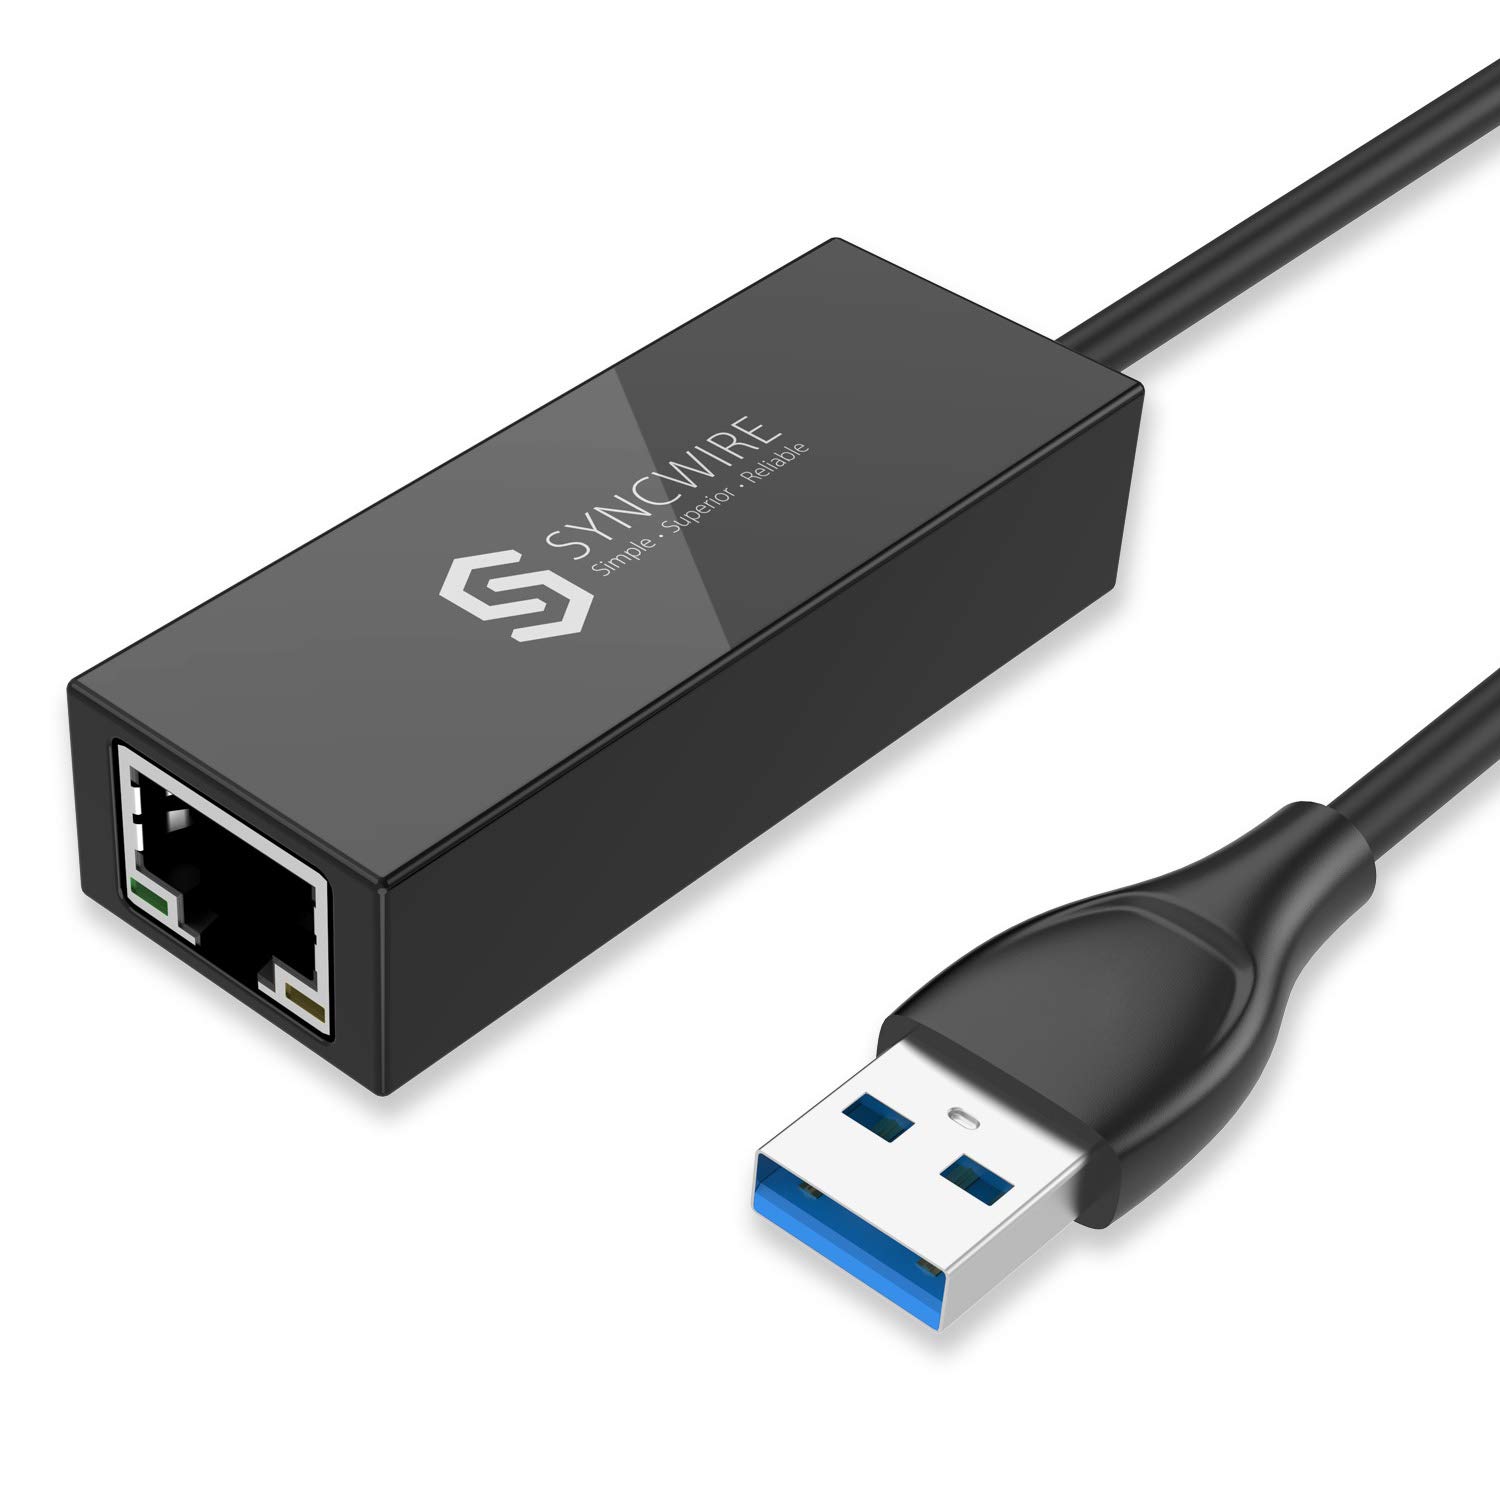
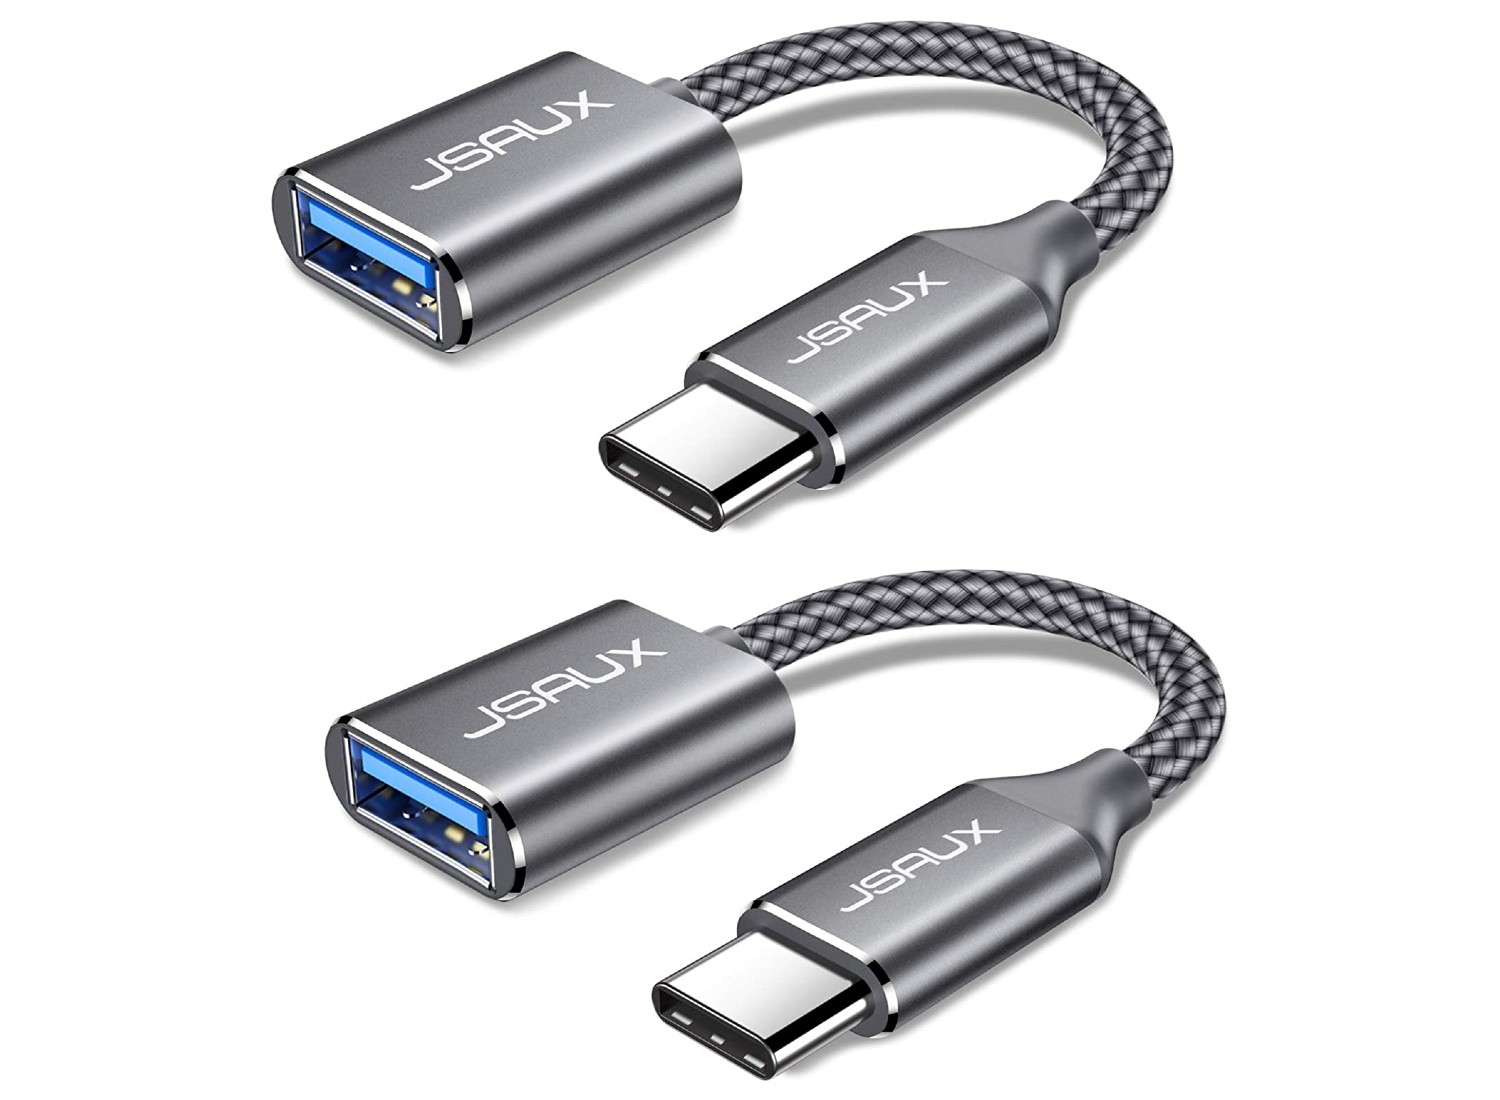
A USB Ethernet adapter, also known as a USB to Ethernet converter, is a small device that allows you to connect your computer or other USB-enabled devices to an Ethernet network. It provides a way to bridge the gap between your USB port and the Ethernet port, enabling you to access the internet through a wired connection.
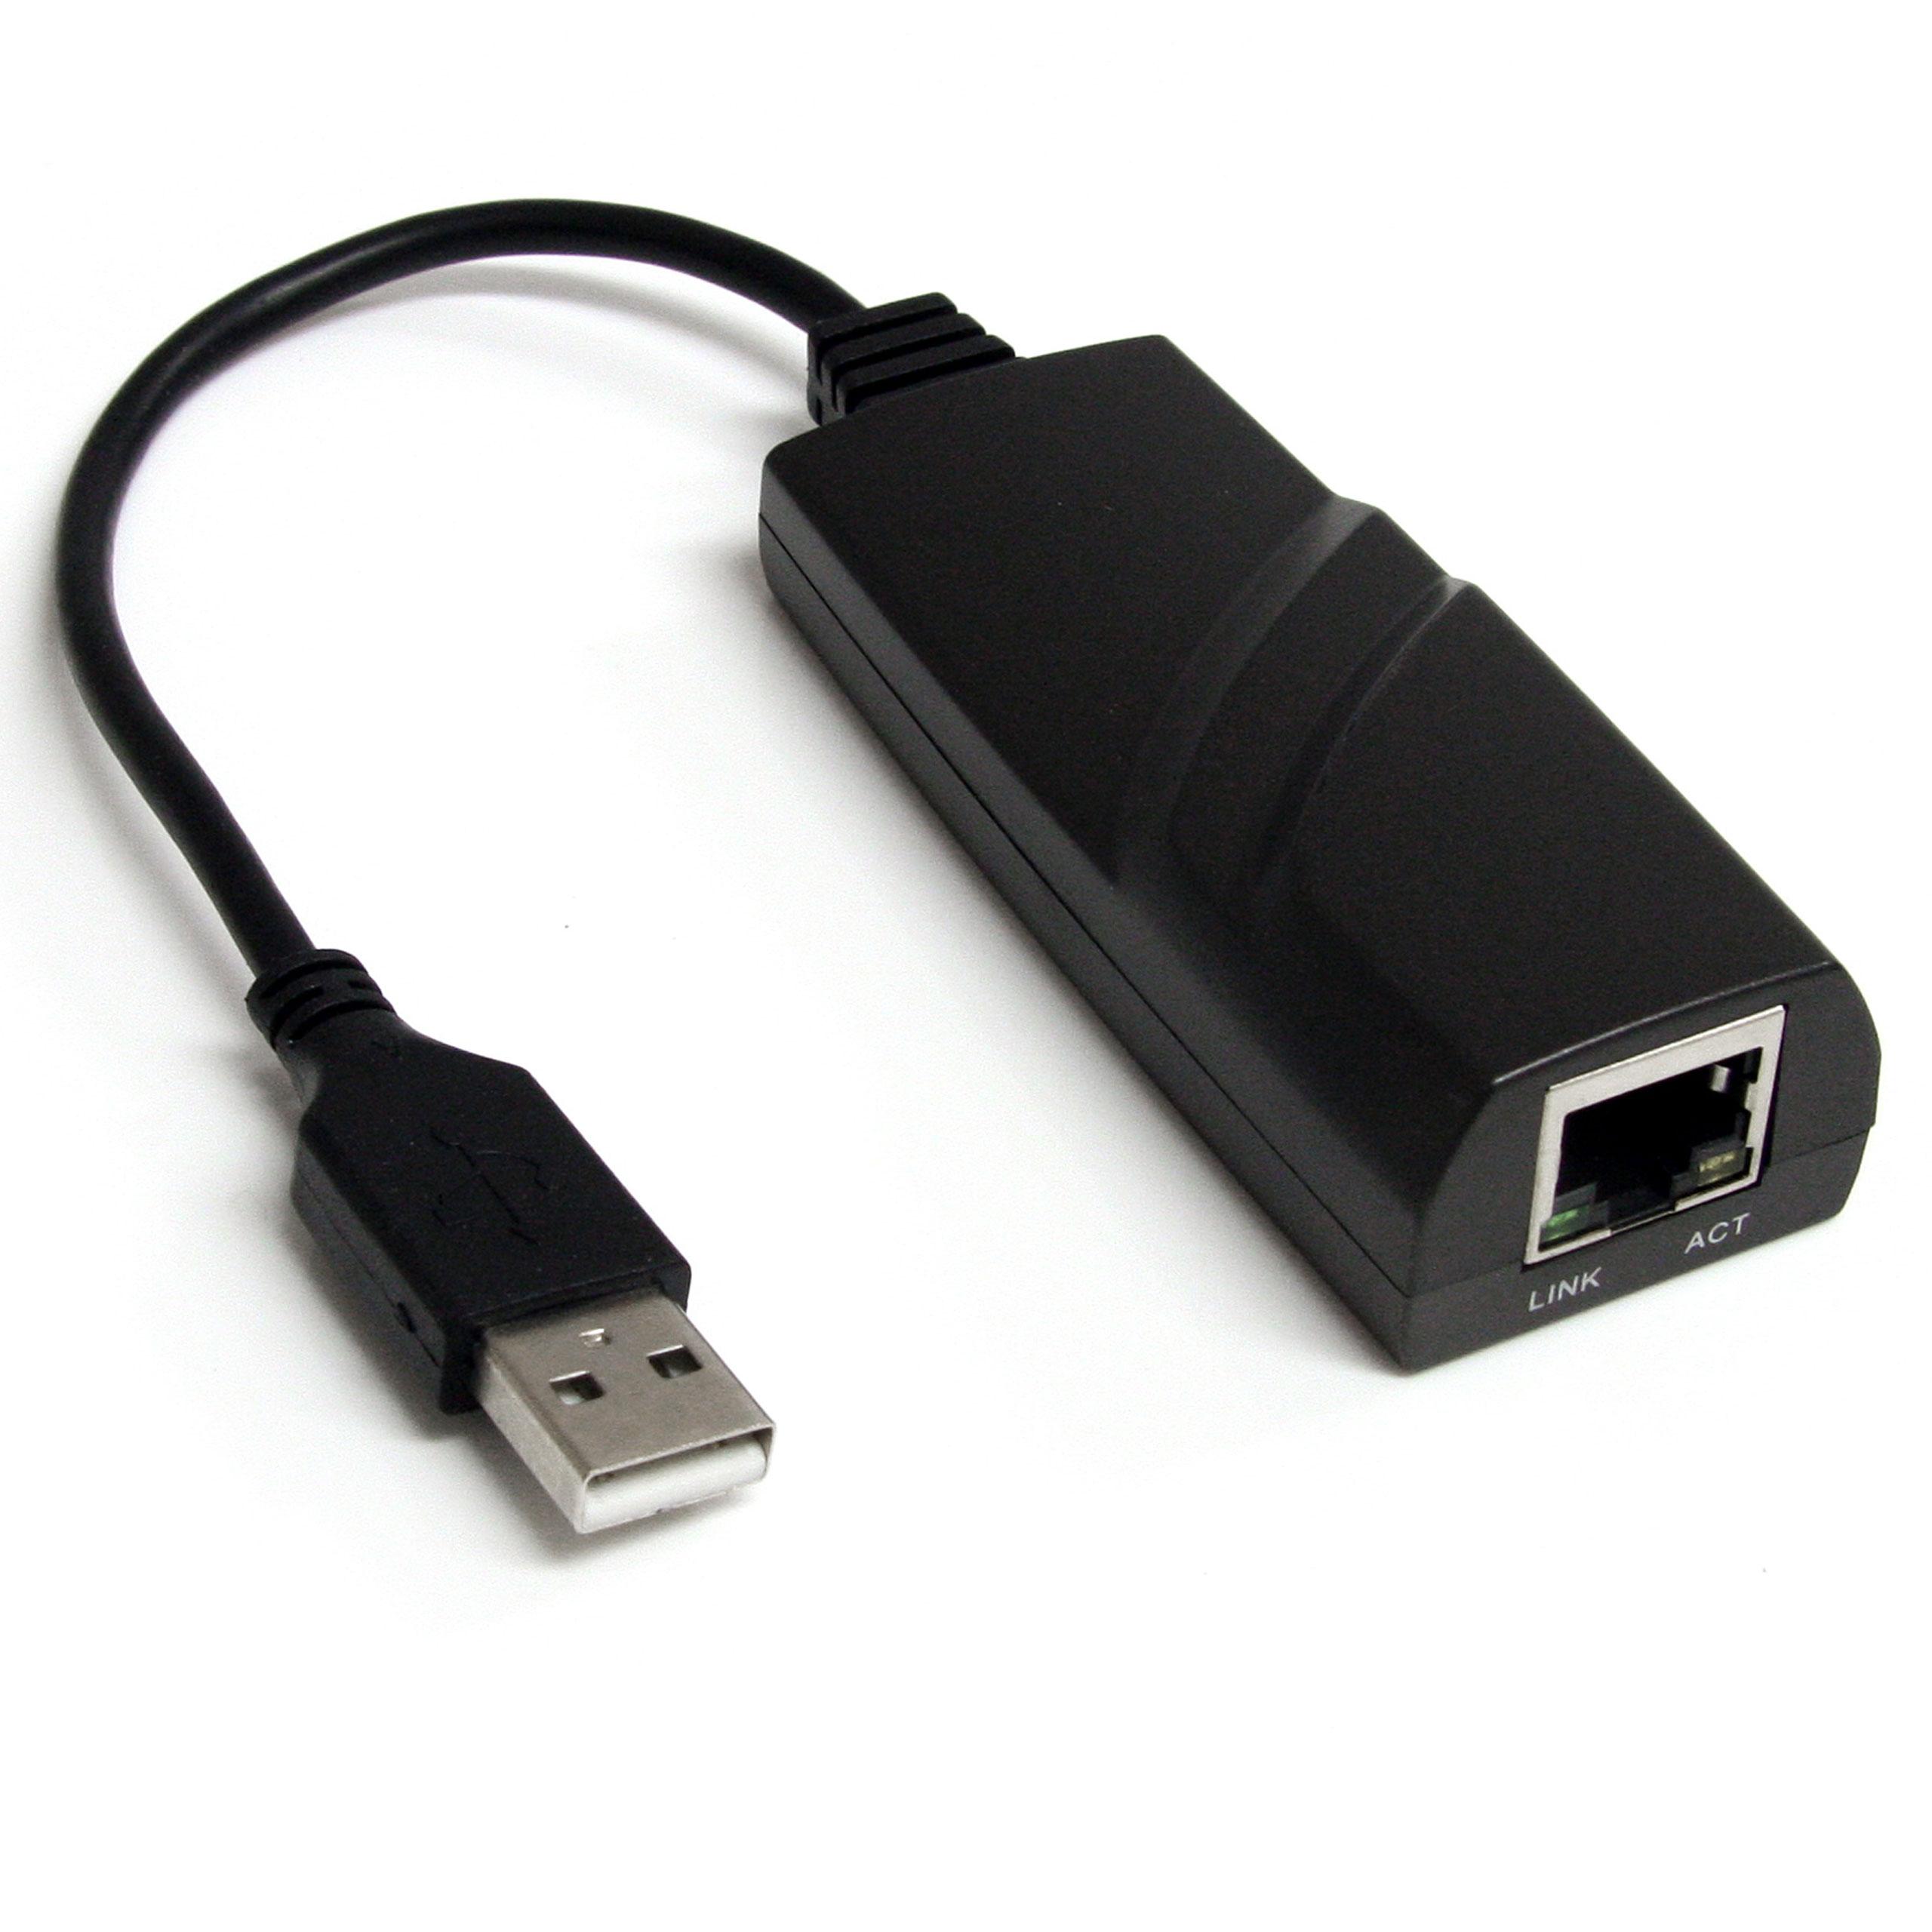
The USB Ethernet adapter usually consists of a USB connector on one end and an Ethernet port on the other end. The USB connector plugs into your device’s USB port, while the Ethernet port connects to a network switch or a router using an Ethernet cable. This allows you to take advantage of the speed and reliability of a wired Ethernet connection, which is especially useful in situations where a wireless connection may be unreliable or congested.
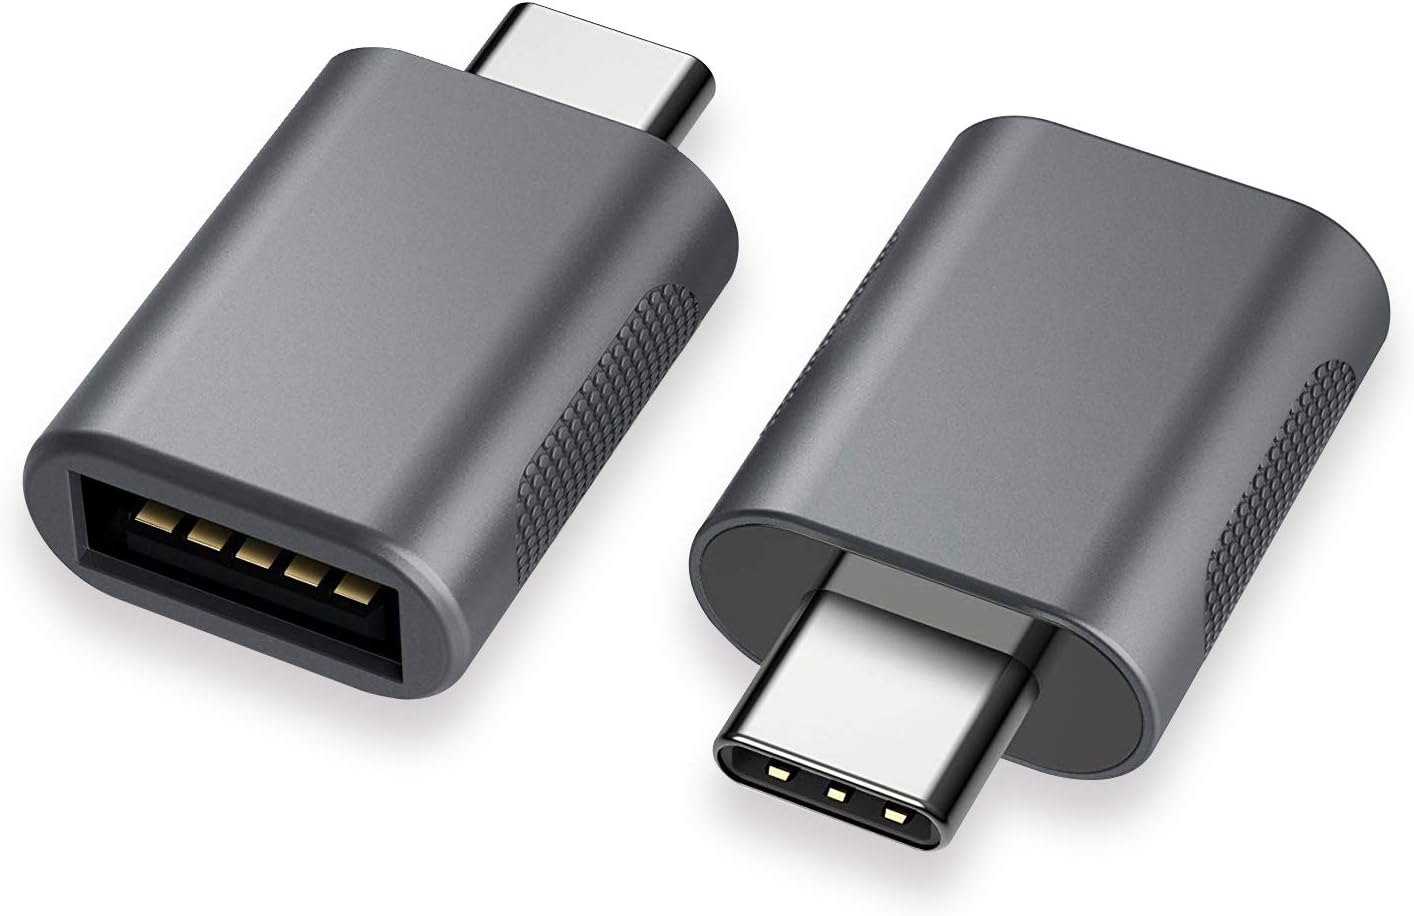
USB Ethernet adapters come in various forms, including USB 2.0 and USB 3.0 versions. USB 3.0 adapters offer faster data transfer speeds, making them ideal for tasks that require high bandwidth, such as HD video streaming or online gaming. However, USB 2.0 adapters are still widely used and provide reliable connectivity for everyday internet browsing and other basic tasks.
These adapters are often plug-and-play, meaning that you can simply connect them to your device and they will be recognized automatically without the need for additional drivers or software installations. However, there may be instances where you’ll need to install specific drivers provided by the manufacturer to ensure compatibility.
USB Ethernet adapters are compatible with a wide range of devices, including laptops, desktop computers, tablets, gaming consoles, and even some smartphones. They are a versatile solution for accessing a wired network connection in situations where Wi-Fi may not be available or reliable, such as in professional settings, hotels, or public networks.
Compatibility and Requirements
Before you start using a USB Ethernet adapter, it’s important to check the compatibility and ensure that your device meets the necessary requirements. Here are the key factors to consider:
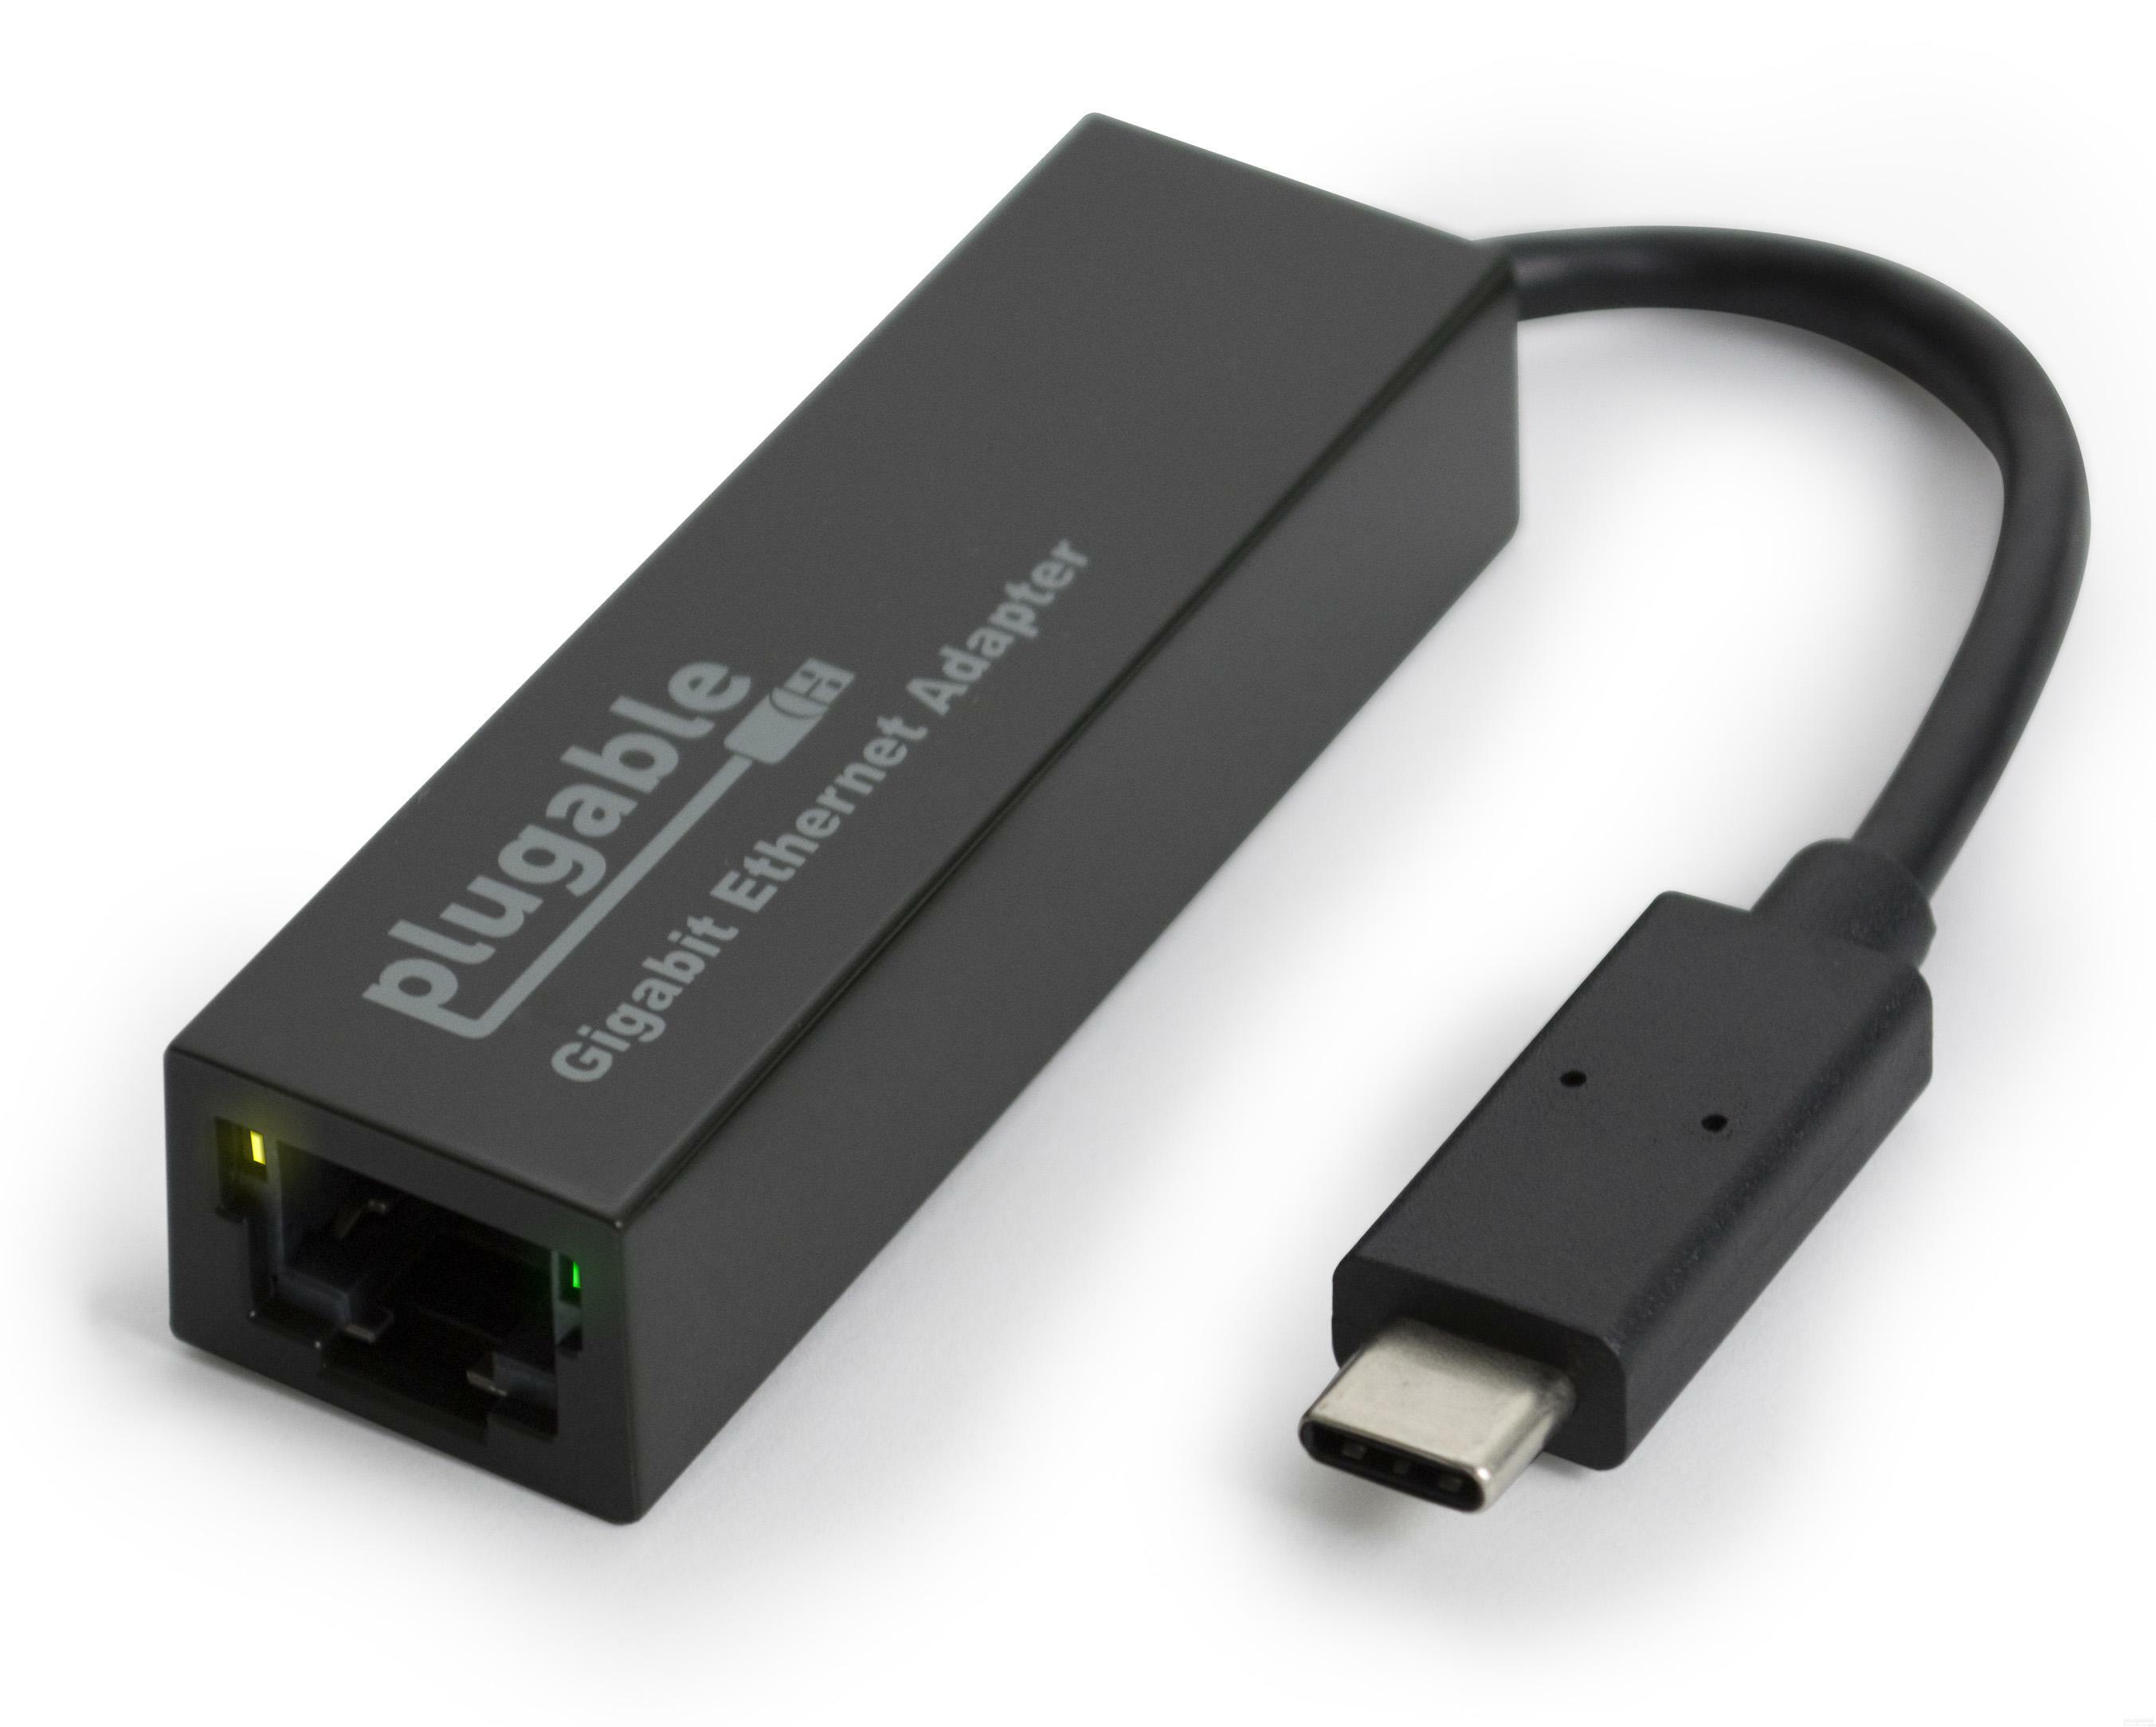
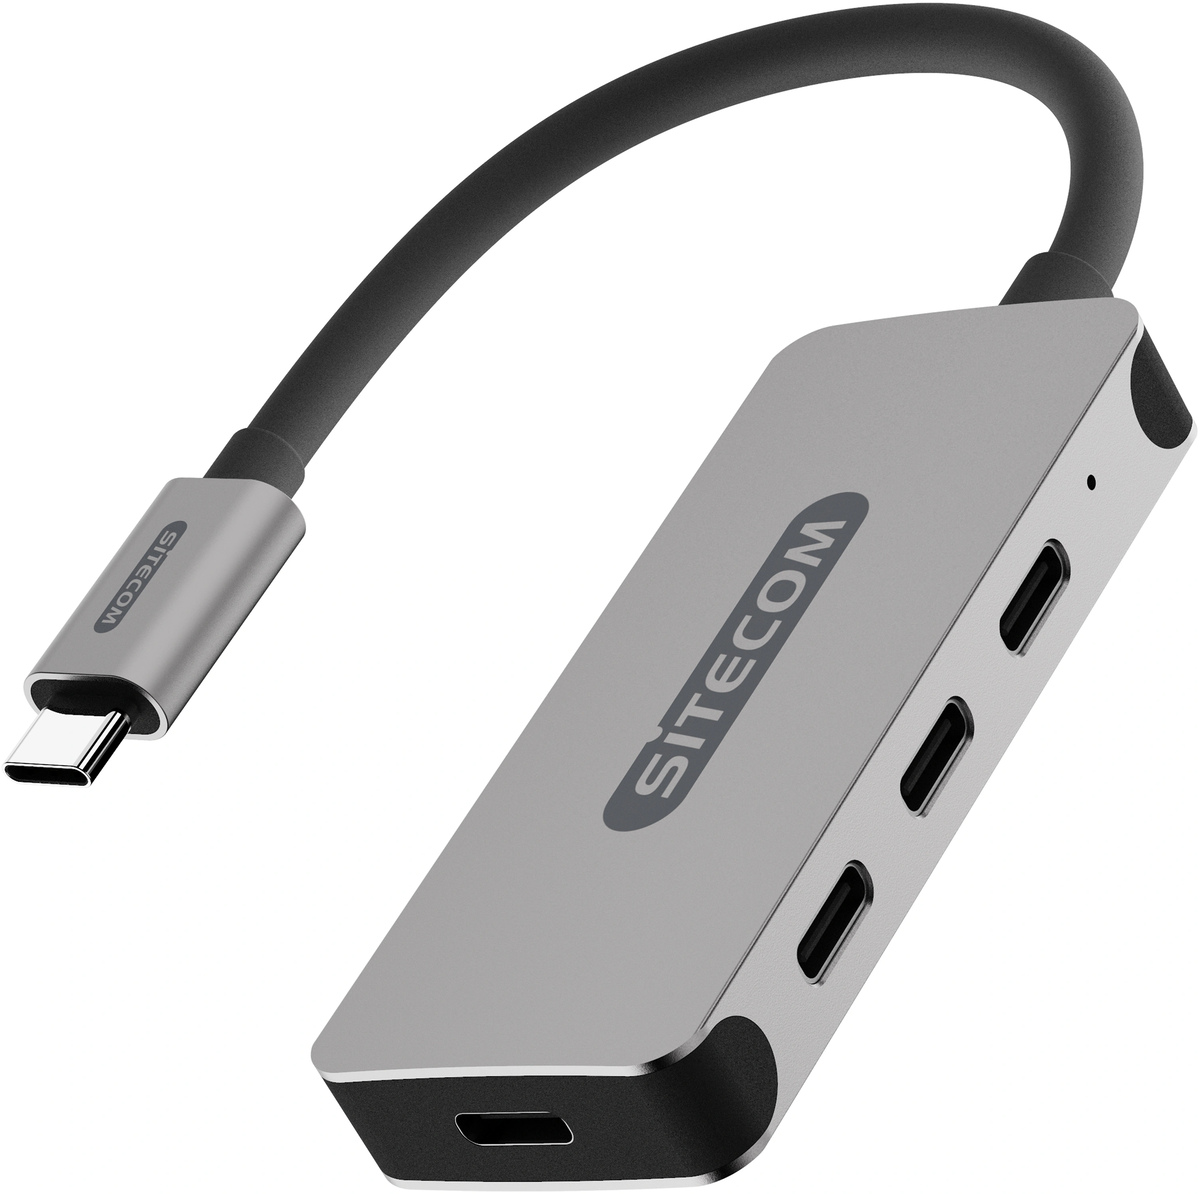
1. USB Port: Make sure that your device has an available USB port to connect the USB Ethernet adapter. Most devices, including laptops, desktops, and tablets, come with USB ports. However, it’s essential to verify the type of USB port your device has, as there are different versions, such as USB 2.0, USB 3.0, and USB-C.
2. Operating System: USB Ethernet adapters are compatible with various operating systems, including Windows, macOS, Linux, and some versions of Android. Check the specifications of the adapter to ensure that it supports your device’s operating system.
3. Device Compatibility: While USB Ethernet adapters can be used with a wide range of devices, it’s important to confirm compatibility with your specific device. Some adapters may have limitations or require specific drivers for certain devices.
4. Network Environment: USB Ethernet adapters are designed to connect to an Ethernet network using an Ethernet cable. Ensure that you have access to an Ethernet port or a network switch/router with available ports to connect your adapter.
5. Internet Service Provider (ISP): The USB Ethernet adapter does not replace the need for an internet service provider (ISP) or an active internet connection. You’ll still need to have an active subscription with an ISP to access the internet through the adapter.
By ensuring compatibility and meeting these basic requirements, you can proceed with confidence in setting up and using your USB Ethernet adapter.
Step 1: Checking Requirements
Before you start using a USB Ethernet adapter, it’s important to check if your device meets the necessary requirements and gather the needed tools.
1. Compatibility: Ensure that your device has an available USB port and that the USB Ethernet adapter is compatible with your device’s operating system. Check the specifications of both your device and the adapter to confirm compatibility.
2. USB Port: Take a moment to locate the USB port on your device. The USB Ethernet adapter will need to be plugged into this port, so make sure it is easily accessible.
3. USB Ethernet Adapter: Confirm that you have a USB Ethernet adapter ready for use. If you don’t have one yet, ensure that you purchase a reputable brand that is known for its compatibility and performance.
4. Ethernet Cable: You’ll need an Ethernet cable to connect the USB Ethernet adapter to a network switch or a router. Make sure you have a cable of appropriate length and that it is in good condition.
5. Network Connection: Identify an Ethernet network connection that you can connect to. This could be a network switch or a router with available Ethernet ports. Ensure that you have the necessary permissions to connect to the network.
6. Device Power: Ensure that your device is connected to a power source or has sufficient battery charge. Some devices may require a stable power source for the USB Ethernet adapter to function properly.
By checking these requirements beforehand, you can avoid any potential issues during the setup process and ensure a smooth experience when connecting your device to a wired network using a USB Ethernet adapter.
Step 2: Connecting the USB Ethernet Adapter
Now that you’ve checked the requirements, it’s time to connect the USB Ethernet adapter to your device. Follow these steps to ensure a successful connection:
1. Power off your device: If your device is currently powered on, it’s recommended to power it off before connecting the USB Ethernet adapter. This will ensure a clean connection and prevent any potential hardware conflicts.
2. Locate the USB port: Identify the USB port on your device. It is usually rectangular in shape and may be located on the side or the back of the device. If you’re using a laptop, the USB ports are typically located on the sides of the device.
3. Plug in the USB Ethernet adapter: Take the USB Ethernet adapter and insert the USB connector into the USB port on your device. Make sure to insert it firmly and securely.
4. Connect the Ethernet cable: Take one end of the Ethernet cable and insert it into the Ethernet port on the USB Ethernet adapter. The Ethernet port is usually located on the opposite end of the USB connector. On some adapters, it may be marked as “LAN” or “Ethernet.”
5. Connect the other end of the Ethernet cable: Take the other end of the Ethernet cable and connect it to an available Ethernet port on your network switch or router. Ensure that the cable is securely plugged in.
6. Power on your device: Once the USB Ethernet adapter is connected, power on your device. Wait for it to fully boot up and recognize the newly connected hardware.
By following these steps, you should have successfully connected the USB Ethernet adapter to your device. Now, it’s time to move on to the next step: installing the device driver.
When using a USB Ethernet adapter, make sure to install the necessary drivers for your specific operating system. This will ensure that the adapter functions properly and you can connect to the internet or a local network.
Read more: How To Connect Starlink Ethernet Adapter
Step 3: Installing the Device Driver
After connecting the USB Ethernet adapter to your device, you may need to install the device driver to ensure proper functionality. The driver allows your operating system to recognize and communicate with the adapter. Follow these steps to install the device driver:
1. Check for automatic installation: In some cases, the driver for the USB Ethernet adapter may be automatically installed by your operating system. To check if this is the case, give your device some time to detect and install the necessary driver. You may see a notification or a pop-up indicating that the driver installation is in progress. If the installation is successful, you can skip the remaining steps.
2. Visit the manufacturer’s website: If the driver is not automatically installed, you’ll need to manually download it from the manufacturer’s website. Visit the website of the USB Ethernet adapter manufacturer and navigate to the support or downloads section.
3. Find the correct driver: Look for the specific driver that corresponds to your USB Ethernet adapter model and your device’s operating system. Download the driver file to your computer or device.
4. Install the driver: Once the driver file has been downloaded, locate it on your device and double-click to run the installer. Follow the on-screen instructions to complete the installation process. It may require you to agree to the terms and conditions, select the installation location, and restart your device after installation.
5. Verify the driver installation: After the installation is complete, you can verify if the driver has been installed correctly. Go to the device manager on your operating system and check for any errors or warnings with regards to the USB Ethernet adapter. If there are no errors, the driver installation was successful.
By following these steps, you should have successfully installed the necessary device driver for your USB Ethernet adapter. Now, you are ready to move on to the next step: configuring the network settings.
Step 4: Configuring Network Settings
Now that you have connected the USB Ethernet adapter and installed the device driver, it’s time to configure the network settings on your device. Follow these steps to ensure a proper network configuration:
1. Open the Network Settings: Access the network settings on your device. The process may vary depending on your operating system, but generally, you can find it in the system preferences, control panel, or settings menu.
2. Locate the Ethernet Connection: Look for the Ethernet connection option within the network settings. It may be labeled as “Wired,” “Ethernet,” or something similar.
3. Select the Ethernet Connection: Click on the Ethernet connection option to select it as your primary network connection. This will prioritize the USB Ethernet adapter for internet access.
4. Obtain IP Address Automatically: In most cases, it is recommended to set the IP address to be obtained automatically. This way, your device will automatically receive the necessary network configurations from your router or network switch. Look for the option labeled “Obtain IP address automatically” or similar wording and enable it if it is not already enabled.
5. DNS Settings: By default, your device will typically use the DNS settings provided by your router or network switch. If required, you can manually specify DNS settings provided by your ISP or use public DNS servers like Google’s Public DNS (8.8.8.8 and 8.8.4.4) or OpenDNS (208.67.222.222 and 208.67.220.220).
6. Connect to the Network: Once you have configured the network settings, click on the “Connect” button or similar to establish a connection. Your device should now be connected to the Ethernet network through the USB Ethernet adapter.
By following these steps, you should have successfully configured the network settings on your device for the USB Ethernet adapter. Now, it’s time to move on to the final step: testing the connection to ensure everything is working correctly.
Step 5: Testing the Connection
After configuring the network settings, it is important to test the connection to ensure that everything is functioning correctly. Here are a few steps to help you test the connection using the USB Ethernet adapter:
1. Open a web browser: Launch a web browser on your device, such as Google Chrome, Mozilla Firefox, or Microsoft Edge.
2. Visit a website: Enter the URL of a website that you frequently visit or any website of your choice. This will test if your device can access the internet through the USB Ethernet adapter.
3. Check for connectivity: If the website loads without any issues, it means that your device is successfully connected to the internet through the USB Ethernet adapter.
4. Test network speed: To further validate the connection, you can perform a speed test. There are various online speed testing tools available, such as Ookla’s Speedtest.net, that can measure your network’s download and upload speeds. This will help determine if the USB Ethernet adapter is delivering the expected speed and performance.
5. Verify network stability: After confirming the connection and speed, ensure that the network remains stable over an extended period. Monitor the connection for any sudden drops or interruptions. If you experience any disruptions, ensure that the USB Ethernet adapter is securely connected and try restarting your device.
6. Test connectivity on other devices: If you have multiple devices, you can also test the USB Ethernet adapter’s connectivity on those devices. Connect the adapter to another compatible device and repeat the previous steps to ensure a stable and functional connection.
By following these steps, you can verify that the USB Ethernet adapter connection is working properly. If you encounter any issues during the testing process, refer to the troubleshooting section or consult the manufacturer’s support documentation.
Now that you have successfully tested the connection, you’re all set to enjoy a stable and reliable internet connection using your USB Ethernet adapter.
Troubleshooting Common Issues
While using a USB Ethernet adapter can provide a reliable network connection, there may be times when you encounter issues. Here are some common problems and troubleshooting steps to help you resolve them:
1. Device not recognized: If your device does not recognize the USB Ethernet adapter, try the following:
- Ensure that the adapter is securely connected to the USB port.
- Check if the device driver is properly installed. Reinstall the driver if necessary.
- Try connecting the adapter to a different USB port on your device.
- Test the adapter on another device to check if it is functioning correctly.
2. No internet connection: If you are connected to the network but have no internet access, try the following:
- Check if the Ethernet cable is properly connected to both the adapter and the network switch/router.
- Ensure that the network switch/router is providing a stable internet connection.
- Restart your device and network equipment.
- Verify the network settings on your device, including IP address and DNS configuration.
3. Slow or inconsistent connection: If you are experiencing slow or inconsistent connection speeds, consider the following:
- Check if there are any bandwidth-intensive applications or downloads running in the background.
- Inspect the Ethernet cable for any damage or try using a different cable.
- Test the connection speed using an online speed testing tool to ensure it meets your internet subscription.
- Update the device driver for the USB Ethernet adapter to the latest version.
4. Limited connectivity or IP conflicts: If you encounter limited connectivity or IP conflicts, try these steps:
- Restart your device and network equipment.
- Release and renew your IP address. In the command prompt, enter “ipconfig /release” and then “ipconfig /renew” for Windows, or use network settings for macOS.
- Reset the network settings on your device to their default configurations.
- Disable and re-enable the USB Ethernet adapter in the device manager.
If the above troubleshooting steps do not resolve the issue, consult the manufacturer’s support documentation or contact their customer support for further assistance.
Remember, it’s always a good idea to keep your USB Ethernet adapter’s firmware and device drivers updated to ensure optimal performance and compatibility with your device.
Read more: How To Use A Usb To Hdmi Adapter
Conclusion
Congratulations! You have successfully learned how to use a USB Ethernet adapter to connect your device to a wired network. By following the steps outlined in this guide, you can enjoy a stable and reliable internet connection even when Wi-Fi is not available or reliable.
We started by understanding what a USB Ethernet adapter is and why it is useful in today’s interconnected world. We then explored the compatibility and requirements for using a USB Ethernet adapter, ensuring that your device meets the necessary criteria.
We walked through the step-by-step process of connecting the USB Ethernet adapter to your device, highlighting the importance of securely plugging in the adapter and connecting the Ethernet cable to a network switch or router.
Next, we covered the installation of the device driver, which enables your operating system to recognize and communicate with the USB Ethernet adapter. We emphasized the importance of checking for automatic installation and, if necessary, manually downloading and installing the correct driver from the manufacturer’s website.
After that, we discussed the configuration of the network settings on your device. We covered the steps to select the Ethernet connection, obtain the IP address automatically, and specify DNS settings if needed. These configurations ensure a smooth and seamless connection to the network.
Finally, we guided you through the process of testing the connection to verify that everything is functioning correctly. We highlighted the importance of opening a web browser, visiting a website, and conducting a speed test to evaluate the connection’s performance and stability.
In the event that you encounter common issues, we provided troubleshooting steps to help you resolve them. From unrecognized devices to no internet connection and slow speeds, the troubleshooting tips outlined in this guide will assist you in identifying and addressing these issues.
Remember, if you continue to experience difficulties, consult the manufacturer’s support documentation or contact their customer support for further assistance.
Using a USB Ethernet adapter opens up new possibilities for reliable and stable internet connections, especially in scenarios where Wi-Fi may not be available or suitable. With the knowledge and skills gained from this guide, you are now equipped to seamlessly connect to a wired network using a USB Ethernet adapter.
Enjoy your fast and reliable internet connection!
Frequently Asked Questions about How To Use Usb Ethernet Adapter
Was this page helpful?
At Storables.com, we guarantee accurate and reliable information. Our content, validated by Expert Board Contributors, is crafted following stringent Editorial Policies. We're committed to providing you with well-researched, expert-backed insights for all your informational needs.
0 thoughts on “How To Use Usb Ethernet Adapter”