Home>Home Security and Surveillance>How To Put Ethernet Port For Outdoor Camera
Home Security and Surveillance
How To Put Ethernet Port For Outdoor Camera
Modified: March 6, 2024
Learn how to install an outdoor camera with an Ethernet port for your home security and surveillance. Step-by-step guide for a reliable and efficient setup.
(Many of the links in this article redirect to a specific reviewed product. Your purchase of these products through affiliate links helps to generate commission for Storables.com, at no extra cost. Learn more)
Introduction
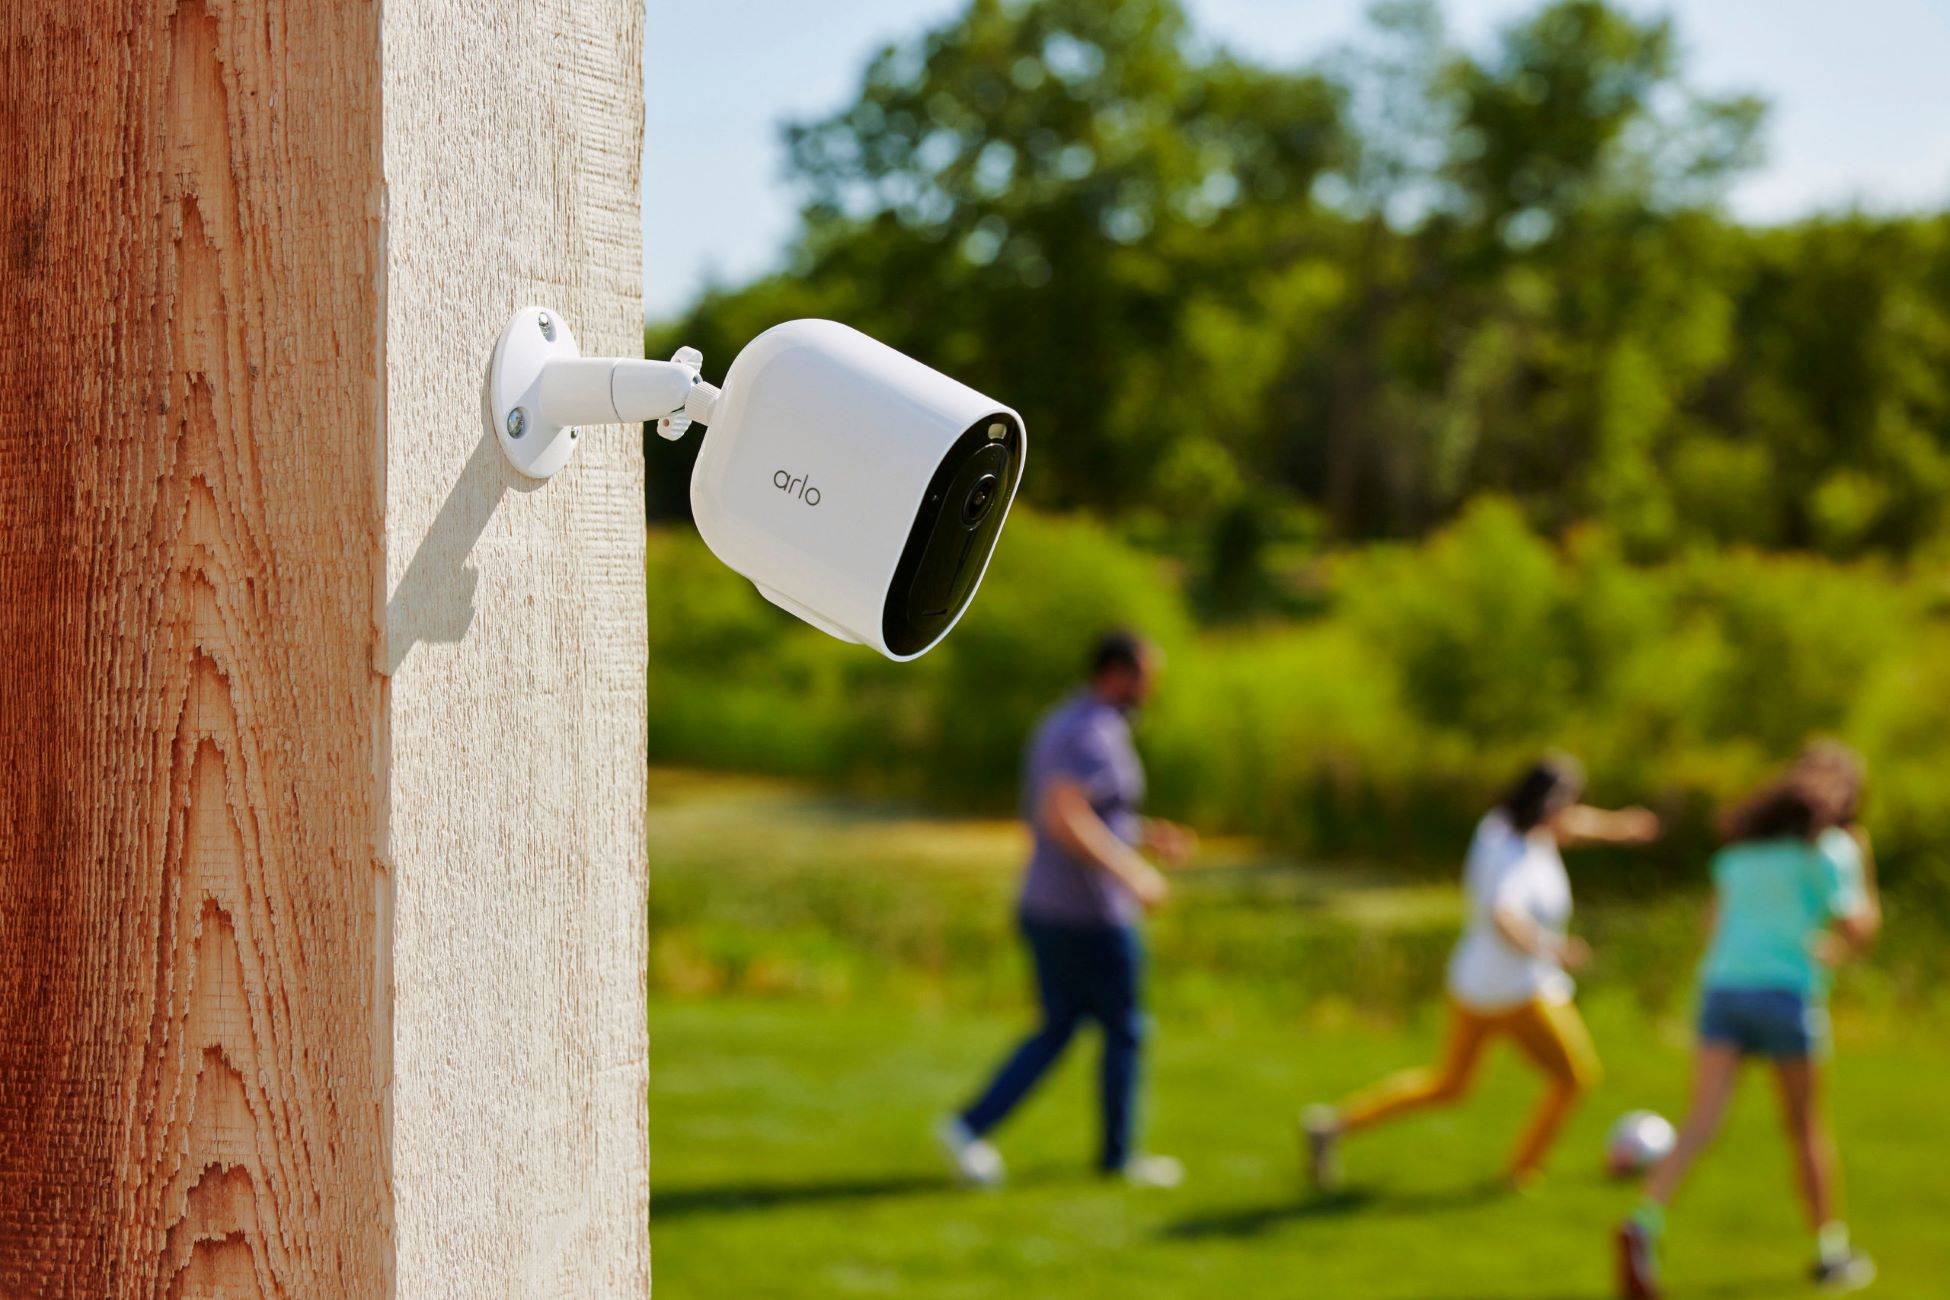
Welcome to the world of home security and surveillance! Having a reliable outdoor camera system is essential for protecting your home and loved ones. While most outdoor cameras are designed to connect wirelessly, you may want to consider adding an Ethernet port to ensure a more stable and secure connection.
In this article, we will guide you through the process of putting an Ethernet port for your outdoor camera. Whether you’re a seasoned DIY enthusiast or a beginner looking to enhance your home security system, we’ve got you covered. So, let’s get started!
Before we dive into the step-by-step instructions, let’s understand why adding an Ethernet port can be beneficial. While Wi-Fi offers convenience, it can be susceptible to interference and range limitations. With an Ethernet connection, you can enjoy a more stable and reliable network connection for your outdoor camera. This is particularly important if you live in an area with a lot of wireless network congestion or if you want to ensure uninterrupted video streaming and real-time monitoring.
Additionally, an Ethernet connection provides enhanced security compared to Wi-Fi. While Wi-Fi signals can be intercepted, a wired Ethernet connection is much more difficult to compromise. This added security measure can give you peace of mind, knowing that your outdoor camera footage is protected.
Now that we understand the advantages of adding an Ethernet port, let’s move on to the step-by-step process of installing one for your outdoor camera. By following these instructions and using the right tools and equipment, you’ll have a reliable and secure connection in no time.
Key Takeaways:
- Adding an Ethernet port to your outdoor camera provides a stable and secure connection, minimizing interruptions and enhancing video streaming and real-time monitoring for your home security needs.
- By carefully selecting the right camera, Ethernet port, and following the step-by-step installation process, you can successfully enhance your home security system with a reliable wired connection for your outdoor camera.
Read more: Where To Put Outdoor Cameras
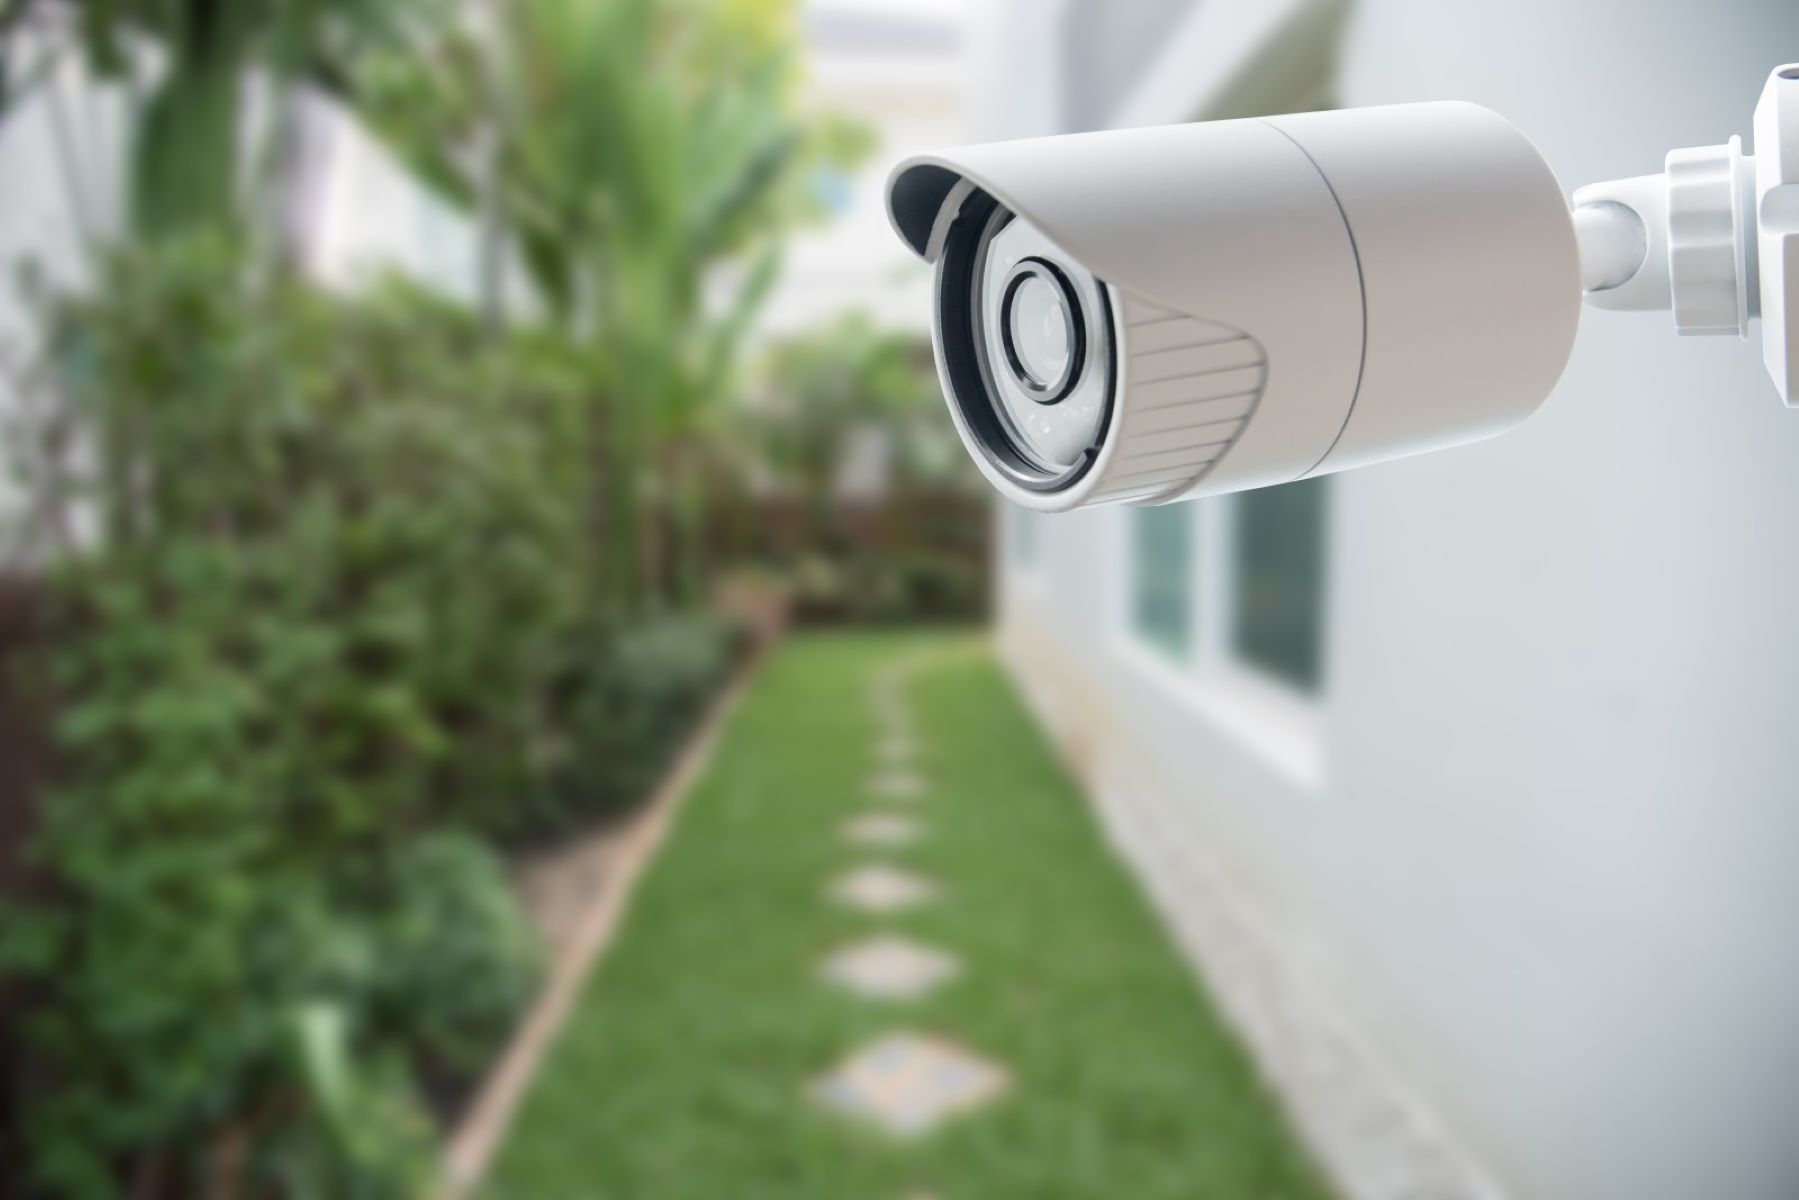
Step 1: Selecting the Outdoor Camera
The first step in putting an Ethernet port for your outdoor camera is selecting the right camera for your needs. When choosing an outdoor camera, there are a few important factors to consider:
- Resolution: Look for a camera with high-resolution capabilities, such as 1080p or even 4K. This will ensure clear and detailed footage, allowing you to easily identify important details.
- Night Vision: If you want to monitor your property at night, make sure the camera has infrared night vision capabilities. This will enable the camera to capture clear footage even in low-light conditions.
- Weatherproof: Since the camera will be installed outdoors, it’s crucial to choose a camera that is weatherproof. Look for cameras with an IP rating of at least IP65, which indicates resistance to dust and water.
- Field of View: Consider the field of view (FOV) of the camera. A wider FOV will allow you to cover a larger area, reducing the number of cameras needed for comprehensive surveillance.
- Power Source: Determine whether you prefer a wired or wireless power source. Wired cameras require a direct power connection, while wireless cameras rely on batteries or solar panels. Keep in mind that adding an Ethernet port will require a wired connection.
- Additional Features: Some cameras offer extra features such as motion detection, two-way audio, and cloud storage. Evaluate your needs and select a camera with the features that best suit your requirements.
Once you have chosen the outdoor camera that meets your criteria, ensure that it is compatible with an Ethernet connection. Most modern outdoor cameras come equipped with an Ethernet port, but it’s always a good idea to double-check before making a purchase.
Keep in mind that while selecting the right outdoor camera is vital, it is just the first step in the process. In the following steps, we will guide you through adding an Ethernet port and installing it for a secure and reliable connection.
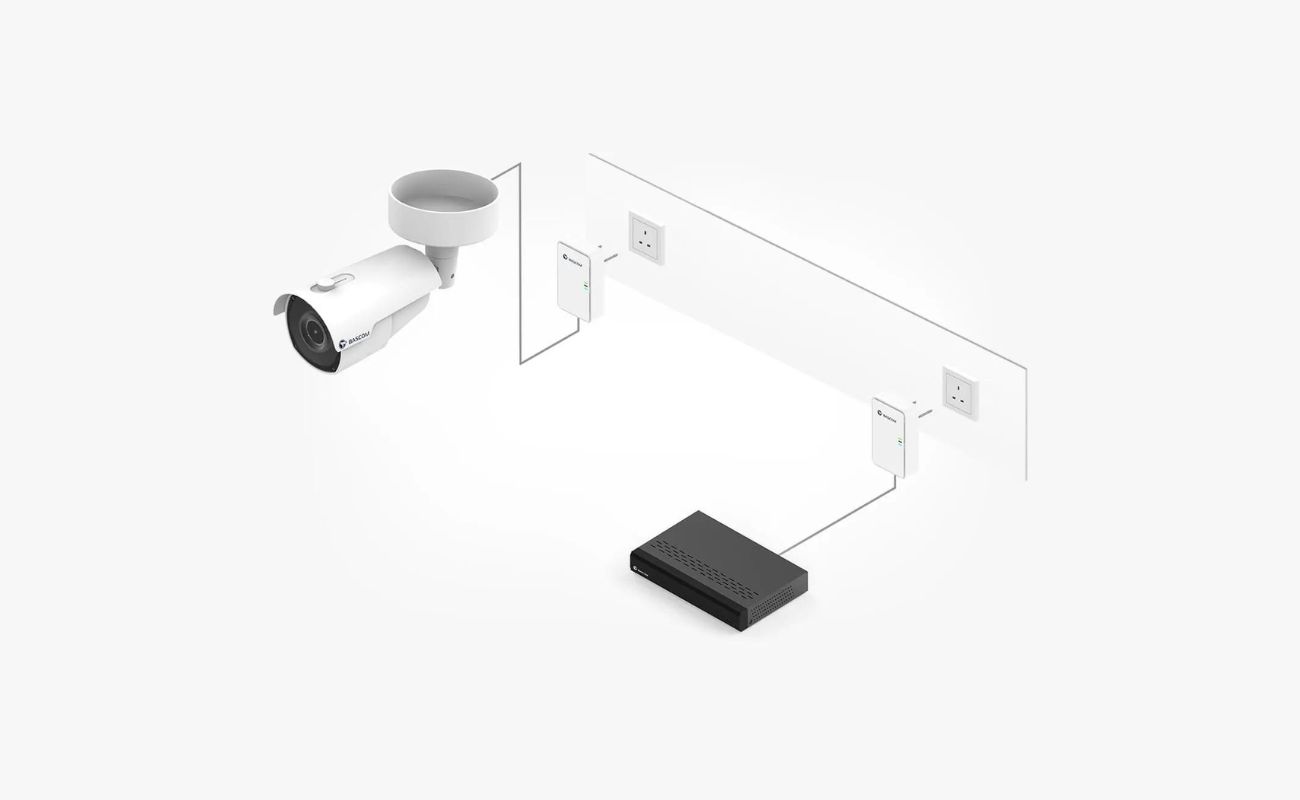
Step 2: Choosing the Right Ethernet Port
After selecting the outdoor camera, the next step is to choose the right Ethernet port. The Ethernet port will serve as the connection point between your camera and your network router or switch. Here are some factors to consider when choosing an Ethernet port:
- Port Type: Ethernet ports come in different types, such as Ethernet 10/100 and Ethernet Gigabit (10/100/1000). The Gigabit Ethernet port provides faster data transmission speeds, making it a better choice for high-resolution cameras and large video streaming needs.
- Number of Ports: Consider the number of cameras you plan to connect to the Ethernet port. If you have multiple outdoor cameras, choose a port with multiple connections to avoid the need for additional switches or routers.
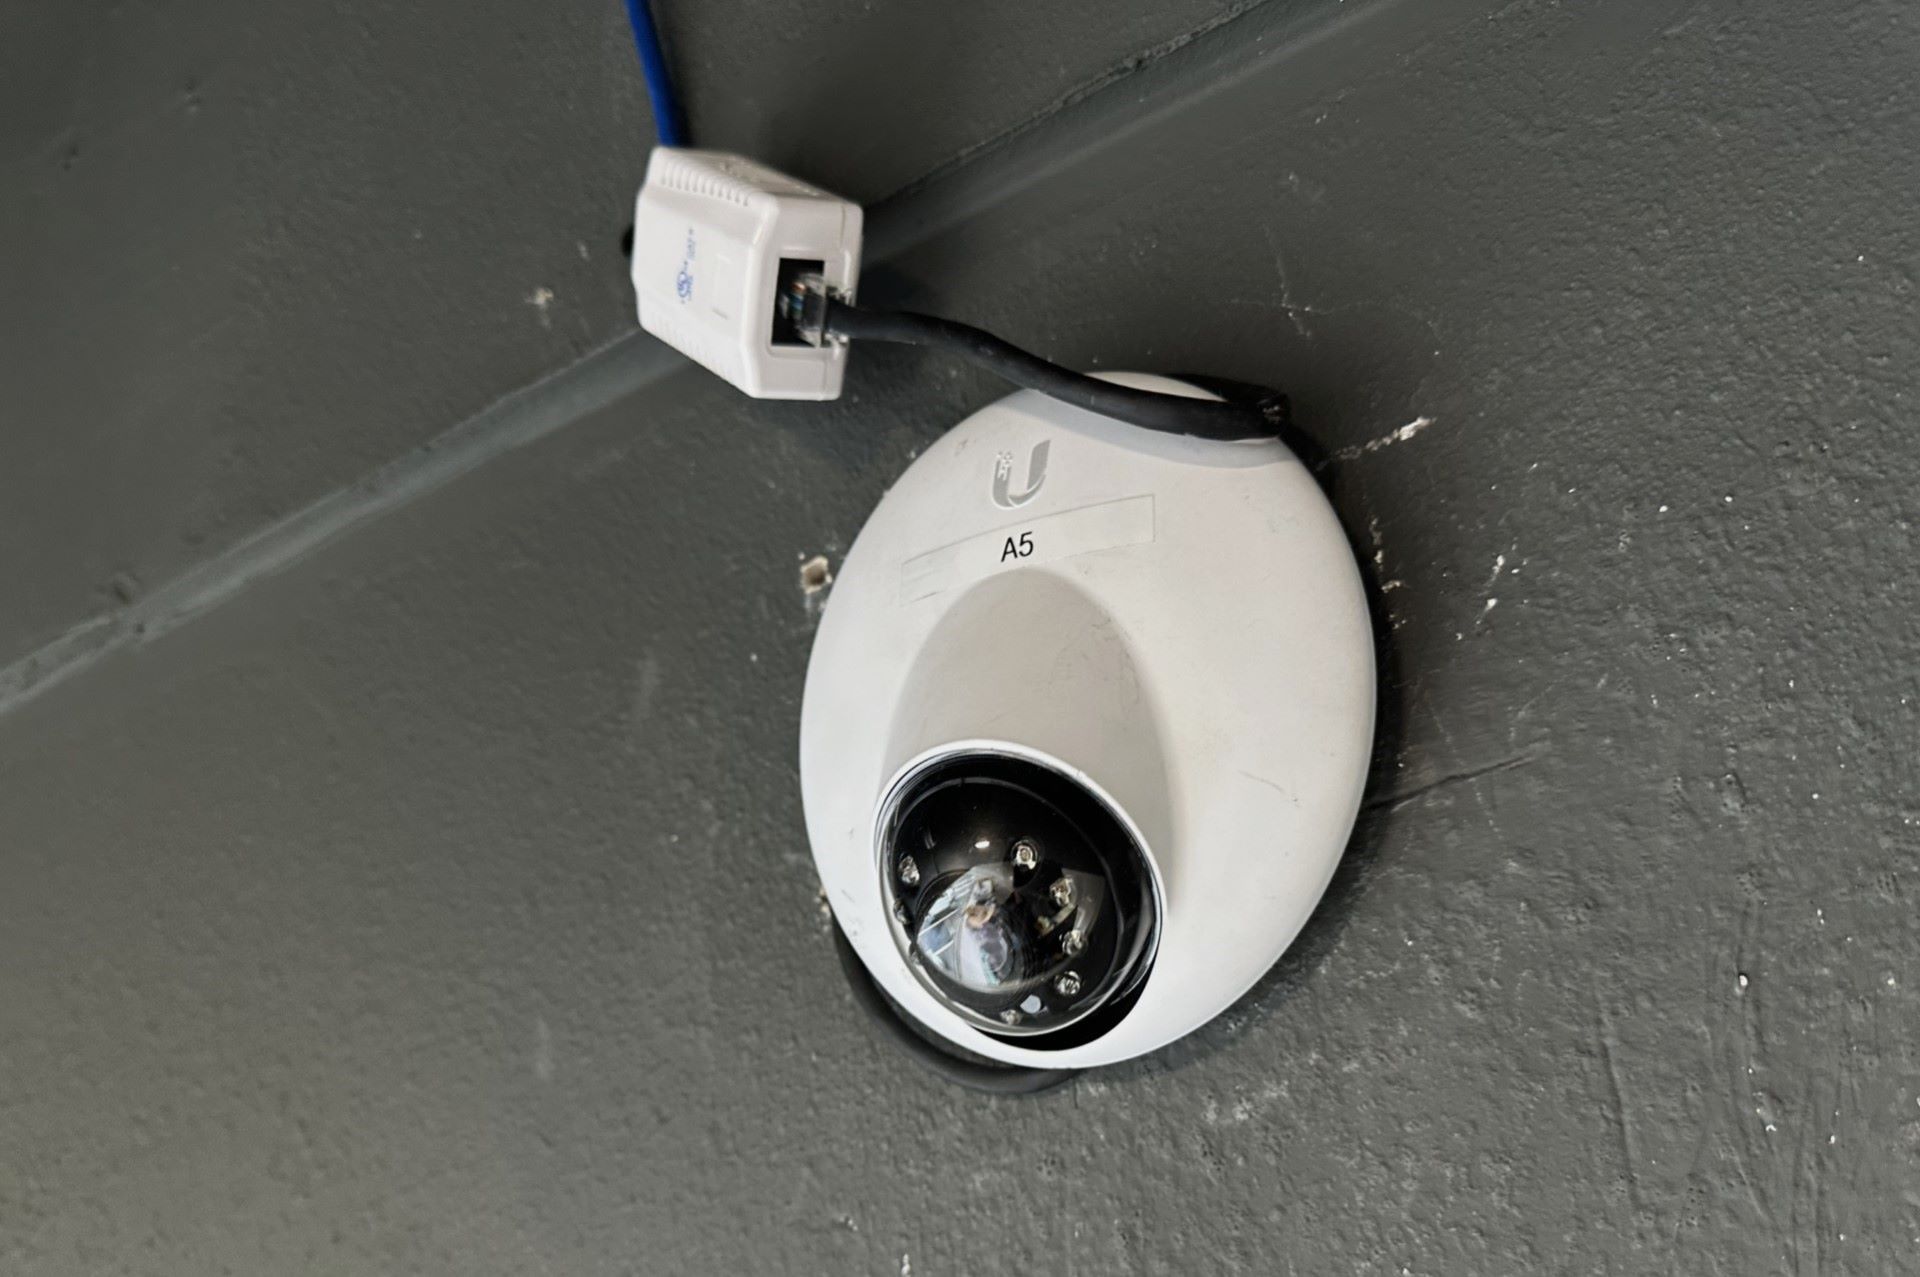
- Power over Ethernet (PoE) Support: PoE is a convenient feature that allows you to power your outdoor camera through the Ethernet cable itself. This eliminates the need for separate power cables or batteries. Make sure the Ethernet port you choose supports PoE if you want to take advantage of this feature.
- Compatibility: Ensure that the Ethernet port is compatible with the outdoor camera and your network setup. Check the camera’s specifications and ensure that it supports the Ethernet standard used by the port.
- Budget: Consider your budget when choosing an Ethernet port. While there are affordable options available, higher-quality ports with advanced features may come at a higher cost.
It’s also important to note that you will need Ethernet cables to connect the port to your camera and network devices. Ensure that you have the appropriate cables, such as Cat5e or Cat6, for a reliable and high-speed connection.
By considering these factors and choosing the right Ethernet port for your outdoor camera, you can ensure a seamless and efficient connection. In the next steps, we will guide you through the installation process and connecting the Ethernet port to your outdoor camera for optimal performance.
Step 3: Gathering the Necessary Tools and Equipment
Before you begin the installation process of adding an Ethernet port for your outdoor camera, it is essential to gather all the necessary tools and equipment. Having the right tools on hand will ensure a smooth and efficient installation process. Here are the tools and equipment you’ll need:
- Power drill: You’ll need a power drill with the appropriate drill bits to create holes for the Ethernet port and mounting screws.
- Ethernet port: Choose the Ethernet port that you previously selected in Step 2. Make sure it is compatible with your outdoor camera and supports your network setup.
- Ethernet cables: Obtain Ethernet cables of the appropriate length to connect the port to your outdoor camera and network devices.
- Mounting box: A mounting box will provide a secure and protected housing for the Ethernet port. Ensure that it is weatherproof and suitable for outdoor use.
- Screws and anchors: Depending on where you plan to mount the Ethernet port, you may need screws and anchors to secure the mounting box to the wall or any other surface.
- Cable clips or ties: Cable clips or ties will help you neatly secure the Ethernet cables, preventing them from becoming tangled or damaged.
- Power source: If your outdoor camera requires a separate power source, make sure you have the necessary power cables or batteries to provide power to the camera.
- Protective gear: It’s important to prioritize safety during the installation process. Wear protective gear such as safety goggles and gloves to protect yourself from any potential hazards.
By gathering these tools and equipment before you start the installation, you’ll be well-prepared and save time and effort. Ensure that all the equipment is in good condition and functioning properly before beginning the installation process.
Now that you have everything you need, let’s move on to preparing the outdoor camera mounting location in the next step.
Step 4: Preparing the Outdoor Camera Mounting Location
Before you can install the Ethernet port for your outdoor camera, it’s important to properly prepare the mounting location. Here are the steps to ensure a secure and stable installation:
- Select the optimal location: Choose a location for your outdoor camera that provides a clear view of the areas you want to monitor. Consider factors such as angles, coverage, and potential obstructions.
- Check the surface: Ensure that the surface where you plan to mount the Ethernet port is sturdy and capable of supporting both the port and the camera. If the surface is uneven or weak, you may need to reinforce it with additional materials.
- Mark the drilling points: Using a pencil or marker, mark the spots where you will drill holes for the mounting box and the Ethernet port. Make sure the marks are level and in the desired position.
- Verify clearance: Before drilling, double-check that there are no obstructions behind the marked spots. This will help avoid damaging any existing wiring, pipes, or structures.
- Drill the holes: Using a power drill and the appropriate drill bit, carefully drill the holes at the marked spots. Ensure that the holes are deep enough to securely hold the mounting box and allow for the Ethernet cables to pass through.
- Secure the mounting box: Insert the mounting box into the drilled holes and align it with the surface. Use screws and anchors to secure the mounting box firmly in place.
Once you’ve completed these steps, you will have a prepared mounting location for the Ethernet port. The mounting box will provide a sturdy and protected housing for the port, ensuring its stability and longevity. Next, we will move on to the installation of the Ethernet port itself.
When installing an outdoor camera, use an outdoor-rated Ethernet cable and a weatherproof Ethernet connector to protect the port from moisture and debris. This will ensure a reliable and long-lasting connection for your camera.
Read more: What Is The Best Outdoor Ethernet Cable
Step 5: Installing the Ethernet Port
Now that you have prepared the mounting location, it’s time to install the Ethernet port for your outdoor camera. Follow these steps to ensure a successful installation:
- Prepare the Ethernet port: Examine the Ethernet port and remove any protective covers or packaging. Familiarize yourself with the different ports and connectors on the device.
- Feed the Ethernet cables: Carefully thread the Ethernet cables through the mounting box and bring them out on the other side. Ensure that there is enough slack in the cables to comfortably connect them to the Ethernet port.
- Connect the Ethernet cables: Plug in the Ethernet cables into the appropriate ports on the Ethernet port. Ensure a secure connection by pushing the connectors all the way in until they click into place.
- Secure the Ethernet port: Line up the Ethernet port with the mounting box and insert it securely. Follow the manufacturer’s instructions for attaching the port to the mounting box using screws or other securing mechanisms.
- Check the connections: Double-check that the Ethernet cables are securely connected to both the Ethernet port and the outdoor camera. Ensure that there are no loose or frayed cables that may affect the connection quality.
During the installation process, it’s essential to handle the Ethernet port and cables with care to avoid any damage. Take your time to ensure that the connections are secure and properly aligned to maintain a reliable and stable network connection.
Once the Ethernet port is installed and the connections are verified, you are ready to move on to the next step: connecting the Ethernet port to your outdoor camera.
Step 6: Connecting the Ethernet Port to the Outdoor Camera
Now that the Ethernet port is installed, it’s time to connect it to your outdoor camera. Follow these steps to establish a reliable and secure connection:
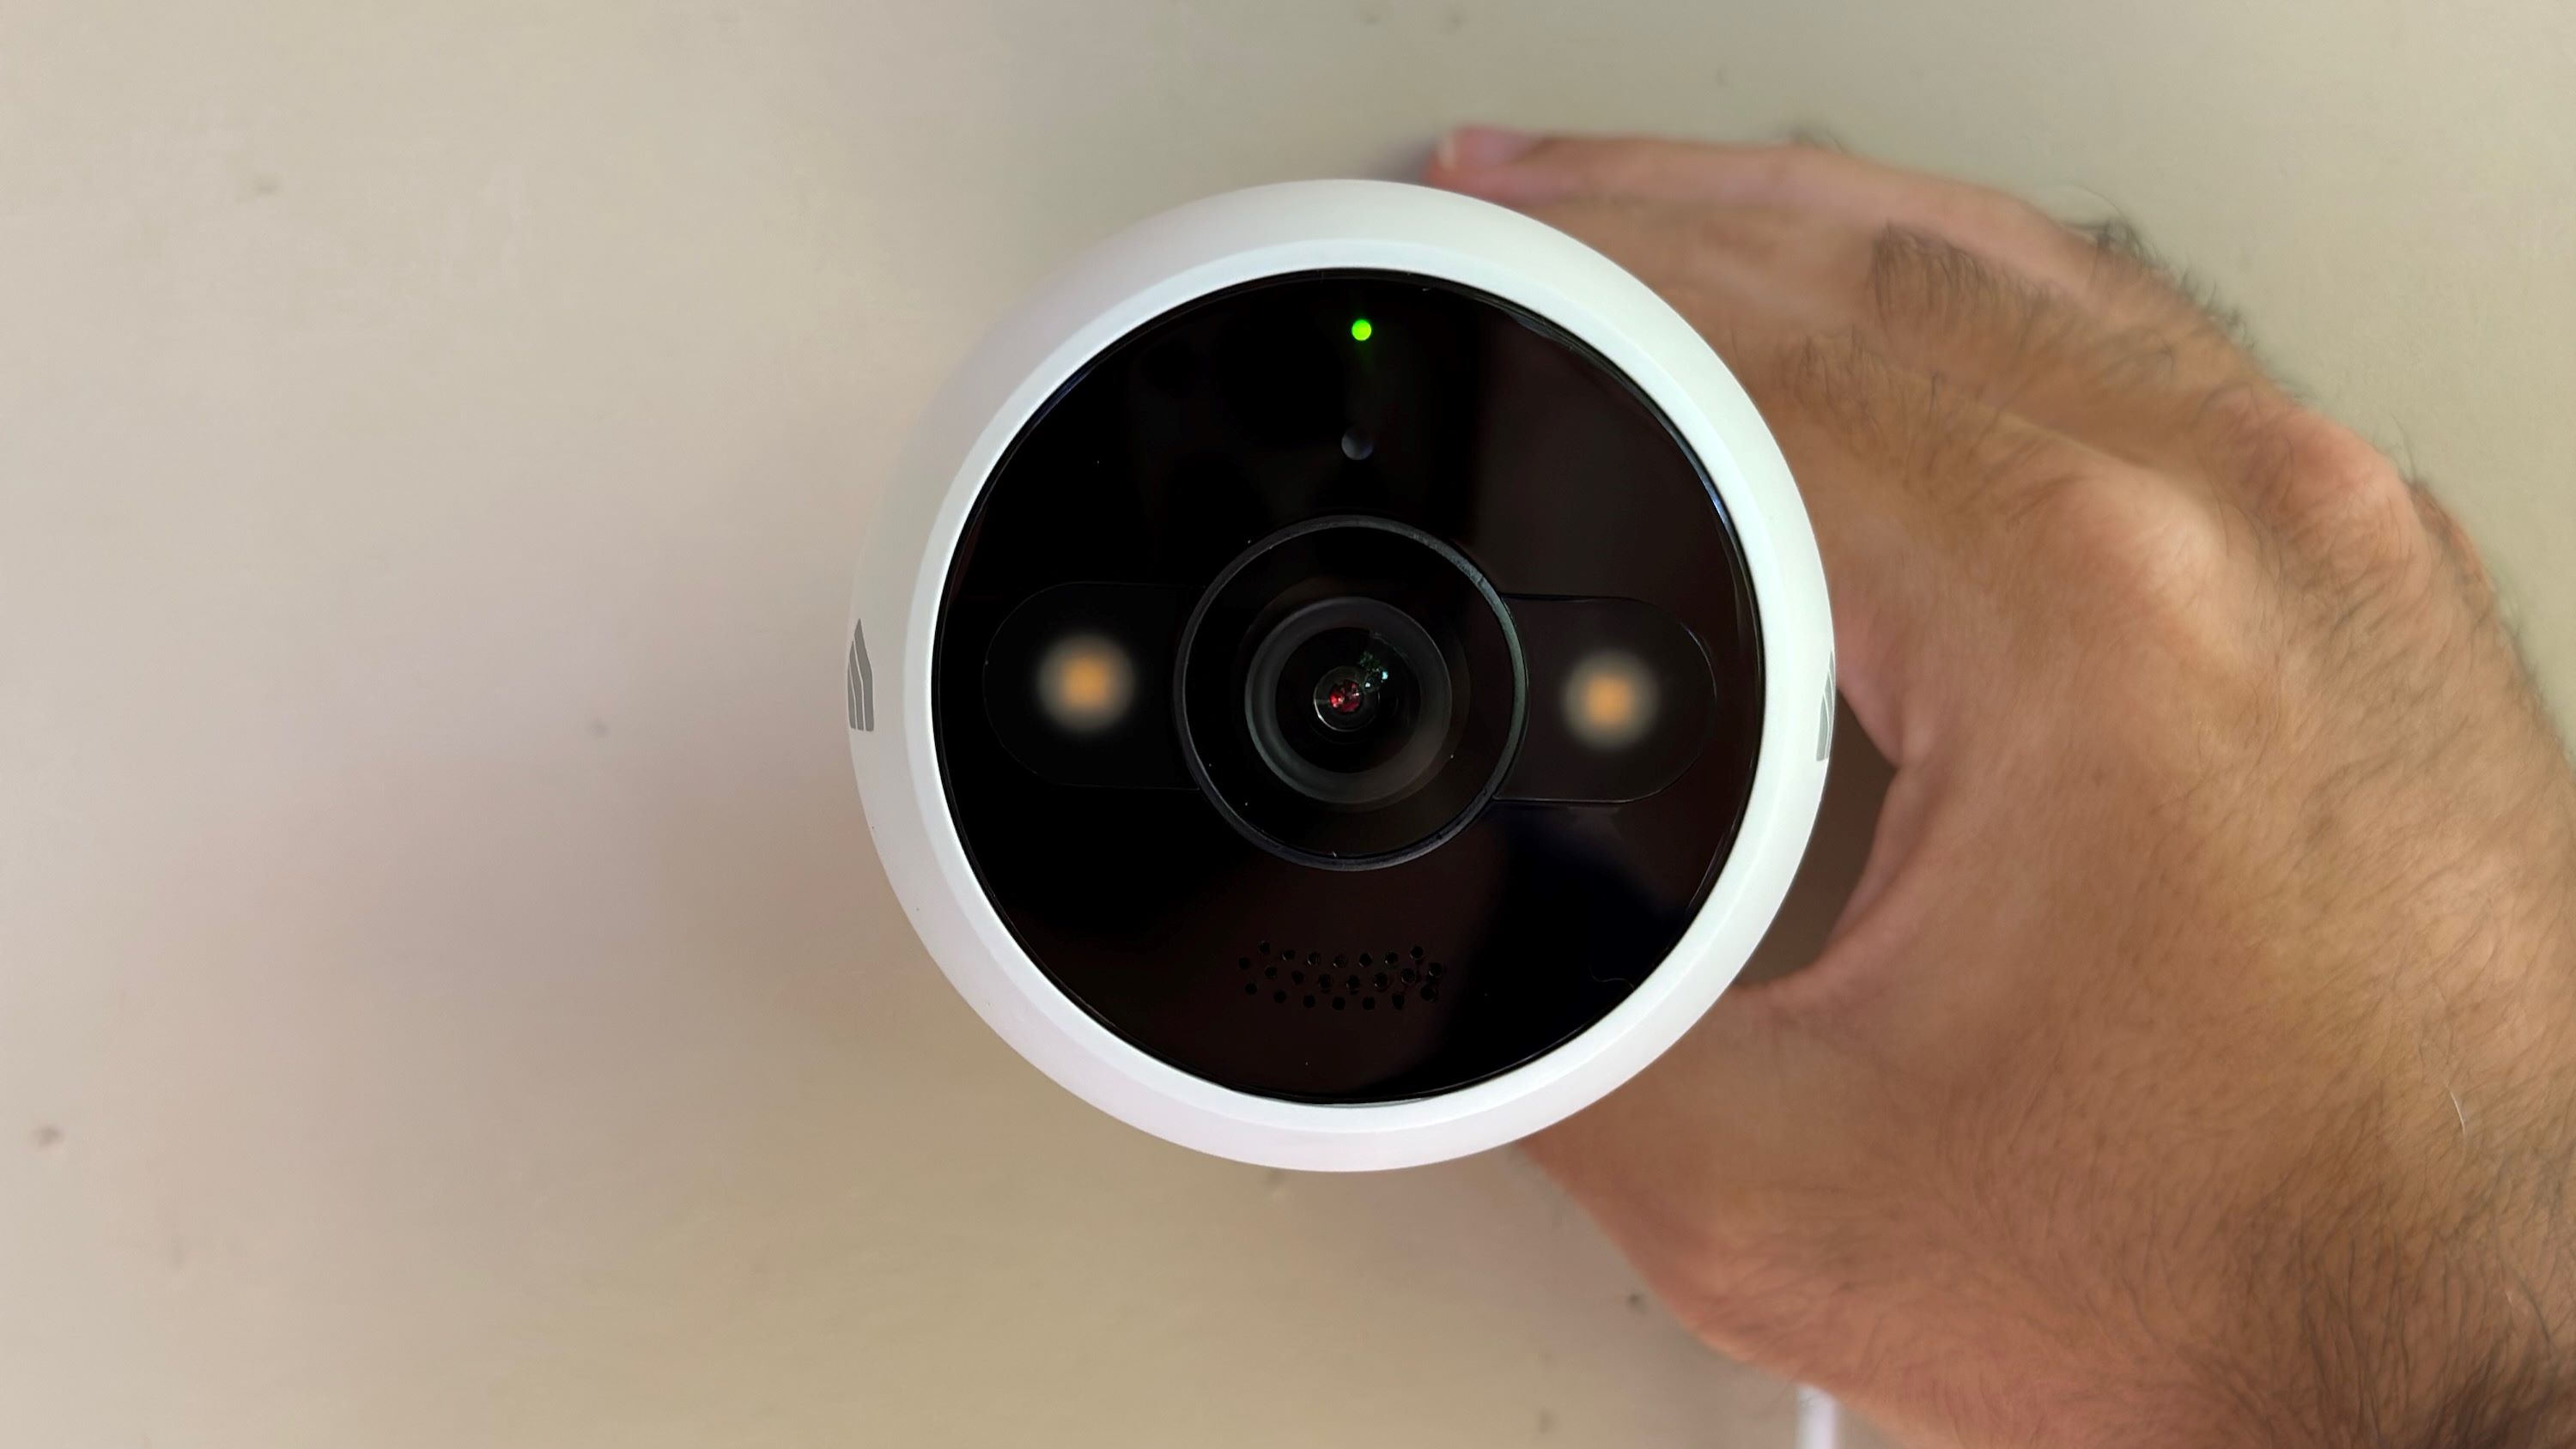
- Locate the Ethernet port on your outdoor camera: Identify the Ethernet port on your camera. It is typically located on the back or bottom of the camera.
- Plug in the Ethernet cable: Take one end of the Ethernet cable and carefully plug it into the Ethernet port on the camera. Make sure it is securely inserted.
- Connect the other end to the Ethernet port: Take the other end of the Ethernet cable and connect it to the corresponding Ethernet port on the installed Ethernet port.
- Ensure a secure connection: Double-check that both ends of the Ethernet cable are firmly connected. Gently tug on the cable to ensure it is securely in place.
- Adjust cable positioning: Use cable clips or ties to neatly secure the Ethernet cable along the wall or surface, keeping it out of the way and minimizing the risk of damage.
By following these steps, you have successfully connected the Ethernet port to your outdoor camera. This wired connection provides a more stable and reliable network connection, ensuring optimal performance for your surveillance system.
Before moving on to the final step, it’s important to note that some outdoor cameras may require additional settings to be adjusted within the camera’s interface or associated software to recognize the Ethernet connection. Consult the camera’s user manual or manufacturer’s guidelines for any necessary configuration steps.
With the Ethernet port connected to your outdoor camera, it’s time to move on to the last step: testing the connection.
Step 7: Testing the Connection
After completing the installation and connection of the Ethernet port for your outdoor camera, it’s crucial to test the connection to ensure everything is working correctly. Follow these steps to test the connection:
- Power on the camera: Ensure that the outdoor camera is properly powered on and receiving power either through the Ethernet cable if it supports Power over Ethernet (PoE) or via a separate power source.
- Check the network connection: Verify that the Ethernet port is securely connected to your network router or switch. Ensure that both the outdoor camera and your network devices are connected to the same network.
- Access the camera interface: Using a compatible device such as a smartphone, tablet, or computer, open a web browser or camera app and enter the camera’s IP address to access its interface.
- Check the live feed: Within the camera’s interface, look for the live feed or video streaming option to confirm that the outdoor camera is capturing and transmitting footage over the network connection.
- Test the stability and quality: Observe the live feed to ensure a stable and high-quality video feed. Verify that there are no freezing, lagging, or pixelation issues that could indicate a poor connection or network interference.
- Test remote access: If you plan to access the outdoor camera remotely, ensure that remote access is enabled and test accessing the camera feed from a different network or using a virtual private network (VPN) connection.
- Adjust settings if needed: If you encounter any issues or inconsistencies with the connection or camera performance, refer to the camera’s user manual or consult the manufacturer’s support resources to troubleshoot and adjust settings as necessary.
By properly testing the connection, you can ensure that your outdoor camera is functioning correctly and providing the desired surveillance coverage. If any issues arise during the testing process, don’t hesitate to reach out to the camera manufacturer’s support for further assistance.
Congratulations! You have successfully put an Ethernet port for your outdoor camera and tested the connection. Your home security and surveillance system is now equipped with a stable and secure network connection, providing you with peace of mind and enhanced protection for your property.
Remember to periodically check and maintain your outdoor camera and Ethernet connection to ensure continued performance and reliability. Stay vigilant and enjoy the benefits of a robust surveillance system!
Conclusion
Adding an Ethernet port for your outdoor camera is a great way to enhance the stability, security, and reliability of your home security and surveillance system. By following the step-by-step process outlined in this article, you have successfully installed an Ethernet port and established a wired connection for your outdoor camera.
Throughout the installation process, you carefully selected the right outdoor camera and Ethernet port, ensuring compatibility and meeting your specific needs. You gathered the necessary tools and equipment, prepared the mounting location, and installed the Ethernet port with precision. Finally, you connected the Ethernet port to your outdoor camera and conducted thorough testing to verify the connection’s stability and quality.
With an Ethernet connection, you can enjoy the benefits of a more reliable network connection, minimizing the risk of interruptions in video streaming and real-time monitoring. The added security of a wired connection also provides peace of mind, knowing that your camera footage is secure.
It’s important to remember that while installing an Ethernet port for your outdoor camera may seem daunting, with the right tools and instructions, it becomes a manageable and rewarding DIY project. By taking the time to properly install and test the connection, you have taken an important step towards fortifying your home security.
As you continue to maintain and monitor your home security and surveillance system, periodically check the Ethernet connection and address any issues that may arise promptly. This will ensure that your outdoor camera continues to provide optimal performance and reliability.
Now that you have successfully added an Ethernet port for your outdoor camera, you can enjoy the benefits of a stable and secure connection for your home security and surveillance needs. Maintain a watchful eye over your property and loved ones, knowing that you have taken the necessary steps to enhance your home’s security infrastructure.
Thank you for following this guide, and we hope it has been valuable in helping you put an Ethernet port for your outdoor camera. Stay safe and secure!
Frequently Asked Questions about How To Put Ethernet Port For Outdoor Camera
Was this page helpful?
At Storables.com, we guarantee accurate and reliable information. Our content, validated by Expert Board Contributors, is crafted following stringent Editorial Policies. We're committed to providing you with well-researched, expert-backed insights for all your informational needs.