Articles
How To Convert A Closet Into A Laundry Room
Modified: October 20, 2024
Learn how to transform a closet into a functional laundry room with our informative articles. Gain valuable tips and ideas for maximizing space and creating an organized laundry area.
(Many of the links in this article redirect to a specific reviewed product. Your purchase of these products through affiliate links helps to generate commission for Storables.com, at no extra cost. Learn more)
Introduction
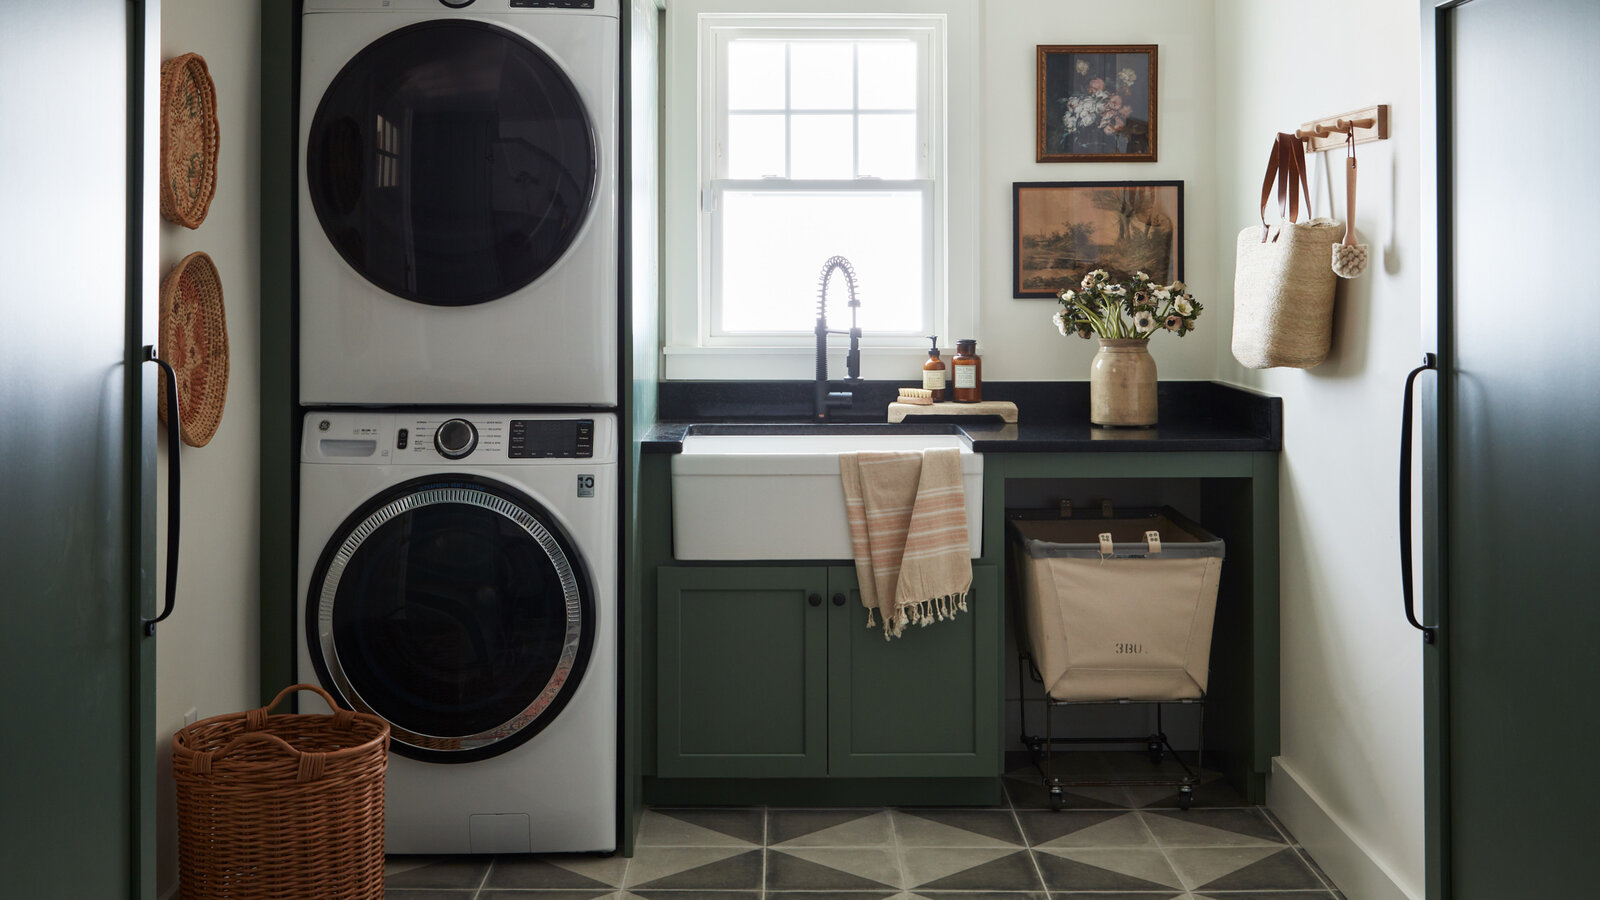
Welcome to the world of convenience and efficiency with a clever DIY project: converting a closet into a laundry room. If you find yourself yearning for a dedicated laundry space but lack the extra square footage in your home, fear not! With some careful planning, creativity, and a few simple steps, you can transform an unused closet into a functional and stylish laundry room.
Your newly converted laundry room will not only save you time and effort, but also add value to your home. Whether you reside in a cozy apartment or a spacious house, this project is adaptable to fit your needs and available space. So let’s roll up our sleeves and get started on this exciting endeavor!
In this guide, we will walk you through the step-by-step process of converting a closet into a laundry room. From clearing out the closet to installing plumbing and electrical connections, adding ventilation, setting up laundry equipment, and adding the finishing touches, we’ve got you covered. So let’s dive right in and make your laundry routine a breeze!
Key Takeaways:
- Transform an unused closet into a functional laundry room with careful planning, creativity, and a few simple steps. Maximize convenience and efficiency in any home, big or small.
- Convert a closet into a stylish laundry room by following a step-by-step process. From clearing out the space to adding finishing touches, create a dedicated area that saves time and adds value to your home.
Step 1: Clearing out the Closet
The first step in converting a closet into a laundry room is to clear out the space and remove any existing items. Start by removing all clothing, shelves, and other storage units from the closet. Take this opportunity to declutter and organize your belongings, as it will be easier to do so outside of the confined closet space.
Once the closet is empty, inspect the walls, floor, and ceiling for any damage or issues that need to be addressed. Look for any signs of water damage, mold, or structural problems. It’s crucial to fix these issues before proceeding with the conversion to ensure a safe and functional laundry room.
Next, remove any doors or door frames that are in the way and would hinder the conversion process. If the closet has a hanging rod, remove it as well. This will make room for the new laundry equipment and storage units that you’ll be installing later.
Finally, clean the closet thoroughly, removing any dust, cobwebs, or dirt that may have accumulated over time. This will provide a fresh and clean canvas for your laundry room transformation.
Once the closet is cleared out, take some measurements of the space. These measurements will be vital as you plan and select the appropriate equipment and storage solutions for your laundry room.
Taking the time to clear out the closet and prepare the space properly will set the foundation for the rest of the conversion process. So grab your cleaning supplies and let’s get your closet ready for its new role as a laundry room!
Step 2: Installing Plumbing and Electrical Connections
Once the closet is cleared out, it’s time to tackle the next crucial step in converting it into a laundry room: installing the necessary plumbing and electrical connections. This step is essential to ensure the proper functioning of your laundry equipment and maximize convenience.
If your closet is located near existing water and drainage lines, the process may be relatively straightforward. However, if there are no existing connections, you may need to hire a professional plumber to tap into the main water supply and create the necessary drainage system.
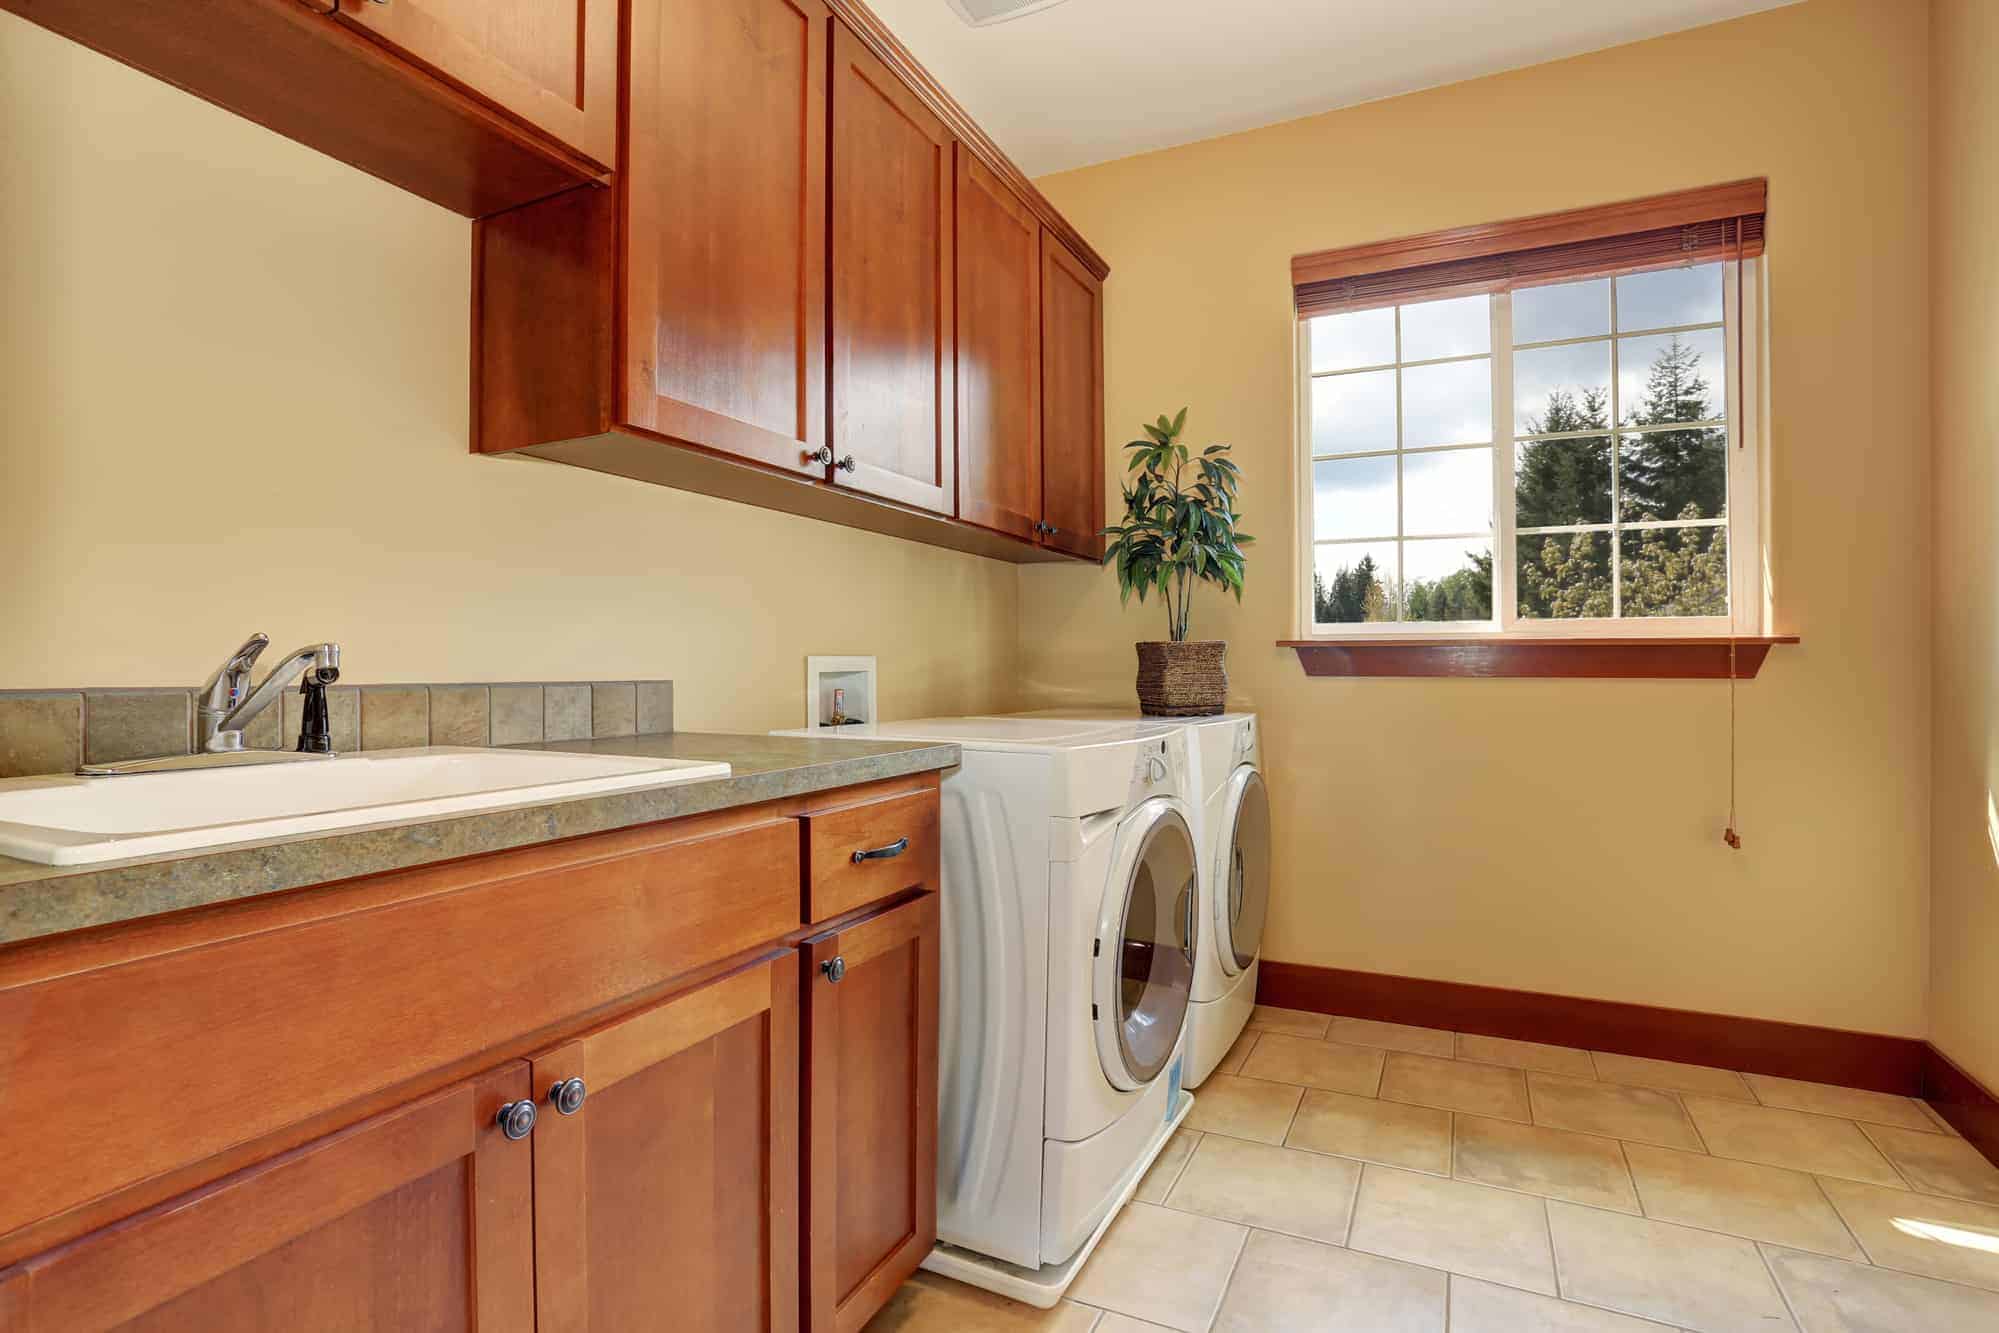
When installing plumbing connections, consider the type of laundry equipment you plan to use. Typically, this includes a washing machine and a utility sink. Ensure that the plumbing connections are properly installed, allowing for water supply and drainage for both the washing machine and sink.
Similarly, electrical connections are essential for powering your laundry equipment. If there is no electrical outlet in the closet, you will need to hire an electrician to install one. Make sure the outlet is located in a convenient position for your washing machine and consider adding additional outlets for other electrical devices or lighting.
It’s important to note that both plumbing and electrical work should be done in accordance with local building codes and regulations. Hiring licensed professionals will ensure that the work is done safely and meets all necessary requirements.
Once the plumbing and electrical connections are in place, test them to ensure everything is functioning correctly. Check for any leaks, ensure the water flow is stable, and verify that the electrical outlet is supplying power to your laundry equipment.
Installing the plumbing and electrical connections is a vital step in creating a functional and efficient laundry room. By taking the time to get these connections right, you’ll set the stage for a smooth and hassle-free laundry experience.
Step 3: Adding Ventilation
Proper ventilation is crucial in a laundry room to prevent moisture buildup, reduce the risk of mold growth, and ensure fresh air circulation. In this step, we will guide you through the process of adding ventilation to your converted closet laundry room.
Start by assessing the current ventilation options in the closet. If there is an existing window or ventilation duct, determine if it provides adequate airflow for the laundry room. In some cases, you may need to install additional ventilation to optimize the air exchange.
If there is a window in the closet, ensure that it is functional and can be opened easily. If it is sealed shut, consider contacting a professional to have it repaired or replaced. Opening the window while doing laundry will help expel excess heat, humidity, and odors from the room.
If there is no window or insufficient airflow, consider installing a ventilation fan. A ventilation fan will help remove stale air and moisture, preventing the growth of mold in the confined laundry space. Choose a fan with an adequate CFM (cubic feet per minute) rating to ensure proper ventilation.
Install the ventilation fan either on the wall or ceiling, depending on the layout of your closet. Make sure to position it in a central location to effectively circulate the air within the laundry room. If necessary, hire an electrician to assist with wiring the fan and ensure it is connected to the electrical system safely.
In addition to a ventilation fan, you can also utilize other methods to improve airflow in the laundry room. Consider installing air vents or grilles on doors or walls to facilitate air circulation. This will help prevent the buildup of moisture and odors.
Remember to regularly clean and maintain the ventilation system to ensure its optimal performance. Clean or replace air filters, remove any dust or debris accumulated in the fan, and periodically check for any potential issues with the ventilation system.
By adding proper ventilation to your converted closet laundry room, you will create a healthier and more comfortable environment for your laundry tasks. Fresh air circulation and moisture control will enhance the efficiency and longevity of your laundry equipment, making your laundry experience even more pleasant.
When converting a closet into a laundry room, consider adding shelves or cabinets for storage, installing a ventilation system, and ensuring there is proper plumbing and electrical access.
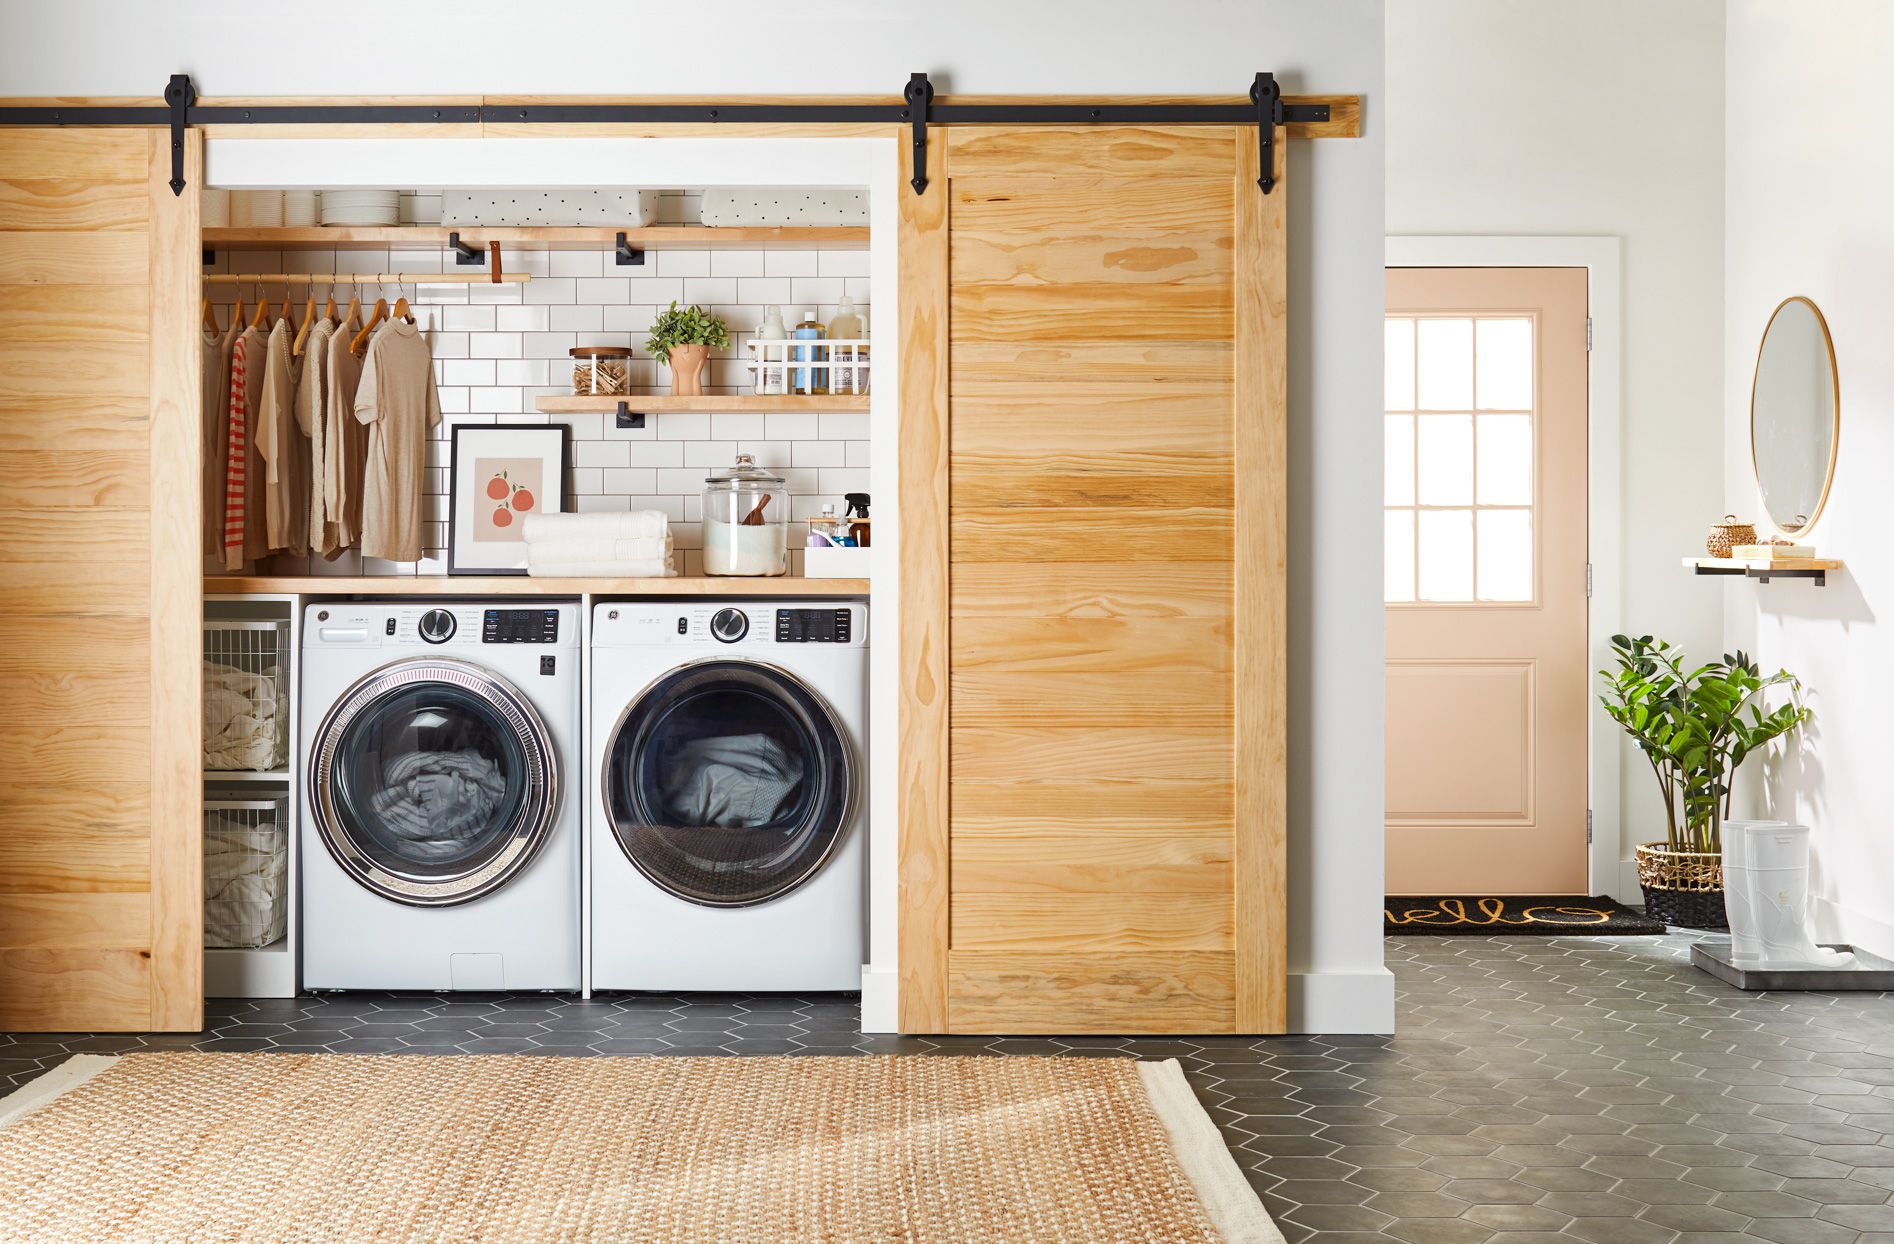
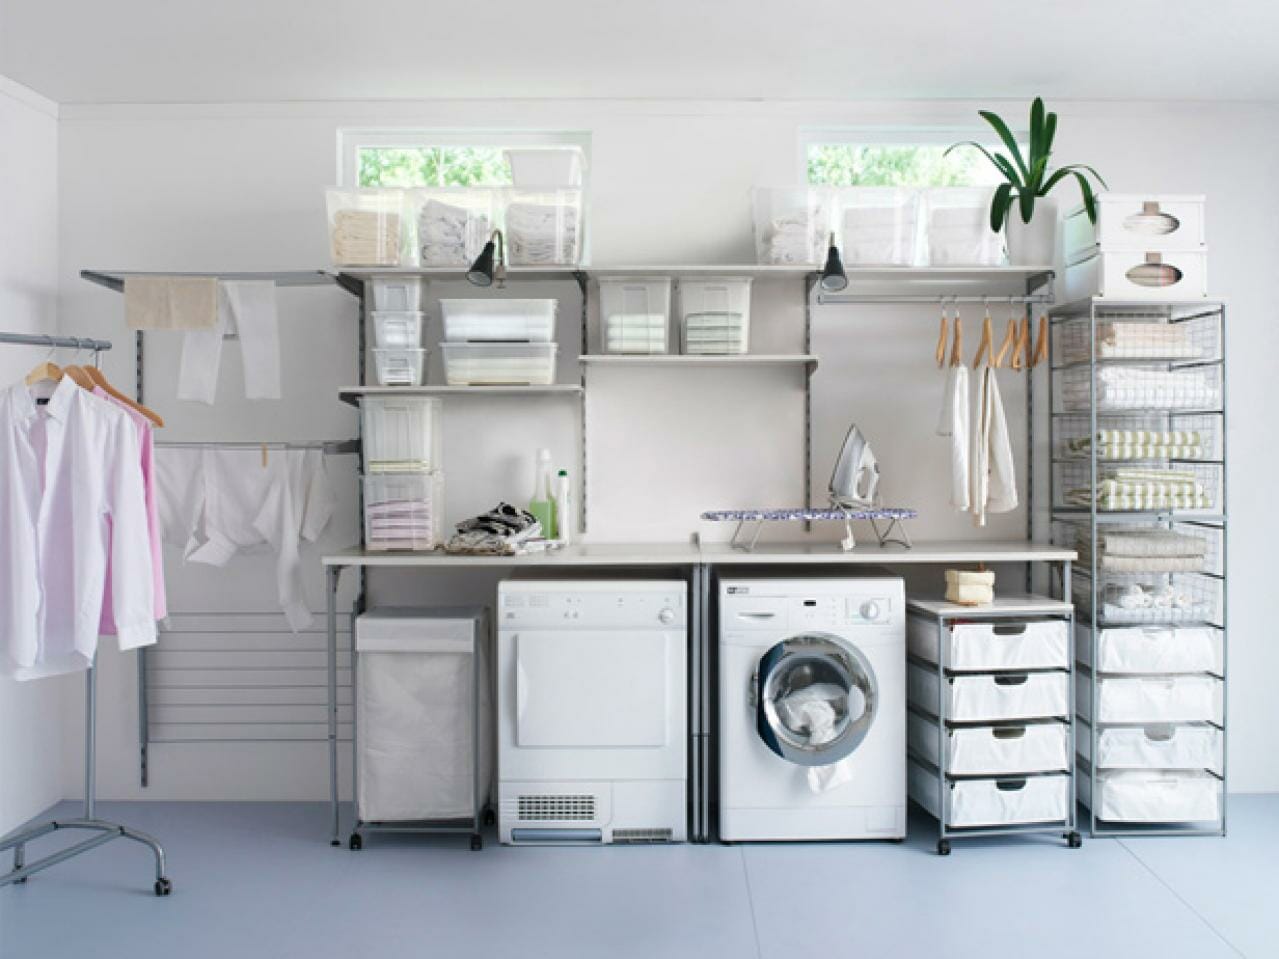
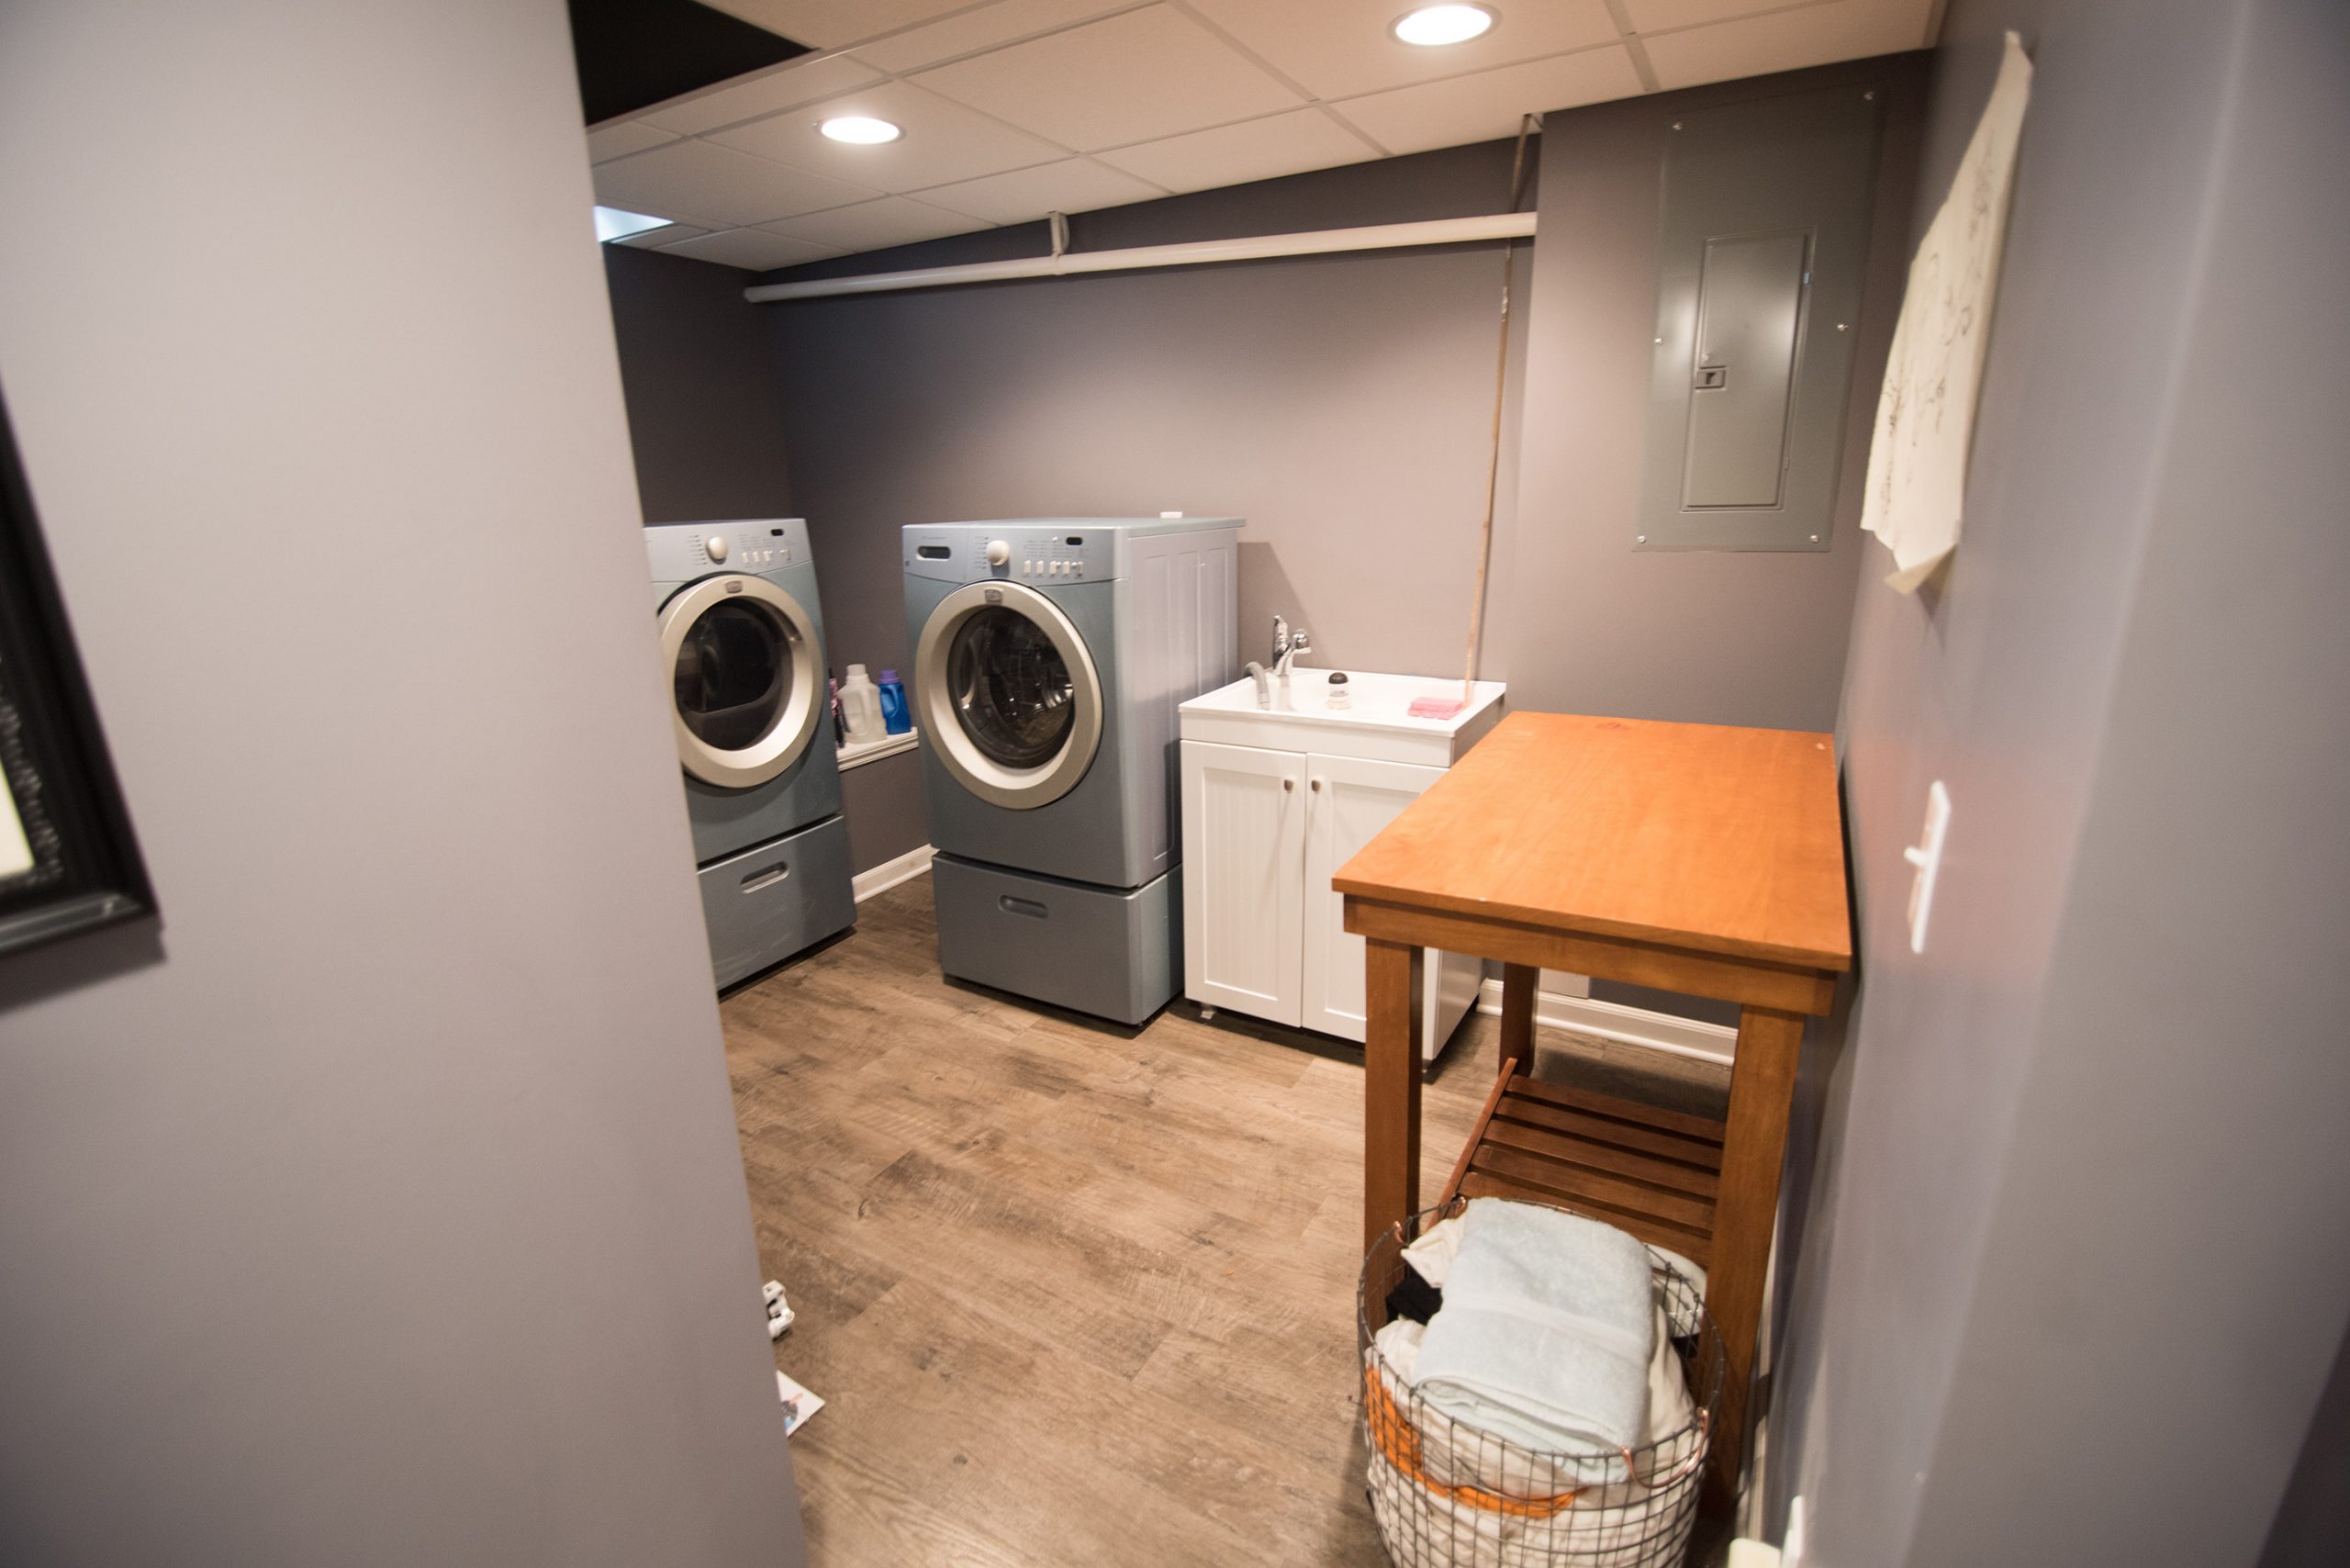
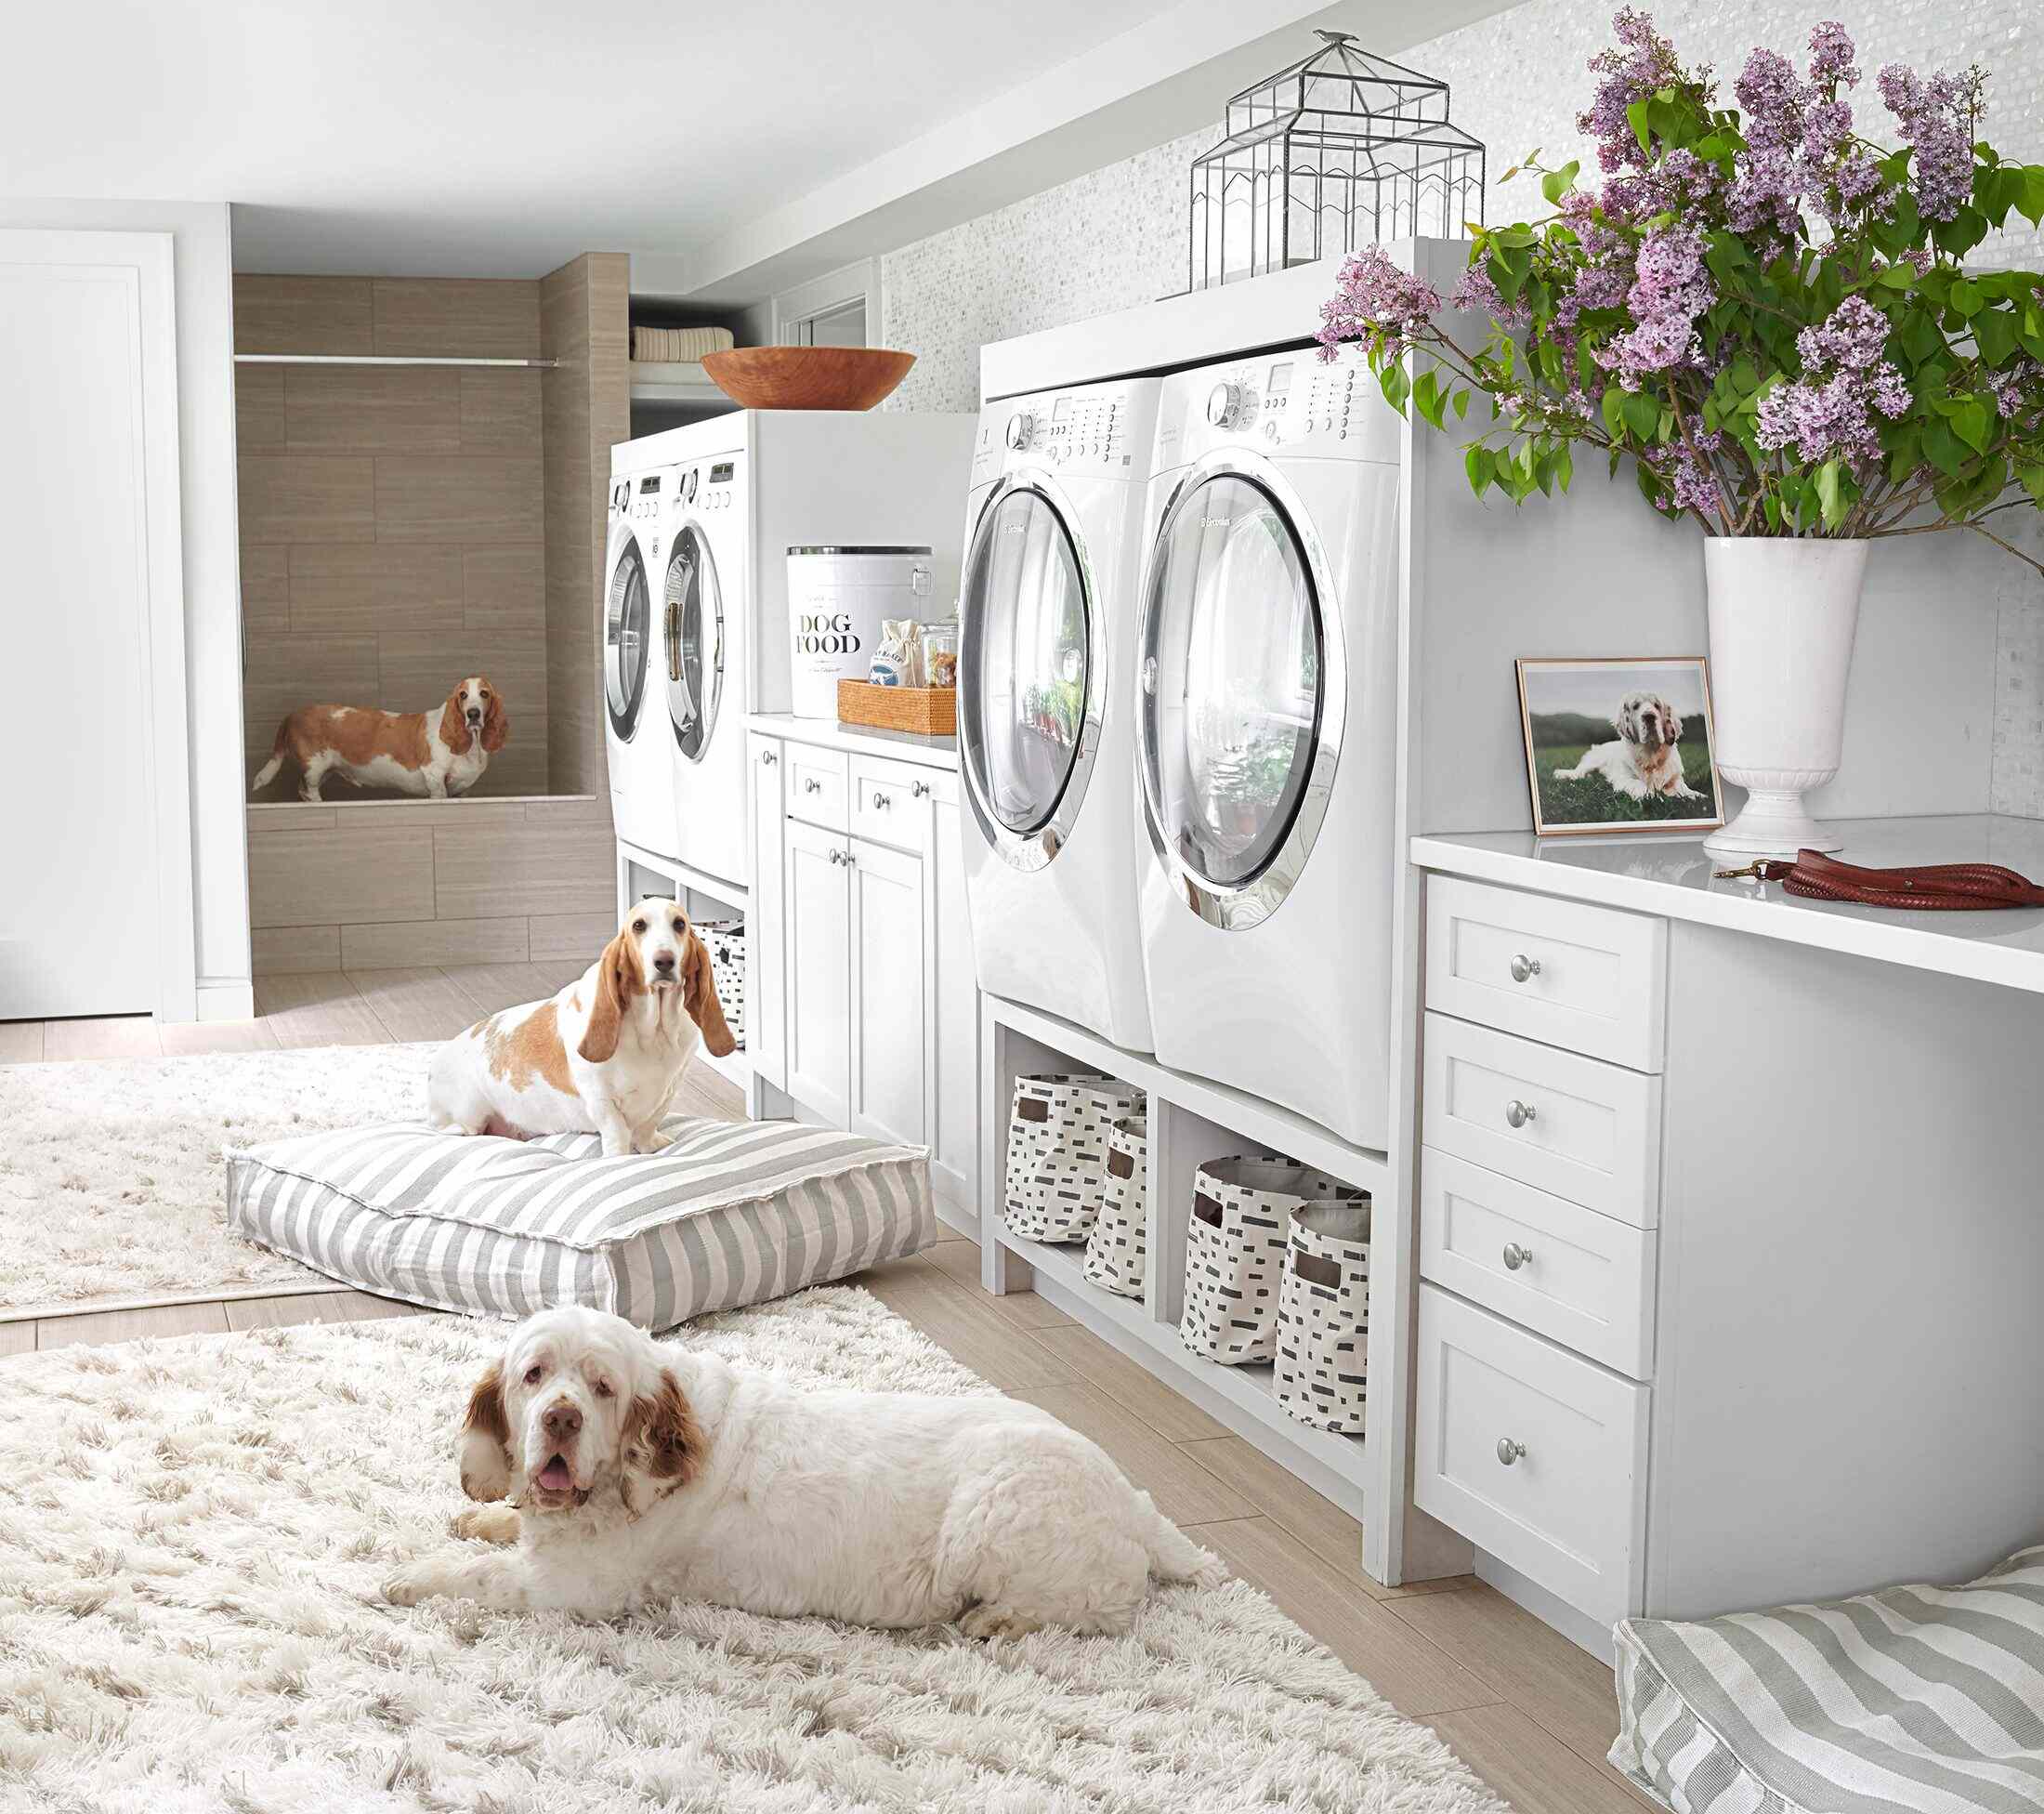
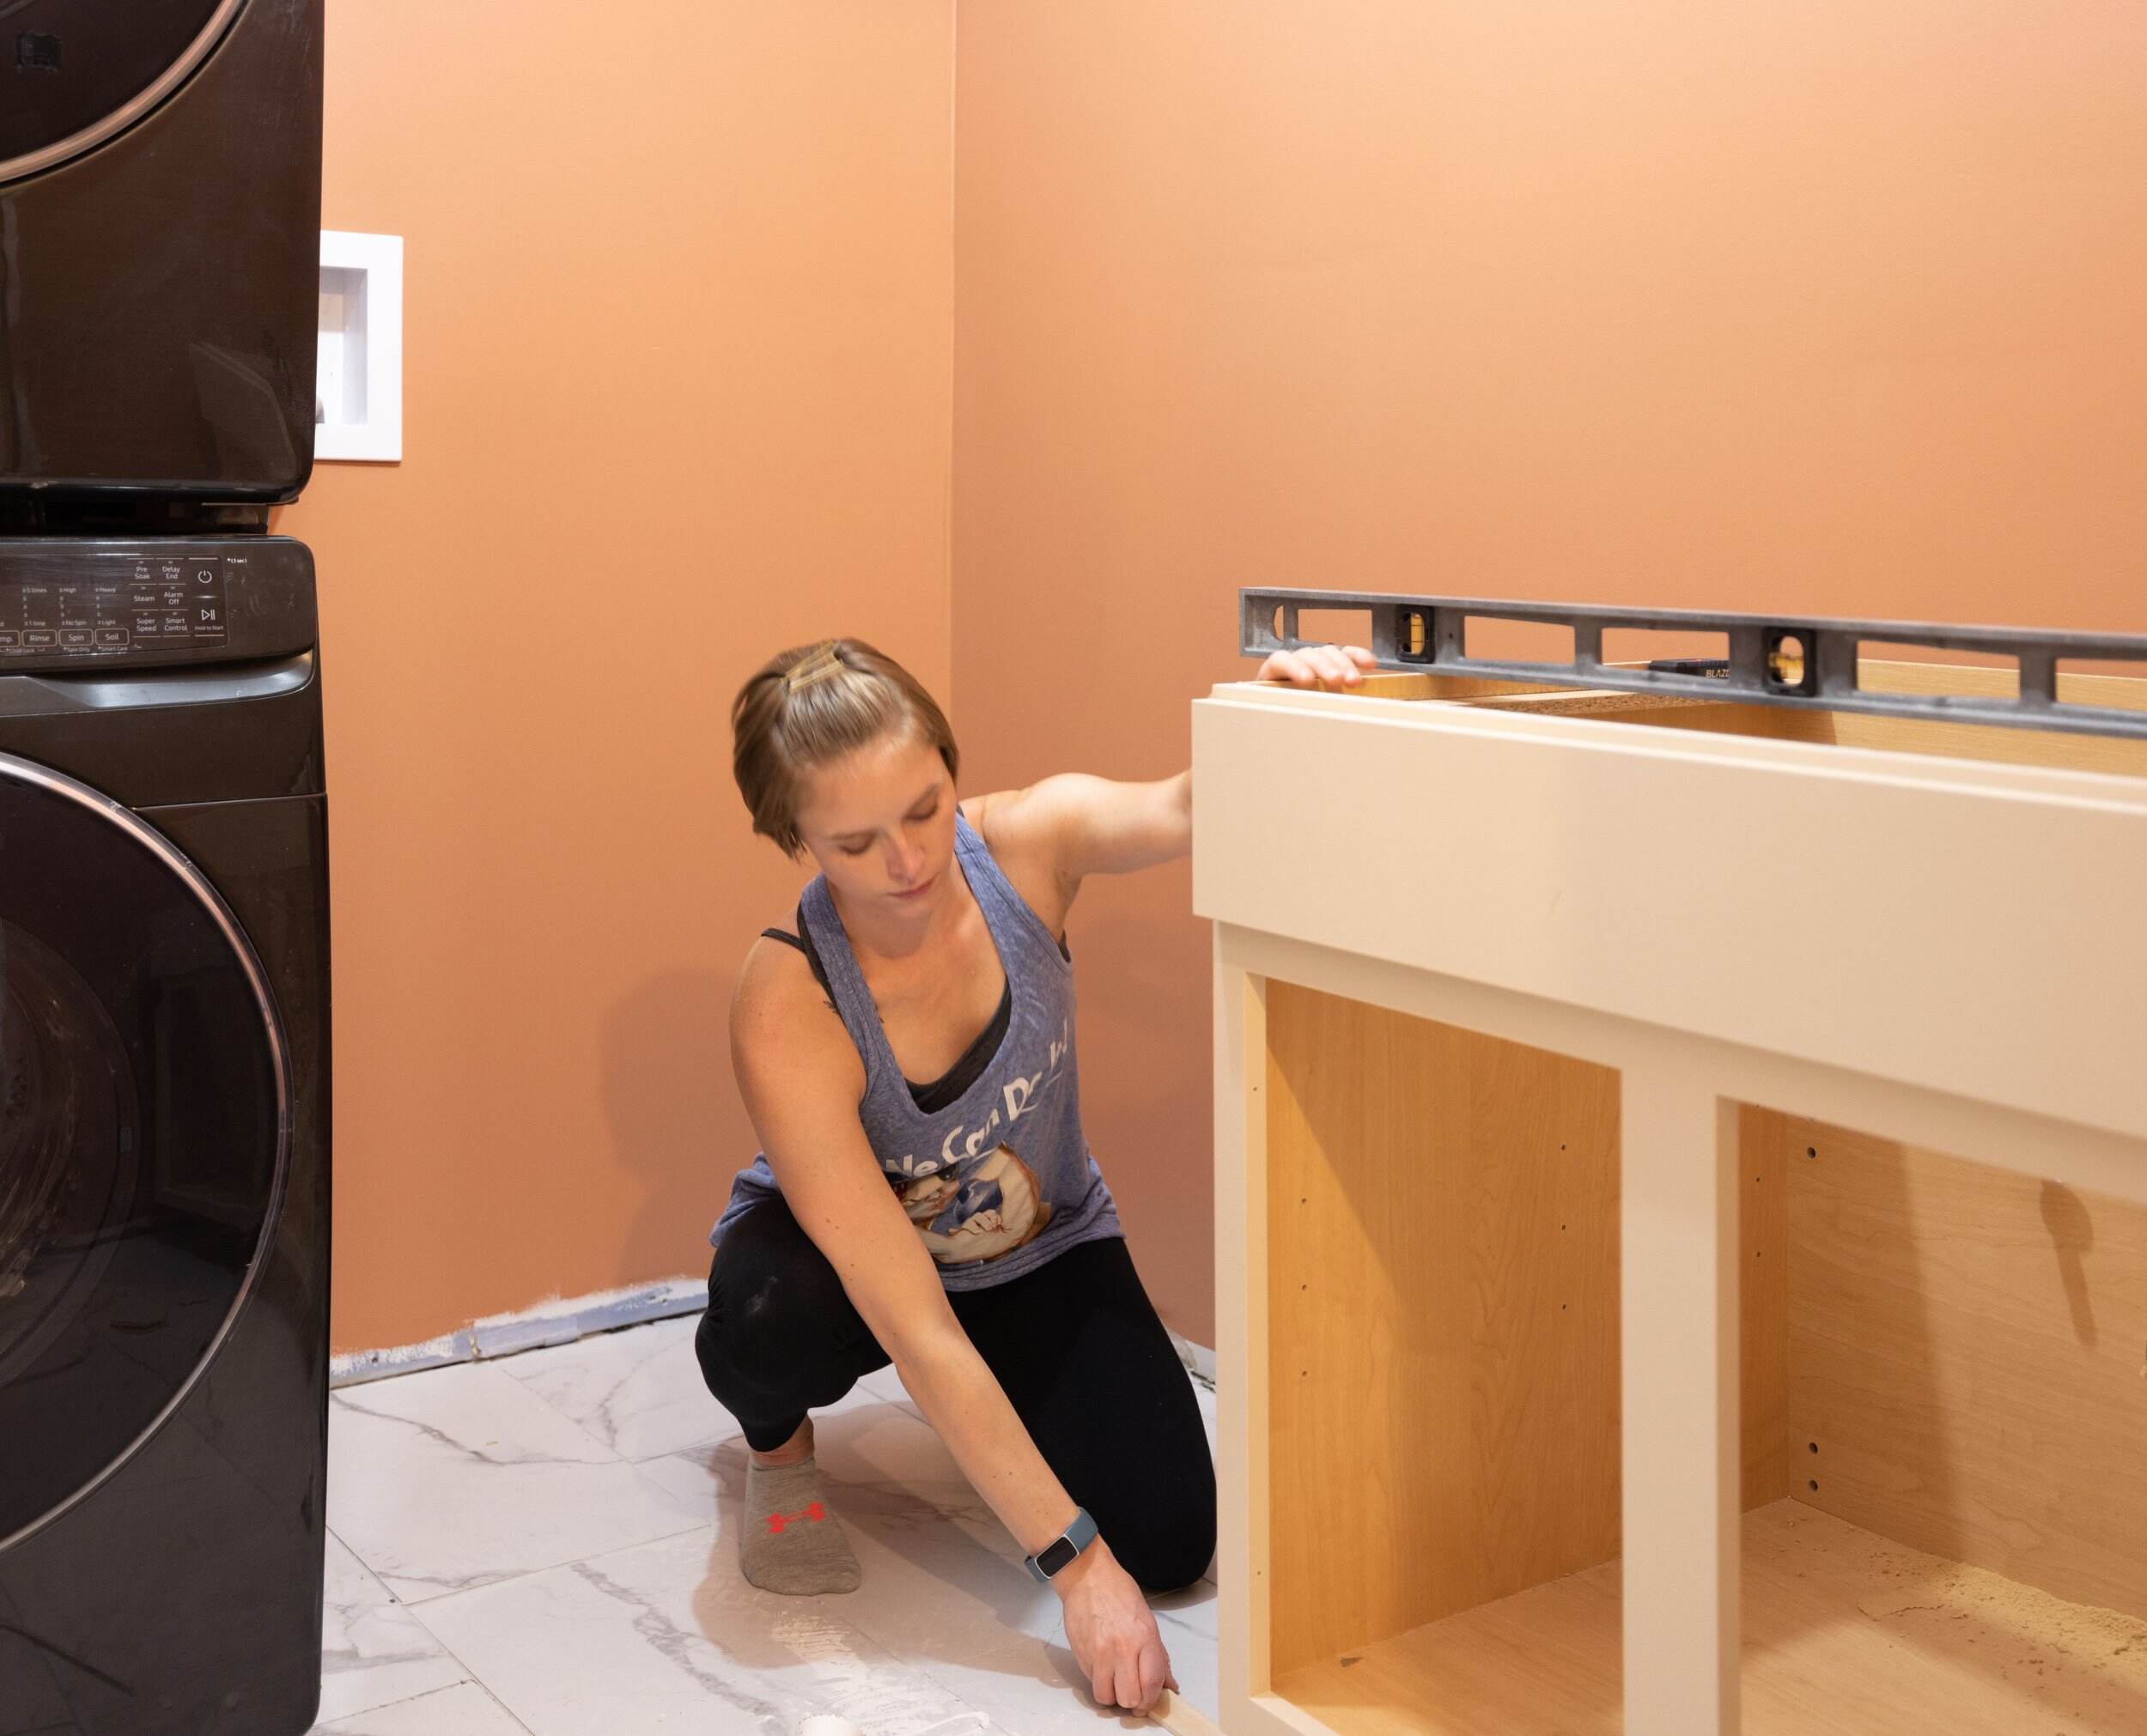
Step 4: Installing Shelves and Storage Units
Now that the closet has been cleared out, plumbing and electrical connections are in place, and ventilation has been added, it’s time to focus on maximizing storage and organization in your newly converted laundry room. In this step, we will guide you through the process of installing shelves and storage units to make efficient use of the space.
Start by measuring the dimensions of the closet and assessing your storage needs. Determine the type and number of shelves that will best accommodate your laundry supplies, cleaning products, and other items you plan to store in the room.
Consider installing adjustable shelves to allow for flexibility and customization based on your changing needs over time. This will give you the ability to adapt the storage space as you acquire new laundry products or reorganize your supplies.
Next, choose the material for your shelves and storage units. Opt for materials that are durable, moisture-resistant, and easy to clean. Common options include wooden shelves, wire racks, or laminated boards. Ensure that the material complements the overall aesthetic of your laundry room.
Install the shelves securely, ensuring they are level and stable. Use appropriate tools, such as a drill and screws, to attach the shelves to the walls or utilize free-standing storage units if you prefer a more portable option.
Consider adding additional storage solutions to maximize the space in your laundry room. This can include hooks or hangers for hanging clothes, a folding table or countertop for sorting and folding laundry, and storage bins or baskets for smaller items.
Arrange your laundry supplies and cleaning products in a logical and organized manner on the shelves. Group similar items together and label containers for easy access. This will make your laundry routine more efficient and enjoyable.
Lastly, don’t forget to utilize the door of the closet for storage as well. Install hooks or over-the-door storage organizers to hang ironing boards, brooms, dustpans, and other frequently used items.
By installing shelves and storage units, you’ll create a well-organized and functional laundry room that makes the most of the available space. An organized laundry room will not only streamline your laundry routine but also make it a pleasure to work in.
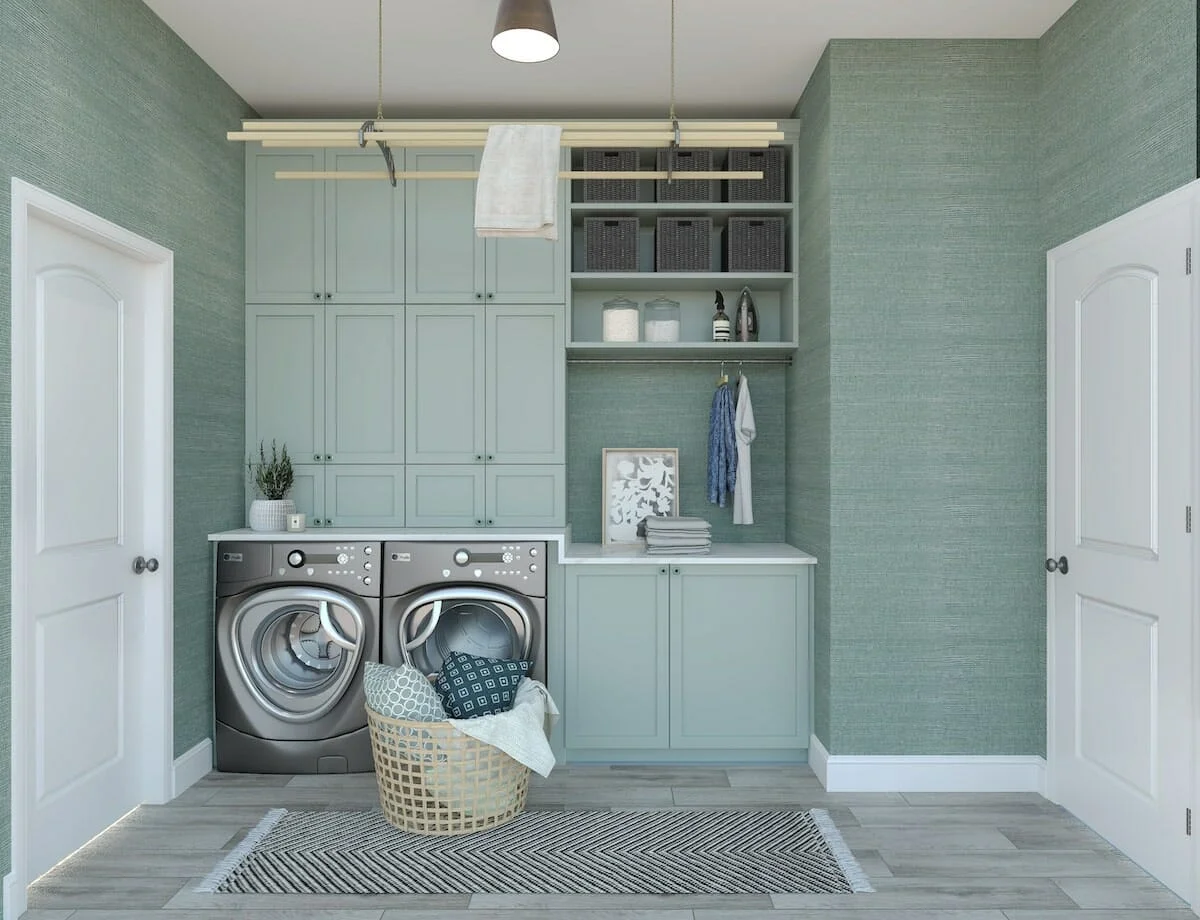
Step 5: Setting Up Laundry Equipment
Now that you have cleared the closet, installed plumbing and electrical connections, added ventilation, and installed shelves and storage units, it’s time to move on to setting up the essential laundry equipment in your converted laundry room.
Start by deciding on the type of laundry equipment you want to incorporate into your space. The most common laundry equipment includes a washing machine and a dryer, but you can also consider additional appliances such as a clothing steamer or a compact ironing station.
Measure the dimensions of the closet and ensure that you have enough space to accommodate the selected laundry equipment. Consider the placement of plumbing and electrical connections to ensure an easy and convenient installation.
When installing the washing machine, ensure that it is level and properly connected to the water supply and drainage system. Follow the manufacturer’s instructions for a seamless installation process. For the dryer, ensure that it is adequately vented to expel hot air and prevent moisture buildup.
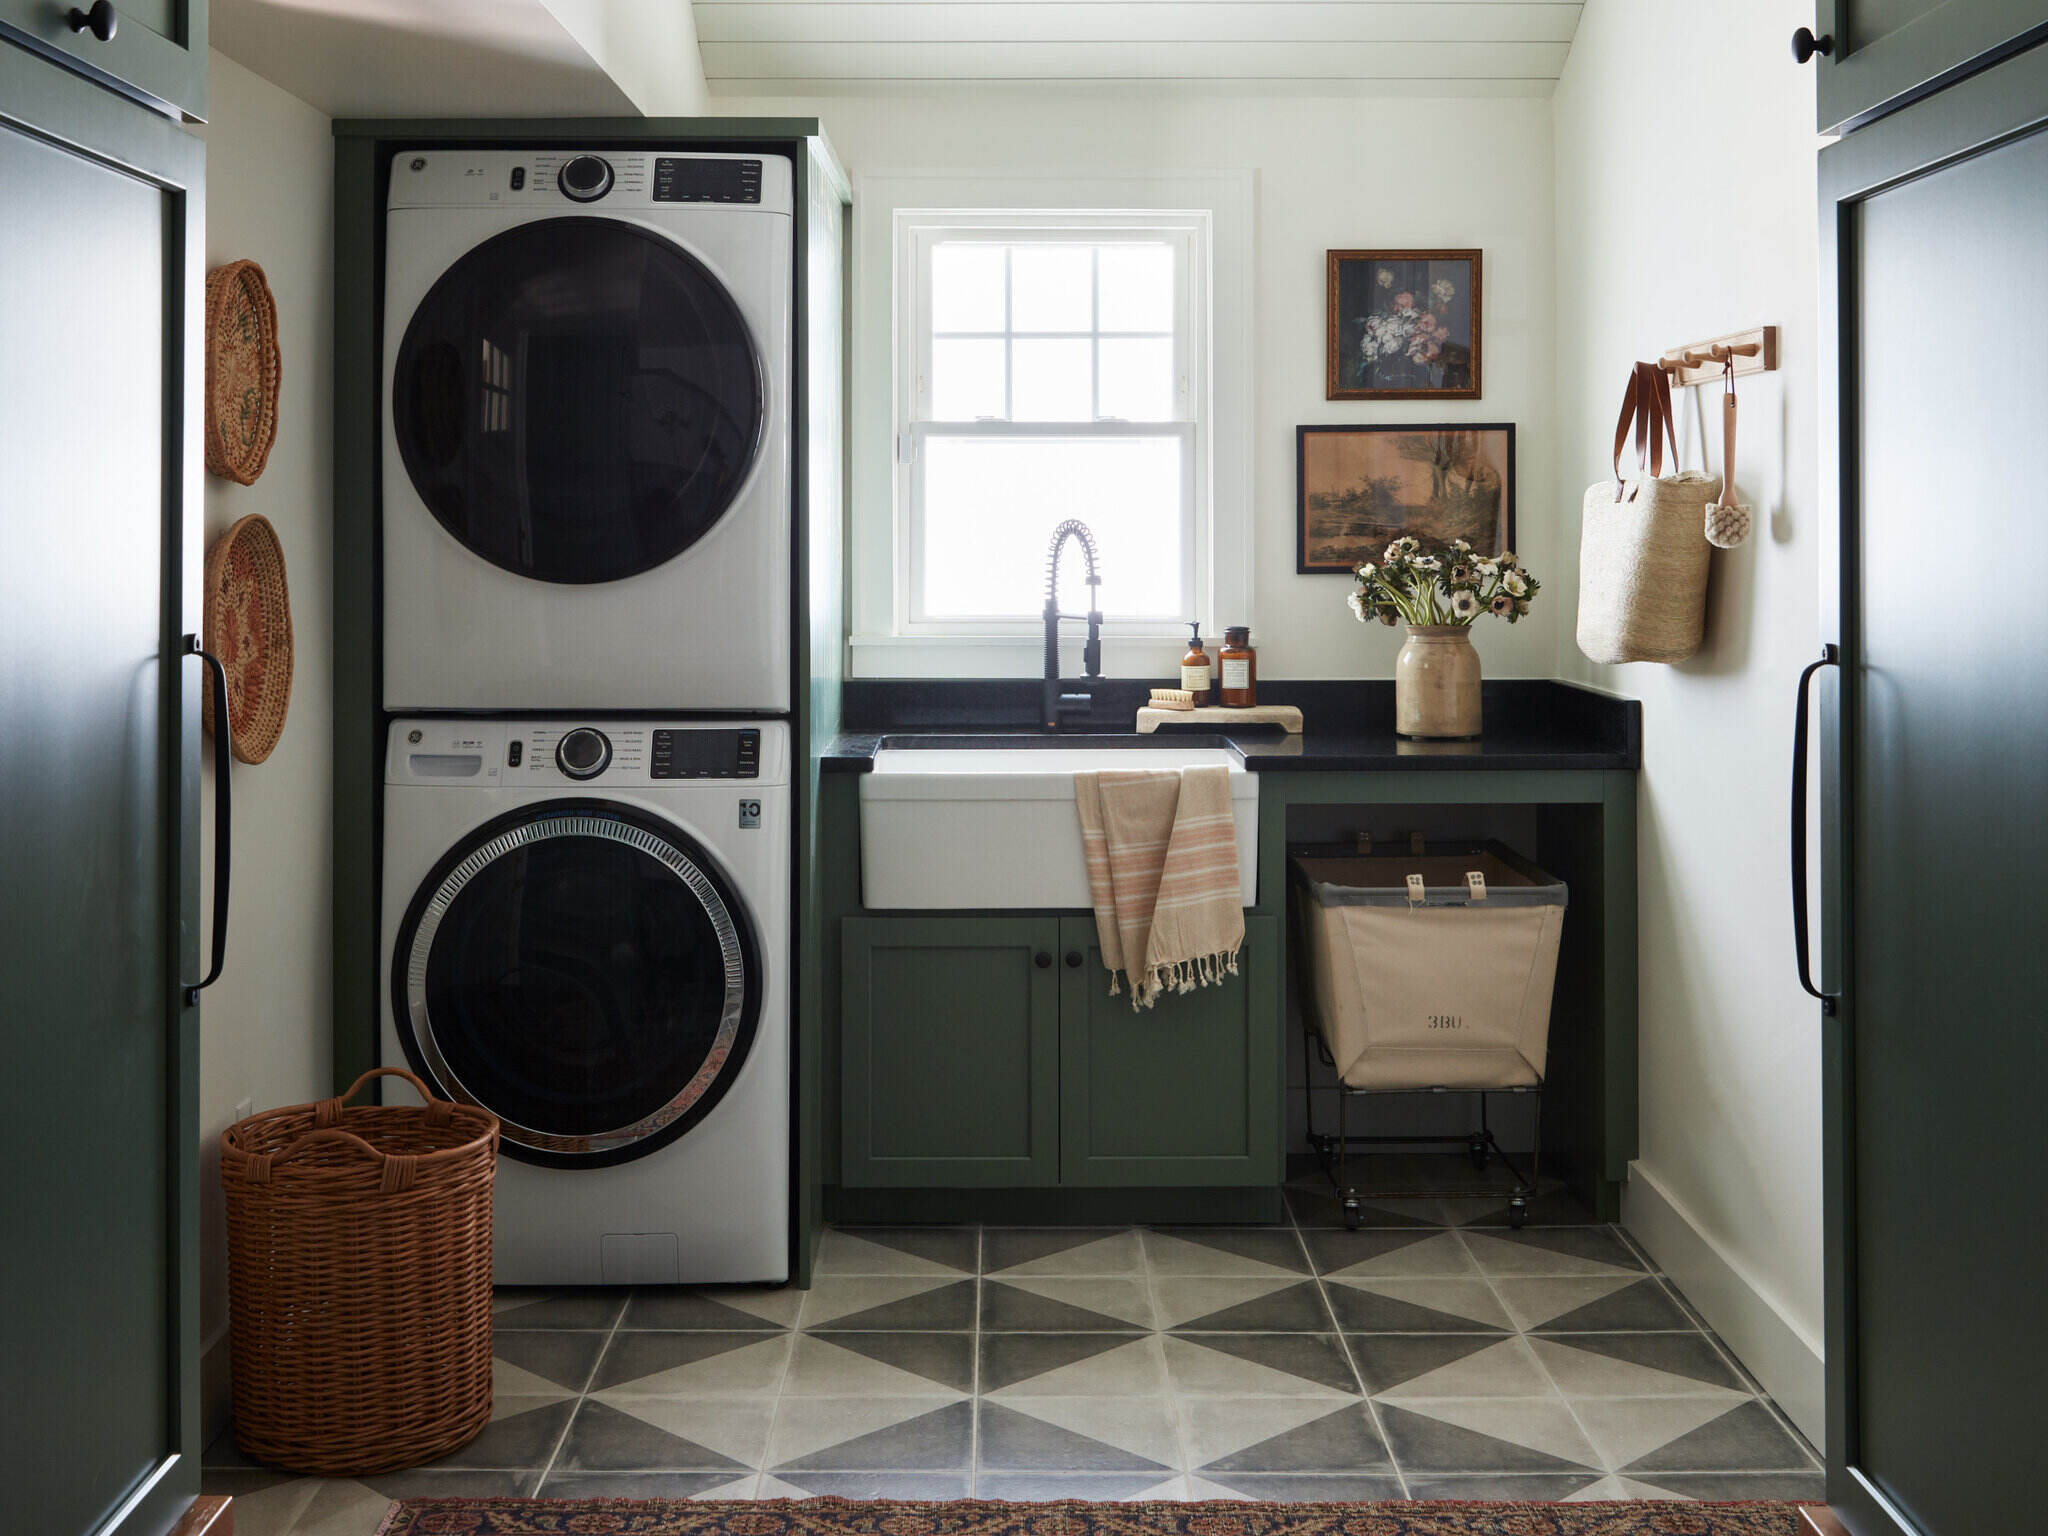
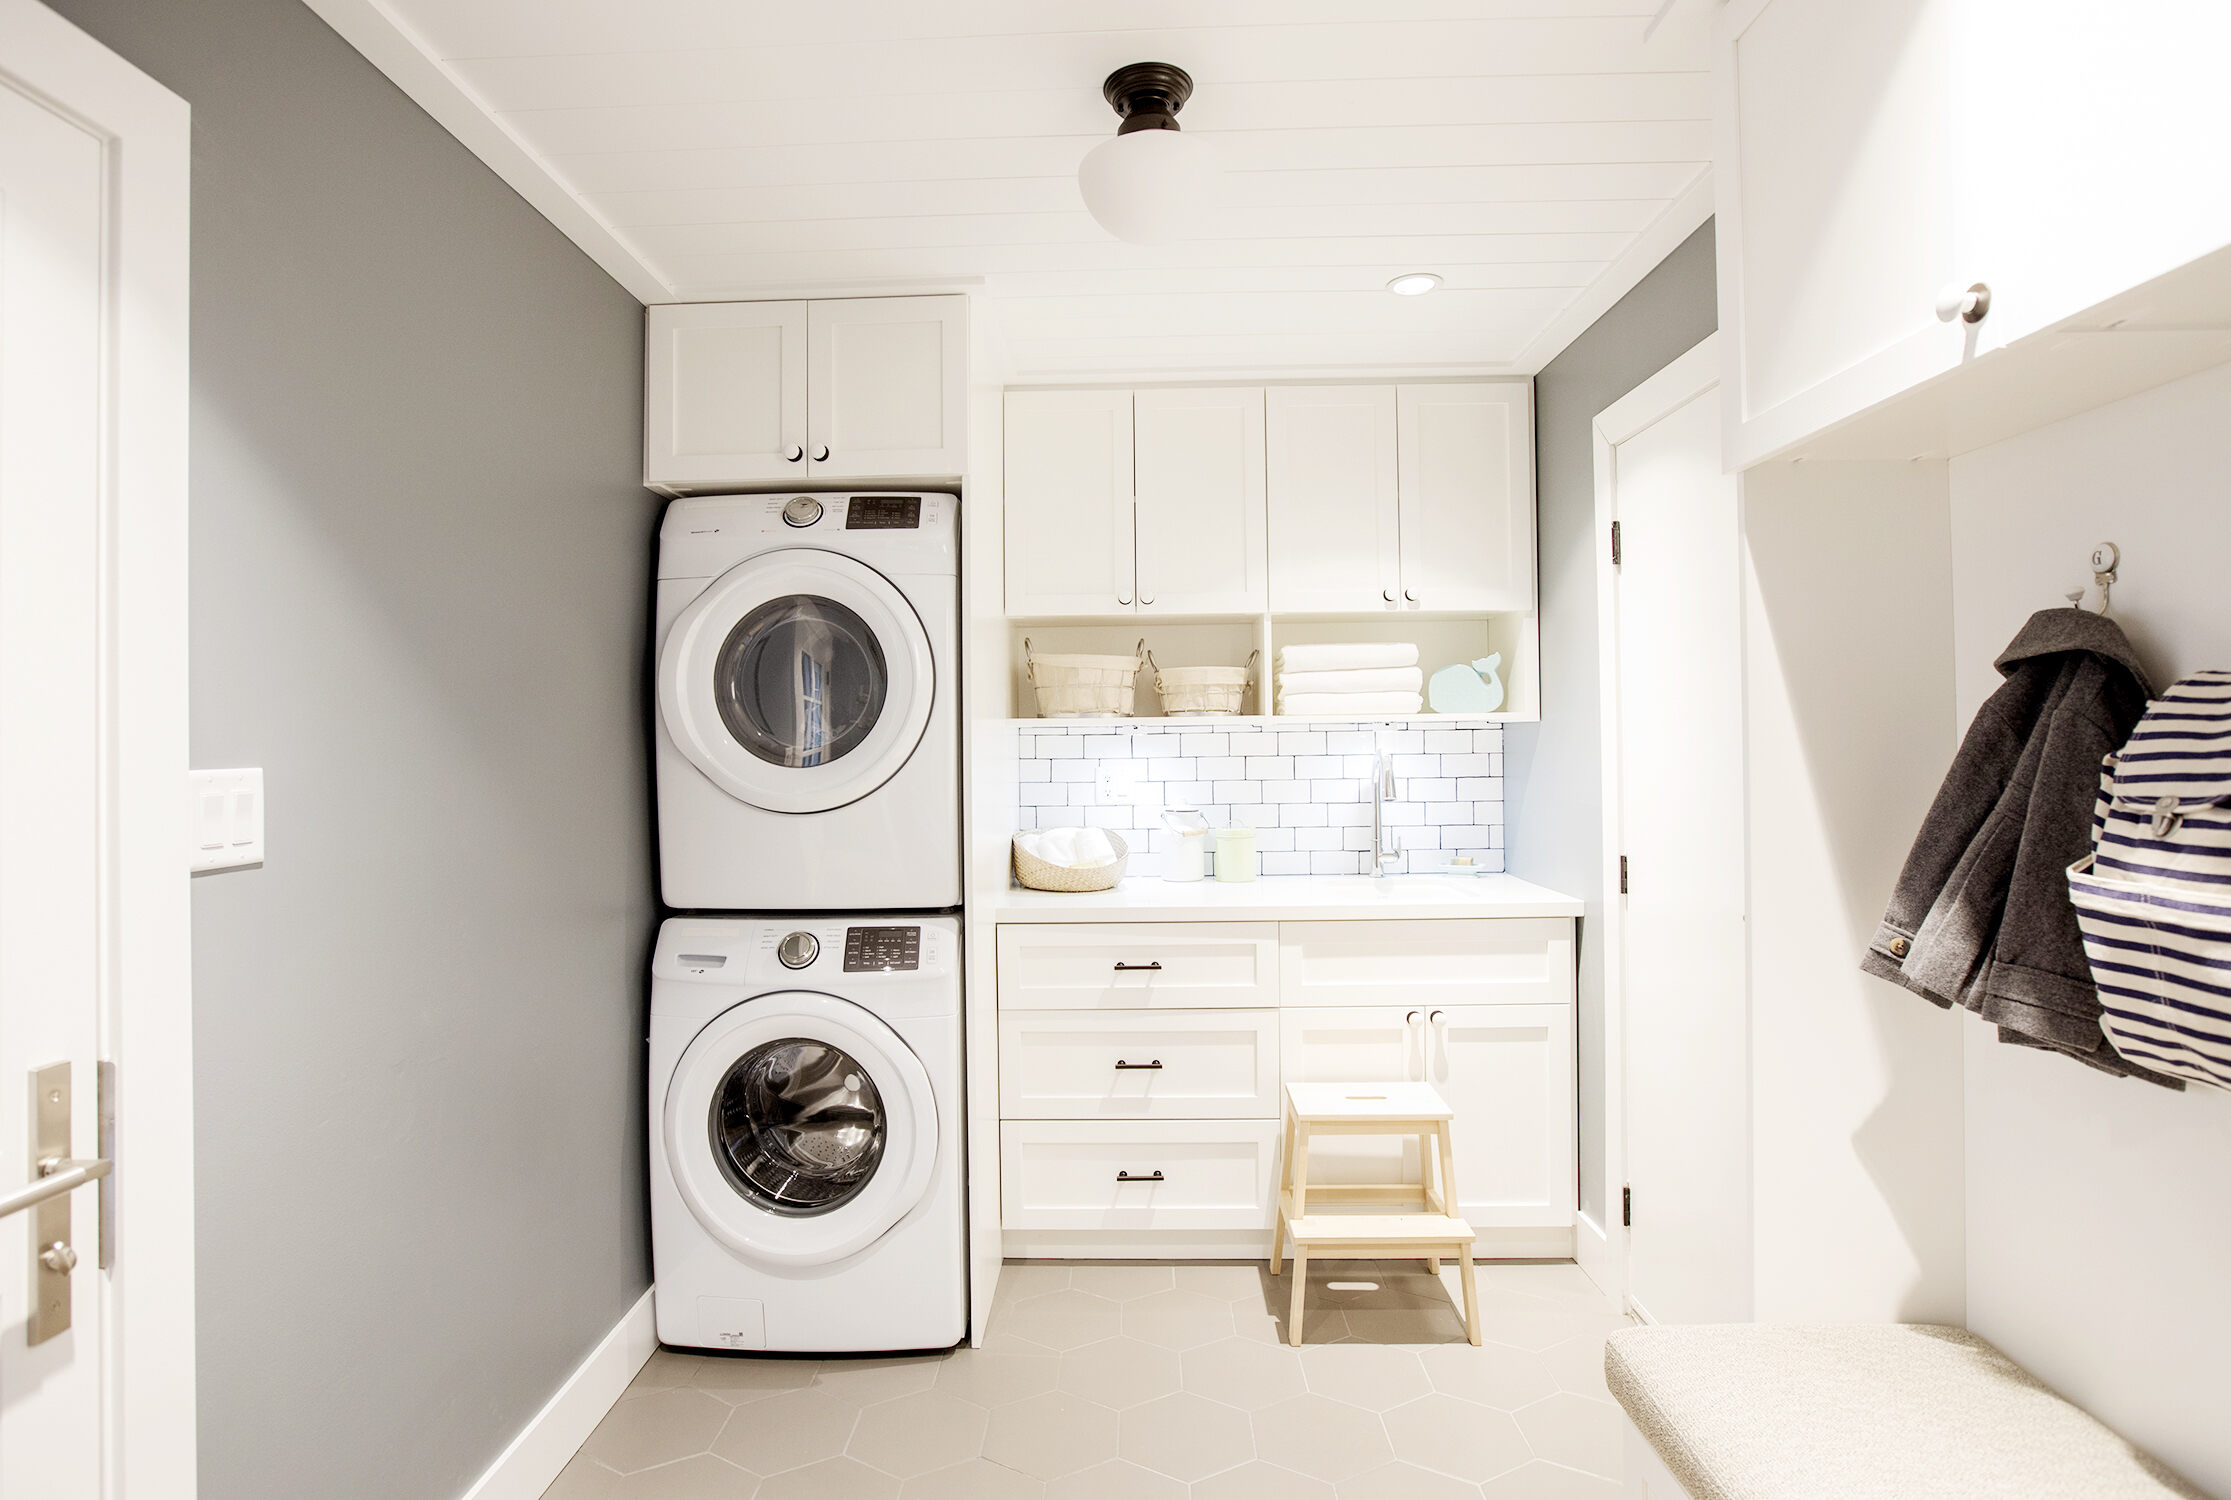
If space is limited, consider using a stackable washer and dryer to save valuable floor space. These appliances are designed to be stacked on top of each other, providing a compact and efficient laundry solution.
Once the laundry equipment is properly installed, connect it to the electrical outlet and verify that it is functioning correctly. Run a test load to ensure that both the washing machine and dryer are operational and performing as expected.
Consider adding any additional accessories that will enhance your laundry experience. This may include a laundry sorting system, collapsible drying racks, or a retractable clothesline for air-drying delicate garments.
Lastly, take advantage of the countertop or folding table installed in your laundry room. Use this surface for sorting, folding, and treating laundry. Consider adding a laundry basket or hamper to collect dirty clothes and keep the space organized.
Setting up your laundry equipment with care and attention to detail will create a functional and efficient laundry room tailored to your needs. With the right equipment and accessories, your laundry tasks will become a breeze!
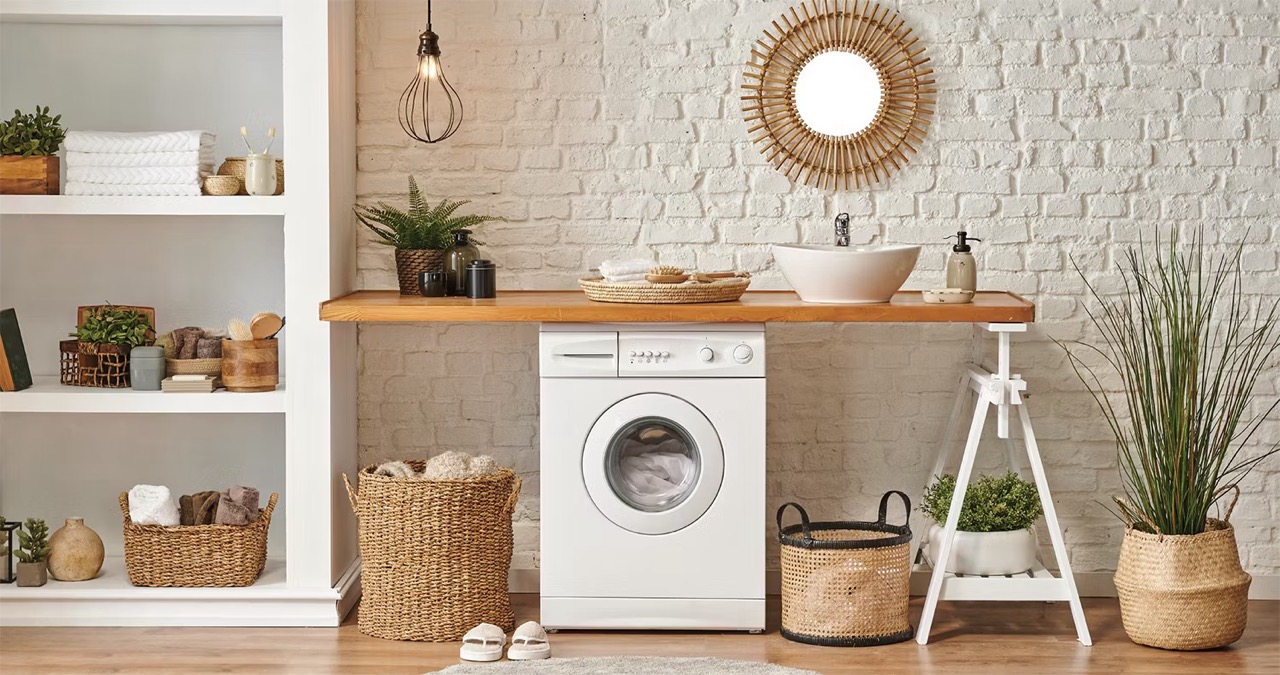
Step 6: Adding Finishing Touches
Congratulations! You’re almost done with the conversion of your closet into a laundry room. In this final step, let’s focus on adding some finishing touches to make the space inviting and aesthetically pleasing.
Begin by giving the walls a fresh coat of paint. Choose a color that complements the overall style and design of your home. Light and neutral tones can create a clean and airy feel, while bold and vibrant colors can add a pop of personality to the room.
Consider adding wallpaper or a backsplash to create a focal point or add a touch of elegance to the space. Opt for water-resistant materials that are easy to clean and maintain.
Next, think about the lighting in your laundry room. Good lighting is essential for visibility and to create a pleasant atmosphere. Install bright, energy-efficient LED lights to ensure proper illumination. Consider adding task lighting above the countertop or folding table for focused lighting during specific laundry tasks.
Add curtains or blinds to any windows in the room for privacy and to control the amount of natural light entering the space. Choose window treatments that are moisture-resistant and easy to clean.
To infuse a personal touch, consider adding wall art or decor that matches your style and preferences. This can include framed artwork, motivational quotes, or decorative hooks for hanging laundry essentials.
Lastly, add some greenery to bring life and freshness to your laundry room. Place potted plants on shelves or hang them from the ceiling to add a touch of nature. Just make sure to choose plants that thrive in indoor environments and require minimal care.
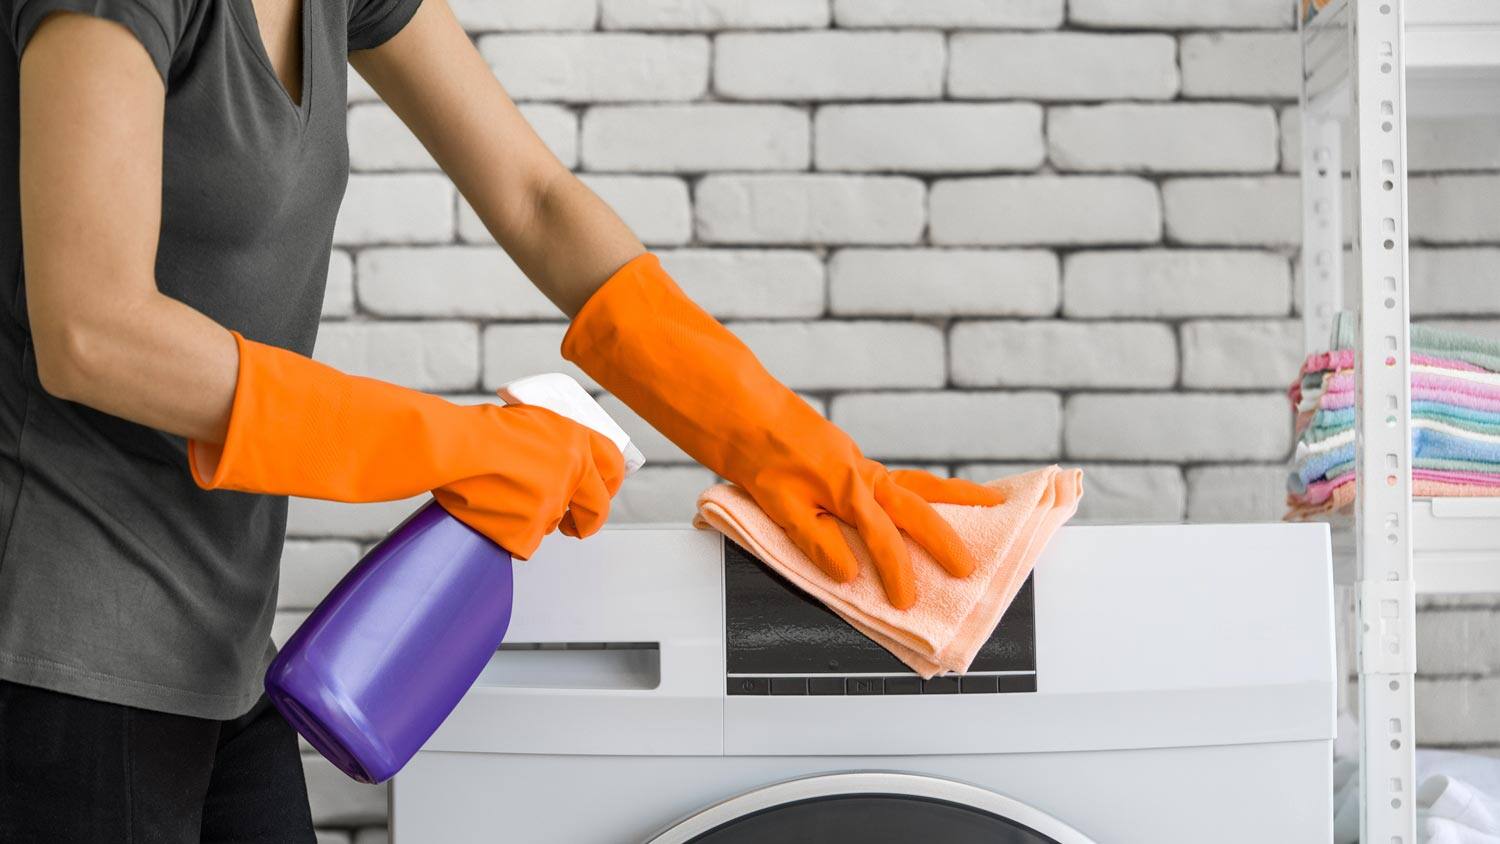
By adding these finishing touches, you will transform your converted closet into a laundry room that is not only functional but also visually appealing. Consider your personal taste and style preferences as you select the colors, lighting, decor, and plants. Don’t forget to regularly clean and maintain the space to keep it looking its best.
Now sit back, admire your hard work, and enjoy the convenience and efficiency of your newly converted laundry room!
Conclusion
Congratulations on successfully converting a closet into a functional and stylish laundry room! By following the step-by-step process outlined in this guide, you have created a space that maximizes convenience, organization, and efficiency.
From clearing out the closet to installing plumbing and electrical connections, adding ventilation, setting up laundry equipment, and adding the finishing touches, you have transformed an underutilized space into an essential area of your home.
Your newly converted laundry room not only saves you time and effort but also adds value to your home. It provides a dedicated space to tackle the never-ending task of laundry, making it more manageable and enjoyable.
Remember to maintain the organization and cleanliness of your laundry room to keep it functioning at its best. Regularly declutter and clean the shelves and storage units, check for any plumbing or electrical issues, and keep the ventilation system in good working condition.
Utilize the storage space efficiently, keeping laundry supplies, cleaning products, and other necessary items easily accessible. Take advantage of the countertop or folding table for sorting and folding laundry, and make use of additional accessories like drying racks or clotheslines for your specific needs.
Lastly, infuse your personal style into the space by adding your favorite colors, decor, and indoor plants. A well-designed and visually appealing laundry room creates a welcoming environment and adds a touch of personality to the mundane task of doing laundry.
Now, enjoy the convenience, functionality, and beauty of your newly converted laundry room. Embrace the efficiency it offers and take pride in the accomplishment of transforming a simple closet into a space that enhances your day-to-day life.
Happy laundering!
Frequently Asked Questions about How To Convert A Closet Into A Laundry Room
Was this page helpful?
At Storables.com, we guarantee accurate and reliable information. Our content, validated by Expert Board Contributors, is crafted following stringent Editorial Policies. We're committed to providing you with well-researched, expert-backed insights for all your informational needs.


0 thoughts on “How To Convert A Closet Into A Laundry Room”