Home>Gardening & Outdoor>Outdoor Structures>How To Convert A Shed Into A Room
Outdoor Structures
How To Convert A Shed Into A Room
Modified: August 28, 2024
Learn how to transform your outdoor shed into a functional living space with our expert tips and ideas. Convert your unused outdoor structure into a cozy room today!
(Many of the links in this article redirect to a specific reviewed product. Your purchase of these products through affiliate links helps to generate commission for Storables.com, at no extra cost. Learn more)
Introduction
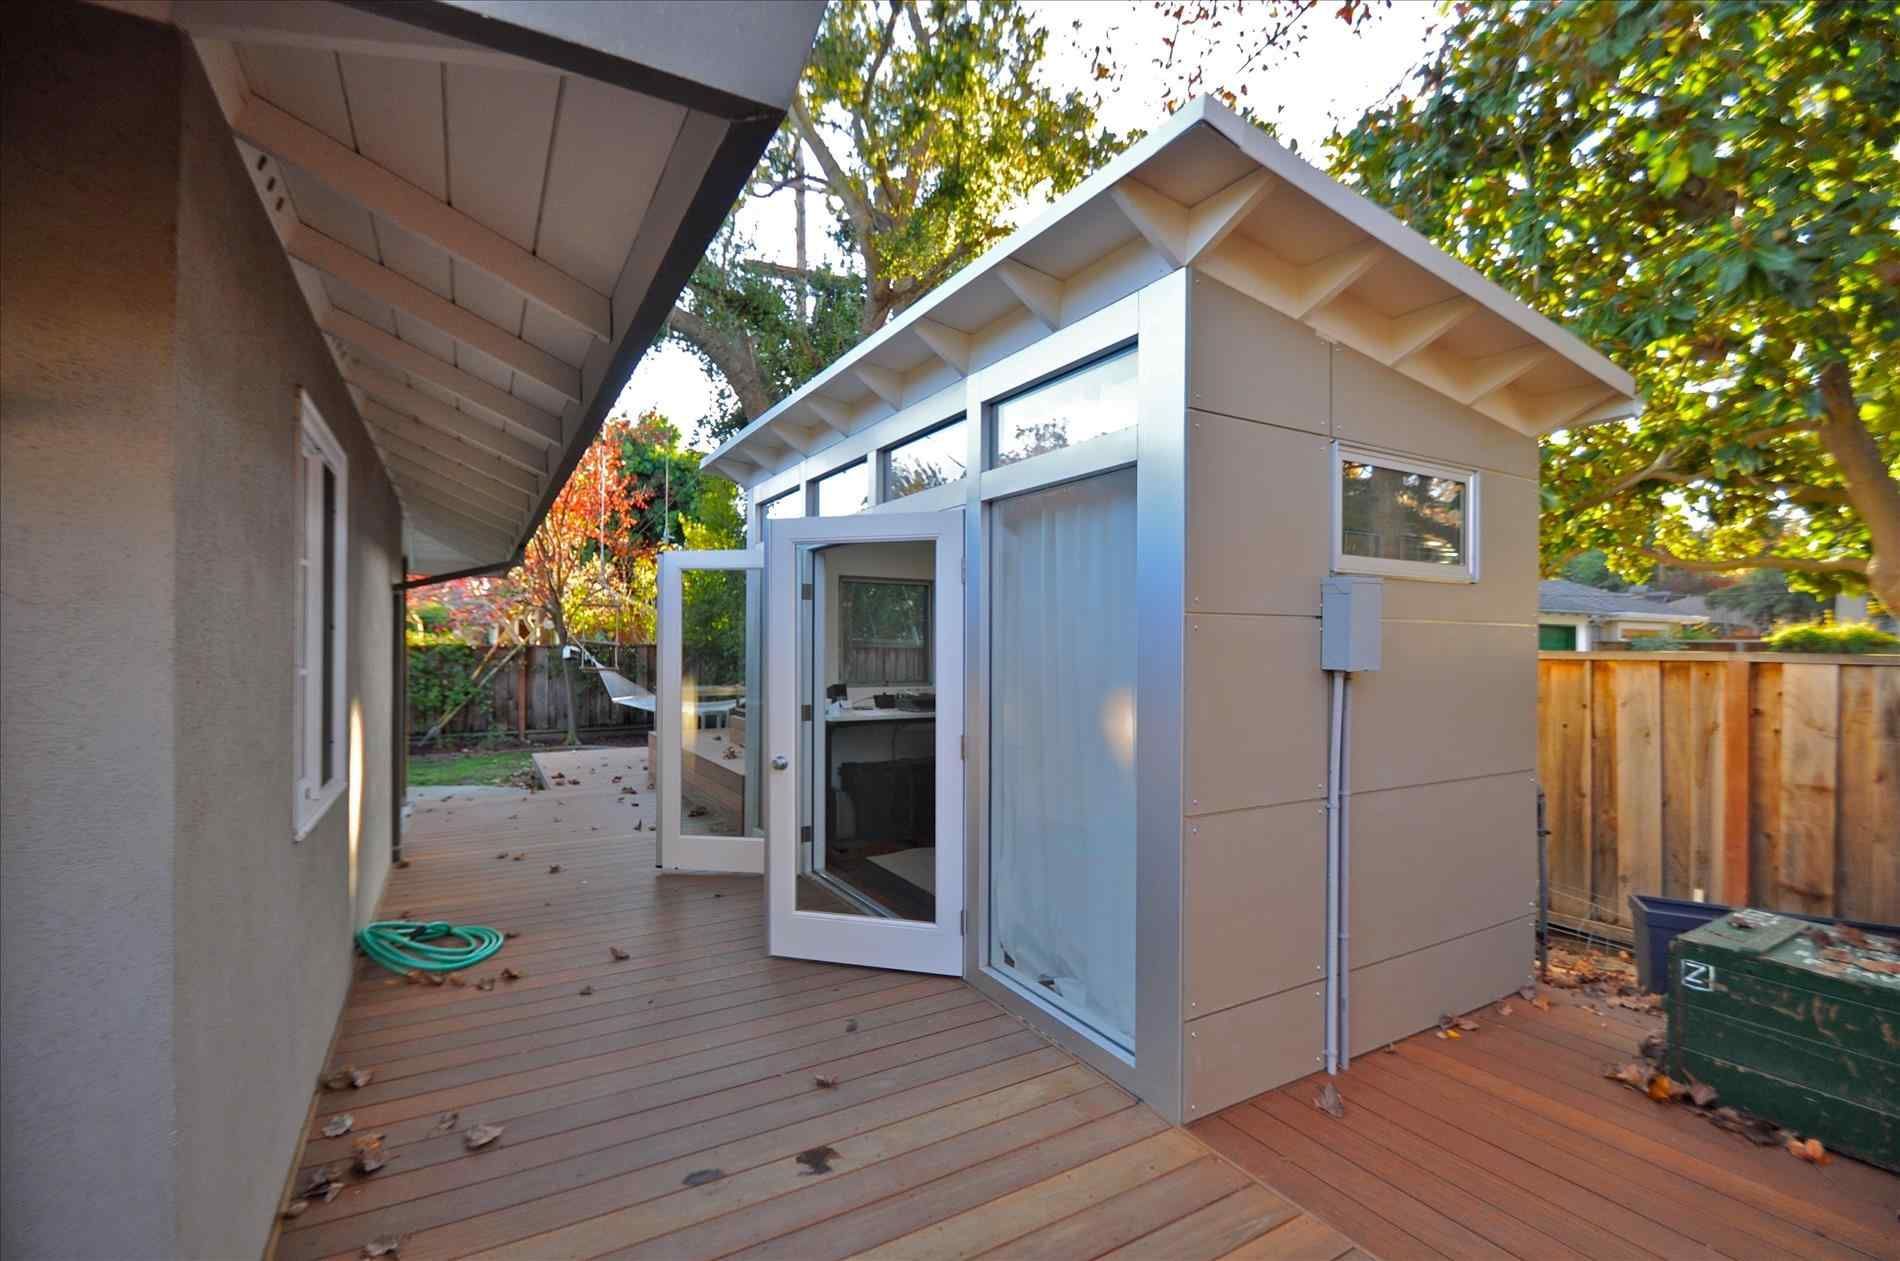
So, you have a shed sitting in your backyard, serving as nothing more than a storage unit for your gardening tools and old sports equipment. But what if I told you that this unassuming structure has the potential to be transformed into a cozy, functional room? Whether you're in need of a home office, a guest room, a personal gym, or a creative studio, converting a shed into a room can be a rewarding project that adds both space and value to your property.
In this comprehensive guide, we'll walk through the step-by-step process of turning your humble shed into a habitable space that suits your needs and style. From assessing the existing structure to the final decorative touches, we'll cover everything you need to know to make this transformation a success.
So, roll up your sleeves, unleash your creativity, and get ready to embark on an exciting journey of renovation and reinvention. Let's breathe new life into that old shed and create a space that's uniquely yours.
Key Takeaways:
- Transforming a shed into a room involves assessing the structure, planning, insulating, and adding electrical and plumbing. Thoughtful design, furnishing, and final touches create a unique and functional space.
- Converting a shed into a room requires creativity, planning, and attention to detail. From insulation to decor, each step adds comfort and personalization to the transformed space.
Read more: How To Convert A Shed Into A Salon
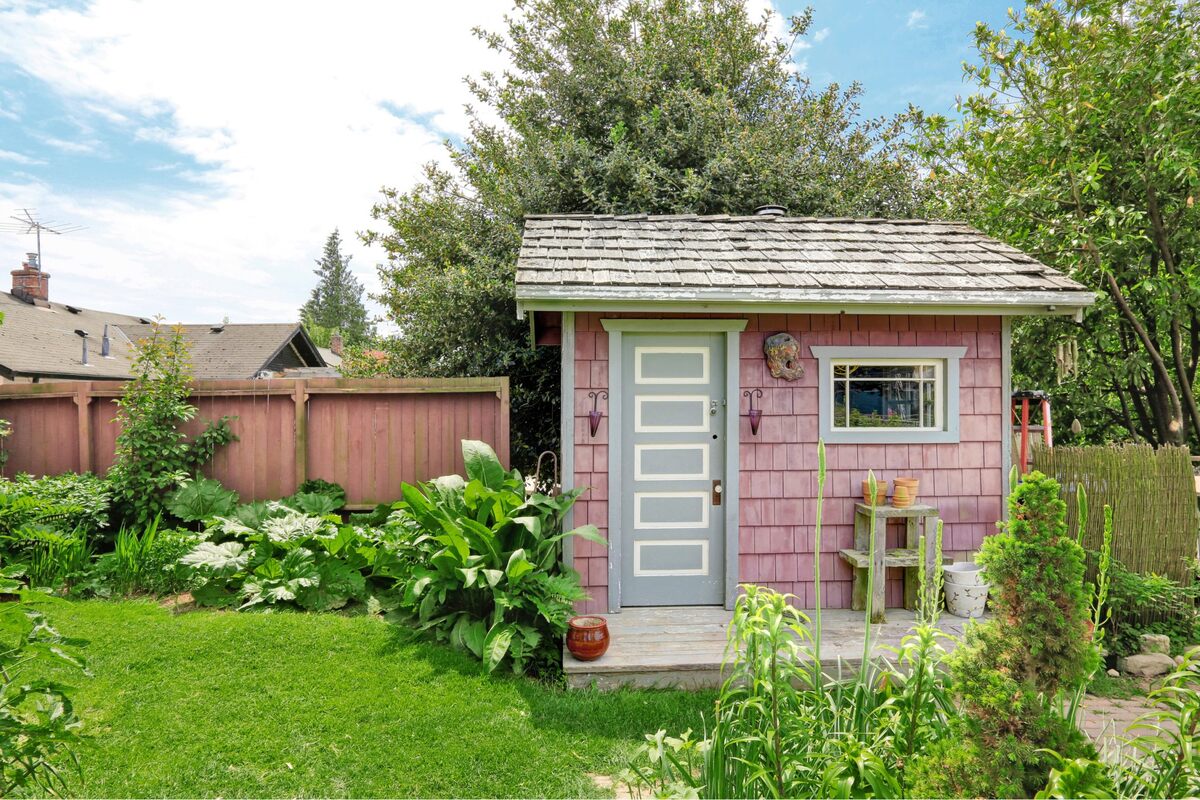
Step 1: Assessing the Shed
Before diving into the conversion process, it's crucial to conduct a thorough assessment of the existing shed. Start by evaluating the structural integrity of the building. Check for any signs of damage, such as rotting wood, water damage, or pest infestations. Addressing these issues at the outset will prevent future headaches and ensure a solid foundation for the conversion.
Next, consider the size and layout of the shed. Assess whether the dimensions are suitable for the intended purpose of the room. Take measurements and envision how the space can be optimized to accommodate furniture, storage, and any additional features you have in mind.
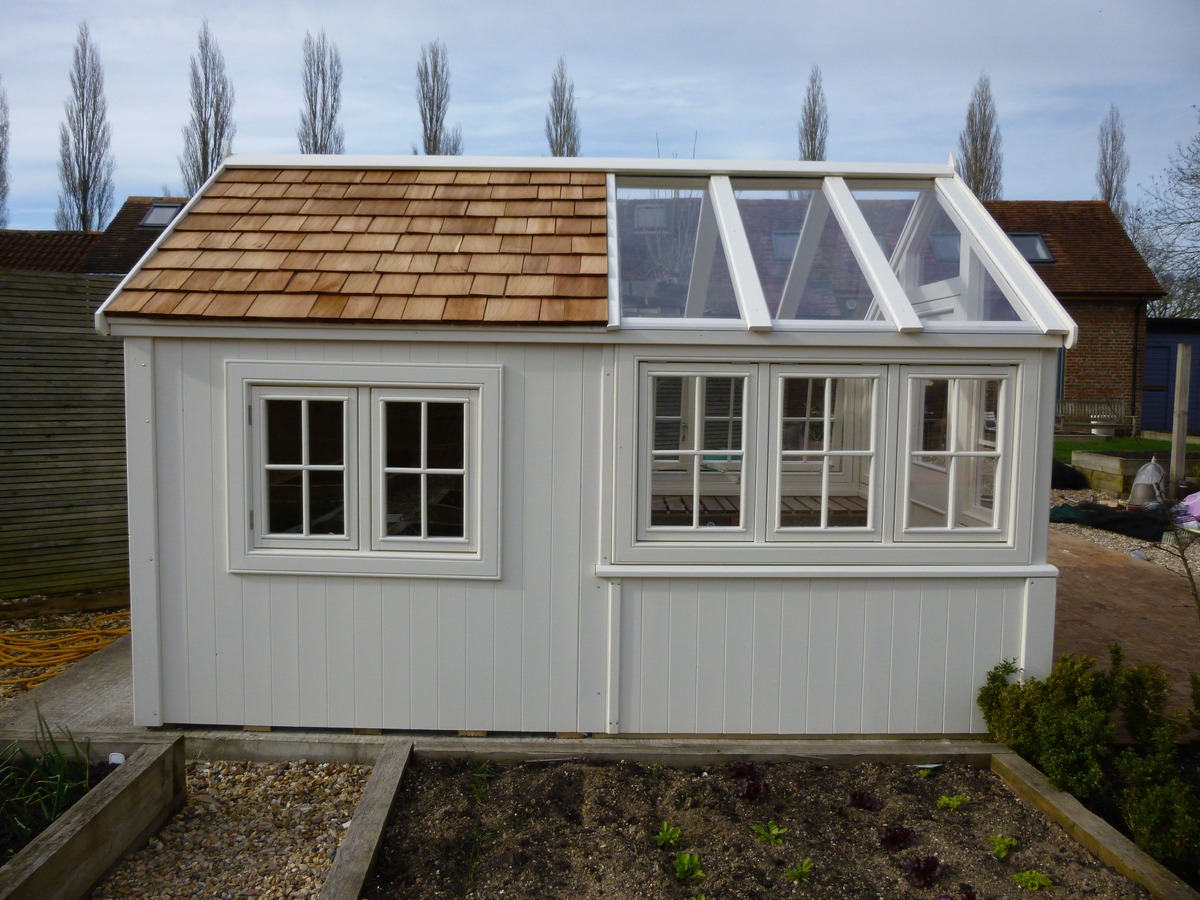
Furthermore, evaluate the natural light and ventilation in the shed. Assess the placement and condition of windows, as well as the potential for incorporating additional openings to enhance airflow and brightness. Adequate natural light and ventilation are essential for creating a comfortable and inviting room.
Additionally, consider the proximity of the shed to your main residence. Assess the accessibility and convenience of the location, especially if the room will serve as a home office, guest quarters, or a frequently used space. Take note of any landscaping or exterior modifications that may be necessary to integrate the shed seamlessly into your property.
By thoroughly assessing the shed at the outset, you'll gain a clear understanding of the opportunities and challenges involved in the conversion process. This knowledge will guide the subsequent planning and design phases, setting the stage for a successful transformation.
Step 2: Planning and Design
With a solid understanding of the shed’s condition and potential, it’s time to delve into the planning and design phase. Begin by envisioning the purpose of the room and how it will seamlessly integrate into your lifestyle. Whether it’s a tranquil home office, a vibrant art studio, or a serene guest retreat, the design should reflect your personal style and functional needs.
Consider creating a rough floor plan to visualize the layout of the room. Take into account the placement of windows, doors, and any existing features that will influence the design. This initial layout will serve as a foundation for making informed decisions about the room’s configuration and the placement of furniture and fixtures.
When planning the design, pay close attention to the insulation and weatherproofing requirements. Depending on your location and climate, you may need to upgrade the insulation to ensure year-round comfort. Additionally, consider the exterior aesthetics and how the shed’s appearance can be enhanced to complement your property’s overall design.
Furthermore, explore creative design elements that can elevate the space. From choosing a color scheme that fosters a specific ambiance to incorporating versatile storage solutions, the design phase is an opportunity to infuse personality and functionality into the room. Embrace innovative ideas that make the most of the available space while reflecting your individual taste.
It’s also essential to consider any necessary permits or building regulations. Depending on your location and the extent of the conversion, there may be specific requirements to adhere to. Consulting with local authorities or a professional contractor can provide valuable insights and ensure compliance with relevant codes.
By meticulously planning and designing the space, you’ll lay the groundwork for a transformation that aligns with your vision and enhances the usability and appeal of the shed-turned-room.
Step 3: Insulation and Weatherproofing
As you embark on the journey of converting your shed into a habitable room, ensuring proper insulation and weatherproofing is paramount to create a comfortable and energy-efficient space. The existing shed structure may not have the insulation levels required for year-round use, making this step essential for enhancing the room’s livability.
Begin by assessing the current insulation situation. Depending on the shed’s age and original purpose, it may lack adequate insulation to regulate temperature and minimize energy loss. Consider adding insulation to the walls, ceiling, and floor to create a cozy environment during both hot summers and chilly winters.
When selecting insulation materials, take into account the climate in your region and the specific requirements of the room. Options such as fiberglass, foam board, or spray foam insulation offer varying levels of thermal resistance and installation flexibility. Additionally, consider the vapor barrier to prevent moisture buildup and protect the integrity of the insulation.
Weatherproofing the shed is equally crucial to safeguard the interior from the elements. Inspect the windows, doors, and exterior walls for any gaps, leaks, or drafts that could compromise the room’s comfort and energy efficiency. Seal any openings and consider upgrading to energy-efficient windows and doors to enhance insulation and minimize heat transfer.
Furthermore, evaluate the ventilation system to ensure proper airflow while maintaining the insulation’s effectiveness. Adequate ventilation is essential for preventing moisture buildup and maintaining air quality within the room.
By prioritizing insulation and weatherproofing, you’ll create a well-insulated, climate-controlled space that can be enjoyed throughout the year. This foundational step sets the stage for a comfortable and energy-efficient room conversion.
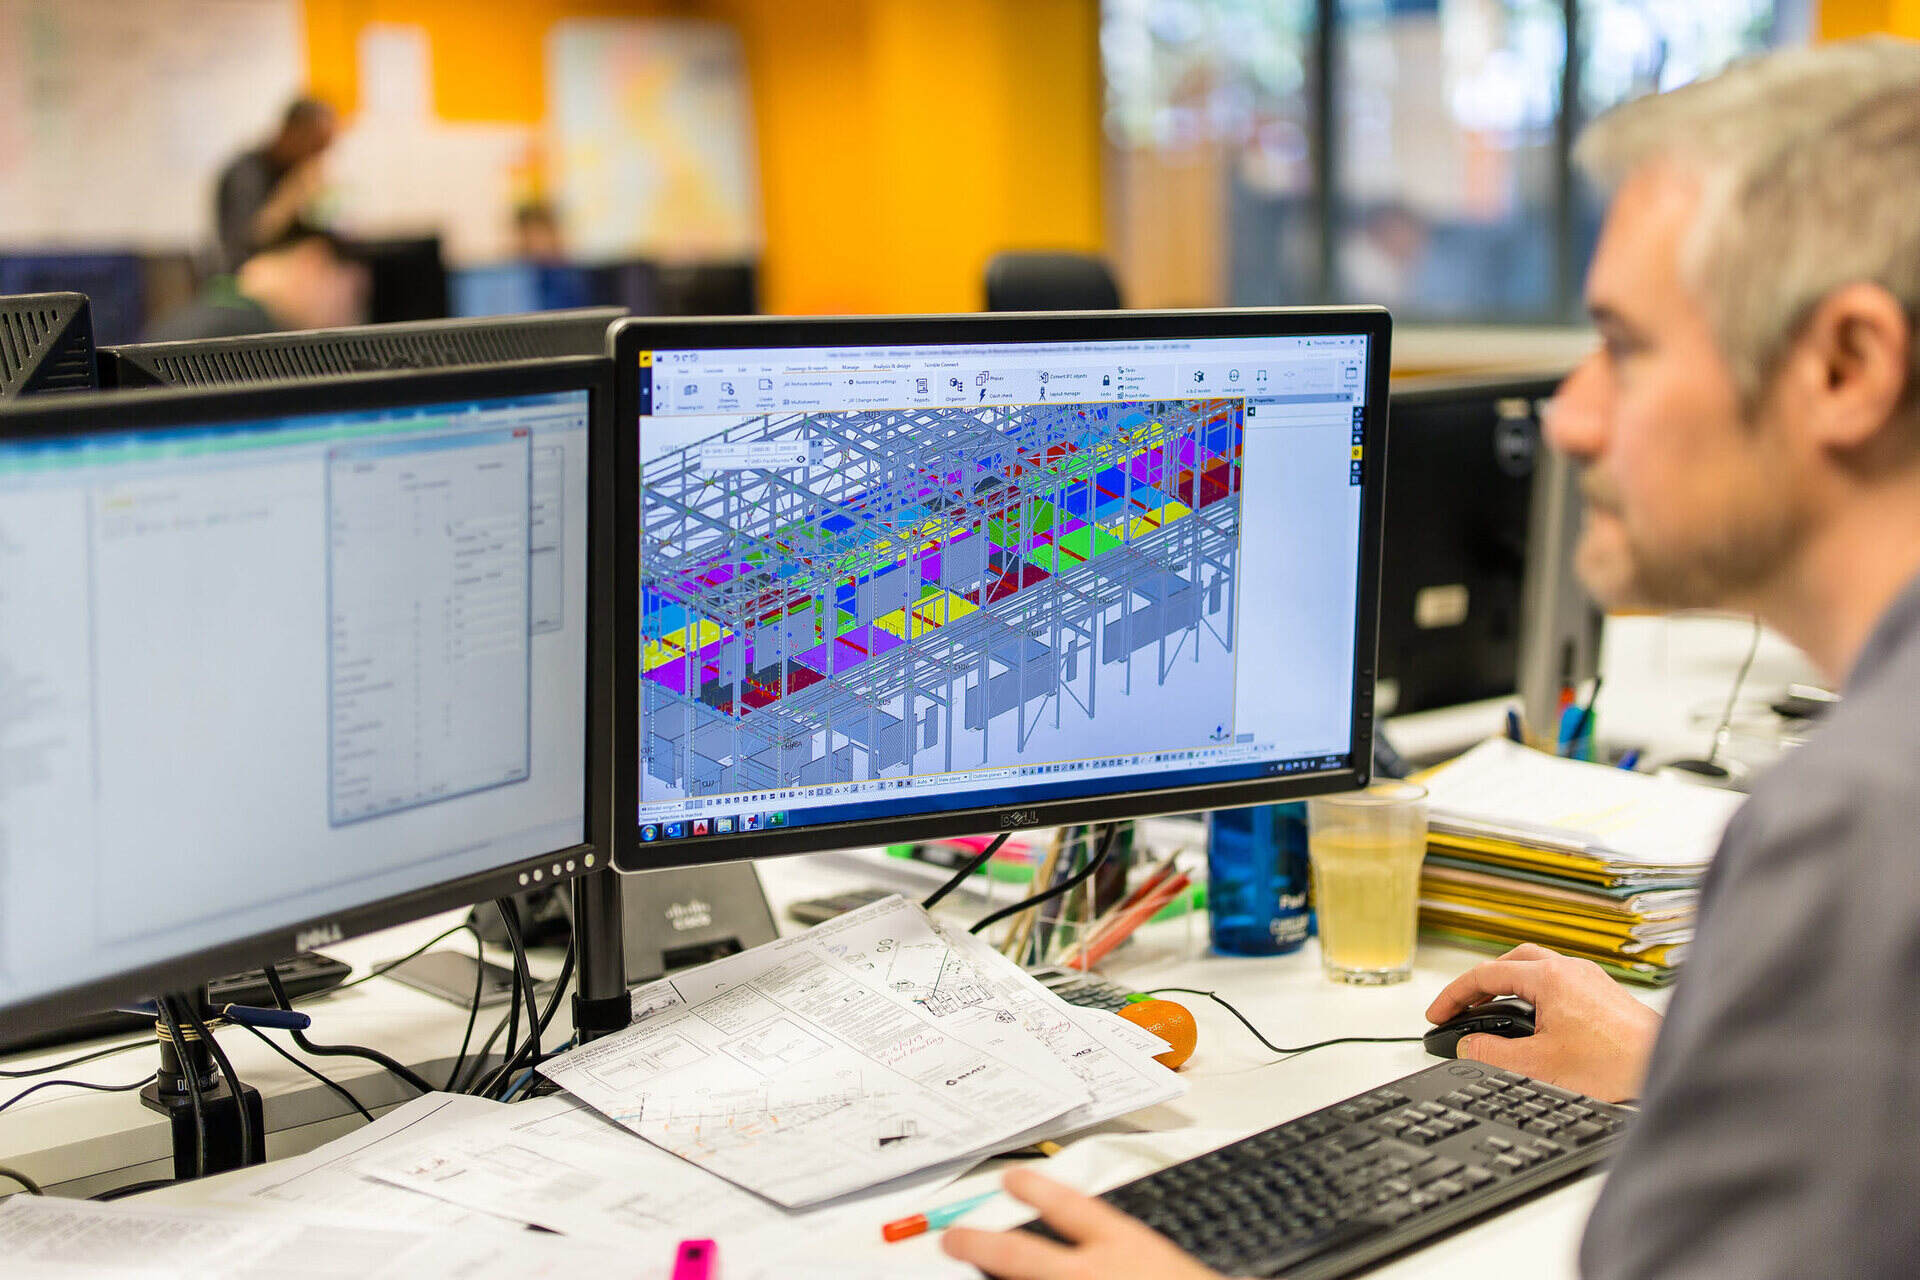
Step 4: Electrical and Plumbing Considerations
As you transform your shed into a functional room, addressing electrical and plumbing considerations is vital to ensure the space meets your practical needs and safety standards. Whether you envision a fully equipped home office with ample outlets or a cozy guest room with ambient lighting, thoughtful planning in this phase is essential.
Begin by assessing the existing electrical infrastructure in the shed. Determine whether the current electrical system can accommodate the intended use of the room. If the shed lacks electrical wiring or sufficient outlets, consulting a licensed electrician to assess and upgrade the system is crucial. Consider the placement of outlets, light fixtures, and switches to optimize functionality and aesthetics.
When planning the electrical layout, envision the room’s lighting requirements and the placement of electronic devices and appliances. Incorporating energy-efficient lighting solutions and considering the positioning of power sources will enhance the room’s usability and energy conservation.
While plumbing considerations may not be applicable to all shed conversions, if your vision includes a bathroom or a wet bar, evaluating the feasibility of adding plumbing fixtures is essential. Assess the proximity of existing water and sewer lines to determine the practicality and cost of incorporating plumbing into the room.
Additionally, consider the installation of heating and cooling systems to maintain a comfortable temperature year-round. Whether it’s a space heater, a ductless mini-split system, or an HVAC extension, incorporating climate control solutions will ensure a pleasant environment within the transformed room.
Furthermore, prioritize safety by adhering to building codes and regulations when implementing electrical and, if applicable, plumbing modifications. Engaging qualified professionals to execute these installations will guarantee compliance and peace of mind.
By addressing electrical and plumbing considerations with foresight and attention to detail, you’ll create a well-equipped and safe room that aligns with your functional requirements and enhances the overall usability of the space.
Before converting a shed into a room, make sure to check local building codes and obtain any necessary permits. It’s important to ensure the shed is structurally sound and has proper insulation, electrical wiring, and ventilation for a comfortable living space.
Read more: How To Convert A Shed Into An Office
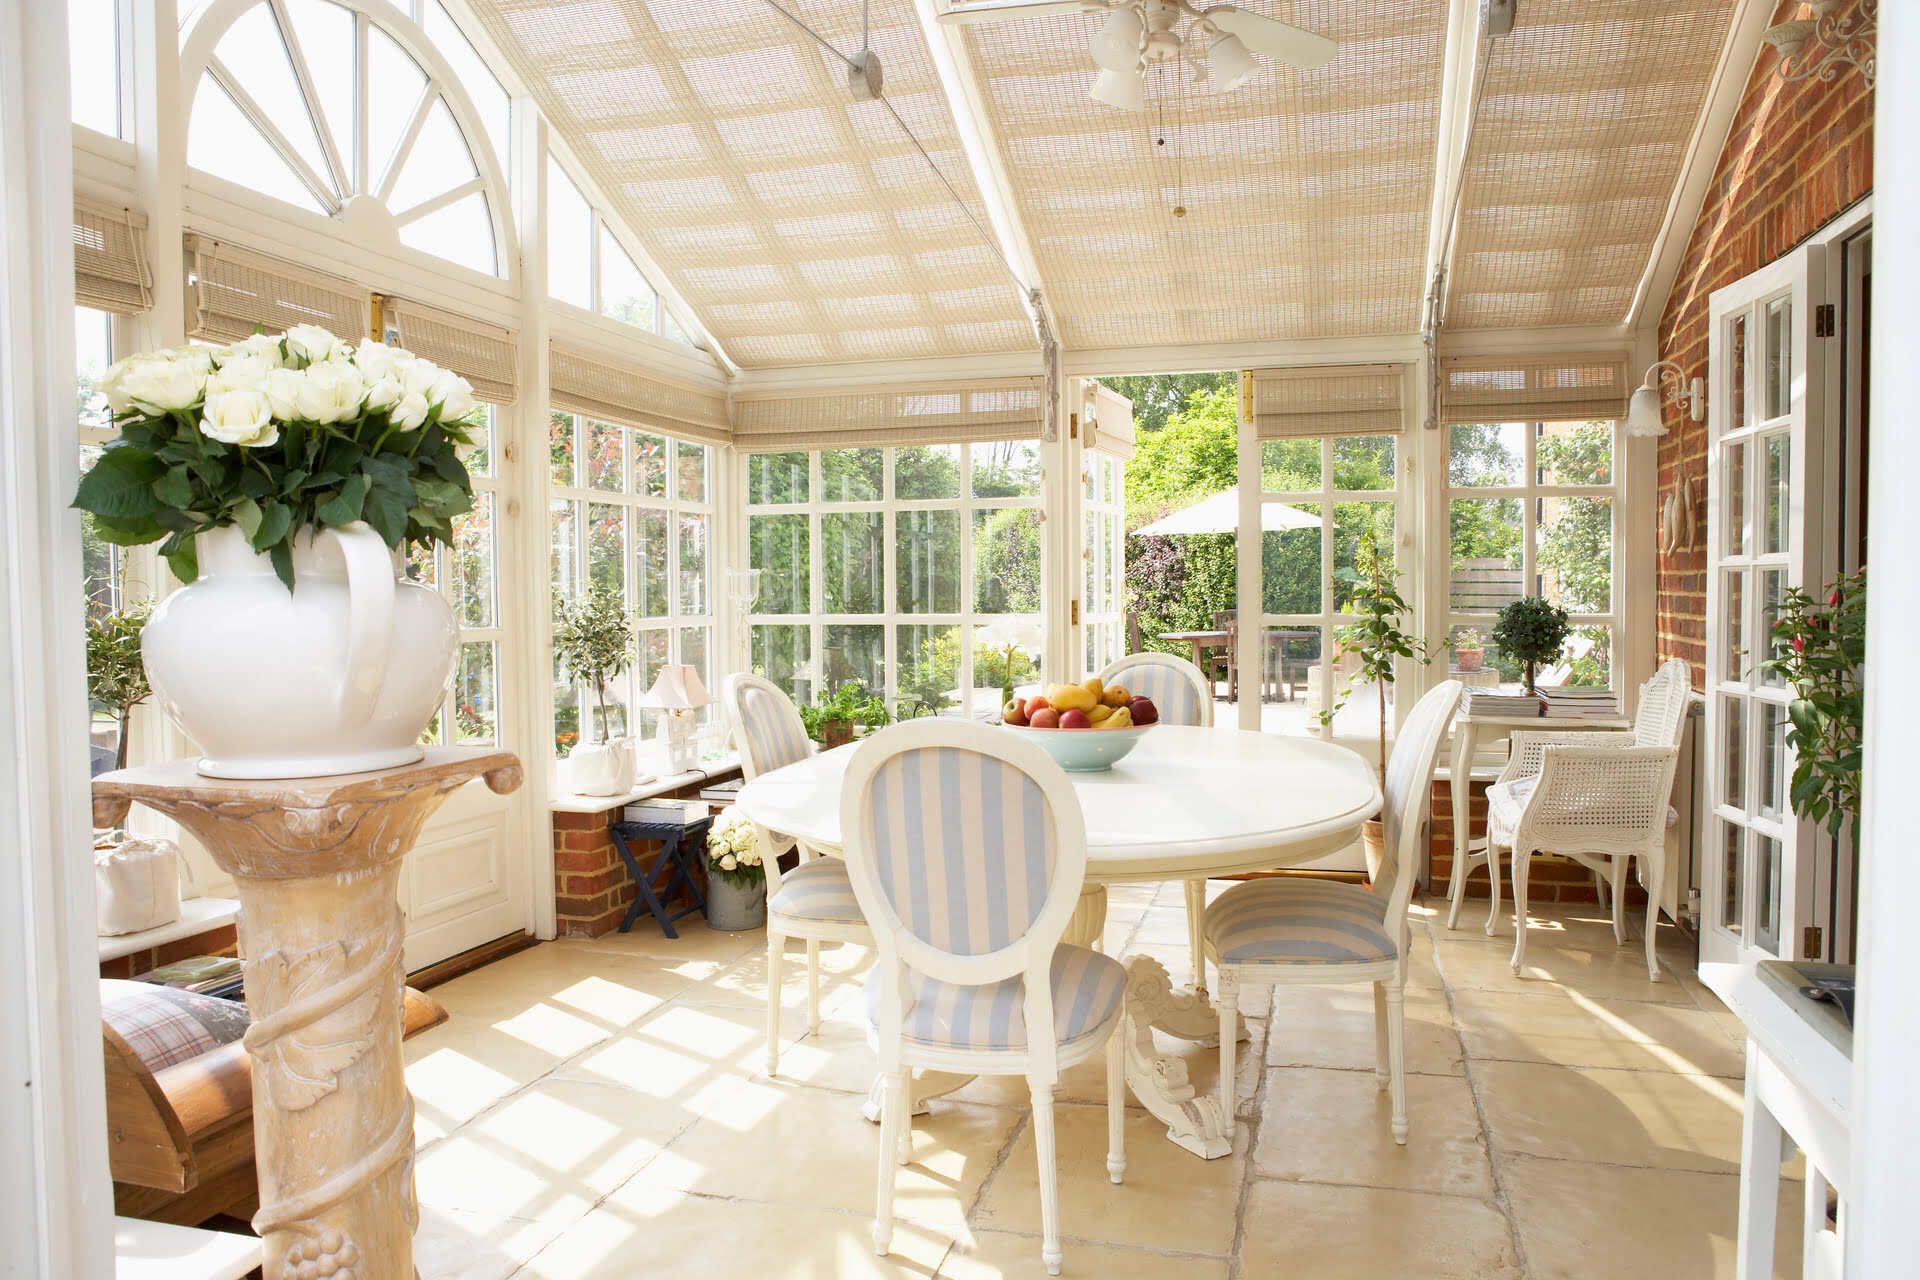
Step 5: Flooring and Wall Treatment
As you venture into the transformation of your shed into a habitable room, the choice of flooring and wall treatment plays a pivotal role in shaping the space’s aesthetic appeal and functionality. These elements not only contribute to the room’s visual ambiance but also influence its durability, maintenance, and comfort.
When selecting flooring materials, consider the intended use of the room and your personal preferences. Options such as laminate, vinyl, hardwood, or engineered wood flooring offer diverse aesthetics, durability, and ease of maintenance. Take into account the level of foot traffic, potential exposure to moisture, and compatibility with the room’s design theme when making this decision.
Additionally, if the shed’s existing floor requires leveling or repair, addressing these issues before installing new flooring is essential to ensure a smooth and long-lasting finish. Engaging professional flooring installers can streamline this process and guarantee a high-quality result.
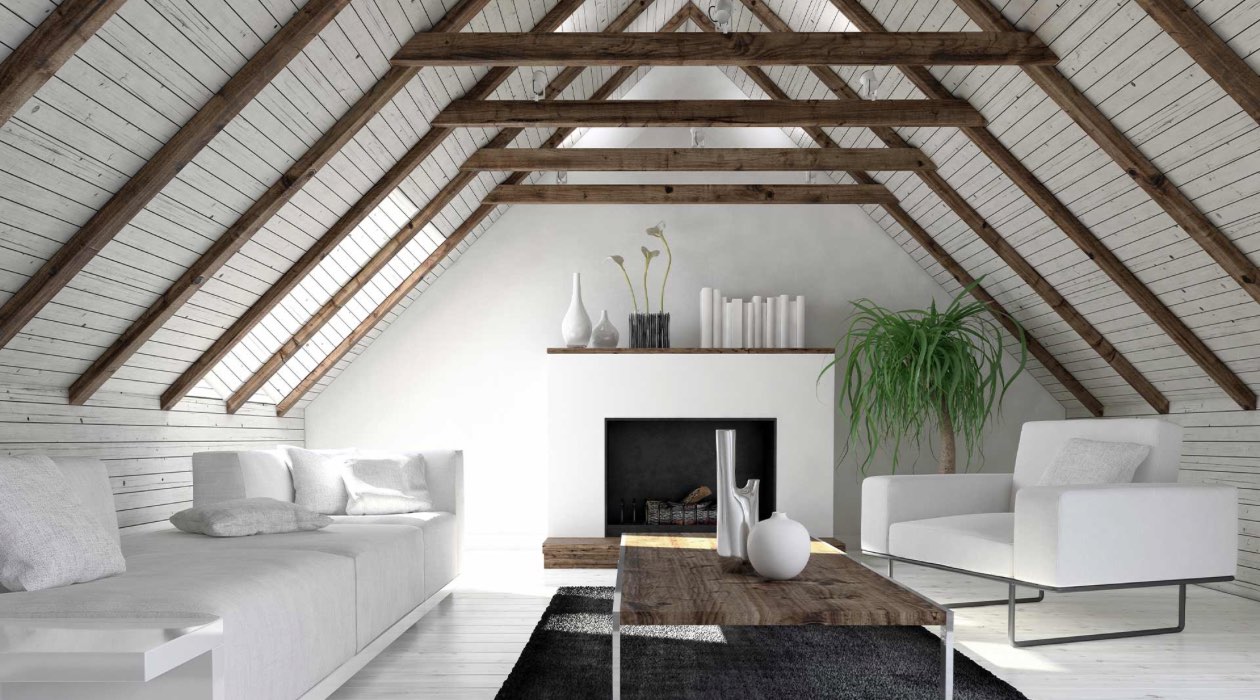
For wall treatment, explore creative possibilities to enhance the room’s visual appeal. Whether it’s applying a fresh coat of paint in a soothing hue, incorporating textured wallpaper, or opting for decorative paneling, the wall treatment sets the tone for the room’s ambiance. Consider the interplay of colors, patterns, and textures to create a cohesive and inviting space.
Furthermore, integrating wall-mounted storage solutions or decorative shelving can maximize the room’s functionality while adding visual interest. Embrace the opportunity to personalize the space with artwork, mirrors, or accent pieces that harmonize with the chosen wall treatment and flooring.
When implementing flooring and wall treatment, prioritize quality and durability to ensure longevity and ease of maintenance. Additionally, consider the installation of baseboards and trim to provide a polished finish and conceal any gaps between the flooring and walls.
By thoughtfully selecting flooring materials and wall treatment options that align with your vision and practical needs, you’ll infuse the shed-turned-room with character, comfort, and style, elevating it into a welcoming and functional space.
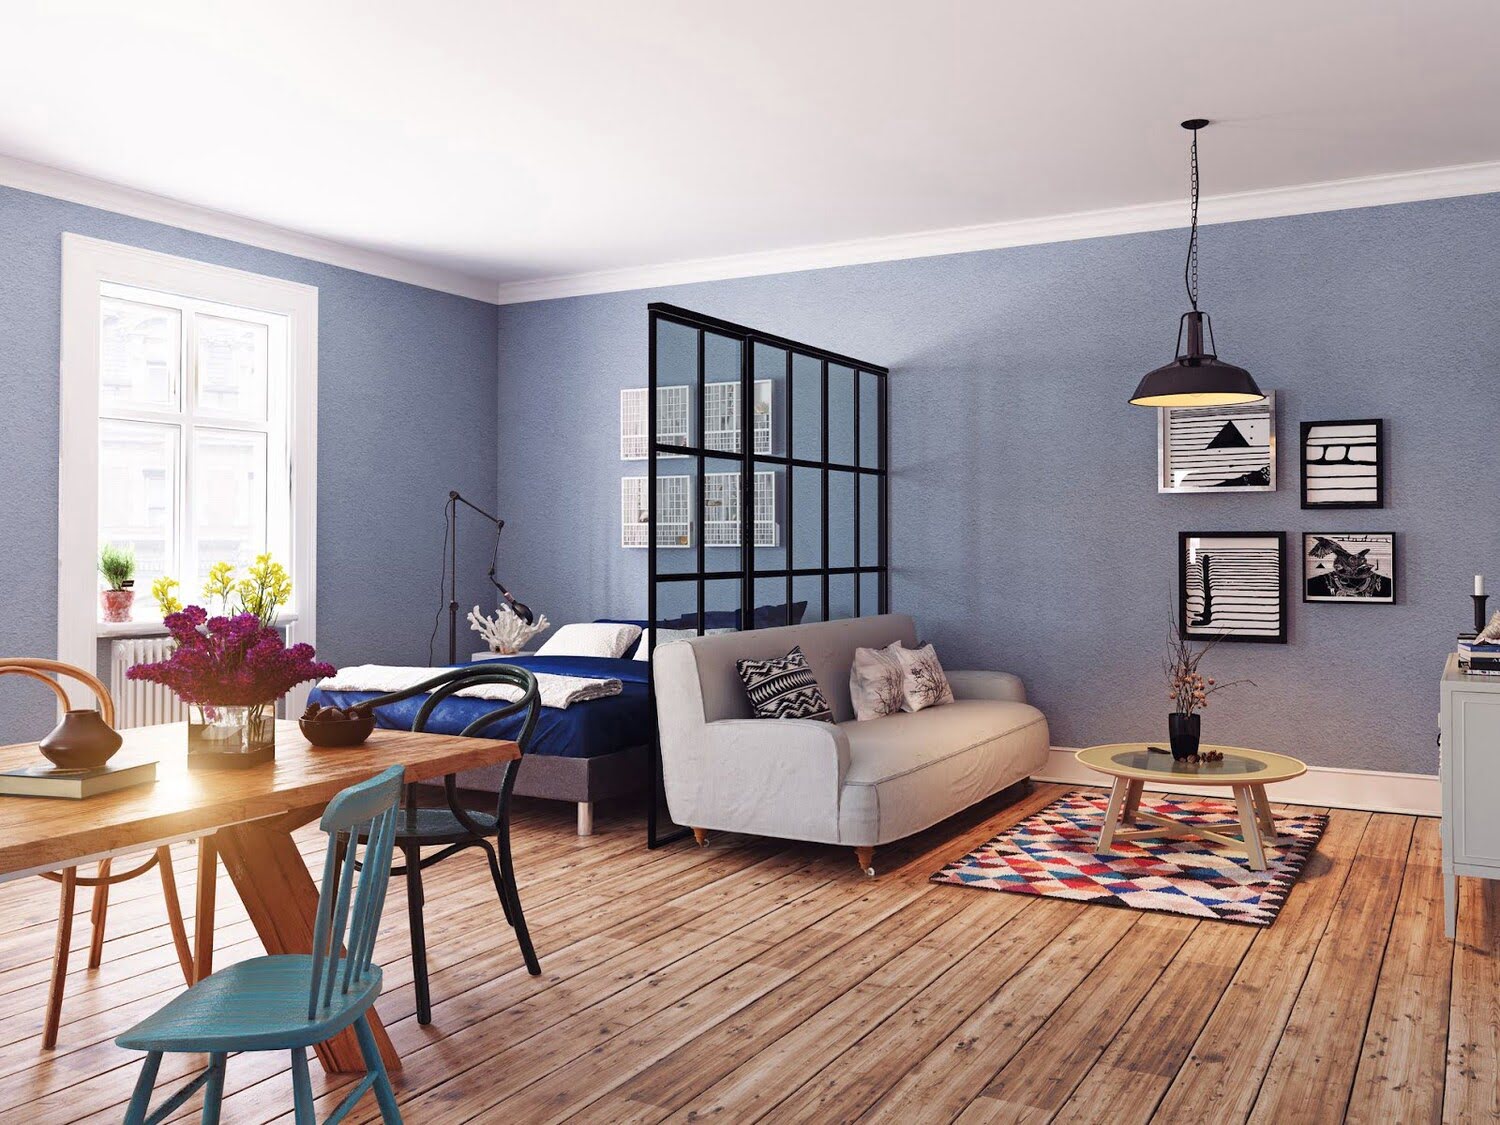
Step 6: Furnishing and Decor
As you approach the final stages of converting your shed into a livable room, the process of furnishing and decorating the space presents an exciting opportunity to infuse it with comfort, style, and personal flair. Whether you’re creating a cozy reading nook, a productive home office, or a tranquil guest retreat, thoughtful furnishing and decor choices will bring the room to life.
Begin by envisioning the room’s layout and functionality. Consider the placement of essential furniture pieces such as desks, chairs, beds, or storage units to optimize space utilization while maintaining a harmonious flow. Embrace multifunctional furniture to maximize versatility, especially in smaller rooms.
When selecting furnishings, prioritize comfort and quality, especially for seating and bedding. Explore options that complement the room’s design theme while providing ergonomic support and durability. Embrace the opportunity to integrate decorative elements such as accent pillows, throws, and area rugs to add warmth and personality to the space.
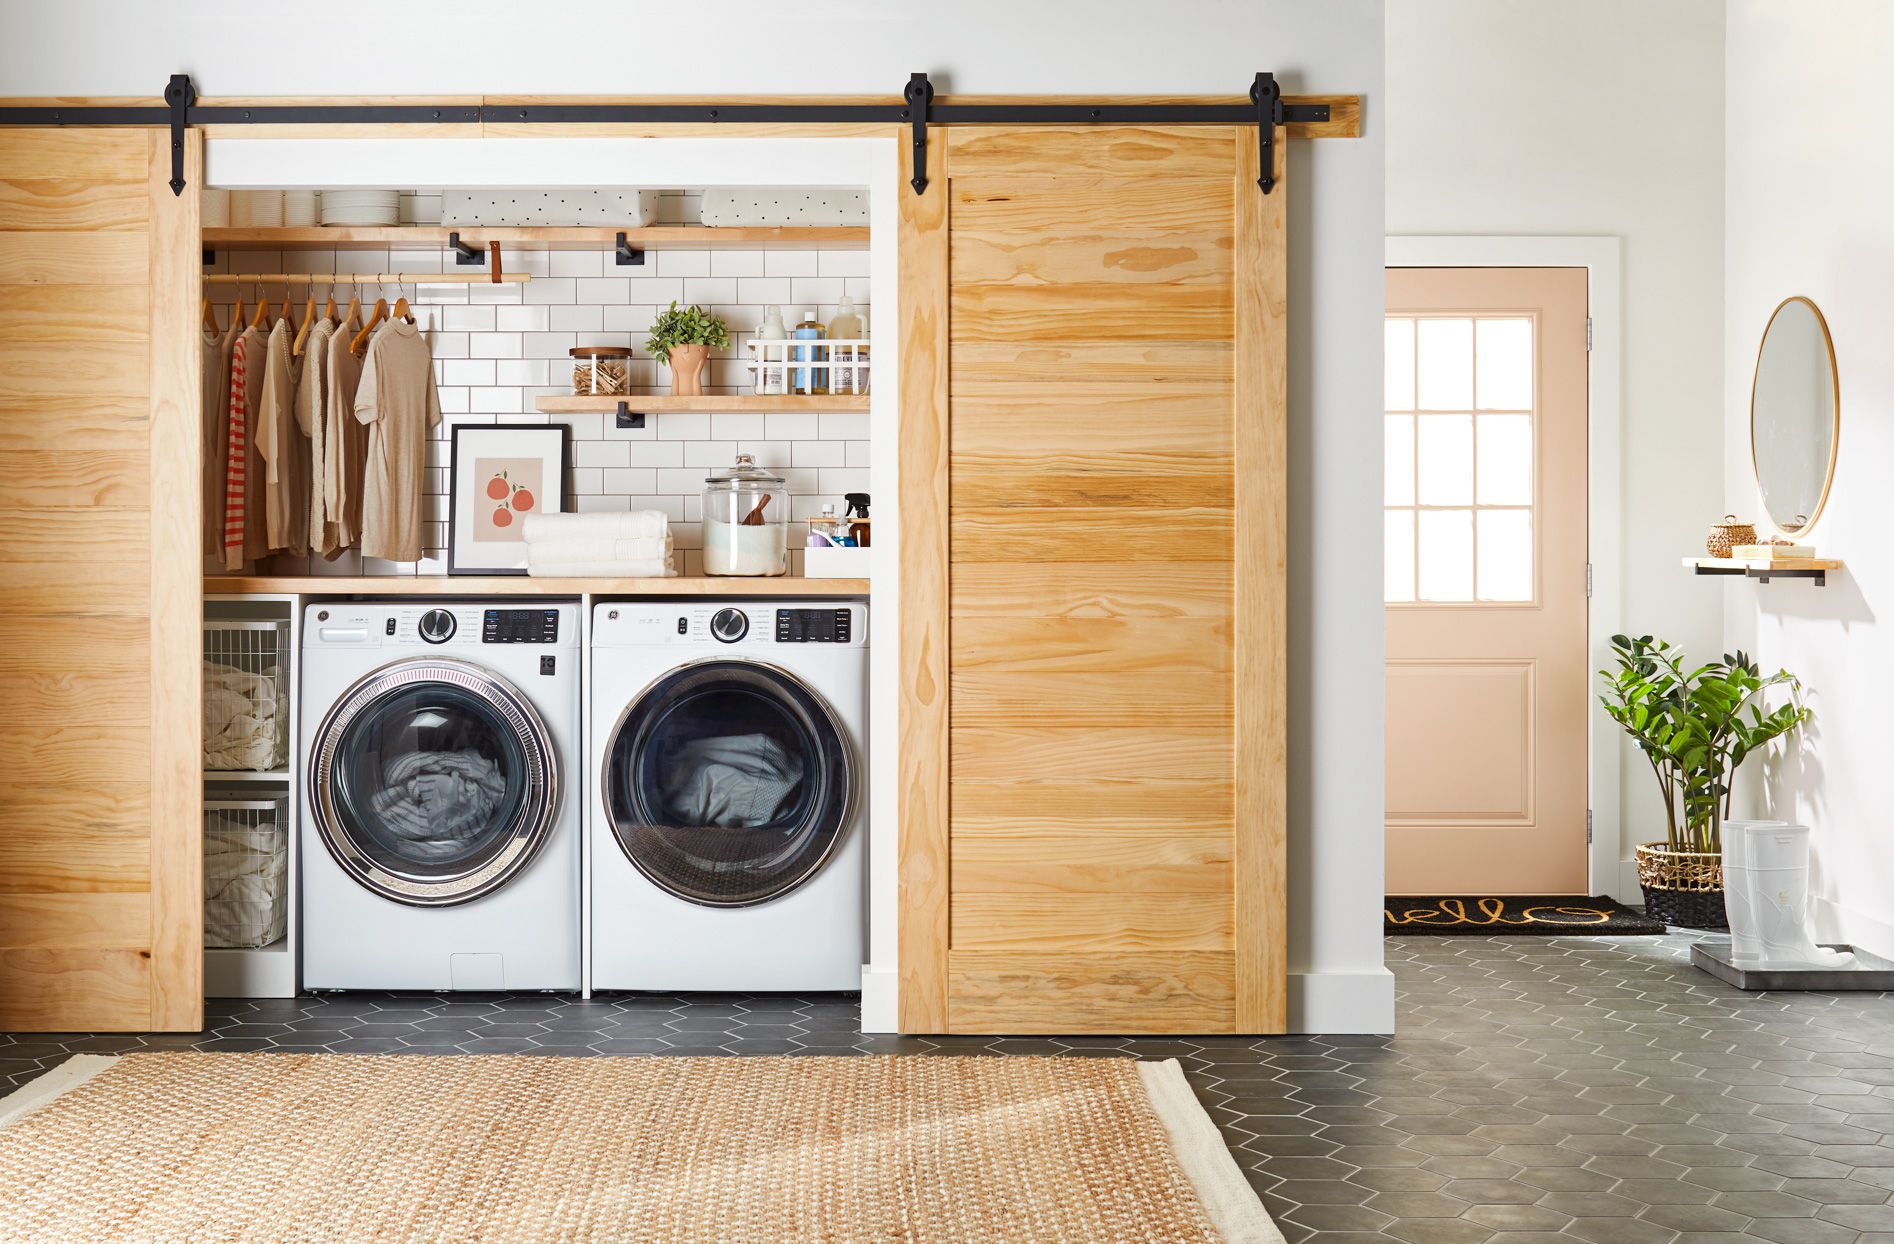
Furthermore, consider the incorporation of storage solutions to maintain a clutter-free environment. From built-in shelving and cabinets to stylish storage ottomans and wall-mounted organizers, efficient storage options will enhance the room’s functionality without compromising aesthetics.
When it comes to decor, let your creativity shine. Personalize the space with artwork, decorative mirrors, and indoor plants to add visual interest and create a welcoming atmosphere. Thoughtfully selected lighting fixtures, such as pendant lights, floor lamps, or sconces, can enhance the room’s ambiance and functionality while serving as decorative accents.
Embrace the interplay of textures, colors, and patterns to create a cohesive and inviting environment. Whether it’s incorporating soft furnishings in soothing tones, adding pops of color through accent pieces, or introducing elements of nature, the decor choices should reflect your personal style and contribute to a comfortable and aesthetically pleasing room.
By curating a well-appointed mix of furnishings and decor that aligns with your vision and lifestyle, you’ll transform the shed into a room that exudes warmth, functionality, and individuality, ready to be enjoyed and admired.
Step 7: Final Touches and Considerations
As you near the completion of the shed-to-room conversion, attending to the final touches and considerations will elevate the space and ensure a seamless transition from a humble structure to a fully functional and inviting room. These finishing touches encompass essential details that add polish, cohesiveness, and practicality to the transformed space.
Begin by evaluating the room’s lighting scheme. Consider the placement of ambient, task, and accent lighting to create a well-lit and versatile environment. Incorporate dimmer switches to adjust the lighting intensity and set the desired mood for different activities, whether it’s focused work, relaxation, or entertaining guests.
Furthermore, pay attention to the room’s connectivity. Ensure that the space is equipped with reliable Wi-Fi coverage and adequate electrical outlets to accommodate modern technology and electronic devices. This consideration is particularly crucial for home offices, creative studios, or entertainment spaces.
Integrate thoughtful accessories and functional elements that enhance the room’s usability. From window treatments that provide privacy and light control to smart storage solutions that optimize space, these details contribute to the room’s comfort and practicality. Embrace the opportunity to personalize the space with decorative accents that reflect your tastes and interests.
Consider the integration of technology and automation to streamline daily activities and enhance convenience. Smart thermostats, voice-activated assistants, and integrated sound systems can elevate the room’s functionality while embracing modern living trends.
Finally, conduct a thorough inspection of the room to ensure that all safety measures are in place. Verify that smoke detectors, carbon monoxide alarms, and fire extinguishers are installed and functioning correctly. Prioritize the safety and well-being of the room’s occupants by addressing any potential hazards.
By meticulously attending to the final touches and considerations, you’ll bring the shed-to-room conversion to fruition, creating a space that seamlessly integrates into your lifestyle, reflects your personality, and offers a comfortable and functional retreat within your property.
Conclusion
Congratulations on successfully completing the transformation of your shed into a versatile and inviting room. What was once a simple storage space has now evolved into a functional extension of your home, tailored to your specific needs and style. This endeavor has not only expanded your living space but has also added value and versatility to your property.
Throughout this comprehensive guide, we’ve navigated the step-by-step process of converting a shed into a habitable room, from assessing the initial structure to the final touches and considerations. Each phase of the transformation has been an opportunity to infuse creativity, practicality, and personal expression into the space, resulting in a truly unique and purposeful room.
By carefully assessing the shed’s condition, planning the design, prioritizing insulation and weatherproofing, addressing electrical and plumbing considerations, selecting flooring and wall treatments, furnishing and decorating, and attending to final touches, you’ve orchestrated a remarkable metamorphosis.
As you step into the newly transformed room, take a moment to appreciate the dedication and vision that have brought this project to fruition. Whether it’s a tranquil retreat for relaxation, a productive workspace, a guest oasis, or a versatile studio, the room now stands as a testament to your ingenuity and resourcefulness.
Embrace the space as a reflection of your lifestyle, personality, and aspirations. It’s a canvas waiting to be filled with cherished memories, creative endeavors, and moments of respite. Whether you’re curling up with a good book, pursuing your passions, or hosting cherished guests, the room is ready to accommodate and inspire.
Remember that the transformation doesn’t end here. As you inhabit and enjoy the room, allow it to evolve and adapt to your changing needs and preferences. Embrace the opportunity to continually enhance and personalize the space, ensuring that it remains a cherished and functional part of your home for years to come.
Thank you for embarking on this transformative journey with us. May your newly converted room be a source of joy, comfort, and inspiration, enriching your daily life and serving as a testament to the potential that lies within even the most humble structures.
Frequently Asked Questions about How To Convert A Shed Into A Room
Was this page helpful?
At Storables.com, we guarantee accurate and reliable information. Our content, validated by Expert Board Contributors, is crafted following stringent Editorial Policies. We're committed to providing you with well-researched, expert-backed insights for all your informational needs.


0 thoughts on “How To Convert A Shed Into A Room”