Articles
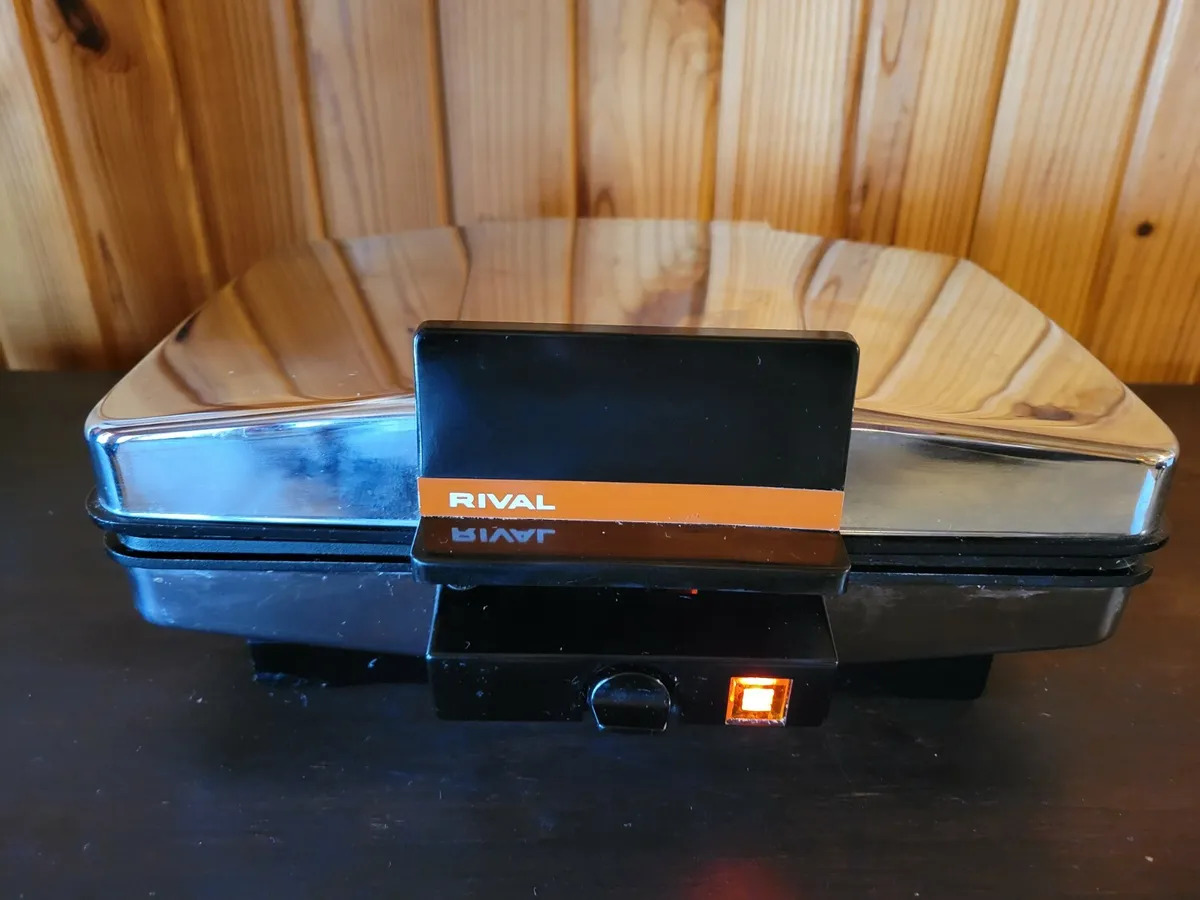
How To Cook Waffles In A Rival Waffle Iron
Modified: August 26, 2024
Learn how to cook delicious waffles using a Rival waffle iron with these helpful articles. Find step-by-step instructions and expert tips for perfecting your waffle-making skills.
(Many of the links in this article redirect to a specific reviewed product. Your purchase of these products through affiliate links helps to generate commission for Storables.com, at no extra cost. Learn more)
Introduction
Waffles are a delicious and satisfying breakfast treat that can be enjoyed with a variety of toppings and accompaniments. Whether you prefer them crispy and golden or soft and fluffy, cooking waffles in a Rival waffle iron is a simple and enjoyable process that anyone can master.
In this article, we will guide you through the step-by-step process of cooking waffles in a Rival waffle iron, ensuring that you achieve perfect results every time. From preparing the waffle iron to serving and enjoying your freshly cooked waffles, we will cover every detail to make your waffle-making experience a success.
So, grab your Rival waffle iron and let’s get started on this scrumptious waffle journey!
Key Takeaways:
- Master the art of cooking perfect waffles in a Rival waffle iron by following a step-by-step guide, from preparing the iron to serving and enjoying delicious homemade waffles.
- Embrace the versatility of waffles and unleash your creativity in the kitchen by experimenting with different batters, toppings, and accompaniments to create unique and delightful waffle creations.
Read more: How To Make Waffle In A Waffle Iron
Step 1: Preparing the Waffle Iron
Before you begin cooking waffles in your Rival waffle iron, it’s important to ensure that it is properly prepared. Taking the time to do this will help prevent your waffles from sticking to the iron and ensure even cooking.
Here are the key steps to follow when preparing your waffle iron:
- Read the Instruction Manual: Start by reading the instruction manual provided with your Rival waffle iron. This will give you specific details on how to operate and care for your appliance.
- Wash the Plates: If it’s your first time using the waffle iron, or if it has been stored for a while, wash the plates with warm, soapy water. Make sure to thoroughly dry them before moving on to the next step.
- Preheat the Waffle Iron: Plug in your Rival waffle iron and preheat it according to the manufacturer’s instructions. It’s important to preheat the iron to the recommended temperature to ensure even cooking.
- Apply a Cooking Spray or Oil: To prevent the waffle batter from sticking to the plates, lightly coat them with a cooking spray or a small amount of oil. Make sure to distribute it evenly across the surface.
- Allow the Waffle Iron to Heat Up: After applying the cooking spray or oil, close the waffle iron and allow it to heat up for a few minutes. This will ensure that the plates are properly heated and ready for the batter.
By following these steps, you’ll ensure that your Rival waffle iron is properly prepared for cooking waffles. This will help create the ideal conditions for your waffles to cook evenly and prevent them from sticking to the plates.
Step 2: Preheating the Waffle Iron
Preheating your Rival waffle iron is an essential step in the waffle-making process. It allows the iron to reach the optimal temperature, ensuring that your waffles cook to perfection. Preheating also helps in achieving that delightful golden-brown crust that makes waffles so irresistible.
Here’s how to preheat your Rival waffle iron:
- Plug in the Waffle Iron: Start by plugging in your Rival waffle iron. Make sure it is securely connected to a power source.
- Set the Temperature: Depending on the model of your Rival waffle iron, you will have temperature control settings. Set the temperature to the desired level. If you are unsure, refer to the instruction manual for recommended settings.
- Allow Preheating Time: Give your waffle iron enough time to reach the set temperature. This typically takes a few minutes, but it may vary depending on your specific model.
- Monitor the Indicator Light: Many Rival waffle irons are equipped with an indicator light that signals when the desired temperature has been reached. Keep an eye on the light and wait until it turns on or off to indicate that the iron is preheated.
- Perform a Test Run: To ensure that the waffle iron is adequately preheated, you can perform a quick test run. Pour a small amount of batter onto the iron and close it. If the batter sizzles and starts to cook immediately, it means that the iron is properly preheated. If the batter appears to be slow to cook or doesn’t cook evenly, give the iron a bit more time to heat up.
Remember, preheating your Rival waffle iron is crucial for achieving waffles that are crispy on the outside and light and fluffy on the inside. Taking the time to allow the iron to heat up properly ensures that the heat is evenly distributed and that your waffles are cooked to perfection.
Step 3: Mixing the Waffle Batter
Creating the perfect waffle batter is key to achieving delicious and fluffy waffles. While there are countless variations of waffle recipes out there, the following instructions will guide you through a basic waffle batter that works well with a Rival waffle iron.
Here’s how to mix the waffle batter:
- Gather the Ingredients: Collect all the necessary ingredients for the waffle batter, which typically include flour, sugar, baking powder, salt, eggs, milk, melted butter, and vanilla extract. Refer to your favorite waffle recipe or follow the instructions provided in the instruction manual.
- Combine Dry Ingredients: In a mixing bowl, whisk together the flour, sugar, baking powder, and salt. Ensure that the ingredients are evenly incorporated.
- Beat the Eggs: In a separate bowl, beat the eggs until they are well mixed and slightly frothy. This will help add air to the batter, resulting in lighter waffles.
- Add Liquid Ingredients: Pour in the milk, melted butter, and vanilla extract into the bowl with the beaten eggs. Whisk together until the mixture is well combined.
- Combine Wet and Dry Ingredients: Gradually pour the liquid mixture into the bowl with the dry ingredients. Using a whisk or spatula, gently stir the mixture until just combined. Be careful not to overmix, as this can make the waffles dense.
- Let the Batter Rest: Allow the batter to rest for about 5-10 minutes. This resting period will allow the ingredients to fully hydrate and develop their flavors.
Remember, the texture and flavor of your waffles can vary depending on the specific ingredients and ratios you use. Don’t be afraid to experiment with different ingredients, such as adding a pinch of cinnamon or substituting some of the flour with cornmeal, to create your own unique waffle batter.
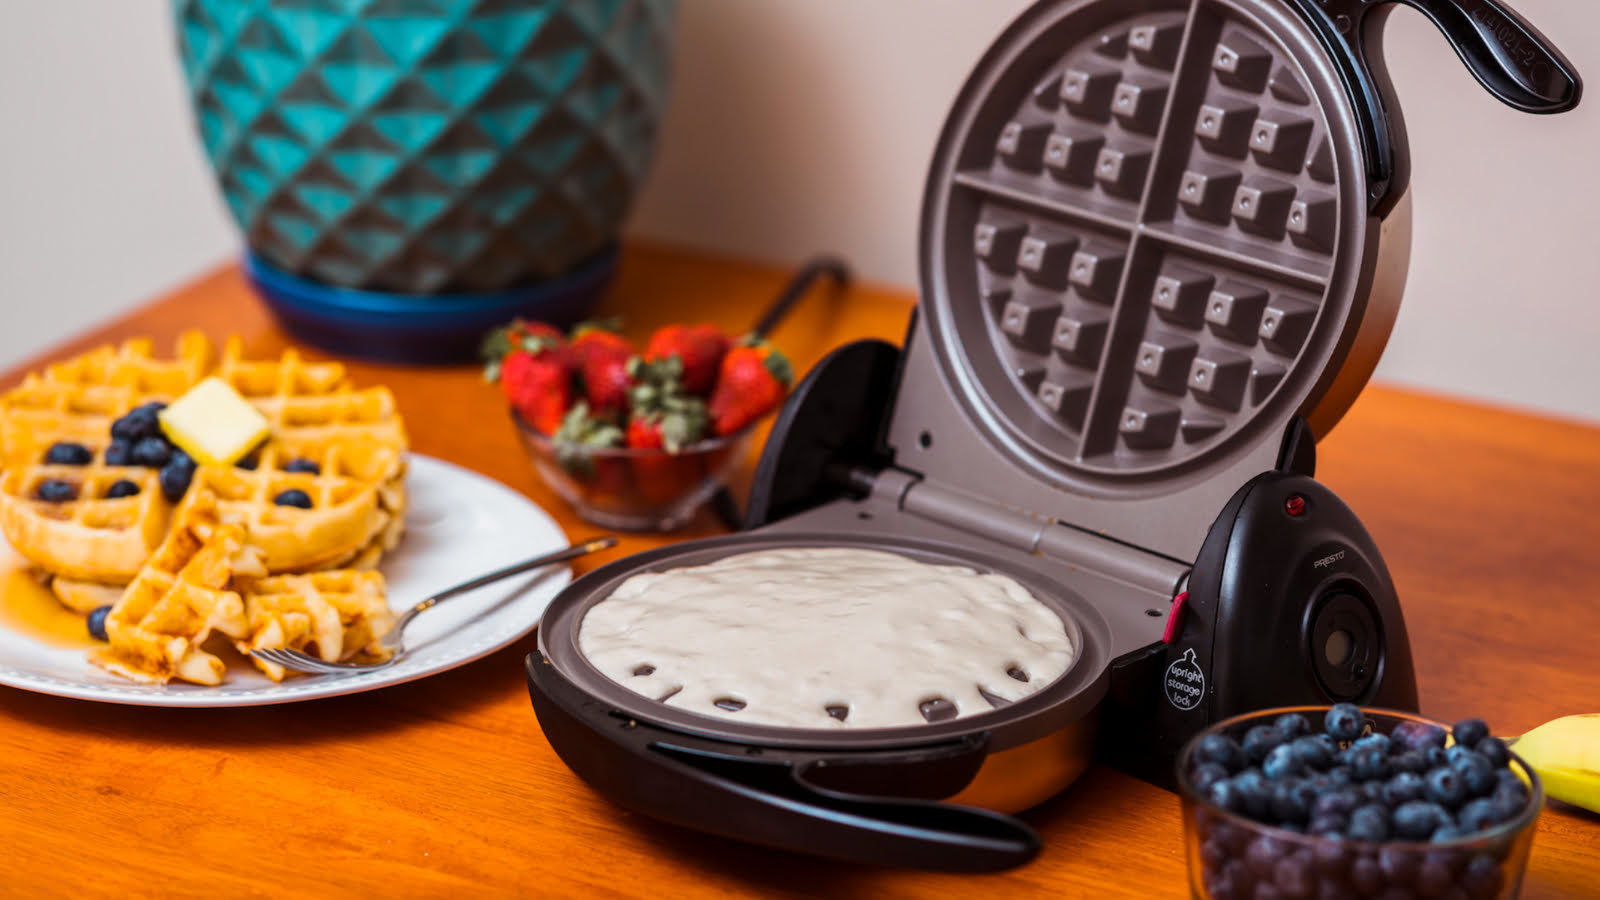
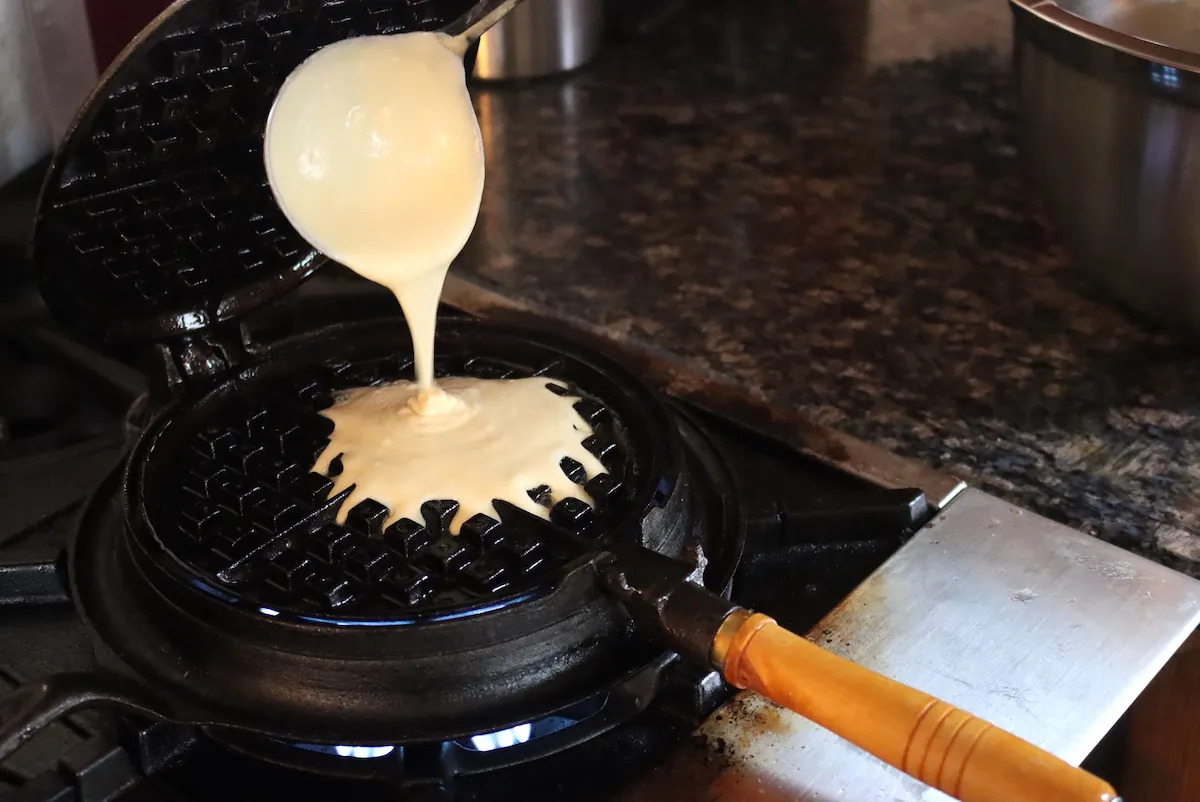
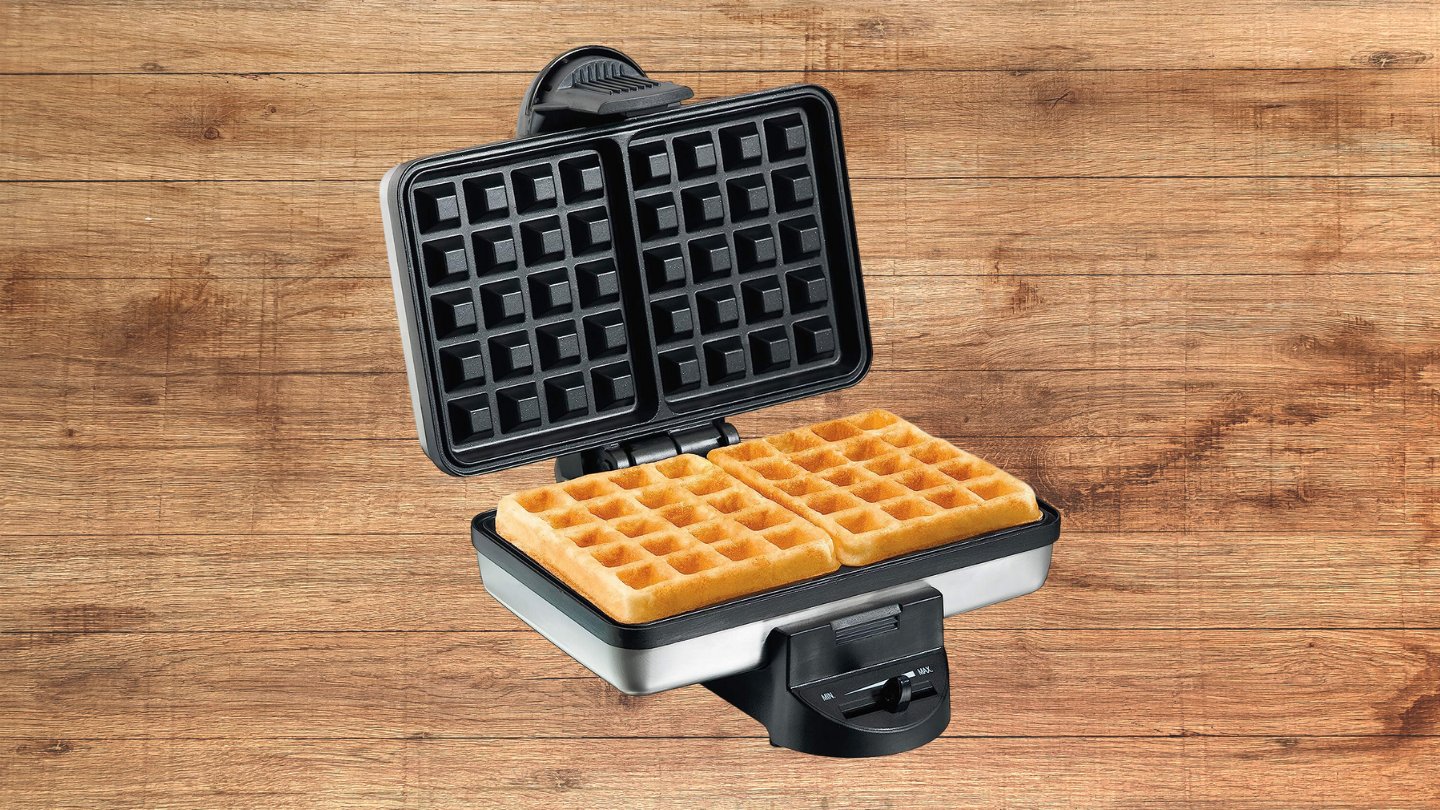
Step 4: Pouring the Batter onto the Waffle Iron
With your waffle batter mixed and ready to go, it’s time to move on to the next step: pouring the batter onto the hot waffle iron. This step ensures that you get evenly cooked waffles with beautifully defined grids.
Here’s how to pour the batter onto the waffle iron:
- Open the Waffle Iron: Lift the lid of your preheated Rival waffle iron. Be cautious as the iron and the handle may be hot.
- Apply Cooking Spray (if needed): If your waffle iron doesn’t have a non-stick coating, or if you prefer an extra layer of insurance against sticking, lightly coat the plates with a cooking spray or a small amount of oil.
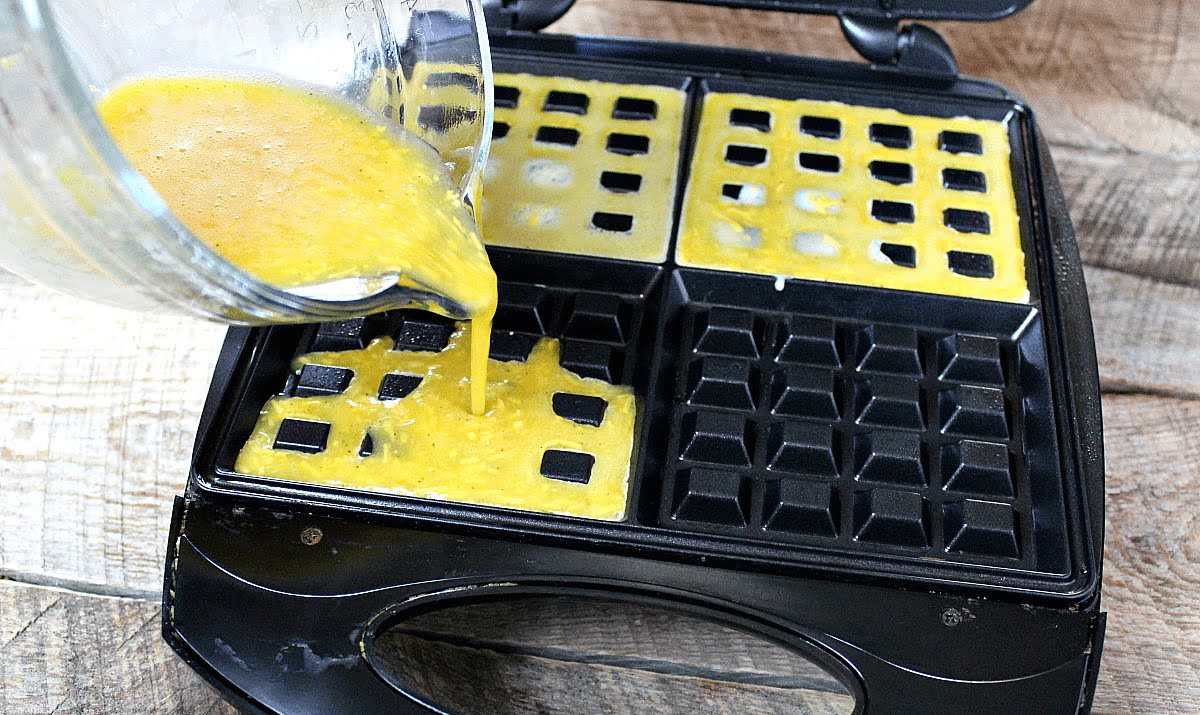
- Pour the Batter: Using a ladle or a measuring cup, carefully pour the desired amount of batter onto the center of the waffle iron. The amount may vary depending on the size of your iron and personal preference. Start with a smaller amount and adjust accordingly to avoid overflow.
- Spread the Batter: Using the back of a spoon or a spatula, gently spread the batter in an even layer, covering the entire cooking surface of the waffle iron. This will help ensure even cooking and a uniform shape.
- Close the Waffle Iron: Once the batter is spread, close the lid of the waffle iron, pressing it down gently. Take care not to apply too much pressure, as this can cause the batter to squeeze out from the sides.
Remember, the amount of batter and the spreading technique may require some trial and error to find what works best for your specific waffle iron and desired waffle thickness. Practice makes perfect, so don’t be discouraged if your first few attempts don’t turn out exactly as you envisioned.
Now that the batter is safely on the waffle iron, it’s time to move on to the next step: cooking the waffles to golden perfection.
Make sure to preheat your Rival waffle iron before pouring in the batter. This will help ensure that the waffles cook evenly and have a crispy exterior.
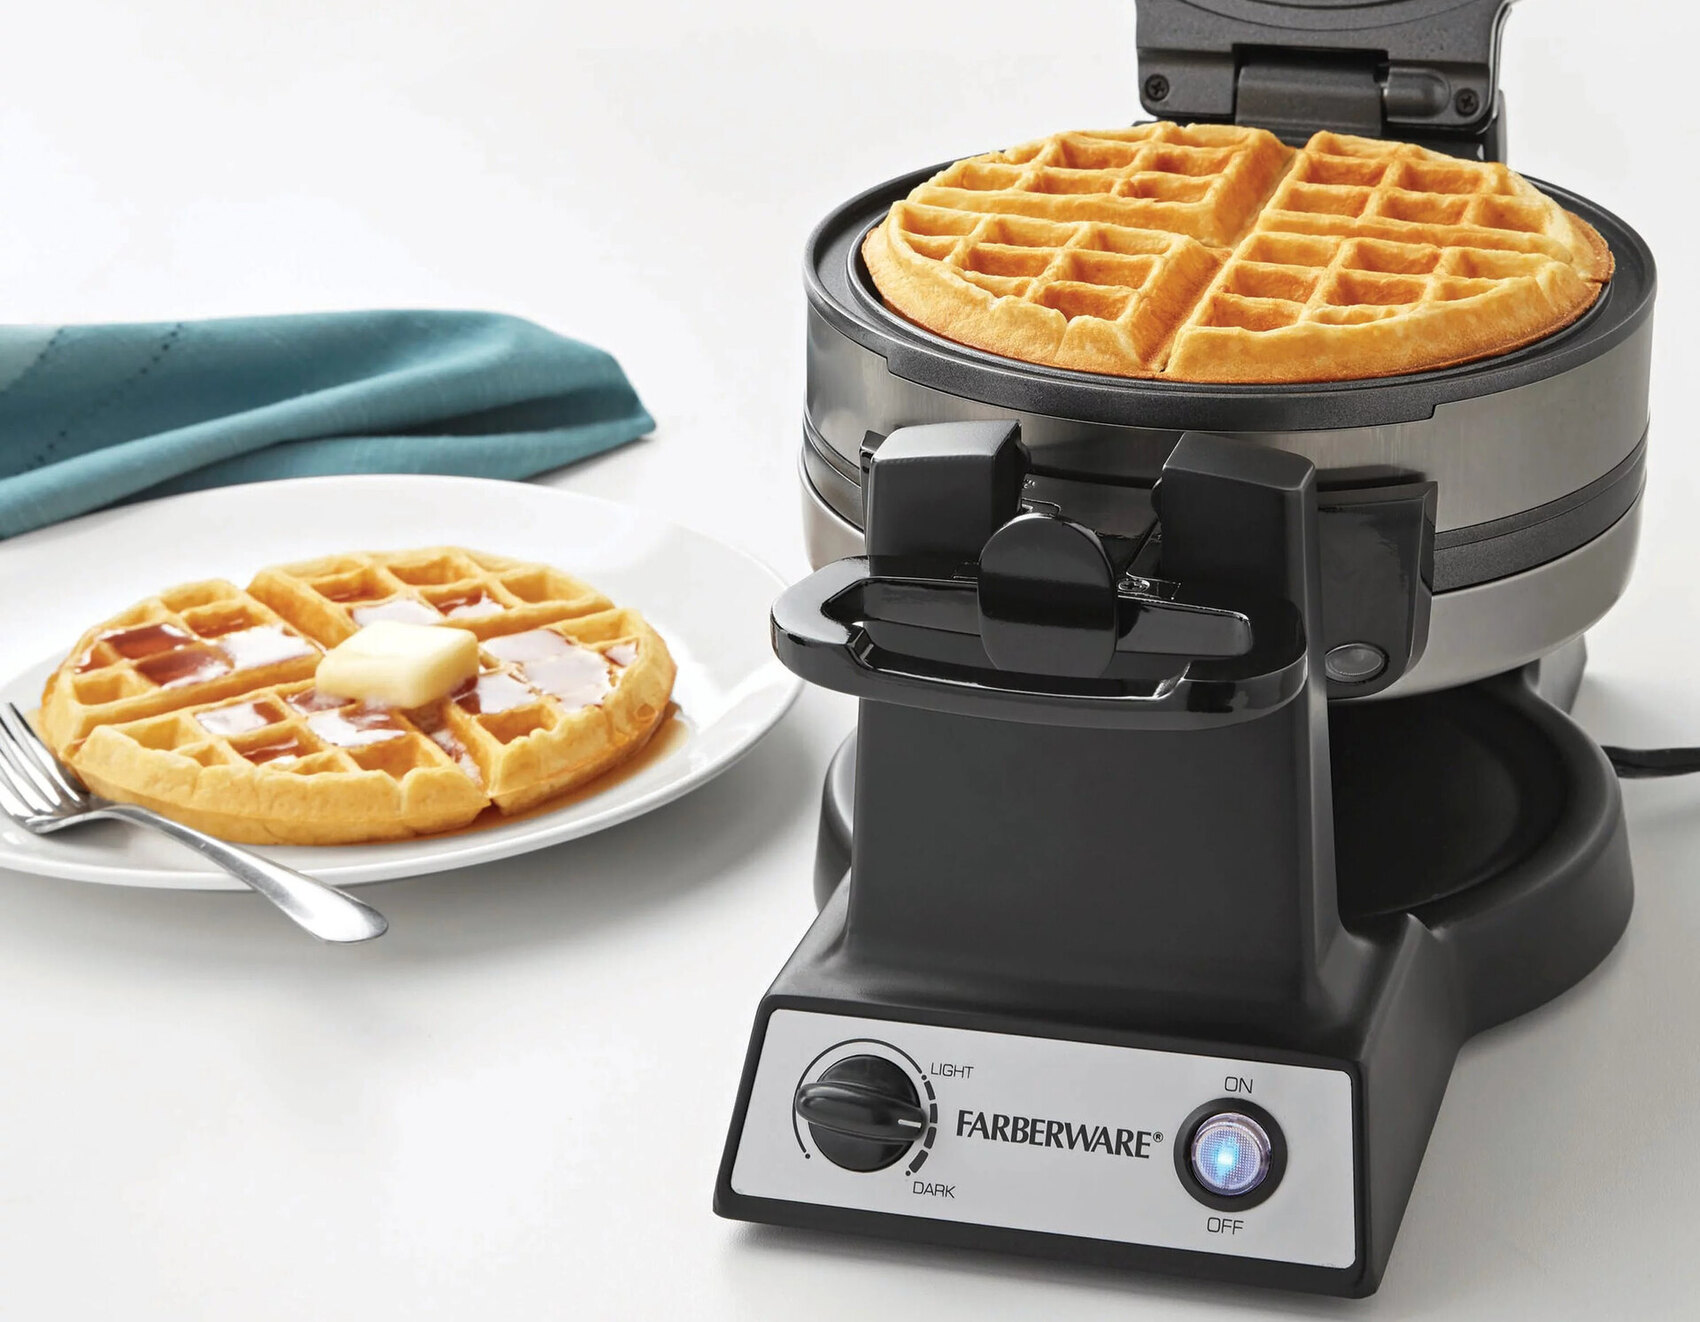
Step 5: Cooking the Waffles
With the batter poured onto the waffle iron, it’s time to cook the waffles to perfection. This step ensures that your waffles are crispy on the outside and fluffy on the inside, creating the ultimate breakfast delight.
Here’s how to cook the waffles in your Rival waffle iron:
- Close the Waffle Iron: After pouring the batter and spreading it evenly, close the lid of the waffle iron. Depending on the model, the lid may latch shut, or the weight of the lid itself will keep it closed during cooking.
- Set a Timer: Set a timer for the recommended cooking time. This time may vary depending on your waffle iron and personal preference, but the average cooking time is typically around 3-5 minutes. Consult your instruction manual for specific cooking time guidelines.
- Avoid Opening the Waffle Iron: Resist the temptation to open the waffle iron too soon. Opening it prematurely can disrupt the cooking process and lead to unevenly cooked waffles. Trust the timer and let the waffle iron do its job.
- Monitor the Cooking Process: Keep an eye on the waffle iron throughout the cooking process. If your waffle iron has an indicator light that signals when the waffles are done, rely on it. Otherwise, monitor the aroma and the steam coming out of the iron to gauge the progress.
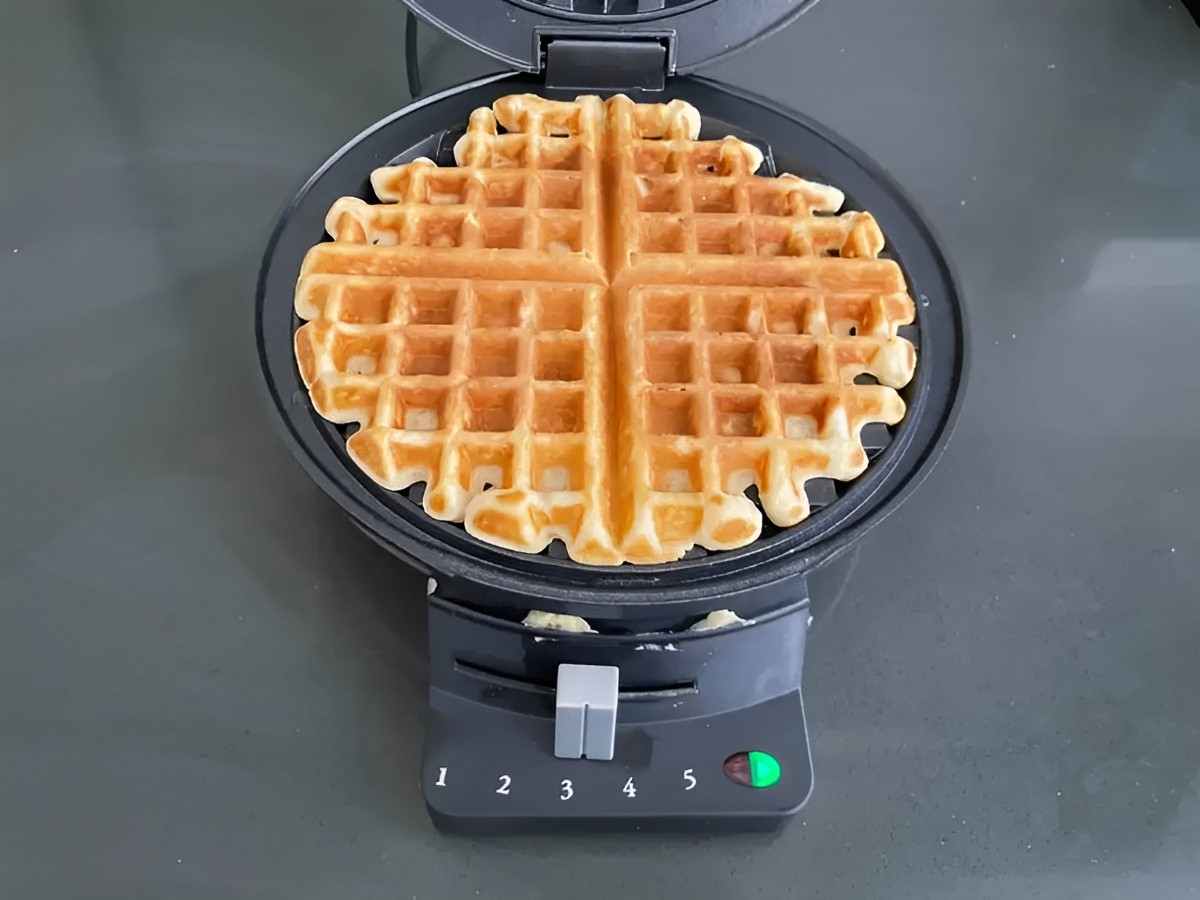
- Check for Doneness: Once the timer goes off or the indicator light signals doneness, carefully open the waffle iron and check the waffles. They should be golden brown and crisp on the outside. If they still appear pale or undercooked, close the lid and cook for an additional minute or so.
Keep in mind that the cooking time may vary depending on the thickness and consistency of your batter, as well as personal preference. Some people prefer their waffles to be lightly golden, while others enjoy a darker, crunchier texture. Adjust the cooking time accordingly to achieve the desired level of crispness.
Now that your waffles are cooked to perfection, it’s time to move on to the final step: removing them from the waffle iron and getting ready to serve and enjoy.
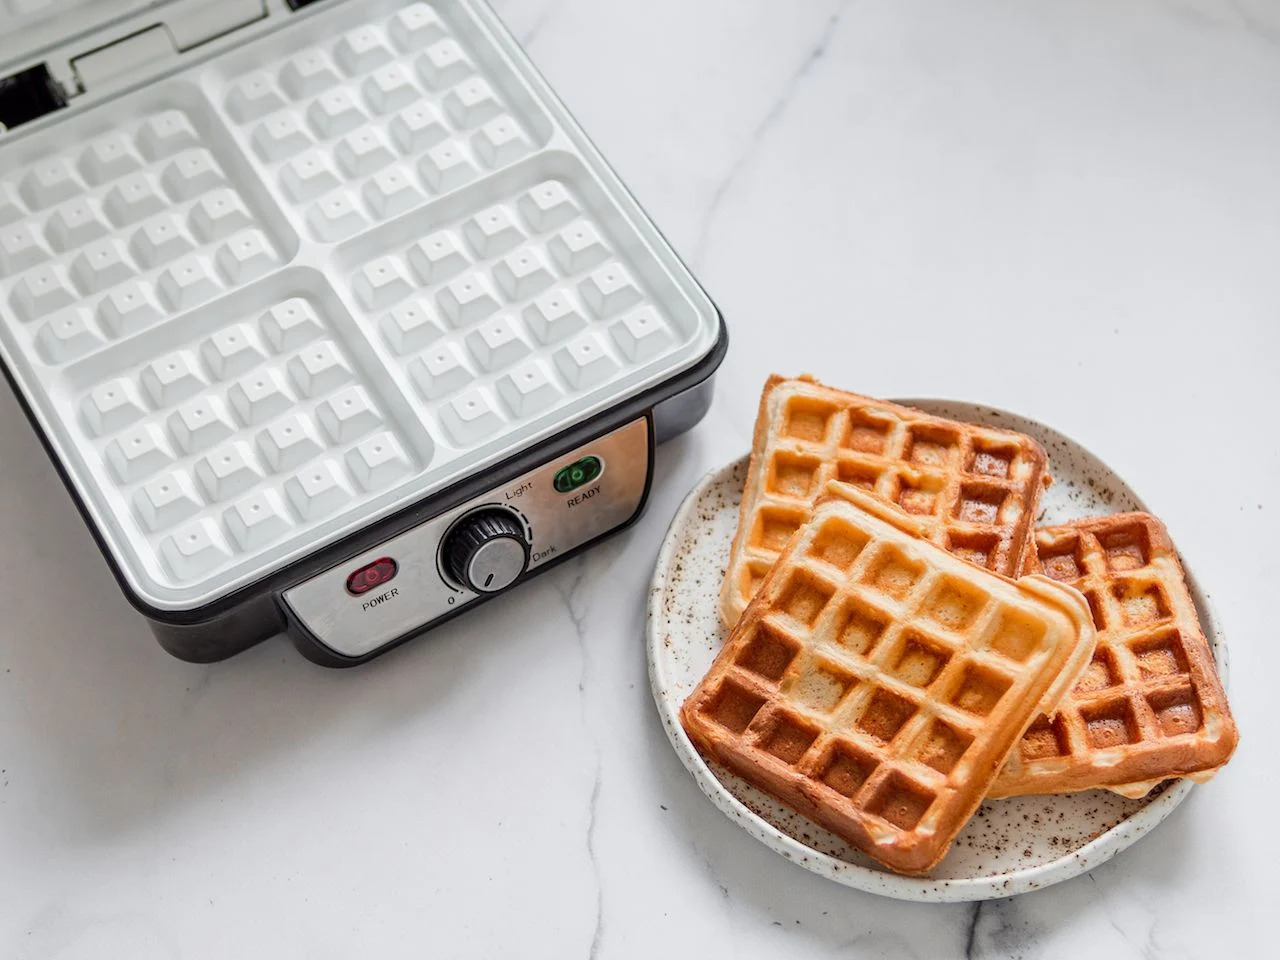
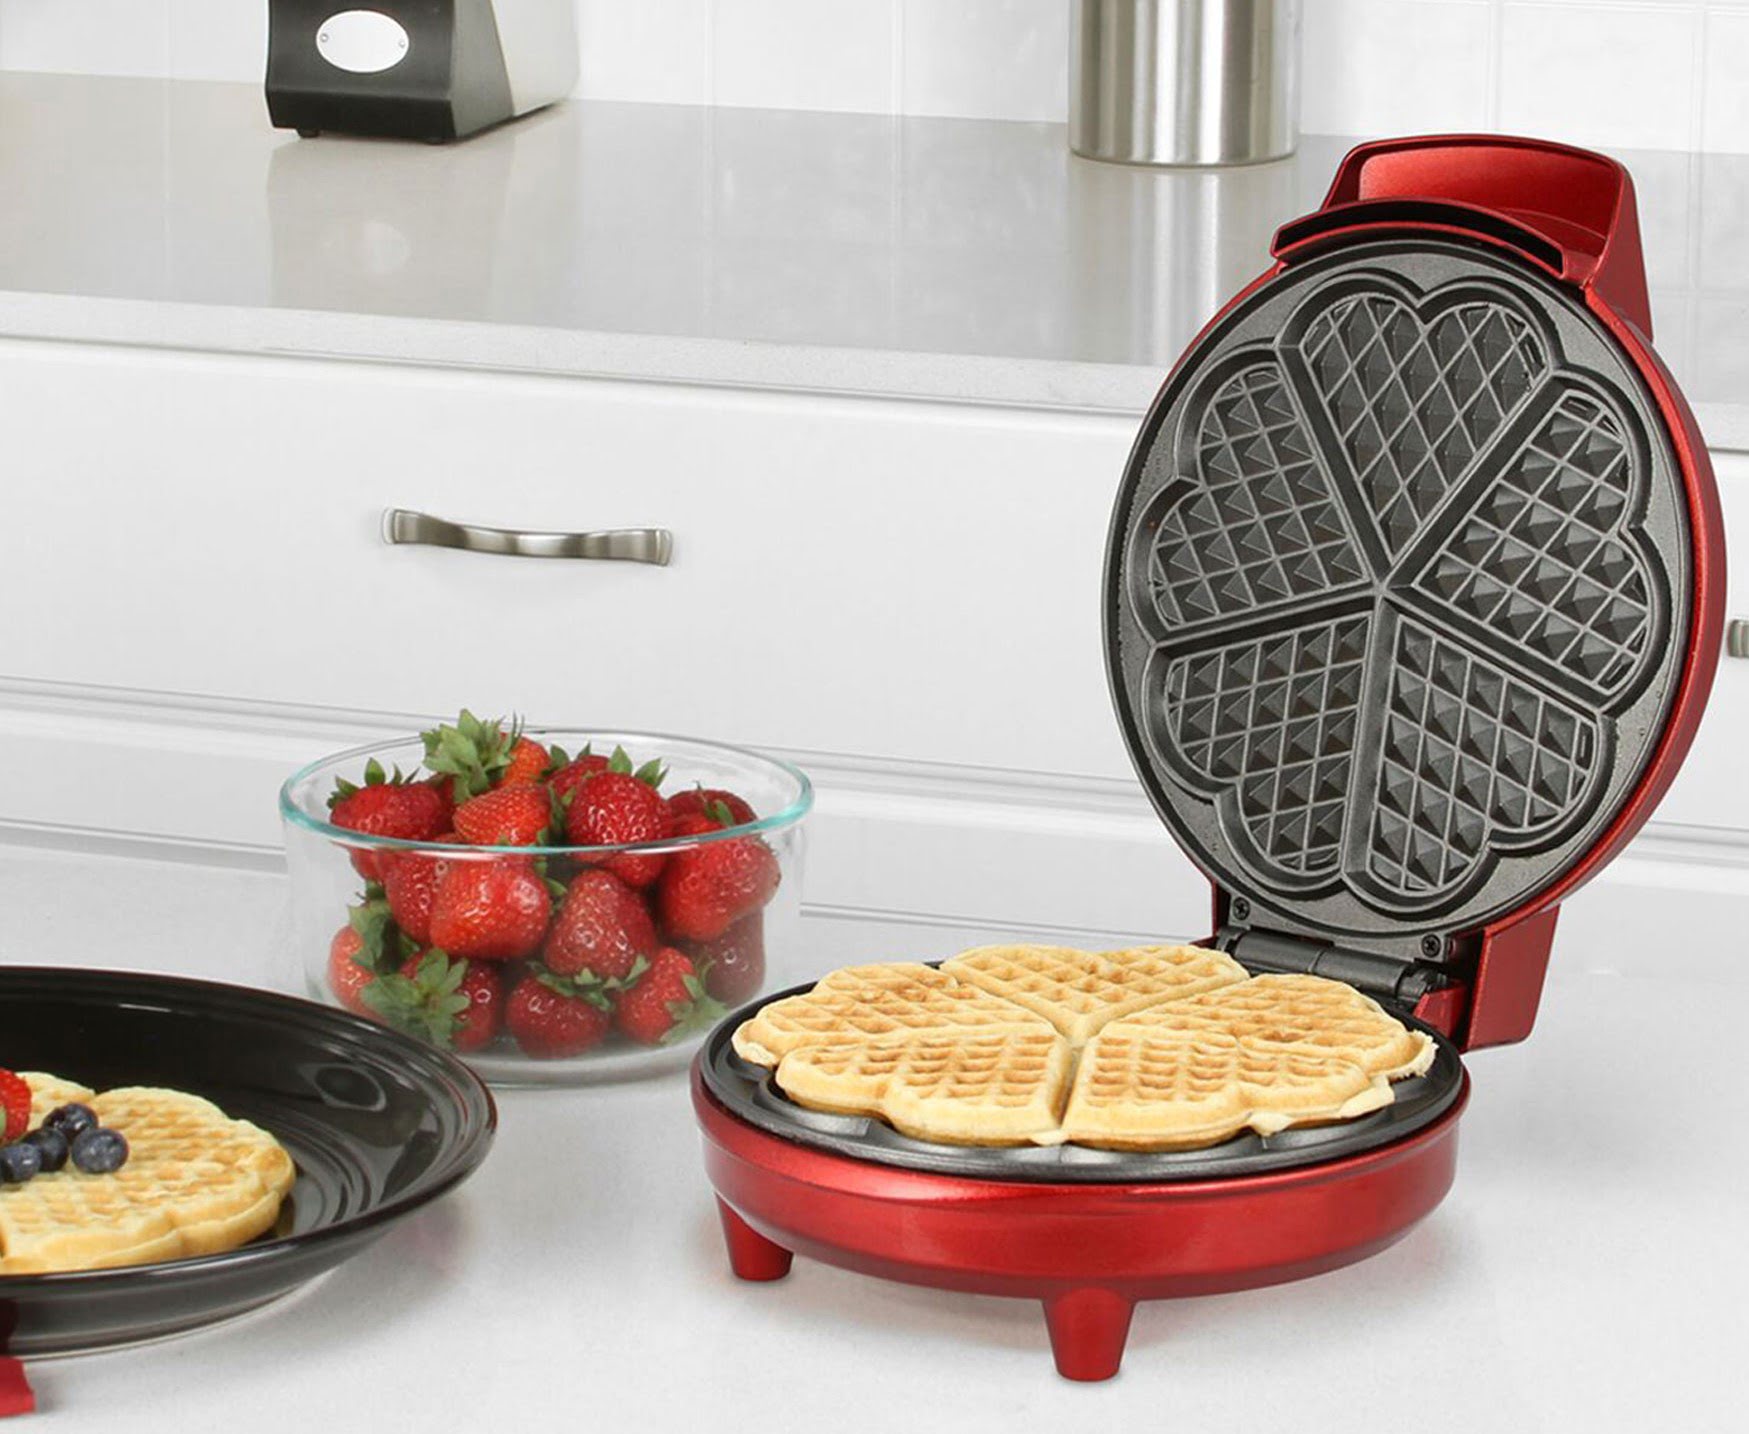
Step 6: Removing the Waffles from the Waffle Iron
After successfully cooking your waffles to golden perfection in the Rival waffle iron, it’s time to remove them from the iron and transfer them to a plate or serving platter. This step ensures that your waffles stay intact and are ready to be enjoyed.
Here’s how to remove the waffles from the waffle iron:
- Open the Waffle Iron: Carefully open the lid of the waffle iron. Be cautious, as the plates and the handle may still be hot.
- Use a Non-Metal Utensil: To avoid scratching or damaging the non-stick surface of your waffle iron, use a non-metal utensil, such as a silicone spatula or wooden tongs, to gently lift the waffles from the plates. Start from one edge and work your way towards the center.
- Transfer to a Plate: Once the waffle is lifted from the plates, transfer it to a plate or a serving platter. If you plan on serving the waffles immediately, place them in a preheated oven at a low temperature to keep them warm while you finish cooking the remaining waffles.
- Repeat with the Remaining Batter: If you have more batter to cook, close the waffle iron and repeat the cooking process for the remaining waffles. Remember to reapply cooking spray or oil as needed to prevent sticking.
By following these steps, you’ll be able to remove your perfectly cooked waffles from the Rival waffle iron without any hassle or damage. Take your time and handle the waffles with care to ensure that they maintain their shape and texture.
Now that your waffles are removed from the waffle iron, let’s move on to the final step: serving and enjoying these delicious treats.
Step 7: Serving and Enjoying the Waffles
After all the hard work and anticipation, it’s time to savor the delicious waffles you’ve cooked in your Rival waffle iron. This final step is all about serving and enjoying your waffles with your favorite toppings and accompaniments.
Here’s how to serve and enjoy your waffles:
- Arrange the Waffles: Place the cooked waffles on a plate or serving platter, stacking them gently if desired. This presentation allows everyone to see and appreciate the golden-brown crust and the inviting aroma.
- Add Toppings: Sprinkle your waffles with your favorite toppings, such as fresh fruits, whipped cream, chocolate chips, or maple syrup. Get creative and experiment with different combinations to find your perfect waffle creation.
- Pair with Accompaniments: Consider serving your waffles with additional accompaniments, such as butter, powdered sugar, yogurt, or savory options like bacon or scrambled eggs. These additions enhance the flavors and create a satisfying breakfast experience.
- Serve Warm: Waffles are best enjoyed warm, so serve them immediately after cooking. If you’re cooking a large batch or want to serve everyone at once, keep the cooked waffles in a preheated oven at a low temperature to maintain their warmth.
- Enjoy and Share: Sit down, take a bite, and savor the goodness of your homemade waffles. Enjoy them with your loved ones, sharing laughter, stories, and the joy of a delicious meal. Waffles are not just a breakfast treat – they can be enjoyed at any time of the day.
Remember, the beauty of waffles lies in their versatility. You can customize them with different toppings, fillings, and flavors to suit your preferences. Whether you choose a classic combination or get adventurous with unique ingredients, the key is to have fun and explore the world of waffle possibilities.
Now that you’re ready to serve and enjoy your waffles, take a moment to appreciate your culinary accomplishment and indulge in this delightful breakfast experience.
Continue to experiment and refine your waffle-making technique to create waffles that are truly your own. Practice, patience, and a love for waffle-making will ensure that every batch is a success.
So, go ahead, take a bite, and enjoy the deliciousness of your homemade waffles!
Conclusion
Cooking waffles in a Rival waffle iron is a delightful and rewarding experience that allows you to create homemade breakfast treats that are crispy on the outside and fluffy on the inside. By following the step-by-step guide we’ve provided, you can confidently prepare waffles that are sure to impress your family and friends.
From preparing the waffle iron to removing the perfectly cooked waffles, each step plays a crucial role in the waffle-making process. Take the time to familiarize yourself with your Rival waffle iron, follow the manufacturer’s instructions, and adjust cooking times and techniques to suit your preferences.
Remember, the possibilities for waffle variations are endless. Experiment with different batters, add-ins, and toppings to create unique flavors and combinations. Enjoy the process of making waffles and unleash your creativity in the kitchen.
Whether you’re serving classic buttermilk waffles topped with fresh fruits and syrup or putting a savory twist on your waffles with bacon and cheese, the joy of indulging in a batch of homemade waffles is unparalleled. Gather your loved ones around the table, savor the warm and comforting aroma, and create memories that will last a lifetime.
So, grab your Rival waffle iron, gather your ingredients, and embark on a waffle-making adventure. With a little practice and a lot of enthusiasm, you’ll be well on your way to becoming a waffle-making expert.
Now, it’s time to embrace the deliciousness of homemade waffles and enjoy every bite. Happy waffle-making!
Frequently Asked Questions about How To Cook Waffles In A Rival Waffle Iron
Was this page helpful?
At Storables.com, we guarantee accurate and reliable information. Our content, validated by Expert Board Contributors, is crafted following stringent Editorial Policies. We're committed to providing you with well-researched, expert-backed insights for all your informational needs.


0 thoughts on “How To Cook Waffles In A Rival Waffle Iron”