
Articles
How To Cool Your Attic Down
Modified: October 20, 2024
Looking for articles on how to cool down your attic? Get expert tips and advice on how to beat the heat and keep your attic cool throughout the year.
(Many of the links in this article redirect to a specific reviewed product. Your purchase of these products through affiliate links helps to generate commission for Storables.com, at no extra cost. Learn more)
Introduction
Welcome to the ultimate guide on how to cool your attic down. Having a well-ventilated and properly insulated attic is essential for maintaining a comfortable temperature in your home, especially during the hot summer months. By effectively cooling your attic, you can prevent excessive heat buildup, reduce energy consumption, and prolong the lifespan of your roof. In this article, we will explore various methods and techniques to keep your attic cool and create a more comfortable living environment.
Before we dive into the specifics of attic cooling, let’s first understand why it is crucial to pay attention to this often neglected part of your home. The attic acts as a buffer zone between the living space and the outside environment, and if not properly ventilated, it can become a source of heat buildup that affects the overall temperature control of your home.
An overheated attic can lead to a range of problems, such as increased energy costs, decreased effectiveness of your air conditioning system, and the potential for damage to your roof and structural integrity. Additionally, a hot attic can create an uncomfortable living environment, especially in rooms directly below the attic space.
Now that we understand the importance of cooling your attic, let’s explore some signs that indicate your attic may be overheating. By identifying these signs, you can take appropriate action and implement the necessary cooling measures to maintain a more comfortable and energy-efficient home.
Key Takeaways:
- Proper attic cooling techniques, such as ventilation fans and radiant barriers, can reduce energy costs, prevent roof damage, and create a more comfortable living environment for homeowners.
- Identifying and addressing signs of an overheated attic, such as air leaks and poor ventilation, is crucial for maintaining a cooler, energy-efficient home and prolonging the lifespan of the roof.
Understanding the Importance of Cooling Your Attic
Proper attic ventilation and cooling are vital for maintaining a healthy and efficient home. Without adequate ventilation, heat can become trapped in the attic, causing a range of issues that can affect both your comfort and the structural integrity of your home.
One of the primary reasons to cool your attic is to prevent excessive heat buildup. During the summer months, the sun’s rays beat down on the roof, causing the attic temperature to soar. This trapped heat can make its way down into the living spaces below, leading to increased energy consumption and discomfort in the home.
When your attic becomes excessively hot, it puts a strain on your air conditioning system. The heat seeping into your home forces the AC unit to work harder to maintain a comfortable temperature, resulting in higher energy bills. By effectively cooling your attic, you can reduce the workload on your AC system and potentially save on energy costs.
Moreover, an overheated attic can lead to long-term damage to your roof and structural components. Excessive heat can cause shingles to deteriorate and lead to premature aging of the roof, potentially resulting in costly repairs or even roof replacement. Cooling your attic helps to mitigate this risk and extends the lifespan of your roof.
Furthermore, a hot attic can create an uncomfortable living environment in rooms directly below. High temperatures can make these spaces stuffy and intolerable, making it harder to relax and enjoy time with family and friends.
Additionally, a poorly ventilated attic creates a prime environment for moisture buildup and the growth of mold and mildew. Moisture can accumulate due to factors like condensation and improper airflow, leading to the development of harmful mold spores. Cooling your attic helps to regulate humidity levels and prevent mold growth, safeguarding your health and the structural integrity of your home.
Overall, cooling your attic is not only beneficial for your comfort but also for the longevity of your home. By implementing effective cooling techniques, you can reduce energy consumption, prevent damage to your roof, improve indoor air quality, and create a more comfortable living space for you and your family.
Signs of an Overheated Attic
An overheated attic can cause a range of problems within your home. By recognizing the signs of an overheated attic, you can take proactive steps to cool it down and prevent further issues. Here are some common signs to look out for:
- Increased energy bills: If you notice a sudden spike in your energy bills, it could be a sign that your attic is trapping excess heat. This forces your air conditioning unit to work harder to maintain a comfortable temperature.
- Hot and stuffy rooms: Rooms located directly below the attic may feel uncomfortably hot and stuffy. This is because the heat from the attic seeps into these spaces, making it difficult for your air conditioning system to cool them down.
- Uneven cooling: If certain areas of your home feel significantly warmer than others, it could be a sign of poor attic ventilation. Uneven cooling is often caused by the accumulation of heat in the attic, which then radiates down into the living spaces.
- Musty odors: An overheated attic can lead to excess humidity, which creates an ideal environment for mold and mildew growth. If you notice musty odors in your home, especially near the attic, it may indicate the presence of mold caused by poor ventilation.
- Visible damage to the roof: Excessive heat in the attic can damage the roof’s shingles and cause them to deteriorate prematurely. If you notice curling, cracking, or discoloration of the roof shingles, it could be a sign of an overheated attic.
- Ice dams in the winter: In colder regions, an overheated attic can lead to the formation of ice dams on the roof during winter. These ice dams occur when warm air from the attic melts the snow on the roof, which then refreezes at the edges, causing water damage and potential leaks.
- Mold growth in the attic: Inspect your attic for any signs of mold or mildew growth. This can include visible patches of mold, black or green spots, or a musty odor. Mold thrives in warm, humid environments, so an overheated attic can provide the perfect conditions for its development.
If you notice any of these signs in your home, it’s recommended to take immediate action to cool down your attic and address the underlying ventilation issues. Implementing appropriate cooling methods will not only improve your home’s comfort but also protect its structural integrity and prevent further damage.
Assessing Your Attic’s Ventilation Needs
Before implementing any cooling measures, it’s essential to assess your attic’s ventilation needs. Proper ventilation plays a crucial role in maintaining a cool and healthy attic environment. Here are some steps to help you assess your attic’s ventilation requirements:
- Check existing vents: Start by checking the existing vents in your attic. Look for soffit vents, gable vents, ridge vents, or turbine vents. These vents allow for the exchange of air, drawing in fresh air and expelling hot air.
- Calculate ventilation requirements: Use a ventilation calculator or consult with an HVAC professional to determine the appropriate amount of ventilation your attic needs. Factors such as attic size, roof design, and climate should be taken into account.
- Consider the 1:150 rule: As a general rule of thumb, your attic should have at least 1 square foot of net free area of ventilation (NFVA) for every 150 square feet of attic floor area. This ensures adequate airflow to carry away excess heat and moisture.
- Assess intake and exhaust vents: Check if your attic has sufficient intake vents, such as soffit vents or eave vents, to allow cool air to enter. Additionally, ensure that you have enough exhaust vents, such as ridge vents or gable vents, to allow hot air to escape.
- Consider the attic’s design and obstacles: Take note of any design elements or obstacles that may hinder proper ventilation. For example, a vaulted ceiling or a large chimney can obstruct the airflow. Make any necessary adjustments to enhance ventilation efficiency.
- Evaluate insulation levels: Insulation is crucial for maintaining a cool attic. Check the insulation levels and ensure there are proper gaps around vents to allow for airflow. Inadequate insulation can hinder ventilation and lead to heat buildup.
- Inspect for blockages: Inspect the vents and pathways in your attic for any blockages or obstructions. Clear away any debris, dust, or animal nests that may hinder proper ventilation.
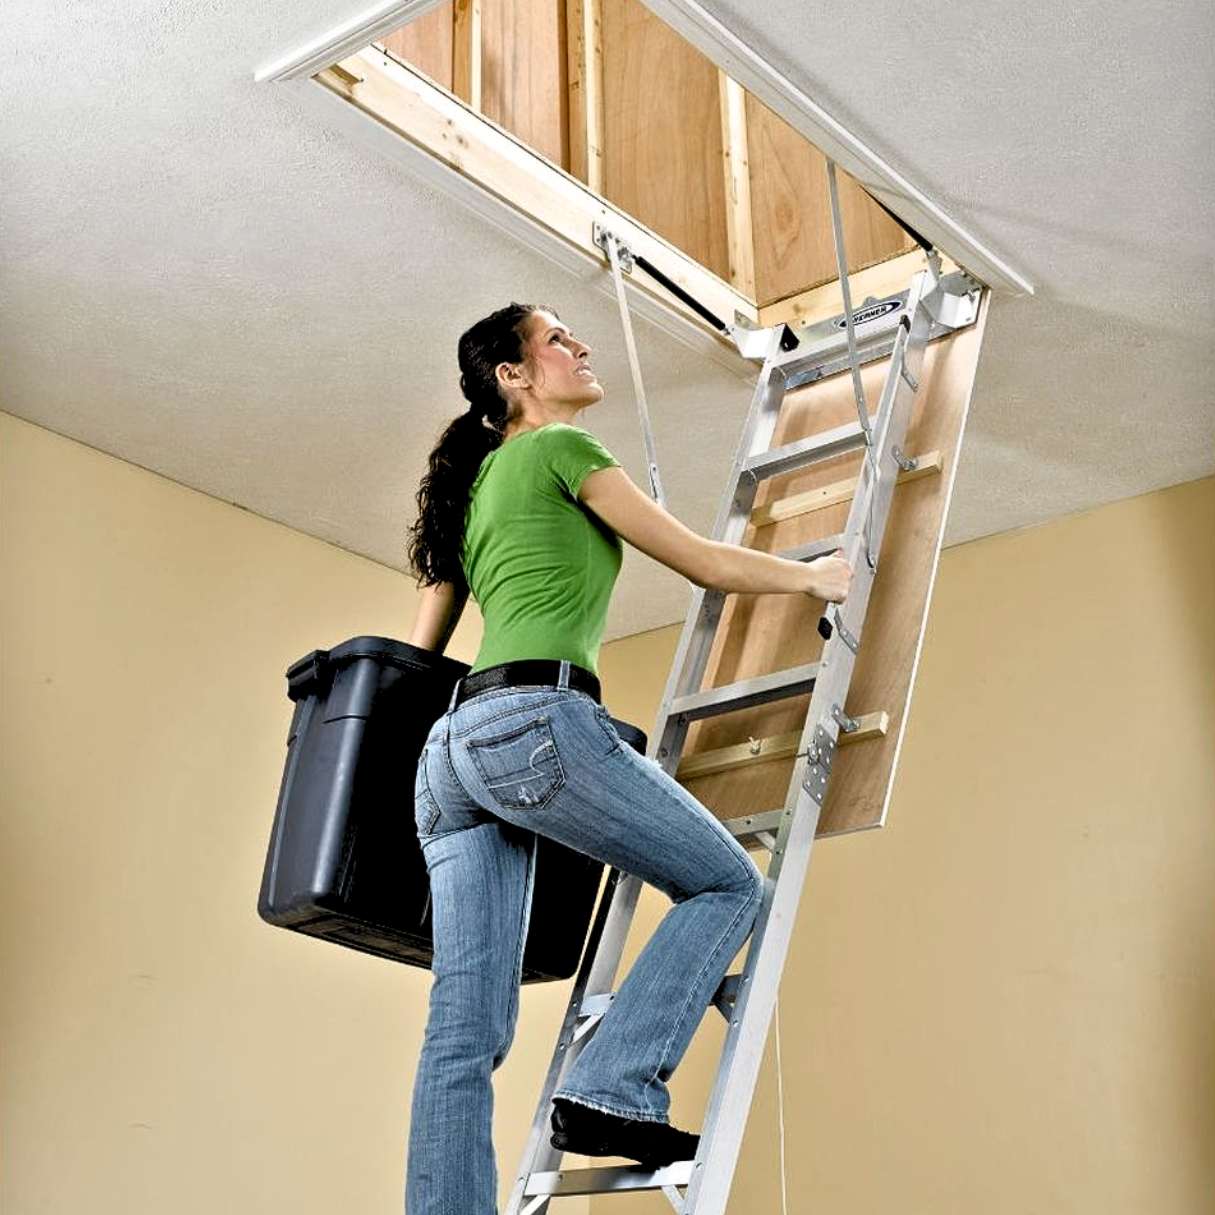
- Consider attic access points: If your attic has an access point, such as a door or hatch, make sure it is properly sealed to prevent the transfer of hot air into the living spaces. Use weatherstripping or insulation to seal any gaps.
By thoroughly assessing your attic’s ventilation needs, you can determine the current state of your ventilation system and identify any areas that require improvement or modification. This evaluation lays the groundwork for implementing the appropriate cooling measures to create a more comfortable and energy-efficient attic environment.
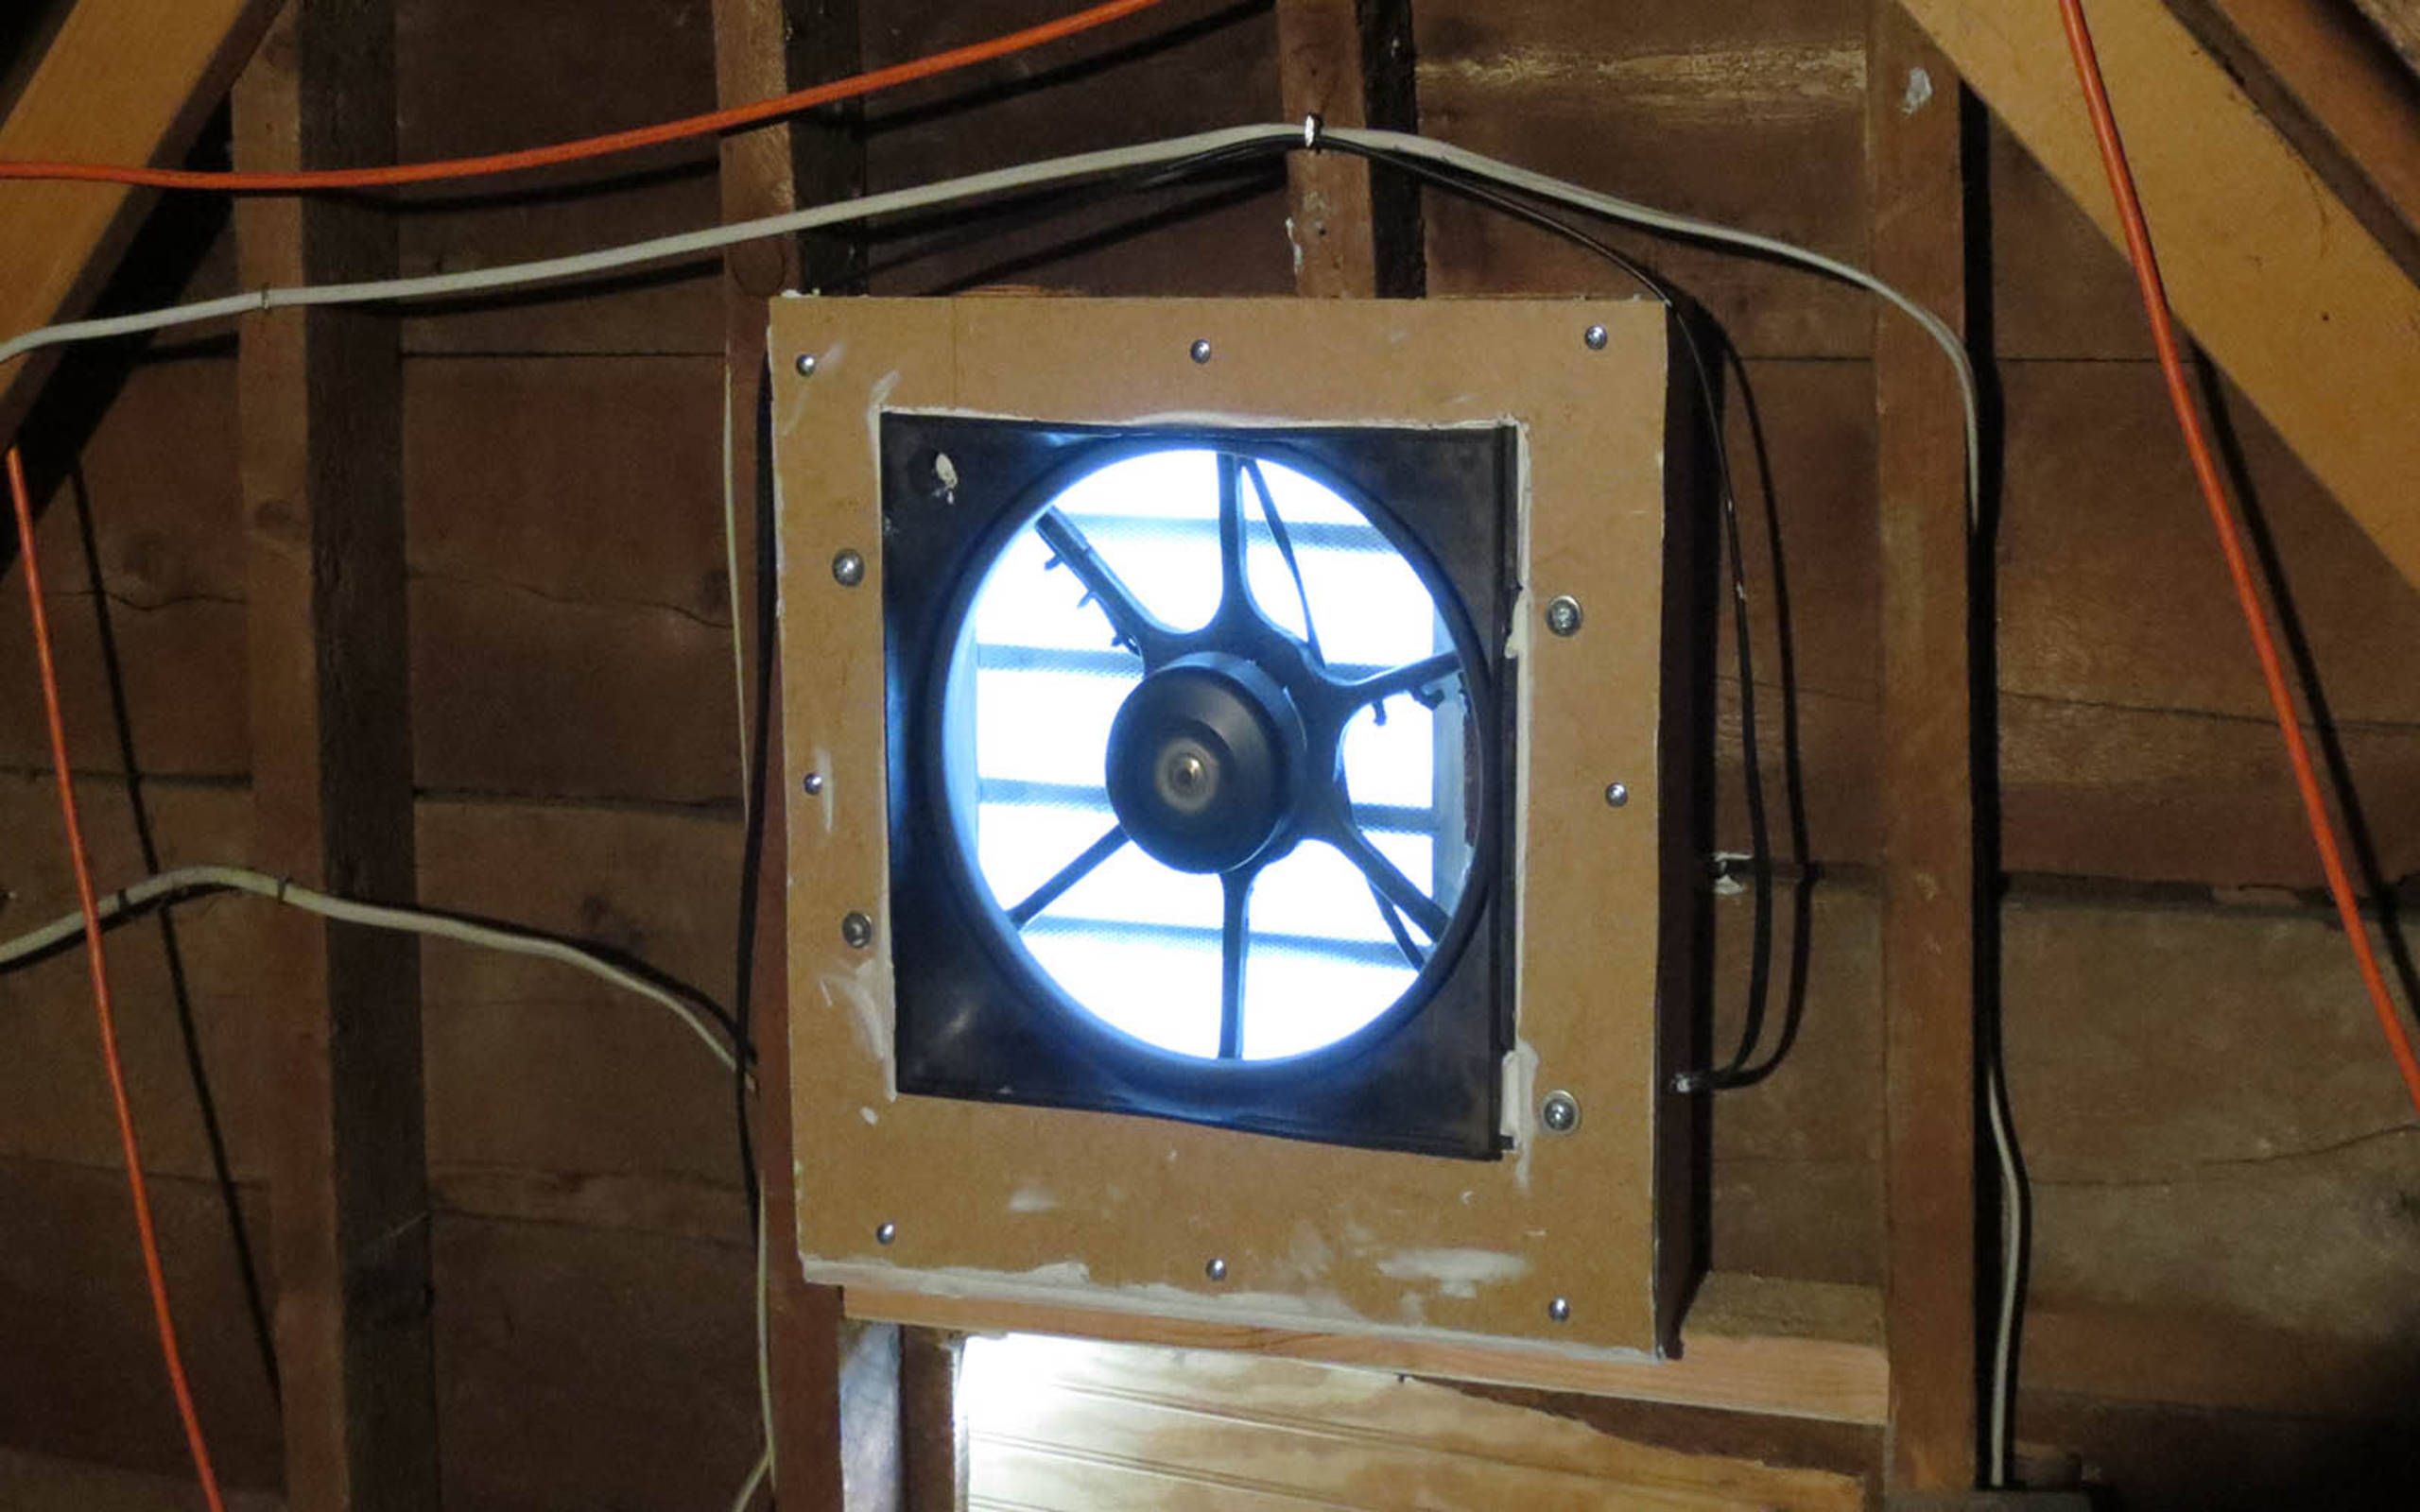
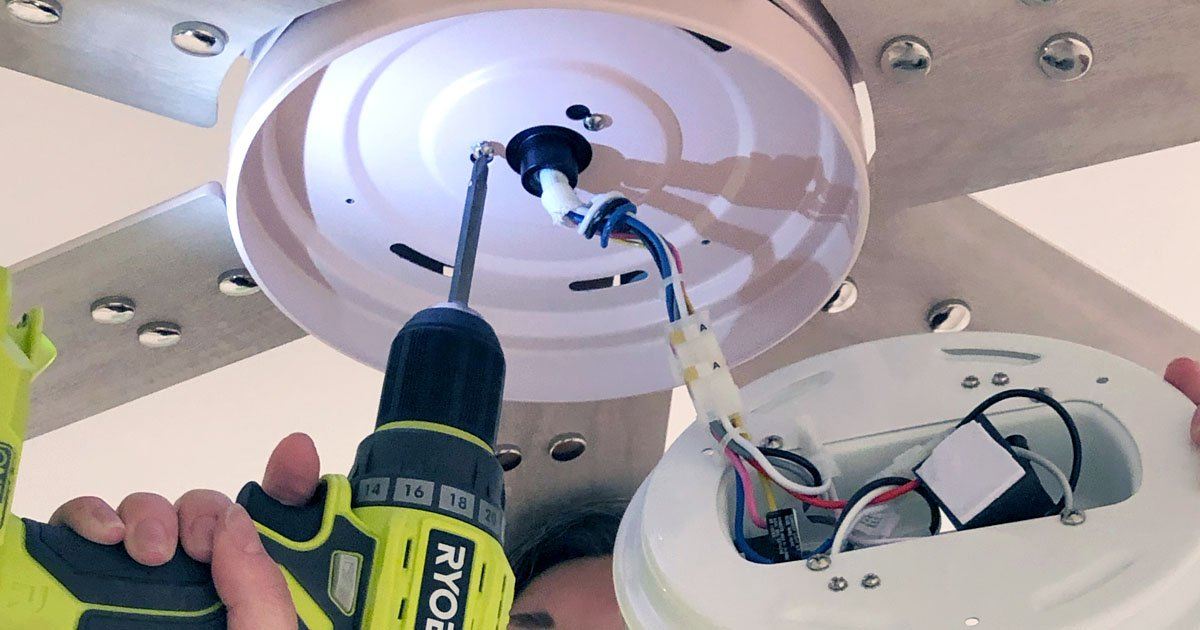
Installing Attic Ventilation Fans
Attic ventilation fans are an effective way to cool down your attic by enhancing airflow and expelling hot air. These fans work by drawing in fresh air from the outside and removing trapped heat, reducing the temperature inside your attic. Here’s a step-by-step guide on how to install attic ventilation fans:
- Determine the type of fan: There are various types of attic ventilation fans available, including roof-mounted fans, gable-mounted fans, and solar-powered fans. Choose the fan type that suits your attic’s configuration and your specific ventilation needs.
- Locate the installation area: Determine the ideal location for installing the fan. This is typically near the peak of the roof where hot air tends to accumulate. Ensure the area is free from obstructions and has proper access for wiring.
- Measure the opening: Measure the size of the fan opening to ensure it fits correctly in the chosen location. Follow the manufacturer’s instructions for the specific dimensions and cut the opening accordingly.
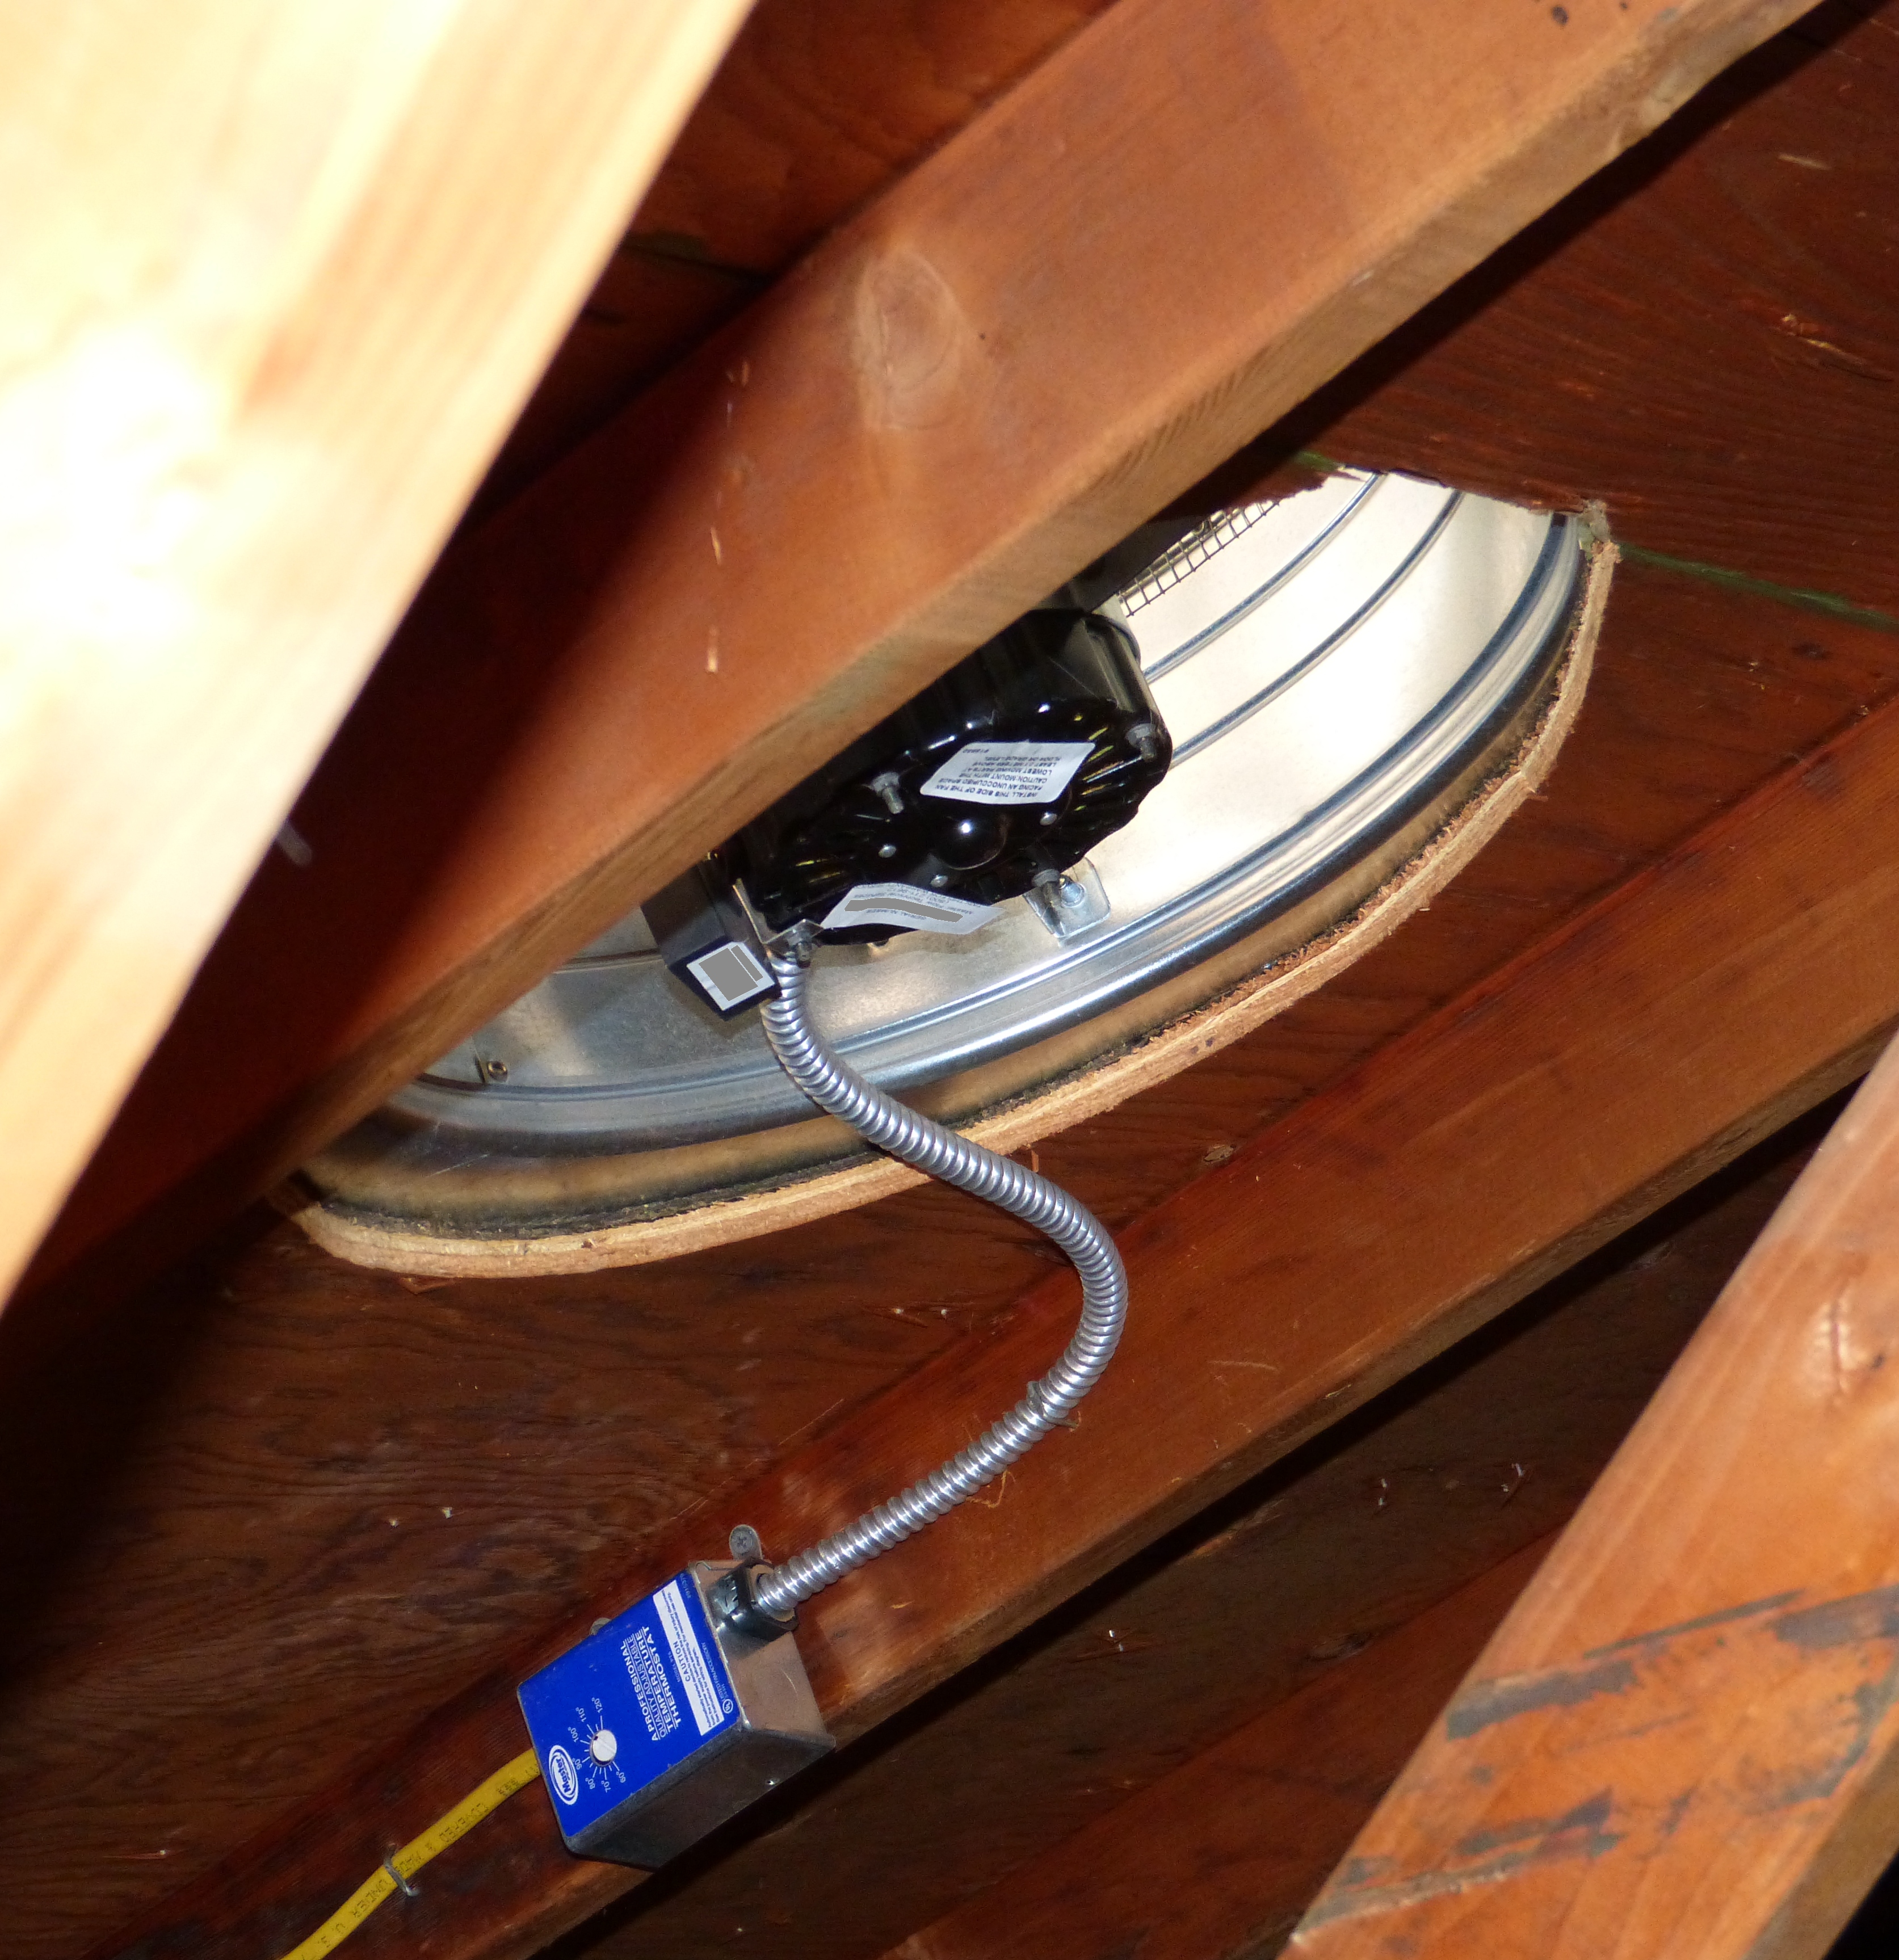
- Install the fan: Securely mount the fan in the designated opening using the provided brackets and screws. Follow the manufacturer’s instructions for the specific installation process, as it may vary depending on the type and model of the fan.
- Install the electrical connections: If the fan requires electrical connections, hire a licensed electrician to ensure proper wiring. The fan should be connected to a dedicated circuit and controlled using a thermostat or a switch for optimal functionality and energy efficiency.
- Seal around the fan: To prevent air leakage and maintain the insulation efficiency, seal around the fan using caulk or foam insulation. This helps to create a tight seal between the fan and the surrounding roof structure.
- Test the fan: Once the installation is complete, test the fan to ensure it is functioning correctly. Check that the fan turns on and off as expected and that there is adequate airflow and ventilation in the attic.
- Maintain the fan: Regularly clean and inspect the fan to keep it operating at its best. Remove any dust, debris, or obstructions that may hinder its performance. Additionally, check the electrical connections and replace any worn-out parts as needed.
When installing attic ventilation fans, it’s crucial to follow all safety guidelines and local building codes. If you’re not comfortable with the installation process, it’s recommended to hire a professional. Properly installed attic ventilation fans can significantly improve attic airflow, reduce heat buildup, and enhance the overall comfort of your home.
Read more: How Much To Install An Attic Fan
Maximizing Natural Ventilation in Your Attic
Maximizing natural ventilation in your attic is an effective way to cool down the space without relying on electrical fans or mechanical systems. By harnessing the power of natural airflow, you can promote fresh air circulation and expel hot air, resulting in a cooler and more comfortable attic. Here are some tips on how to maximize natural ventilation in your attic:
- Utilize soffit vents: Soffit vents are located along the underside of the eaves or overhangs of your roof. These vents help to bring in cool outside air into the attic. Ensure that the soffit vents are clean and free from any obstructions, such as insulation or debris.
- Install ridge vents: Ridge vents are installed along the ridge line of your roof and allow hot air to escape from the attic. They work in conjunction with soffit vents to create a natural airflow pathway. Ridge vents are a preferred option as they are more effective in ventilating the entire attic compared to other types of vents.
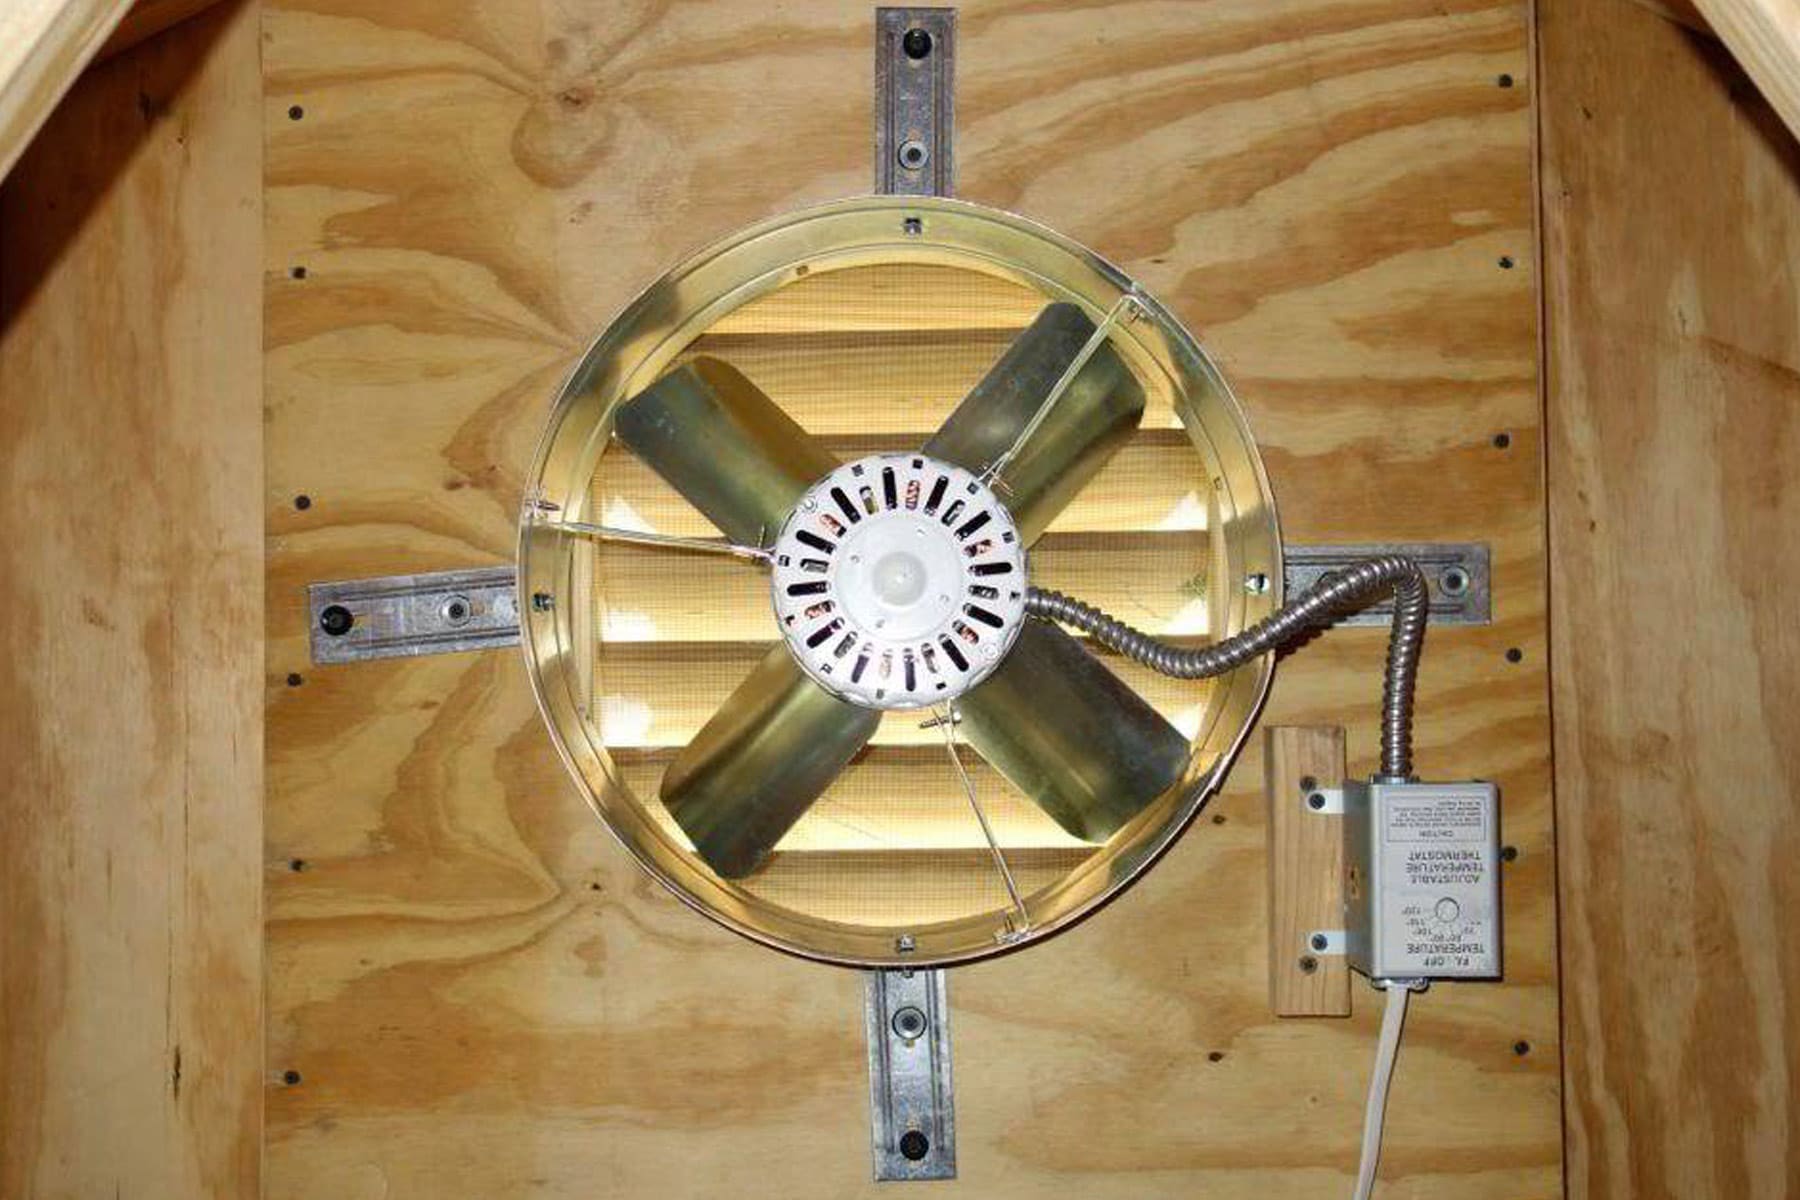
- Consider gable vents: Gable vents are installed in the gable walls of your attic and help to improve cross ventilation. They allow fresh air to come in through one gable vent while hot air exits through another, maximizing airflow and cooling efficiency.
- Evaluate roof vents: Roof vents, such as static vents or turbine vents, can also enhance natural ventilation. Ensure that these vents are properly installed and functioning effectively. Regularly inspect and clean the vents to remove any dirt or debris that may impede airflow.
- Check for obstructions: Inspect your attic for any obstructions that may block the natural airflow, such as insulation, boxes, or other storage items. Clear away any obstacles to allow for unrestricted ventilation pathways.
- Create a vented baffle system: A vented baffle system is installed between the insulation and the roof decking. This system ensures that the air from the soffit vents can flow freely without being blocked by the insulation. It helps to prevent heat buildup and keeps the attic well-ventilated.
- Enhance attic insulation: Insulation is crucial for maintaining a cooler attic by minimizing heat transfer. Ensure that your attic insulation is properly installed and has a sufficient R-value to effectively restrict heat flow. Proper insulation helps to improve the energy efficiency of your home and keeps the attic temperature stable.
- Consider attic ventilation chutes: Attic ventilation chutes, also known as baffles, are installed between the roof rafters and help to direct air from the soffit vents toward the ridge vents. They ensure that fresh air reaches all areas of the attic and prevents insulation from obstructing airflow.
By maximizing natural ventilation in your attic, you can significantly reduce heat buildup, improve air circulation, and create a more comfortable living environment. It’s important to regularly inspect and maintain your attic’s ventilation system to ensure its efficiency and effectiveness in cooling your attic.
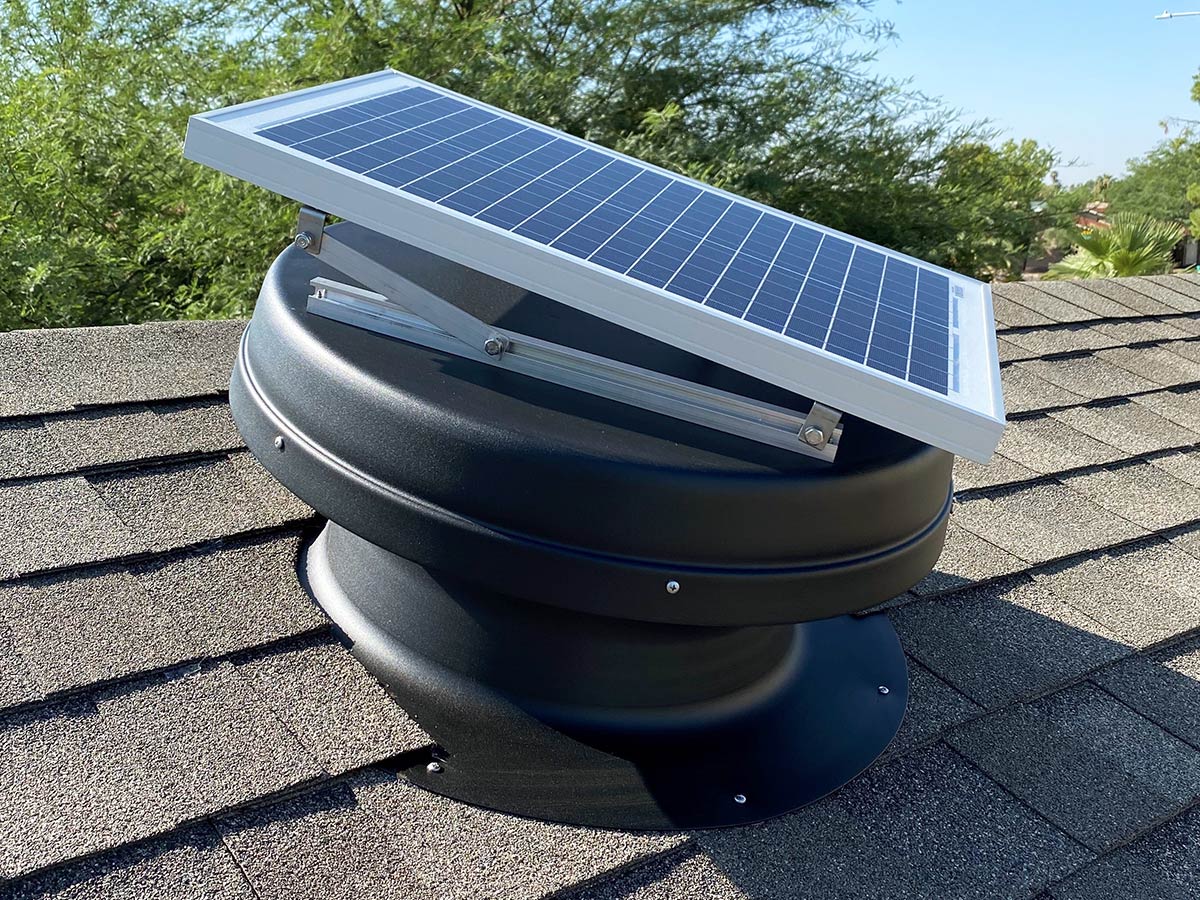
Consider installing a solar-powered attic fan to help cool down your attic. It can help reduce the temperature and prevent heat from transferring into your living space.
Adding Insulation to Reduce Attic Heat
Adding insulation to your attic is an effective strategy for reducing heat transfer and maintaining a cooler environment. Insulation helps to create a barrier that prevents the hot air from outside from penetrating into the living spaces, thus reducing the amount of heat that enters your home. Here are some key steps to add insulation to your attic:
- Determine the insulation type: There are several types of insulation available, including fiberglass batts, blown-in cellulose, and spray foam. Each type has its own pros and cons, so consider factors such as R-value, moisture resistance, and cost before making a decision.
- Measure the attic space: Calculate the square footage of your attic to determine how much insulation material you will need. Measure the length and width of the attic floor and multiply these dimensions to get the total square footage.
- Seal air leaks: Before adding insulation, it’s crucial to seal any air leaks in your attic. Common areas for air leaks include gaps around pipes, electrical wires, and recessed light fixtures. Use caulk or spray foam to seal these gaps and prevent the escape of conditioned air.
- Prepare the attic: Clear out any existing debris or objects in your attic to create a clean and accessible workspace. If necessary, install walkways or platforms to provide stability and ease of movement during the insulation installation process.
- Install insulation batts: If using fiberglass batts, unroll them and lay them across the attic floor. Start from one end and work your way across, ensuring that there are no gaps or overlapping sections. Use a utility knife to cut the insulation to fit around obstacles such as wires or vents.
- Use blown-in insulation: Blown-in insulation, such as cellulose or fiberglass, is another option for insulating your attic. This method involves using a machine to blow loose insulation material into the attic space. Follow the manufacturer’s instructions for proper installation and achieve the recommended R-value.
- Pay attention to safety: When adding insulation, it’s important to prioritize safety. Wear appropriate protective gear, such as gloves, goggles, and a dust mask, to prevent skin irritation and inhalation of fibers. If necessary, consider hiring a professional insulation contractor for the installation.
- Consider radiant barrier: For additional heat reduction, consider installing a radiant barrier in your attic. This reflective material reflects radiant heat away from your home, reducing the amount of heat that enters through the roof. Radiant barriers can be applied to the underside of the roof rafters or stapled to the attic ceiling.
By adding insulation to your attic, you can significantly reduce heat transfer, maintain a cooler space, and improve energy efficiency. Proper insulation not only keeps your home more comfortable but also helps to lower your energy bills by reducing the workload on your cooling system. Take the time to install insulation correctly and choose the appropriate type and thickness for your attic’s insulation needs.
Using Radiant Barrier to Cool Your Attic
A radiant barrier is a highly effective solution for cooling your attic by reducing the amount of heat that enters your home. It works by reflecting radiant heat from the sun away from your attic, preventing it from penetrating into the living spaces below. Here’s how you can use a radiant barrier to cool your attic:
- Choose the right radiant barrier: There are different types of radiant barriers available, including foil-based barriers and radiant barrier paints. Consider factors such as durability, ease of installation, and cost effectiveness when selecting a radiant barrier that suits your needs.
- Assess your attic space: Before installing a radiant barrier, assess your attic to determine the best areas to apply it. Typically, the radiant barrier is installed on the underside of the roof rafters. Ensure that there is enough space to work comfortably and that the roof rafters are in good condition.
- Clean the attic: Before installing the radiant barrier, make sure the attic is clean and free of any debris. Clear away any dust, cobwebs, or loose insulation that may interfere with the application process and the effectiveness of the radiant barrier.
- Measure and cut: Measure the length of the roof rafters to determine the length of the radiant barrier needed. Cut the radiant barrier into strips or sections that match the measurements, leaving some overlap to ensure complete coverage.
- Install the radiant barrier: Start at one end of the attic and attach the radiant barrier to the underside of the roof rafters using a staple gun or adhesive. Ensure a secure and tight fit to prevent sagging or gaps. Work your way across the attic until all the roof rafters are covered.
- Seal the edges: Once the radiant barrier is installed, seal the edges using reflective tape or foil tape to create a continuous barrier. This will prevent any air gaps or heat leakage around the edges of the radiant barrier.
- Consider other areas: In addition to the underside of the roof rafters, you can also install a radiant barrier on the attic floor or over the insulation. This can further reduce heat transfer and enhance the cooling effect in your attic.
- Maintain the radiant barrier: Regularly inspect the radiant barrier for any signs of damage or wear. Repair or replace any sections that may have become loose or torn. Additionally, keep the attic clean and free from dust and debris to ensure the optimal performance of the radiant barrier.
By using a radiant barrier, you can significantly reduce the amount of heat that enters your attic, keeping the space cooler and more comfortable. This, in turn, helps to lower your energy costs by reducing the workload on your air conditioning system. Follow these steps to properly install and maintain a radiant barrier in your attic, and enjoy a cooler living environment while maximizing energy efficiency.
Seal Air Leaks in Your Attic
Sealing air leaks in your attic is an essential step in ensuring that your attic remains cool and energy-efficient. Air leaks can allow hot air to enter your attic, leading to increased heat buildup and reduced effectiveness of your cooling systems. Here’s a guide on how to seal air leaks in your attic:
- Identify the air leaks: Begin by inspecting your attic for any visible signs of air leaks. Look for gaps, cracks, holes, or areas where light is penetrating from the outside. Common areas prone to air leaks include around electrical wiring, plumbing vents, recessed lighting fixtures, and attic access doors or hatches.
- Use caulk or adhesive: Seal small gaps or cracks with caulk or adhesive. Apply the caulk or adhesive thoroughly, filling in the gaps to create airtight seals. This will prevent the flow of air between the attic and the outside environment.
- Apply weatherstripping: Install weatherstripping around attic access doors or hatches to create a tight seal. This will prevent air from leaking in and out of the attic through these openings. Choose weatherstripping materials that are suitable for the specific type of door or hatch you have.
- Seal electrical wiring penetrations: Inspect around electrical wiring and seal any gaps or openings with expandable foam insulation. Be careful not to overfill the area and avoid spraying foam directly onto electrical components.
- Insulate recessed lighting fixtures: Recessed lighting fixtures can be significant sources of air leakage. Use specially designed airtight covers or boxes to insulate these fixtures, preventing air from leaking into the attic. Ensure that the covers are compatible with the fixtures and rated for insulation contact.
- Seal plumbing vents: Plumbing vents that pass through the attic can be sealed with flashing or other appropriate sealing materials. Create a tight seal around the vent to prevent air leakage. Consult with a professional if you are unsure about how to seal plumbing vents properly.
- Insulate around ducts: Insulate and seal any ductwork running through your attic. Use insulation sleeves or duct wrap to cover the ducts and prevent air leakage. Pay attention to any joints or connections and ensure they are properly sealed to maintain efficiency.
- Consider hiring a professional: If you are unsure about how to seal air leaks or have extensive air leakage issues, it’s advisable to seek the help of a professional insulation contractor or energy auditor. They can conduct a thorough inspection of your attic and provide expert solutions tailored to your specific needs.
Properly sealing air leaks in your attic is a crucial step in maintaining a cooler and more energy-efficient home. By addressing air leakage, you can significantly reduce heat transfer, improve comfort, and save on energy costs in the long run. Take the time to identify and seal air leaks in your attic, and enjoy the benefits of a well-sealed and properly insulated space.
Read more: How To Build Pull Down Attic Stairs
Recommendations for Attic Cooling Products
When it comes to cooling your attic, there are various products available on the market that can help improve airflow, reduce heat buildup, and enhance overall comfort. Here are some recommendations for attic cooling products:
- Attic Ventilation Fans: Attic ventilation fans, such as roof-mounted fans or gable-mounted fans, are popular options for cooling attics. These fans help to expel hot air and bring in fresh air, promoting better airflow. Look for fans with adjustable speed settings and built-in thermostats for optimal control and energy efficiency.
- Solar-Powered Attic Fans: Solar-powered attic fans are an eco-friendly option that operates using solar energy. These fans are cost-effective and can reduce the load on your electrical system. Look for models that have adjustable panels to maximize solar exposure and a built-in thermostat for automatic operation.
- Ridge Vents: Ridge vents are installed along the peak of your roof and work by allowing hot air to escape through the ridge while drawing in fresh air from the soffit vents. They provide consistent, passive attic ventilation and are aesthetically pleasing as they are integrated into the roofline. Ridge vents are often recommended for homeowners seeking a low-maintenance and effective cooling solution.
- Soffit Vents: Soffit vents are installed along the underside of the eaves or overhangs of your roof. They allow fresh air to enter the attic and facilitate proper airflow. Make sure the soffit vents are unobstructed and clear from debris, insulation, or other materials that may impede airflow.
- Radiant Barriers: Radiant barriers are effective in reflecting radiant heat away from your attic, reducing heat transfer into your living spaces. They are typically installed on the underside of the roof or on the attic floor. Look for radiant barriers with high reflectivity ratings and durability to ensure long-term performance.
- Insulation: Adequate insulation in your attic is essential for reducing heat transfer and maintaining a cooler space. Consider adding or upgrading your attic insulation with materials like fiberglass batts, blown-in cellulose, or spray foam insulation. Ensure proper installation and achieve the recommended R-value for your region.
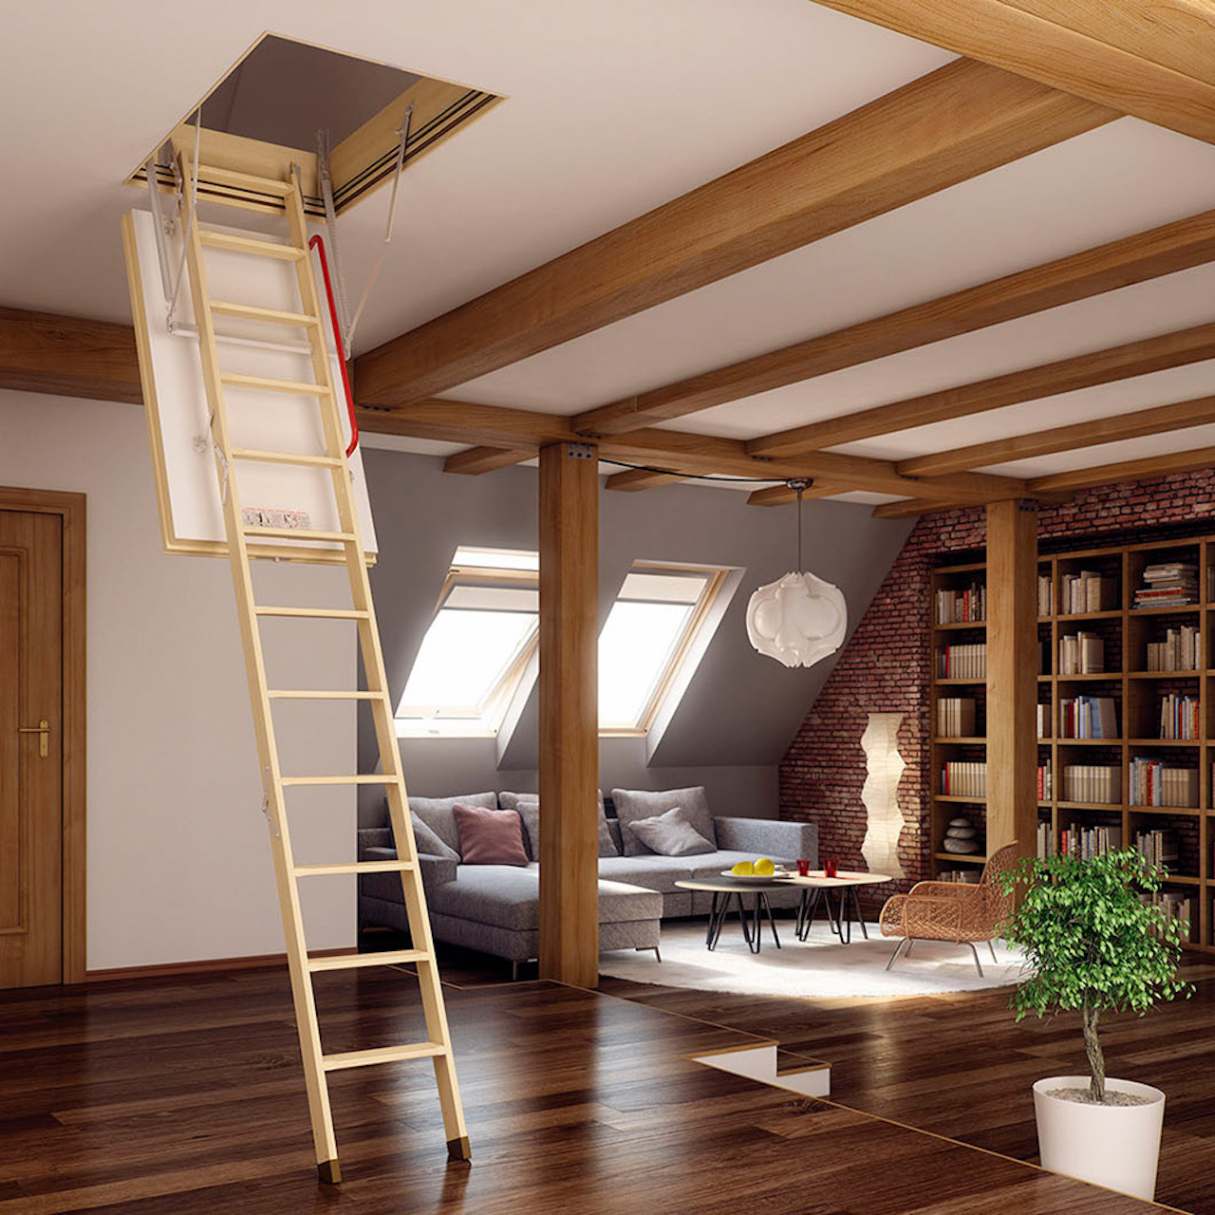
- Attic Stairway Insulator: If your attic has a stairway or access point, consider investing in an attic stairway insulator. These insulating covers are designed to fit over the attic stairs or access hatch, creating a seal to prevent air leakage and heat transfer. Insulated stairway covers help maintain the efficiency and comfort of your attic while reducing energy waste.
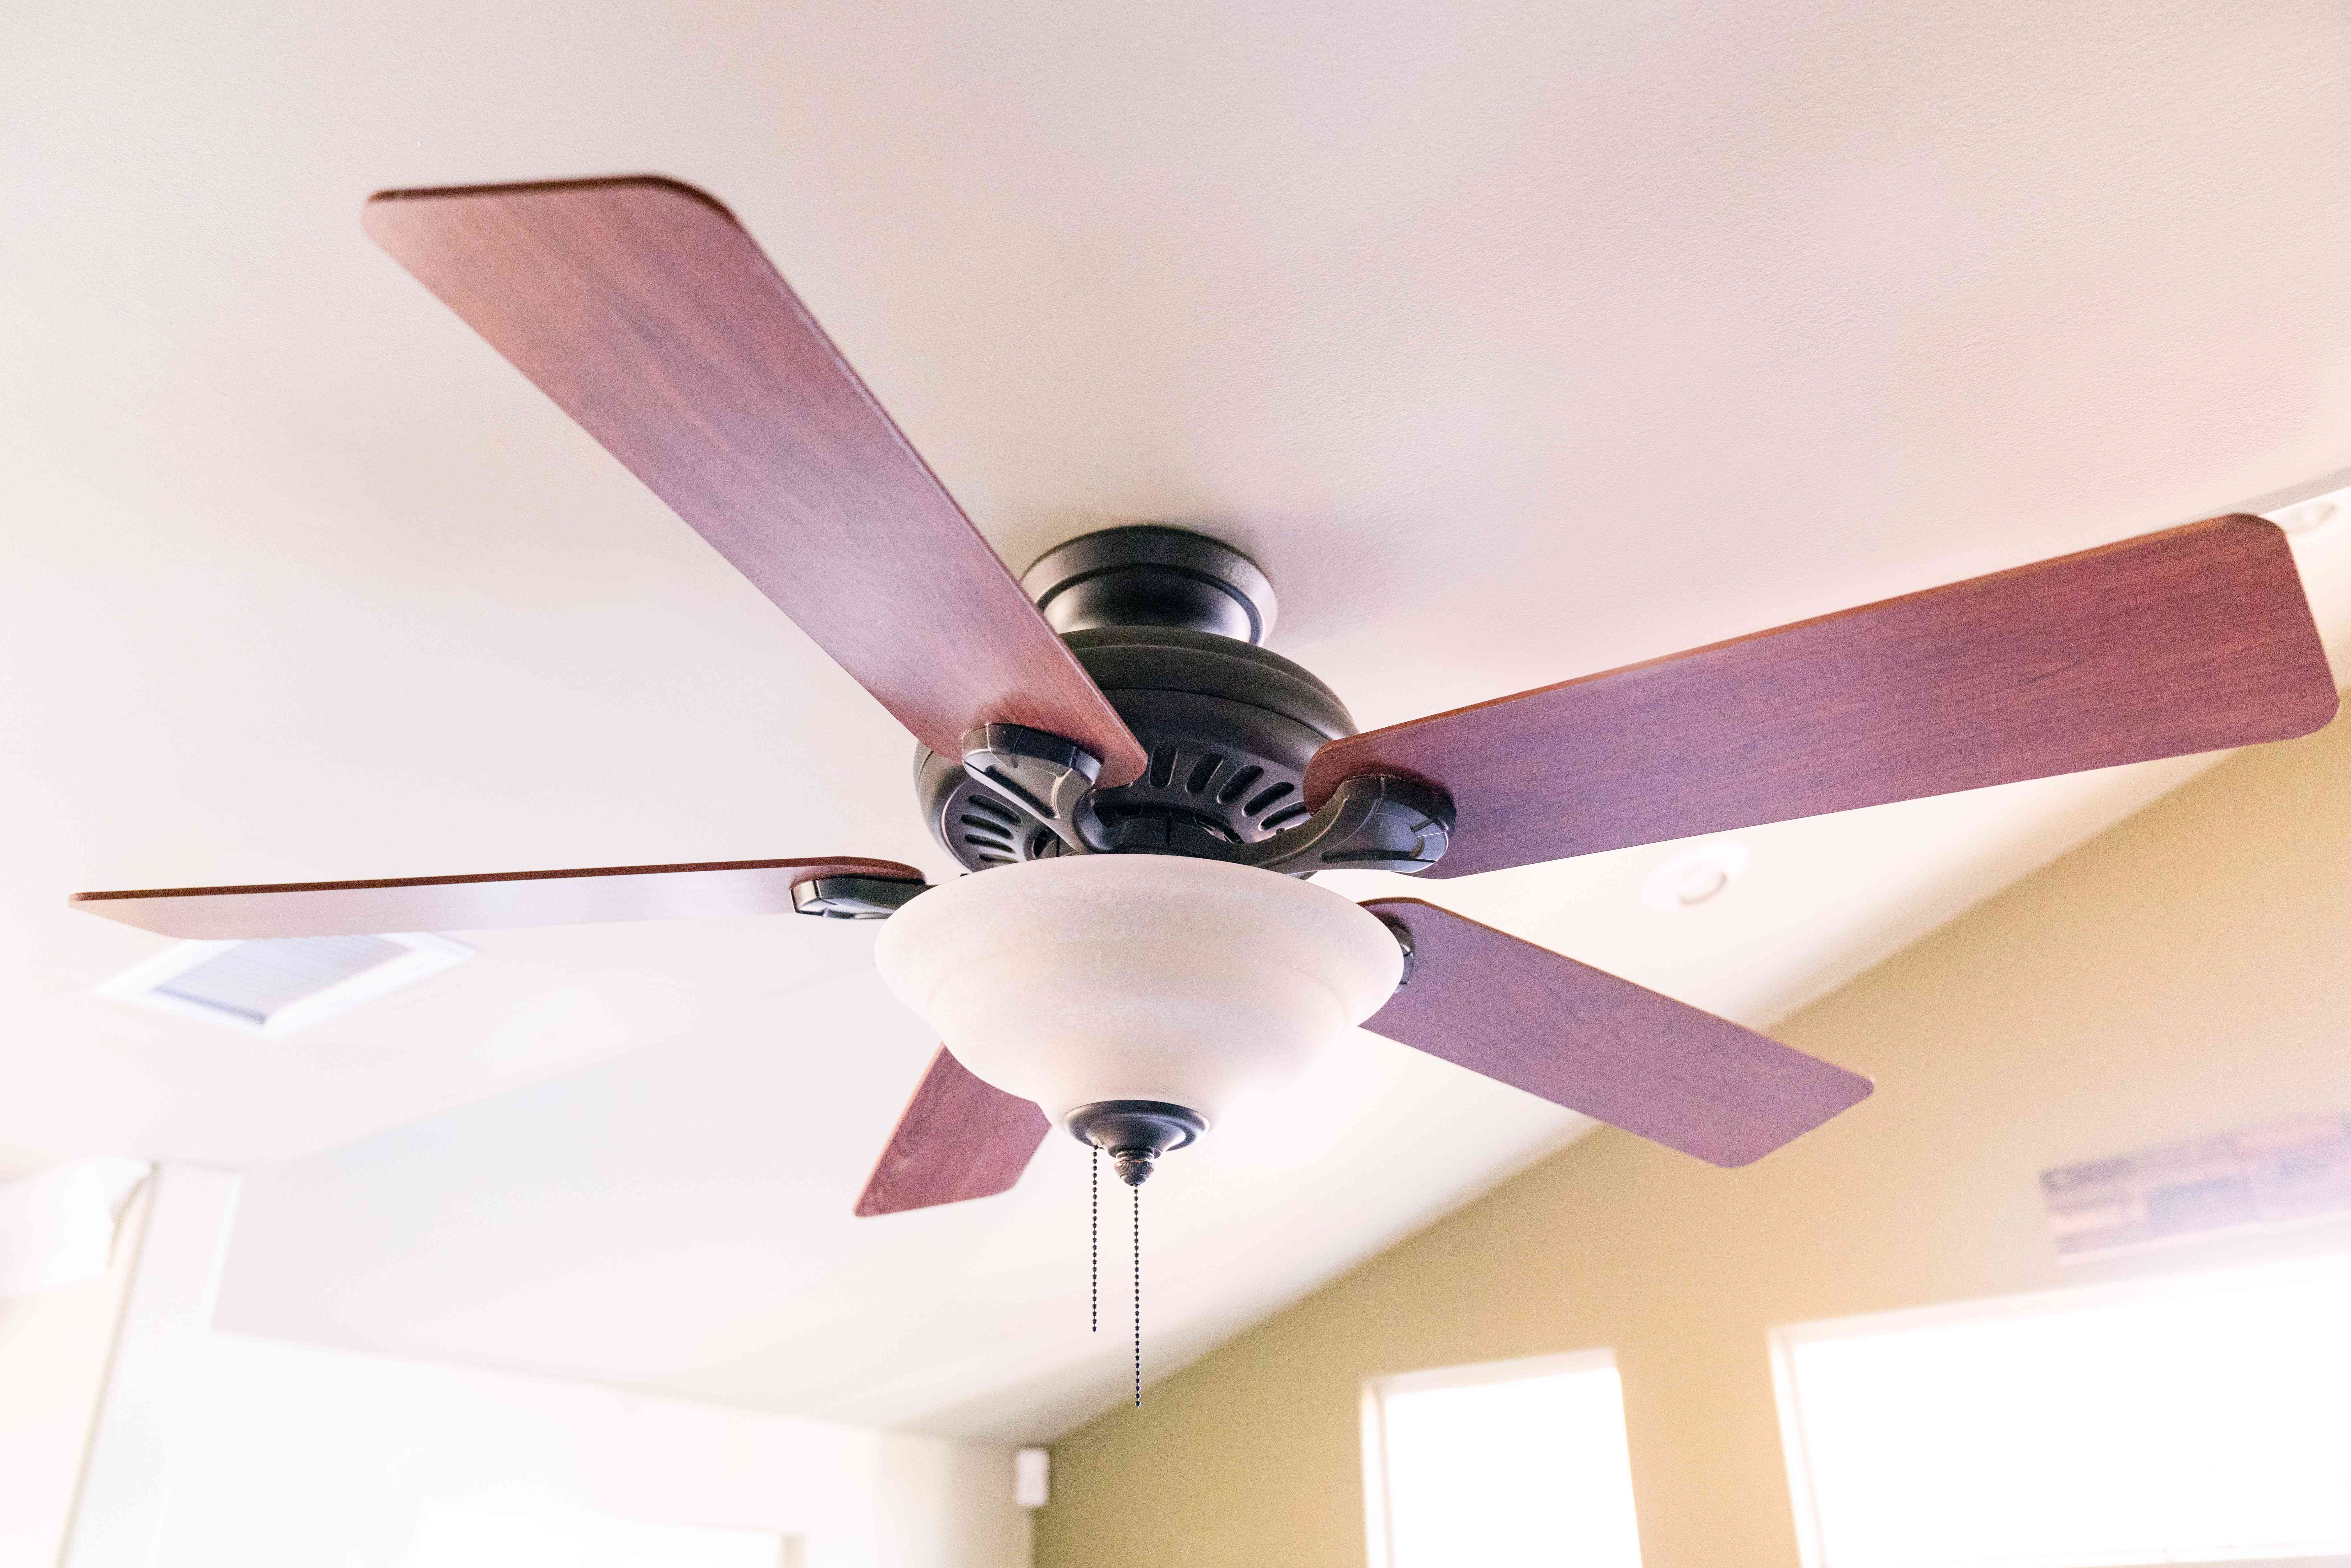
- Whole House Fans: While not specifically designed for attics, whole-house fans can help cool your attic by drawing in cool air from outside and forcing hot air to escape through the attic vents. By running the fan during cooler hours of the day, you can effectively lower the attic temperature. Look for energy-efficient models with quiet operation and easy-to-use controls.
When selecting attic cooling products, consider factors such as your attic size, climate conditions, budget, and energy efficiency goals. It’s recommended to consult with professionals or conduct research to ensure that the products you choose are appropriate for your specific attic cooling needs. With the right combination of attic cooling products, you can transform your attic into a cooler and more comfortable space, making your entire home more enjoyable during hot weather.
Conclusion
Cooling your attic is a critical part of maintaining a comfortable, energy-efficient home. An overheated attic can lead to increased energy costs, reduced effectiveness of your air conditioning system, and potential damage to your roof and structural integrity. By implementing proper attic cooling techniques, you can create a more comfortable living environment and prolong the lifespan of your home.
Throughout this guide, we have explored various methods and products to cool your attic effectively. Understanding the importance of cooling your attic and recognizing signs of overheating are the first steps in addressing the issue. Assessing your attic’s ventilation needs allows you to determine the type and amount of ventilation required for optimal airflow. Installing attic ventilation fans and maximizing natural ventilation through soffit vents, ridge vents, and gable vents enhance airflow and reduce heat buildup. Adding insulation helps to reduce heat transfer and maintain a cooler attic, while a radiant barrier reflects radiant heat away from the attic. Sealing air leaks prevents hot air from entering and maintains the efficiency of your cooling systems.
When exploring attic cooling products, consider options such as attic ventilation fans, solar-powered fans, ridge vents, soffit vents, radiant barriers, insulation, attic stairway insulators, and whole-house fans. Each of these products brings unique benefits and can contribute to a cooler attic environment.
Remember, proper installation and maintenance are crucial for the effectiveness of these cooling techniques and products. Regularly inspect your attic for any signs of overheating, air leaks, or ventilation issues. Addressing these concerns promptly will help you maintain a comfortable, energy-efficient home.
Cooling your attic is a worthwhile investment that can save you money in the long run, improve the lifespan of your roof, and enhance overall comfort. So, take the necessary steps to keep your attic cool and ensure a more enjoyable living environment for you and your family.
Frequently Asked Questions about How To Cool Your Attic Down
Was this page helpful?
At Storables.com, we guarantee accurate and reliable information. Our content, validated by Expert Board Contributors, is crafted following stringent Editorial Policies. We're committed to providing you with well-researched, expert-backed insights for all your informational needs.


0 thoughts on “How To Cool Your Attic Down”