Home>Articles>How To Install A Ceiling Fan Without Existing Wiring And No Attic Access
Articles
How To Install A Ceiling Fan Without Existing Wiring And No Attic Access
Modified: October 19, 2024
Discover step-by-step articles on installing a ceiling fan without existing wiring or attic access. Get expert tips and tricks for a hassle-free DIY project.
(Many of the links in this article redirect to a specific reviewed product. Your purchase of these products through affiliate links helps to generate commission for Storables.com, at no extra cost. Learn more)
Introduction
Installing a ceiling fan can be a great way to improve the comfort and aesthetics of a room. However, it can be a daunting task if you don’t have existing electrical wiring or access to the attic. Fortunately, with the right tools and techniques, you can still install a ceiling fan without existing wiring and no attic access.
In this article, we will provide a step-by-step guide on how to install a ceiling fan in such circumstances. We will cover everything from assessing the area for installation to mounting and wiring the fan. So, let’s get started!
Before we dive into the installation process, it’s important to note that electrical work should always be carried out by a licensed professional if you are not experienced in handling electrical projects. Safety should be a top priority, so if you’re unsure or uncomfortable with any of the steps mentioned, consult a professional electrician.
Now that we’ve got that covered, let’s move on to the first step: assessing the area for installation.
Key Takeaways:
- Installing a ceiling fan without existing wiring and no attic access is possible with careful planning and the right tools. From assessing the area to running electrical wiring and testing the fan, each step is crucial for a successful installation.
- Prioritize safety and consult a professional electrician if unsure about any aspect of the installation process. Properly mounting, wiring, and testing the fan are essential for efficient airflow and long-term functionality.
Step 1: Assess the area for installation
When installing a ceiling fan without existing wiring and no attic access, the first step is to assess the area where you plan to install the fan. This will involve checking for existing electrical wiring and determining if you have access to the attic.
Start by examining the room’s ceiling to see if there are any electrical boxes or wiring present. Look for outlets or switches nearby that could indicate the presence of electrical connections. If you find existing electrical wiring, you may be able to tap into it for your ceiling fan installation.
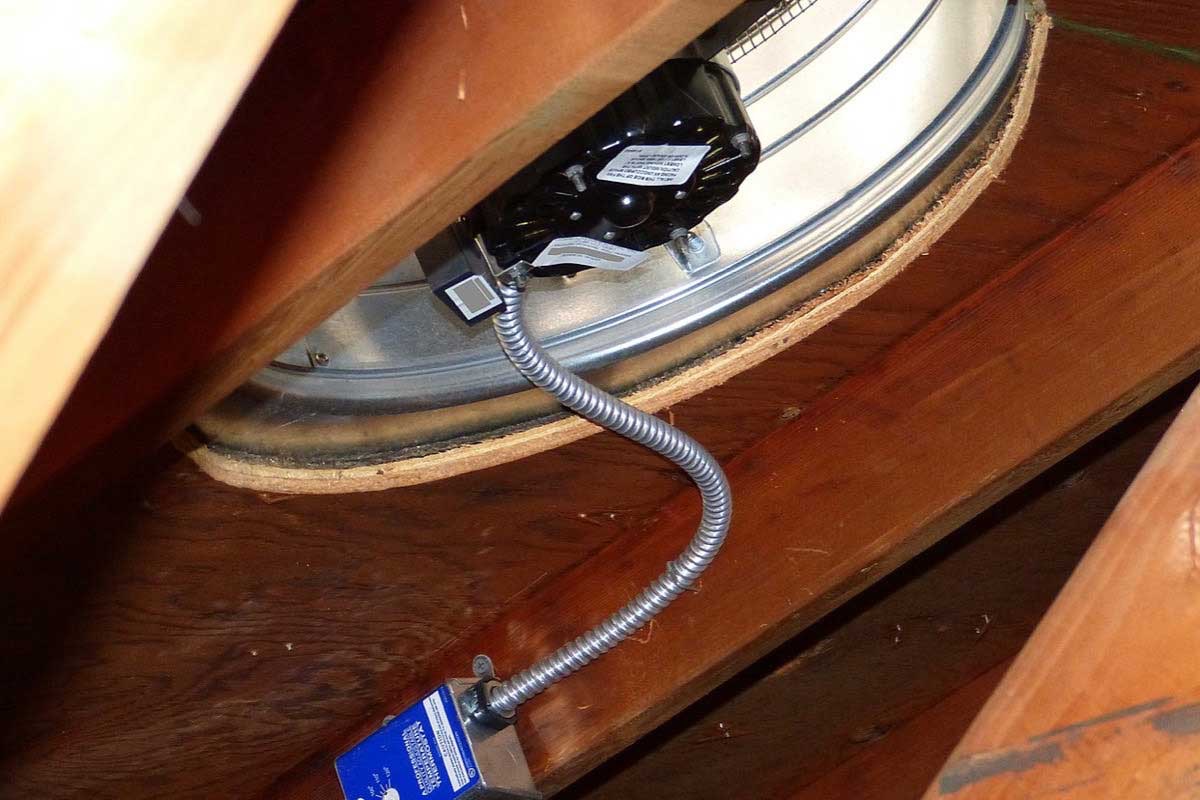
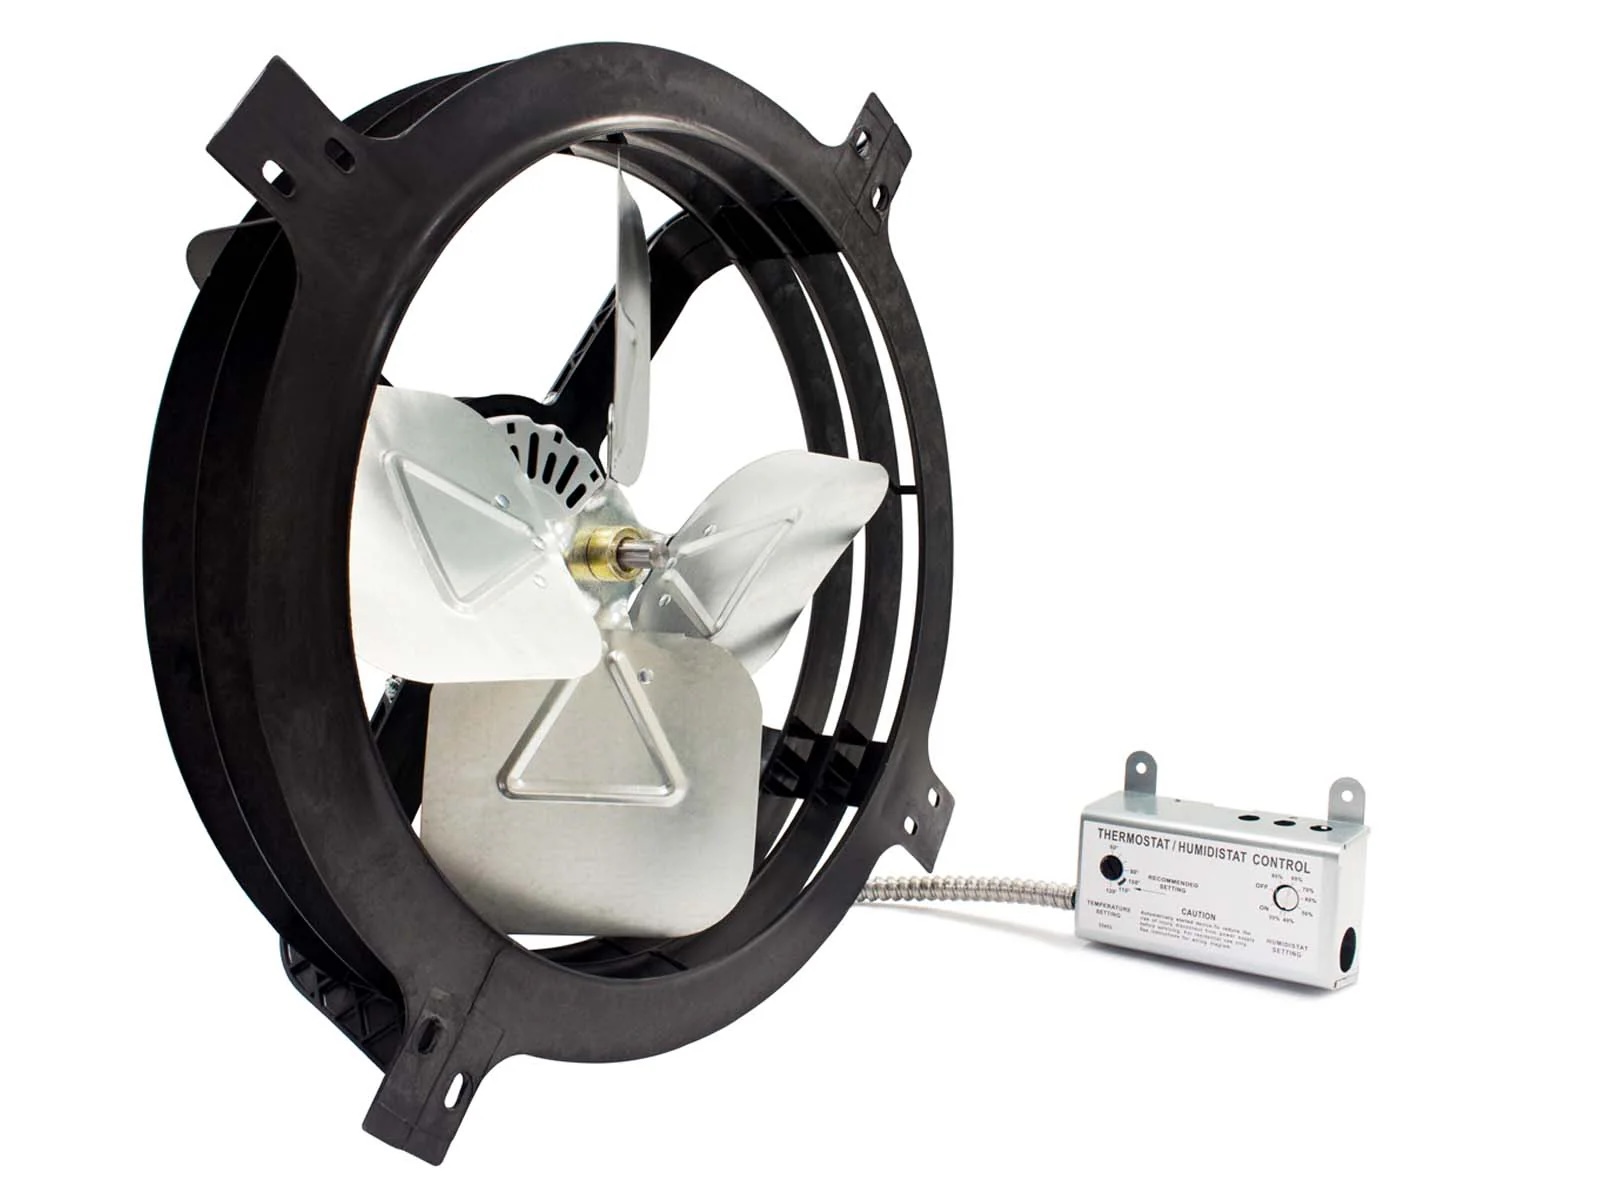
If you don’t find any existing wiring, the next step is to determine if you have access to the attic. Attic access can make the installation process easier as it allows you to run electrical wiring more smoothly. Look for access panels or openings in the ceiling, such as attic hatches or crawl spaces. If you have access to the attic, you can proceed with running the wiring from there.
However, if you don’t have attic access, don’t worry. There are alternative methods you can use to run the wiring without attic access. These methods involve creative solutions to conceal the wires and ensure a clean installation.
Once you have assessed the area and determined whether you have existing wiring or attic access, you can move on to the next step: gathering the necessary tools and materials.
Step 2: Gather the necessary tools and materials
Before you begin the installation process, it’s important to gather all the necessary tools and materials. Having everything prepared in advance will help streamline the installation process and ensure that you have everything you need on hand. Here is a list of the required tools and materials for installing a ceiling fan without existing wiring and no attic access:
List of required tools:
- Screwdriver (Phillips and flathead)
- Wire cutters/strippers
- Stud finder
- Measuring tape
- Drill
- Fish tape or wire pulling tools
- Pliers
- Wire nuts
- Voltage tester
- Ladder or step stool
List of materials needed:
- Ceiling fan kit (Includes the fan, blades, and mounting hardware)
- Electrical cable (Have enough length to reach from a power source to the desired location)
- Junction box (If the existing electrical box is not suitable for a ceiling fan)
- Support brace or mounting bracket (To secure the fan to the ceiling)
- Wire connectors
- Conduit or cable raceway (To hide the wiring if necessary)
- Electrical tape
- Anchors and screws (For mounting the support brace and securing the fan)
- Wire staples or zip ties (To secure the wiring along its path)
- Paint or trim (To cover any exposed wiring or electrical boxes)
Make sure to gather all the tools and materials before you start the installation process. This will help you avoid delays and frustration during the installation. Once you have everything ready, you can proceed to the next step: choosing a suitable location for the ceiling fan.
Step 3: Choose a suitable location for the ceiling fan
Choosing the right location for your ceiling fan is crucial for its efficiency and functionality. When installing a ceiling fan without existing wiring and no attic access, it’s important to consider a few factors when selecting the location. Here are some key factors to consider:
Factors to consider in selecting a location:
- Ceiling height: Ensure that the chosen location has adequate clearance for the fan to rotate without obstruction. As a general rule, the fan blades should be at least 7 feet above the floor and 18 inches away from the nearest wall.
- Proximity to power source: Consider the distance from the power source to avoid unnecessary wiring complications. Choosing a location near an existing electrical outlet or switch will simplify the installation process.
- Room layout and function: Take into account the size and layout of the room, as well as its function. For example, in larger rooms, you may want to install multiple fans to ensure optimal airflow.
- Existing lighting fixtures: If you plan to replace an existing lighting fixture with the ceiling fan, choose a location that aligns with the existing fixture’s electrical wiring to simplify the installation process.
Suggestions for optimal placement:
- Center of the room: Placing the fan in the center of the room ensures maximum coverage and airflow to all areas.
- Over seating areas: If you have a seating area such as a living room or dining area, consider installing the ceiling fan directly above it to provide a cool breeze during hot days.
- In bedrooms: Installing a ceiling fan in bedrooms can improve airflow and provide a comfortable sleeping environment. Consider placing it above the bed for maximum effectiveness.
- Outdoor areas: If you’re installing a ceiling fan in an outdoor space such as a patio or porch, choose a location that offers optimal coverage and circulation of air.
By carefully selecting the location for your ceiling fan, you can ensure that it operates efficiently and meets your cooling needs. Once you have chosen the location, you can proceed to the next step: installing a support brace for the fan.
Step 4: Install a support brace for the fan
Installing a support brace is essential to ensure the stability and safety of your ceiling fan. This step is especially important when there is no existing wiring or attic access. Here are the instructions on securing a support brace for the fan:
- Determine the location: Identify the exact spot where you want to install the fan and mark it on the ceiling.
- Locate the ceiling joists: Use a stud finder to locate the ceiling joists. Be sure to find two adjacent joists to ensure proper support for the fan.
- Measure and align the support brace: Measure the distance between the two joists and cut the support brace to fit. Place the support brace between the two joists, aligning it with the marked spot for the fan.
- Secure the support brace: Use screws or nails to secure the support brace to each joist. Ensure that it is tightly and securely fastened.
- Check stability: Once the support brace is installed, give it a gentle shake to check for stability. It should be firmly secured with no wobbling or movement.
Ensuring stability for the fan installation is crucial to prevent any accidents or damage. A secure support brace will provide a solid foundation for your ceiling fan and minimize the risk of it coming loose or falling from the ceiling.
If the support brace is not included in your fan kit or if you need to reinforce the existing support, you can purchase a mounting bracket designed specifically for ceiling fans. These brackets provide additional support and stability, ensuring the strength of the installation.
By following these instructions and securing a support brace for your ceiling fan, you will create a solid and reliable foundation for the upcoming steps of the installation process. Now that the support brace is in place, you can move on to the next step: running electrical wiring to the desired location.
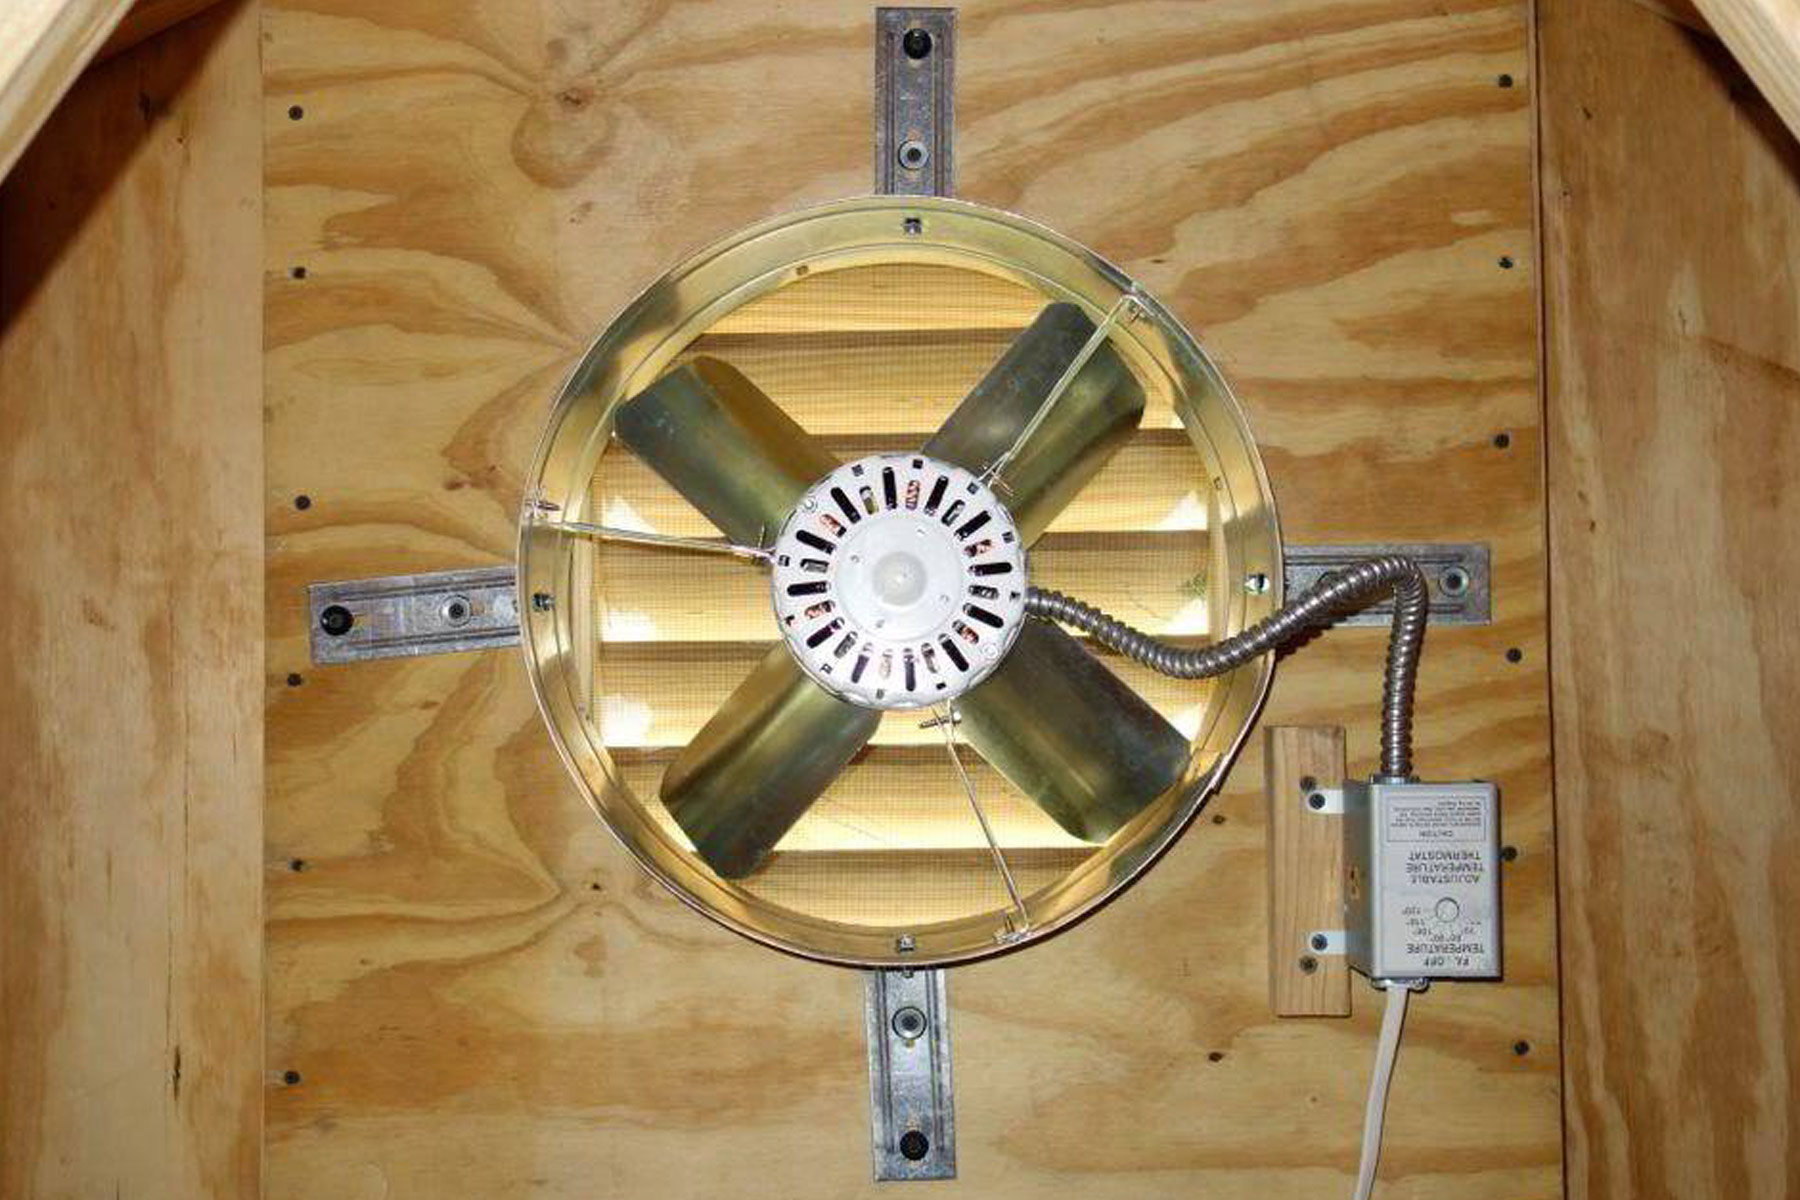
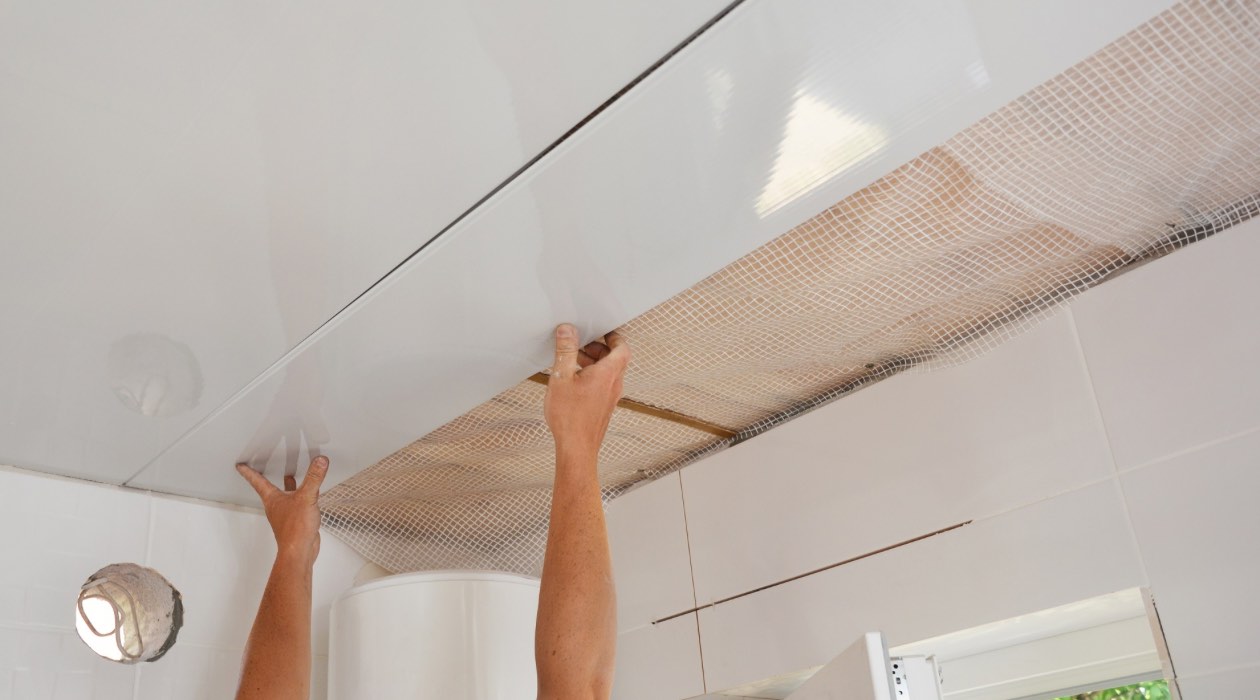
Step 5: Run electrical wiring to the desired location
Running electrical wiring without attic access can be a challenge, but there are several options and techniques you can use to accomplish this step. It’s important to ensure the safety and functionality of the wiring while also maintaining a clean and hidden appearance. Here are some options for running wires without attic access and techniques for hiding the wiring:
Options for running wires without attic access:
- Surface-mounted conduit: One option is to use surface-mounted conduit to run the wiring along the walls or ceiling. This is a visible solution but can be a practical choice when access to the walls or ceiling cavity is limited.
- Cable raceways: Cable raceways are similar to surface-mounted conduit but come in a variety of sizes and styles, allowing for a more aesthetically pleasing appearance. They can be painted to match the surrounding surfaces and provide a clean and streamlined look.
- Fish tape or wire pulling tools: If there are small gaps or spaces available, you can use fish tape or wire pulling tools to navigate the wiring through them. This requires careful planning and patience but can be effective for concealing the wiring.
Techniques for hiding the wiring:
- Utilize baseboards and trim: One technique is to hide the wiring behind baseboards or within trim. This can be done by creating a notch or groove in the baseboard or trim and running the wires through it. Remember to use caution and avoid damaging any existing electrical or structural components.
- Paint or camouflage: Depending on the color and finish of the wiring, you can paint it to match the surrounding surfaces, making it less noticeable. Additionally, you can strategically position furniture or decorative elements to help camouflage the wiring and divert attention away from it.
- Use existing openings or pathways: Look for existing openings or pathways, such as air vents, to run the wiring through. This can help minimize any damage or alteration to the walls or ceiling while ensuring a hidden and neat installation.
When running the wiring, ensure that it is safely secured and protected throughout its path. Use wire staples or zip ties to secure the wiring tightly against the surface, minimizing any potential hazards or obstructions.
By considering these options and techniques, you can successfully run electrical wiring without attic access and achieve a clean and concealed installation for your ceiling fan. With the wiring in place, you are ready to move on to the next step: installing a new electrical box.
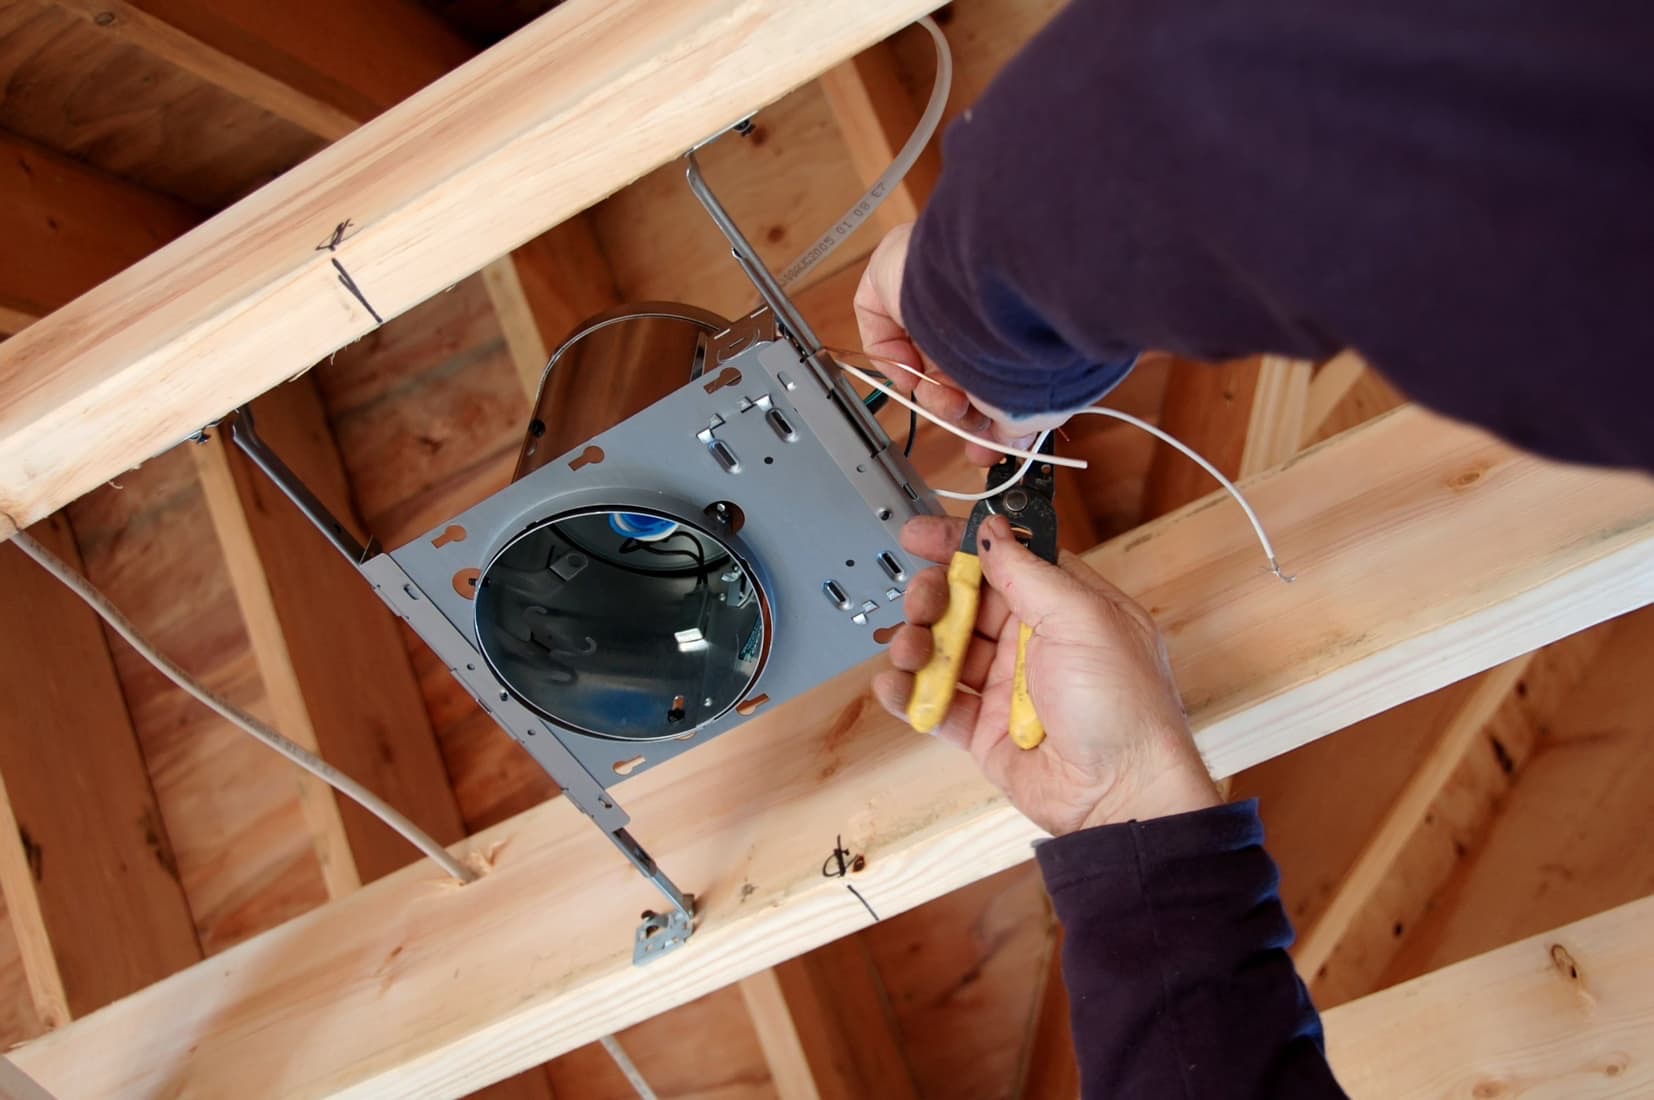
Step 6: Install a new electrical box
Installing a new electrical box is necessary when the existing box is not suitable for ceiling fan installation or when there is no pre-existing box. A secure electrical box is crucial to provide a stable and safe mounting point for the fan. Here are the steps to mount a new electrical box and the types of electrical boxes suitable for ceiling fan installation:
Read more: How To Install Ceiling Lights Without Wiring
Steps to mount a new electrical box:
- Turn off the power: Before starting any electrical work, always switch off the power supply from the main breaker to ensure safety.
- Choose the right box: Select an electrical box suitable for ceiling fan installation. Look for a heavy-duty, rated box specifically designed to support the weight and movement of a ceiling fan.
- Prepare the installation area: Remove any existing light fixtures or elements from the chosen location. Clear the area and ensure it is clean and free of debris.
- Attach the box: Position the pre-wired or surface-mounted box over the hole or conduit opening. Secure it to the ceiling or wall using the provided screws or nails. Ensure that the box is flush and securely attached.
- Connect the wiring: Connect the electrical wires from the power source to the appropriate terminals in the electrical box. Follow the manufacturer’s instructions and ensure all connections are secure.
- Secure the electrical box: Double-check that the electrical box is firmly secured. Give it a gentle tug to ensure it does not move or come loose.
- Test before proceeding: After the electrical box is installed, turn the power back on and test the connections with a voltage tester to ensure they are functioning properly.
Types of electrical boxes suitable for ceiling fan installation:
There are several types of electrical boxes designed for ceiling fan installations. Some common options include:
– Octagonal box: This box has a circular shape with eight sides and is a popular choice for ceiling fan installations. It provides sturdy support and can accommodate standard electrical connections.
– Old work box: An old work box is designed to be installed in existing walls or ceilings without the need for access to the attic. It features adjustable brackets that secure it in place, making it suitable for retrofitting projects.
– Support brace box: This type of box includes a support brace that attaches between the ceiling joists, providing additional stability and support for the ceiling fan.
– Deep or heavy-duty box: If you have a heavier or larger ceiling fan, consider using a deep or heavy-duty box that is specifically designed to handle the weight and movement of a fan.
It’s important to choose the correct electrical box based on the specific requirements of your ceiling fan and installation area. Always follow the manufacturer’s instructions and consult a professional if you are unsure about the appropriate box for your project.
With the new electrical box securely in place, you are ready to move on to the next step: mounting and wiring the ceiling fan.
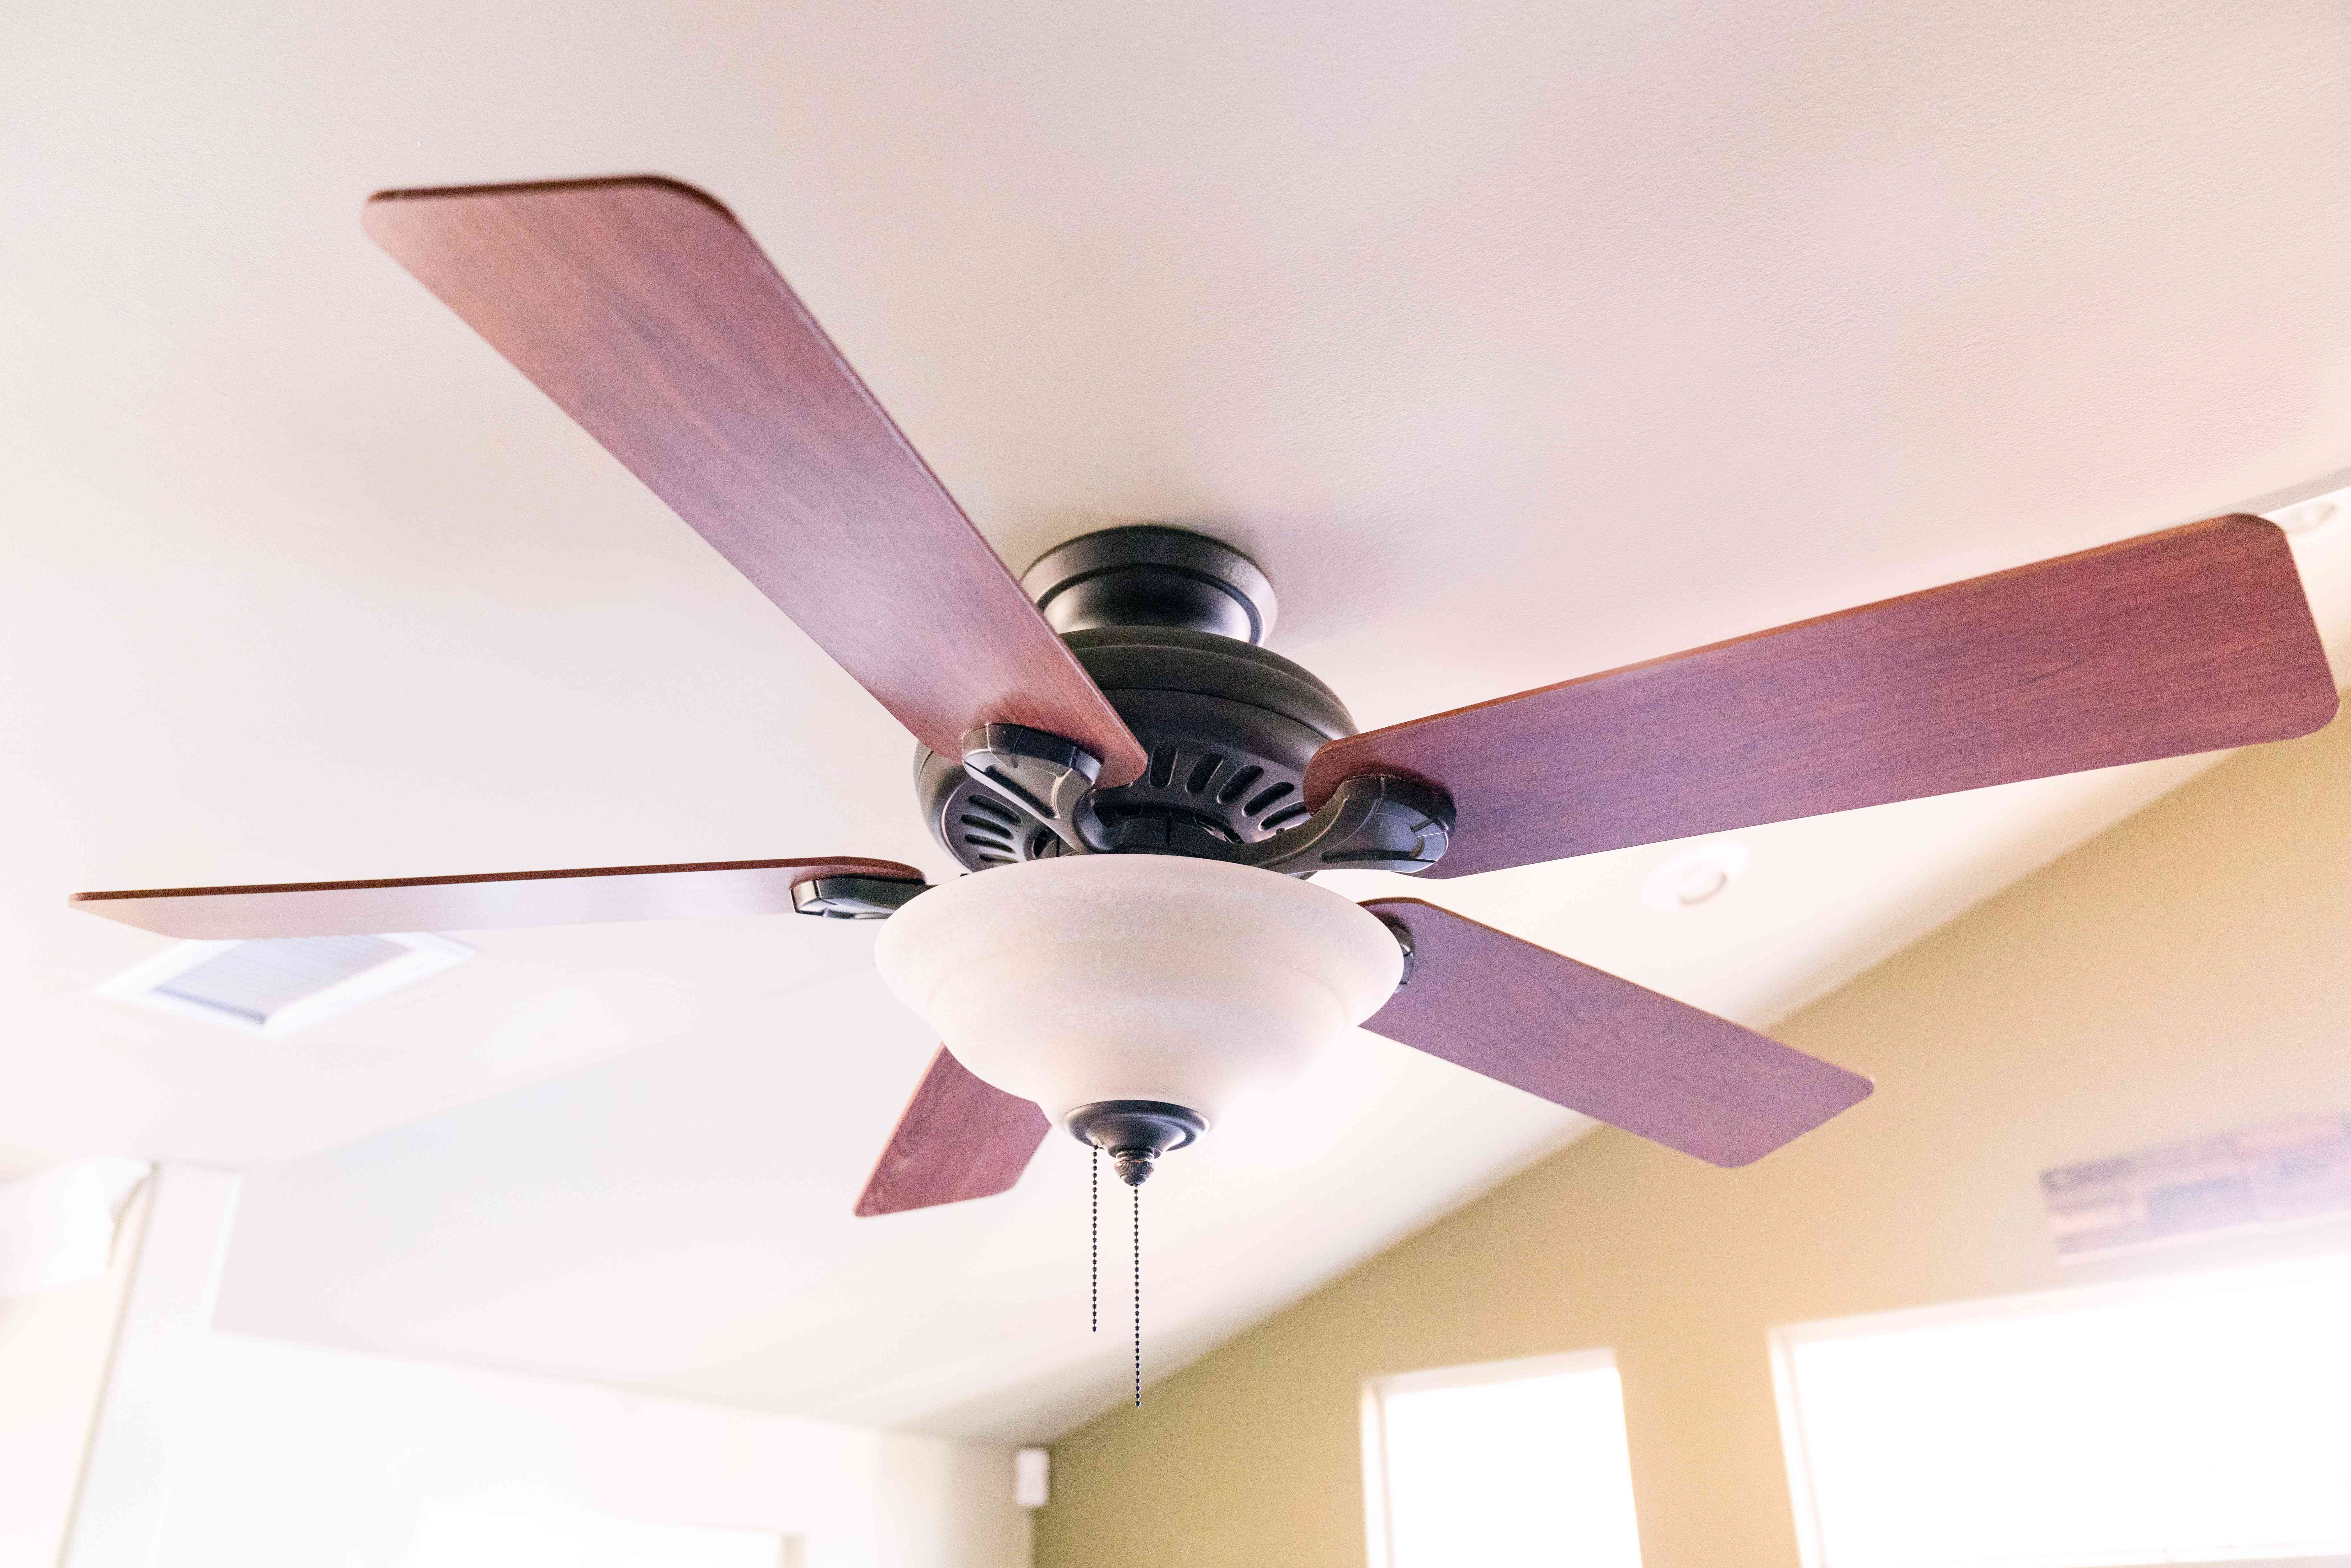
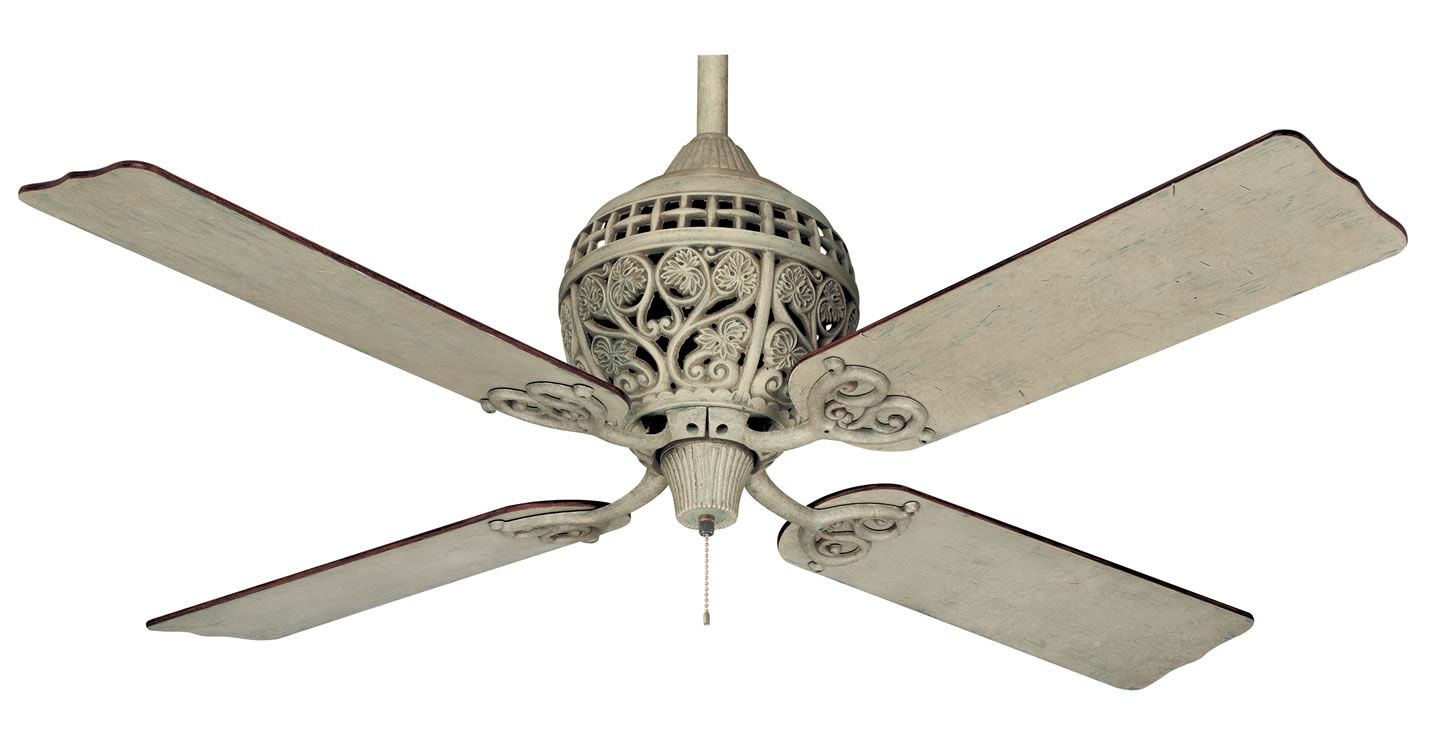
Step 7: Mount and wire the ceiling fan
Now that you have a secure electrical box in place, it’s time to mount and wire the ceiling fan. Properly mounting the fan and connecting the wiring are important steps to ensure the fan’s functionality and safety. Follow these instructions to complete this step:
Instructions on mounting the fan to the electrical box:
- Assemble the fan: Follow the manufacturer’s instructions to assemble the various components of the ceiling fan, including the blades, motor, and any additional parts.
- Mount the fan bracket: Attach the fan bracket or mounting plate to the electrical box using the provided screws. Ensure that it is securely fastened to provide a stable foundation for the fan.
- Hang the fan: Carefully lift the assembled fan and align the mounting holes on the fan with the corresponding screws on the fan bracket. Gently slide the fan onto the bracket and secure it in place with the provided hardware.
- Tighten all connections: Double-check that all screws and connections are tightened securely to prevent any wobbling or movement of the fan.
Read more: How To Install Access Panel In Ceiling
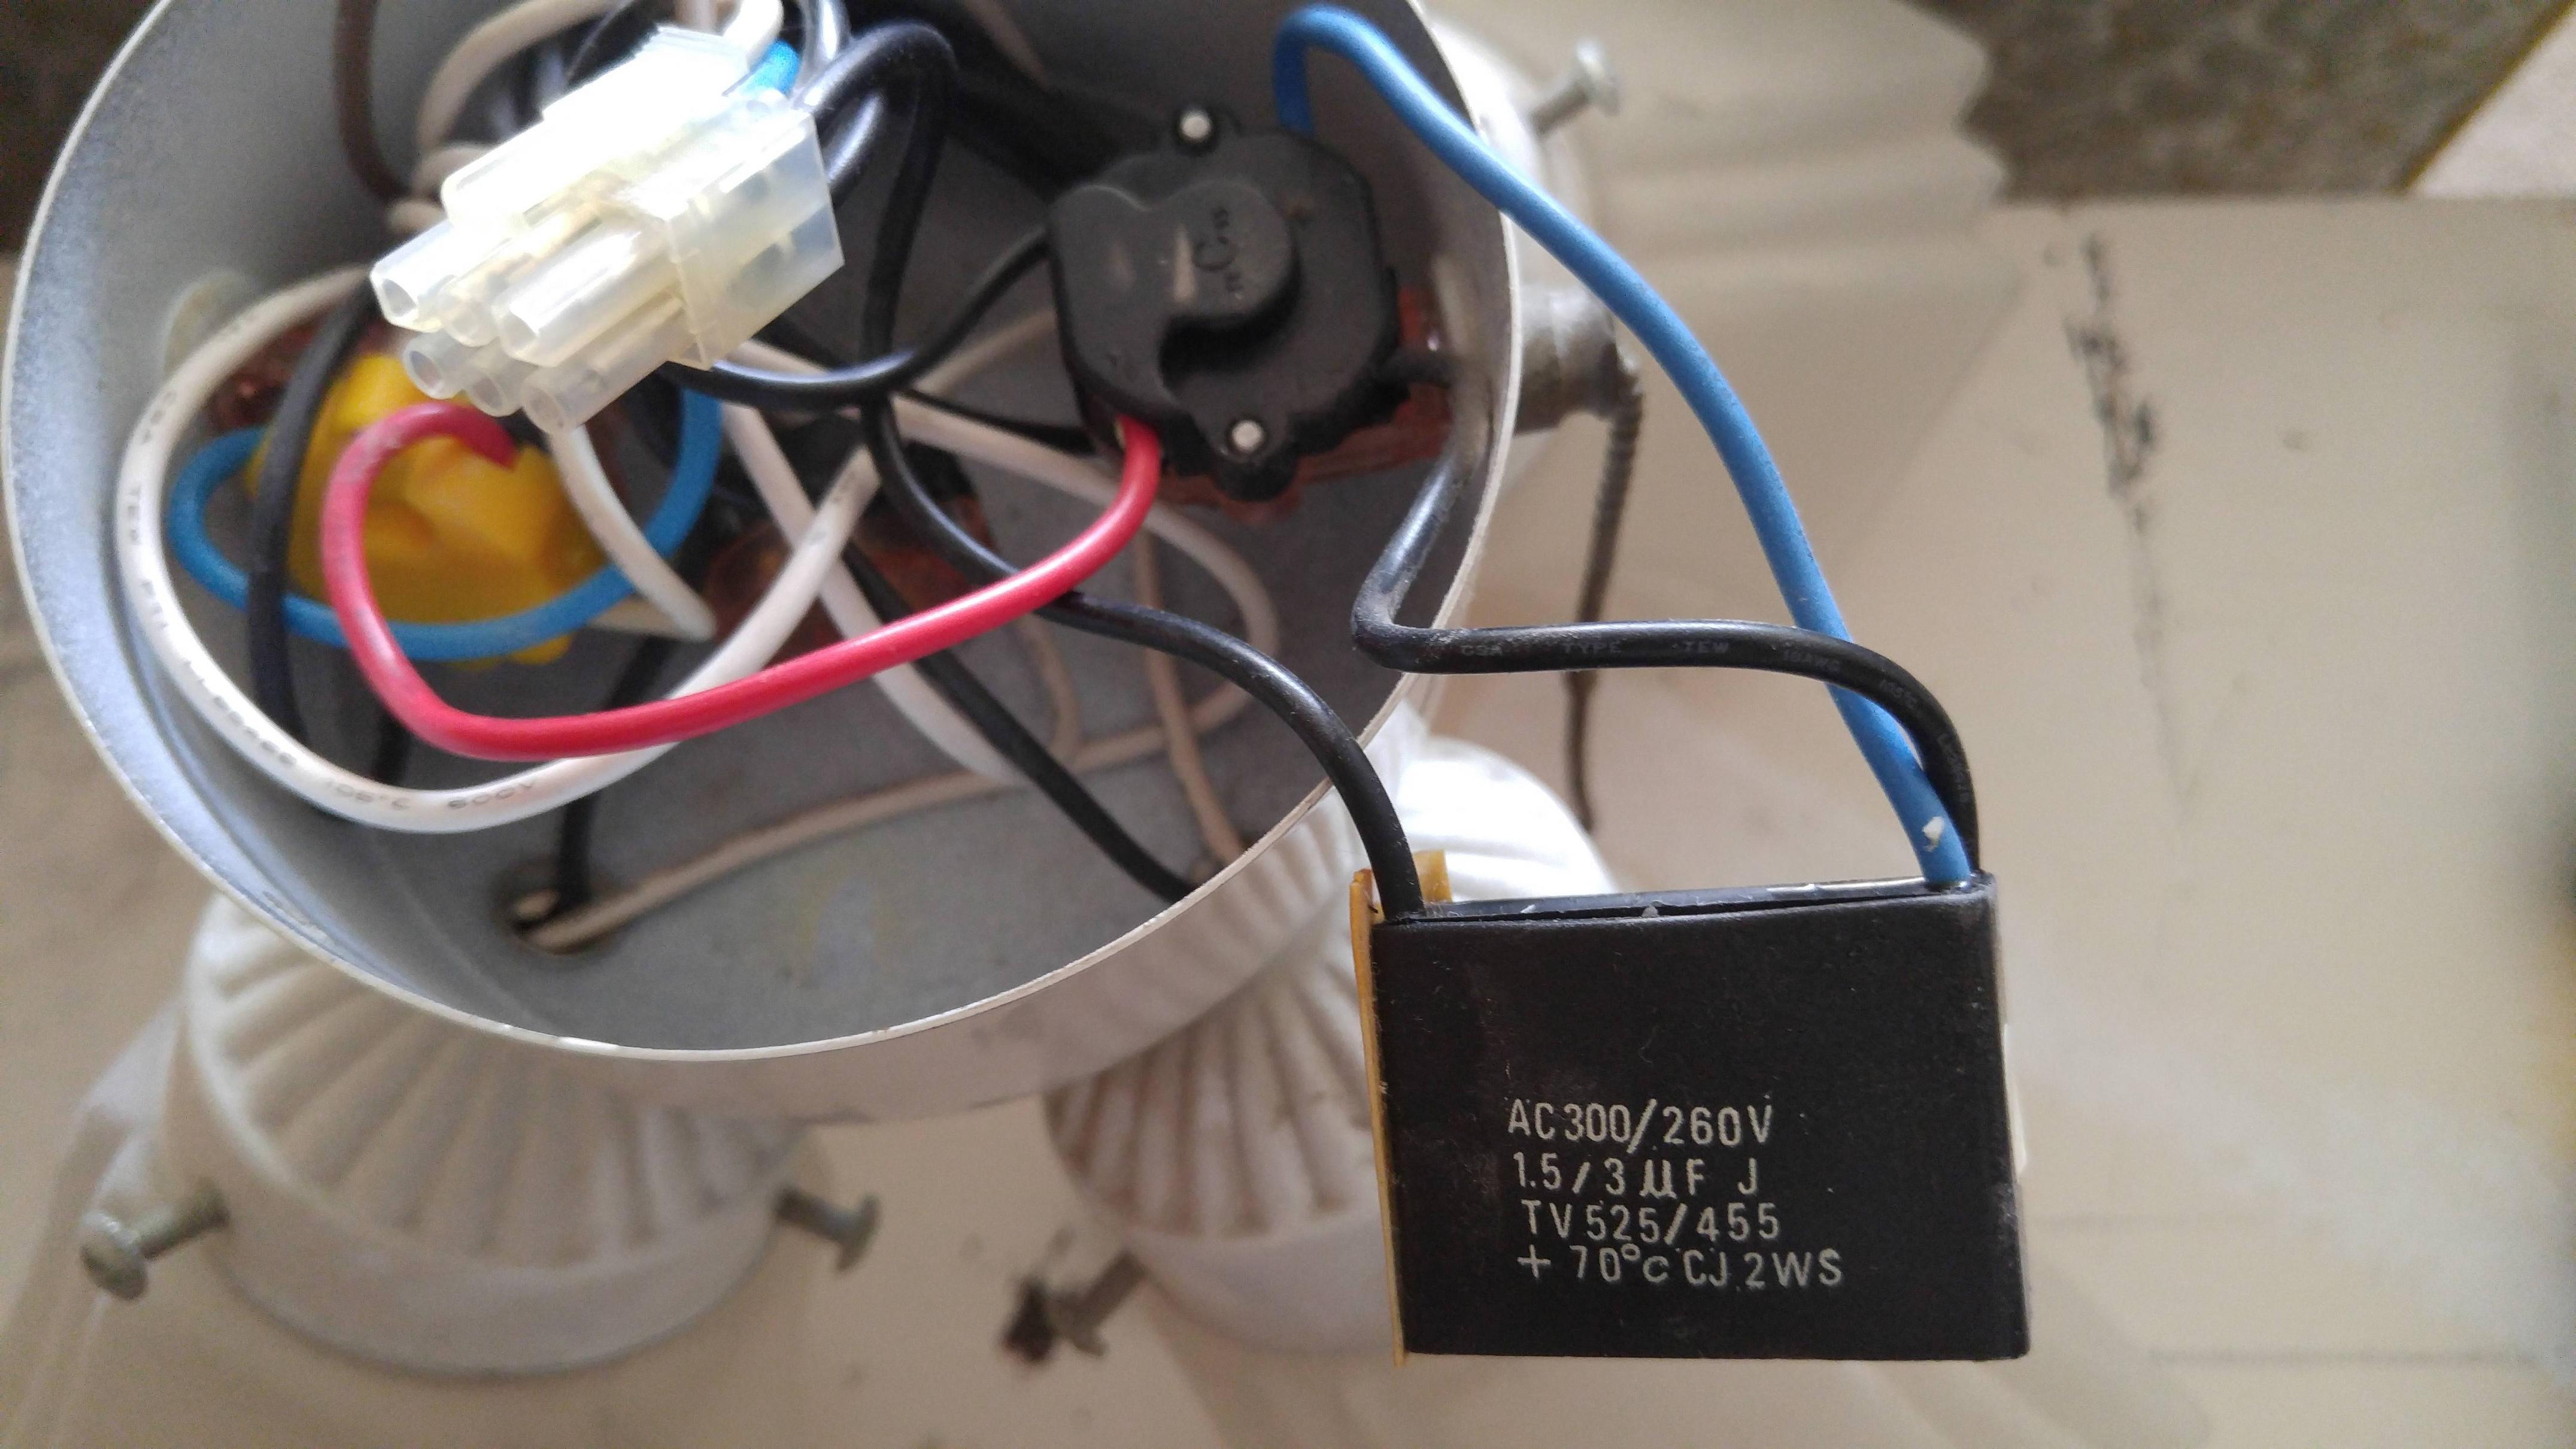
Connecting the wiring of the fan:
- Turn off the power: Before working with the electrical wiring, switch off the power supply for the area at the main breaker.
- Identify the wires: Identify the different wires coming from the fan and the wires in the electrical box. Typically, you will have a black (hot) wire, a white (neutral) wire, and a green or bare copper (ground) wire.
- Connect the wires: Match the corresponding wires from the fan to the wires in the electrical box. Twist the bare ends together, ensuring that the connections are tight and secure. Use wire nuts to further secure the connections and prevent any exposure of bare wires.
- Secure the wiring: Carefully tuck the connected wires into the electrical box, ensuring that they are not pinched or strained. Use electrical tape or wire ties to secure the wiring to the fan bracket or electrical box, keeping it neat and organized.
- Double-check the connections: Confirm that all wiring connections are secure and properly insulated. Avoid any loose or exposed wires that could pose a safety hazard.
Once the fan is mounted and the wiring is connected, you can move on to the final step: testing the fan and ensuring proper functioning.
Note: If you are unsure about any aspect of mounting or wiring the ceiling fan, consult a professional electrician to ensure a safe and accurate installation.
Step 8: Test the fan and ensure proper functioningAfter completing the installation of your ceiling fan, it’s essential to test it to ensure its proper functioning. Testing allows you to verify that the installation was successful and identify any potential issues that need to be addressed. Follow these steps to test and troubleshoot your ceiling fan:
Steps to verify the installation:
- Switch on the power: Turn on the power supply for the area at the main breaker.
- Test the fan’s operation: Use the fan’s remote control or wall switch to turn on the fan. Start with the lowest speed setting and gradually increase it to check if the fan runs smoothly at different speeds.
- Check for vibration or wobbling: Observe the fan as it operates. Ensure that the fan blades are spinning evenly and that there is no excessive vibration or wobbling. Such issues could indicate an installation problem or an unbalanced fan.
- Test the light (if applicable): If your ceiling fan has a built-in light fixture, turn it on to verify that it functions properly.
- Check the direction of airflow: Most ceiling fans have a reverse function to change the direction of airflow. Verify that the fan is correctly set to the desired direction for summer or winter use.
Troubleshooting common issues:
During the testing process, you may encounter some common issues that can be easily resolved. Here are a few troubleshooting tips:
- If the fan doesn’t turn on at all, check the power supply and ensure it is properly connected.
- If the fan wobbles or produces excessive noise, it may be unbalanced. Try using a balancing kit to adjust and stabilize the fan.
- If the light doesn’t work, check the connections and make sure the light bulb is properly seated.
- If you experience any electrical issues or concerns, such as flickering lights or power surges, consult a professional electrician to investigate and resolve the problem.
By carefully testing and troubleshooting the fan, you can address any potential issues and ensure that your ceiling fan is operating correctly. Enjoy the comfort and functionality it adds to your space!
Congratulations on successfully installing your ceiling fan without existing wiring and no attic access. With proper installation and regular maintenance, your fan will provide efficient and comfortable airflow for years to come.
Read more: How To Access Attic
Conclusion
Installing a ceiling fan without existing wiring and no attic access may seem like a challenging task, but with the right knowledge and techniques, it can be accomplished successfully. By following the steps outlined in this guide, you can enjoy the benefits of a ceiling fan in any room, even if there is no pre-existing wiring or access to the attic.
Throughout the installation process, it’s crucial to prioritize safety and consult a professional electrician if you are unsure about any aspect of the project. Electrical work should always be carried out by qualified individuals to ensure proper installation and minimize any risks or hazards.
From assessing the area for installation to mounting and wiring the ceiling fan, each step is essential in creating a stable and efficient fan setup. Consider factors such as location, suitable support brace, proper electrical box, and careful wiring to ensure a smooth and successful installation.
Testing the fan’s operation and troubleshooting any issues that arise are essential steps to ensure proper functioning and ensure your safety and satisfaction. Always follow the manufacturer’s instructions and consult professional advice if needed.
Remember, the installation process may vary depending on your specific circumstances and the type of ceiling fan you choose. Be sure to refer to the manufacturer’s instructions for your specific fan model and consult any additional resources available.
By following the steps outlined in this guide and taking necessary precautions, you can enjoy the comfort and energy efficiency that a ceiling fan brings to your space. Stay cool and enjoy the benefits of your newly installed ceiling fan!
Hungry for more DIY projects? If you're curious about upgrading other areas of your home with similar tasks, check out our guide on ceiling fan installation. Whether replacing old lighting fixtures or adding new features, this guide makes ceiling fan setups seem like a breeze. For broader projects, our DIY home improvement tips cover various skills and ideas to transform your space effectively. And if extending power to more areas is on your mind, don't miss our insights on electrical wiring techniques for spaces like garages.
Frequently Asked Questions about How To Install A Ceiling Fan Without Existing Wiring And No Attic Access
Was this page helpful?
At Storables.com, we guarantee accurate and reliable information. Our content, validated by Expert Board Contributors, is crafted following stringent Editorial Policies. We're committed to providing you with well-researched, expert-backed insights for all your informational needs.


0 thoughts on “How To Install A Ceiling Fan Without Existing Wiring And No Attic Access”