Articles
How To Insulate Your Attic Roof
Modified: February 24, 2024
Learn how to properly insulate your attic roof with these informative articles. Discover the best techniques and materials to ensure energy efficiency and comfort in your home.
(Many of the links in this article redirect to a specific reviewed product. Your purchase of these products through affiliate links helps to generate commission for Storables.com, at no extra cost. Learn more)
Introduction
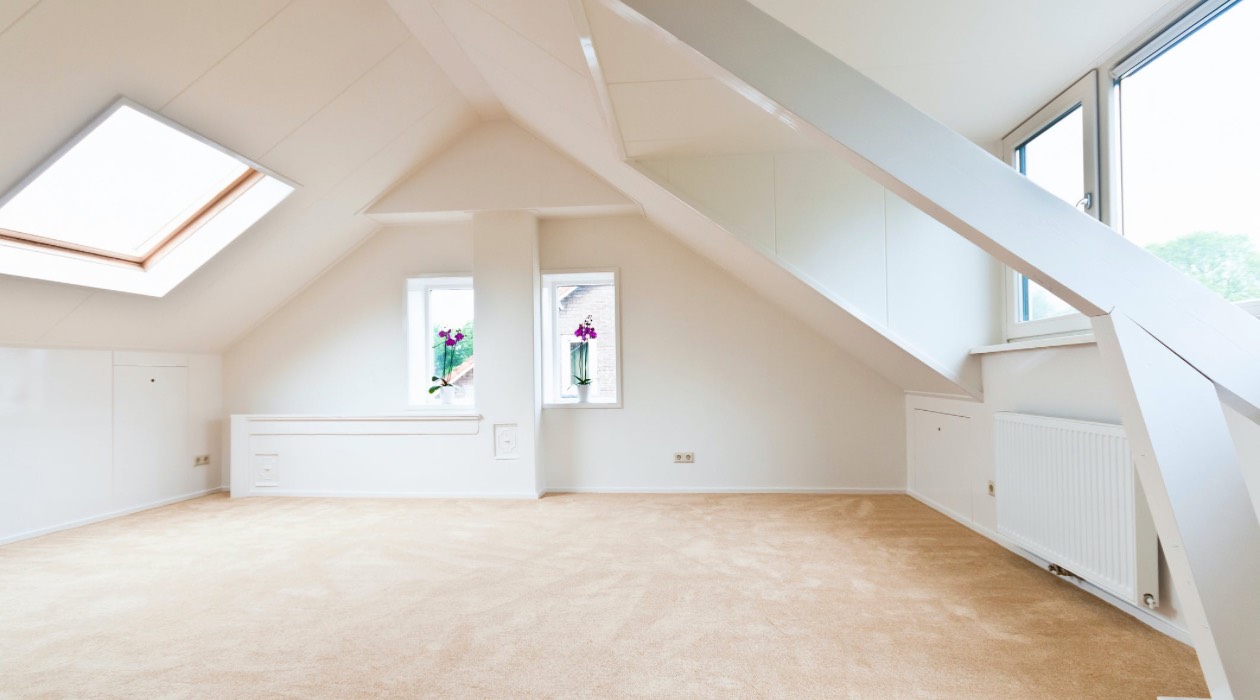
Welcome to our comprehensive guide on how to insulate your attic roof. Insulating the attic is an essential step in creating a comfortable and energy-efficient home. By properly insulating your attic roof, you can prevent heat loss in the winter and minimize excessive heat gain during the summer months. This not only improves the overall comfort of your living space but also helps to reduce your energy bills.
In this article, we will take you through a step-by-step process on how to insulate your attic roof effectively. Before we dive into the details, it’s important to understand the importance of attic insulation and how it can benefit your home.
An uninsulated or poorly insulated attic can be a major source of energy loss in your home. During the winter, warm air from inside your home rises and escapes through the attic. This means that your heating system has to work harder and consume more energy to maintain a comfortable indoor temperature. Similarly, in the summer, your attic can become extremely hot, causing your air conditioning system to work overtime to cool your living space.
By insulating your attic roof, you can create a barrier that prevents heat transfer between your living space and the attic. This helps to maintain a consistent temperature, reduces the strain on your HVAC system, and ultimately saves you money on your energy bills. Insulating your attic also provides other benefits such as reducing noise transmission, preventing moisture buildup, and extending the lifespan of your roof.
Before you start the insulation process, it’s essential to assess your attic and determine the insulation needs. You’ll also need to gather the necessary tools and materials, and prepare the attic for the insulation installation. Choosing the correct type of insulation is crucial, as different options offer varying levels of thermal resistance. Proper ventilation is another key consideration to prevent moisture buildup and ensure the attic’s long-term durability.
In this guide, we will provide you with detailed instructions and tips on each step of the attic roof insulation process. By following these guidelines, you’ll be able to effectively insulate your attic and create a more comfortable and energy-efficient living environment for you and your family.
Key Takeaways:
- Properly insulating your attic roof is essential for maintaining a comfortable and energy-efficient home. By following the step-by-step process outlined in this guide, you can significantly reduce energy bills and improve indoor comfort year-round.
- Regular inspections and maintenance of your attic insulation are crucial for ensuring its long-term effectiveness. By addressing issues such as air leaks, moisture buildup, and damaged insulation, you can maximize energy efficiency and create a well-insulated living space.
Read more: How To Insulate Roof In Attic
Step 1: Assess the Attic
Before you begin insulating your attic roof, it’s crucial to assess the current condition of your attic. This step will help you identify any existing issues that need to be addressed and determine the insulation requirements for your specific attic space.
Here are the key aspects to consider when assessing your attic:
- Access: Check if there is a proper access point to your attic. Ensure that it is easily accessible and safe to climb up and down.
- Inspection: Take a thorough look around the attic space. Look for any signs of water damage, leaks, mold, or pest infestations. Address these issues before proceeding with insulation.
- Measurement: Measure the dimensions of your attic to determine the total square footage that needs to be insulated. This will help you calculate the amount of insulation material required.
- Existing Insulation: If your attic already has insulation, check its condition and level of effectiveness. Determine if it needs to be replaced or if you can add additional layers on top.
- Air Leaks: Inspect for any gaps or cracks that can allow air leakage. Common areas for air leaks include around vents, ducts, chimney penetrations, and electrical wiring. Identify these areas to be sealed later in the insulation process.
During the assessment, it’s important to prioritize safety. Make sure to wear appropriate protective gear, such as gloves, a mask, and safety glasses. Also, be cautious of any electrical wires or hazards in the attic space.
It is worth noting that not all attics are suitable for insulation, especially in older homes or those with insufficient ventilation. In such cases, consult with a professional insulation contractor to assess the feasibility and recommend the best insulation solution for your specific situation.
Once you have assessed your attic and addressed any issues, you can proceed to the next step: calculating the insulation needs for your attic space.
Step 2: Calculate Insulation Needs
Calculating the insulation needs for your attic is an essential step to ensure proper coverage and thermal efficiency. The amount of insulation required depends on factors such as your climate zone, the R-value needed to achieve optimal energy efficiency, and the total square footage of your attic.
Here’s how you can calculate the insulation needs for your attic:
- Determine your climate zone: Climate zones are categorized based on temperature ranges and weather patterns. Check with your local building codes or online resources to find out which climate zone you fall into. This information will help you determine the recommended R-value for your insulation. The higher the R-value, the better the insulation’s thermal resistance.
- Check the recommended R-value: The recommended R-value for attic insulation varies depending on your climate zone. For example, a colder climate zone will require a higher R-value compared to a warmer climate zone. Refer to the Department of Energy’s guidelines or consult with a local insulation professional to determine the appropriate R-value for your area.
- Measure the attic area: Measure the length and width of your attic space to calculate its square footage. Multiply the length by the width to get the total square footage. If your attic has different sections or irregular shapes, measure each separately and add the square footage together.
- Calculate the insulation thickness: The R-value is determined by the thickness and type of insulation material. Divide the recommended R-value by the R-value per inch of the insulation material you plan to use. This will give you the required insulation thickness in inches. Round up to the nearest whole number.
- Multiply the insulation thickness by the attic square footage: Multiply the required insulation thickness by the total square footage of your attic. This will give you the total amount of insulation material needed for proper coverage.
It’s important to note that insulation manufacturers provide guidelines on the coverage area per package. Divide the total amount of insulation material needed by the coverage area per package to determine the number of packages or rolls required.
Keep in mind that these calculations serve as a general guideline. Factors like ceiling height, obstructions, and existing insulation will affect the amount of insulation needed. If you’re unsure about the calculations or have a complex attic layout, consider consulting with an insulation professional for accurate recommendations.
Once you have determined the insulation requirements, you can move on to the next step: gathering the necessary tools and materials for the insulation installation.
Step 3: Gather Necessary Tools and Materials
Before you start the insulation installation process, it’s essential to gather all the necessary tools and materials. Having everything ready before beginning the project will help streamline the process and ensure a smoother installation.
Here is a list of the essential tools and materials you will need for insulating your attic roof:
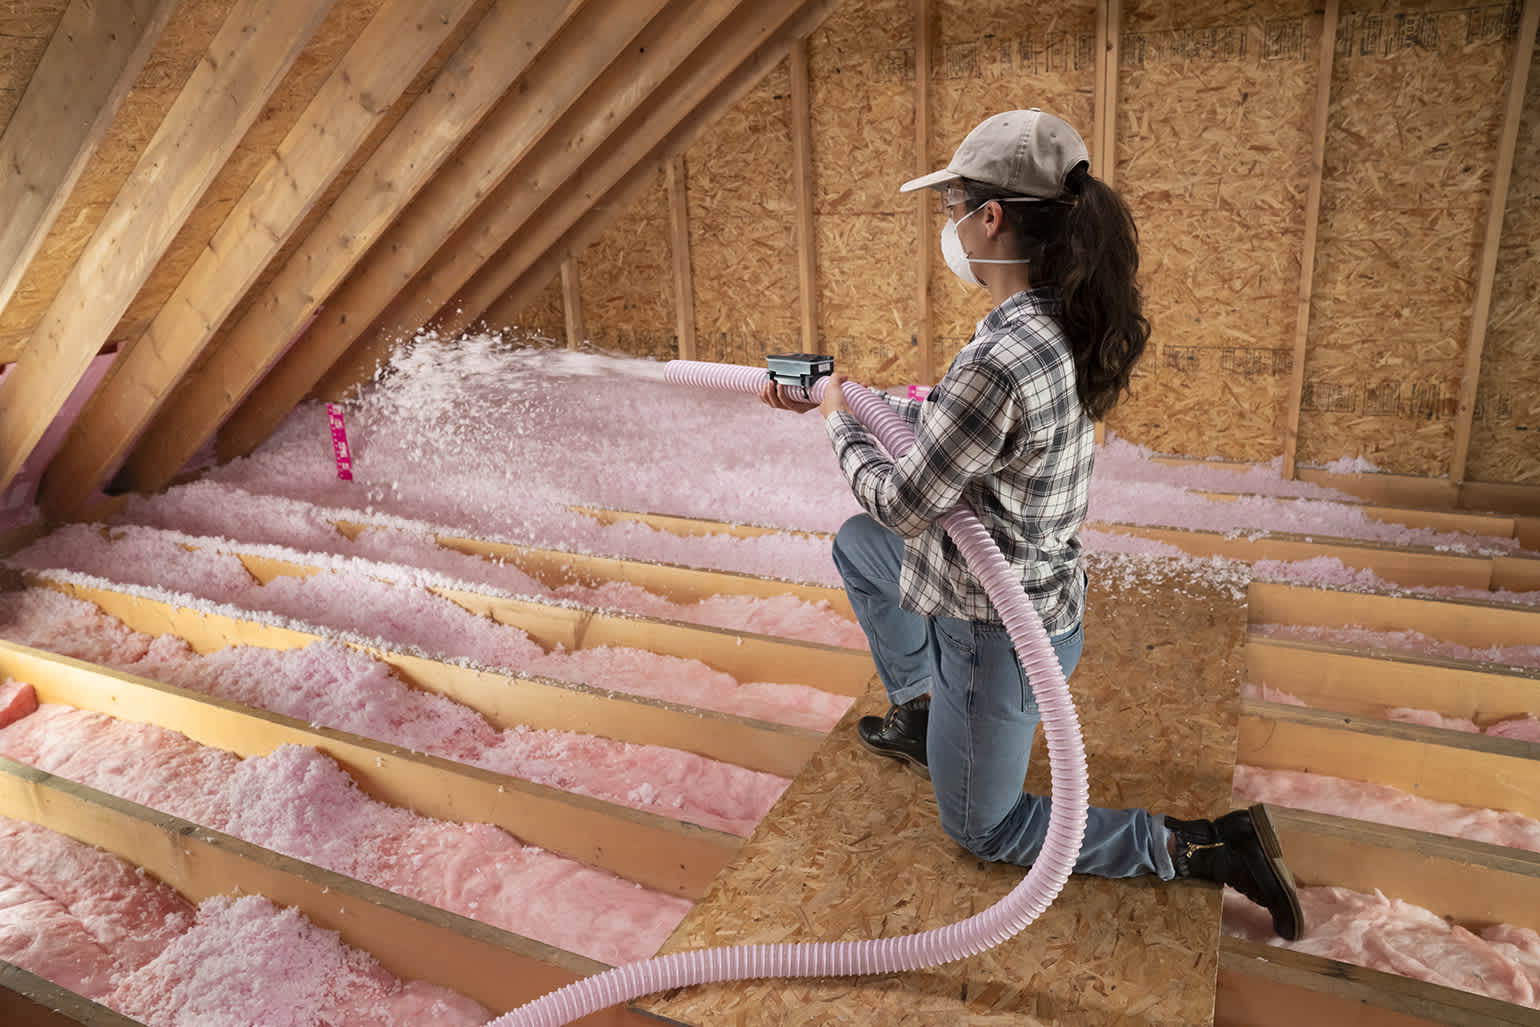
- Insulation Material: Select the type of insulation that best suits your needs. Common options include fiberglass batts, blown-in cellulose, and spray foam insulation. Make sure to purchase the recommended amount based on your insulation calculations.
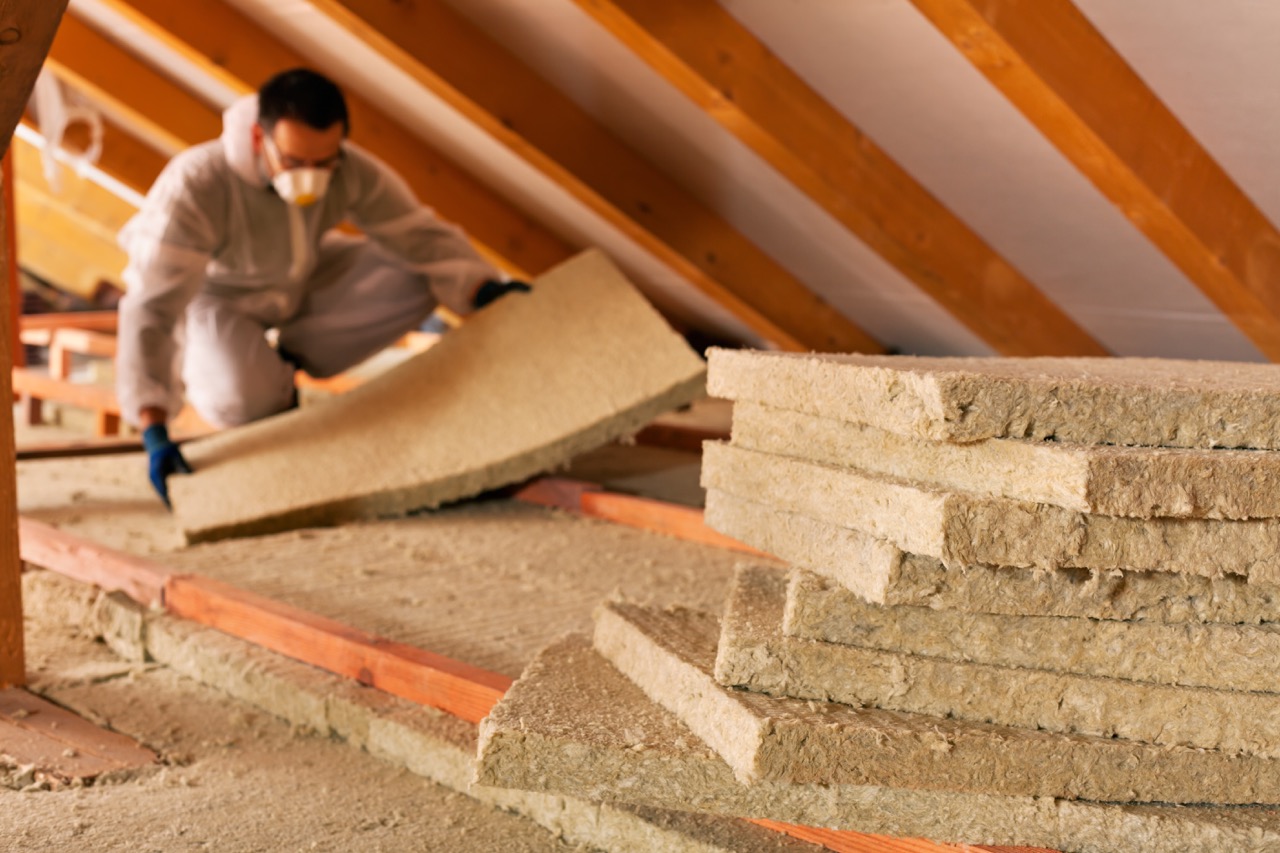
- Protective Gear: Insulation materials can irritate the skin and respiratory system, so it’s crucial to wear protective gear. This may include gloves, safety glasses, and a dust mask to prevent contact with fibers and allergens.
- Utility Knife or Insulation Cutter: A utility knife with a sharp blade or a specialized insulation cutter is essential for cutting insulation material to the required size and shape.
- Measuring Tape: Use a measuring tape to measure the dimensions of your attic space and ensure accurate cuts and installations.
- Staple Gun or Insulation Supports: A staple gun or insulation supports will help secure the insulation in place. If you choose to use insulation supports, ensure you have enough to hold the insulation properly.
- Sealing Materials: To seal any gaps or air leaks, you may need caulking or weatherstripping materials, as well as a caulk gun or adhesive to apply them.
- Ladder or Scaffold: Depending on the size and access to your attic, you may need a ladder or scaffold to safely reach and work in the attic area.
- Flashlight or Headlamp: Proper lighting is essential in the attic, as it may have limited visibility. A flashlight or headlamp will help you see clearly as you work.
- Duct Tape: Duct tape can be useful for temporarily securing insulation or sealing small gaps. However, it is not suitable for long-term insulation purposes.
- Extension Cords: If you need to run power tools or lighting equipment in the attic, ensure you have the necessary extension cords to reach the desired areas.
Before starting the insulation installation, double-check that you have all the required tools and materials. Missing something in the middle of the project can cause unnecessary delays and may compromise the quality of the insulation.
Additionally, it’s a good idea to set up a clean and organized work area in your attic. Remove any unnecessary clutter, debris, or obstacles that could hamper the insulation process.
With all the necessary tools and materials in place, you’re ready to move on to the next step: preparing the attic for insulation.
Step 4: Prepare the Attic for Insulation
Preparation is key when it comes to insulating your attic roof. Properly preparing the attic space will ensure that the insulation installation is smooth, efficient, and effective in providing optimal thermal insulation to your home. Here are the steps to prepare your attic for insulation:
- Clean the Attic: Remove any debris, dust, or existing insulation that may interfere with the installation process. Use a broom or a vacuum cleaner to thoroughly clean the attic space.
- Seal Air Leaks: Inspect the attic for any gaps, cracks, or openings that can allow air leakage. Common areas include gaps around electrical wiring, plumbing penetrations, recessed lights, and vents. Seal these openings using caulk, expanding foam, or weatherstripping to prevent air infiltration.
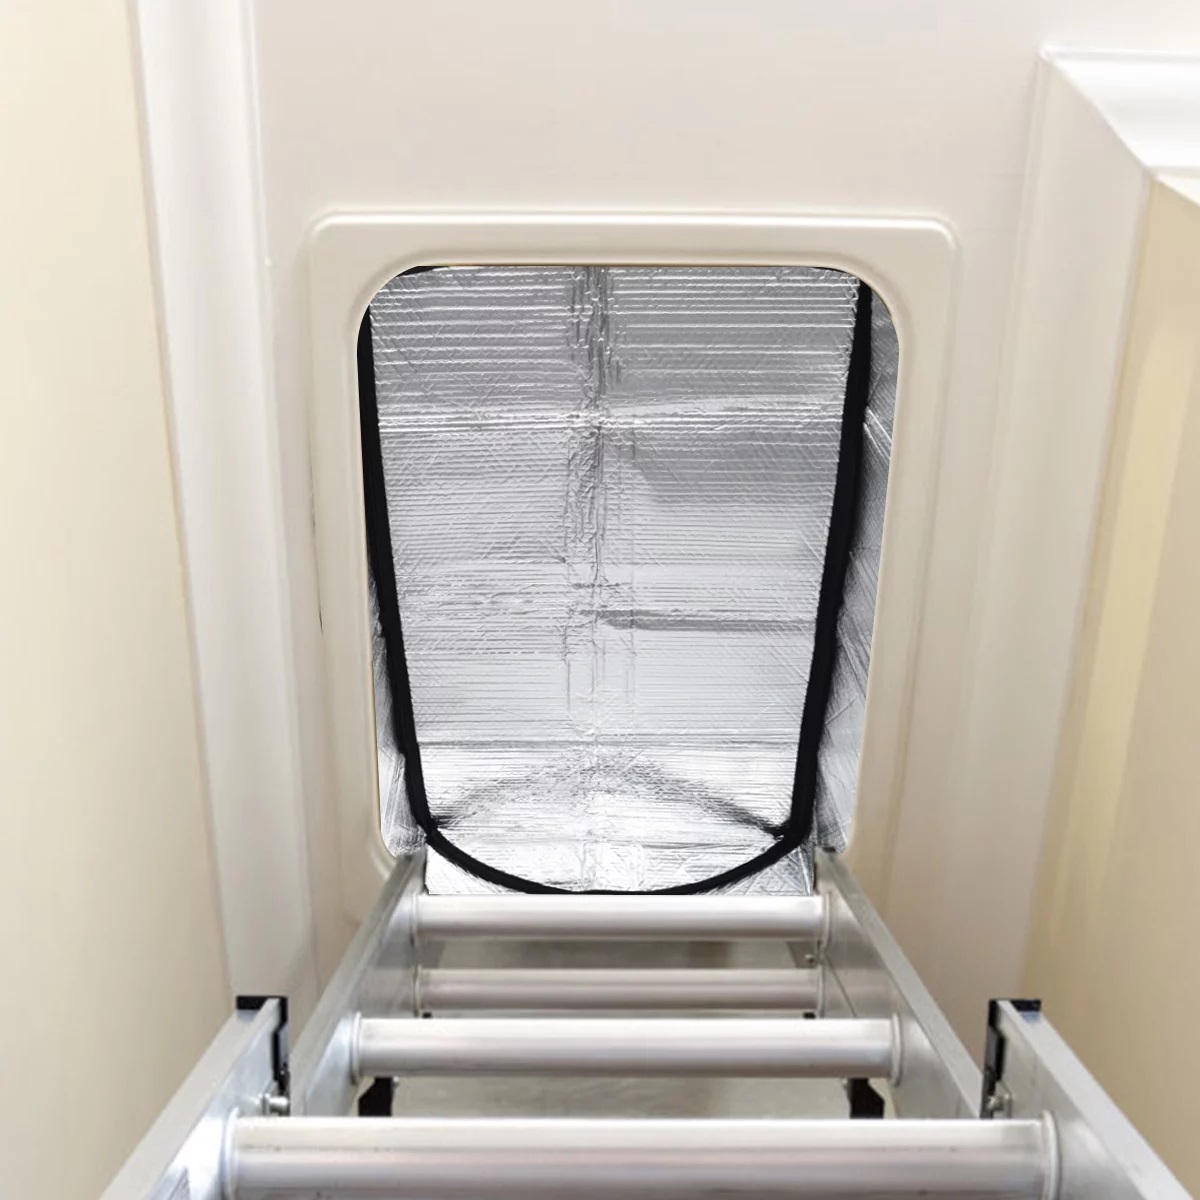
- Protective Barriers: Install protective barriers such as attic stair covers, hatch covers, or air barriers around access points to prevent insulation from blocking them. This will ensure convenient access to the attic in the future.
- Ensure Proper Ventilation: Adequate ventilation is crucial to prevent moisture buildup and maintain the longevity of your attic insulation. Check that your attic has proper ventilation systems in place, including soffit vents and ridge vents. If needed, consult a professional to assess and improve attic ventilation.
- Secure Electrical Wiring: Be cautious of electrical wiring present in the attic. Make sure all wiring is safely secured and kept away from insulation material to prevent any electrical hazards.
- Inspect for Pests: Look for signs of pest infestation in your attic, such as droppings, gnawed insulation, or nests. If you notice any indications of pests, take appropriate measures to address the infestation before proceeding with insulation.
- Ensure Proper Lighting: Attics often have limited lighting, so it’s essential to set up proper lighting to ensure visibility during the insulation process. This can be achieved by using natural lighting from windows, skylights, or adding temporary lighting fixtures.
- Working Safely: Attics can be challenging to maneuver, with low ceilings, uneven surfaces, and difficult access points. Ensure you have a stable and secure platform to work on, such as a sturdy ladder or scaffolding. Take necessary safety precautions, wear protective gear, and work with a partner if possible.
By preparing your attic properly before insulation, you create the ideal environment for a successful installation. This preparation will minimize the chances of any future issues and ensure the insulation performs at its best, providing optimal energy efficiency and comfort to your home.
Once you have completed the attic preparation, you are ready to move on to the next step: choosing the insulation type suitable for your attic roof.
Read more: How To Add Insulation To Your Attic
Step 5: Choose the Insulation Type
Choosing the right insulation type is crucial to ensure optimal energy efficiency and long-term performance in your attic roof. There are several insulation options available, each with its own advantages and considerations. Factors such as the R-value, installation method, moisture resistance, and cost should be taken into account when selecting the insulation type for your attic. Here are some common types of insulation to consider:
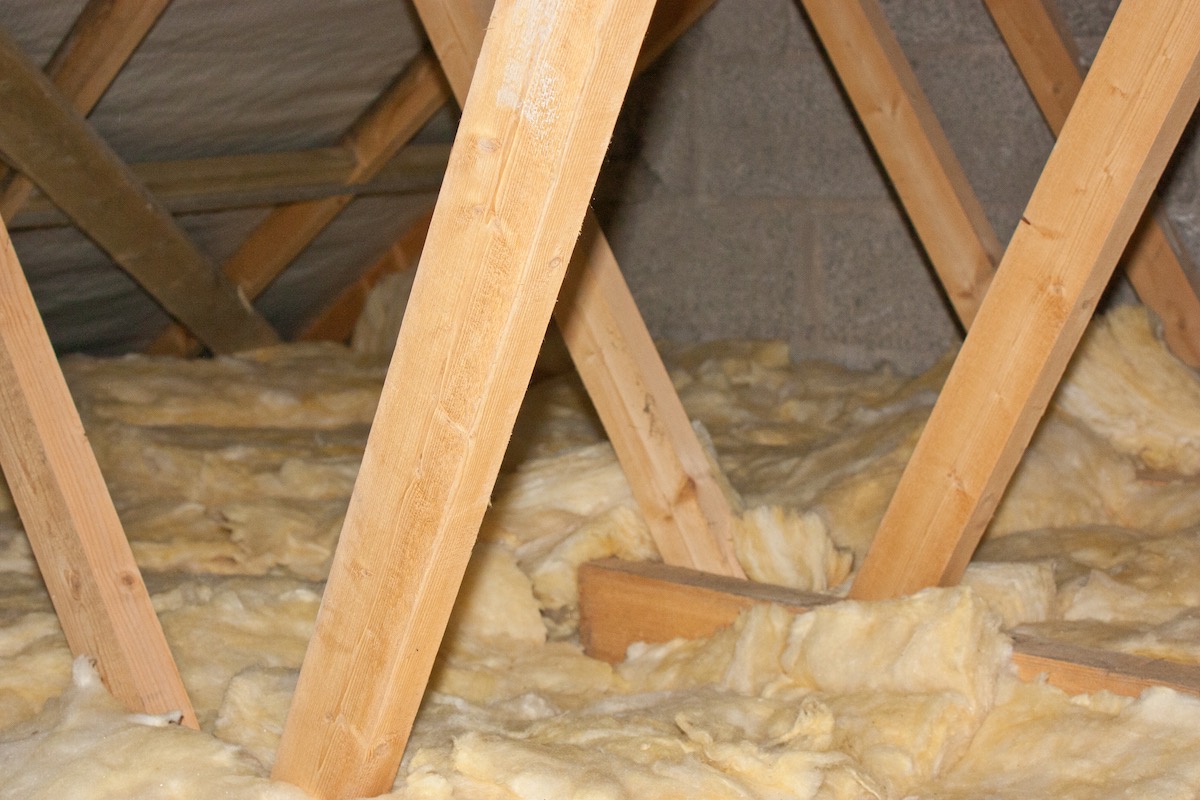
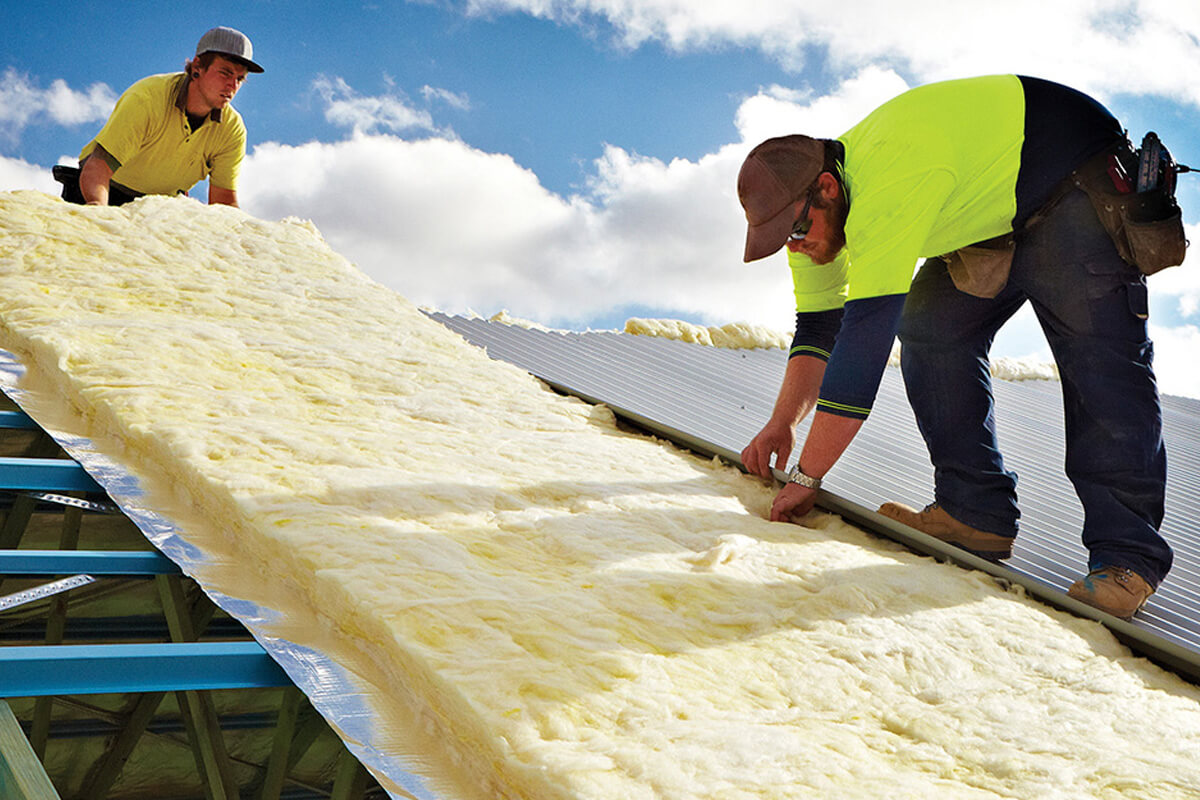
- Fiberglass Batts: Fiberglass batts, also known as blanket insulation, are made from tiny strands of glass fibers. They come in pre-cut panels and are fitted between the attic joists. Fiberglass batts are affordable, widely available, and easy to install. They offer good thermal resistance but may require careful handling to avoid skin irritation.
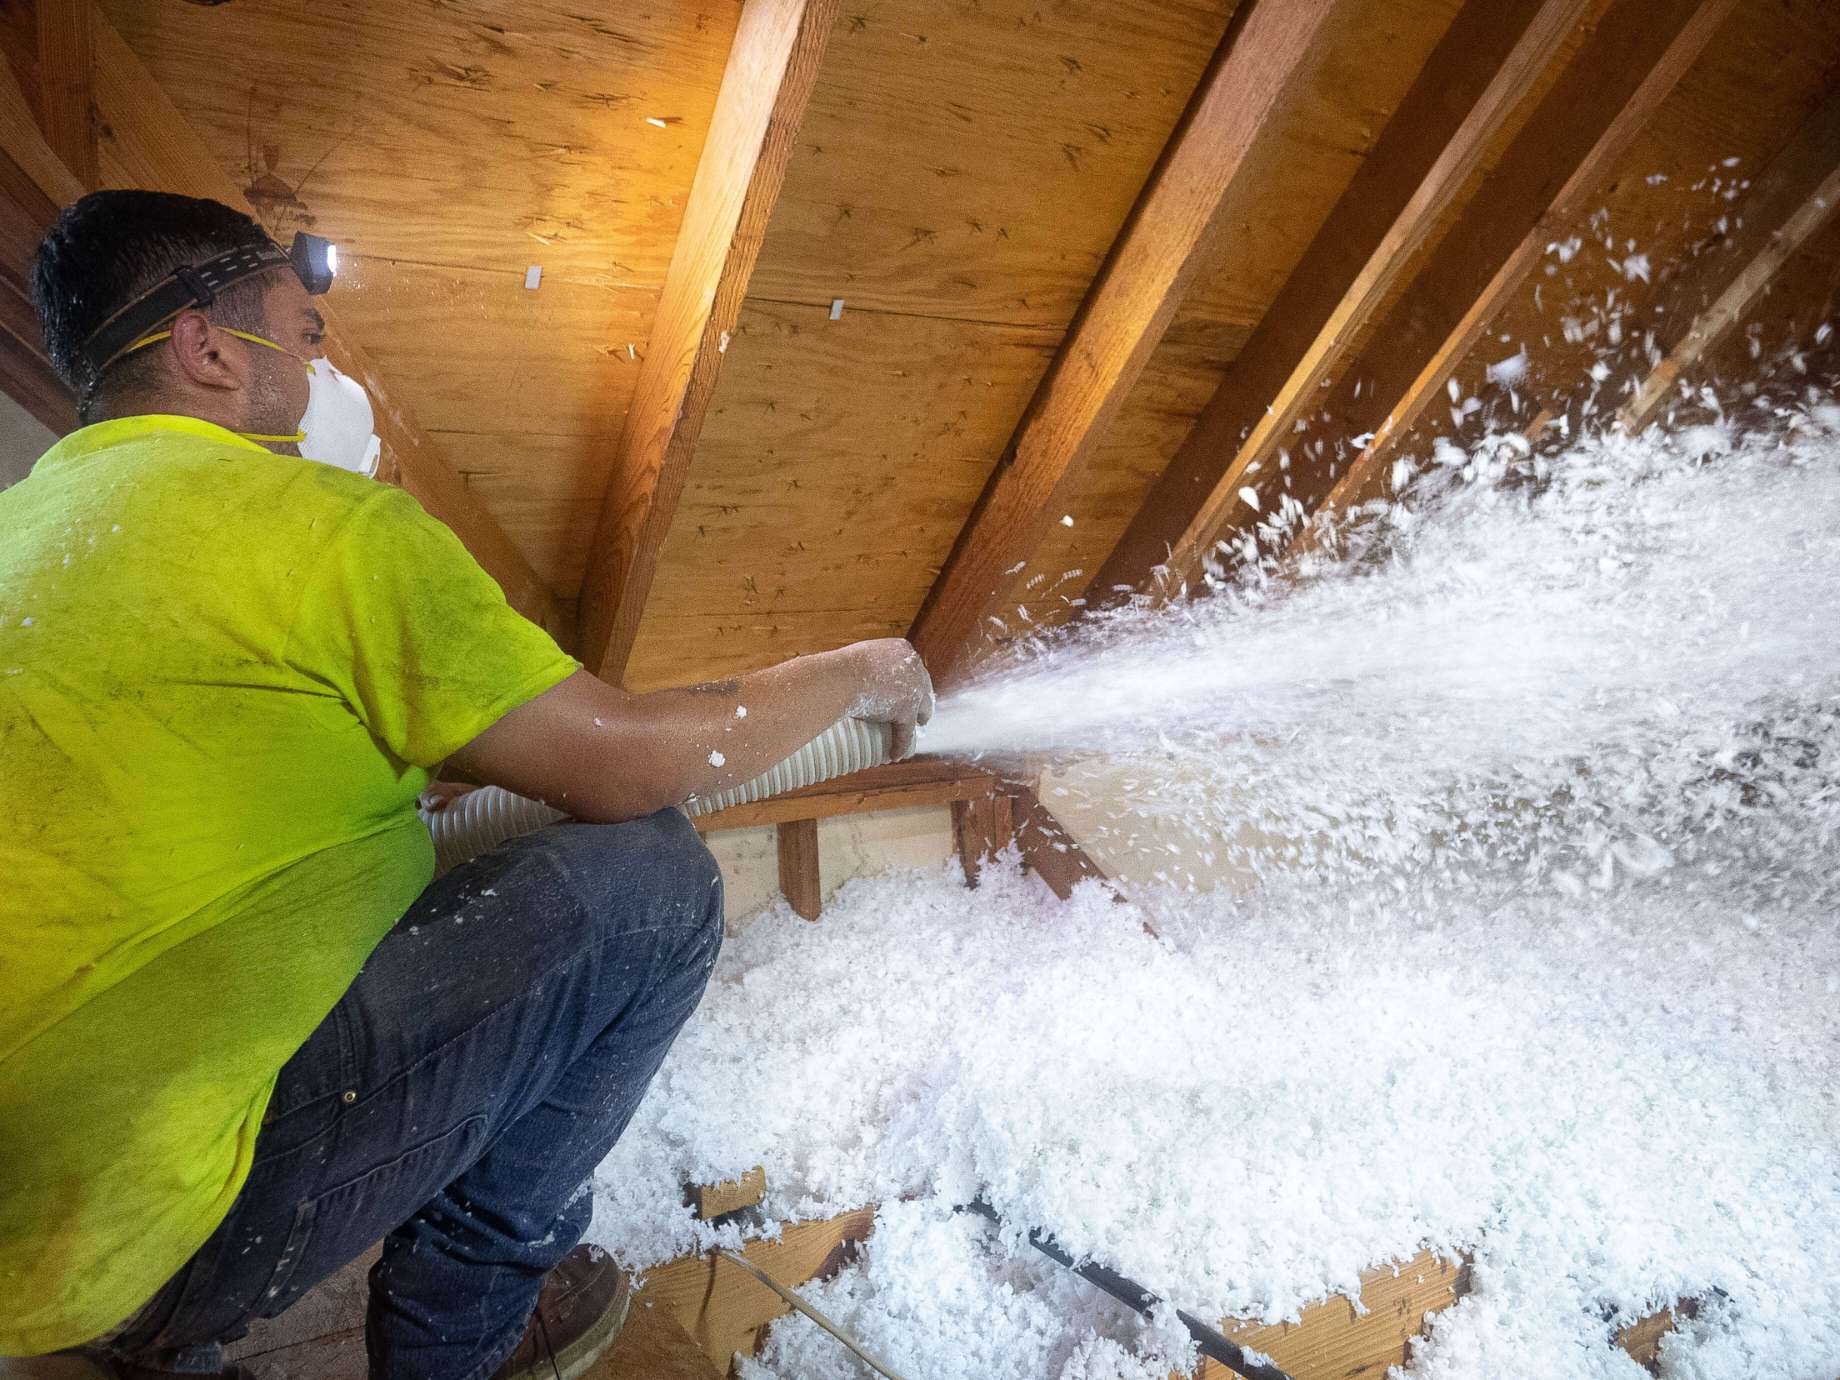
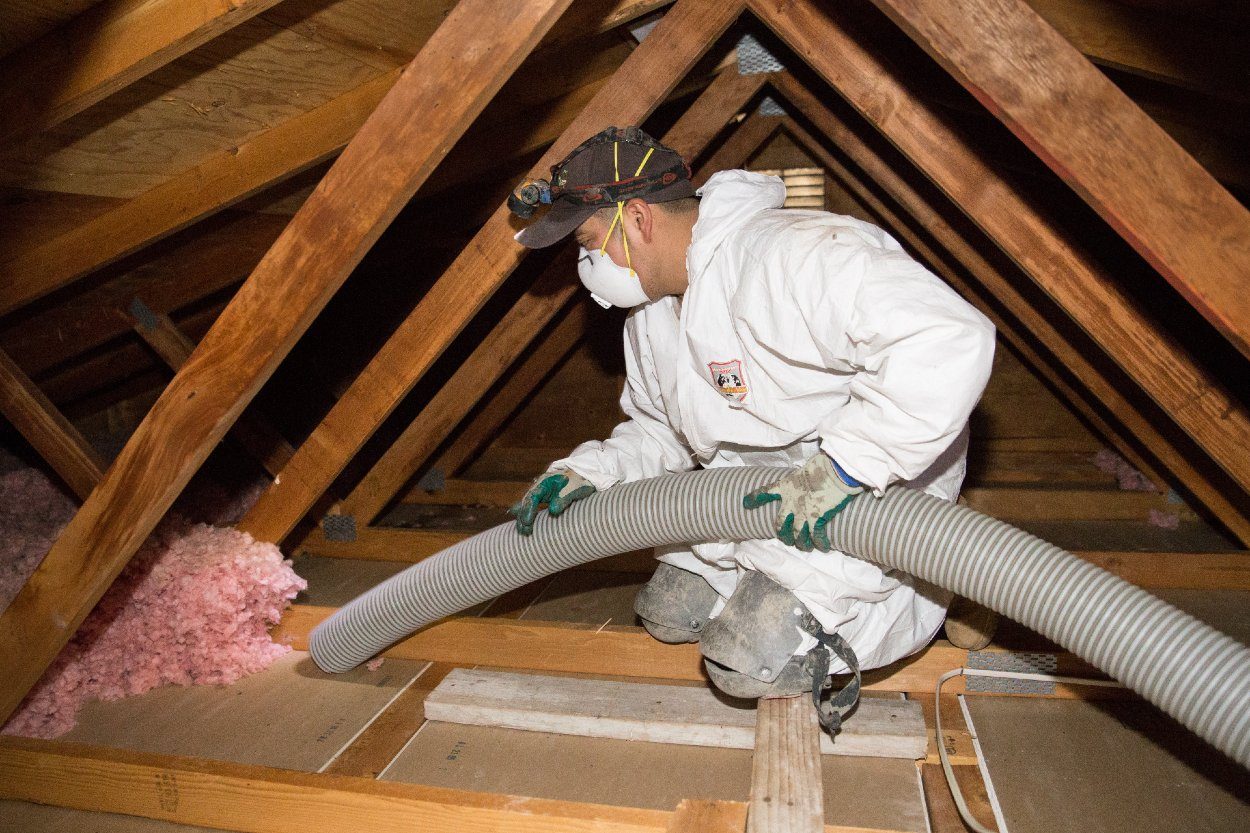
- Blown-In Cellulose: Blown-in cellulose insulation is made from recycled paper treated with fire retardant. It is blown into the attic using a special machine, filling every nook and cranny. This type of insulation provides excellent coverage, effectively reduces air leakage, and is resistant to pests. However, professional installation may be required.
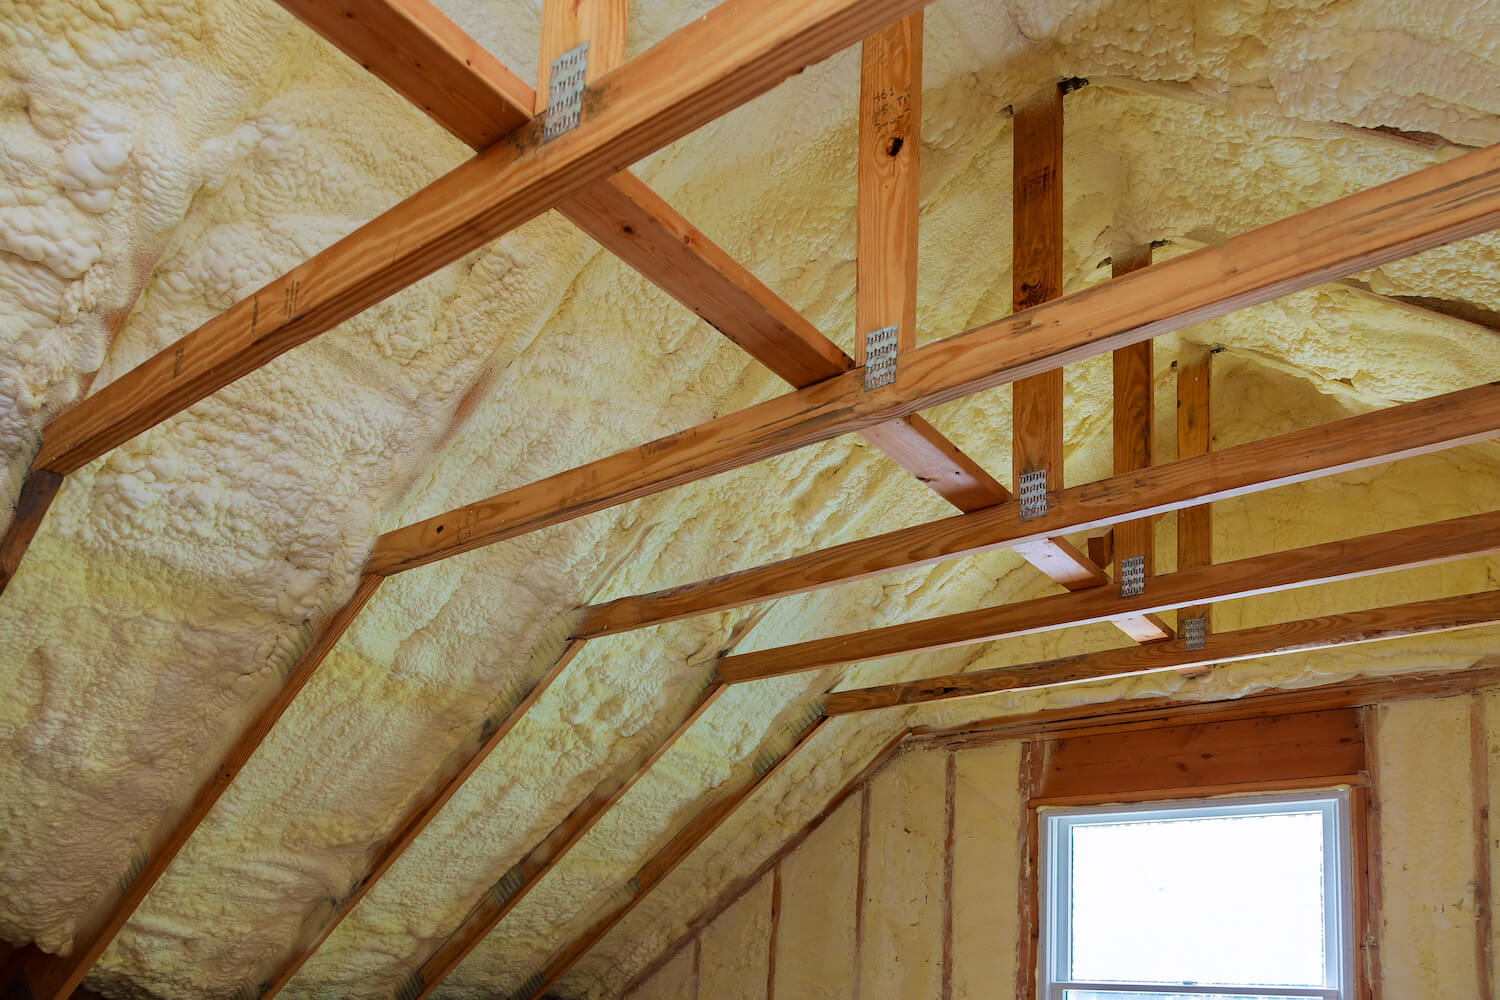
- Spray Foam Insulation: Spray foam insulation forms a seamless, airtight barrier in the attic. It is sprayed onto the desired surface and expands to fill gaps and crevices. Spray foam provides exceptional thermal performance and effectively seals against air infiltration. However, it can be more expensive and may require professional application due to its specialized equipment and technique.
- Rigid Foam Insulation: Rigid foam insulation boards are made from polystyrene or polyisocyanurate. They come in various thicknesses and are used to insulate the attic roof deck. Rigid foam offers high thermal resistance and helps prevent moisture buildup. It is lightweight, easy to install, and can provide additional strength to the roof structure.
When choosing the insulation type, consider the climate in your area, your budget, and any specific requirements your attic may have. It’s also important to ensure that the chosen insulation meets the recommended R-value for your climate zone. Take into account factors such as fire safety, moisture control, and potential allergens when making your decision.
If you’re unsure about which insulation type is the best fit for your attic, consult with a professional insulation contractor or energy auditor. They can assess your attic’s needs and provide expert guidance on the most suitable insulation option for your specific situation.
By carefully selecting the right insulation type, you can significantly improve the energy efficiency and comfort of your home. Once you have chosen the insulation type, it’s time to proceed to the next step: installing the insulation on the attic roof.
Consider using spray foam insulation for your attic roof. It provides a seamless, airtight barrier and can help prevent heat loss and reduce energy costs.
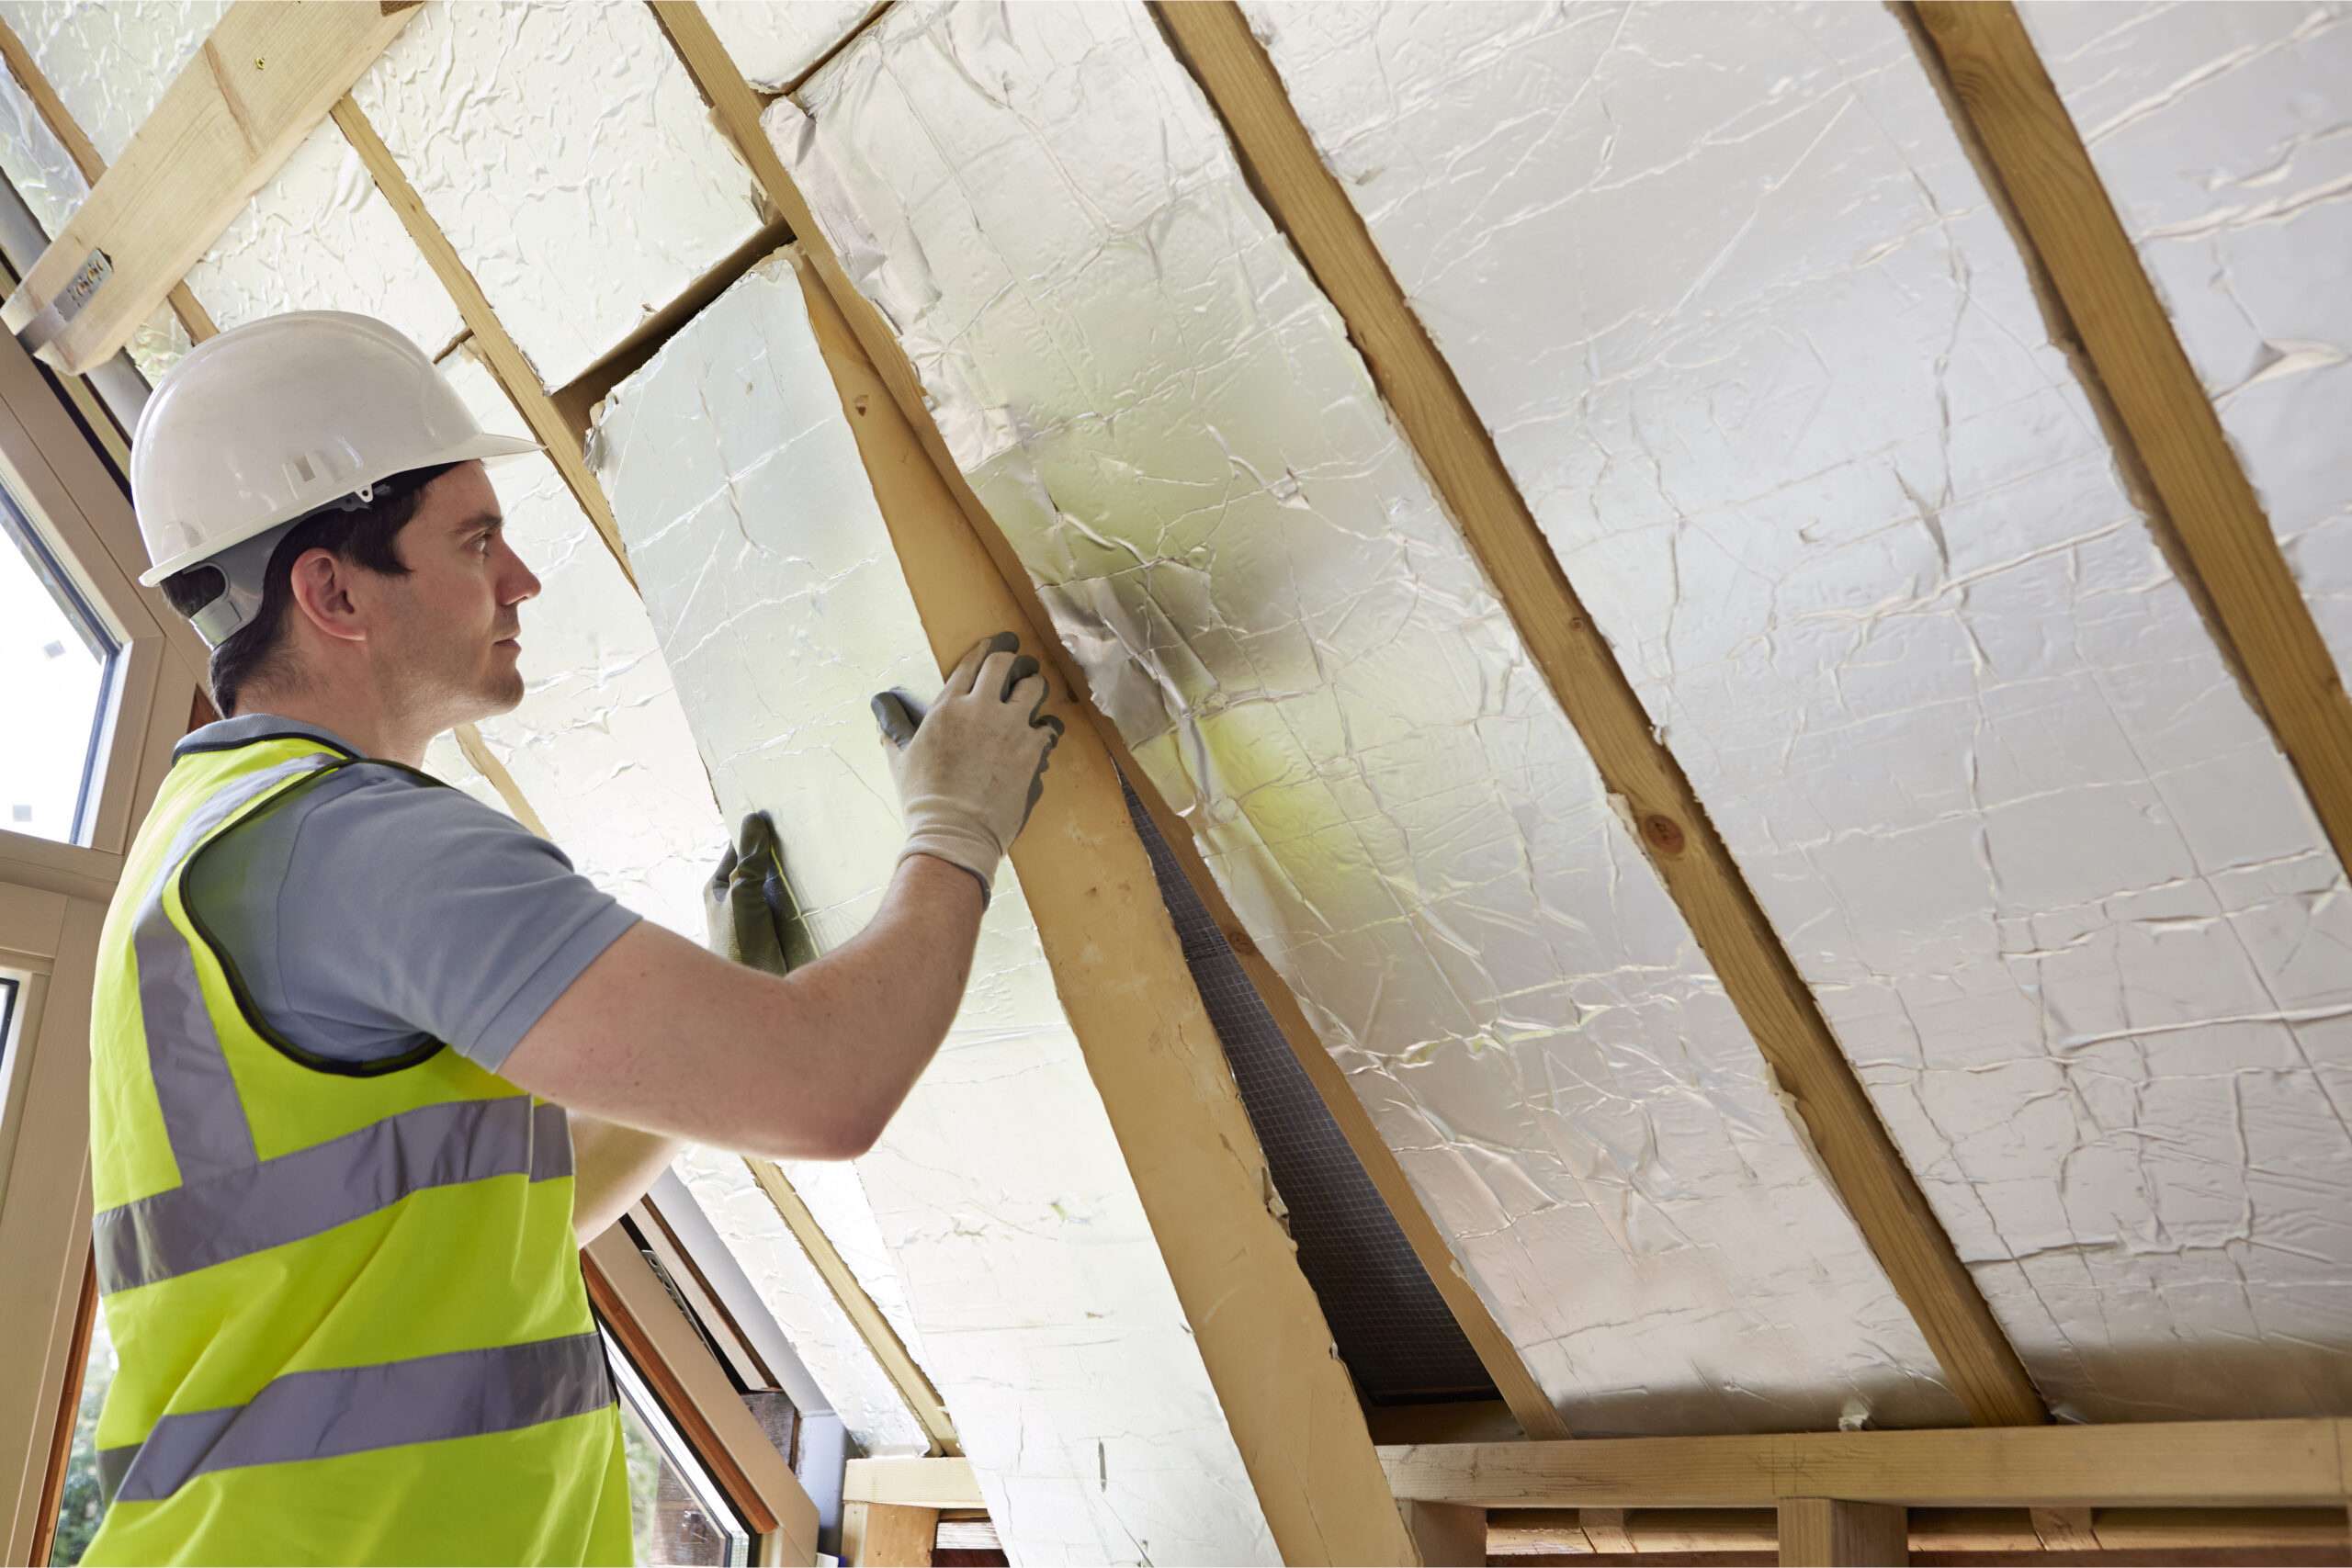
Step 6: Install Insulation on the Attic Roof
Installing insulation on the attic roof is a crucial step in achieving optimal thermal performance and energy efficiency. Proper installation ensures that the insulation covers the entire attic roof surface, creating a continuous layer of thermal protection. Follow these steps to install insulation on the attic roof:
- Start at the Eaves: Begin the installation at the eaves or edge of the attic roof. Position the insulation material between the roof rafters, ensuring a snug fit. Be careful not to block any ventilation channels or soffit vents, as proper airflow is essential for attic health and performance.
- Continue Across the Roof: Move horizontally across the attic roof, installing the insulation in a consistent and even manner. Trim the insulation material if necessary to fit around any obstructions, such as can lights or vents. Use a utility knife or insulation cutter to make clean and accurate cuts.
- Install Additional Layers: If your insulation material does not provide the recommended R-value, install additional layers to achieve the desired thermal resistance. Insulation should be layered perpendicular to the previous layer to minimize heat loss and ensure proper coverage.
- Secure the Insulation: Use a staple gun or insulation supports to secure the insulation material in place. Make sure it is firmly attached to the roof rafters and does not sag or leave any gaps. Properly secured insulation will prevent shifting or falling over time.
- Allow for Ventilation: Ensure that the attic remains properly ventilated after insulation installation. Avoid covering soffit vents or ridge vents with insulation, as this can hinder airflow and contribute to moisture buildup. Use baffles or insulation chutes to maintain a clear path for air circulation.
- Seal Around Penetrations: Pay attention to pipes, electrical wiring, or other penetrations in the attic roof. Use expanding foam or caulking to seal any gaps or openings around these areas, preventing air leakage and ensuring a more airtight insulation barrier.
- Work Safely and Efficiently: Remain cautious and work safely while installing insulation in the attic. Use appropriate protective gear, such as gloves, safety glasses, and a dust mask. Take breaks if needed and stay hydrated, as the attic environment may be hot and strenuous.
Remember to refer to the manufacturer’s instructions for specific installation guidelines and recommendations. If you’re uncertain about any aspect of the installation process, consider consulting with an insulation professional who can provide expert guidance and ensure proper insulation installation.
By installing insulation on the attic roof, you create a barrier that minimizes heat transfer, increases energy efficiency, and enhances the overall comfort of your home. With the insulation installed, it’s time to move on to the next step: sealing any gaps or air leaks in the attic.
Step 7: Seal Any Gaps or Air Leaks
Sealing gaps and air leaks in your attic is a crucial step in creating an effective and energy-efficient insulation system. Even with proper insulation, air leakage can undermine its effectiveness by allowing outside air to enter and conditioned air to escape. By sealing gaps and air leaks, you can improve the overall performance and energy efficiency of your attic insulation. Follow these steps to seal any gaps or air leaks in your attic:
- Identify Air Leaks: Carefully inspect your attic for potential air leaks. Common areas where leaks occur include around electrical outlets, plumbing penetrations, recessed lighting fixtures, and where the walls meet the attic floor. Use your hand or a smoke pen to detect drafts.
- Apply Weatherstripping: Apply weatherstripping materials around attic access doors, windows, and any other areas where air can leak. Weatherstripping is available in different forms, such as adhesive strips or door sweeps, and helps create a tight seal to prevent air infiltration.
- Use Caulk or Foam Sealant: Use caulk or foam sealant to seal gaps and cracks in the attic. Apply caulk around electrical outlets, wiring, and plumbing penetrations. Use foam sealant for larger gaps and openings, such as around vents and pipes.
- Insulate Ductwork: Insulate any exposed HVAC ductwork in the attic to prevent air leakage and improve energy efficiency. Use insulation sleeves or duct wrap to cover the ducts and secure them tightly with fasteners or foil tape.
- Seal Air Leaks in Attic Floor: If there are any air leaks between the attic and the living space, ensure they are properly sealed. Common areas to check include gaps around light fixtures, ceiling fans, and plumbing penetrations. Use caulk or foam sealant to close any openings.
- Inspect and Seal the Attic Hatch: The attic hatch is a potential source of air leakage. Inspect the hatch and install weatherstripping or foam gaskets to create an airtight seal when closed.
- Check and Seal Attic Vents: Ensure that attic vents, such as gable vents or roof vents, are well-sealed and not allowing air to escape. Use weather-resistant caulk or foam sealant to seal around the edges of the vents.
- Consider Professional Air Sealing: If you are unsure or uncomfortable with sealing air leaks yourself, consider hiring a professional insulation contractor or energy auditor. They have the expertise and equipment to conduct a comprehensive air sealing job, ensuring maximum energy efficiency.
Properly sealing gaps and air leaks in your attic will help prevent conditioned air from escaping and outside air from infiltrating, resulting in improved energy efficiency and more consistent indoor temperatures. It’s worth investing time and effort in thorough air sealing to maximize the benefits of your insulation and achieve long-term energy savings.
With gaps and air leaks sealed, it’s time to move on to the next step: ensuring proper ventilation in the attic for a healthy and efficient living environment.
Step 8: Ensure Proper Ventilation
Proper ventilation is essential in your attic to maintain a healthy and efficient living environment. Good ventilation helps remove excess heat, moisture, and pollutants from the attic space, preventing issues such as mold growth, moisture damage, and poor air quality. Here’s how you can ensure proper ventilation in your attic:
- Evaluate Existing Ventilation: Assess the current ventilation system in your attic. Check if there are sufficient vents, such as soffit vents and ridge vents, to allow for proper airflow. Ensure that the vents are not blocked or obstructed by insulation or debris.
- Calculate Ventilation Requirements: Determine the recommended ventilation requirements for your attic based on local building codes or guidelines. Generally, it is recommended to have 1 square foot of free ventilation area for every 150 square feet of attic floor space.
- Install Soffit Vents: Soffit vents are installed under the eaves of the roof and allow fresh air to enter the attic. Ensure that soffit vents are installed properly and not blocked by insulation. They should be clear of any debris or obstructions for optimal airflow.
- Check Ridge Vents: Ridge vents are installed along the roof ridge and allow hot, stale air to escape the attic. Confirm that ridge vents are in good condition and free of any blockages. Ensure that there is an adequate length of ridge vent to provide sufficient airflow.
- Consider Attic Fans: Attic fans can help enhance ventilation by actively exhausting hot air from the attic space. If deemed necessary, consult with a professional to determine the appropriate size and type of attic fan for your attic.
- Install Ventilation Chutes: Ventilation chutes, also known as baffles or air channels, help ensure that there is an unobstructed airflow from the soffit vents to the attic space. Install ventilation chutes along the edges of the attic roof, ensuring they extend from the eaves to the ridge, and are properly attached to prevent insulation blocking the airflow.
- Check for Proper Air Sealing: Ensure that the ventilation routes, such as around vents and ductwork, are properly sealed to prevent air leakage. Use weather-resistant caulk or foam sealant to close any gaps or openings that may reduce the effectiveness of the ventilation system.
- Maintain Attic Ventilation: Regularly inspect and maintain your attic ventilation system. Keep the vents clean and free of debris, and replace any damaged or worn-out vents. Periodically check for signs of moisture buildup or inadequate airflow and address any issues promptly.
Proper attic ventilation is essential for temperature regulation, moisture control, and overall air quality. It helps prolong the lifespan of your roof, prevent mold and mildew growth, and enhance energy efficiency. Be sure to follow local building codes and recommendations when it comes to attic ventilation.
Once you have ensured proper ventilation in your attic, you can move on to the final step: inspecting and maintaining your insulation to ensure its long-term effectiveness.
Read more: How Often Should You Insulate Your Attic
Step 9: Inspect and Maintain the Insulation
Inspecting and maintaining your attic insulation is crucial to ensure its long-term effectiveness and performance. Over time, insulation can settle, become damaged, or be affected by various factors that compromise its thermal resistance. Regular inspections and proper maintenance will help identify any issues and ensure that your insulation continues to provide optimal energy efficiency. Follow these steps to inspect and maintain your attic insulation:
- Regular Inspections: Perform routine inspections of your attic insulation to check for any signs of damage or deterioration. Look for areas where insulation may have shifted, compressed, or become dislodged. Pay attention to moisture stains, pest activity, or unusual odors that may indicate problems.
- Repair or Replace Damaged Insulation: If you notice any damaged or compromised insulation, take immediate action to repair or replace it. Repair small areas by adding additional insulation or using insulation patches. For larger areas or significant damage, consider replacing the insulation with new material to maintain its effectiveness.
- Address Pest Infestations: Inspect your attic for signs of pest activity, such as droppings, gnawed insulation, or nests. If pests are present, take necessary measures to address the issue promptly. This may involve contacting a professional pest control service to eliminate the infestation and repair any damage caused.
- Monitor Moisture Levels: Keep an eye on moisture levels in your attic to prevent mold growth or moisture-related issues. Check for any signs of condensation or water damage. Address any sources of moisture, such as leaky roofs or plumbing, and ensure proper ventilation to reduce humidity levels.
- Inspect and Maintain Seals: Regularly check the seals and insulation around penetrations, such as vents, pipes, and wiring. Ensure there are no gaps or openings that can allow air leakage or reduce the insulation’s effectiveness. Seal any gaps or repair damaged seals promptly.
- Monitor Energy Efficiency: Keep track of your energy bills and monitor the performance of your heating and cooling systems. Significant fluctuations or increased energy usage may indicate insulation issues, such as inadequate coverage or air leakage. Address these concerns by performing additional insulation work or conducting a professional energy audit.
- Consider Professional Maintenance: If you’re unsure or want a thorough inspection of your attic insulation, consider hiring a professional insulation contractor or energy auditor. They can conduct a comprehensive evaluation, identify any issues, and provide recommendations for maintenance or improvements.
Regularly inspecting and maintaining your attic insulation will help prolong its lifespan, optimize its energy efficiency, and provide a comfortable living environment. Don’t overlook the importance of proper insulation maintenance to reap the full benefits of your insulation investment.
By following these steps and taking proactive measures, you can ensure that your attic insulation remains in good condition and continues to provide effective thermal protection for years to come.
With the completion of the inspection and maintenance step, you have successfully reached the end of the process. By insulating your attic roof and implementing proper maintenance, you have created an energy-efficient, comfortable, and well-insulated living space. Enjoy the benefits of reduced energy costs and improved home comfort!
Conclusion
Congratulations! You have reached the conclusion of our comprehensive guide on how to insulate your attic roof. By following the step-by-step process outlined in this article, you have taken significant strides towards creating a comfortable, energy-efficient, and well-insulated living space for yourself and your family.
Properly insulating your attic roof offers numerous benefits, including improved thermal performance, reduced energy bills, enhanced indoor comfort, and increased home value. Insulation helps to prevent heat loss in the winter and excessive heat gain in the summer, making your home more efficient in maintaining a comfortable temperature year-round.
Throughout this guide, we covered the essential steps to insulate your attic roof effectively. We emphasized the importance of assessing your attic, calculating insulation needs, gathering necessary tools and materials, preparing the attic, selecting the appropriate insulation type, installing insulation, sealing gaps and air leaks, ensuring proper ventilation, and inspecting and maintaining the insulation.
Remember, each step plays a crucial role in the overall insulation process, and attention to detail is key. Take the time to carefully assess your attic, choose the right insulation materials, and properly install and seal them to achieve optimal results.
Regular inspections and maintenance will help you identify and address any issues that may arise with your attic insulation over time. This, combined with proper ventilation, will ensure the longevity and effectiveness of your insulation investment.
If you encounter any challenges or are unsure about any aspect of the insulation process, don’t hesitate to consult with a professional insulation contractor or energy auditor. They can provide expert advice, assess your specific needs, and guide you towards the most suitable solutions.
Thank you for taking the time to learn about how to insulate your attic roof. By implementing the knowledge and techniques shared in this guide, you are set to create a more energy-efficient and comfortable living space while contributing to a greener and more sustainable future.
Enjoy the benefits of your well-insulated attic and the enhanced comfort it brings to your home!
Frequently Asked Questions about How To Insulate Your Attic Roof
Was this page helpful?
At Storables.com, we guarantee accurate and reliable information. Our content, validated by Expert Board Contributors, is crafted following stringent Editorial Policies. We're committed to providing you with well-researched, expert-backed insights for all your informational needs.


0 thoughts on “How To Insulate Your Attic Roof”