Articles
9 Amazing Ice Blender for 2025
Modified: June 9, 2025
Looking for the best ice blender? Discover our curated list of 9 amazing ice blenders for 2025. Blend ice effortlessly and enjoy refreshing drinks all year round.
(Many of the links in this article redirect to a specific reviewed product. Your purchase of these products through affiliate links helps to generate commission for Storables.com, at no extra cost. Learn more)
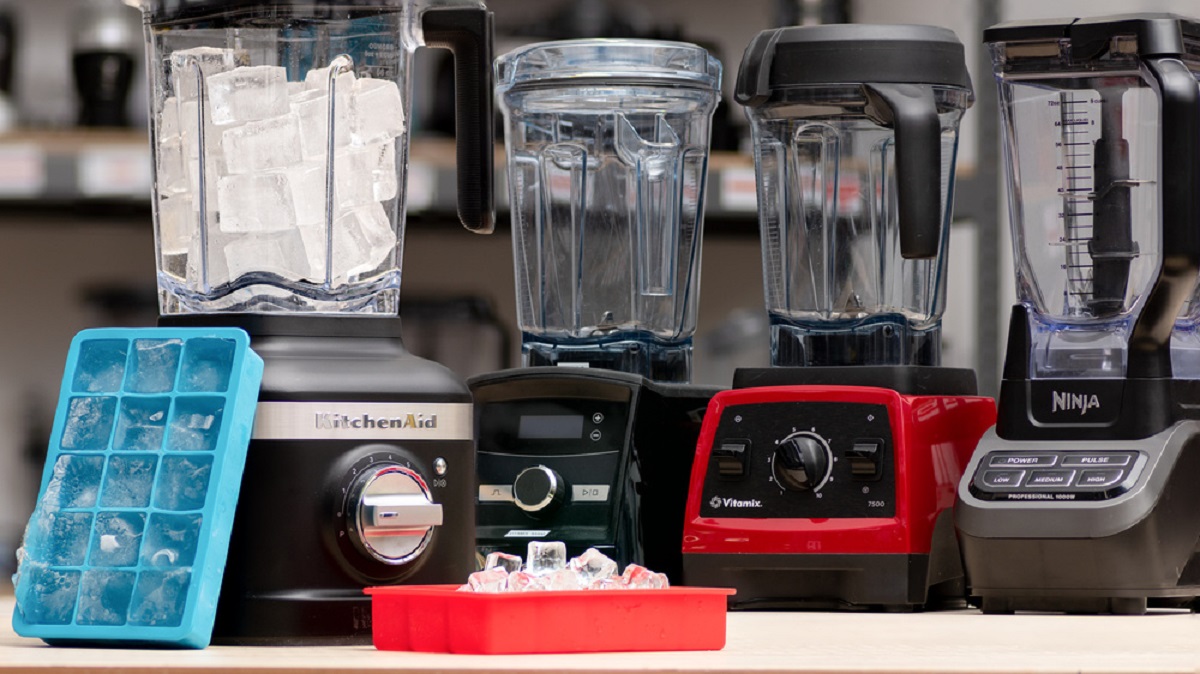
Are you in search of the perfect ice blender to elevate your culinary creations in 2025? Look no further! In this article, we will showcase nine incredible ice blenders that will revolutionize your blending experience. Whether you're a professional chef or a passionate home cook, these amazing machines are designed to crush ice with efficiency and precision, allowing you to create refreshing smoothies, delectable frozen desserts, and tantalizing cocktails. From high-performance blenders with advanced technology to sleek and stylish designs, these nine ice blenders are set to dominate the market in 2025. Stay tuned and discover the perfect ice blender to take your culinary skills to the next level!

Overall Score: 9/10
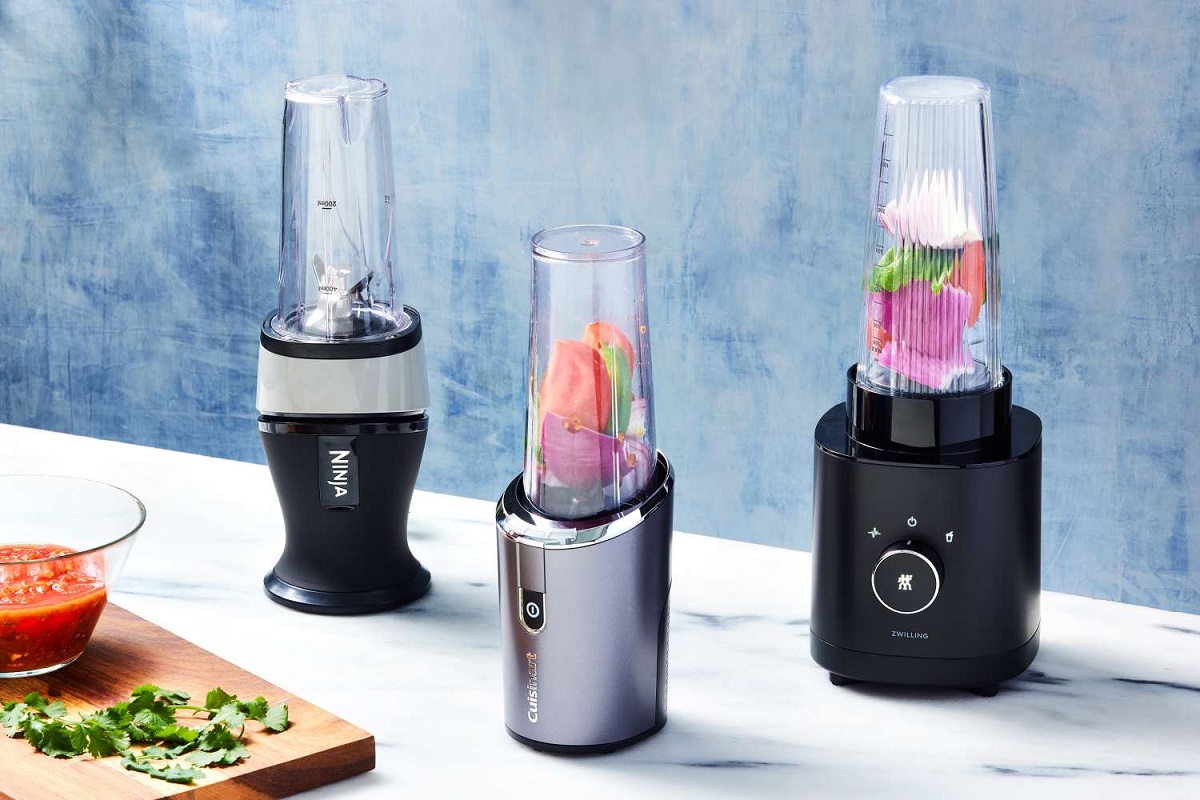
The Ninja Fit Compact Personal Blender is a powerful and compact blender that is perfect for making smoothies, shakes, and other drinks. With its 700-watt motor and pulse technology, it can easily blend through any ingredients to give you smooth and nutritious results. The blender also has a nutrient extraction feature that allows you to unlock hidden nutrition from fruits and vegetables. It can crush ice and pulverize frozen ingredients for resort-like frozen drinks and smoothies. The compact design and easy-to-use controls make it convenient to use and store. The blender comes with two 16-oz. single-serve cups and spout lids for on-the-go convenience. It is also dishwasher safe for easy cleaning. Overall, the Ninja Fit Compact Personal Blender is a powerful and versatile blender that is perfect for anyone who wants to make delicious and nutritious drinks at home.
Key Features
- PULSE TECHNOLOGY: Powerful 700-watt motor base for optimal blending
- NUTRIENT EXTRACTION: Unlock hidden nutrition from fruits and veggies
- FROZEN BLENDING: Crush ice and pulverize frozen ingredients
- COMPACT & SIMPLE: Fits on any countertop with easy-to-use controls
- ON-THE-GO CONVENIENCE: Blend directly in the 16-oz. single-serve cup
- EASY TO CLEAN: All parts are BPA free and dishwasher safe
- RECIPE INSPIRATION: Includes a 50-recipe inspiration guide
- WHAT’S INCLUDED: 700-watt Motor Base, Blade Assembly, (2) 16-oz. Nutri Ninja Single-Serve Cups, (2) Spout Lids & 50-Recipe Inspiration Guide
Specifications
- Color: Black
- Dimension: 4.00Lx4.00Wx13.00H
- Size: 700 Watts
Pros
- Powerful motor for optimal blending
- Nutrient extraction for hidden nutrition
- Crushes ice and pulverizes frozen ingredients
- Compact and simple design
- Convenient for on-the-go use
- Easy to clean with dishwasher safe parts
- Includes a recipe inspiration guide
Cons
- Loud noise during operation
- Some users experienced leaking issues
- Blending requires continuous pressure
The Ninja Fit Compact Personal Blender is a fantastic blender for making smoothies, shakes, and frozen drinks. Its powerful motor and pulse technology ensure smooth and consistent blending results. The nutrient extraction feature is a great bonus for maximizing the nutrition from fruits and vegetables. The compact design and easy-to-use controls make it a convenient choice for any kitchen. While it may be noisy during operation and some users experienced leaking issues, these drawbacks are minor compared to its overall performance. With its affordable price, versatility, and included recipe inspiration guide, the Ninja Fit Compact Personal Blender is a great investment for anyone looking to step up their blending game.

Overall Score: 8.5/10
The Ninja QB900B Master Prep Food Processor Blender is a versatile kitchen tool that allows you to easily switch from blending frozen drinks to chopping fresh ingredients. With its powerful 400-watt motor, it can transform ice cubes into creamy frozen treats. The 48-ounce pitcher is perfect for making shakes and smoothies, while the 2-cup bowl is great for chopping salads, salsa, and dips. The blender is dishwasher safe, making cleanup a breeze. It comes with a range of attachments and storage lids to keep your creations fresh. Overall, this Ninja blender offers convenience, power, and versatility in a compact design.
Key Features
- Interchangeable master pod for easy switching between pitcher and bowl
- Powerful 400-watt motor for creamy frozen drinks and desserts
- 48-ounce pitcher for shakes and smoothies
- 2-cup bowl for chopping fresh ingredients
- Dishwasher safe attachments for easy cleaning
- Comes with storage lids for long-lasting freshness
Specifications
- Color: Gray
- Dimension: 11.00Lx12.25Wx7.00H
- Size: 48 oz.
Pros
- Versatile and powerful
- Easy to use and clean
- Comes with multiple attachments
- Dishwasher safe
- Great for blending and chopping
Cons
- Many pieces to keep track of
- Motor is on the top, which may be unusual for some
- Some concerns about durability during hot washes
The Ninja QB900B Master Prep Food Processor Blender is a reliable and efficient kitchen companion. Its interchangeable design allows for versatile use, making it suitable for blending and chopping a variety of ingredients. The powerful motor ensures smooth and creamy results, while the dishwasher-safe attachments make cleanup a breeze. While it may have a few minor drawbacks, such as the number of pieces and the top-mounted motor, overall, this Ninja blender offers excellent performance and value for money. Whether you’re making smoothies, frozen drinks, or chopping fresh ingredients, this blender is up to the task.

Overall Score: 9/10
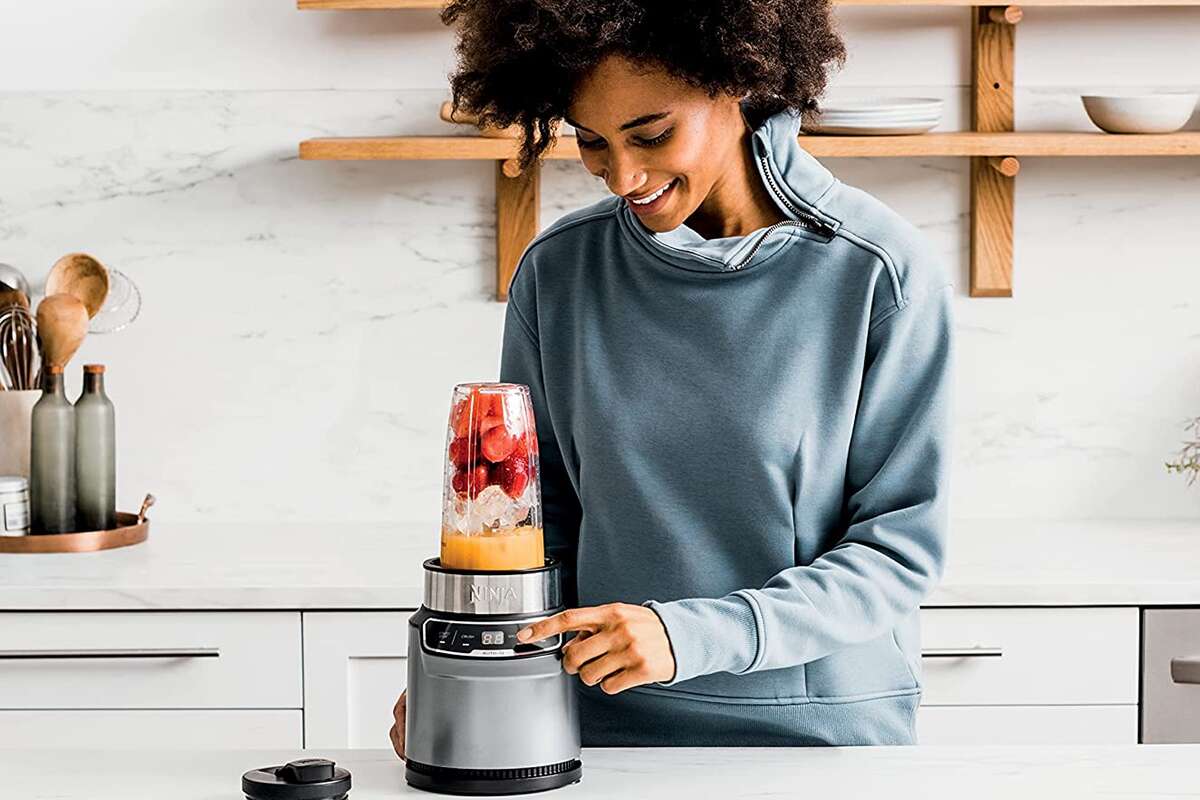
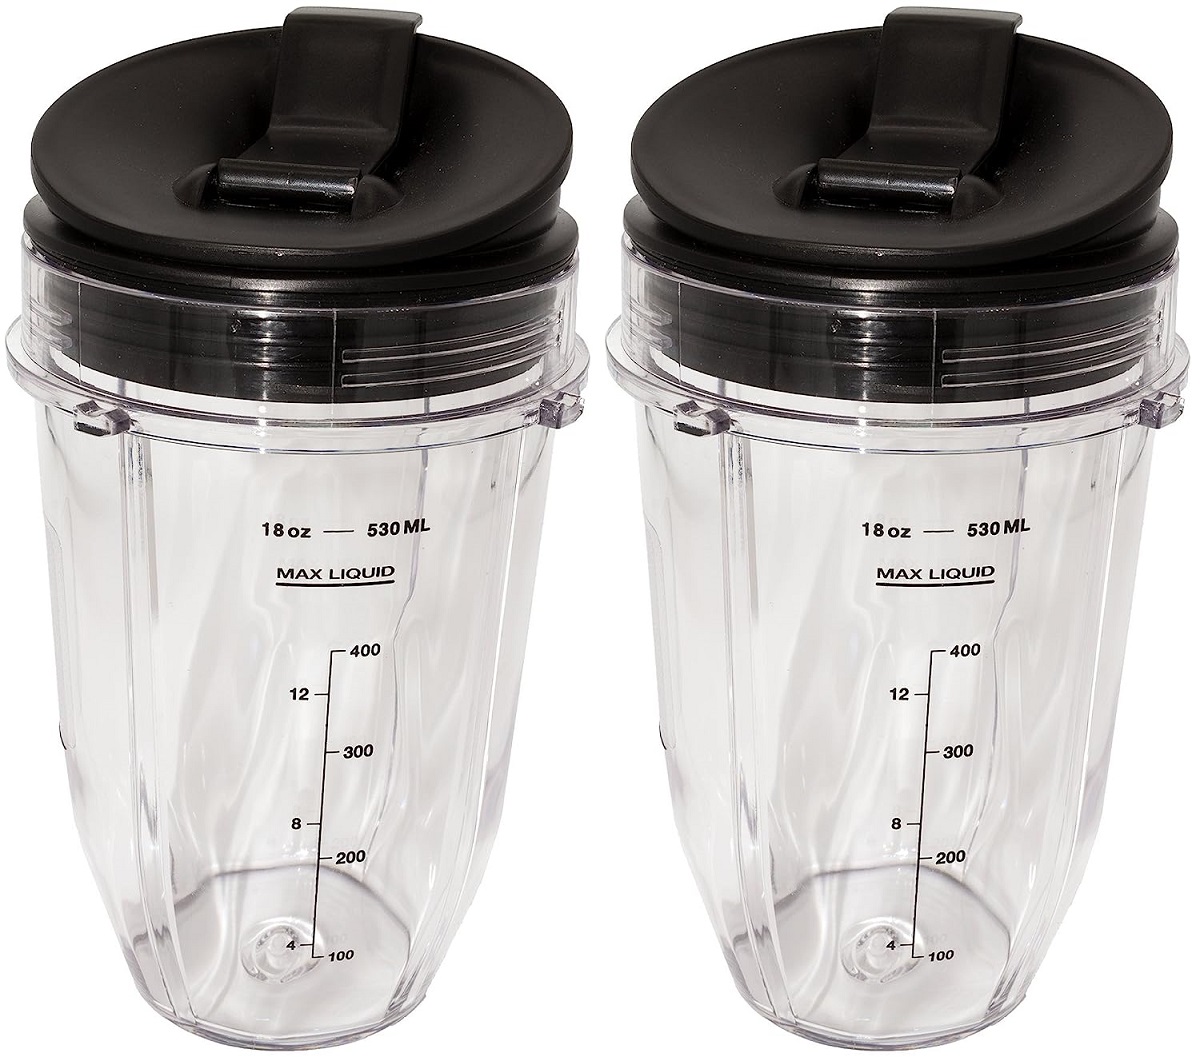
The Zulay Kitchen 18 oz Personal Blender is a powerful and portable blender that can crush ice and blend frozen fruits and veggies in seconds. It features 6 sharp blades, a leak-proof flip lid, and a USB-C rechargeable battery. With its smart safety features and quick and easy cleaning, this blender is perfect for making healthy and delicious drinks on the go. The 18 oz capacity and lightweight design make it ideal for travel, work, or hiking. It comes with a lifetime warranty and is available in a stylish light blue color.
Key Features
- Crushes ice and frozen fruits/veggies in seconds
- Leak-proof flip lid for spill-free storage
- USB-C rechargeable battery with 22000 m AH capacity
- Smart safety features for secure use
- Quick and easy cleaning with detachable parts
- Comes with a lifetime warranty
Specifications
- Color: Light Blue
- Dimensions: 3.00Lx3.25Wx10.20H
- Size: 18oz Capacity
Pros
- Powerful and efficient blending
- Portable and lightweight design
- Leak-proof and spill-free storage
- Fast and easy cleaning
- Safe and secure to use
- Comes with a lifetime warranty
Cons
- Battery may not hold charge for long
- Does not crush ice cubes completely
- Cannot submerge base in water for cleaning
- USB cord may get hot during charging
The Zulay Kitchen 18 oz Personal Blender is a fantastic choice for those who want a powerful and portable blender. With its ability to crush ice and blend frozen ingredients quickly, it is perfect for making smoothies and other drinks on the go. The leak-proof flip lid ensures spill-free storage, and the USB-C rechargeable battery provides convenience for travel. While the battery may not hold charge for an extended period and the blender may struggle with larger ice cubes, its overall performance, easy cleaning, and smart safety features make it a reliable option. With a lifetime warranty and stylish design, this blender is a must-have for anyone looking for a portable and efficient blending solution.

Overall Score: 8.5/10
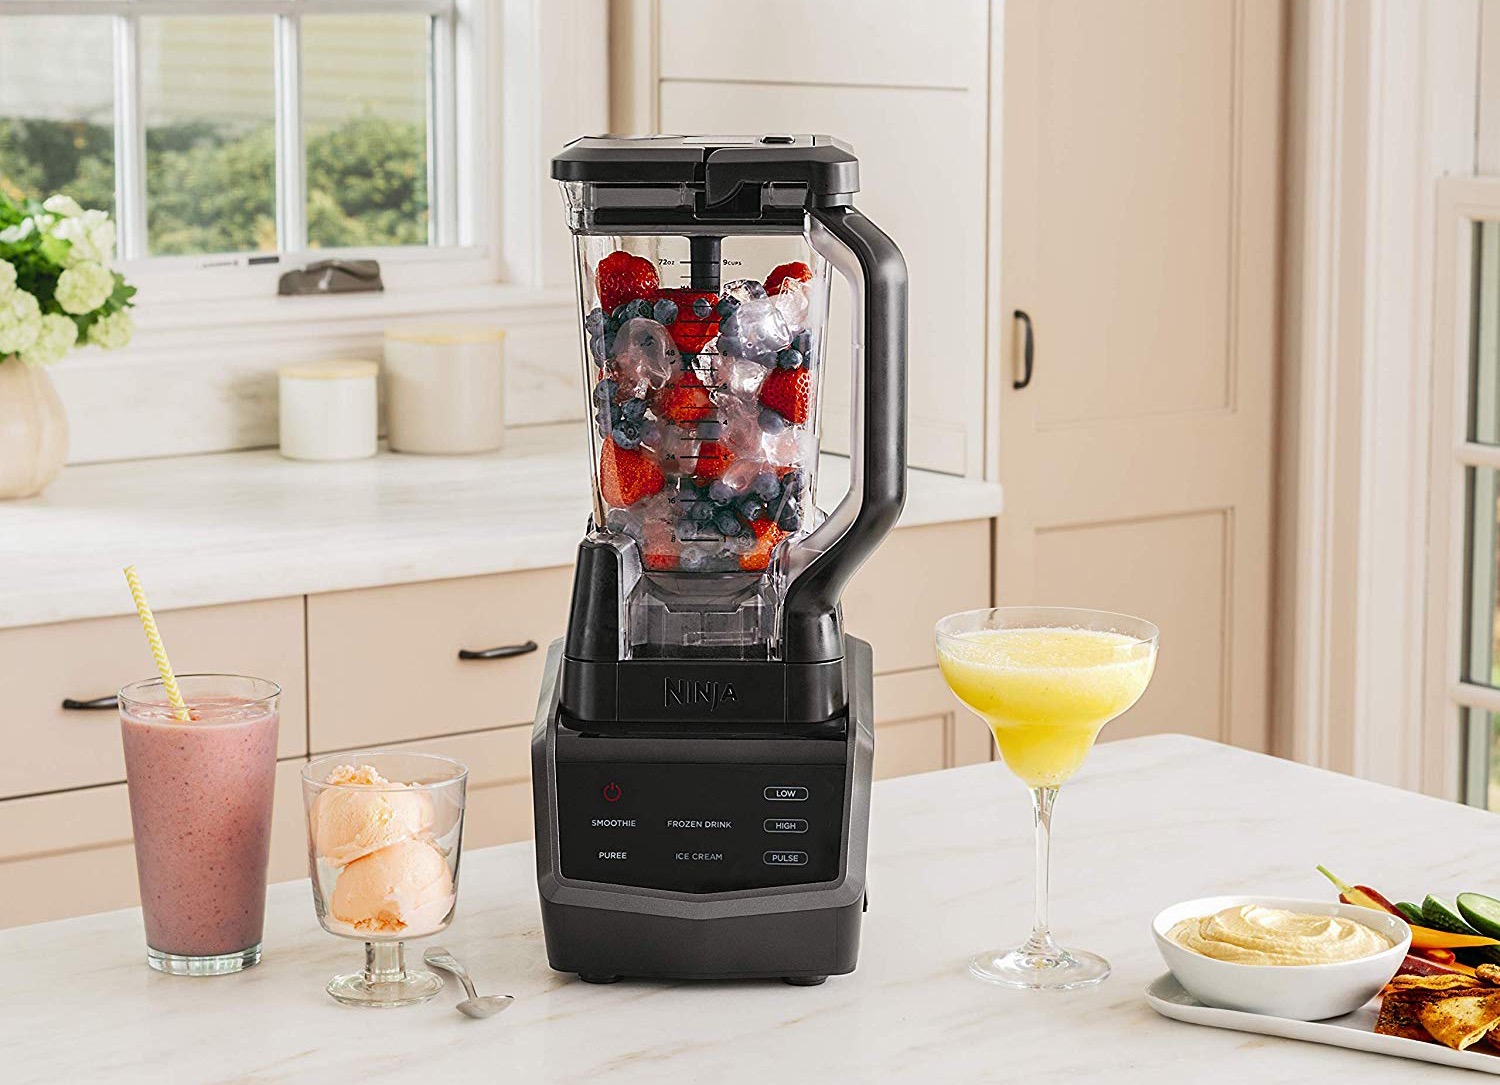
The Ninja BL610 Professional 72 Oz Countertop Blender is a powerful blender designed to crush ice and blend tough ingredients effortlessly. With a 1000-watt motor base and Total Crushing Technology, this blender can handle any blending task. It features a spacious 72 oz pitcher, making it perfect for large batches of smoothies and frozen drinks. The blender is equipped with intelligent technology that pulverizes and crushes ice, whole fruits, and vegetables in seconds. Additionally, it comes with a recipe guide for drink and dish making inspiration. The pitcher is BPA-free and dishwasher safe, ensuring easy cleanup. The Ninja BL610 Professional Blender is a reliable and efficient appliance for all your blending needs.
Key Features
- 1000 watts of professional power
- 72 oz professional blender pitcher
- Total Crushing Technology
- Blast ice into snow in seconds
- Includes recipe guide
- Pitcher is BPA free and dishwasher safe
Specifications
- Color: Black
- Dimension: 9.50Lx7.50Wx17.00H
- Size: 9.5 in L x 7.5 in W x 17 in H
Pros
- Powerful and efficient for blending tough ingredients
- Large pitcher capacity
- Total Crushing Technology ensures smooth blending
- Easy to clean with dishwasher safe pitcher
- Includes recipe guide for inspiration
Cons
- Lacks some useful features like an auto-clean function
- Can be noisy during operation
- May leave chunks in smoothies
The Ninja BL610 Professional 72 Oz Countertop Blender is a highly capable blender that delivers excellent blending performance. It effortlessly crushes ice and blends tough ingredients, making it perfect for smoothies, frozen drinks, and more. The large pitcher capacity allows you to make batches for the whole family, and the included recipe guide provides inspiration for new creations. While it lacks some features and can be noisy, its overall power and efficiency make it a solid choice. If you’re in need of a reliable and efficient blender, the Ninja BL610 is a great option.

Overall Score: 9/10
The Ninja NJ601AMZ Professional Blender is a powerful and versatile blender that can crush ice, blend fruits and vegetables, and make delicious smoothies, shakes, and frozen drinks. With its 1000-watt motor base and 72 oz. dishwasher-safe pitcher, this blender can handle large batches for the whole family. The total crushing technology ensures unbeatable power and quick results. It comes with a 10-recipe inspiration guide to get you started. The BPA-free construction and dishwasher-safe parts make it easy to clean. The blender includes a motor base, pitcher with pour spout, total crushing blades, and recipe guide. Overall, this blender is a great addition to any kitchen for smoothie lovers and those who enjoy making sauces and dips.
Key Features
- 1000 watts of professional performance power
- 72 oz. pitcher for large batches, 64 oz. max liquid capacity
- Total crushing technology for powerful blending
- Versatile for making sauces, dips, and smoothies
- Includes 10-recipe inspiration guide
- BPA free and dishwasher safe
Specifications
- Color: Black
- Dimension: 6.75Lx9.00Wx17.50H
- Size: 1000 Watts
Pros
- Powerful motor for efficient blending
- Large pitcher for making batches
- Easy-to-clean, dishwasher-safe parts
- Versatile for different blending needs
- Includes recipe guide for inspiration
Cons
- Blades can be difficult to clean manually
The Ninja NJ601AMZ Professional Blender is a high-performance blender with a powerful motor and a large pitcher, perfect for making smoothies, shakes, and sauces for the whole family. It offers versatility, easy cleaning, and comes with a recipe guide for inspiration. While the blades can be a bit tricky to clean, overall, this blender delivers excellent results and is a great addition to any kitchen. Whether you’re blending frozen fruits or creating delicious dips, this blender will not disappoint. With its sleek design and professional performance, it’s worth considering for anyone in need of a reliable and efficient blender.

Overall Score: 7.6/10
The Hamilton Beach Power Elite Wave Action Blender is a powerful smoothie blender that comes with 12 blending functions for maximum versatility. With 700 watts of peak blending power and stainless steel Ice Sabre blades, it can easily crush ice, make smoothies, protein shakes, and more. The patented Wave Action system ensures ultra-smooth results, as ingredients are continuously forced down into the blades and circulated around the jar. Serving is easy and mess-free with the spout, and cleanup is a breeze with the dishwasher safe glass jar, lid, and blades. Available in a sleek black and stainless design, this blender is a great choice for anyone looking for a versatile and reliable blender at an affordable price.
Key Features
- 700 watts of peak blending power
- Stainless steel Ice Sabre blades
- Patented Wave Action system for ultra-smooth results
- Spout for easy serving without spills
- Dishwasher safe glass jar, lid, and blades
- 12 blending functions for maximum versatility
Specifications
- Color: Black and Stainless
- Dimension: 8.66Lx8.50Wx14.69H
- Size: 40 Oz Glass Jar
Pros
- Powerful blending performance
- Easy to use and clean
- Dishwasher safe
- Versatile with 12 blending functions
Cons
- Blender cover is cheaply made
- Not great at crushing ice
- Blade assembly can be difficult to clean
The Hamilton Beach Power Elite Wave Action Blender is a reliable and affordable blender that delivers powerful blending performance. While it may not have all the bells and whistles of high-end blenders, it gets the job done. The Wave Action system ensures smooth blending, and the 12 functions offer versatility. The dishwasher safe glass jar, lid, and blades make cleaning easy, though the blender cover could be of better quality. Overall, this blender is a good choice for those looking for a budget-friendly option that performs well. Just keep in mind its limitations when it comes to crushing ice and consider investing in a higher-end blender if that’s a priority for you.

Overall Score: 8.5/10
The Hamilton Beach Wave Crusher Blender is a powerful and versatile blending machine that allows you to crush ice, make purees, and blend shakes and smoothies with ease. Its patented Ice Sabre Blades and 700-watt motor quickly crush contents for smooth, icy drinks. With the Waveaction system, the mixture is forced down into the blades, ensuring consistently smooth results without stirring. The 40-ounce thermal shock tested glass jar is perfect for parties or making large batches of drinks. The blender offers 14 blending functions, handles, and a drip-free serving with an easy-pour spout. It is also easy to clean, with dishwasher safe components. Backed by a 3-year warranty, this blender is built to last.
Key Features
- Ice Sabre Blades for easy ice crushing
- Waveaction system for smooth results
- 40-ounce thermal shock tested glass jar
- 14 blending functions
- Dishwasher safe lid, blades, and jar
- 3-year warranty
Specifications
- Color: Stainless Steel
- Dimension: 6.89Lx9.45Wx14.96H
- Size: 40oz
Pros
- Powerful ice crushing capability
- Consistent and smooth blending results
- Large glass jar is perfect for parties
- Dishwasher safe for easy cleaning
- Comes with a 3-year warranty
Cons
- Lid is hard to put on and take off
- Does not crush ice or blend frozen drinks perfectly
- Pouring from the lid can be messy
The Hamilton Beach Wave Crusher Blender is a reliable and versatile blender that offers impressive ice crushing power and consistent blending results. Its durable glass jar and dishwasher-safe components make it easy to clean, while the 14 blending functions provide versatility for various blending needs. Despite some minor drawbacks, such as a lid that can be difficult to handle and the occasional mess while pouring, this blender offers great value for its price. Whether you want to make smoothies, purees, or crush ice for refreshing drinks, the Hamilton Beach Wave Crusher Blender is a solid choice.

Overall Score: 8.2/10
The Bear Blender is a high-speed countertop blender that offers a powerful 700W motor and 3-speed control for achieving various smoothie textures. With its hardened stainless steel blades, it can handle a wide range of ingredients to create delicious drinks. The blender also features a convenient pulse function for easy ice crushing and a self-cleaning mode for quick and effortless cleaning. It has a 40 oz large capacity blender jar, making it ideal for family gatherings. The blender is designed with safety in mind, with a safety lock that ensures it can only be operated when in the correct position. Overall, the Bear Blender is a versatile and user-friendly appliance that delivers excellent performance.
Key Features
- 700W powerful motor with 3-speed control
- Hardened stainless steel blades for efficient blending
- Pulse function for ice crushing
- Self-cleaning mode for easy cleaning
- 40 oz large capacity blender jar
- Safety lock for user's safety
Specifications
- Color: Black
- Dimension: 6.00Lx6.00Wx14.00H
Pros
- Powerful motor for efficient blending
- Easy to crush ice with pulse function
- Large blender jar for family gatherings
- Self-cleaning mode for quick and effortless cleaning
- Safety lock ensures user's safety
Cons
- Lid may not fit securely
- Difficult to clean certain parts
- Chemical burning smell reported by some users
- May leave black ring on countertop
- Motor may have durability issues
The Bear Blender is a powerful and versatile countertop blender that offers a range of features designed to enhance the blending experience. With its 700W motor and 3-speed control, it can handle a variety of ingredients to create smoothies, shakes, purees, and more. The blender’s self-cleaning mode makes it incredibly convenient to clean, and its large capacity blender jar is perfect for family gatherings. While some users have reported issues with lid fittings, cleaning difficulties, and motor durability, the overall performance and functionality of the Bear Blender make it a great investment for smoothie enthusiasts and anyone looking for a reliable blender. With its sleek design and excellent customer service, this blender is sure to bring joy to your daily blending routine.

Overall Score: 8/10
The BLACK+DECKER PowerCrush Multi-Function Blender is a versatile appliance that offers fast blending performance. With its 4-Tip QuadPro Blade Technology and four speed settings, it can handle any blending task with ease. The 6-Cup PerfectPour Glass Jar is durable and easy to pour from, and the dishwasher-safe removable parts make cleanup a breeze. The blender features a powerful 700W motor for efficient blending, and its sleek silver design adds a touch of style to any kitchen. Whether you're making smoothies, crushing ice, or blending ingredients for recipes, this blender is up to the task.
Key Features
- 4-Tip Quad Pro Blade Technology
- 4 Speeds
- 6-Cup Perfect Pour Glass Jar
- Dishwasher-Safe Removable Parts
- 700W Motor
Specifications
- Color: Silver
- Dimension: 6.20Lx7.52Wx15.67H
- Size: 4 Speed Settings
Pros
- Fast blending performance
- Easy to use and clean
- Durable glass jar
- Powerful motor
Cons
- Doesn't completely chop frozen fruit for smoothies
- Loud
- Food can get stuck under the propeller
The BLACK+DECKER PowerCrush Multi-Function Blender is a reliable and versatile blender that offers great performance for its price. It is easy to use and clean, and the durable glass jar adds a touch of elegance. While it may struggle with certain tasks like crushing frozen fruit, it excels at general blending tasks and provides a powerful motor that ensures efficient results. Overall, this blender is a solid choice for anyone looking for a reliable and affordable blending solution.
Ice Blender Buyer's Guide
Here's a comprehensive buyer's guide to help you navigate the icy world of ice blenders. Whether you're dreaming of frosty smoothies or crafting creative frozen cocktails, these tips will ensure you find an ice blender that's just right for you!
Read also: 9 Amazing Breville Blender for 2025
Factors to Consider
Before diving into the chilly depths of ice blending, there are a few important factors to keep in mind. From power to size, these elements will guide you towards the perfect ice blender:
- Power: Look for a blender with a robust motor, typically measured in watts. Higher wattage allows for smoother blending of ice, guaranteeing frosty perfection every time.
- Blade Design: Opt for blenders that feature sturdy, stainless steel blades. These tough contenders can crush ice more effectively and ensure consistent results.
- Capacity: Consider how much ice you plan to blend at once. Larger pitchers or containers are ideal for hosting gatherings or preparing multiple servings, while compact options can be perfect for personal use.
- Speed Settings: Variable speed controls allow you to blend ice at different speeds, adapting to your desired texture. Deliciously fluffy snow or finely crushed ice, it's your call!
- Ease of Cleaning: Cleaning a blender after mastering the art of icy concoctions can be a daunting task. Look for designs with removable blades and dishwasher-safe components to make clean-up a breeze.
- Noise Level: Some blenders can produce a thunderous noise that might startle your neighbors or furry friends. Quieter models ensure you can blend tranquil icy creations without causing a ruckus.
- Price: Determine your budget from the iceberg of options available in the market. Balancing your needs with affordability is key to avoiding an icy wallet shiver.
Types of Ice Blenders
When it comes to ice blending, there are a few types of blenders you can freeze upon:
- Countertop Ice Blenders: These powerful blenders sit proudly on your kitchen countertop, whipping up icy creations in a flash. They come in various sizes and are perfect for larger households or those planning grand ice-blending adventures.
- Personal Blenders: Travel companions in the icy realm, personal blenders are compact and designed for single-serve portions. Their convenient size makes them great for on-the-go individuals or those with limited counter space.
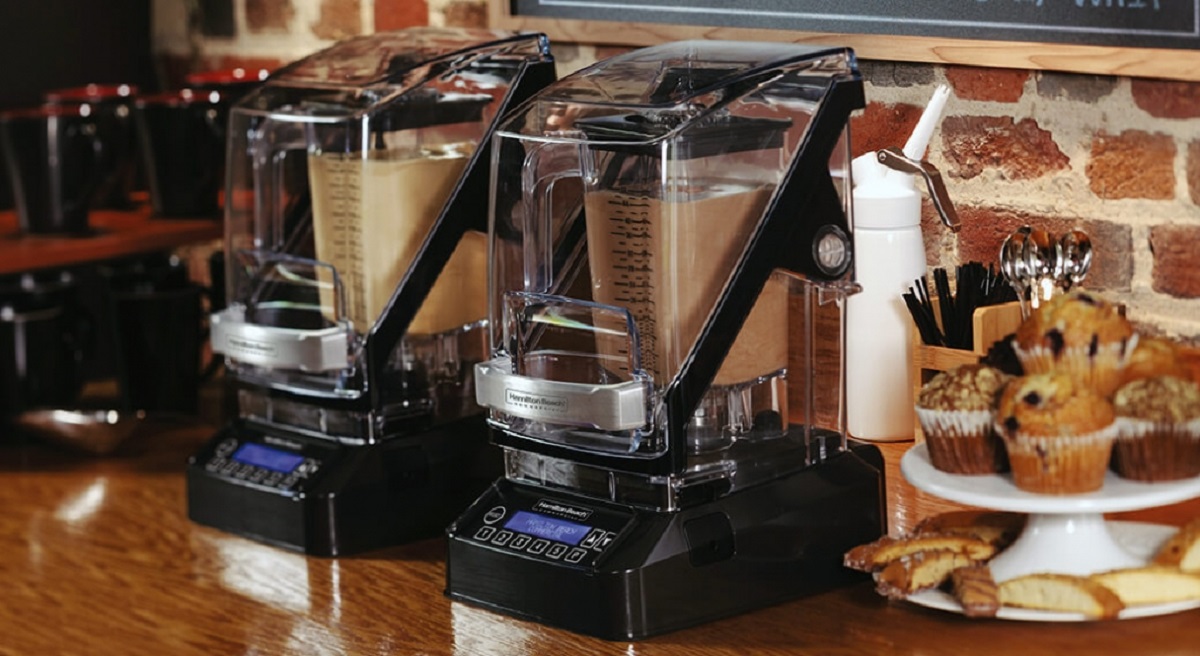
- Commercial Blenders: For those who need to blend ice on an industrial scale, commercial blenders are your chilly knights in shining armor. Built to handle heavy-duty usage, they're commonly found in bustling bars, restaurants, and frozen yogurt parlors.
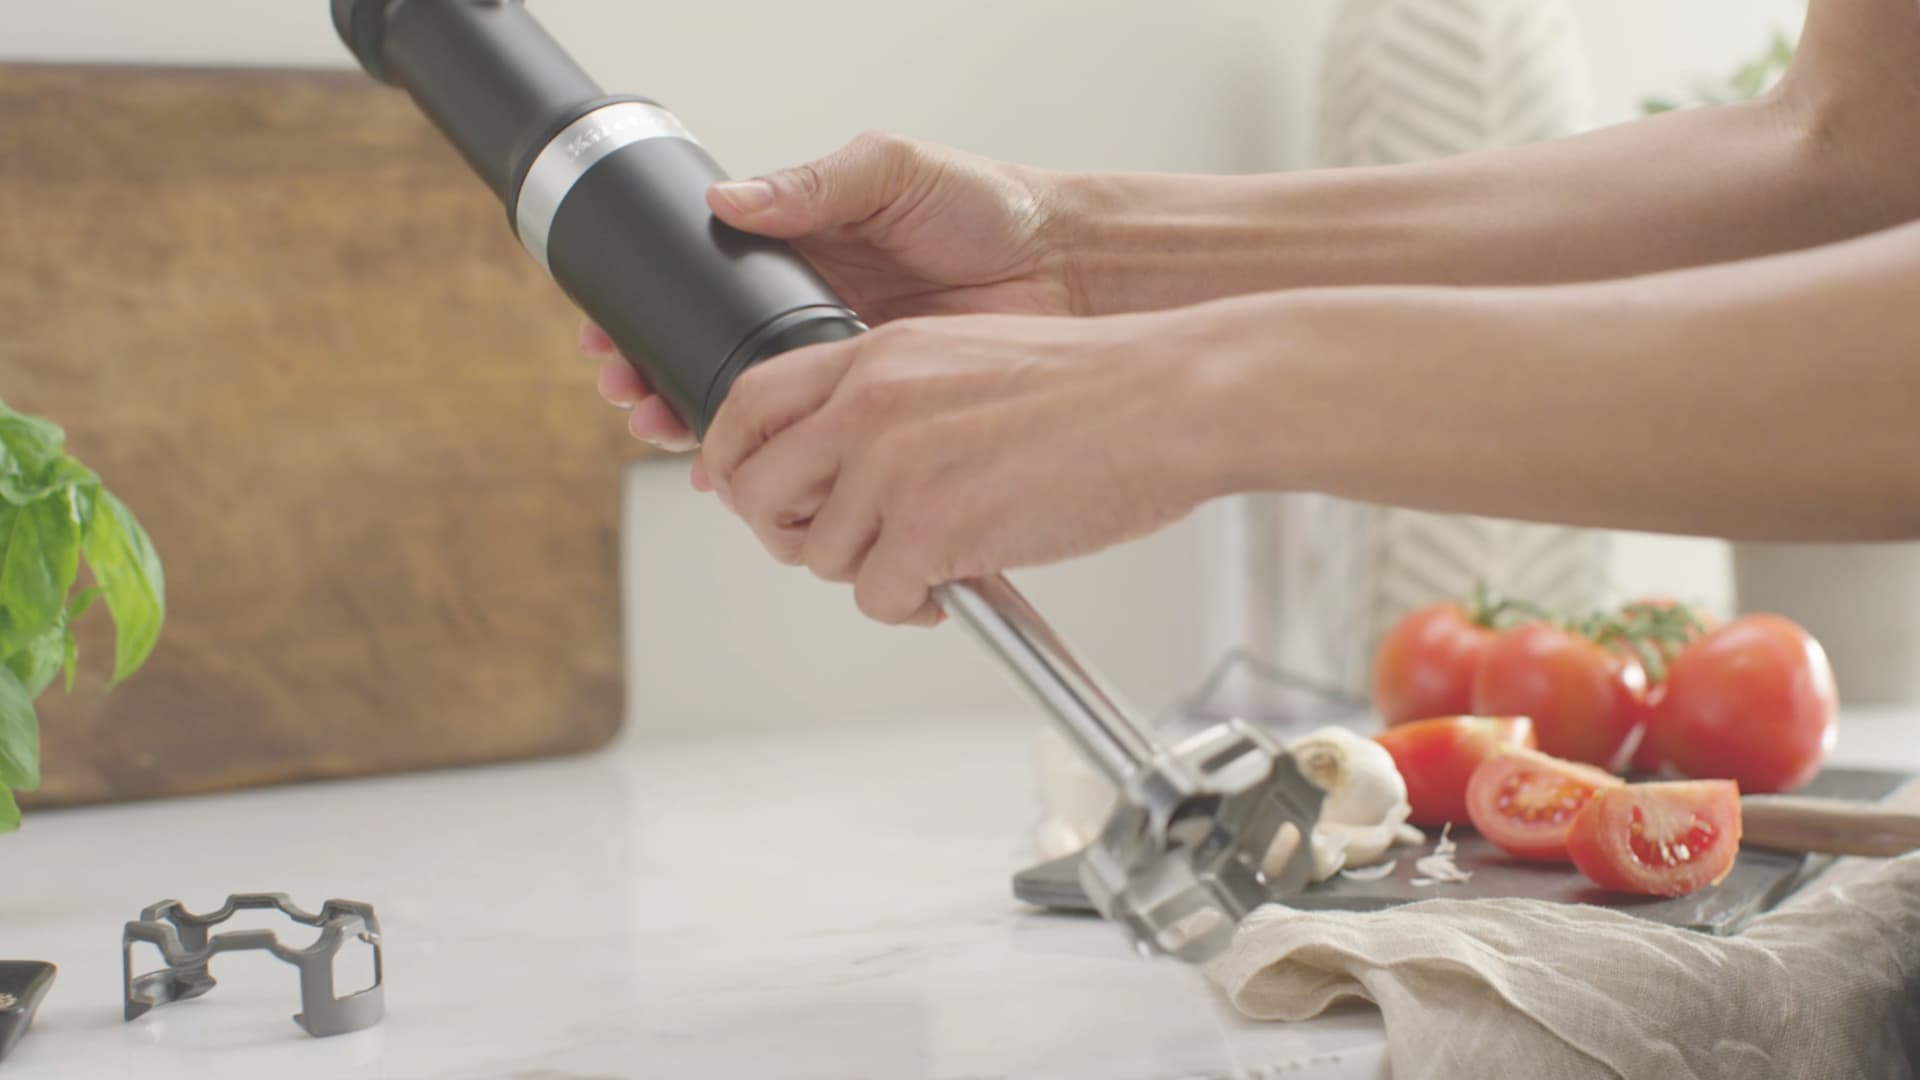
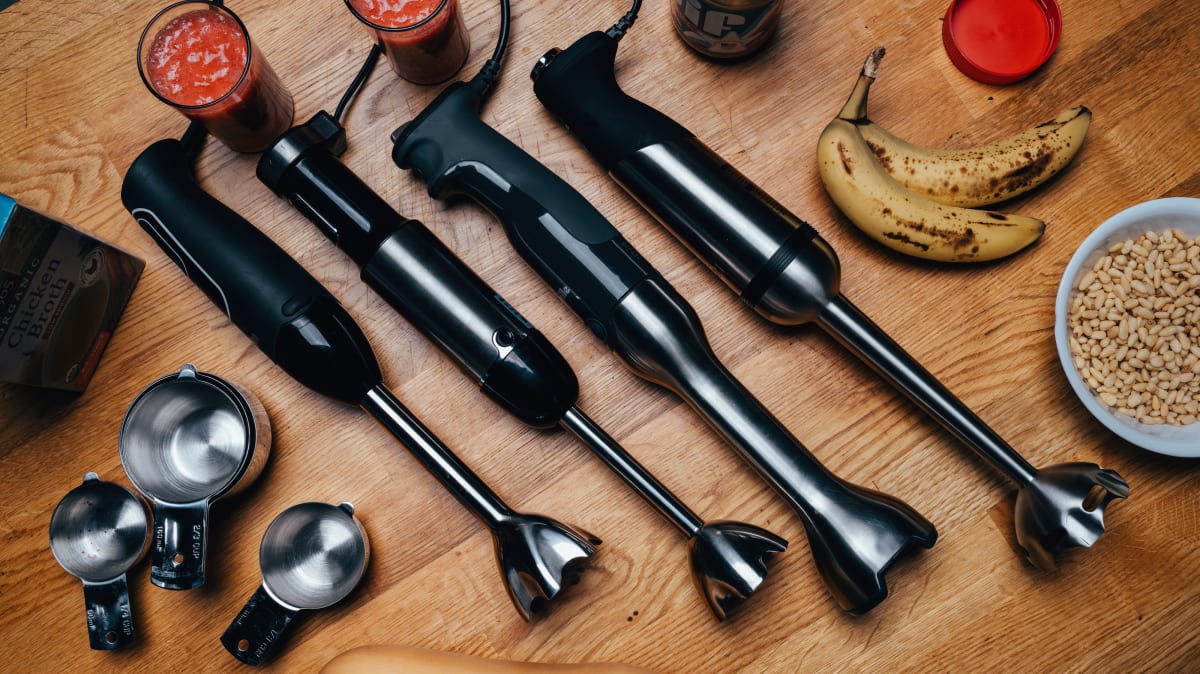
- Handheld Immersion Blenders: Offering a more hands-on approach to ice blending, these handheld marvels can be dipped directly into your icy concoctions. Handy for small tasks and perfect for those with limited space.
Maintenance and Safety Tips
Now that you're familiar with the types of blenders, here are some valuable maintenance and safety tips to keep you blending safely and prolong the lifespan of your chosen ice blender:
- Safety First: Always make sure your blender is unplugged before cleaning, and never immerse the entire base in water. Keep your fingers and other objects away from the blades during operation.
- Ice Quantity: Be mindful of the maximum ice quantity that your blender can handle. Overloading it may strain the motor and lead to a less-than-ideal icy outcome.
- Liquid Assistance: For smooth blending, add a small amount of liquid, like water or juice, to your ice before blending. This helps the blades move freely and ensures a consistent blend.
- Avoid Hot Water: While some blenders are capable of blending hot liquids, ice blenders aren't typically built for this task. Stick to chilling beverages for delightfully frosty results.
- Storing Blades: When not in use, it's smart to remove the blades from the blender for cleaning and storage purposes. Just be careful when handling these sharp icy warriors!
Frequently Asked Questions about 9 Amazing Ice Blender For 2025
While most ice blenders can handle traditional ice cubes with ease, it’s best to check the manufacturer’s instructions to ensure compatibility with other types of ice, such as crushed or shaved ice.
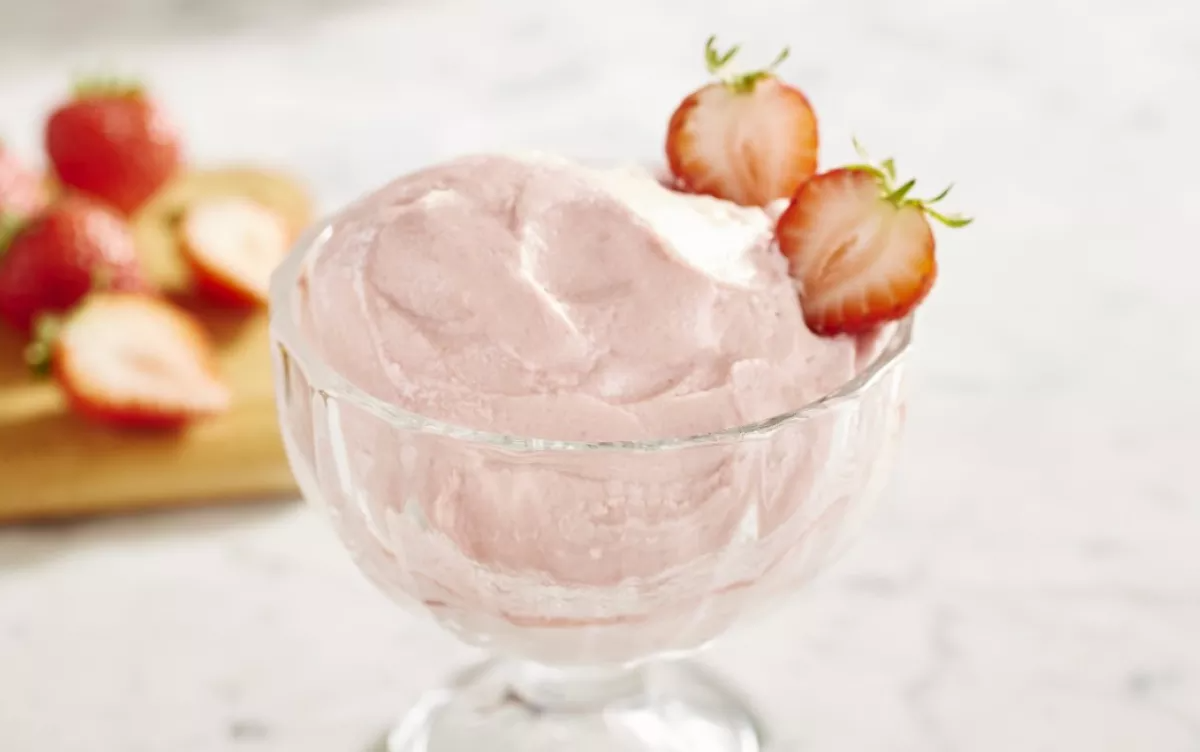
While ice blenders are fantastic for crafting refreshing beverages, they can also be used to create delicious frozen desserts like ice cream, sorbet, or even chilled soups.
Absolutely! Ice blenders excel at blending a wide variety of ingredients, such as fruits, vegetables, spices, and more. Let your culinary creativity take you on a cool adventure!
Regular cleaning is crucial to maintain the performance and longevity of your ice blender. It’s recommended to clean it thoroughly after each use, especially when blending sticky or aromatic ingredients.
Yes, ice blenders can be versatile kitchen companions that can handle multiple blending tasks beyond just icy drinks. From pureeing soups to creating creamy smoothies, they have a broad range of applications.
Was this page helpful?
Trust Storables.com for unbiased and honest product reviews. Our reviews are rigorously assessed by our Expert Board Contributors and adhere to strict Editorial Standards. We ensure that each review is transparent and trustworthy, helping you make informed purchasing decisions.

0 thoughts on “9 Amazing Ice Blender for 2025”