Articles
How To Make Ice Cream In A Blender
Modified: August 28, 2024
Learn how to make delicious homemade ice cream in just a few simple steps using a blender. Enjoy creamy and refreshing treats with this easy-to-follow article.
(Many of the links in this article redirect to a specific reviewed product. Your purchase of these products through affiliate links helps to generate commission for Storables.com, at no extra cost. Learn more)
Introduction
Ice cream is a beloved treat enjoyed by people of all ages. The creamy and refreshing indulgence of a perfectly scooped cone or a decadent sundae brings joy and satisfaction to our taste buds. While store-bought ice cream is readily available, there’s something special about making your own homemade version. And guess what? You can make delicious ice cream right in your blender!
In this article, we will guide you through the process of making ice cream using a blender. This quick and easy method eliminates the need for an ice cream maker, allowing you to whip up homemade ice cream in no time. So grab your blender and get ready to embark on a delightful culinary adventure!
But before we dive into the recipe, let’s talk about the importance of using the right ingredients.
Key Takeaways:
- Indulge in a delightful culinary adventure by making rich and creamy homemade ice cream in your blender. Customize flavors and mix-ins to create your own signature masterpiece and savor the sweet rewards of your creativity.
- Elevate your dessert game with homemade ice cream made in a blender. Enjoy the process of experimenting with flavors, adding delightful mix-ins, and savoring the joy of creating something delicious from scratch.
Read more: How To Make Ice Cream With Ninja Blender
Choosing the right ingredients
When it comes to making homemade ice cream, using high-quality ingredients is key to achieving a rich and creamy texture with delicious flavor. Here are the essential ingredients you’ll need:
- Heavy cream: This ingredient is the base of your ice cream and provides that luscious creaminess. Look for heavy cream with a high fat content for the best results.
- Whole milk: Adding whole milk helps to balance the richness of the heavy cream and creates a smoother texture.
- Sugar: Sugar is necessary to sweeten the ice cream. Adjust the amount to suit your taste preferences.
- Vanilla extract: A dash of vanilla extract enhances the overall flavor profile of your ice cream. Opt for pure vanilla extract for the best taste.
- Flavorings and mix-ins: Get creative and experiment with different flavors, such as chocolate, strawberry, or mint. Additionally, feel free to add mix-ins such as chocolate chips, crushed cookies, or fresh fruit.
It’s important to note that using high-quality ingredients will greatly impact the taste and texture of your homemade ice cream. So choose the freshest dairy products, organic ingredients, and pure extracts to elevate the overall experience.
Now that you have the perfect ingredients ready, let’s move on to preparing your blender for the ice cream-making process.
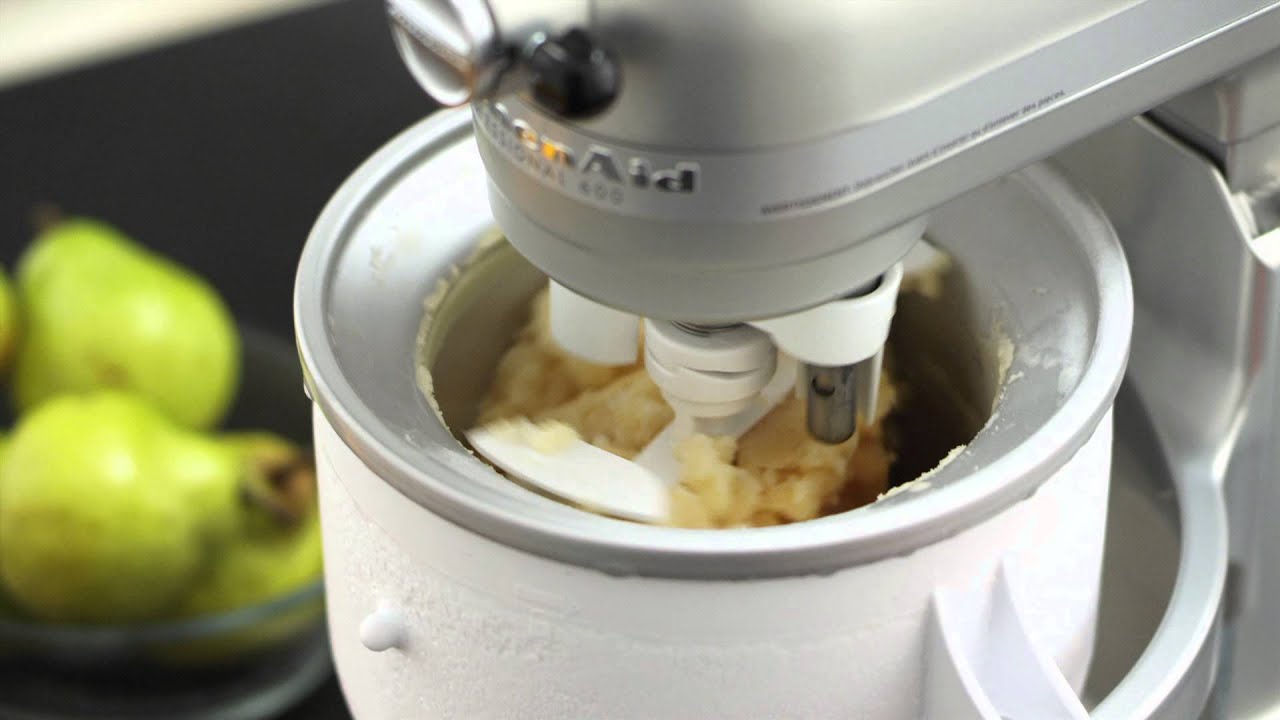
Preparing the blender
Before you start making ice cream in your blender, it’s important to ensure that your blender is properly prepared. Follow these steps to get your blender ready:
- Clean the blender: Begin by thoroughly cleaning your blender, including the pitcher, lid, and blades. This will help prevent any residual flavors or odors from affecting the taste of your ice cream.
- Chill the blender: To keep your ice cream mixture cold during blending, it’s a good idea to chill the blender pitcher in the refrigerator for about 20-30 minutes prior to use.
By cleaning and chilling your blender beforehand, you set the stage for successful ice cream making. With your blender prepared, it’s time to move on to blending the ice cream base.
Please note that not all blenders are created equal, and some may be better suited for making ice cream than others. Ideally, you want a blender with a powerful motor that can handle blending thick and frozen ingredients. If your blender is not equipped for this, you may need to adjust the recipe to accommodate its limitations.
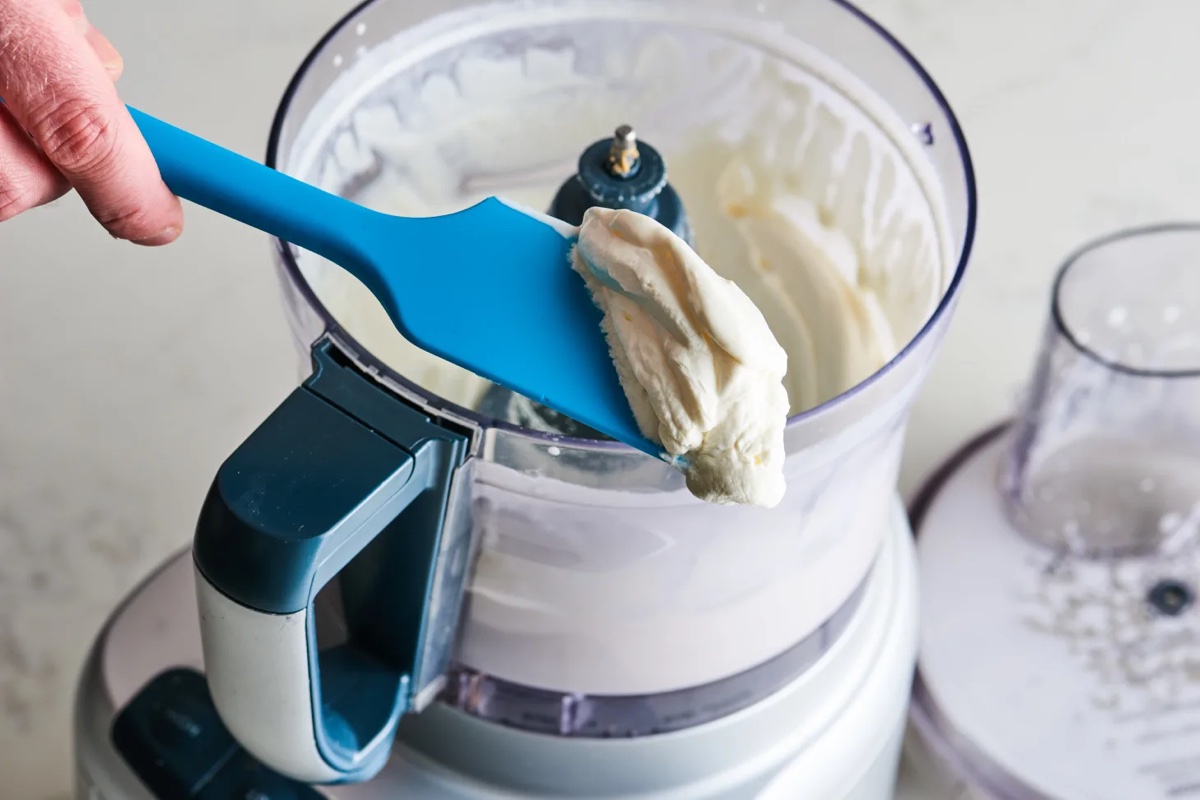
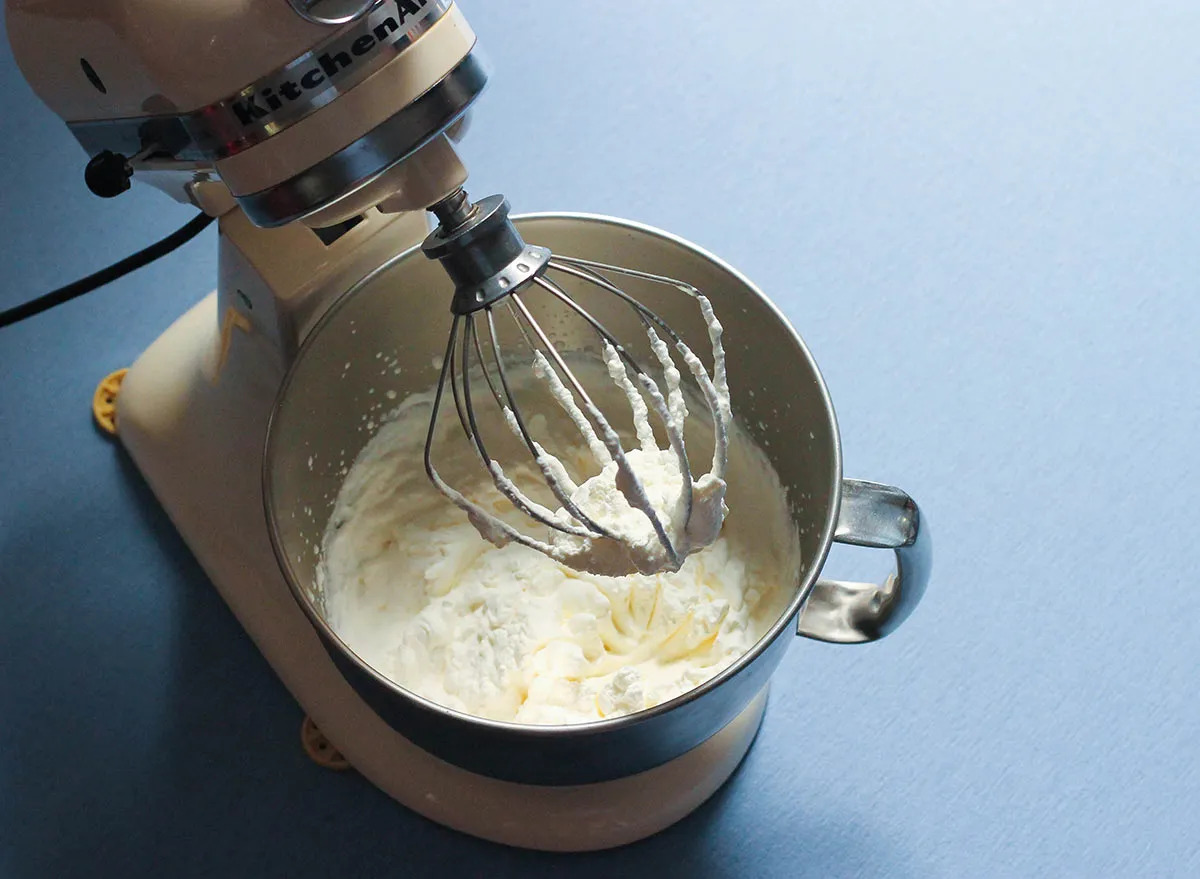
Blending the ice cream base
Now that your blender is prepped and ready, it’s time to blend the ice cream base. Follow these simple steps to create a smooth and creamy ice cream mixture:
- Add the heavy cream and whole milk: Start by pouring the desired amount of heavy cream and whole milk into the blender pitcher. The ratio of cream to milk will depend on how rich and creamy you want your ice cream to be. A common ratio is 2 parts heavy cream to 1 part whole milk.
- Add the sugar: Next, add the desired amount of sugar to sweeten the ice cream. It’s best to add the sugar a little at a time and blend after each addition until fully dissolved. This ensures that the sugar is evenly incorporated into the mixture.
- Add the flavorings: If you’re making a classic vanilla ice cream, now is the time to add a splash of vanilla extract. For other flavors, such as chocolate or strawberry, add the appropriate flavorings at this stage. Blend the mixture again to fully combine the flavors.
Once all the ingredients are in the blender, secure the lid tightly and begin blending on a low speed. Gradually increase the speed to medium-high until the mixture is smooth and well-blended. The blending time will vary depending on the power of your blender, but it usually takes around 1-2 minutes.
Remember to periodically pause the blending process and scrape down the sides of the blender pitcher with a spatula to ensure that all the ingredients are well incorporated.
Once the ice cream base is blended to your desired consistency, it’s time to get creative and add flavors and mix-ins!
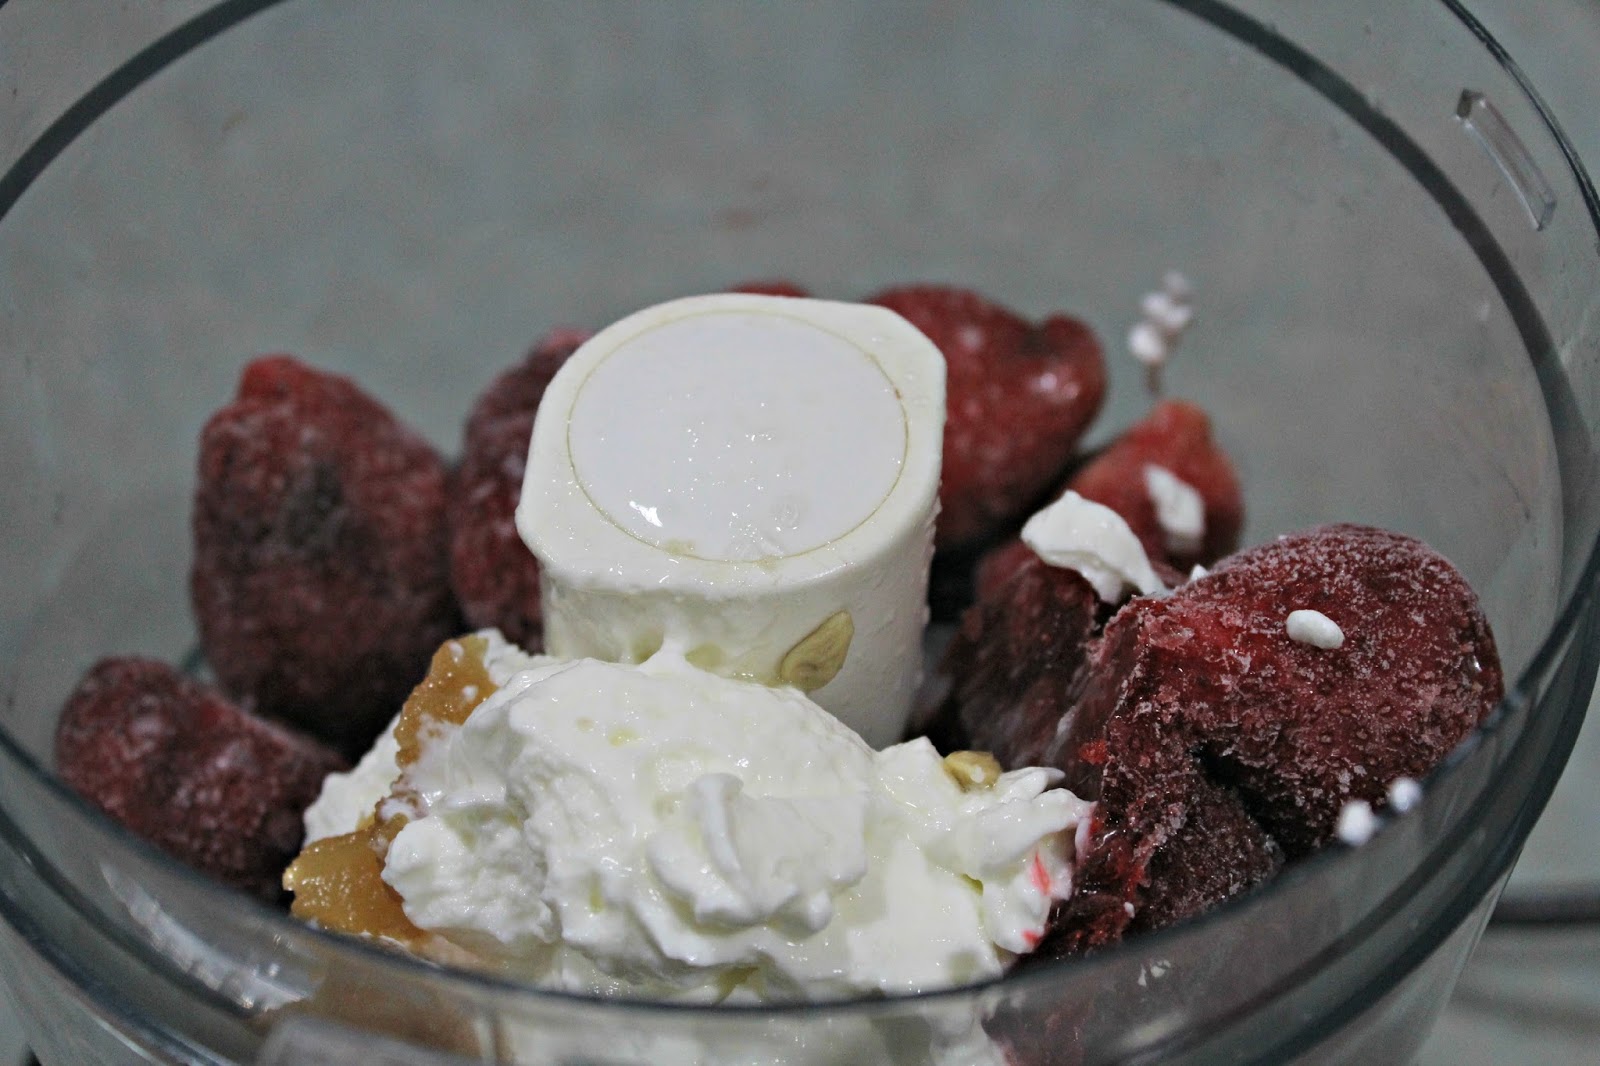
Add frozen fruit to your blender with some milk or yogurt for a quick and healthy “nice cream” alternative. Blend until smooth and enjoy!
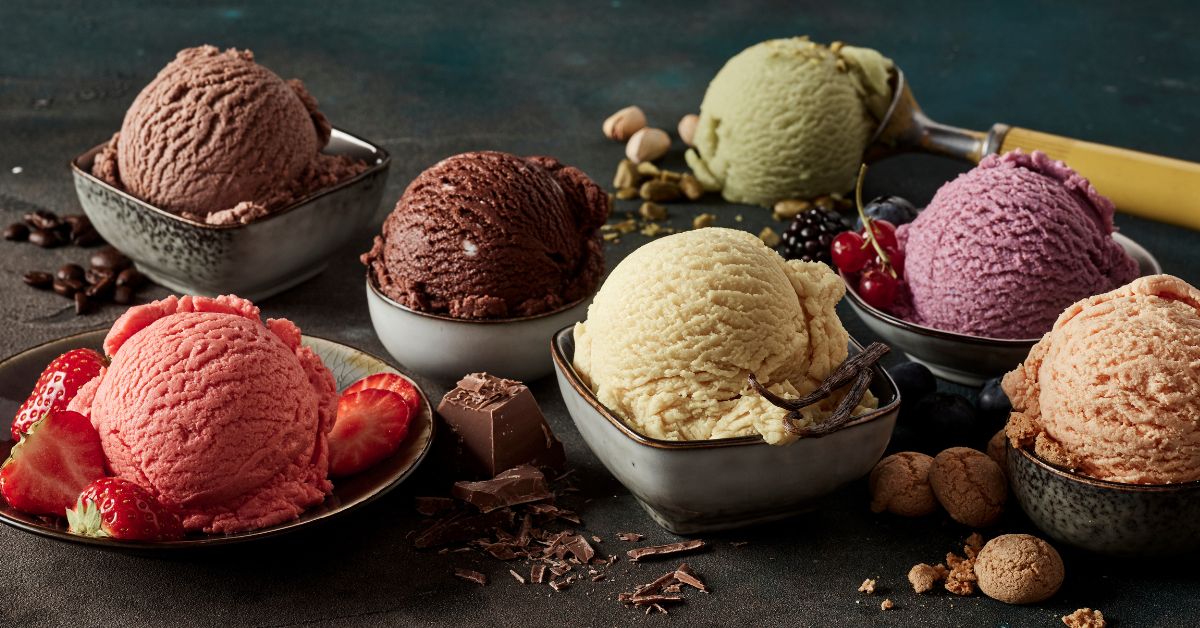
Adding flavors and mix-ins
Now that you have a smooth and creamy ice cream base, it’s time to take it to the next level by adding flavors and mix-ins. This is where you can unleash your creativity and customize your ice cream to suit your taste preferences. Here are some ideas to get you started:
- Chocolate lovers: For a chocolatey twist, add cocoa powder or melted chocolate to the ice cream base. You can also mix in chocolate chips for extra indulgence.
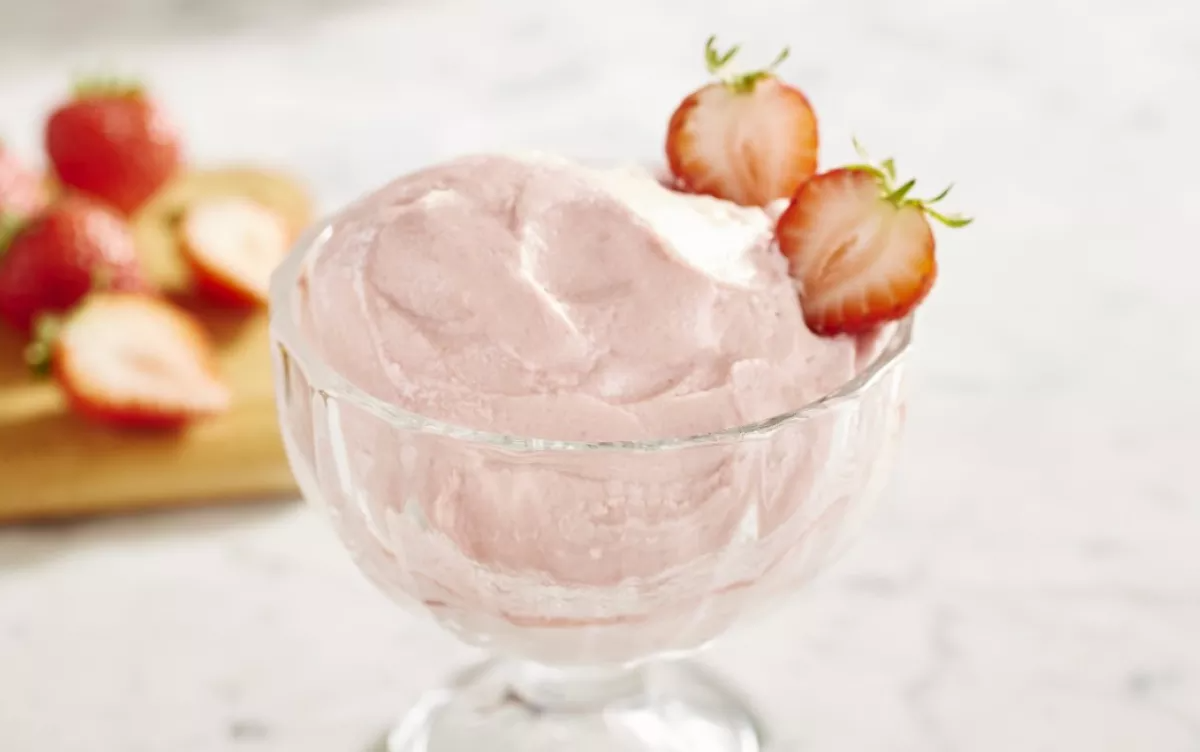
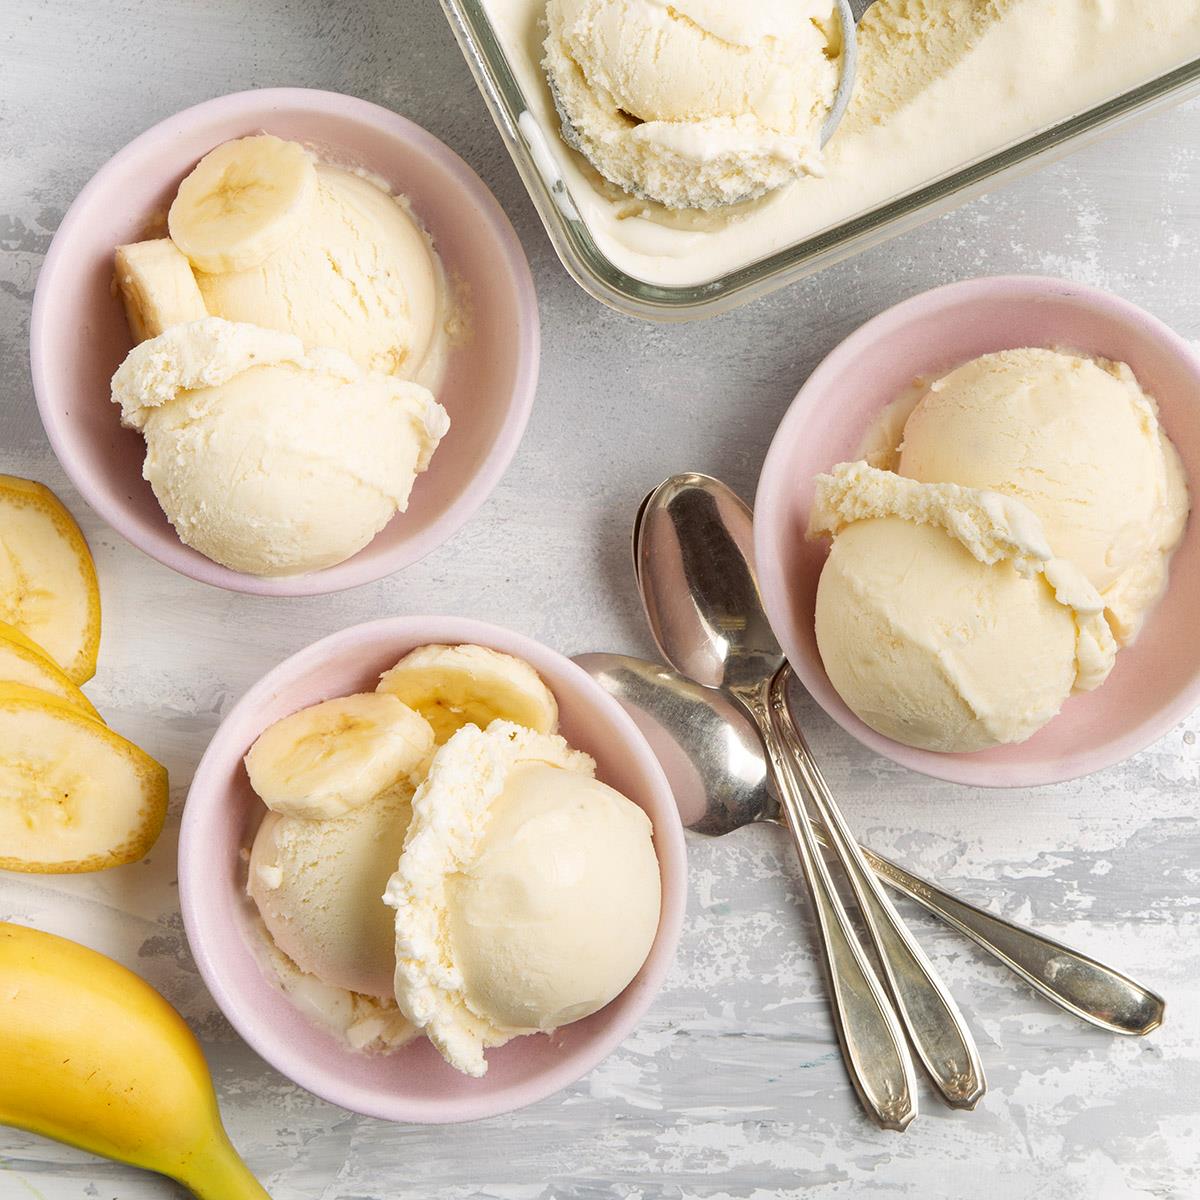
- Fruity delights: If you’re a fan of fruity ice cream, blend in your favorite fruits, such as strawberries, banana, or mango. You can also swirl in fruit puree or add chunks of fresh fruit for added texture.
- Nutty goodness: Add a delicious crunch to your ice cream by including chopped nuts, such as almonds, walnuts, or peanuts. You can even toast the nuts beforehand to enhance their flavor.
- Cookie crumbles: Crushed cookies, such as Oreos or chocolate chip cookies, make an excellent mix-in for ice cream. Simply fold them into the ice cream base for a delightful cookie crunch.
- Sweet surprises: Get creative with unique mix-ins like caramel swirls, marshmallows, sprinkles, or even a drizzle of your favorite sauce.
Remember to add the flavors and mix-ins slowly and blend briefly after each addition. This ensures that they are evenly distributed throughout the ice cream mixture.
Feel free to combine different flavors and mix-ins to create your own signature ice cream masterpiece. The possibilities are endless!
Now that your ice cream base is flavored and filled with delightful mix-ins, it’s time to freeze it to perfection.
Read more: How To Make Ice Cream In Vitamix Blender
Freezing the ice cream
Once you have blended in your desired flavors and mix-ins, it’s time to freeze the ice cream to achieve that perfect scoopable texture. Follow these steps to ensure a successful freezing process:
- Transfer the mixture to a freezer-safe container: Pour the ice cream mixture from the blender into a freezer-safe container. Make sure to leave some room at the top for expansion as it freezes.
- Smooth out the surface: Use a spatula or the back of a spoon to level the surface of the ice cream mixture in the container. This will result in a more even texture once frozen.
- Cover the container: Tightly seal the container with a lid or plastic wrap to prevent any ice crystals from forming on the surface of the ice cream.
- Place the container in the freezer: Put the container in the freezer and allow the ice cream to freeze undisturbed for a minimum of 4-6 hours, or overnight for best results.
It’s important to periodically check the ice cream during the freezing process and give it a gentle stir to prevent ice crystals from forming. If you want to create a creamier texture, you can also use an electric hand mixer to beat the partially frozen ice cream every hour or so.
Remember, the freezing time may vary depending on the temperature of your freezer and the thickness of the ice cream mixture. The key is to ensure that the ice cream is firm but still scoopable before serving.
Now that your homemade ice cream is perfectly frozen, it’s time to savor and enjoy the fruits of your labor.
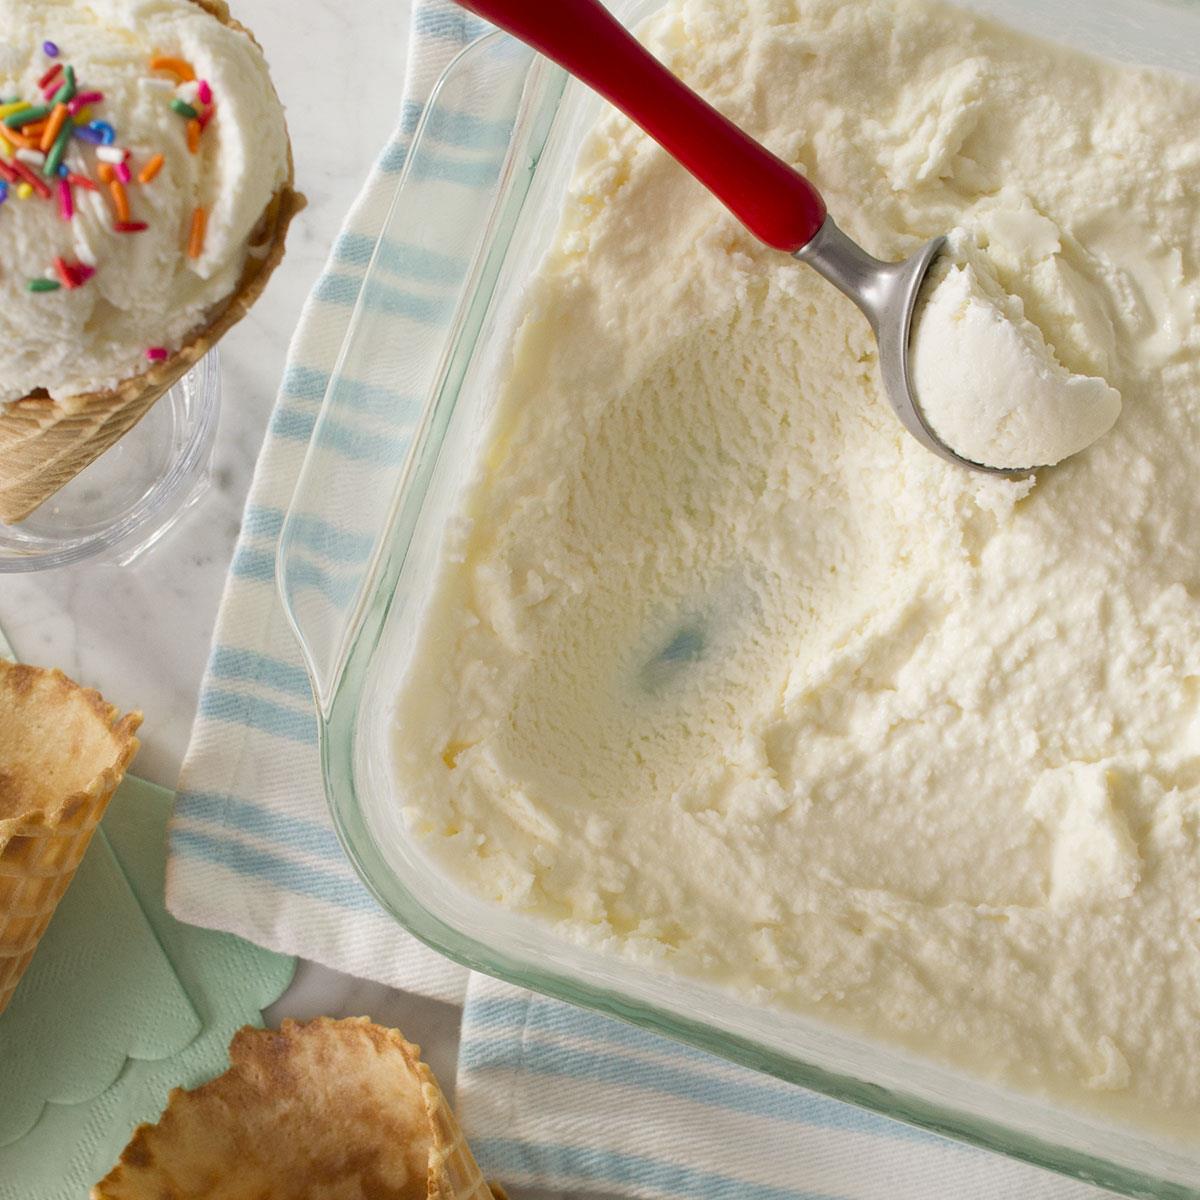
Serving and enjoying your homemade ice cream
Congratulations! You’ve successfully made your own delicious homemade ice cream using a blender. Now it’s time to serve and savor your creation. Here are some tips for serving and enjoying your homemade ice cream:
- Scoop and serve: Use an ice cream scoop to portion out the frozen goodness into bowls or cones. Ensure that your scoops are of a desirable size and shape.
- Top it off: Enhance the flavors and presentation of your ice cream by adding toppings such as chocolate syrup, caramel sauce, whipped cream, sprinkles, or chopped nuts. Get creative and let your imagination run wild!
- Pair it with accompaniments: Enjoy your homemade ice cream with complementary accompaniments. Serve it alongside fresh fruits, warm brownies, or crispy waffle cones for a delightful dessert experience.
- Share the joy: Homemade ice cream is best enjoyed with loved ones. Invite family and friends to join you in savoring the fruits of your labor. It’s a wonderful way to share the joy of creating something delicious from scratch.
- Experiment with variations: Don’t be afraid to experiment with different flavors, mix-ins, and serving styles. Personalize your creations to suit your taste preferences and explore new combinations to surprise and delight your taste buds.
Remember, homemade ice cream is meant to be enjoyed slowly, allowing the flavors to unfold on your palate. Take your time and savor each bite, appreciating the effort and love that went into making it.
Lastly, don’t forget to store any leftover ice cream in an airtight container in the freezer. Homemade ice cream tends to be best enjoyed within a week of making it, but it can last longer if properly stored.
Now, go ahead and treat yourself to a delectable bowl of your very own homemade ice cream. Enjoy!
Conclusion
Making homemade ice cream in a blender is a fun and rewarding experience that allows you to unleash your creativity while indulging in a delicious treat. With just a few simple steps, you can transform basic ingredients into a rich and creamy masterpiece.
Throughout this article, we have explored the process of making ice cream in a blender, from choosing the right ingredients to adding flavors and mix-ins. We discussed the importance of using high-quality ingredients and properly preparing your blender for the task. We also covered the blending process, freezing techniques, and serving suggestions.
By following the steps outlined in this article, you can create endless flavor combinations and customize your ice cream to suit your preferences. Whether you’re a fan of classic vanilla, chocolate lovers, or craving a fruity delight, the possibilities are endless.
Remember, making homemade ice cream is not only about the end result but also the joy of the process. It’s a wonderful way to spend quality time in the kitchen, experimenting with flavors, and savoring the anticipation as you wait for your creation to freeze.
So, the next time you’re craving a frozen treat, skip the store-bought options and reach for your blender instead. Treat yourself and your loved ones to the delight of homemade ice cream, knowing that every scoop was crafted with love and care.
Now, go ahead and embark on your ice cream-making journey. Have fun, get creative, and enjoy the sweet rewards of your homemade creations!
Frequently Asked Questions about How To Make Ice Cream In A Blender
Was this page helpful?
At Storables.com, we guarantee accurate and reliable information. Our content, validated by Expert Board Contributors, is crafted following stringent Editorial Policies. We're committed to providing you with well-researched, expert-backed insights for all your informational needs.


0 thoughts on “How To Make Ice Cream In A Blender”