Articles
How To Make Shaved Ice In A Blender
Modified: February 26, 2024
Learn how to make delicious shaved ice in a blender with our informative articles. Discover tips, recipes, and techniques for creating refreshing treats at home.
(Many of the links in this article redirect to a specific reviewed product. Your purchase of these products through affiliate links helps to generate commission for Storables.com, at no extra cost. Learn more)
Introduction
Welcome to the wonderful world of shaved ice! This delightful treat has been enjoyed for centuries, offering a refreshing burst of flavor on a hot summer day or as a sweet treat any time of the year. While you may have indulged in shaved ice from your favorite food truck or ice cream parlor, did you know that you can make it right at home using a blender? That’s right – with just a few simple steps, you can satisfy your craving for this icy delight.
In this article, we will guide you through the process of making shaved ice in a blender. From choosing the right blender to selecting the perfect ice and preparing flavorful syrups, we’ve got you covered. So, let’s dive in and prepare to embark on a delicious adventure!
Key Takeaways:
- Making shaved ice in a blender is a delightful and rewarding experience that allows for endless creativity with flavors and toppings. With the right equipment and techniques, you can enjoy this icy treat anytime, anywhere.
- To achieve the best results, choose a powerful blender, select the right type of ice, and experiment with different flavored syrups. Embrace the fun and joy of creating your own homemade shaved ice masterpiece.
Read more: How To Make Ice Cream In A Blender
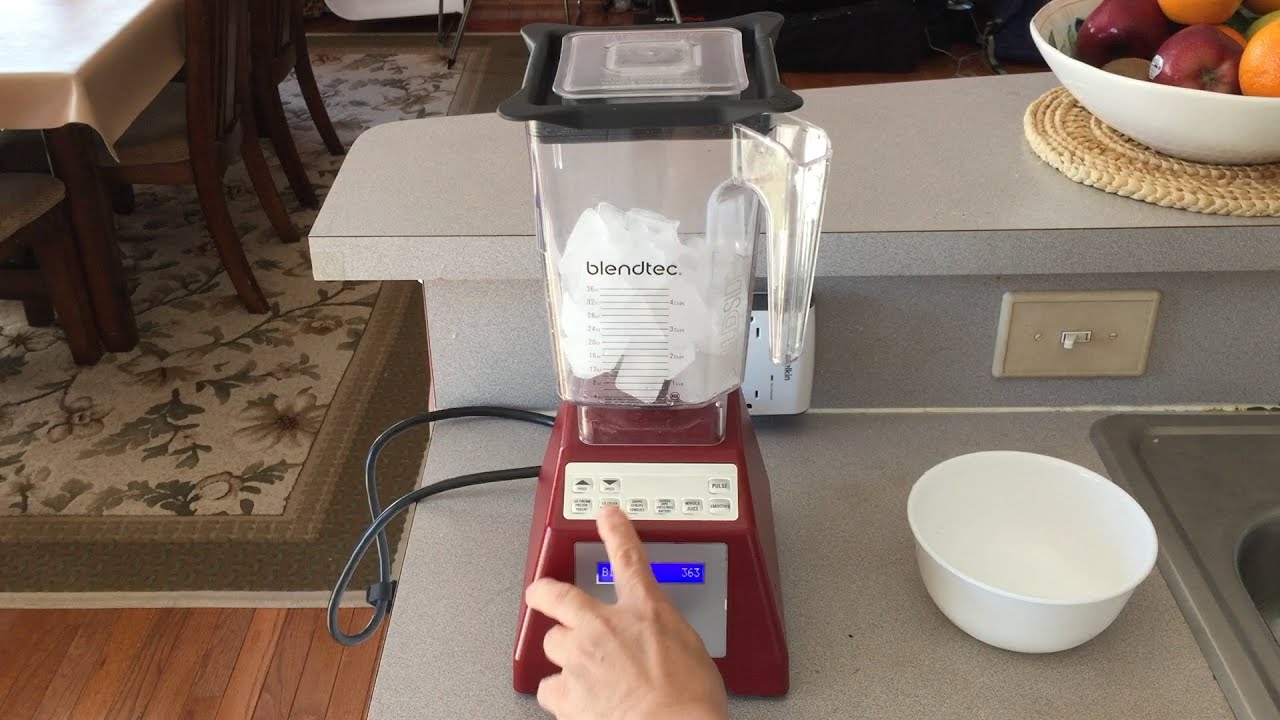
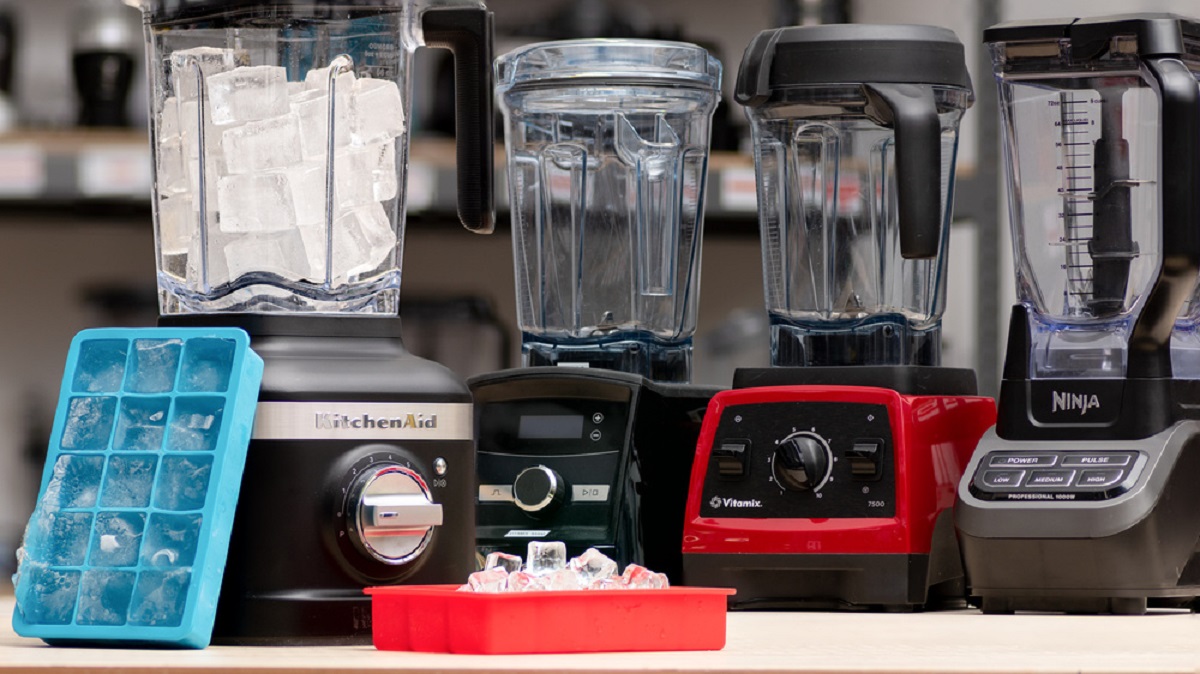
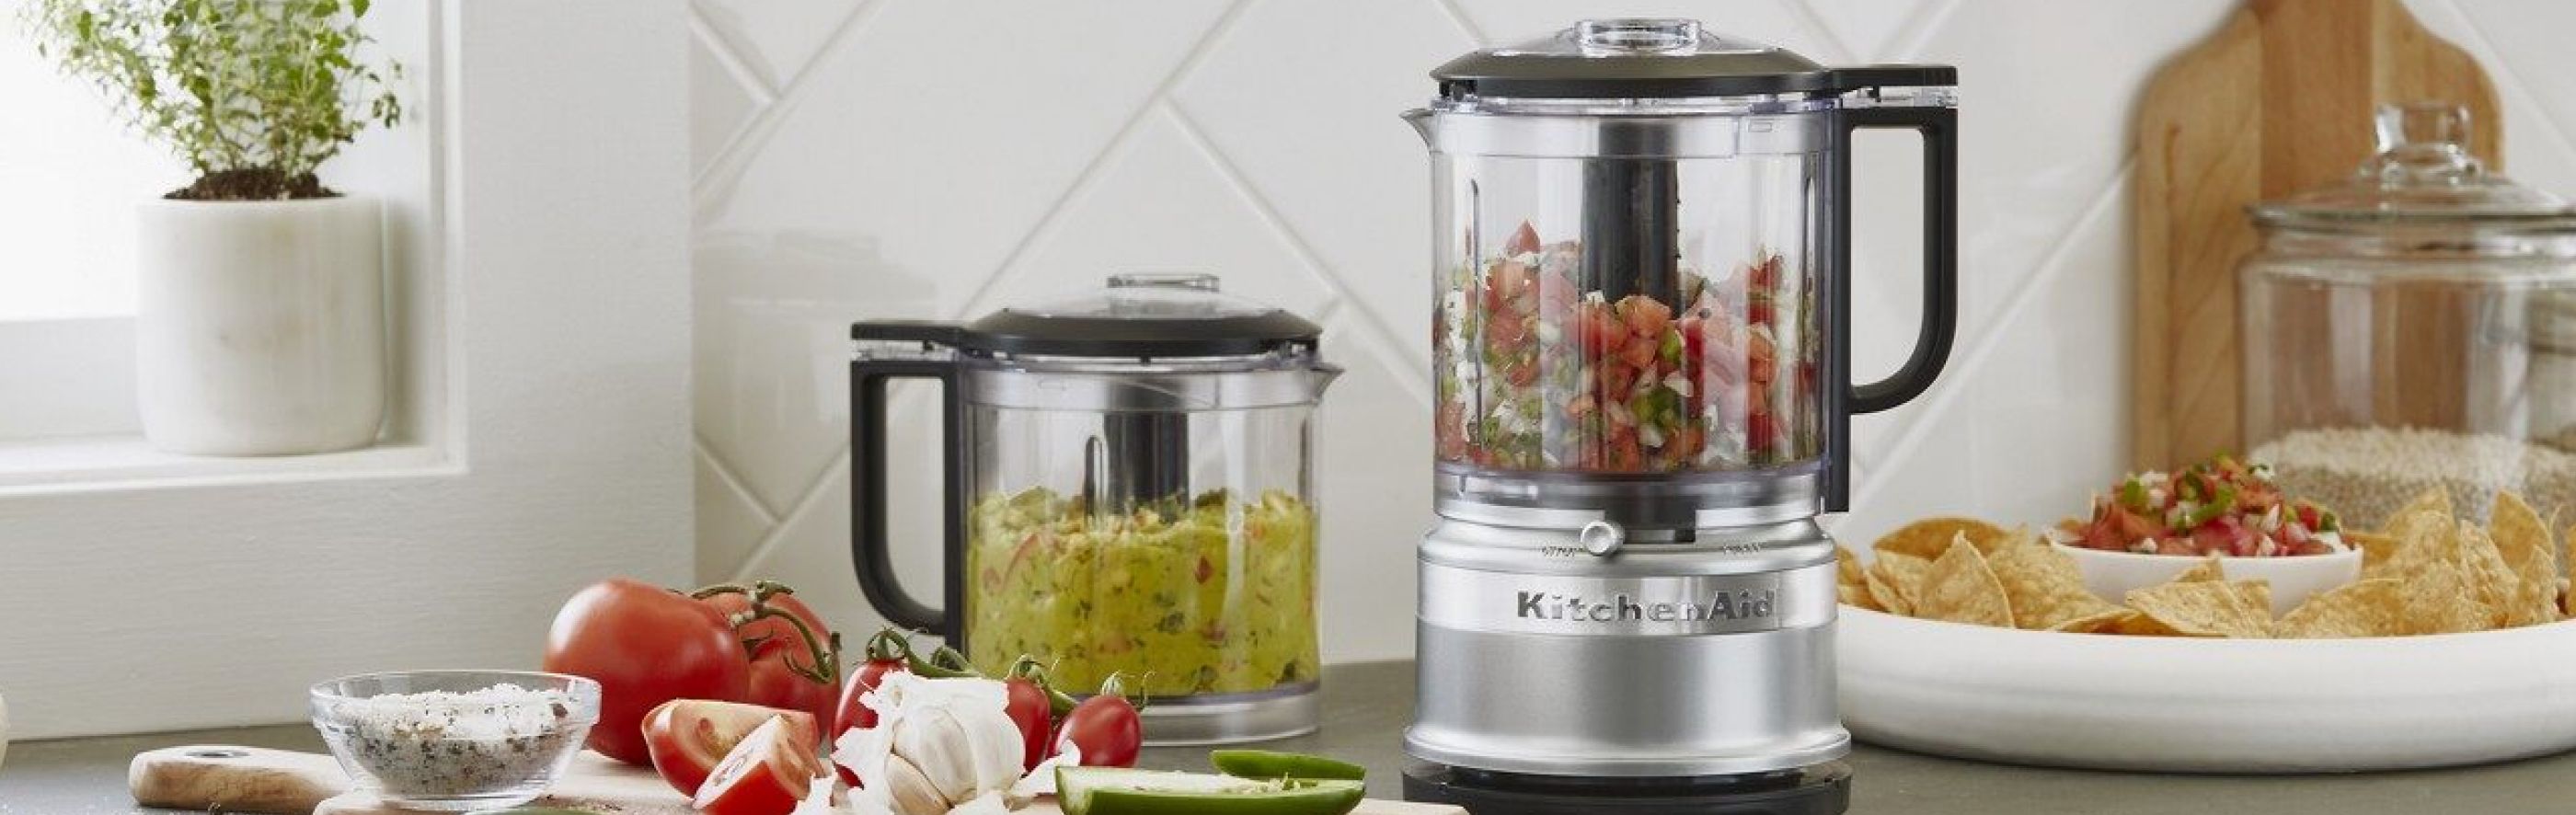
Choosing the Right Blender
When it comes to making shaved ice in a blender, selecting the right blender is key. You’ll want a blender that is powerful enough to crush the ice into a fine, snow-like consistency. Here are a few factors to consider when choosing the perfect blender:
Power: Look for a blender with a high wattage or horsepower rating. This indicates a more powerful motor that can handle the tough task of crushing ice. Aim for a blender with at least 500 watts or 1 horsepower.
Speed Settings: Choose a blender with multiple speed settings, including a pulse function. This will give you more control over the blending process and help achieve the desired texture for your shaved ice.
Blade Design: Opt for a blender with durable and sharp stainless steel blades. These blades will efficiently blend and crush the ice, ensuring a smooth and consistent texture.
Capacity: Consider the size of your blender and its capacity. If you plan on making larger quantities of shaved ice, look for a blender with a larger jar or pitcher size.
Overall Quality: It’s important to choose a blender from a reputable brand known for its quality and durability. Read reviews and do some research to ensure you’re investing in a blender that will last.
By taking these factors into consideration, you’ll be well on your way to selecting the perfect blender for making delicious shaved ice at home. Now that you have the blender sorted, let’s move on to the next step – selecting the perfect ice.
Selecting the Perfect Ice
When it comes to making shaved ice, the type of ice you use can greatly impact the final texture and quality of your treat. Here are a few tips for selecting the perfect ice:
Cubed Ice: Cubed ice is a common choice for making shaved ice. It can be easily found in most households and is readily available in stores. However, keep in mind that the larger the cubes, the longer it will take to blend them into a fine texture. If possible, break larger cubes into smaller pieces before adding them to the blender.
Crushed Ice: If you have access to a refrigerator that dispenses crushed ice, this can be a convenient option for making shaved ice. The smaller ice particles will blend more quickly and create a smoother texture. Simply collect the crushed ice and transfer it to your blender.
Ice Trays: Another option is to make your own ice using ice trays. Fill the trays with water and let them freeze completely. Once frozen, remove the ice cubes and place them in a sturdy plastic bag. Use a rolling pin or mallet to crush the cubes into smaller pieces. This method can give you more control over the size of the ice and ultimately the texture of your shaved ice.
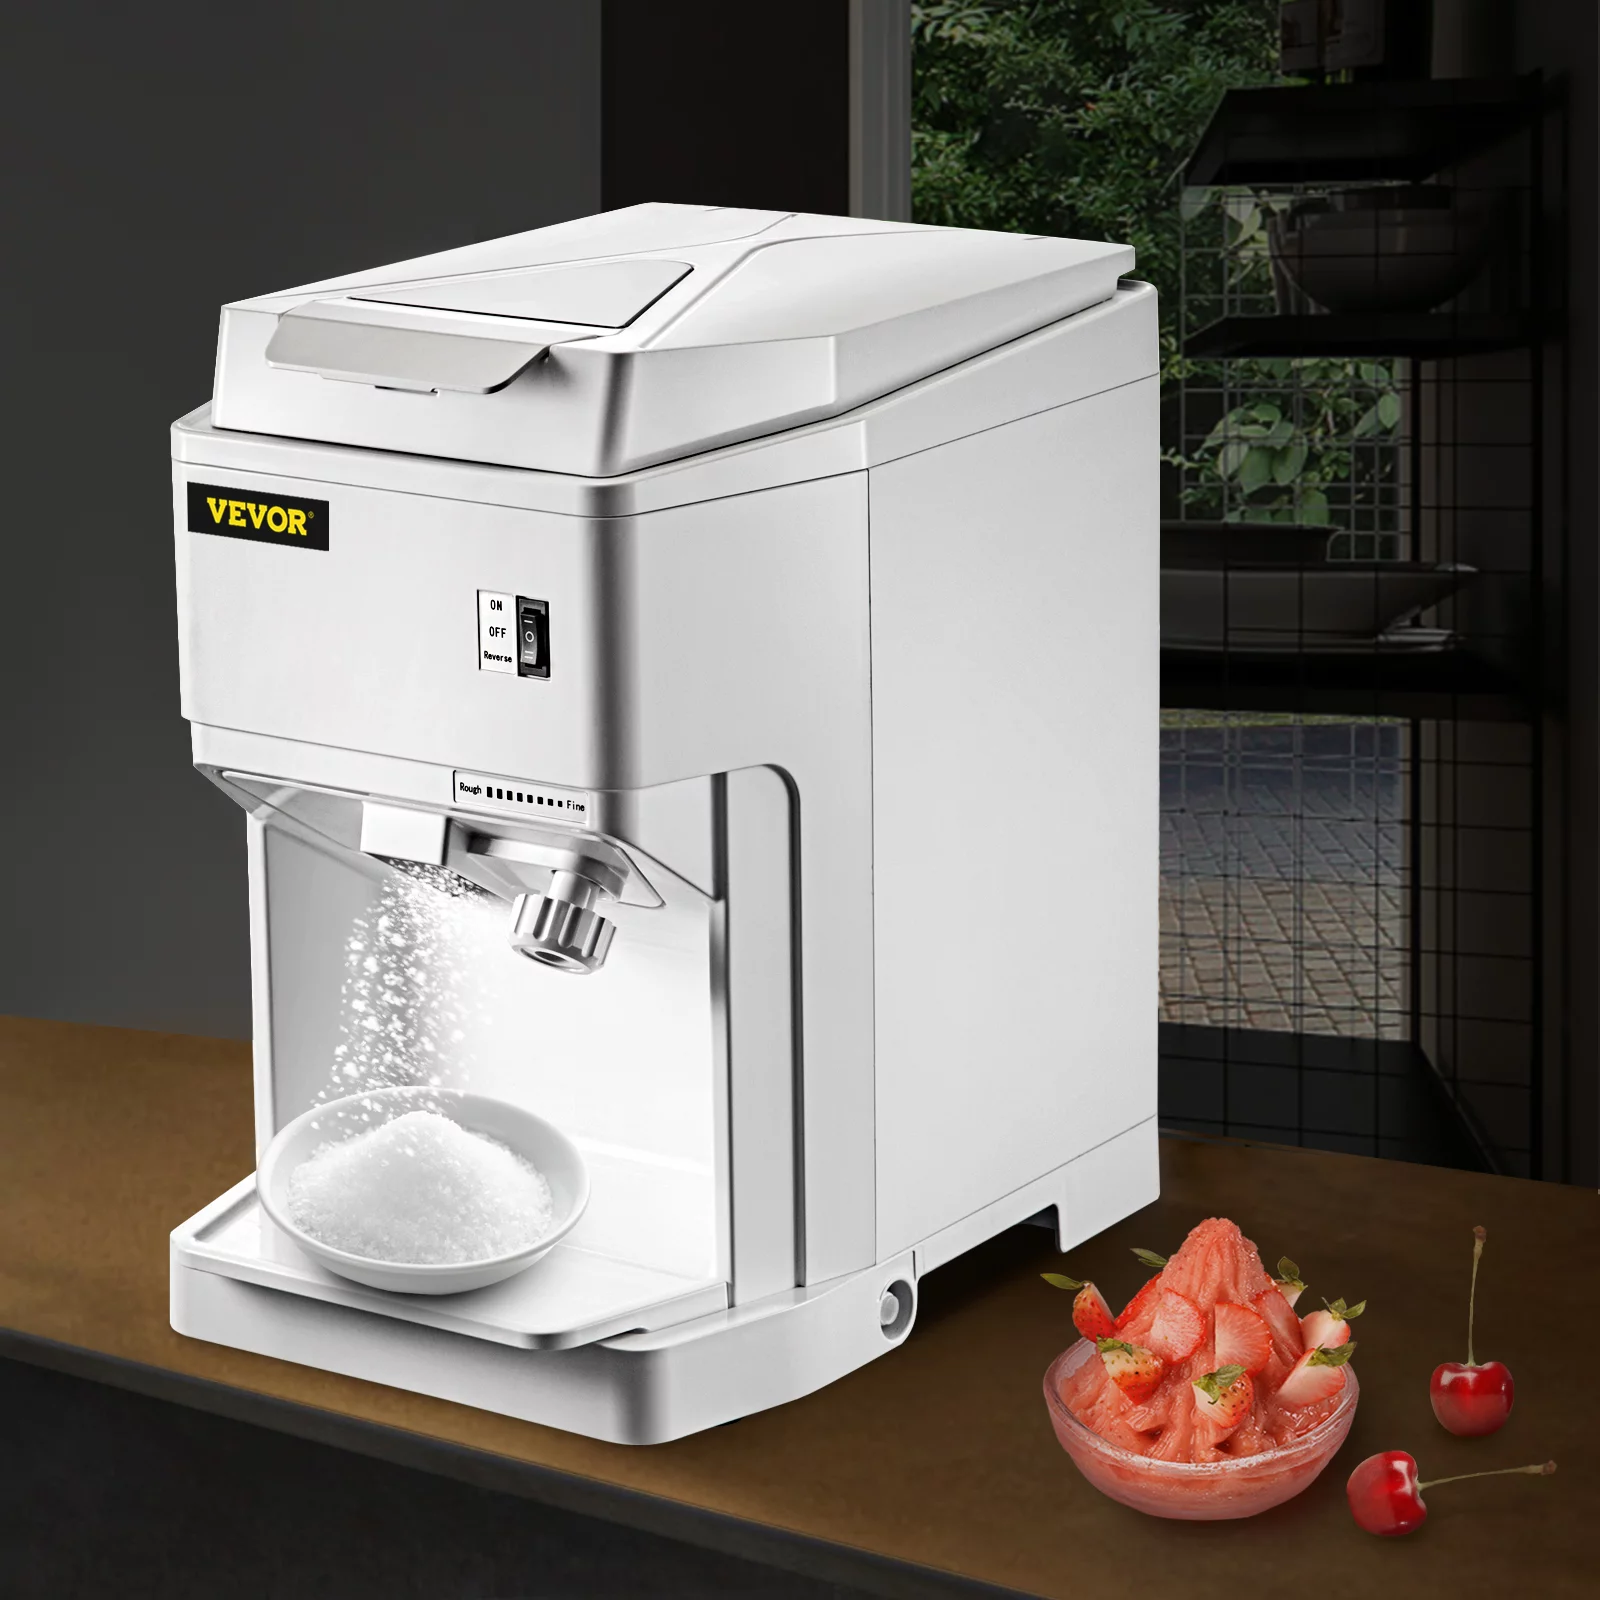
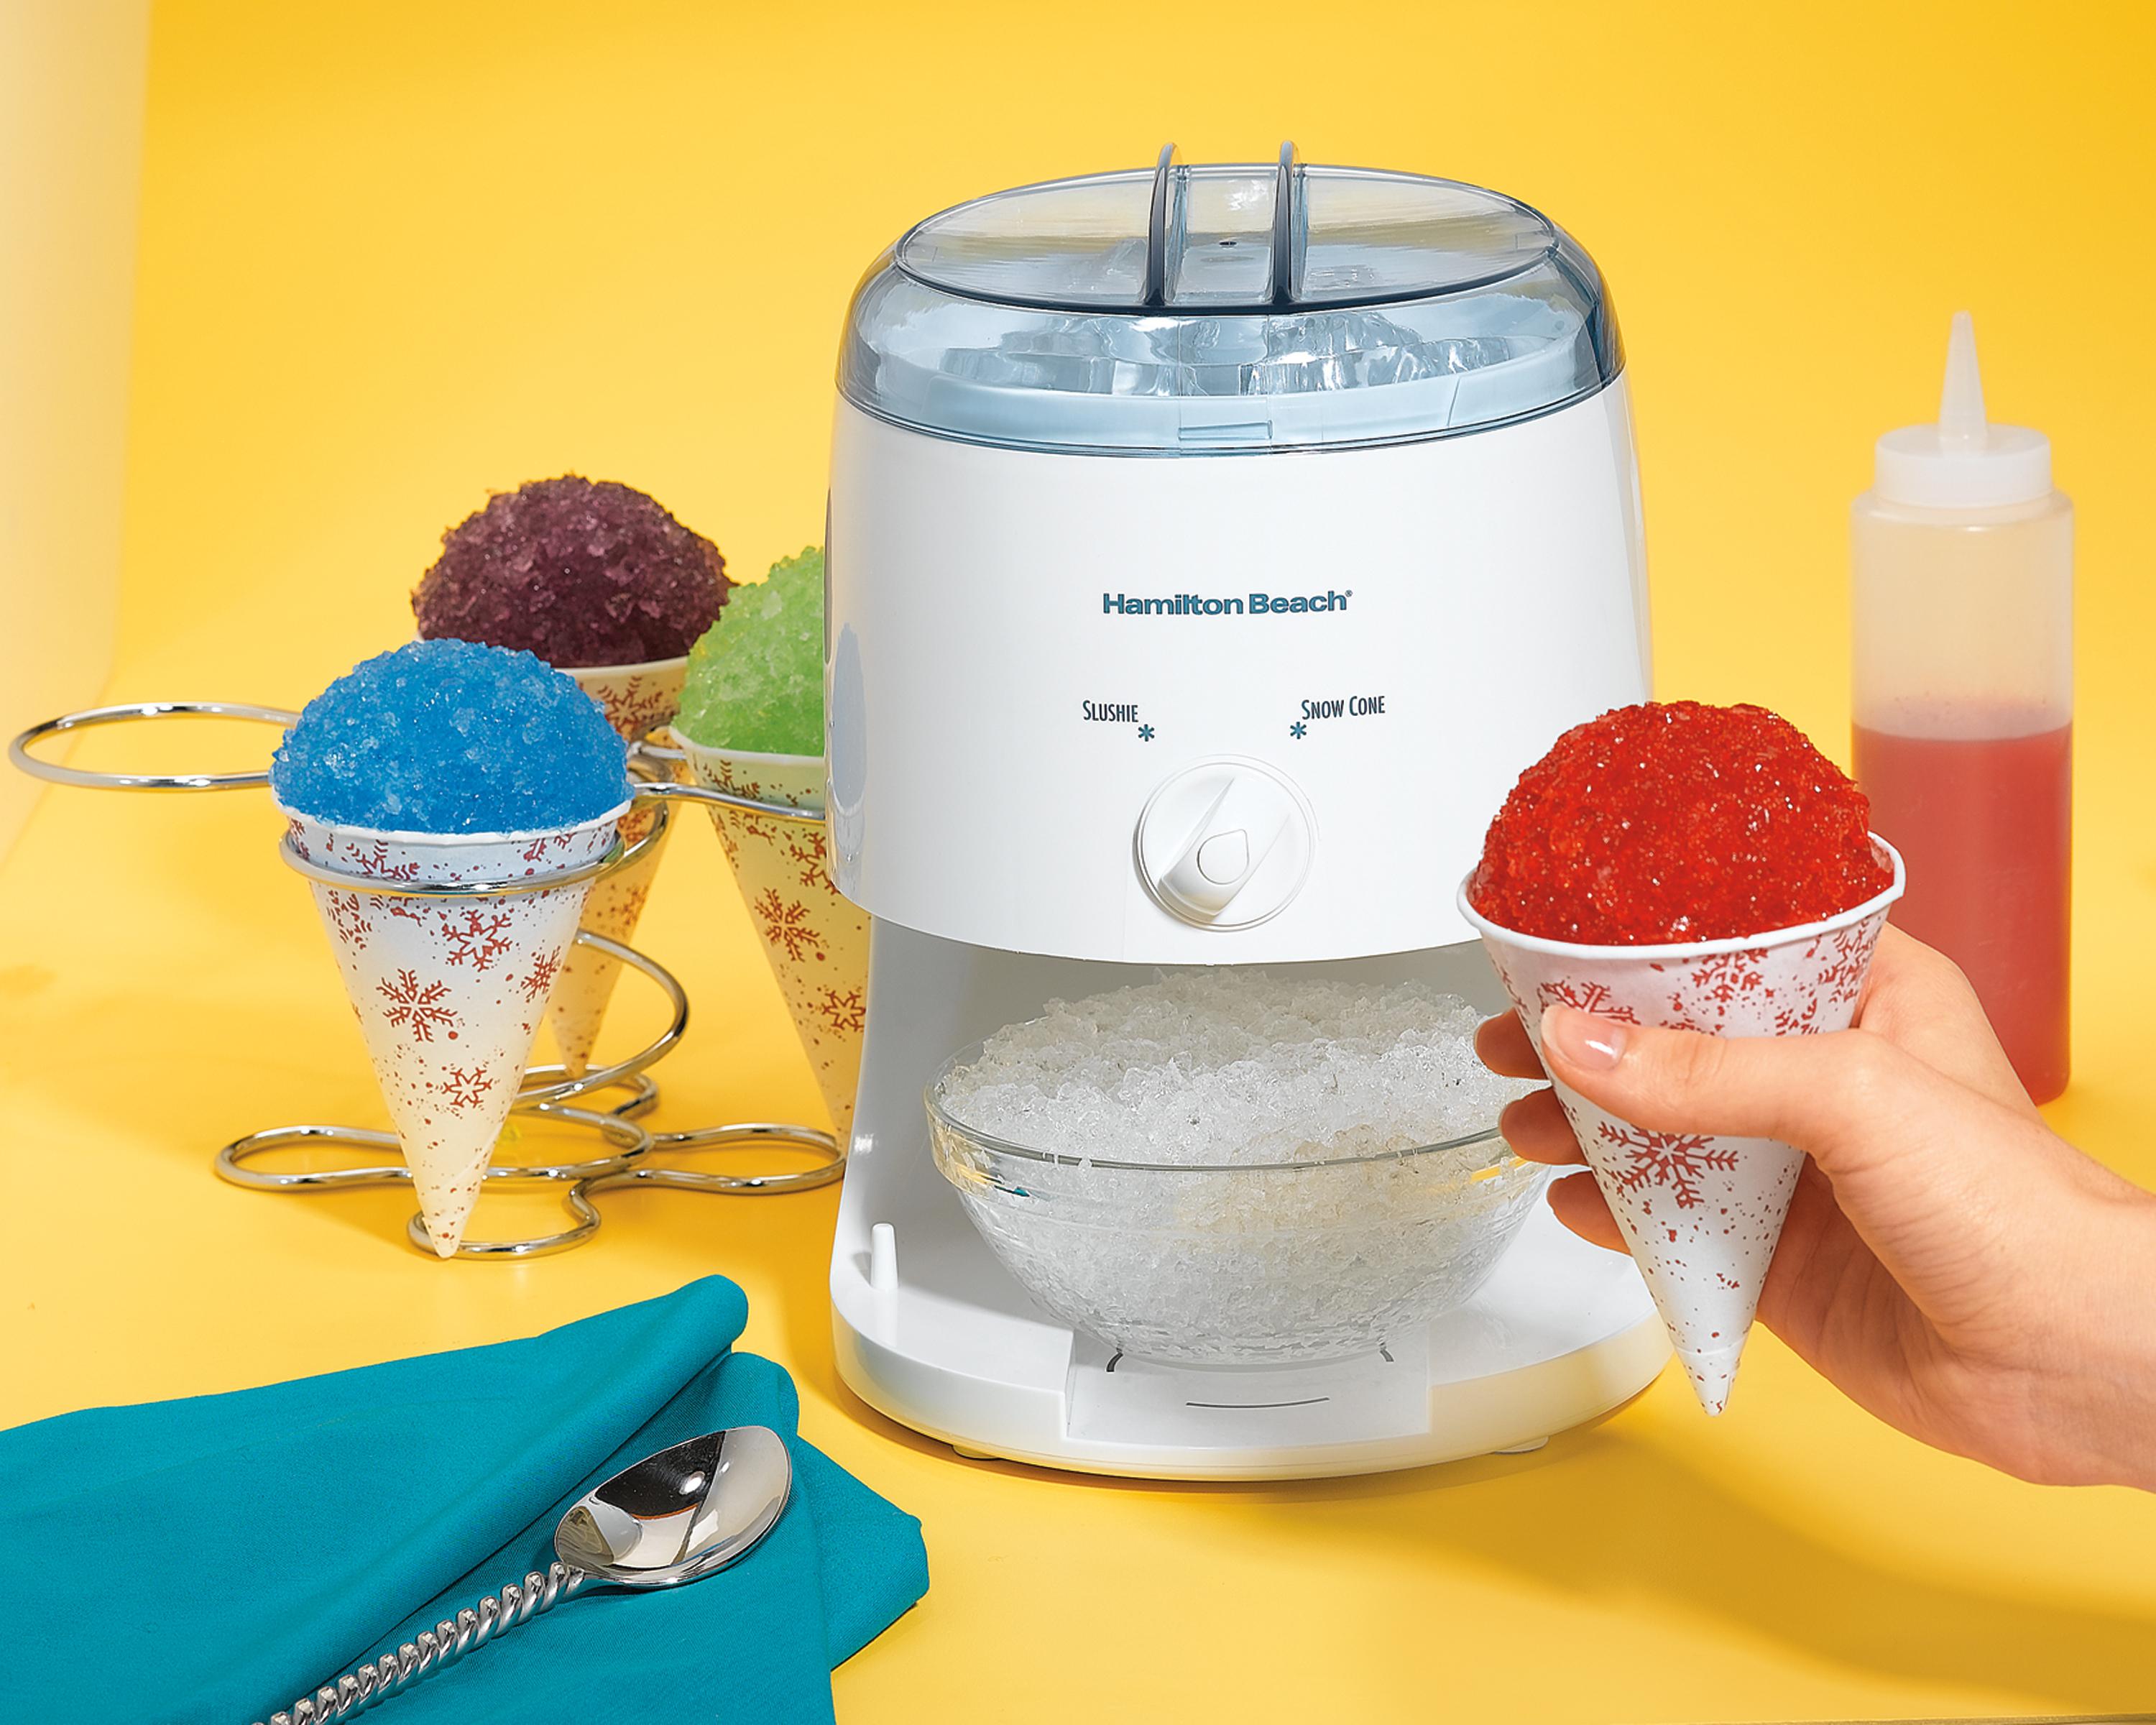
Ice Shaver: If you’re truly dedicated to making the perfect shaved ice, you may consider investing in an ice shaver. An ice shaver is a specialized machine that turns ice cubes into fine, fluffy snow. This will ensure a consistent texture every time, similar to the shaved ice you would find at your favorite food stands.
Ultimately, the choice of ice will depend on your preference and the equipment you have available. Experiment with different types of ice to find the perfect balance of texture and consistency for your shaved ice. Now that you’re ready with the ice, it’s time to move on to the next step – preparing the flavored syrups.
Preparing the Flavored Syrups
One of the best parts about enjoying shaved ice is the variety of delicious and vibrant flavored syrups that you can add to enhance the taste. Here’s how you can prepare your own flavored syrups at home:
1. Classic Simple Syrup: Start with a basic simple syrup as the base for your flavored syrups. In a saucepan, combine equal parts water and sugar. Heat the mixture over medium heat until the sugar is completely dissolved, stirring occasionally. Let the syrup cool before adding any flavorings.
2. Fruit Puree: To create a fruit-flavored syrup, choose your favorite fruits such as strawberries, mangoes, or raspberries. Puree the fruits in a blender or food processor until smooth. Strain the puree to remove any seeds or pulp. Mix the fruit puree with the cooled simple syrup to create a fruity and refreshing syrup.
3. Extracts and Essences: If you prefer a more concentrated flavor, you can use extracts or essences. Add a few drops of your desired extract, such as vanilla, almond, or mint, to the simple syrup. Stir well to incorporate the flavor. Adjust the amount of extract according to your taste preferences.
4. Infused Syrups: Get creative by adding herbs, spices, or other flavorings to your simple syrup. For instance, you can infuse the syrup with fresh mint leaves, cinnamon sticks, or even lavender buds. Simmer the flavoring of your choice with the simple syrup for a few minutes, then remove from heat and let it steep for about 15 minutes. Strain the syrup to remove any solids and enjoy the unique flavor.
Remember, the possibilities are endless when it comes to flavored syrups. You can mix and match different fruits, extracts, and infusions to create your own signature syrups. Once you have your syrups ready, it’s time to move on to the exciting part – blending the ice!
Add a little bit of liquid, such as water or juice, to the blender when making shaved ice to help the ice blend more easily and create a smoother texture.
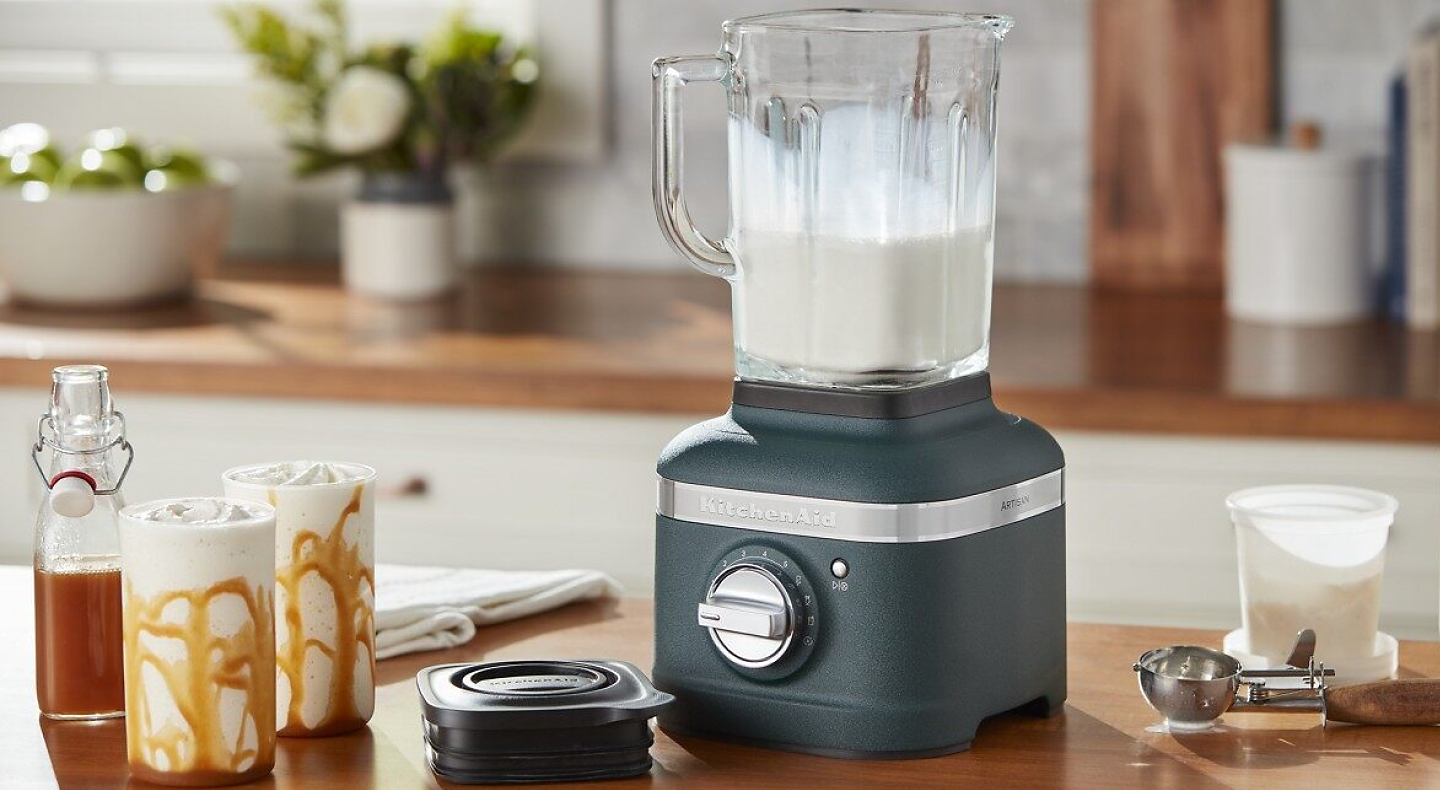
Blending the Ice
Now that you have chosen the right blender, selected the perfect ice, and prepared your delicious flavored syrups, it’s time to bring everything together and start blending that ice!
Start by adding a handful of ice cubes to your blender jar. It’s best to blend the ice in small batches to ensure a smooth and consistent texture. If your blender has a pulse function, use short bursts to break down the ice cubes.
If your blender doesn’t have a pulse function, start by using the lowest setting and gradually increase the speed as the ice begins to break down. You may need to stop the blender occasionally and use a spatula or spoon to push down any larger ice chunks that may have settled on the sides of the jar.
Continue blending until the ice reaches a fine, snow-like consistency. The texture should be light and fluffy, similar to freshly fallen snow. Be careful not to over-blend, as this can result in a slushy texture rather than the desired shaved ice.
Once the ice is blended to perfection, transfer it to a serving dish or individual cups. If you’re making multiple flavors, you can layer the different syrups between layers of shaved ice to create a colorful and flavorful treat.
Remember, the key to achieving the best results when blending the ice is to work in small batches, gradually increase the speed, and pay attention to the texture. With a little practice, you’ll become a pro at blending the perfect shaved ice!
Now that the ice is blended and ready to go, let’s move on to the exciting part – serving and enjoying your homemade shaved ice!
Read more: How To Make Iced Coffee In Blender
Serving and Enjoying Shaved Ice
Now that you’ve gone through the process of choosing the right blender, selecting the perfect ice, preparing flavored syrups, and blending the ice to perfection, it’s time to serve and enjoy your homemade shaved ice!
Here are some tips and ideas for serving and enjoying your delicious creation:
- Syrup Drizzle: Pour your desired flavored syrup over the shaved ice, allowing it to drizzle and coat the ice evenly. Start with a small amount and add more to taste.
- Layering Flavors: If you’ve prepared multiple flavored syrups, you can create layers of different colors and flavors. Simply add a layer of shaved ice, drizzle one flavor of syrup, add another layer of shaved ice, and repeat with the other flavors.
- Toppings and Extras: Enhance your shaved ice experience by adding toppings and extras. You can sprinkle some chopped fruits, such as strawberries or pineapple, on top of the shaved ice. Consider adding a dollop of whipped cream, a sprinkle of colorful sprinkles, or a handful of gummy bears for extra fun.
- Serving Vessels: Serve your shaved ice in bowls, cups, or even colorful paper cones for a festive touch. Chill the serving vessels in the freezer beforehand to keep the shaved ice cool for longer.
- Texture Play: If you prefer a more textured experience, you can experiment with different ice consistencies. Try blending the ice for shorter durations to create a chunkier texture or pulsing the blender a few times to leave some larger ice pieces.
- Enjoying the Moment: Take a moment to savor the refreshing taste and icy sensation of your homemade shaved ice. Share it with family and friends, or indulge in a moment of pure bliss all to yourself.
Remember, the most important part of serving and enjoying shaved ice is to have fun and let your creativity shine through. Don’t be afraid to try new flavors, experiment with different toppings, and make it your own.
Now that you have all the tips and tricks for serving and enjoying your homemade shaved ice, let’s wrap up with some final tips and tricks to ensure the best results every time!
Tips and Tricks for the Best Results
To ensure the best results when making shaved ice in a blender, here are some tips and tricks to keep in mind:
- Pre-Chill the Blender: Before starting the process, place the blender jar in the freezer for about 15 minutes. This will help keep the ice cold and maintain its texture while blending.
- Use a High-Speed Blender: If possible, use a high-speed blender for optimal results. These blenders are designed to handle tough ingredients like ice and will help you achieve a smoother and finer shave.
- Add Liquid for Easier Blending: If you’re having trouble blending the ice, add a small amount of liquid to the blender. This can be water, juice, or a bit of the flavored syrup you prepared. The liquid will help lubricate the blades and make the blending process easier.
- Freeze the Syrups: If you want to take your shaved ice experience to the next level, try freezing the flavored syrups into individual ice cubes. When serving, place a couple of syrup cubes on top of the shaved ice for an extra burst of flavor.
- Experiment with Flavors: Don’t be afraid to get creative with your flavored syrups. Mix different fruits, extracts, or spices to create unique and exciting flavors. You could even try making tropical-inspired syrups like coconut or passion fruit.
- Keep It Cool: Shaved ice melts quickly, so serve and enjoy it immediately. If you need to prepare it in advance, store the shaved ice in a covered container in the freezer until ready to serve.
- Clean the Blender Properly: After making your shaved ice, be sure to clean your blender thoroughly. Ice particles can get stuck in the blades and affect the performance of the blender. Disassemble the blender components and wash them with warm, soapy water.
By following these tips and tricks, you’ll be well on your way to creating the most delicious and refreshing shaved ice using your blender. Get ready to impress your family and friends with your homemade treats!
Now that you have all the knowledge and techniques for making shaved ice in a blender, you’re ready to embark on your own shaved ice adventure. Whether it’s a hot summer day, a special occasion, or simply a craving for something sweet, you can now whip up a batch of delightful shaved ice in the comfort of your own home.
So what are you waiting for? Grab your blender, gather your ingredients, and let the frosty fun begin!
Conclusion
Congratulations! You have now mastered the art of making shaved ice in a blender. With the right blender, the perfect ice, flavorful syrups, and some creativity, you can enjoy this delightful treat anytime you desire.
Through this article, we have explored the process of choosing the right blender, selecting the perfect ice, preparing flavored syrups, blending the ice, and serving and enjoying your homemade shaved ice. We’ve also shared some valuable tips and tricks to ensure the best results.
Making shaved ice in a blender is a fun and rewarding experience. It allows you to unleash your creativity by experimenting with different flavors and toppings. Whether you prefer classic fruit flavors or want to try unique combinations, the possibilities are endless.
Remember, the key to achieving the best-quality shaved ice is using a powerful blender, selecting the right type of ice, blending in small batches, and serving it immediately for that refreshing icy sensation.
So, the next time you feel the craving for a cool and delicious treat, don’t hesitate to whip out your blender and create your very own shaved ice masterpiece. Enjoy it with your loved ones, share it with friends at parties, or simply savor the moment of indulgence all by yourself.
Now that you have all the knowledge and techniques at your fingertips, it’s time to embark on your shaved ice journey. Have fun, get creative, and enjoy every icy, flavorful bite. Cheers to homemade shaved ice and the joy it brings!
Frequently Asked Questions about How To Make Shaved Ice In A Blender
Was this page helpful?
At Storables.com, we guarantee accurate and reliable information. Our content, validated by Expert Board Contributors, is crafted following stringent Editorial Policies. We're committed to providing you with well-researched, expert-backed insights for all your informational needs.

0 thoughts on “How To Make Shaved Ice In A Blender”