
Articles
How To Cut Roll Insulation
Modified: January 19, 2024
Learn how to cut roll insulation with our step-by-step articles, providing expert guidance and tips for achieving precise and effective results.
(Many of the links in this article redirect to a specific reviewed product. Your purchase of these products through affiliate links helps to generate commission for Storables.com, at no extra cost. Learn more)
Introduction
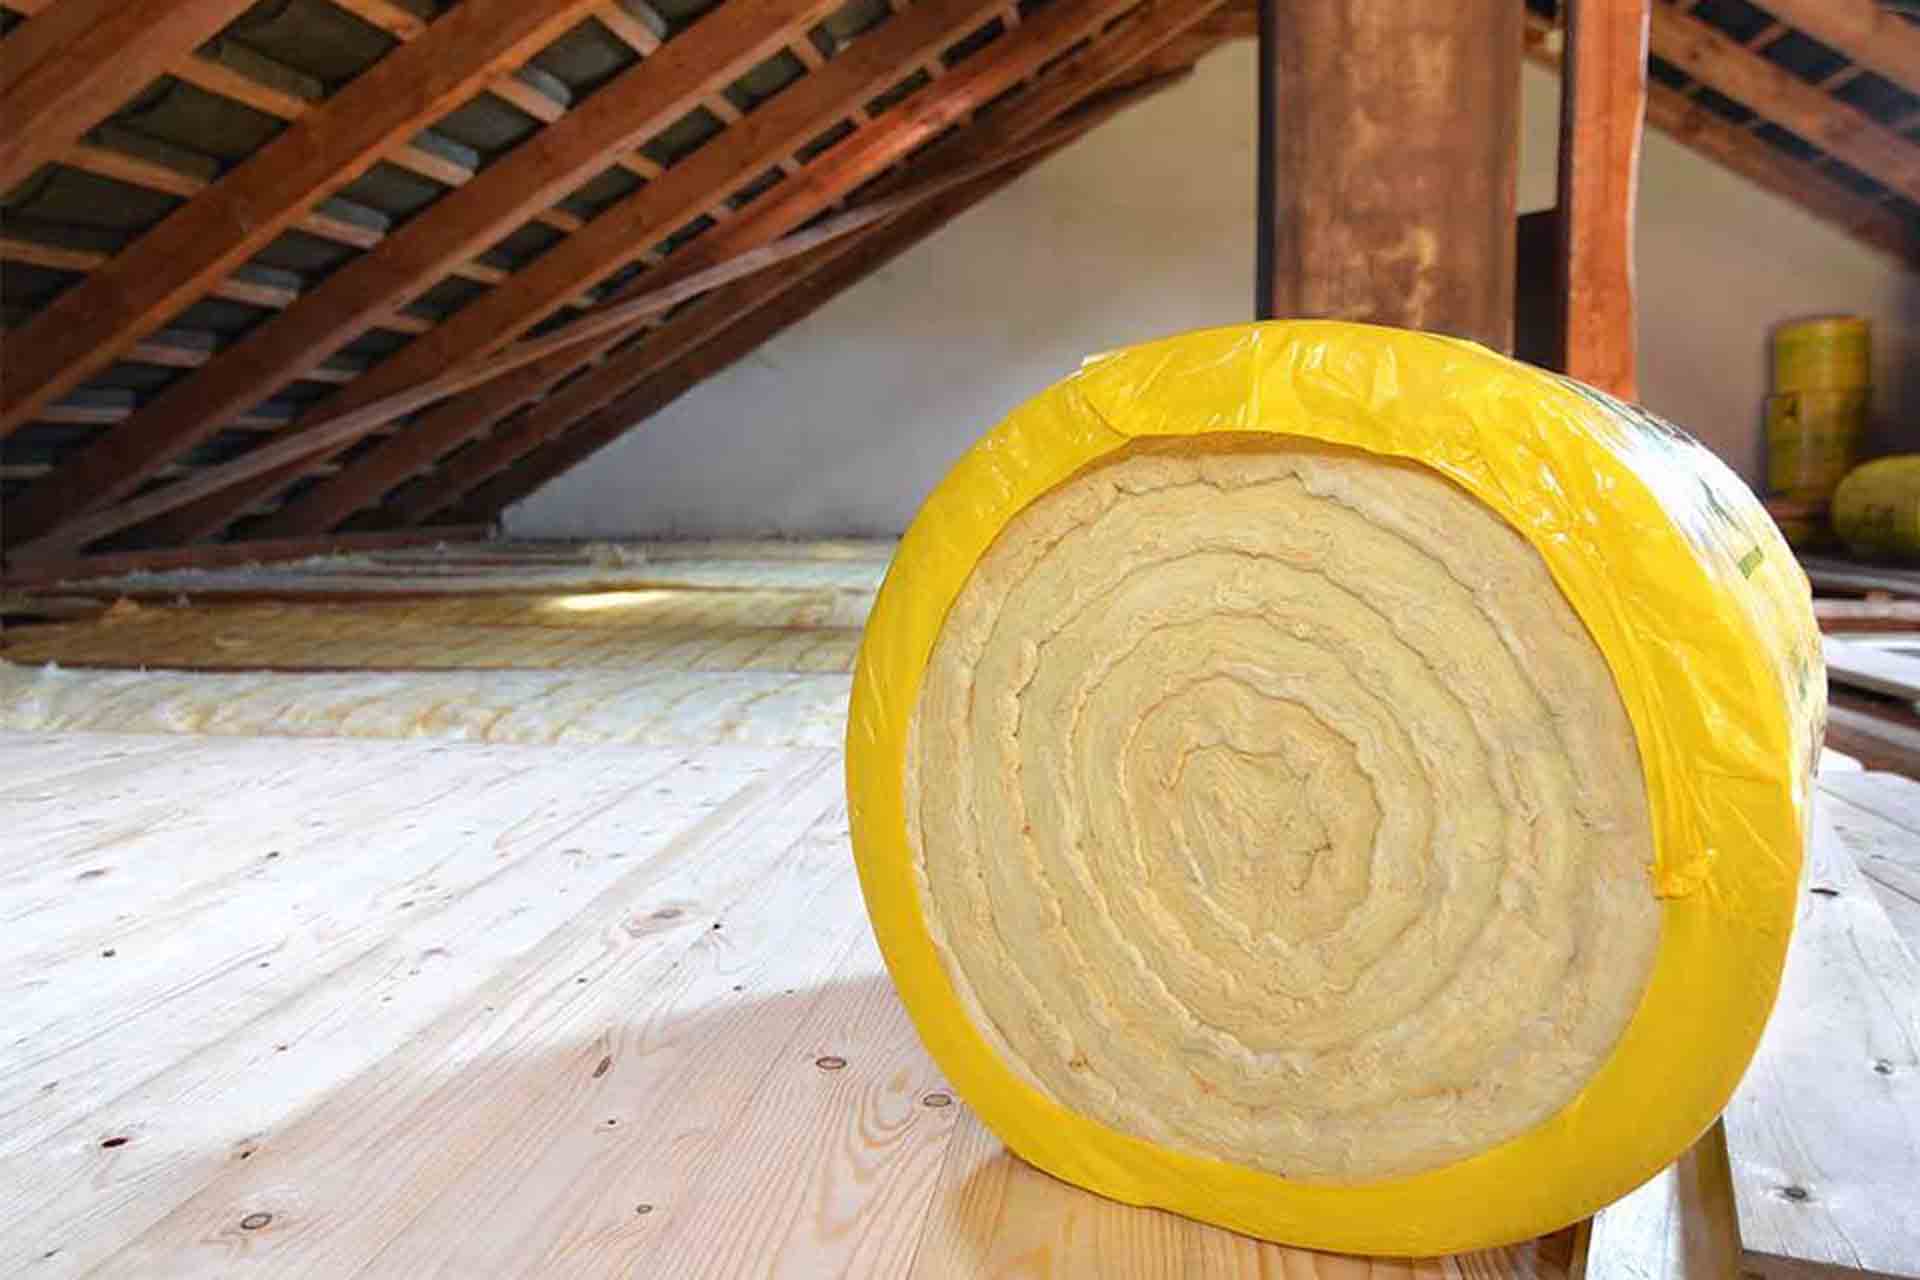
Roll insulation is a cost-effective and efficient solution for insulating your home or commercial space. It helps regulate indoor temperature, reduces energy consumption, and enhances overall comfort. However, to achieve the best results, it is essential to properly cut and install roll insulation.
In this article, we will guide you through the step-by-step process of cutting roll insulation effectively. We will cover the tools and materials needed, safety precautions, and the necessary techniques to ensure a successful installation. Whether you are a DIY enthusiast or a professional contractor, this article will provide you with the knowledge and skills to tackle your insulation project with confidence.
Before we start, it is important to note that safety should always be a top priority. Take the necessary precautions, such as wearing protective gear and working in a well-ventilated area. Now let’s dive into the details of how to cut roll insulation like a pro.
Key Takeaways:
- Properly cutting and installing roll insulation requires accurate measuring, careful preparation, and precise cutting techniques. Prioritize safety, plan ahead, and seal seams for maximum effectiveness.
- Investing time and effort into insulation projects can lead to improved energy efficiency, reduced bills, and increased comfort. Consult with professionals if needed for optimal results.
Read more: How Much Is Rolled Insulation
Tools and Materials Needed
To cut roll insulation effectively, you will need the following tools and materials:
1. Measuring Tape: A measuring tape is essential for accurately measuring the dimensions of the area where the insulation will be installed.
2. Straight Edge or T-Square: A straight edge or T-square is useful for creating straight and precise lines when cutting the insulation.
3. Utility Knife: A sharp utility knife is the primary tool for cutting roll insulation. Opt for a knife with a retractable blade for added safety.
4. Straight Edge Ruler: A straight edge ruler can be used to guide the utility knife along straight lines, ensuring clean and accurate cuts.
5. Marker or Pen: A marker or pen is helpful for marking the insulation before cutting, indicating the desired measurements.
6. Safety Gear: Remember to wear appropriate safety gear, including gloves and goggles, to protect yourself while handling insulation materials.
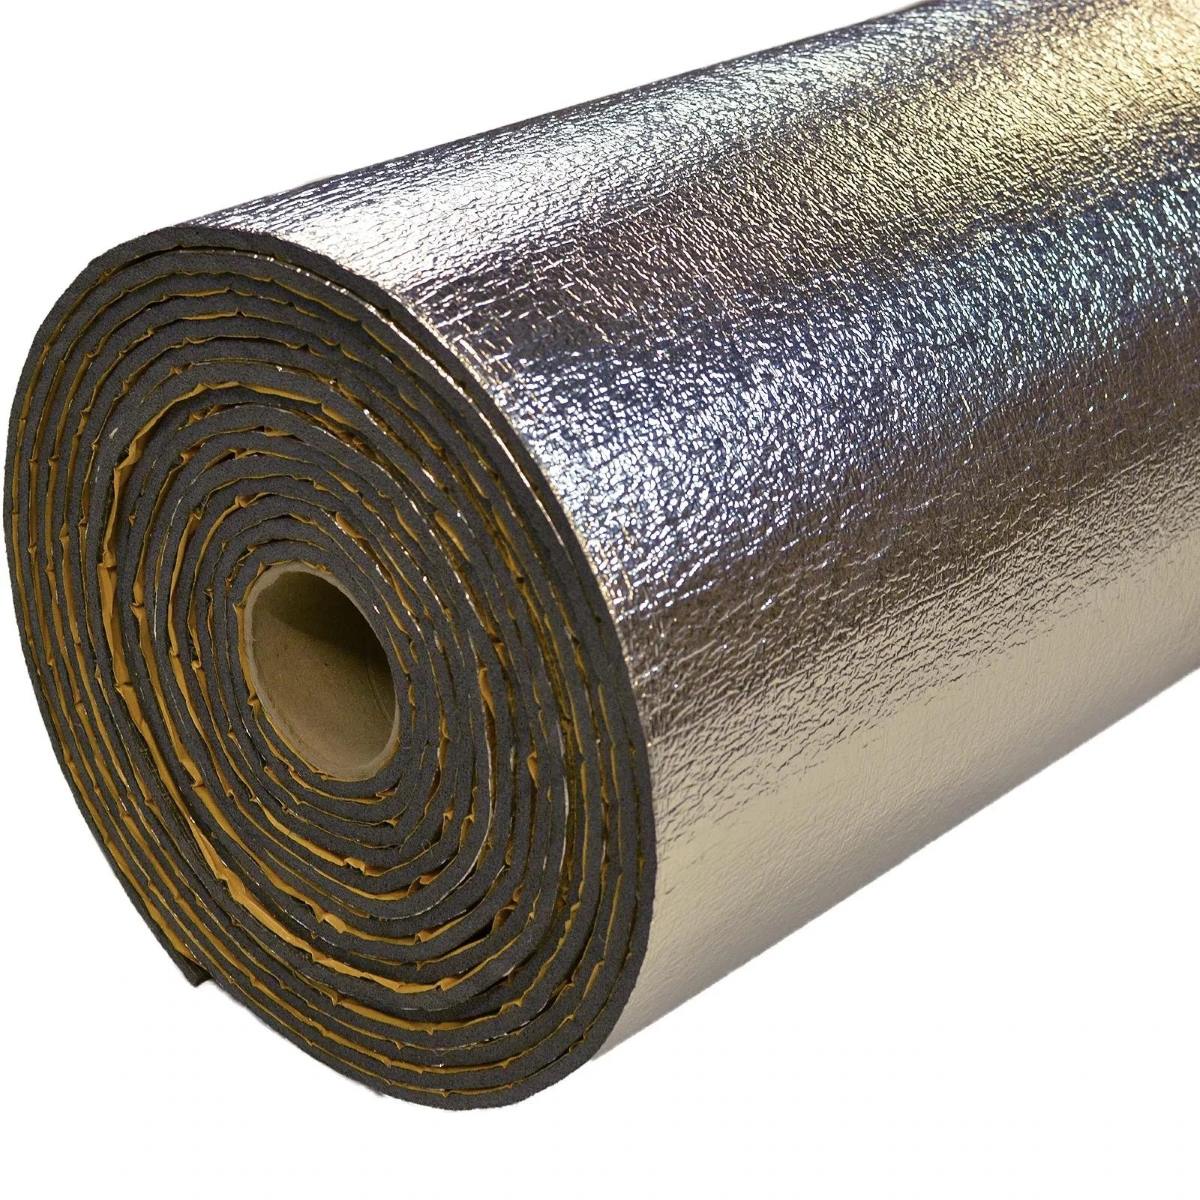
7. Roll Insulation: Choose the right type and thickness of roll insulation for your specific needs. Measure and calculate the amount of insulation required for the project beforehand.
These tools and materials will provide you with everything you need to cut and install roll insulation effectively and efficiently. Having them on hand will make the process smoother and help you achieve professional results.
Now that you have gathered all the necessary tools and materials, let’s move on to the next section where we will discuss important safety precautions to follow during the insulation cutting process.
Safety Precautions
When working with roll insulation, it is crucial to prioritize safety. Follow these safety precautions to ensure a safe and accident-free cutting process:
1. Wear Protective Gear: Always wear appropriate protective gear, including gloves, goggles, and a dust mask. This will protect you from potential irritants and airborne particles.
2. Work in a Well-Ventilated Area: Ensure that the area where you are cutting the insulation is well-ventilated. Open windows or doors and use fans if necessary to minimize exposure to dust and improve air circulation.
3. Handle Utility Knife with Care: Be cautious when handling the utility knife. Always keep your fingers away from the blade, and retract it when not in use. Replace dull blades to ensure clean and safe cuts.
4. Use Proper Technique: Use controlled and deliberate cutting motions with the utility knife. Avoid excessive force or erratic movements, which can increase the risk of accidents.
5. Mind Your Surroundings: Be aware of your surroundings and make sure there are no potential hazards, such as loose objects or obstacles that could cause you to trip or fall.
6. Store Insulation Properly: Properly store any unused insulation in a safe and dry location to prevent moisture damage. This will also help reduce the risk of accidents or damage from improper handling or storage.
7. Dispose of Waste Properly: Dispose of waste materials, such as cut-off pieces and scraps, in accordance with local regulations and guidelines. This will help maintain a clean and safe work environment.
By following these safety precautions, you can minimize the risk of accidents and injuries while cutting roll insulation. Remember, it is better to prioritize safety and take your time than to rush through the process and put yourself at risk.
Now that we have covered the safety precautions, let’s move on to the step-by-step guide on measuring and planning for the insulation project.
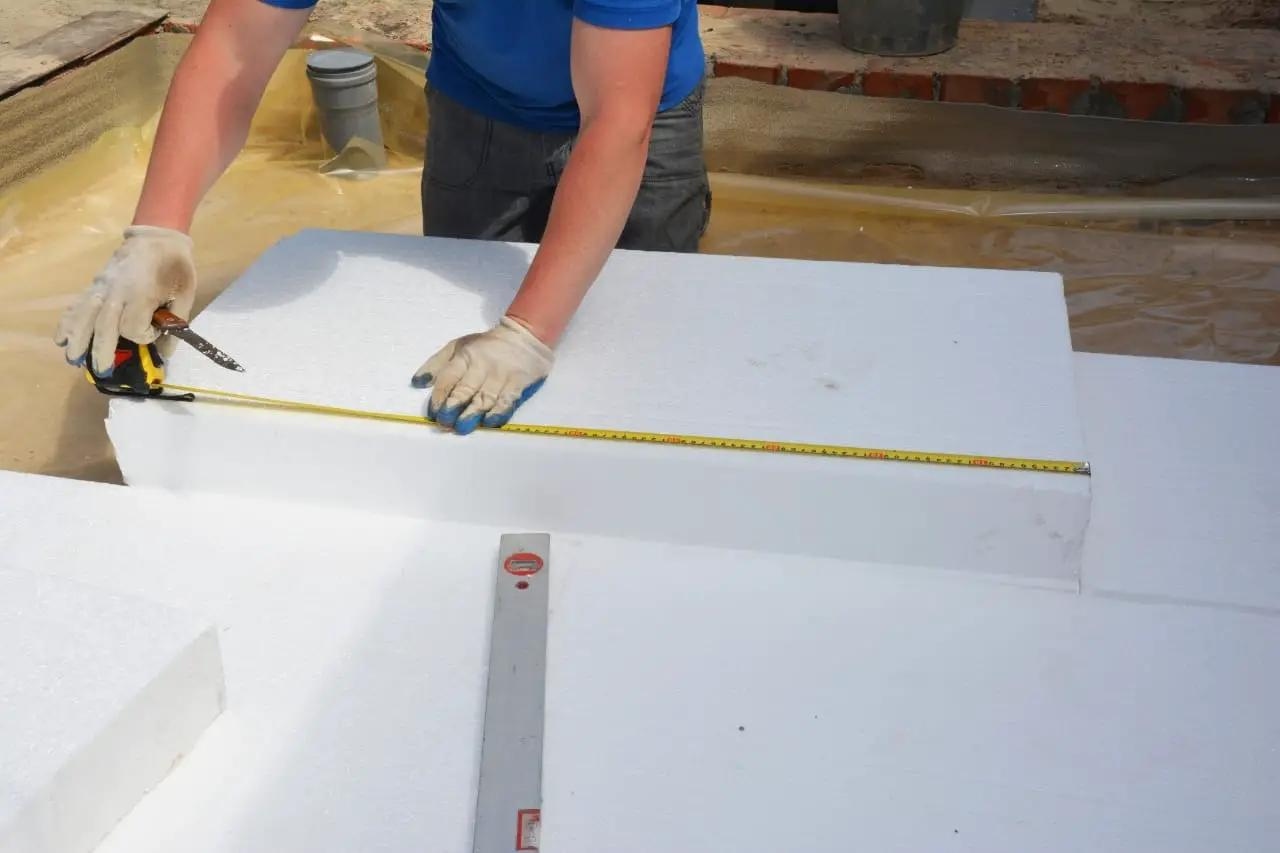
Step 1: Measuring and Planning
Before cutting roll insulation, it is crucial to accurately measure the dimensions of the area where it will be installed. Follow these steps to measure and plan effectively:
1. Measure the Area: Use a measuring tape to determine the length and width of the space you need to insulate. Measure each section separately and jot down the measurements.
2. Calculate the Insulation Needed: Once you have the measurements, calculate the amount of insulation needed. Consider the thickness and R-value requirements for your specific application. This will help you determine the quantity of roll insulation to purchase.
3. Account for Obstacles: Take into account any obstacles in the area, such as pipes, electrical outlets, or vents. Measure the distance from these obstacles to ensure accurate cuts and a precise fit.
4. Mark the Insulation: Using a marker or pen, mark the measurements directly on the roll insulation. This will serve as a guide when cutting and help you avoid mistakes.
5. Plan for Overlap: If you are installing multiple layers of insulation, plan for overlap between each layer. This will ensure a seamless and effective insulation barrier.
By measuring and planning accurately, you can avoid wasting insulation material and ensure a precise fit. Taking the time to plan ahead will lead to a smoother installation process.
Now, let’s move on to the next step, which involves preparing the insulation for cutting and installation.
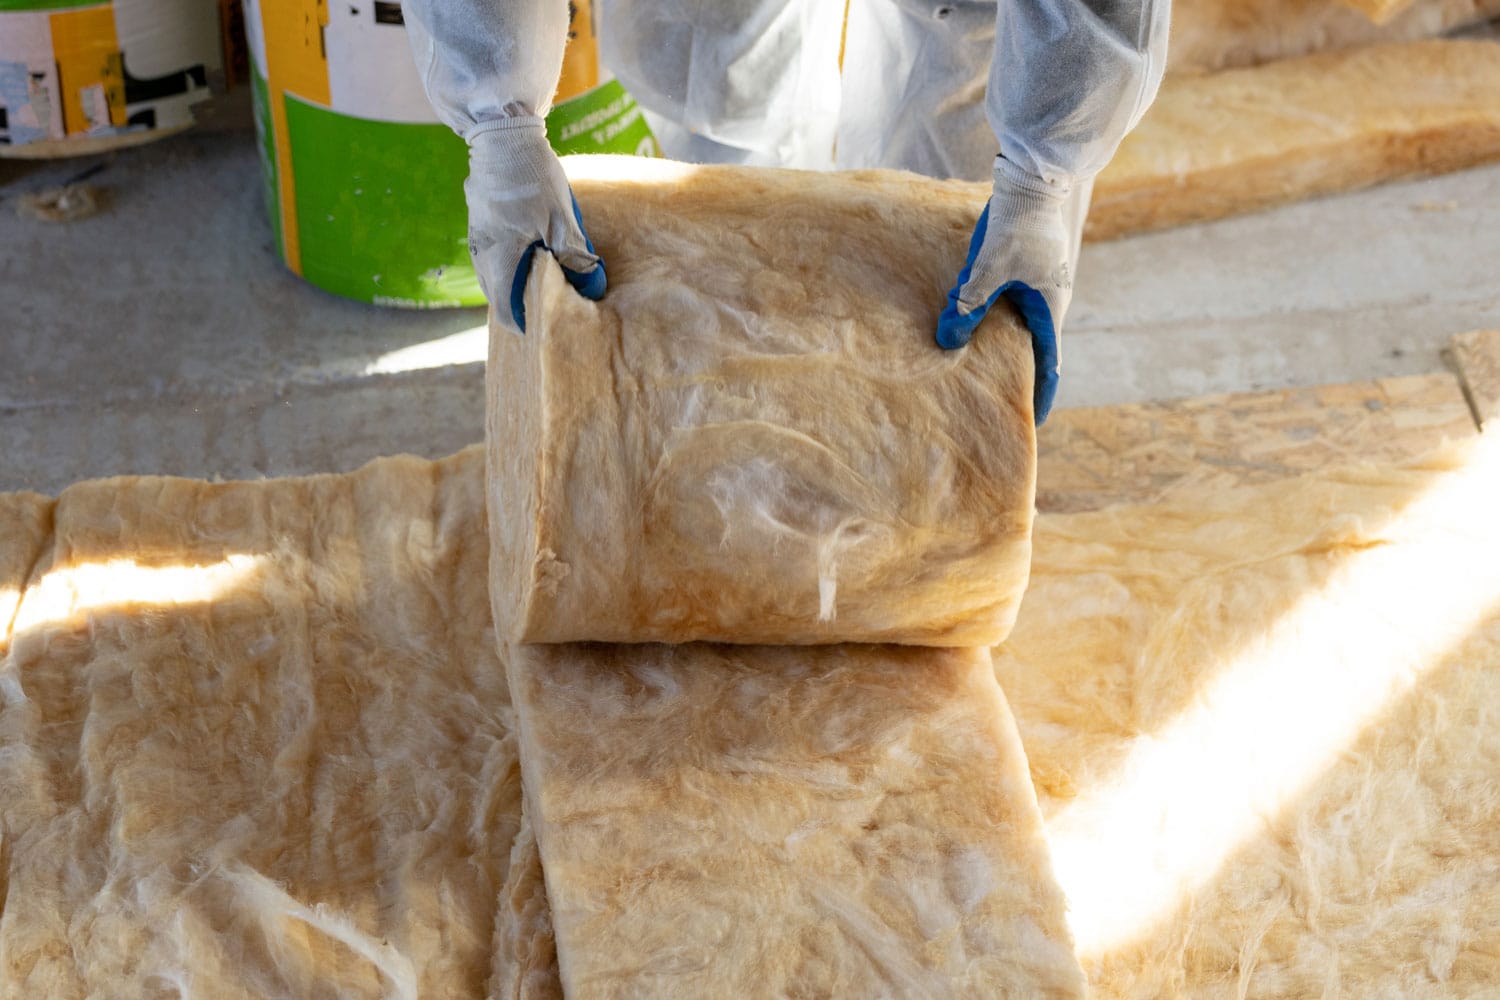
Step 2: Preparing the Insulation
Once you have measured and planned for the insulation project, it’s time to prepare the roll insulation for cutting. Follow these steps to ensure you have everything ready:
1. Unroll the Insulation: Carefully unroll the insulation on a clean and flat surface. Ensure that the insulation is free from any obstructions or debris that could affect the cutting process.
2. Flatten the Edges: Smooth out any wrinkles or creases along the edges of the insulation. This will help you achieve cleaner and more precise cuts.
3. Secure the Insulation: If the insulation tends to curl or move around, you can use weights or clamps to hold it in place. This will make it easier to cut without the material shifting or becoming distorted.
4. Double Check Measurements: Before proceeding with the cutting process, double-check the measurements on the marked insulation. Make any necessary adjustments to ensure accuracy.
5. Prepare Additional Tools: Ensure that your utility knife is sharp and in good condition. Have a straight edge ruler or T-square nearby to guide your cuts and maintain straight lines.
By properly preparing the insulation, you set yourself up for a more efficient and accurate cutting process. Taking the time to flatten the edges and secure the insulation will lead to cleaner cuts and a better overall installation.
Now that the insulation is ready, let’s move on to the next step: cutting the insulation to the desired measurements.
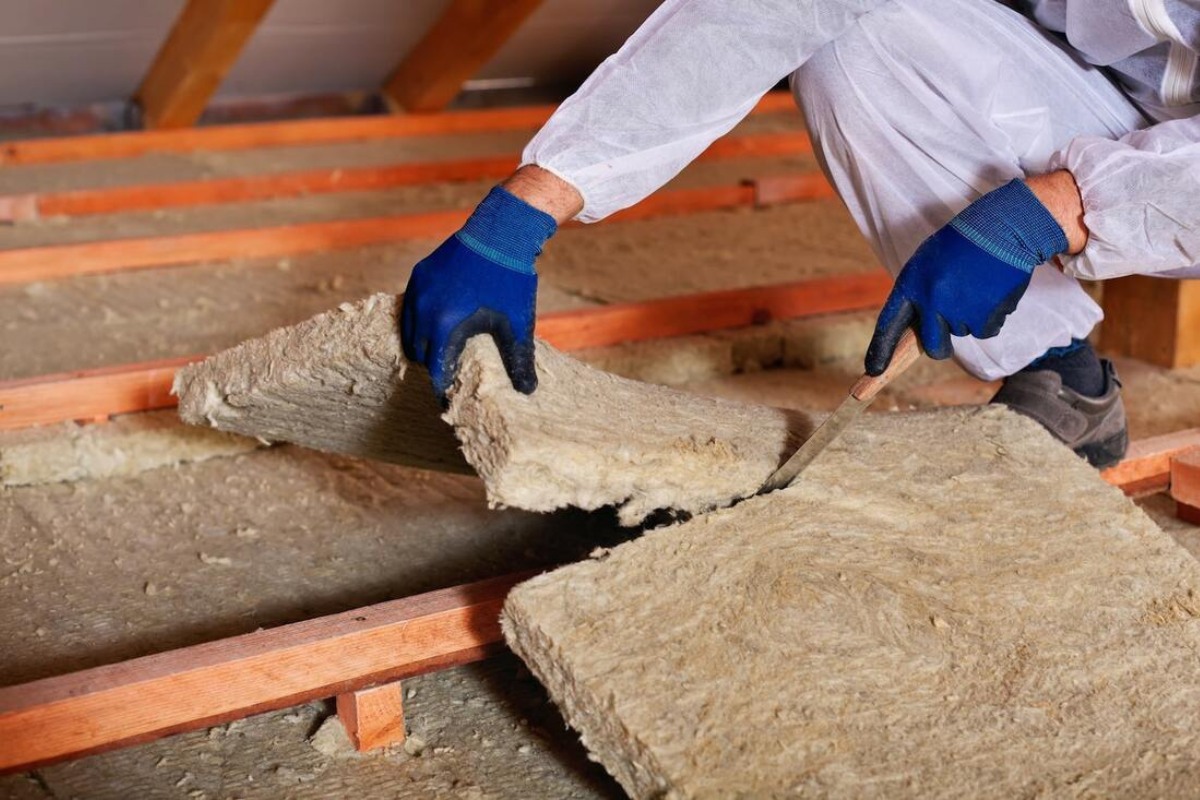
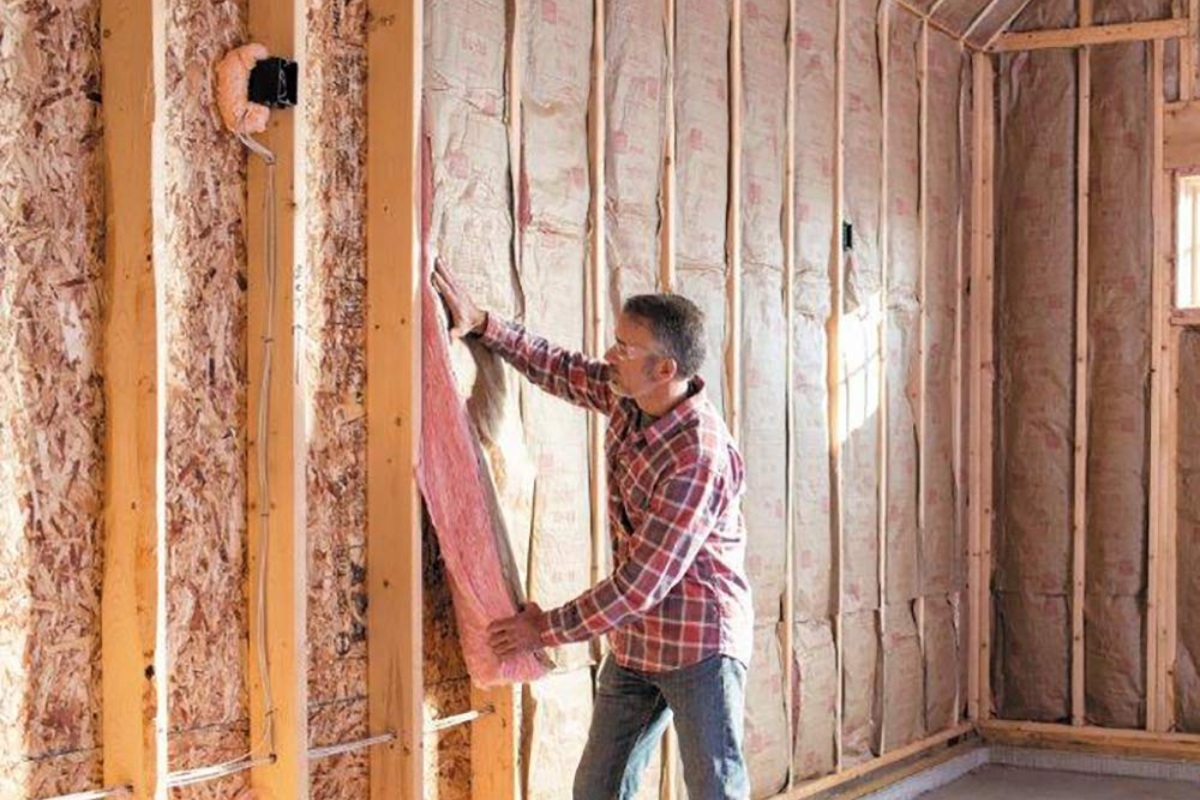
When cutting roll insulation, use a sharp utility knife and a straight edge to ensure clean, precise cuts. Measure and mark the insulation before cutting to ensure accuracy. Wear gloves and a mask to protect yourself from fiberglass particles.
Read more: What To Cut Insulation With
Step 3: Cutting the Insulation
Now that the roll insulation is properly prepared, it’s time to cut it to the desired measurements. Follow these steps for a clean and precise cut:
1. Align the Straight Edge: If using a straight edge ruler or T-square, align it with the marked measurement on the insulation. Ensure that it’s firmly in place, providing a straight edge to guide your cuts.
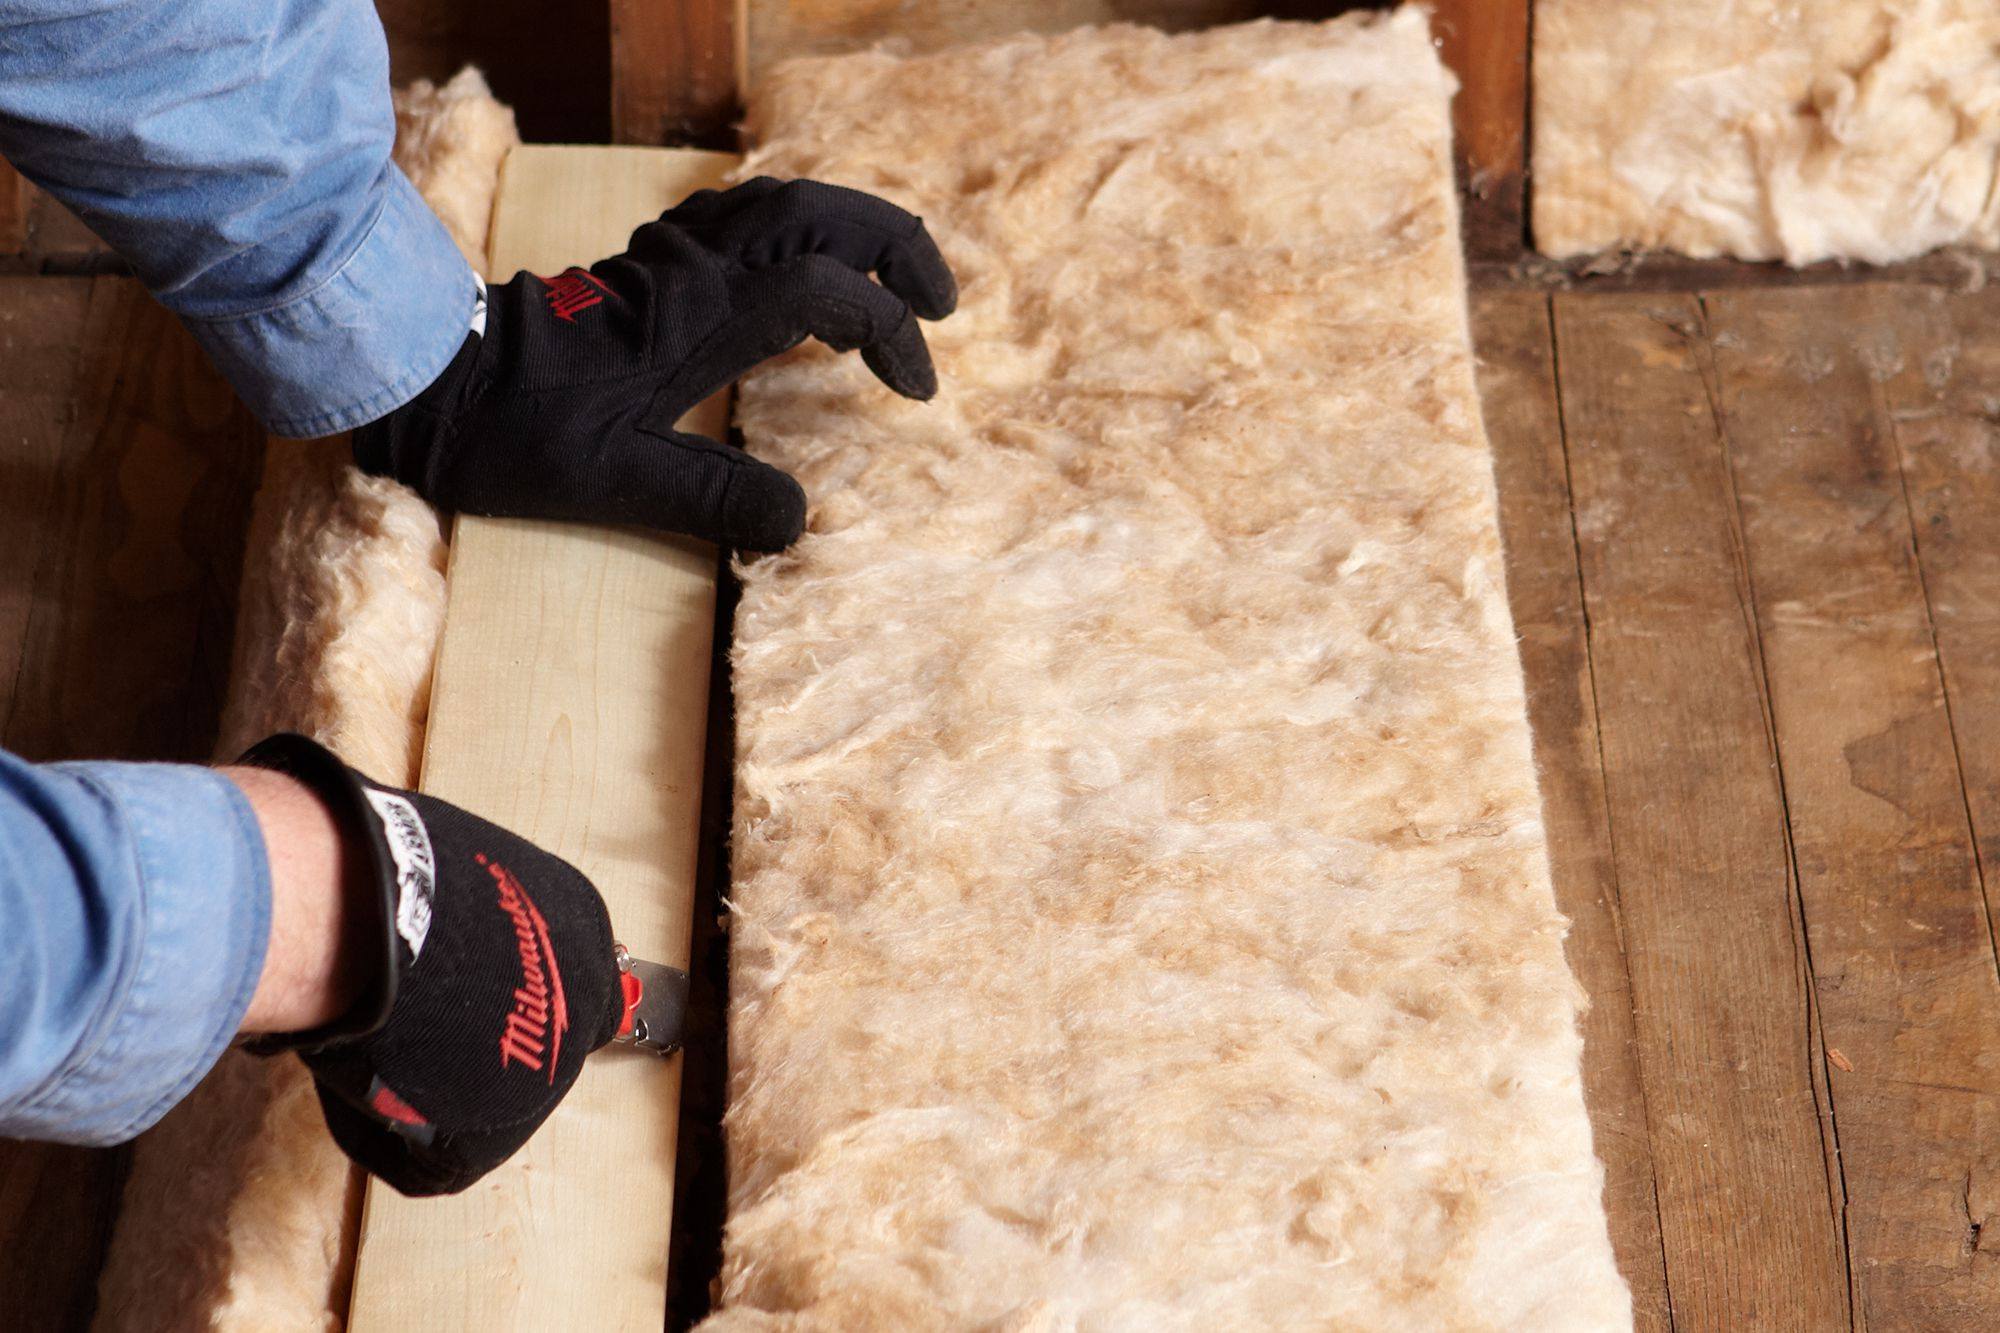
2. Score the Insulation: Using a sharp utility knife, make a shallow score along the marked line. Apply steady pressure to create an initial cut without cutting through the entire insulation.
3. Apply Full Pressure: Once the initial score is made, apply full pressure on the utility knife and cut through the insulation in a smooth and continuous motion. Maintain control and accuracy throughout the cutting process.
4. Repeat the Process: Continue scoring and cutting the insulation along the remaining marked measurements. Take your time and ensure that each cut is clean and accurate.
5. Cut Around Obstacles: When encountering obstacles such as outlets or pipes, make precise cuts around them to ensure a proper fit. Use a smaller utility knife or shears, if necessary, to maneuver around these obstacles.
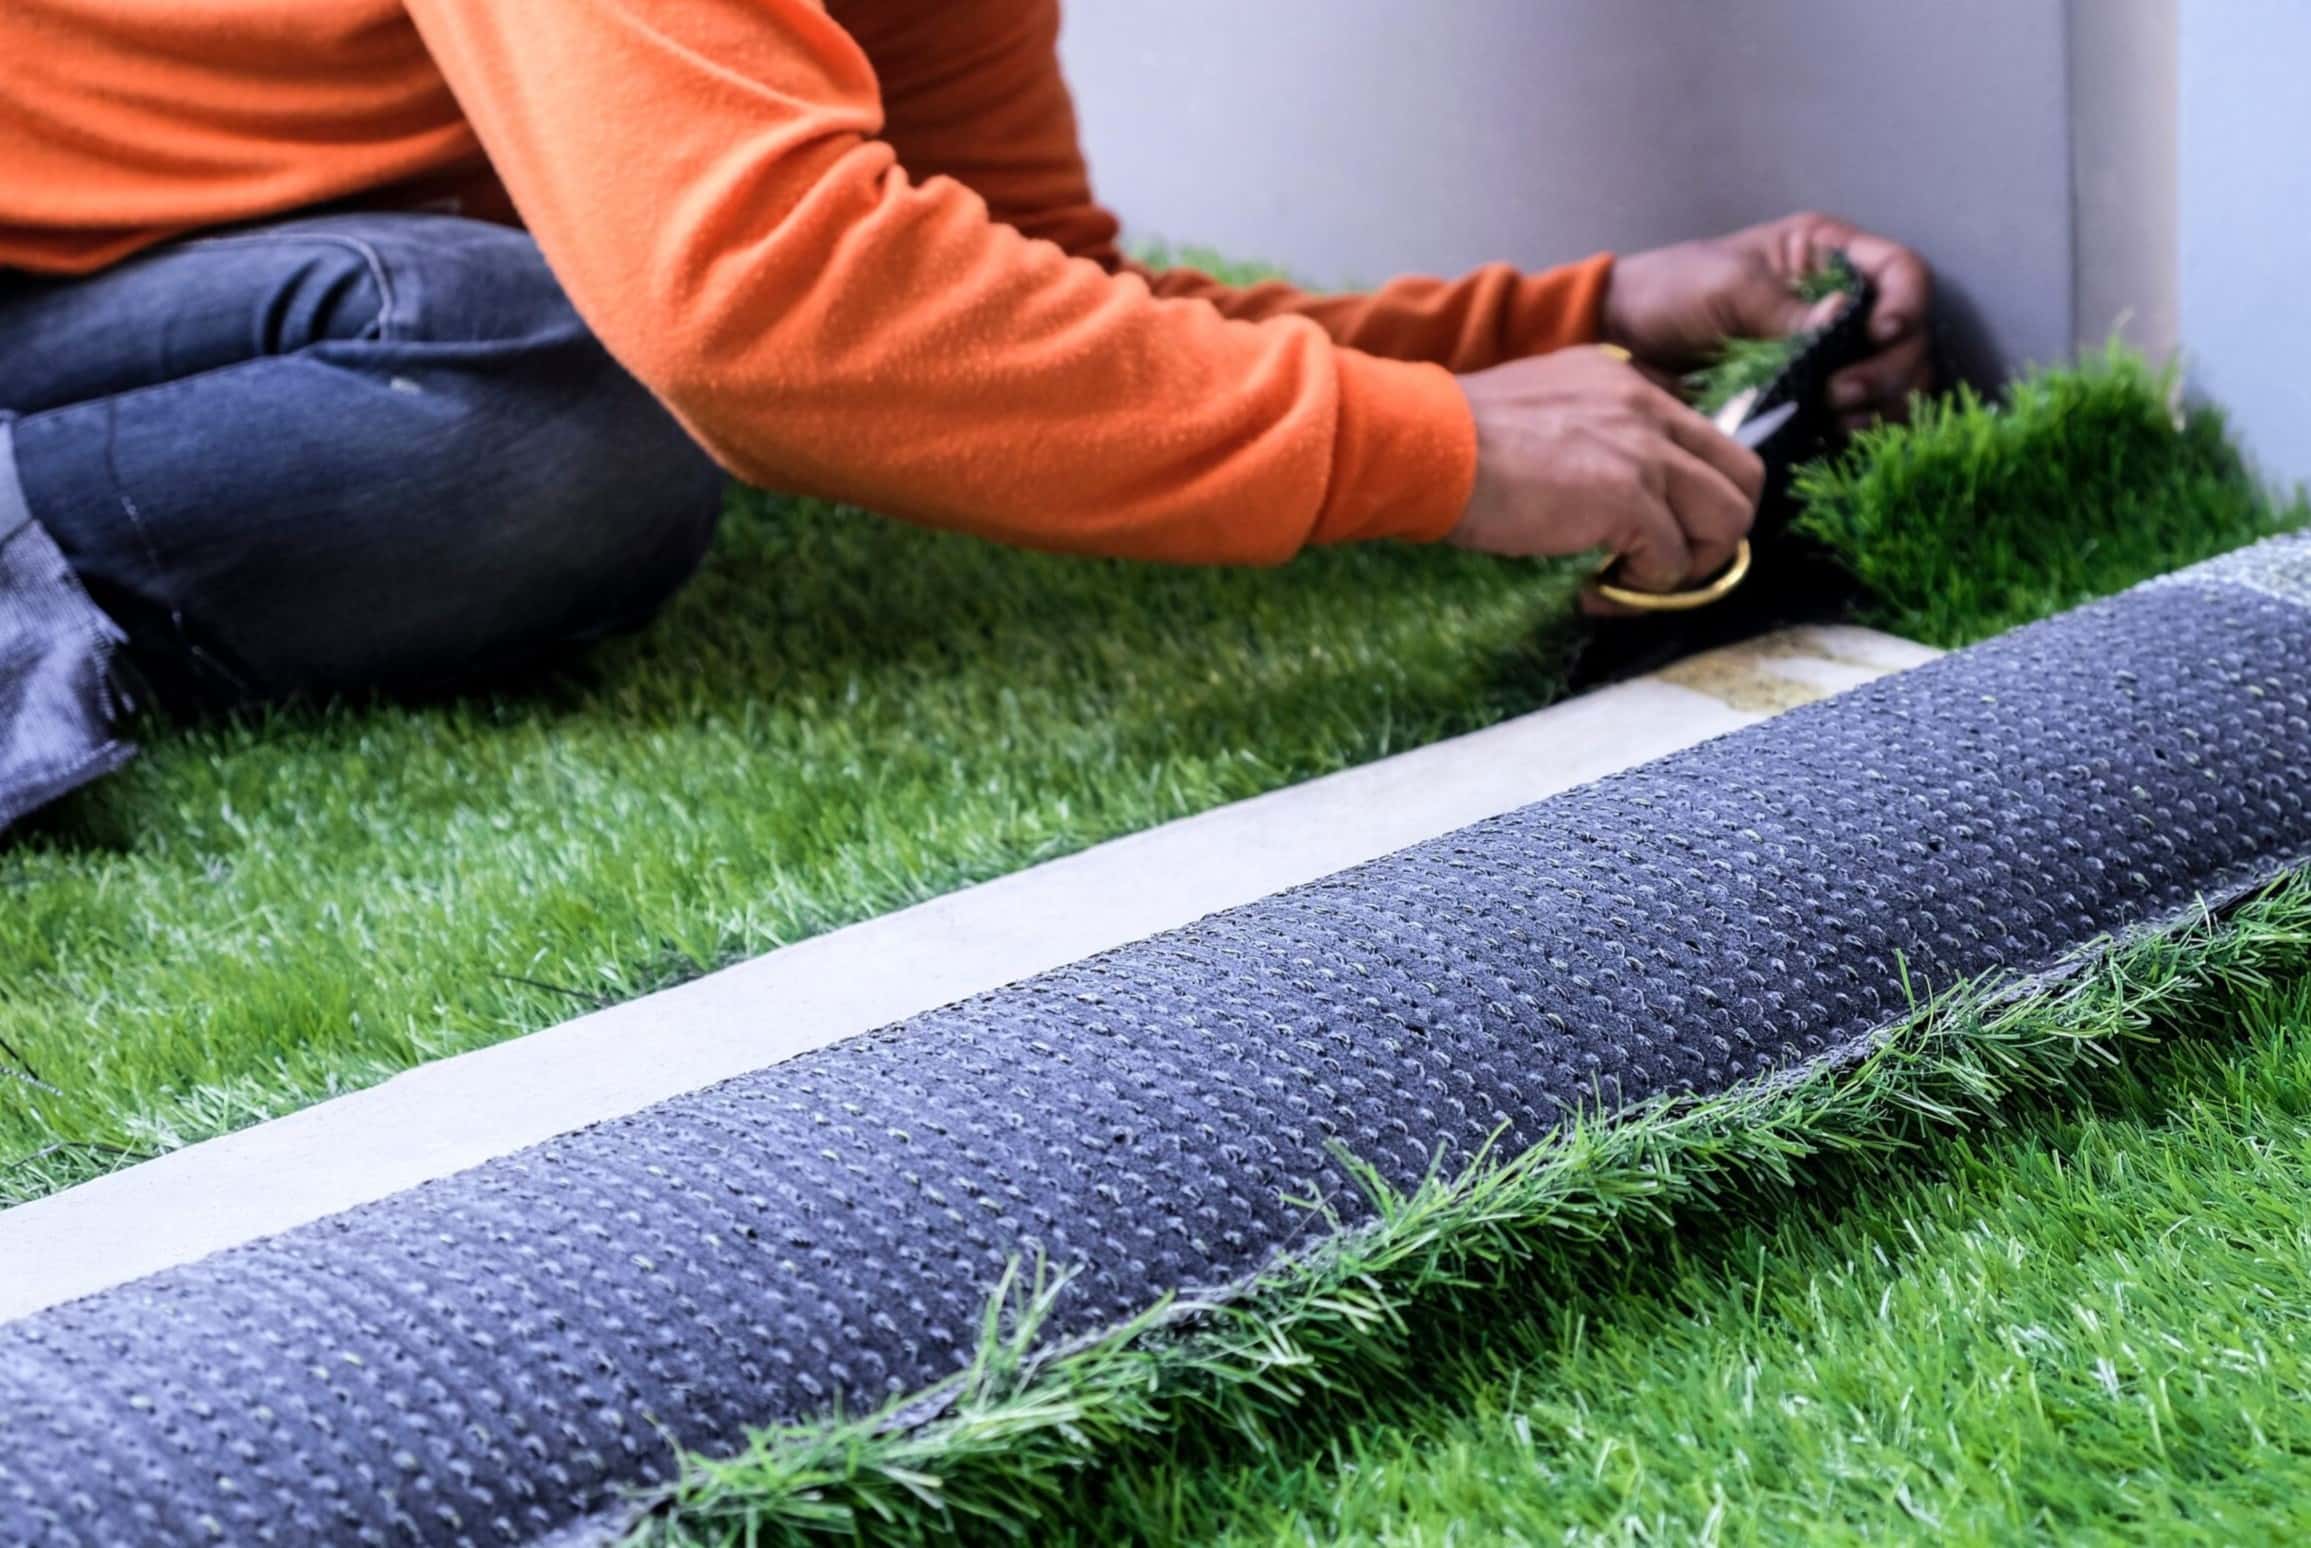
6. Trim Excess Material: After cutting the main sections of insulation, trim any excess material or uneven edges for a neat and professional finish. Use scissors or a utility knife for smaller trimming tasks.
Remember to exercise caution while cutting the insulation and always keep your hands and fingers away from the blade. Take breaks if needed to maintain focus and avoid fatigue, as this can affect the accuracy of your cuts.
With the insulation properly cut, it’s time to move on to the next step: installing the insulation in the designated area.
Step 4: Installing the Insulation
With the roll insulation cut to size, it’s time to move onto the installation process. Follow these steps to properly install the insulation:
1. Position the Insulation: Start by positioning the cut insulation pieces in the designated area. Ensure that they fit snugly and cover the entire surface without gaps.
2. Press and Secure: Press the insulation against the desired surface, making sure it adheres properly. Use adhesive or insulation hangers to secure the insulation in place, if necessary.
3. Fit Around Obstacles: If there are any obstacles, such as electrical outlets or pipes, make precise cuts in the insulation to fit around them. Ensure a tight and secure fit, creating a continuous insulation barrier.
4. Overlap Multiple Layers: If you are using multiple layers of insulation, overlap each layer by a few inches. This will help eliminate any gaps and create a more effective thermal barrier.
5. Smooth Out Wrinkles: Smooth out any wrinkles or creases in the insulation to ensure proper coverage. This will prevent air leaks and maintain the insulation’s effectiveness.
6. Pay Attention to Corners and Edges: Make sure to properly insulate corners and edges, as these areas often experience greater heat loss. Cut smaller pieces of insulation to fit these areas precisely.
7. Insulate Doors and Windows: Pay special attention to insulating doors and windows, as these are common areas for heat loss. Use foam strips or weatherstripping to create a tight seal and prevent drafts.
By following these installation steps, you can effectively install the cut insulation and create a thermal barrier that helps regulate indoor temperature and reduce energy consumption.
Now that the insulation is installed, let’s move on to the final step: sealing and taping the insulation to maximize its effectiveness.
Step 5: Sealing and Taping
After installing the insulation, it’s important to properly seal and tape the seams to maximize its effectiveness. Follow these steps to ensure a tight and secure insulation barrier:
1. Inspect the Seams: Carefully inspect the seams of the installed insulation. Look for any gaps or areas where the insulation may not be snug against the surface.
2. Apply Insulation Tape: Use specially designed insulation tape to seal the seams and joints of the insulation. Apply the tape along the length of the seam, ensuring it adheres firmly.
3. Overlap the Tape: When taping seams, overlap the tape by a few inches to create a continuous seal. Press down firmly on the tape to ensure a tight bond.
4. Tape Corners and Edges: Pay special attention to taping corners and edges. Use smaller strips of insulation tape to secure these areas and prevent any potential air leaks.
5. Inspect for Air Leaks: Once the insulation is taped, inspect the entire installation for any remaining air leaks. Look for any areas where the insulation may not be fully sealed and apply additional tape as needed.
6. Cover with Vapor Barrier: If required for your specific insulation type, consider adding a vapor barrier over the installed insulation. This will help prevent moisture buildup and potential damage.
By properly sealing and taping the insulation seams, you can ensure that there are no air leaks and that the insulation is working at its maximum efficiency. A tight and secure insulation barrier will help regulate indoor temperatures and reduce energy loss.
Now that you have completed the sealing and taping process, your insulation installation is nearly finished. In the next section, we will conclude with some final thoughts and tips on maintaining and optimizing your insulation.
Conclusion
Congratulations! You have successfully learned how to cut roll insulation and install it like a pro. By following the step-by-step process outlined in this article, you can create a well-insulated space that promotes energy efficiency, comfort, and savings.
Remember, accurate measuring and planning are essential for a successful insulation project. Take the time to measure your space, calculate the needed insulation, and account for any obstacles. Preparing the insulation with proper tools and materials, as well as prioritizing safety, will ensure a smooth cutting process.
Cutting the insulation with precision and care is crucial for a snug and effective fit. Take your time and use the appropriate tools, such as a sharp utility knife and a straight edge ruler, to achieve clean and accurate cuts.
Once the insulation is cut, installing it properly is key. Ensure a tight fit, paying attention to corners, edges, and any obstacles in the area. Smooth out any wrinkles or creases and consider using multiple layers for added insulation.
Sealing and taping the seams is the final step to create an airtight barrier. Inspect the installed insulation, apply insulation tape to seal the seams, and check for any remaining air leaks. Don’t forget to consider adding a vapor barrier if necessary.
Maintaining your insulation is crucial for long-term effectiveness. Regularly inspect for any damage or gaps and address them promptly to maximize insulation performance. Additionally, monitor your energy usage and utility bills to gauge the impact of your newly installed insulation.
Investing time and effort into properly cutting and installing roll insulation will yield numerous benefits, including improved energy efficiency, reduced energy bills, and increased comfort within your home or commercial space. So, get started on your insulation project and experience the advantages for yourself.
Remember, if you ever feel unsure or overwhelmed during the process, consult with a professional insulation contractor who can provide expert guidance and assistance. With their help, you can achieve optimal insulation results and enjoy a more energy-efficient and comfortable living or working space.
Frequently Asked Questions about How To Cut Roll Insulation
Was this page helpful?
At Storables.com, we guarantee accurate and reliable information. Our content, validated by Expert Board Contributors, is crafted following stringent Editorial Policies. We're committed to providing you with well-researched, expert-backed insights for all your informational needs.

0 thoughts on “How To Cut Roll Insulation”