Articles
How To Cut Fiberglass Insulation Lengthwise
Modified: January 8, 2024
Learn the step-by-step process of cutting fiberglass insulation lengthwise with our informative articles. Acquire the necessary skills to complete your insulation project effortlessly.
(Many of the links in this article redirect to a specific reviewed product. Your purchase of these products through affiliate links helps to generate commission for Storables.com, at no extra cost. Learn more)
Introduction
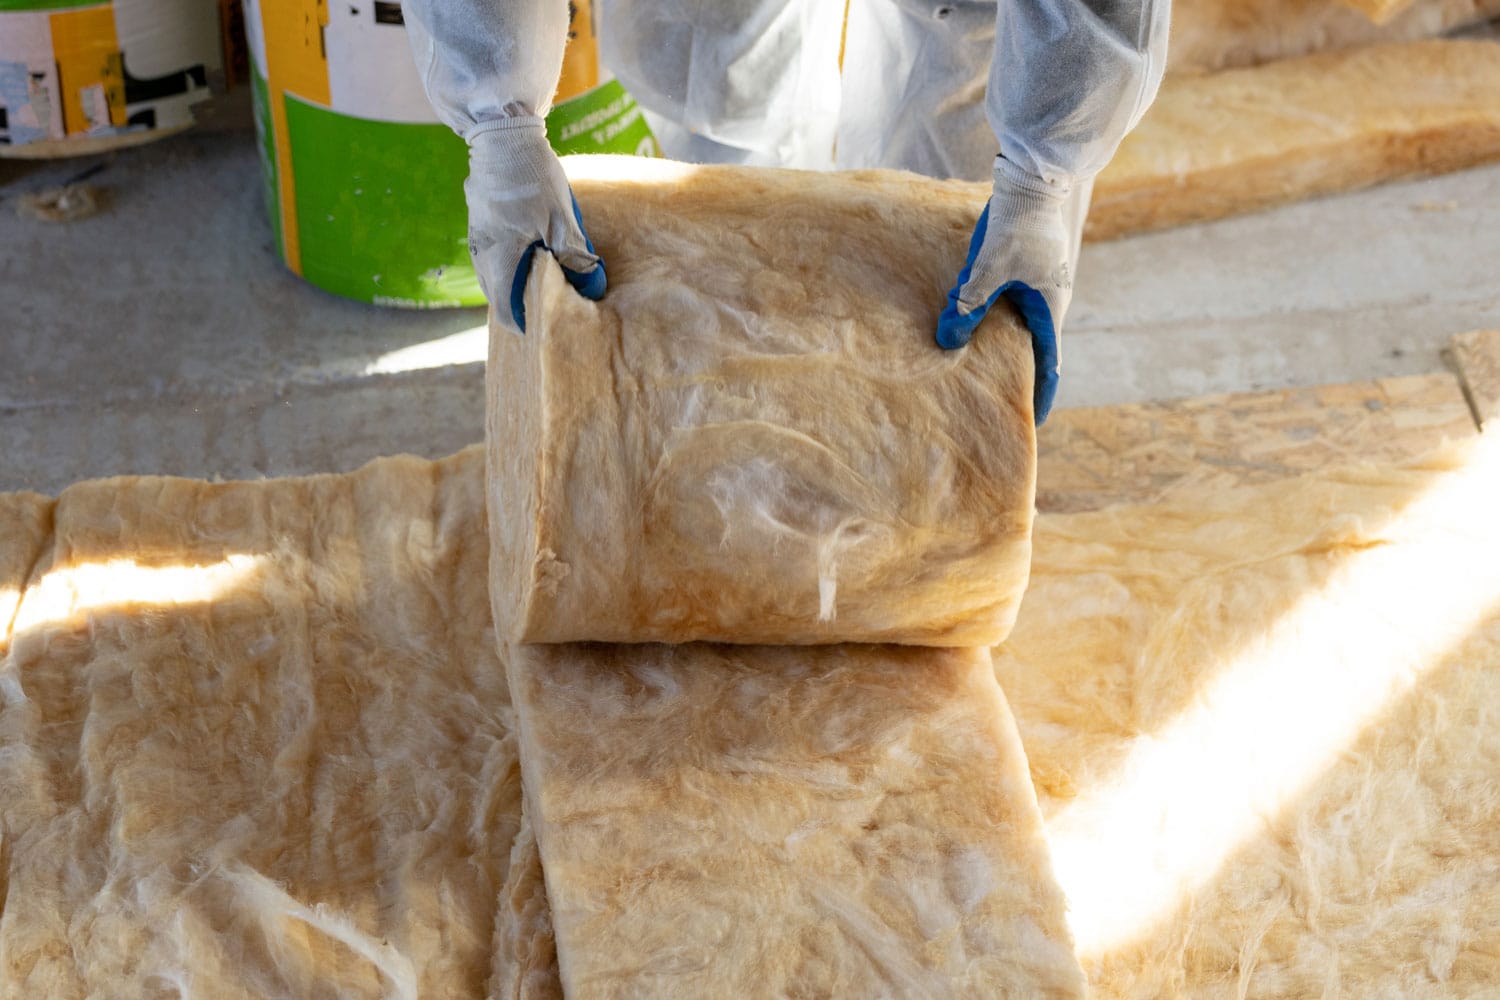
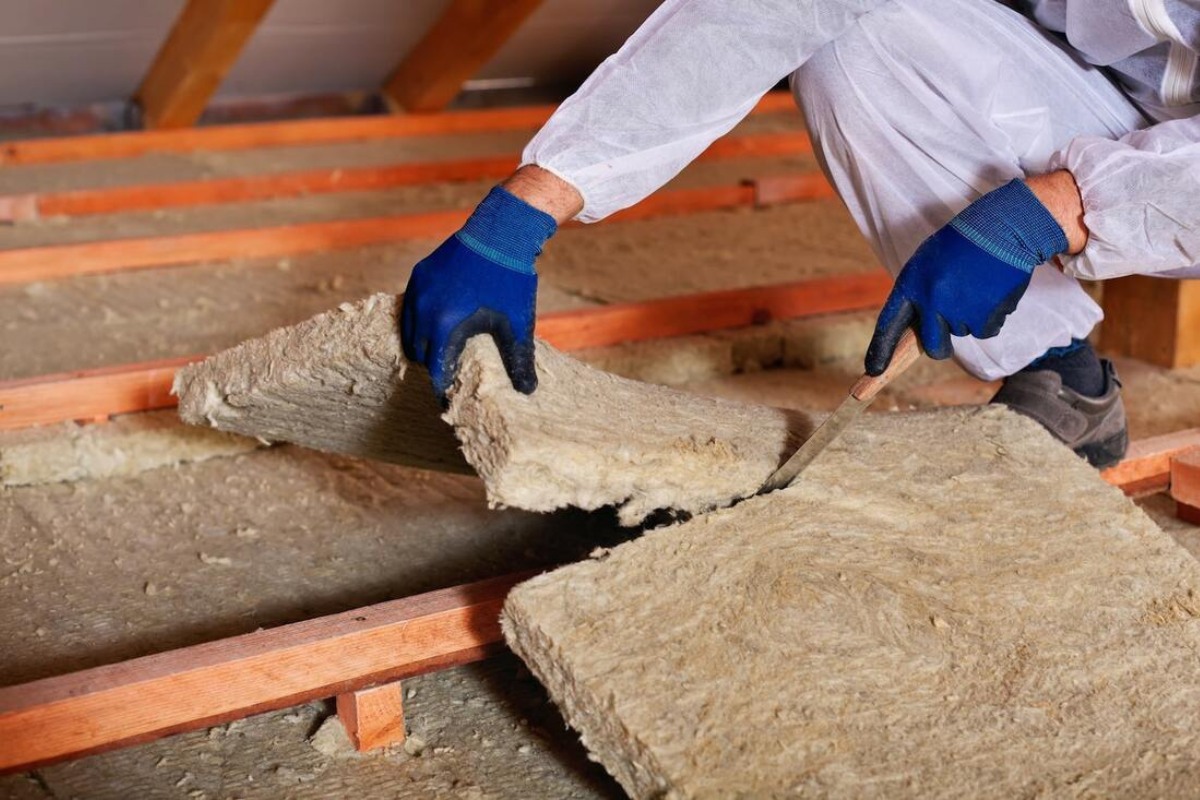
When it comes to insulating your home, fiberglass insulation is a popular choice. This versatile material helps to regulate temperature and reduce energy costs. However, there are instances where you may need to cut fiberglass insulation lengthwise, such as when fitting it into tight spaces or customizing it for a specific area.
In this article, we will guide you through the process of cutting fiberglass insulation lengthwise, ensuring that you achieve accurate and clean cuts without compromising the material’s integrity. By following these steps and taking the necessary safety precautions, you’ll be able to handle your insulation needs effectively.
Before we dive into the actual cutting process, let’s take a look at the tools and materials you’ll need to have on hand.
Key Takeaways:
- Precision is key when cutting fiberglass insulation lengthwise. Take your time, use the right tools, and follow safety precautions to achieve accurate and clean cuts for a perfect fit.
- Prioritize safety by wearing protective gear, working in a well-ventilated area, and properly disposing of waste materials when cutting fiberglass insulation. Enjoy a safe and efficient insulation project!
Read more: How Is Fiberglass Insulation Made
Tools and Materials Needed
Before getting started, gather the following tools and materials:
- Protective gear: Safety goggles, gloves, and a dust mask
- Measuring tape
- Straight edge or ruler
- Sharp utility knife with a new blade
- Sawhorses or a sturdy work surface
- Marker or pencil
Having these tools and materials readily available will ensure that you can tackle the cutting process efficiently and with precision. Once you have everything you need, it’s time to move on to the next step: measuring and marking the insulation.
Step 1: Measuring and Marking the Insulation
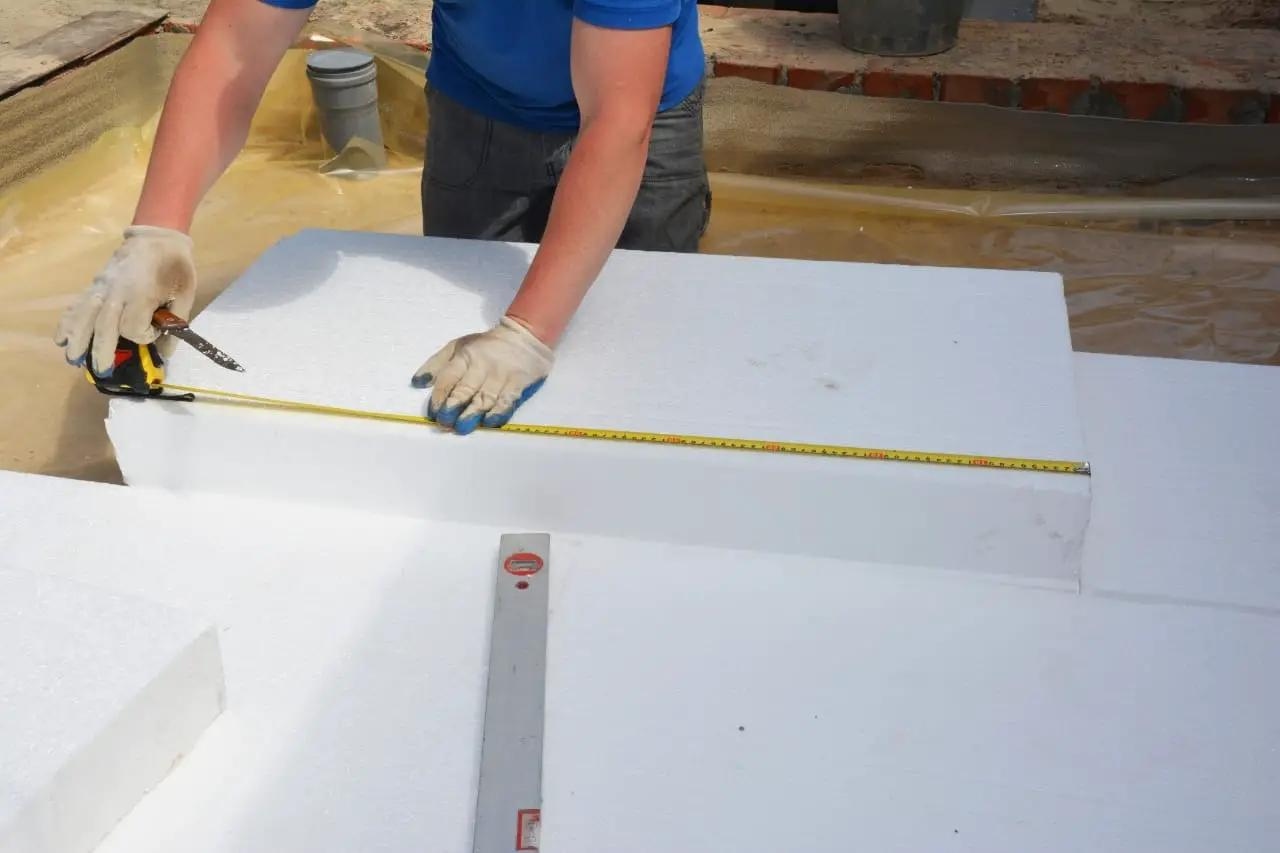
Start by measuring the length of the area where you need to install the fiberglass insulation. Use a measuring tape to accurately determine the required length. Make sure to measure from end to end, accounting for any bends or corners in the area.
Once you have the measurement, transfer it onto the insulation. Lay the insulation on a flat surface, making sure it is fully extended. Use a marker or pencil to mark the desired length on the insulation. You can make small dots or dashes along the edge to serve as a guideline for cutting.
It’s important to be precise with your measurements and markings to ensure the insulation fits perfectly in the designated area. Take your time during this step to avoid any inaccuracies that may affect the overall installation.
Next, let’s move on to preparing the work area to ensure a smooth and safe cutting process.
Step 2: Preparing the Work Area
Before you start cutting the fiberglass insulation, it’s crucial to create a safe and proper work area. Follow these steps to prepare the space:
- Clear the area: Remove any objects or obstacles that may interfere with your work. This includes furniture, tools, and debris.
- Protect the floor: Lay down a drop cloth or plastic sheeting to protect the floor from any potential fiberglass debris or dust.
- Set up sawhorses: If you have sawhorses, set them up in a suitable space. They will provide a stable surface to support the insulation during cutting. If you don’t have sawhorses, ensure you have a sturdy work surface that can handle the pressure.
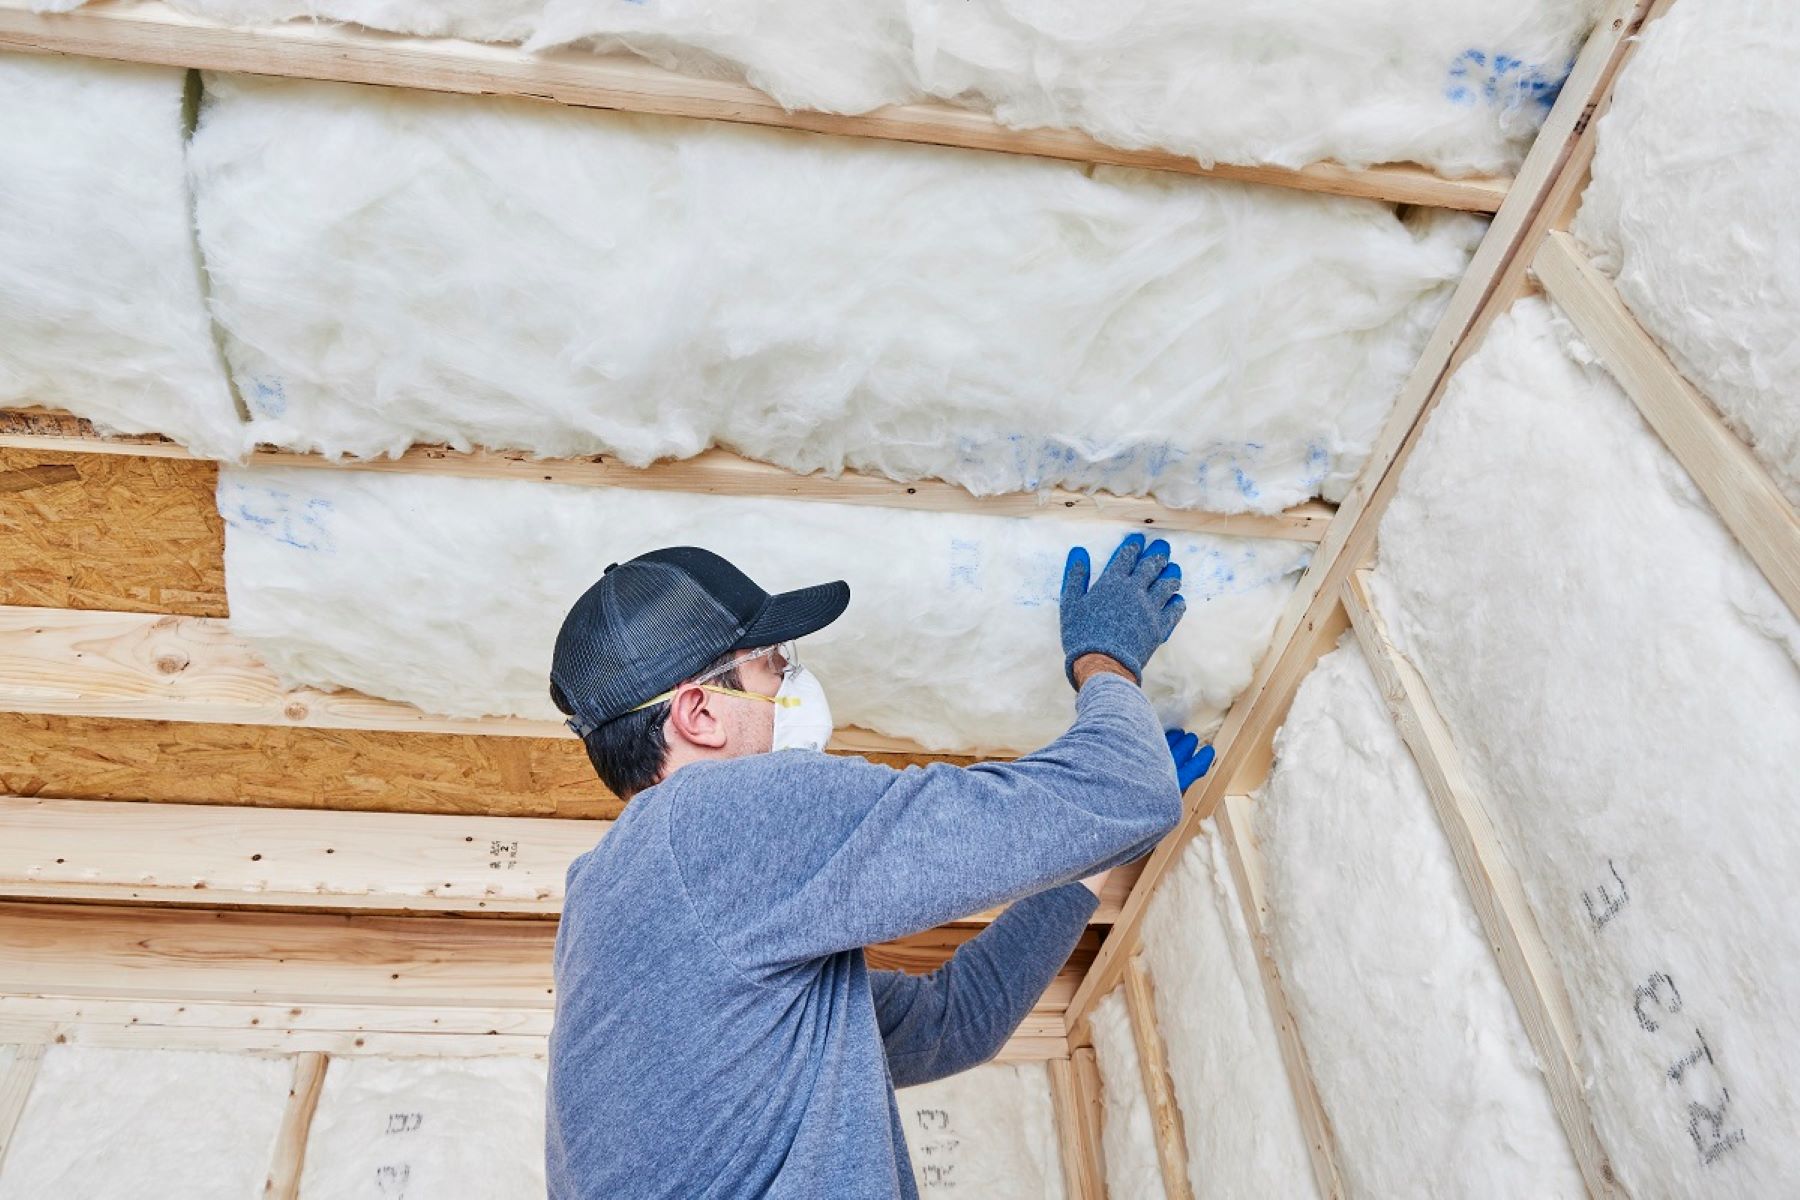
- Ensure good ventilation: Fiberglass insulation can release tiny fibers into the air, which can be irritating to the skin, eyes, and respiratory system. Open windows and doors and consider using a fan or wearing a dust mask to improve ventilation.
- Put on protective gear: Before you start cutting, put on safety goggles, gloves, and a dust mask to protect yourself from any potential hazards.
By taking these precautions and setting up a suitable work area, you can minimize the risk of accidents and create a safe environment for the cutting process. Now that you’re prepared, it’s time to move on to making the initial cut.
Step 3: Making the Initial Cut
With the work area prepared, it’s time to make the initial cut on the fiberglass insulation. Follow these steps to get started:
- Position the insulation: Place the marked insulation on the sawhorses or sturdy work surface, ensuring that it is stable and secure.
- Align the straight edge: Take a straight edge or ruler and position it along the marked line. This will serve as a guide for making a straight and accurate initial cut.
- Score the insulation: Using a sharp utility knife with a new blade, make a shallow cut along the marked line. Apply gentle pressure and let the blade do the work. It’s important not to apply too much pressure at this stage to avoid tearing or damaging the insulation.
By scoring the insulation, you create a groove along the marked line, making it easier to cut through the material in the next steps. Take your time and ensure that the initial cut is straight and aligned with the marked line.
Now that you have made the initial cut, it’s time to proceed to the next step: cutting the insulation lengthwise.
When cutting fiberglass insulation lengthwise, use a sharp utility knife and a straight edge to score the insulation before gently bending it along the score line to break it apart. This will help create a clean and precise cut.
Read more: Why Is Fiberglass Used In Insulation
Step 4: Cutting Lengthwise
Now that you have made the initial cut, it’s time to cut the fiberglass insulation lengthwise. Follow these steps:
- Position the knife: Hold the utility knife at a slight angle, with the blade facing towards the insulation. Make sure the blade is fully extended and locked in place.
- Start cutting: Begin cutting along the scored line, applying steady and even pressure. Keep the knife at the same angle throughout the cutting process.
- Take your time: Fiberglass insulation can be delicate, so it’s important to cut slowly and steadily. Rushing or applying too much force can lead to jagged or uneven cuts.
- Reposition as needed: As you cut through the insulation, reposition yourself and the insulation to maintain a comfortable and controlled cutting position.
- Continue the cut: Follow the marked line carefully, ensuring a straight and accurate cut. If you need to stop and readjust your grip or position, do so carefully to avoid any accidents.
Remember, precision and patience are key when cutting fiberglass insulation lengthwise. By taking your time and maintaining a steady cutting pace, you’ll achieve clean and accurate cuts that fit your desired dimensions.
Finally, let’s move on to the last step: finishing the cut.
Step 5: Finishing the Cut
Now that you have made the lengthwise cut, it’s time to finish the cut by removing any excess material. Follow these steps to ensure a clean and precise finish:
- Inspect the cut: After completing the lengthwise cut, carefully examine the insulation to ensure that the cut is straight and aligned with the marked line.
- Trim any excess: If there are any uneven or jagged edges, use the utility knife to trim away the excess material. Make small and precise cuts to achieve a smooth finish.
- Check the fit: Test the cut insulation in the designated area to ensure that it fits properly. If needed, make further adjustments by trimming the edges or length to achieve the perfect fit.
By inspecting the cut and trimming any excess material, you can ensure a professional and seamless installation of your fiberglass insulation.
Remember to handle any leftover insulation with care and dispose of it properly. Fiberglass fibers can be irritating to the skin and respiratory system, so it’s important to avoid direct contact and follow proper disposal guidelines.
With the cut fiberglass insulation ready, you can proceed with your project, whether it’s insulating walls, ceilings, or any other area in your home.
Before we conclude, let’s review some essential safety precautions to keep in mind throughout the cutting process.
Safety Precautions
When working with fiberglass insulation, it’s important to prioritize safety. Here are some essential safety precautions to follow:
- Wear protective gear: Always wear safety goggles, gloves, and a dust mask to protect yourself from fiberglass fibers, which can irritate the skin, eyes, and respiratory system.
- Work in a well-ventilated area: Ensure good airflow by opening windows and doors or using a fan to minimize the concentration of fiberglass particles in the air.
- Avoid direct contact with skin: Fiberglass can cause irritation, so it’s important to avoid direct contact. If you accidentally touch the fiberglass, wash the affected area with soap and water.
- Dispose of waste properly: Dispose of any leftover fiberglass insulation or cut-offs in accordance with local regulations. Double-bag the waste and seal it tightly to prevent fiberglass fibers from becoming airborne.
- Keep the work area clean: Regularly clean up any loose fiberglass debris or dust to maintain a safe and hazard-free work environment.
Following these safety precautions will help mitigate any potential risks associated with working with fiberglass insulation. It’s essential to prioritize your well-being and take the necessary steps to protect yourself throughout the cutting process.
Now that you are aware of the safety precautions, let’s wrap up this article.
Conclusion
Cutting fiberglass insulation lengthwise may seem like a daunting task, but with the right tools, materials, and techniques, you can achieve accurate and clean cuts to suit your specific needs. By following the step-by-step process outlined in this article and taking the necessary safety precautions, you can confidently handle fiberglass insulation and customize it to fit your desired dimensions.
Remember to measure and mark the insulation accurately, prepare a suitable work area, and make the initial cut before proceeding to cut lengthwise. Take your time, use a sharp utility knife, and maintain a steady cutting pace to ensure precise results. Finish the cut by trimming any excess material and double-check the fit before installation.
Throughout the cutting process, prioritize safety by wearing protective gear, working in a well-ventilated area, and properly disposing of any waste materials. By taking these precautions, you can minimize the risk of exposure to fiberglass fibers and ensure a safe working environment.
Now that you have the knowledge and understanding of how to cut fiberglass insulation lengthwise, you can confidently tackle your insulation projects and enhance the energy efficiency of your home. Enjoy the comfort and savings that come with properly installed and customized fiberglass insulation!
Frequently Asked Questions about How To Cut Fiberglass Insulation Lengthwise
Was this page helpful?
At Storables.com, we guarantee accurate and reliable information. Our content, validated by Expert Board Contributors, is crafted following stringent Editorial Policies. We're committed to providing you with well-researched, expert-backed insights for all your informational needs.


0 thoughts on “How To Cut Fiberglass Insulation Lengthwise”