Articles
How To Cut Rockwool Insulation
Modified: February 23, 2024
Learn how to cut Rockwool insulation with these helpful articles. Find step-by-step guides and tips for a successful installation.
(Many of the links in this article redirect to a specific reviewed product. Your purchase of these products through affiliate links helps to generate commission for Storables.com, at no extra cost. Learn more)
Introduction
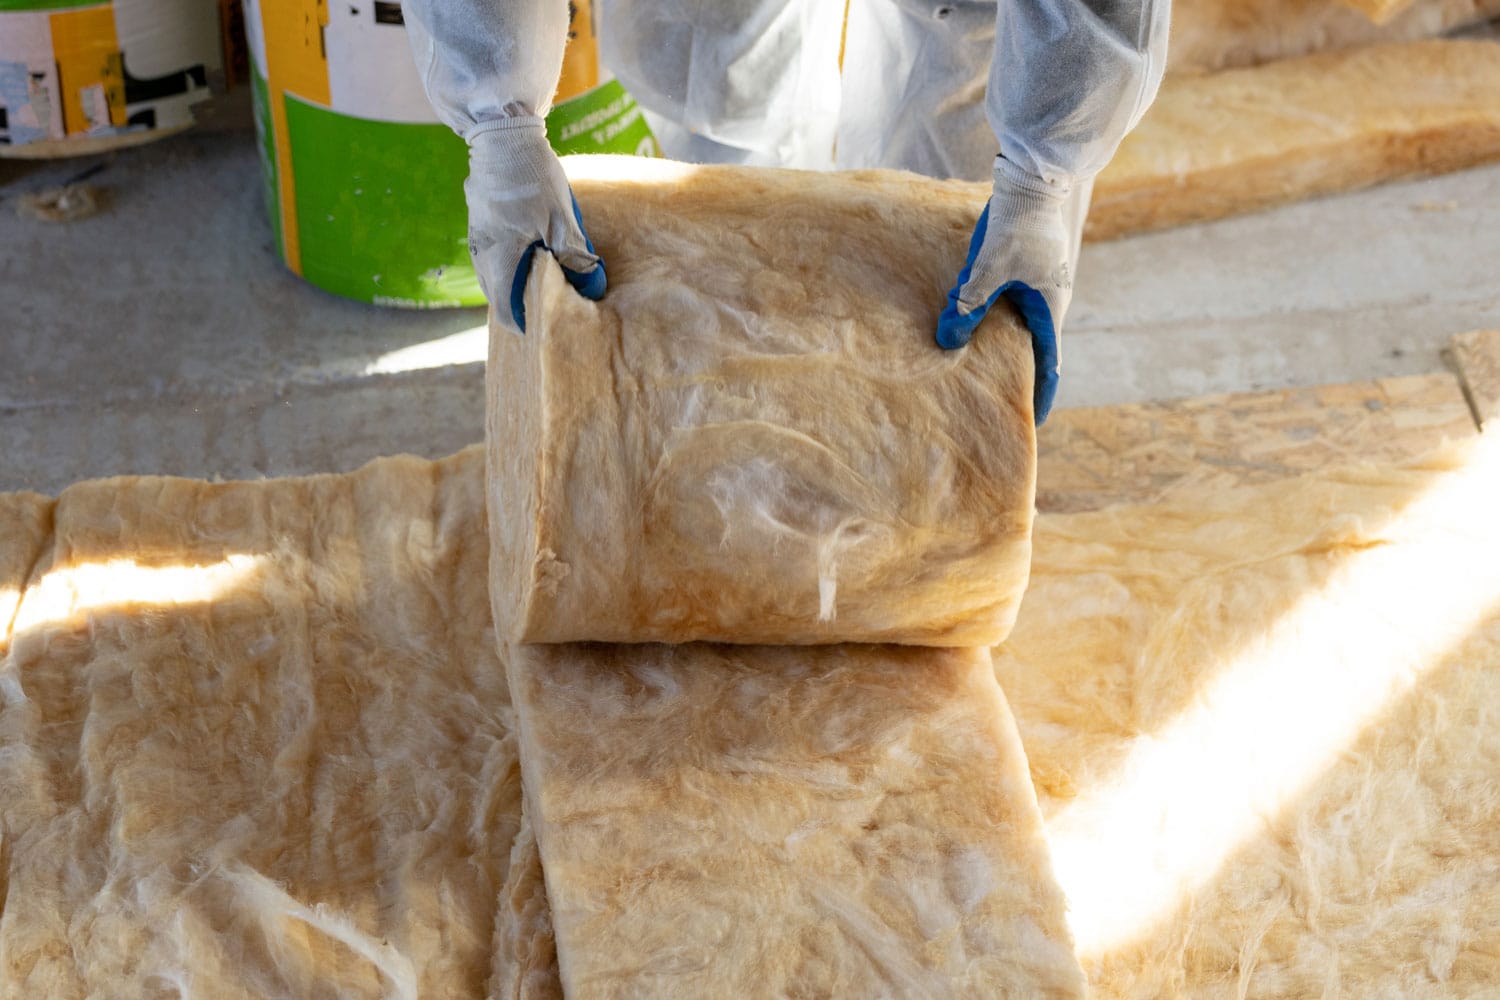
Welcome to this guide on how to cut Rockwool insulation. Rockwool insulation, also known as mineral wool insulation, is a popular choice for insulating both residential and commercial buildings. It is made from molten rock spun into fibers, which are then compressed into rigid boards or flexible batts. Rockwool insulation provides excellent thermal and acoustic insulation properties, making it an ideal choice for improving energy efficiency and reducing noise transmission in buildings.
If you are planning a DIY insulation project or need to make adjustments to your existing Rockwool insulation, knowing how to cut it properly is essential. In this article, we will walk you through the step-by-step process of cutting Rockwool insulation to fit your specific needs. We will also discuss the tools and materials you will need and the safety precautions to follow to ensure a successful and safe cutting experience.
Please note that Rockwool insulation can be a bit challenging to cut due to its dense and fibrous nature. However, with the right tools and techniques, you can achieve clean and precise cuts that will fit perfectly into your desired spaces. So, let’s dive in and learn how to cut Rockwool insulation like a pro!
Key Takeaways:
- Cutting Rockwool insulation requires precise measurements, scoring, and cutting techniques to achieve a snug fit and optimal thermal and acoustic performance. Prioritize safety, use the right tools, and maintain a clean work area for a successful cutting experience.
- Proper disposal of cut pieces and debris, along with thorough clean-up, is essential to minimize the risk of airborne fibers and ensure a safe and tidy work environment. Follow safety precautions, wear protective gear, and take your time to achieve clean and precise cuts.
Read more: How To Install Rockwool Insulation
What is Rockwool Insulation?
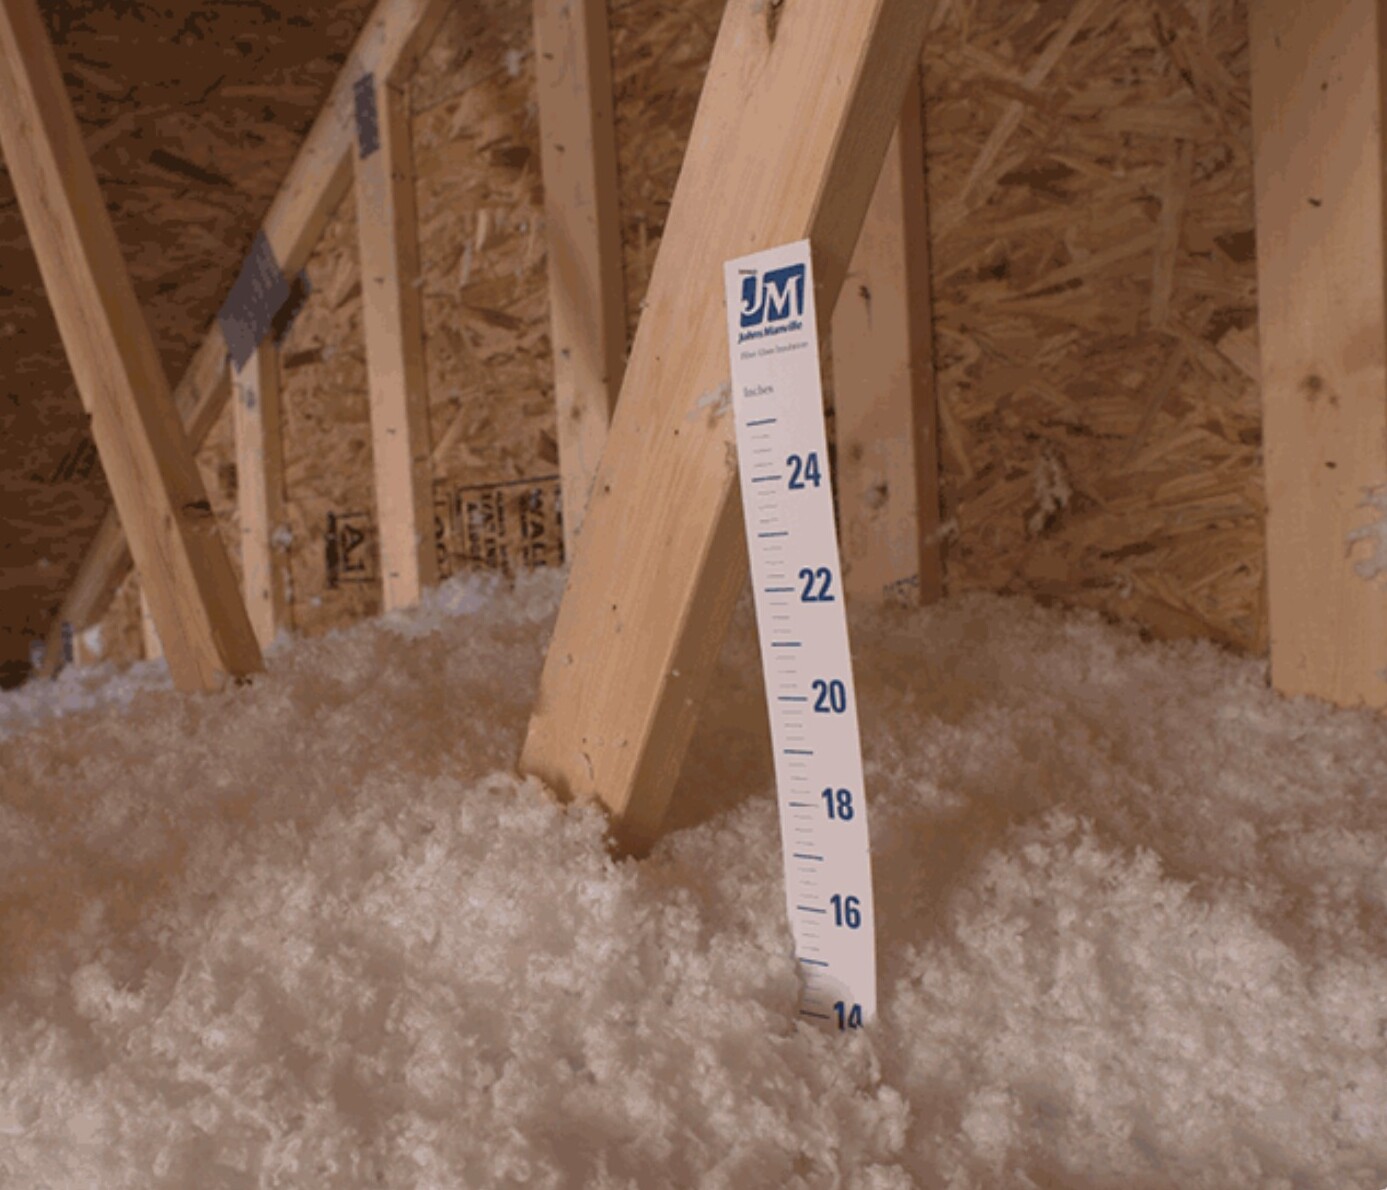
Rockwool insulation, also known as mineral wool insulation, is a versatile and effective material used for thermal and acoustic insulation in buildings. It is made from volcanic rock or basalt, which is heated to a high temperature and then spun into fine fibers. These fibers are then compressed and formed into rigid boards or flexible batts, which can be easily installed in walls, ceilings, floors, and roofs.
One of the key properties of Rockwool insulation is its excellent thermal insulation capabilities. The fibers in Rockwool create tiny air pockets that help to trap heat, preventing its transfer from one side to the other. This results in better temperature regulation, helping to keep the interior of a building warmer in the winter and cooler in the summer. As a result, Rockwool insulation can significantly reduce energy consumption and improve overall energy efficiency.
Besides thermal insulation, Rockwool also provides excellent acoustic properties. The dense and fibrous structure of Rockwool helps to absorb sound waves, reducing noise transmission between rooms or from external sources. This makes Rockwool insulation an ideal choice for soundproofing walls, ceilings, and floors, especially in areas where noise reduction is critical, such as recording studios, home theaters, or offices.
Rockwool insulation is also fire-resistant. The high temperatures used during its manufacturing process make it naturally resistant to fire spread. In the event of a fire, Rockwool insulation will not contribute to the flames and can help to slow down the spread of fire, providing valuable time for evacuation and minimizing damage.
Additionally, Rockwool insulation is known for its durability and longevity. It is resistant to pests, mold, and mildew, making it a reliable choice for long-term insulation needs. Rockwool insulation also does not shrink or settle over time, ensuring that its thermal and acoustic performance remains consistent throughout the lifespan of the building.
Overall, Rockwool insulation offers a range of benefits, making it a popular choice for homeowners, builders, and contractors. Its thermal and acoustic insulation properties, fire resistance, durability, and ease of installation make it an excellent investment in creating a comfortable, energy-efficient, and safe living or working environment.
Tools and Materials Needed
Before you start cutting Rockwool insulation, it is essential to gather the necessary tools and materials. Having the right equipment at hand will not only make the cutting process smoother but also ensure your safety. Here is a list of tools and materials you will need:
Tools:
- Utility knife: A sharp utility knife is crucial for scoring and cutting the Rockwool insulation. Look for a knife with a retractable blade for added safety.
- Straight edge: A straight edge, such as a ruler or a metal straightedge, will help you create precise and straight cuts.
- Tape measure: Measuring the dimensions accurately is essential for cutting the Rockwool insulation to the desired size. A tape measure will come in handy for this step.
- Protective equipment: It is crucial to wear adequate protective equipment to protect yourself from the irritating fibers of Rockwool insulation. Wear safety goggles, gloves, and a dust mask to safeguard your eyes, hands, and respiratory system.
- Dustpan and brush: Once you have cut the Rockwool insulation, you will need a dustpan and brush to clean up the cut pieces and any loose fibers.
- Optional: If you are working with larger pieces of Rockwool insulation, a large straight edge, such as a T-square or a level, can be useful for making long, straight cuts.
Materials:
- Rockwool insulation: Of course, you will need Rockwool insulation itself. Purchase the appropriate thickness and size to fit your specific needs.
- Vapor barrier (optional): Depending on your insulation project, you may also need a vapor barrier to prevent moisture from entering the insulation.
- Tape or adhesive (optional): If you are using a vapor barrier, you might need tape or adhesive to secure it in place.
By ensuring you have these tools and materials ready, you will be well-prepared to tackle your Rockwool insulation cutting project efficiently and safely.
Safety Precautions
When cutting Rockwool insulation, it is important to prioritize safety to avoid any potential hazards. The nature of Rockwool insulation, with its fibrous composition, calls for some specific precautions. Here are some safety measures to keep in mind:
- Protective Equipment: Before you begin, make sure to wear the appropriate protective equipment. This includes safety goggles to protect your eyes from stray fibers, gloves to shield your hands, and a dust mask to prevent inhalation of the microfibers.
- Work Area: Set up your work area in a well-ventilated space to minimize exposure to airborne fibers. If possible, work outdoors or in an area with good airflow. If working indoors, consider using plastic sheets or tarps to contain the fibers and make clean-up easier afterward.
- Proper Clothing: Avoid wearing loose clothing that can trap fibers. Instead, choose long sleeves and pants to protect your skin from irritation.
- Minimize Dust: Rockwool insulation can produce dust particles when cut, so it’s important to minimize dust as much as possible. Avoid excessive handling or aggressive movements that can create airborne particles. Use a utility knife with a sharp, retractable blade to make clean, precise cuts.
- Proper Disposal: After cutting the Rockwool insulation, collect any loose or cut fibers carefully using a dustpan and brush. Dispose of them properly by sealing them in a bag or container. Do not sweep or vacuum the fibers, as this can stir up dust and disperse the particles into the air.
- After-work Clean-up: Once you have finished cutting, remove and wash your protective gear promptly. Thoroughly clean your work area, equipment, and any surfaces that may have come into contact with the Rockwool insulation fibers.
- First Aid: In the event of any skin irritation or accidental exposure, wash the affected area with soap and water. If irritation persists or worsens, seek medical attention.
- Follow Manufacturer’s Instructions: It is important to read and follow the manufacturer’s instructions for handling Rockwool insulation. Familiarize yourself with any specific safety guidelines or recommendations provided.
By following these safety precautions, you can ensure a safer cutting experience and minimize the risks associated with handling Rockwool insulation. Remember, safety should always be the top priority when working with any construction or insulation materials.
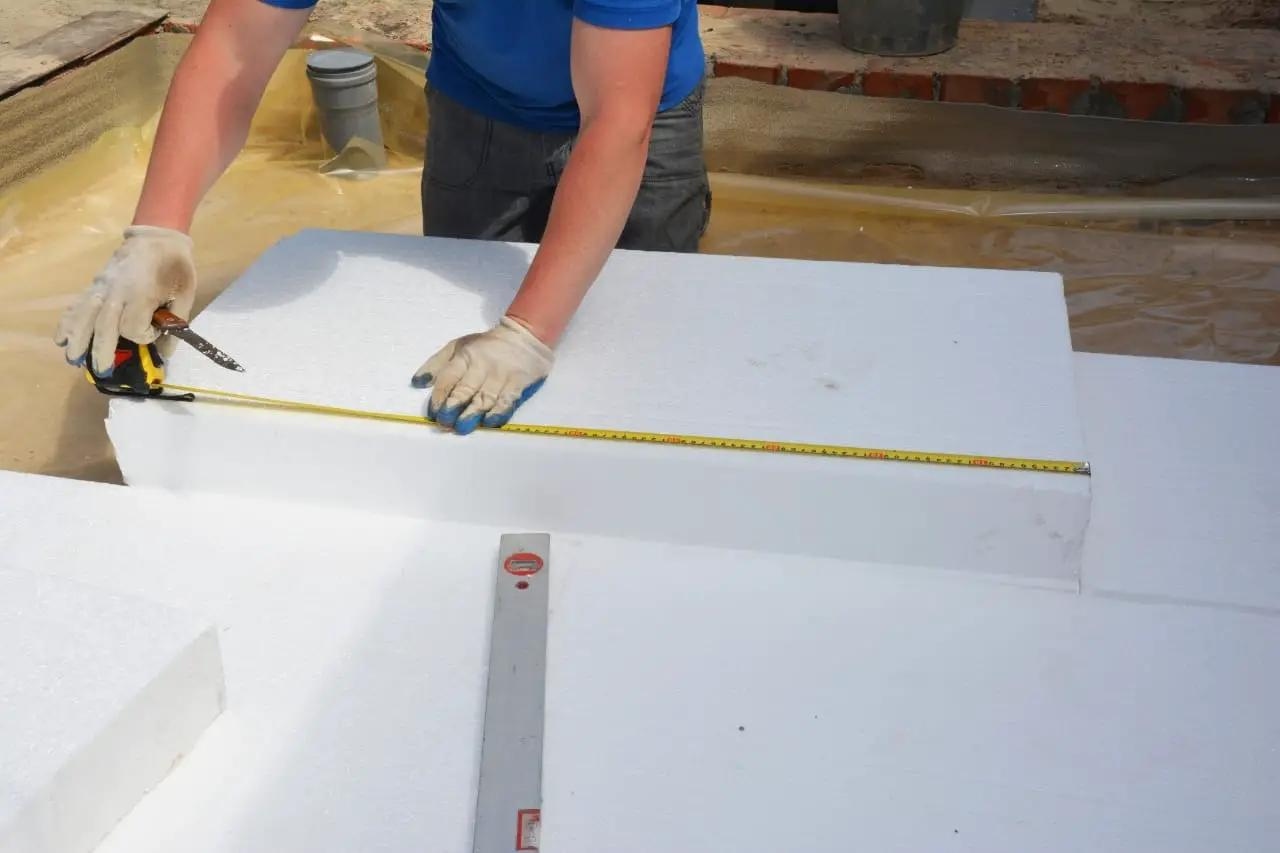
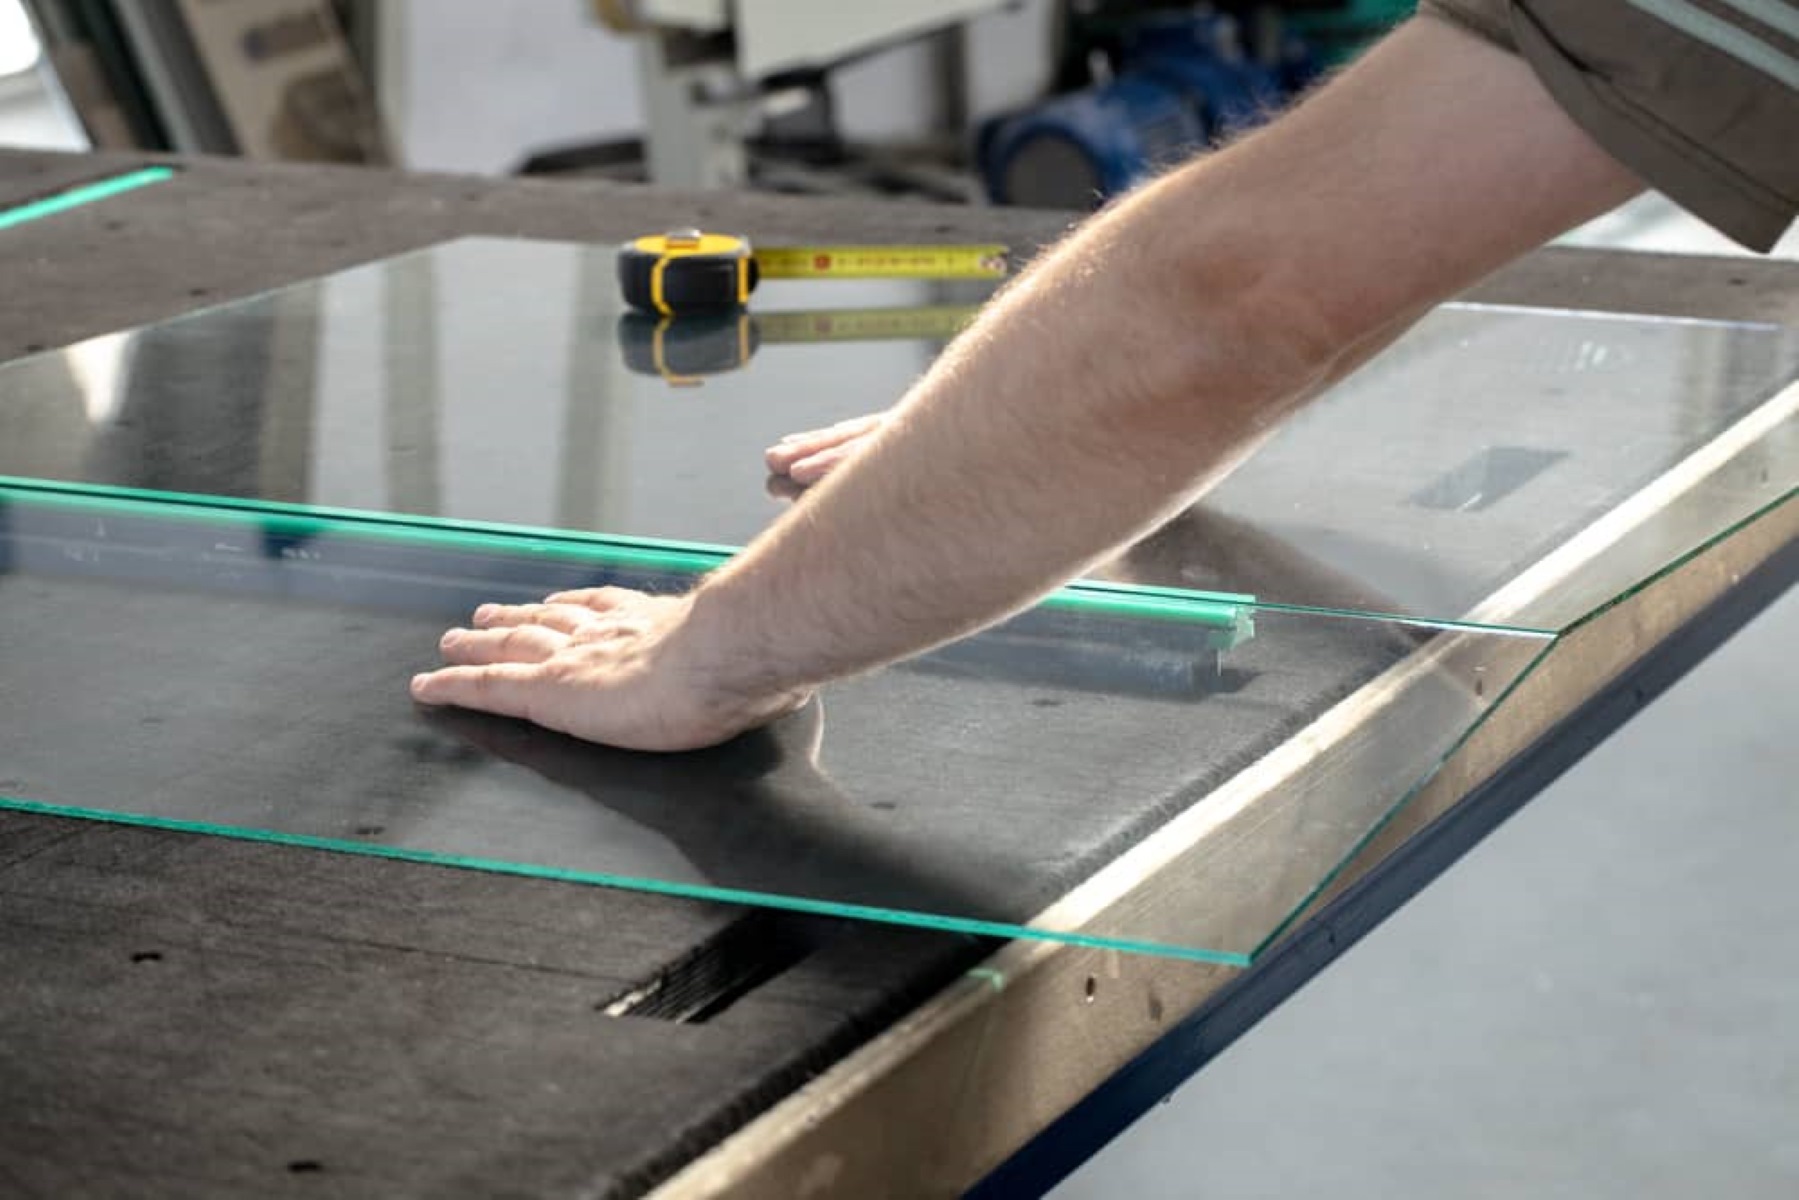
Step 1: Measuring and Marking the Rockwool Insulation
The first step in cutting Rockwool insulation is to accurately measure and mark the dimensions you need. Taking precise measurements is essential to ensure that you cut the insulation to the correct size for your specific application. Follow these steps:
- Measure the Space: Use a tape measure to measure the dimension of the space where you need to install the Rockwool insulation. Measure both the height and width, and note down the measurements for reference.
- Add Extra for a Snug Fit: To ensure a tight and secure fit, add a small allowance to your measurements. This will allow the insulation to fit snugly into the space without any gaps or sagging.
- Mark the Insulation: Transfer your measurements onto the Rockwool insulation using a straight edge and a marker. Make sure to mark the dimensions accurately on the surface of the insulation.
- Double-Check: Before proceeding to cut the insulation, double-check your measurements to ensure accuracy. This will minimize the chances of making any mistakes during the cutting process.
- Multiple Pieces: If your insulation project requires multiple pieces of Rockwool insulation, mark each piece accordingly. Remember to label them clearly to avoid confusion during installation.
By taking the time to measure accurately and mark the Rockwool insulation before cutting, you will ensure that the insulation fits perfectly into the designated space, providing optimal thermal and acoustic performance.
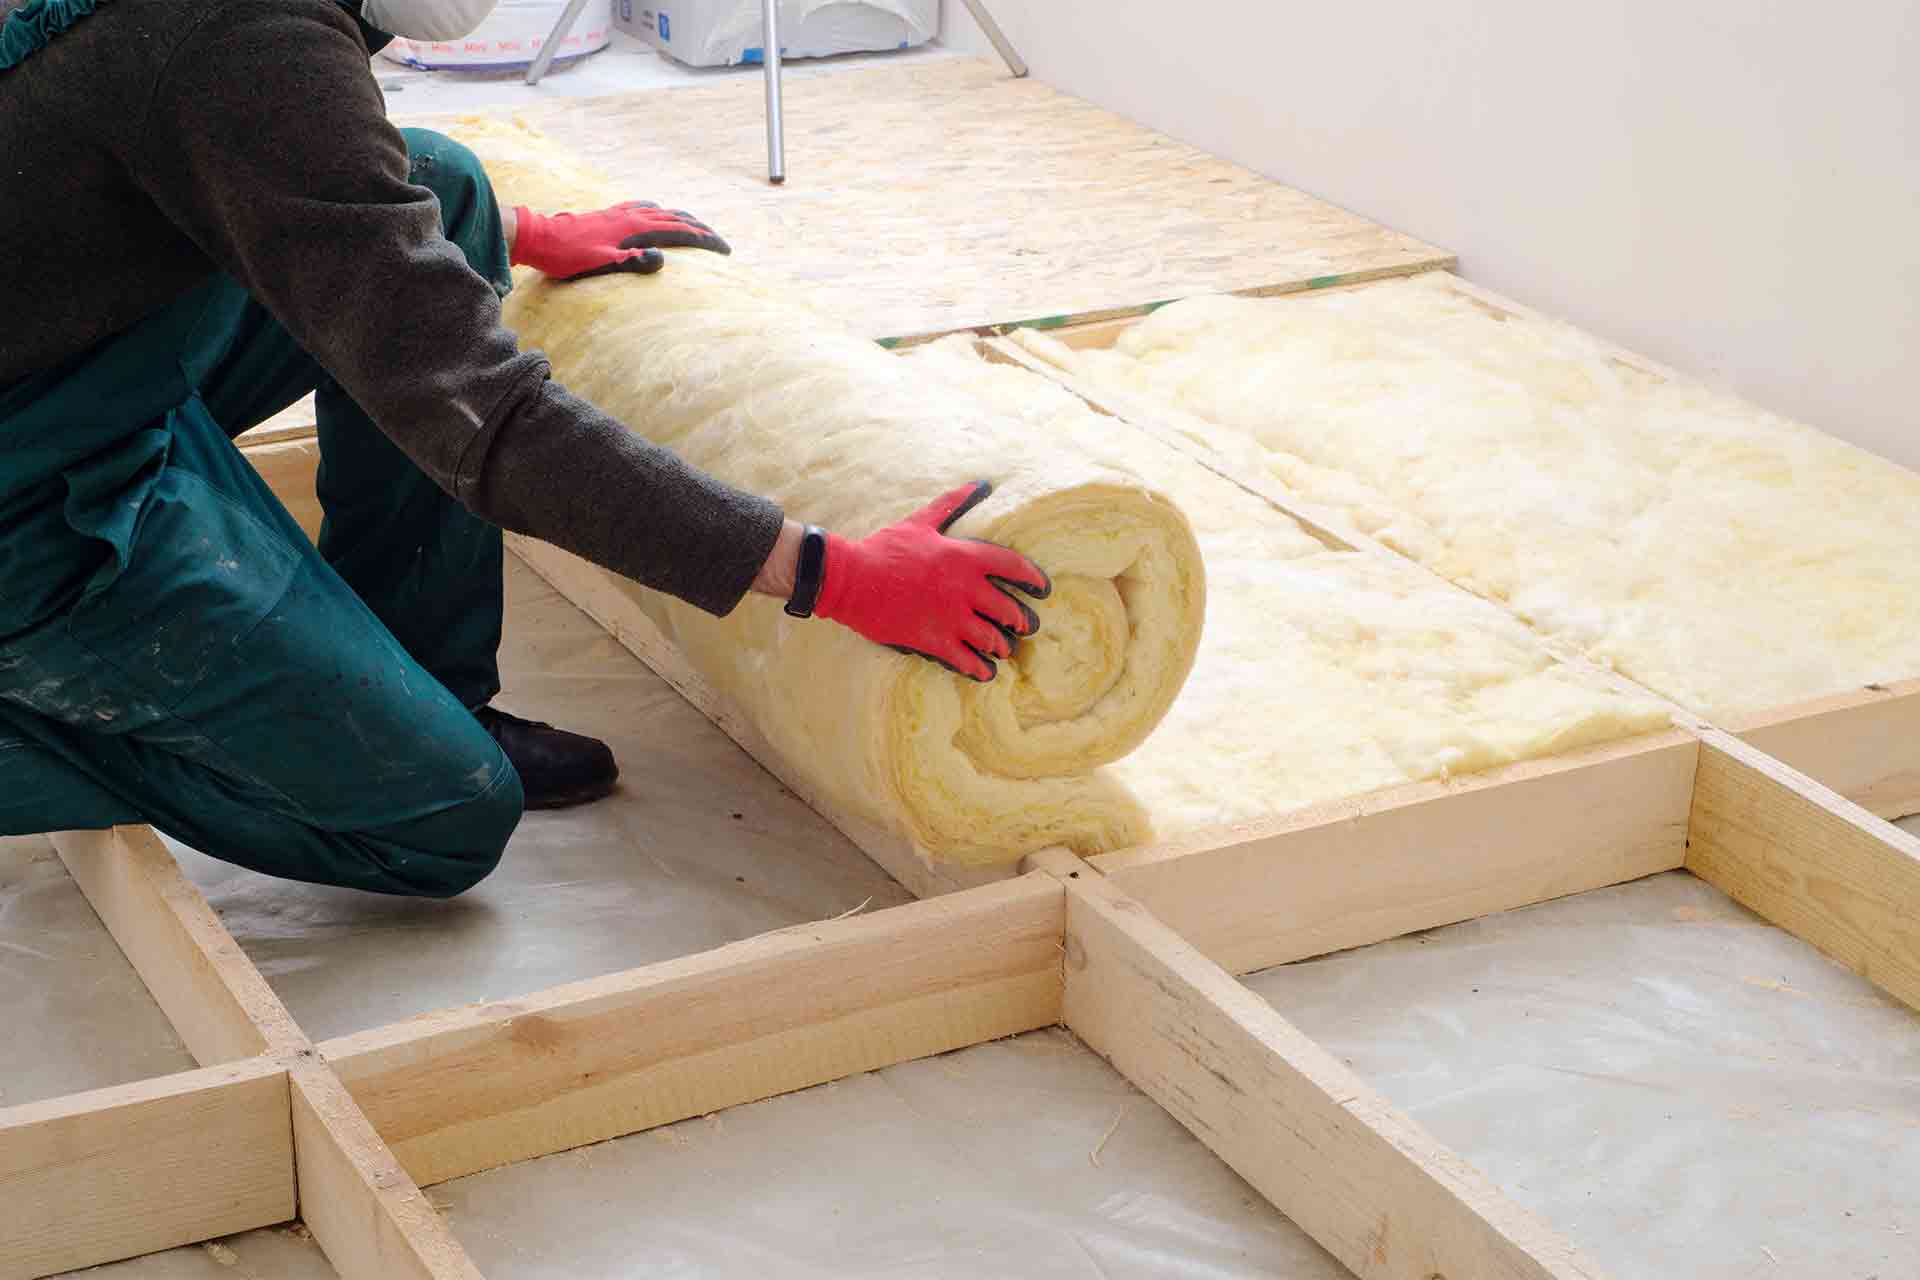
When cutting rockwool insulation, use a sharp utility knife and a straight edge to ensure clean, precise cuts. Wear gloves and a mask to protect yourself from the fibers.
Read also: 10 Unbelievable Rockwool Insulation For 2025
Step 2: Scoring the Rockwool Insulation
Scoring the Rockwool insulation is an important step in preparing it for cutting. Scoring involves creating a shallow groove or cut along the desired cutting line to facilitate a clean and precise cut. Follow these steps to score the Rockwool insulation:
- Place the Insulation on a Stable Surface: Find a stable and flat surface to work on, such as a workbench or a piece of plywood. Ensure that the surface is clean and free from any debris that could interfere with scoring.
- Position the Straight Edge: Place a straight edge, such as a ruler or a metal straightedge, along the marked cutting line. Ensure that it is firmly in place and aligned with the desired cut.
- Score the Insulation: Using a sharp utility knife, start at one end of the straight edge and press down firmly to create a shallow groove along the cutting line. Apply enough pressure to score the surface of the Rockwool insulation without cutting all the way through.
- Repeat the Scoring: Move the straight edge along the marked cutting line and score the insulation in multiple passes. It may take several passes to achieve a deep enough groove to facilitate a clean cut.
- Apply Even Pressure: While scoring, maintain a steady and even pressure on the utility knife to create a consistent groove. This will help ensure a clean and precise cut.
- Check the Scoring: After scoring the Rockwool insulation, run your finger or a straight edge along the groove to ensure that it is deep enough to guide the cutting process but not too deep that it cuts through the insulation entirely.
Scoring the Rockwool insulation provides a guide for the subsequent cutting process, making it easier to achieve the desired shape with clean edges. Take your time and ensure that the scoring is done accurately before moving on to the next step.
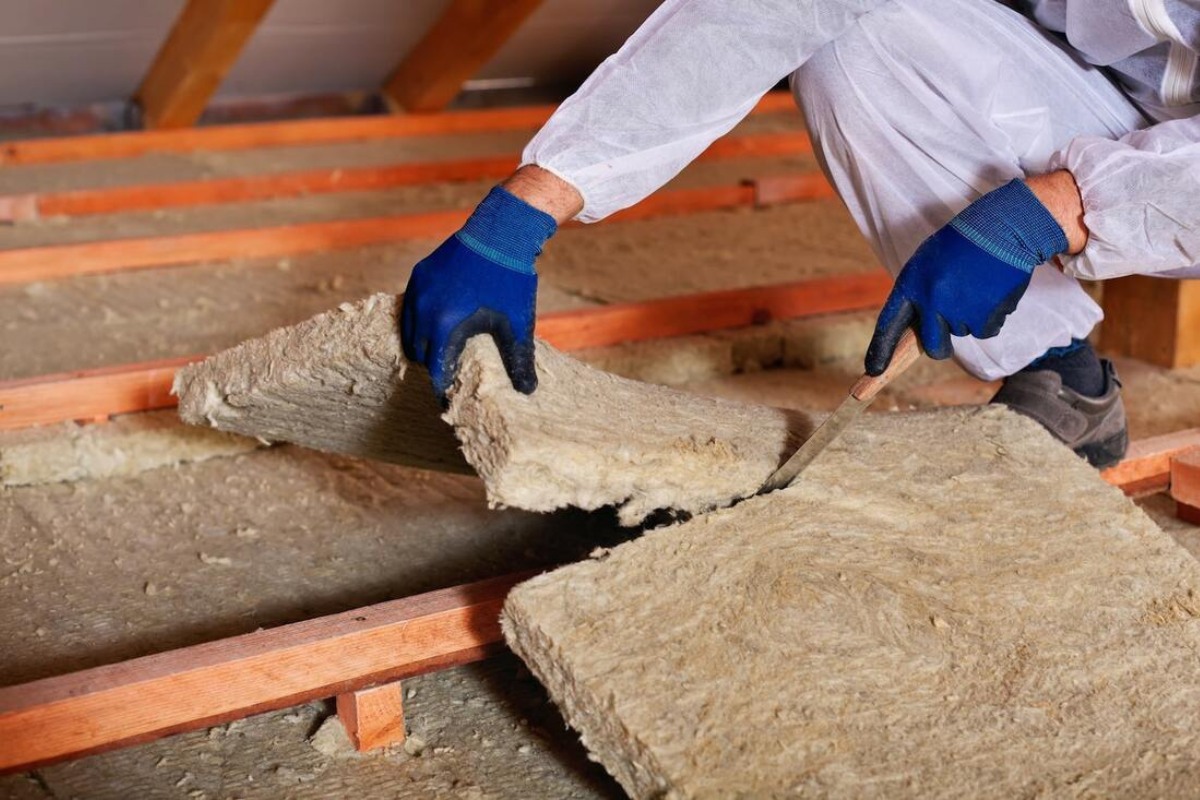
Step 3: Cutting the Rockwool Insulation
Now that you have scored the Rockwool insulation, it’s time to cut it along the marked lines. Proper cutting is essential to ensure precise fitting and a professional finish. Follow these steps to cut the Rockwool insulation:
- Secure the Insulation: Place the scored Rockwool insulation on a stable surface, ensuring it is secure and won’t move during the cutting process.
- Line Up the Straight Edge: Position the straight edge along the scored line, ensuring it is aligned with the desired cut.
- Cut Through the Insulation: With a sharp utility knife, start at one end of the scored line and apply downward pressure to cut through the Rockwool insulation. Use a smooth, gentle motion and let the blade do the work. Avoid applying excessive force or sawing motions, as this can lead to uneven or jagged cuts.
- Continue the Cut: Move the straight edge along the scored line, repeating the cutting process until you have cut through the entire length. Take your time and maintain a steady hand for smooth and accurate cuts.
- Multiple Cuts: If your Rockwool insulation requires multiple cuts or complex shapes, repeat the process, scoring and cutting each section individually until you achieve the desired shapes and sizes.
- Double-Check the Cuts: After cutting, inspect the edges to ensure they are clean and straight. Trim any rough or uneven edges using the utility knife, if necessary, for a professional finish.
Remember to take your time while cutting the Rockwool insulation and prioritize safety. If you are working with larger or thicker pieces of insulation, it may be helpful to have someone assist you in holding the straight edge or supporting the insulation during the cutting process.
By following these steps, you will be able to cut the Rockwool insulation accurately and achieve the desired shapes and sizes for your insulation project.
Step 4: Cleaning Up the Cut Pieces
After cutting the Rockwool insulation, it’s important to clean up the cut pieces and any loose fibers to ensure a tidy and safe work area. Cleaning up the debris will also prevent the fibers from becoming airborne and potentially causing respiratory irritation. Follow these steps to clean up the cut pieces:
- Gather the Cut Pieces: Collect all the cut pieces of Rockwool insulation and place them in one location. This will make it easier to handle and dispose of them properly.
- Use a Dustpan and Brush: Using a dustpan and brush, carefully sweep up any loose fibers and small debris from the work area. Be gentle to minimize the disturbance of fibers and avoid creating dust.
- Dispose of the Waste: Seal the collected cut pieces and debris in a sturdy plastic bag or container. This will prevent the fibers from dispersing into the environment. Properly dispose of the bag or container according to local regulations or guidelines for handling construction waste.
- Wash Hands and Equipment: After cleaning up, wash your hands thoroughly with soap and water to remove any remaining fibers. Additionally, clean any tools or equipment used during the cutting process to remove any clinging fibers.
- Inspect the Area: Take a final look at the work area to ensure that it is clean and free from debris. This will help maintain a safe and organized space for any further work or activities.
Properly cleaning up the cut pieces and debris will minimize the risk of fibers becoming airborne and protect yourself and others from potential irritation or inhalation. Dispose of the waste responsibly to ensure environmental sustainability.
By following these steps and maintaining a clean work area, you can complete your Rockwool insulation cutting project with ease and leave behind a tidy workspace.
Conclusion
Cutting Rockwool insulation may seem like a daunting task, but with the right tools, techniques, and safety precautions, it can be easily accomplished. By learning how to measure, score, and cut Rockwool insulation properly, you can ensure precise fitting and achieve optimal thermal and acoustic insulation in your building.
Throughout this guide, we’ve covered the necessary tools and materials needed for cutting Rockwool insulation, as well as the importance of wearing protective equipment and maintaining a clean work area. We discussed the step-by-step process, including measuring and marking the insulation, scoring it to create a guide for cutting, and making clean cuts along the marked lines. Finally, we emphasized the significance of cleaning up the cut pieces and properly disposing of any debris to maintain a safe and tidy work environment.
Remember, safety is of utmost importance when working with Rockwool insulation. Always wear protective gear, ensure proper ventilation, and follow the manufacturer’s instructions for handling the insulation. Take your time during each step, double-check measurements and markings, and use smooth and controlled cutting motions to achieve clean and precise cuts.
Now armed with the knowledge and skills needed to cut Rockwool insulation, you can confidently tackle your insulation projects and enjoy the benefits of improved energy efficiency and acoustic performance in your building. Utilize the information provided in this guide, and you’ll be well on your way to successfully and safely cutting Rockwool insulation for your specific needs.
Good luck with your Rockwool insulation cutting endeavors!
Frequently Asked Questions about How To Cut Rockwool Insulation
Was this page helpful?
At Storables.com, we guarantee accurate and reliable information. Our content, validated by Expert Board Contributors, is crafted following stringent Editorial Policies. We're committed to providing you with well-researched, expert-backed insights for all your informational needs.


0 thoughts on “How To Cut Rockwool Insulation”