
Articles
How To Cut Batt Insulation
Modified: December 7, 2023
Learn how to cut batt insulation in this informative article. Discover tips and techniques for a precise and efficient insulation installation.
(Many of the links in this article redirect to a specific reviewed product. Your purchase of these products through affiliate links helps to generate commission for Storables.com, at no extra cost. Learn more)
Introduction
Welcome to this comprehensive guide on how to cut batt insulation. If you’re planning a home insulation project or need to replace or add insulation to your current space, understanding how to cut batt insulation properly is essential. Batt insulation is a popular choice for homeowners due to its affordability and ease of installation.
In this article, we’ll walk you through the step-by-step process of cutting and installing batt insulation. Whether you’re a seasoned DIY enthusiast or a beginner, this guide is designed to provide you with the knowledge and techniques you need to tackle your insulation project successfully.
Before we dive into the details, let’s first understand what exactly batt insulation is and why it’s an excellent option for insulating your home.
Key Takeaways:
- Master the art of cutting and installing batt insulation with this comprehensive guide. From measuring and marking to sealing gaps, you’ll be equipped to enhance your home’s energy efficiency and comfort.
- Prioritize safety, accuracy, and thoroughness when handling batt insulation. By following the step-by-step process and taking the time to clean up, you’ll achieve professional results and enjoy a well-insulated living space.
Read more: What Is A Batt Of Insulation
What is Batt Insulation?
Batt insulation is a type of insulation material that comes in pre-cut, rectangular panels or rolls. It is made from various materials, such as fiberglass, mineral wool, or natural fibers like cotton or sheep’s wool. Batt insulation is designed to fit standard stud and joist spacing in walls, floors, and attics.
The primary purpose of batt insulation is to restrict the flow of heat, keeping your home warm in the winter and cool in the summer. It works by trapping air within the insulation itself, creating a barrier against heat transfer. This helps maintain a comfortable indoor temperature and can significantly reduce energy consumption.
Batt insulation is known for its ease of installation, making it a popular choice for DIY projects. The panels or rolls can be easily cut to fit into the desired space, providing a snug and effective insulation solution. Additionally, batt insulation is relatively affordable compared to other insulation options, making it a cost-effective choice for many homeowners.
One essential factor to consider when choosing batt insulation is its R-value. R-value measures the insulation’s resistance to heat flow, with higher values indicating better insulation performance. The R-value required for your project will depend on several factors, including your climate zone and the desired level of energy efficiency.
Overall, batt insulation offers a practical and accessible option for homeowners looking to improve their home’s energy efficiency and comfort. Now that we have an understanding of what batt insulation is, let’s move on to the tools and materials you’ll need to get started with cutting and installing it.
Tools and Materials Needed
Before you start cutting batt insulation, make sure you have the following tools and materials on hand:
- Razor knife or insulation knife: A sharp knife is essential for cutting through the batt insulation material. An insulation knife is designed specifically for this purpose, but a standard razor knife will work as well.
- Straightedge or T-square: A straightedge or T-square will help you to make straight, accurate cuts in the insulation.
- Measuring tape or ruler: You’ll need a measuring tape or ruler to measure the dimensions of the space where you’ll be installing the insulation.
- Safety goggles: Insulation materials can release small particles or fibers that can irritate your eyes, so it’s important to wear safety goggles for protection.
- Protective gloves: Insulation materials can be itchy or irritate the skin, so wearing protective gloves will help prevent any discomfort.
- Dust mask or respirator: To protect yourself from inhaling particles from the insulation material, wear a dust mask or respirator.
- Duct tape or insulation tape: Duct tape or insulation tape will come in handy for sealing any gaps or tears in the insulation.
Once you have gathered these tools and materials, you’ll be well-prepared to start cutting and installing batt insulation in your home. In the next section, we’ll guide you through the step-by-step process of measuring and marking the insulation. Let’s get started!
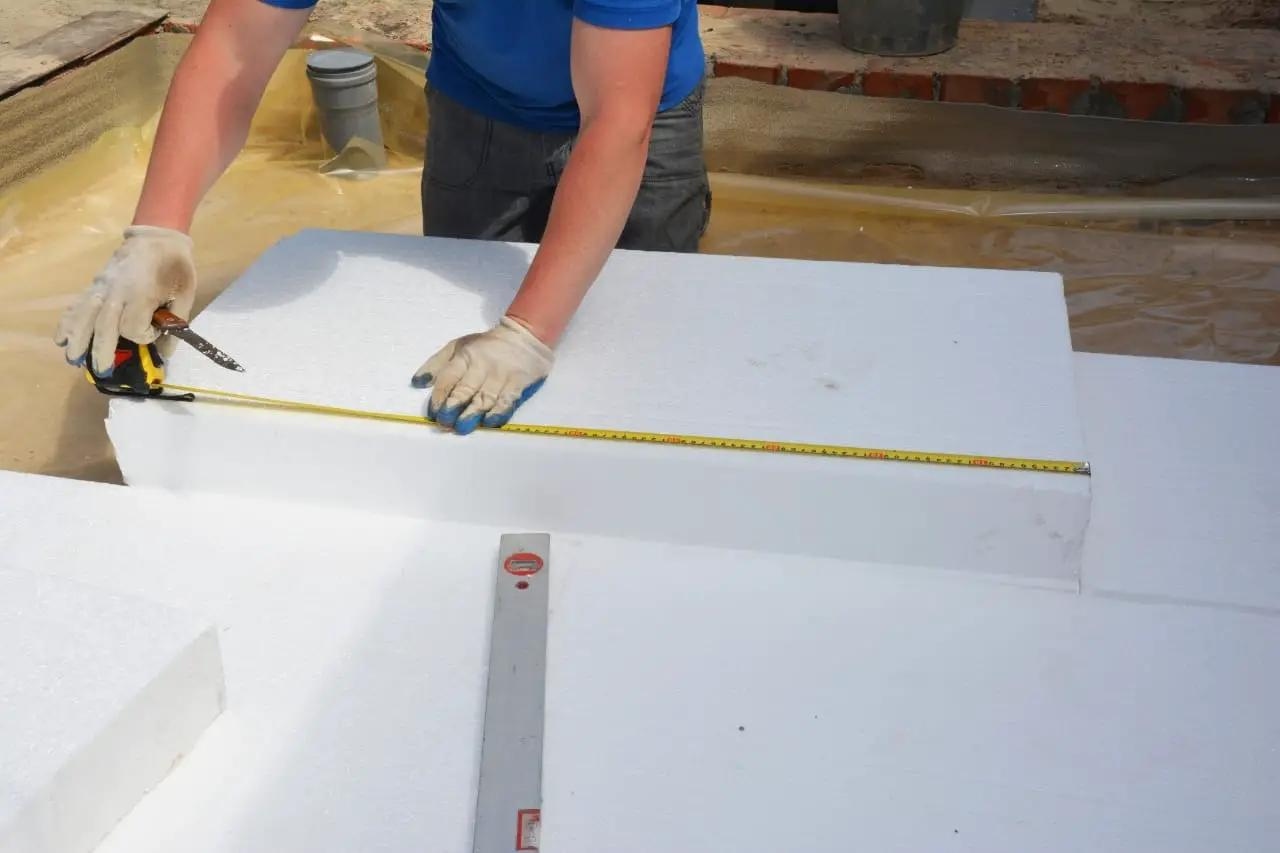
Step 1: Measure and Mark
Before cutting batt insulation, it’s crucial to accurately measure the space where it will be installed. This ensures that you cut the insulation to the correct size, maximizing its effectiveness. Follow these steps to measure and mark the insulation:
- Start by measuring the length and width of the area where you plan to install the batt insulation. Use a measuring tape or ruler to get the precise dimensions.
- Transfer the measurements onto the insulation material. If you’re using a roll of batt insulation, unroll it and mark the measurements using a straightedge or T-square. If you’re working with pre-cut panels, use a ruler or tape measure to mark the appropriate dimensions.
- Make sure to leave a little extra insulation material around the edges to ensure a snug fit. This will help prevent any gaps or heat transfer.
- If you’re cutting multiple pieces of insulation, mark each piece individually to avoid any confusion.
- Double-check your measurements and markings to ensure accuracy before proceeding to the next step.
By carefully measuring and marking the batt insulation, you’ll be setting yourself up for a successful installation process. Accurate measurements will result in a tight fit, maximizing the insulation’s effectiveness and energy efficiency benefits. Once you’ve completed this step, it’s time to gather the necessary safety gear for handling the insulation. We’ll cover that in the next section.
Step 2: Gather Safety Gear
Before you begin handling batt insulation, it’s essential to prioritize your safety. Insulation materials can release small particles or fibers that can irritate your skin, eyes, and respiratory system. To protect yourself, gather the following safety gear:
- Safety goggles: Wear safety goggles to shield your eyes from any particles or fibers that may become airborne while working with the insulation.
- Protective gloves: Insulation materials can be itchy or irritate the skin, so wearing protective gloves will help prevent any discomfort.
- Dust mask or respirator: To avoid inhaling particles from the insulation, especially if you’re cutting it in a confined space, wear a dust mask or respirator that is suitable for handling airborne particles.
- Long-sleeved shirt and pants: Cover exposed skin with long-sleeved clothing and pants to minimize direct contact with the insulation material.
By wearing the appropriate safety gear, you can minimize the risk of irritation or allergic reactions to the insulation. It’s crucial to prioritize your health and well-being during the entire insulation installation process.
Once you have gathered the necessary safety gear, you are ready to move on to the next step, which involves preparing the work area. We’ll cover that in detail in the following section.
Read more: How Many Batts Are In A Bag Of Insulation
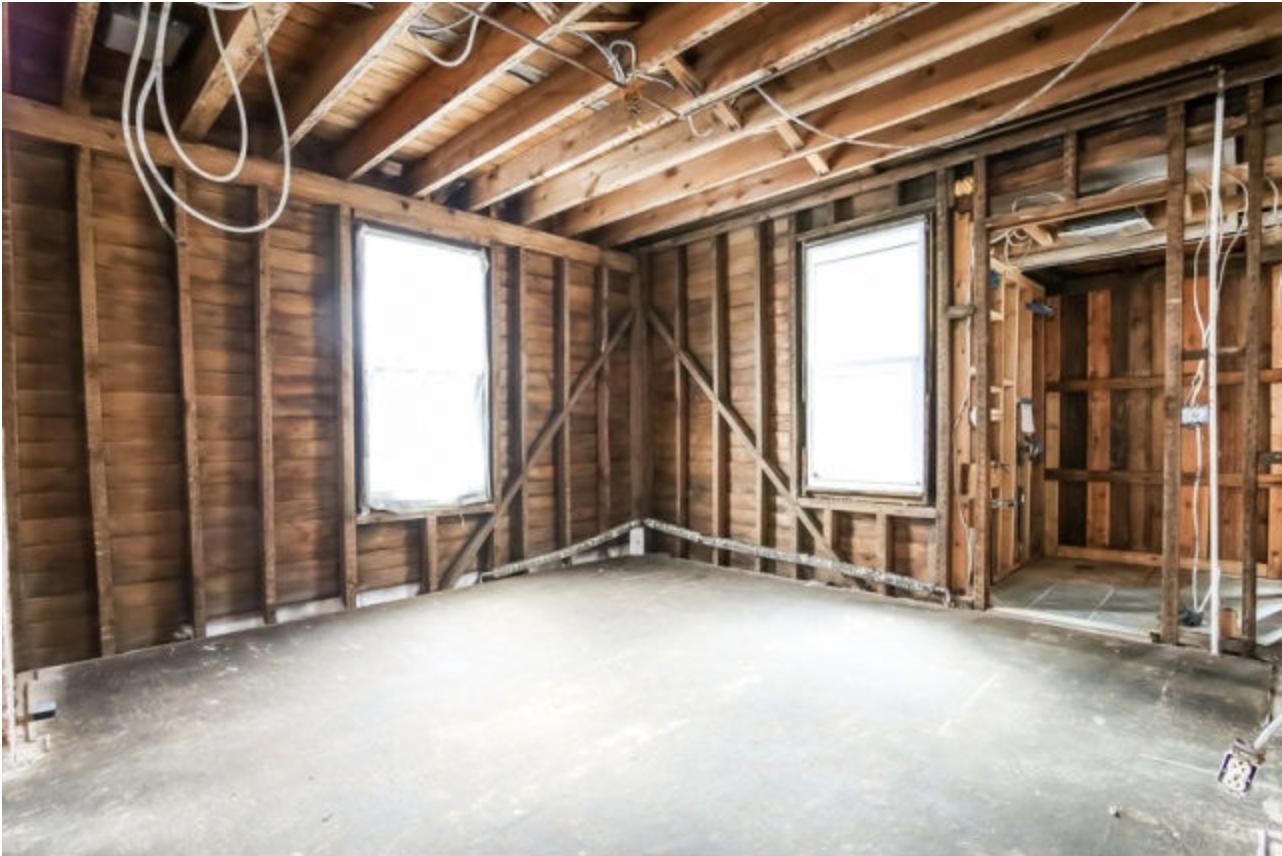
Step 3: Prepare the Work Area
Before you start cutting and installing batt insulation, it’s important to properly prepare the work area. This will ensure a safe and efficient installation process. Follow these steps to prepare the work area:
- Clean the area: Clear any obstructions or debris from the space where you’ll be installing the insulation. Remove any nails or sharp objects that could potentially damage the insulation.
- Ensure proper ventilation: If you’re working in an enclosed or poorly ventilated area, open windows or use fans to improve air circulation. This will help dissipate any dust or particles that may be released during the insulation process.
- Protect nearby objects: Cover any furniture, fixtures, or items in the vicinity with drop cloths or plastic sheets to prevent them from getting dirty or damaged by the insulation material.
- Secure loose wires or cables: If there are any electrical wires or cables in the work area, secure them or move them out of the way to avoid accidentally cutting or damaging them during insulation installation.
- Turn off electrical power: If you’re working near electrical outlets or fixtures, consider turning off the power to those areas for added safety. This will help prevent any accidental electrical shocks or hazards.
By taking the time to properly prepare the work area, you’ll create a more organized and safe environment for the insulation installation. Once the work area is ready, you can move on to the next step: cutting the batt insulation. We’ll guide you through that process in the following section.
When cutting batt insulation, use a straight edge and a sharp utility knife to ensure clean and precise cuts. Measure carefully and make sure to wear protective gear to avoid irritation from the fibers.
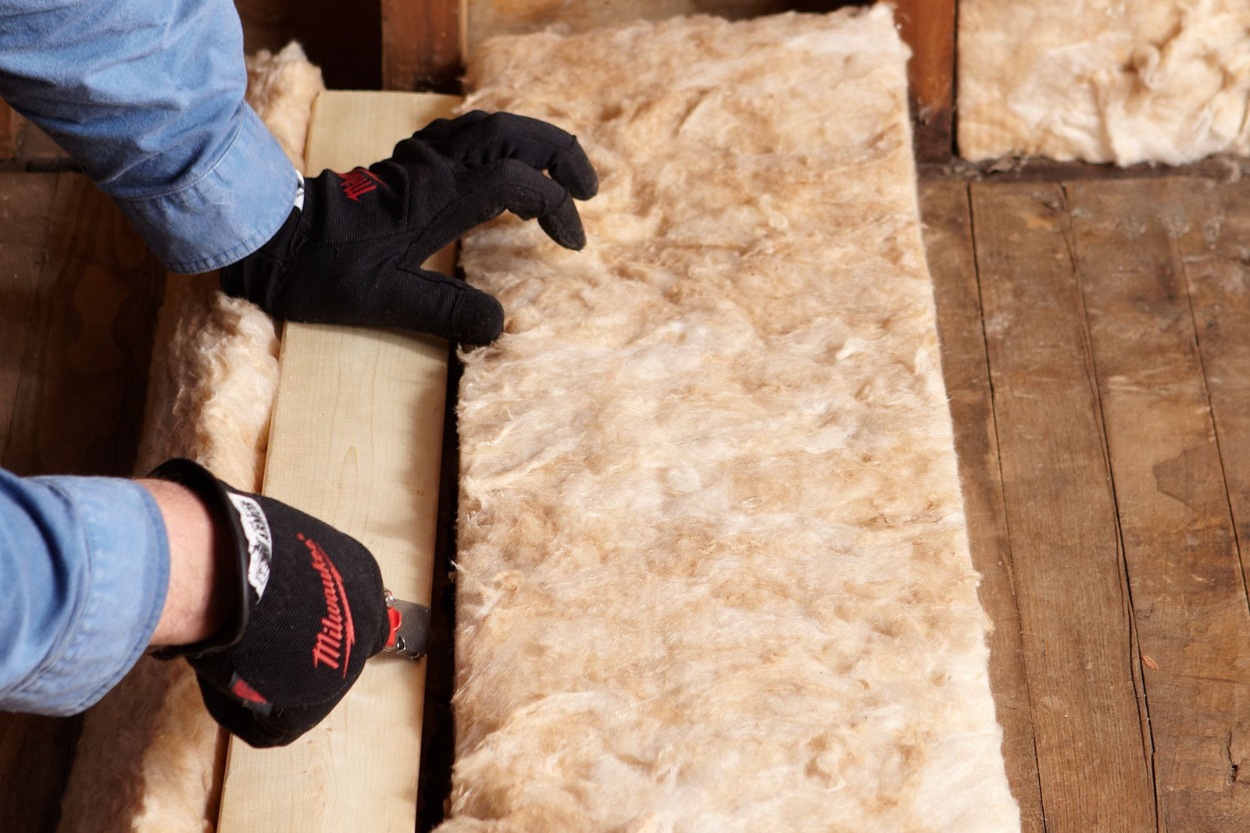
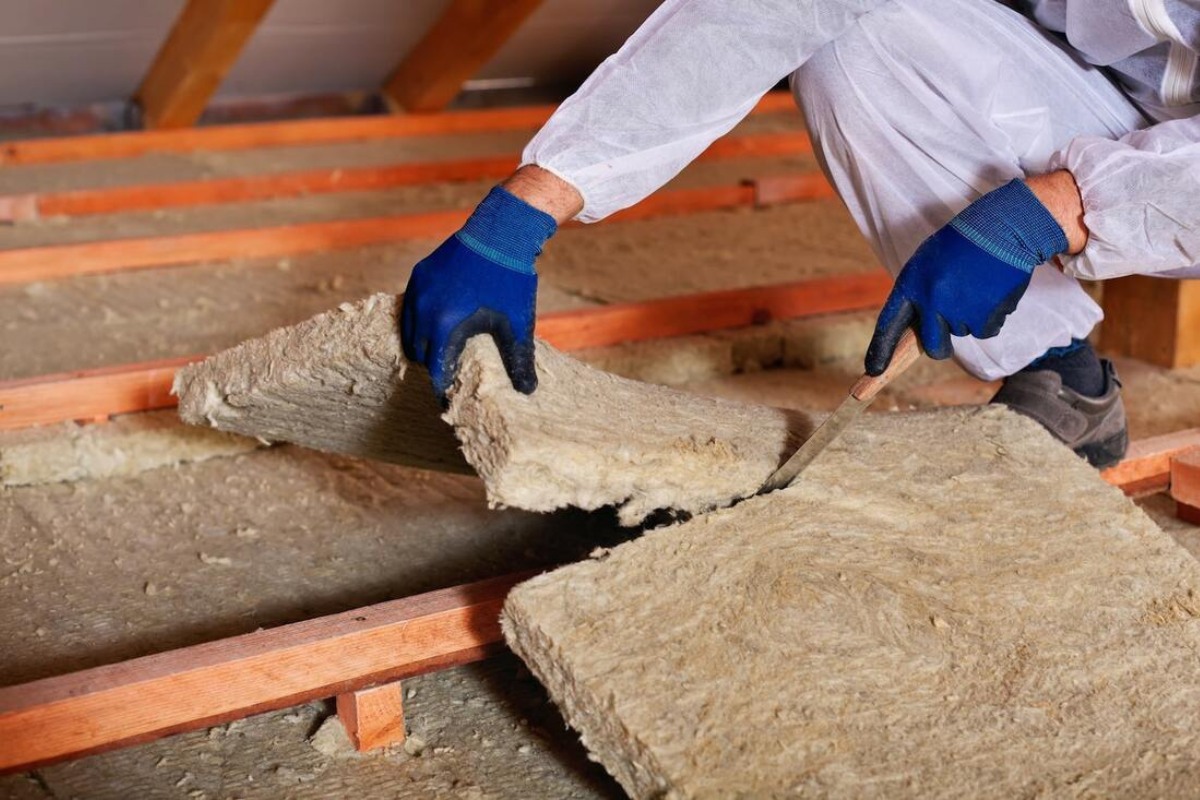
Step 4: Cut the Batt Insulation
Now that you have measured the space, gathered the necessary tools, and prepared the work area, it’s time to start cutting the batt insulation. Follow these steps to cut the insulation to the appropriate size:
- Put on your safety gear: Before handling the insulation, put on your safety goggles, protective gloves, and dust mask or respirator.
- Retrieve the marked insulation material: Take the batt insulation material that you previously measured and marked.
- Position the insulation: Lay the insulation material flat on a clean, sturdy surface, ensuring it is free from any wrinkles or folds.
- Use a straightedge or T-square: Place a straightedge or T-square along the marked lines of the insulation material. This will help you achieve precise and straight cuts.
- Make the cuts: With the straightedge as your guide, use a razor knife or insulation knife to carefully cut through the insulation material along the marked lines. Apply firm, steady pressure to avoid tearing or damaging the insulation.
- Repeat the process: If you need to cut multiple pieces of insulation, follow the same steps for each piece, ensuring accurate measurements and straight cuts.
- Clean up any excess material: Once you’ve finished cutting the insulation, remove any excess or unneeded material and dispose of it properly.
Remember to take your time and exercise caution when cutting the batt insulation. Accurate cuts will ensure a proper fit and maximize the insulation’s effectiveness. With the insulation cut and ready for installation, it’s time to move on to the next step: installing the insulation. We’ll guide you through the process in the following section.
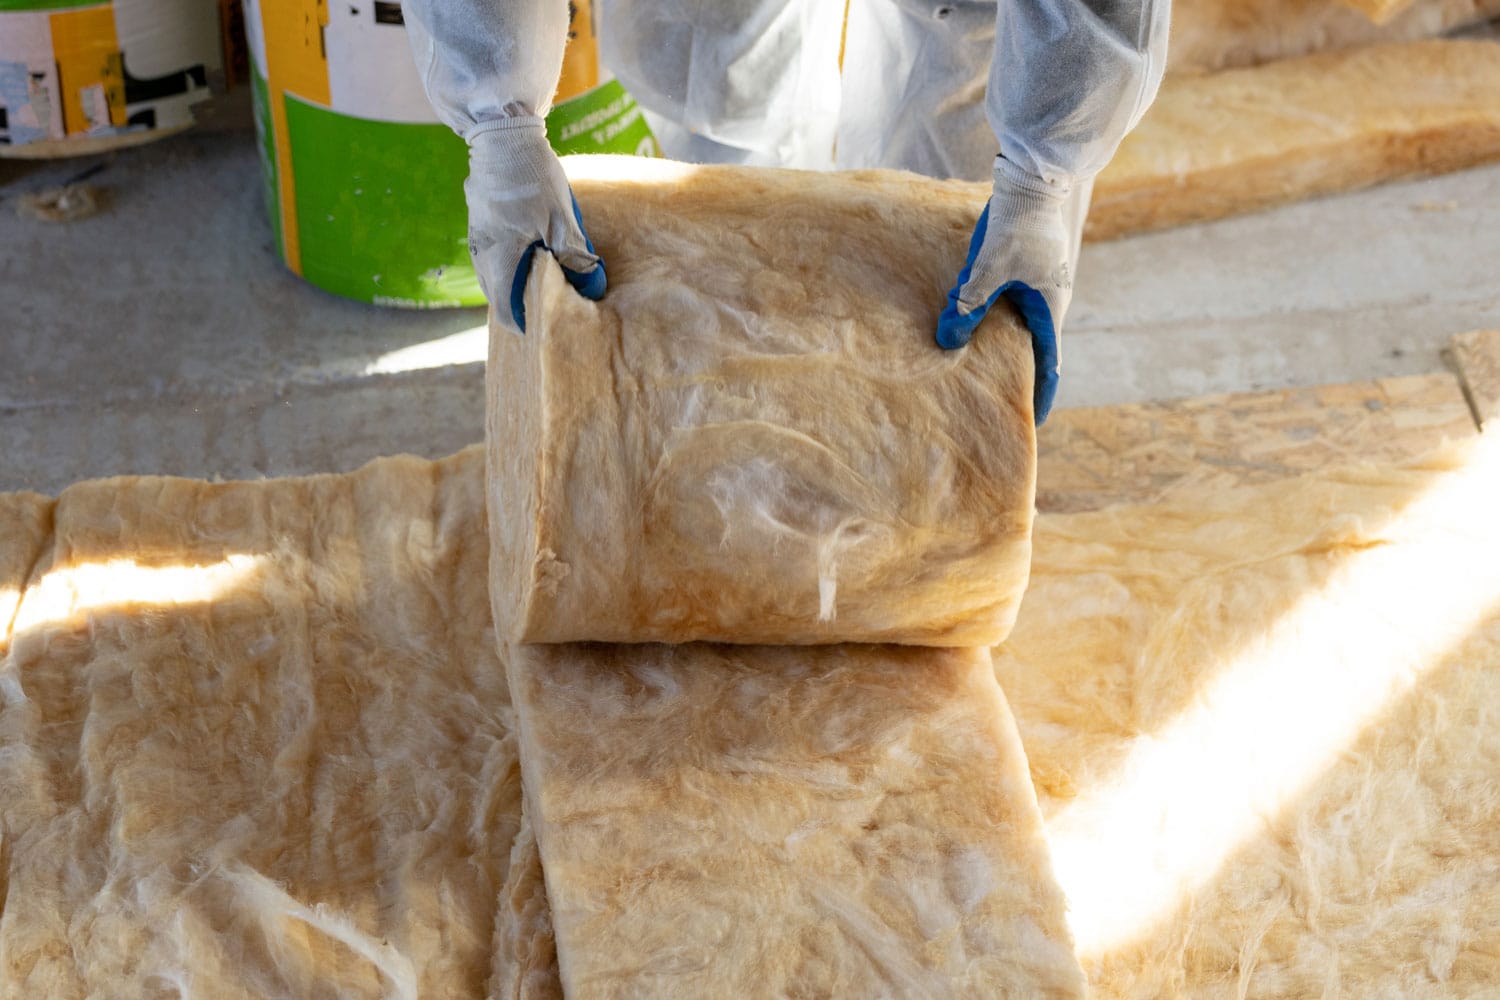
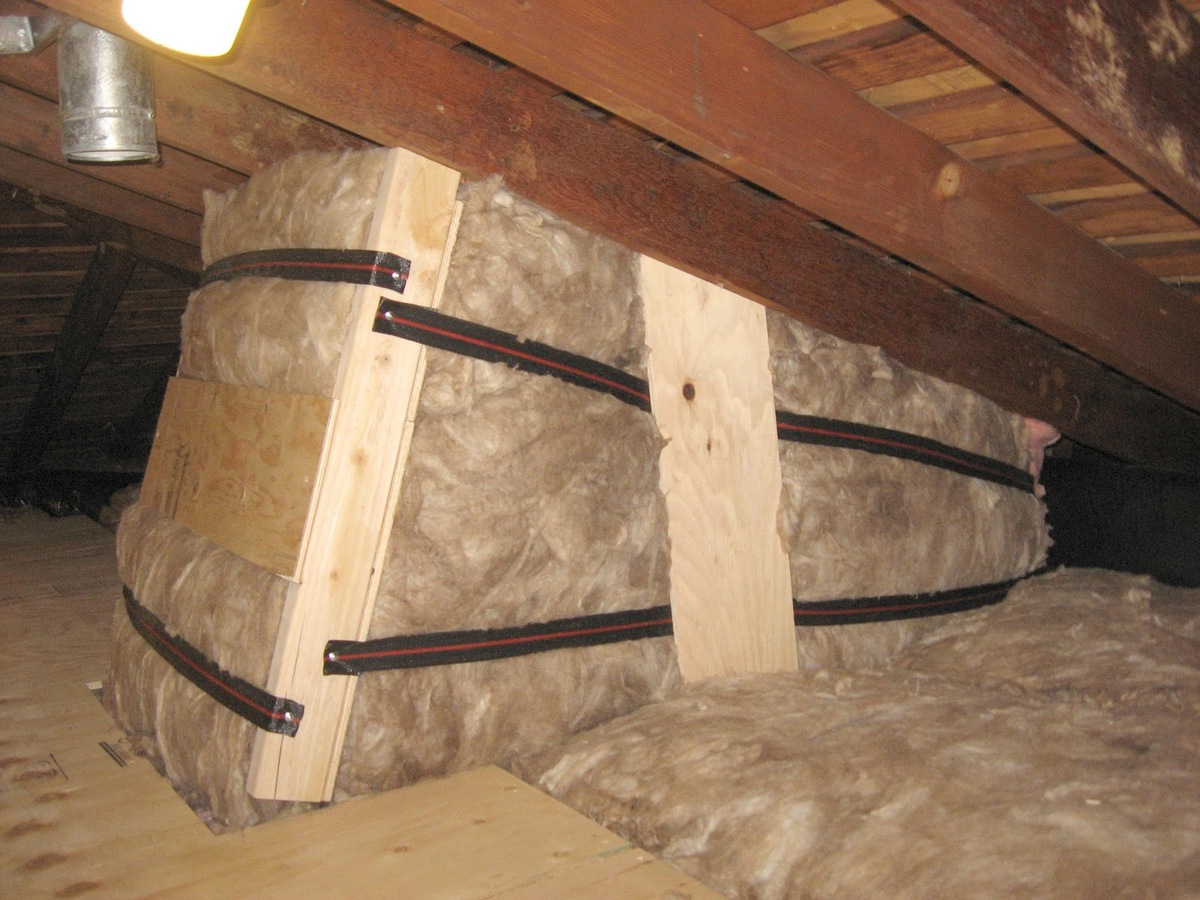
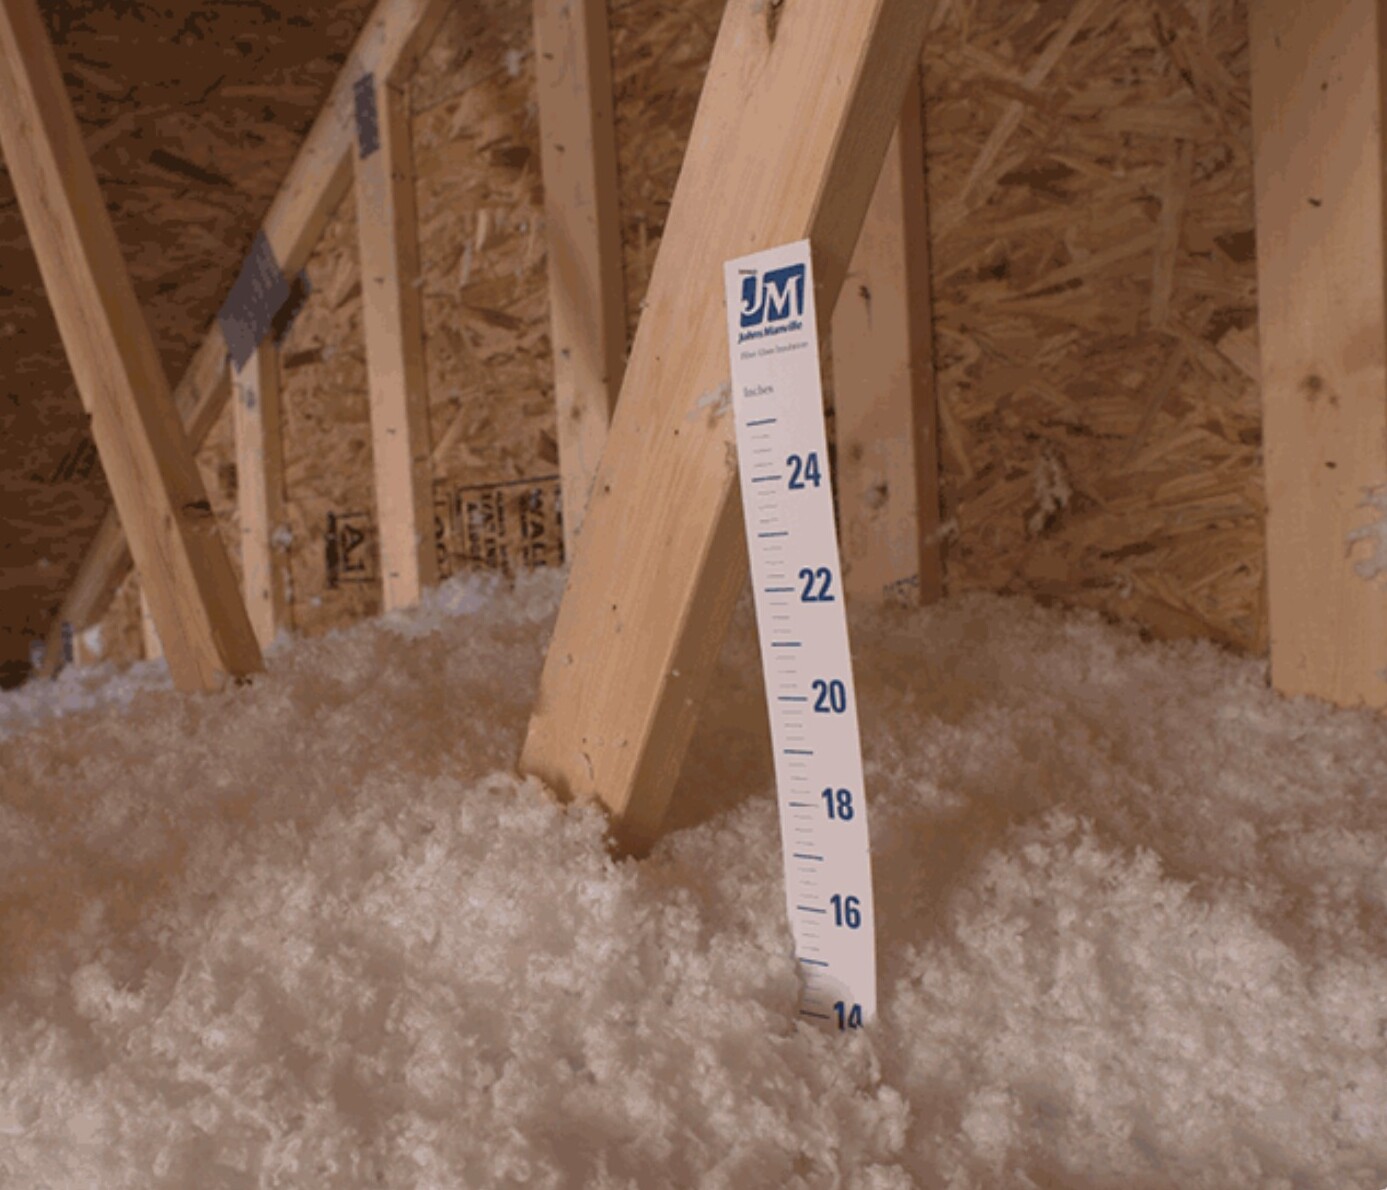
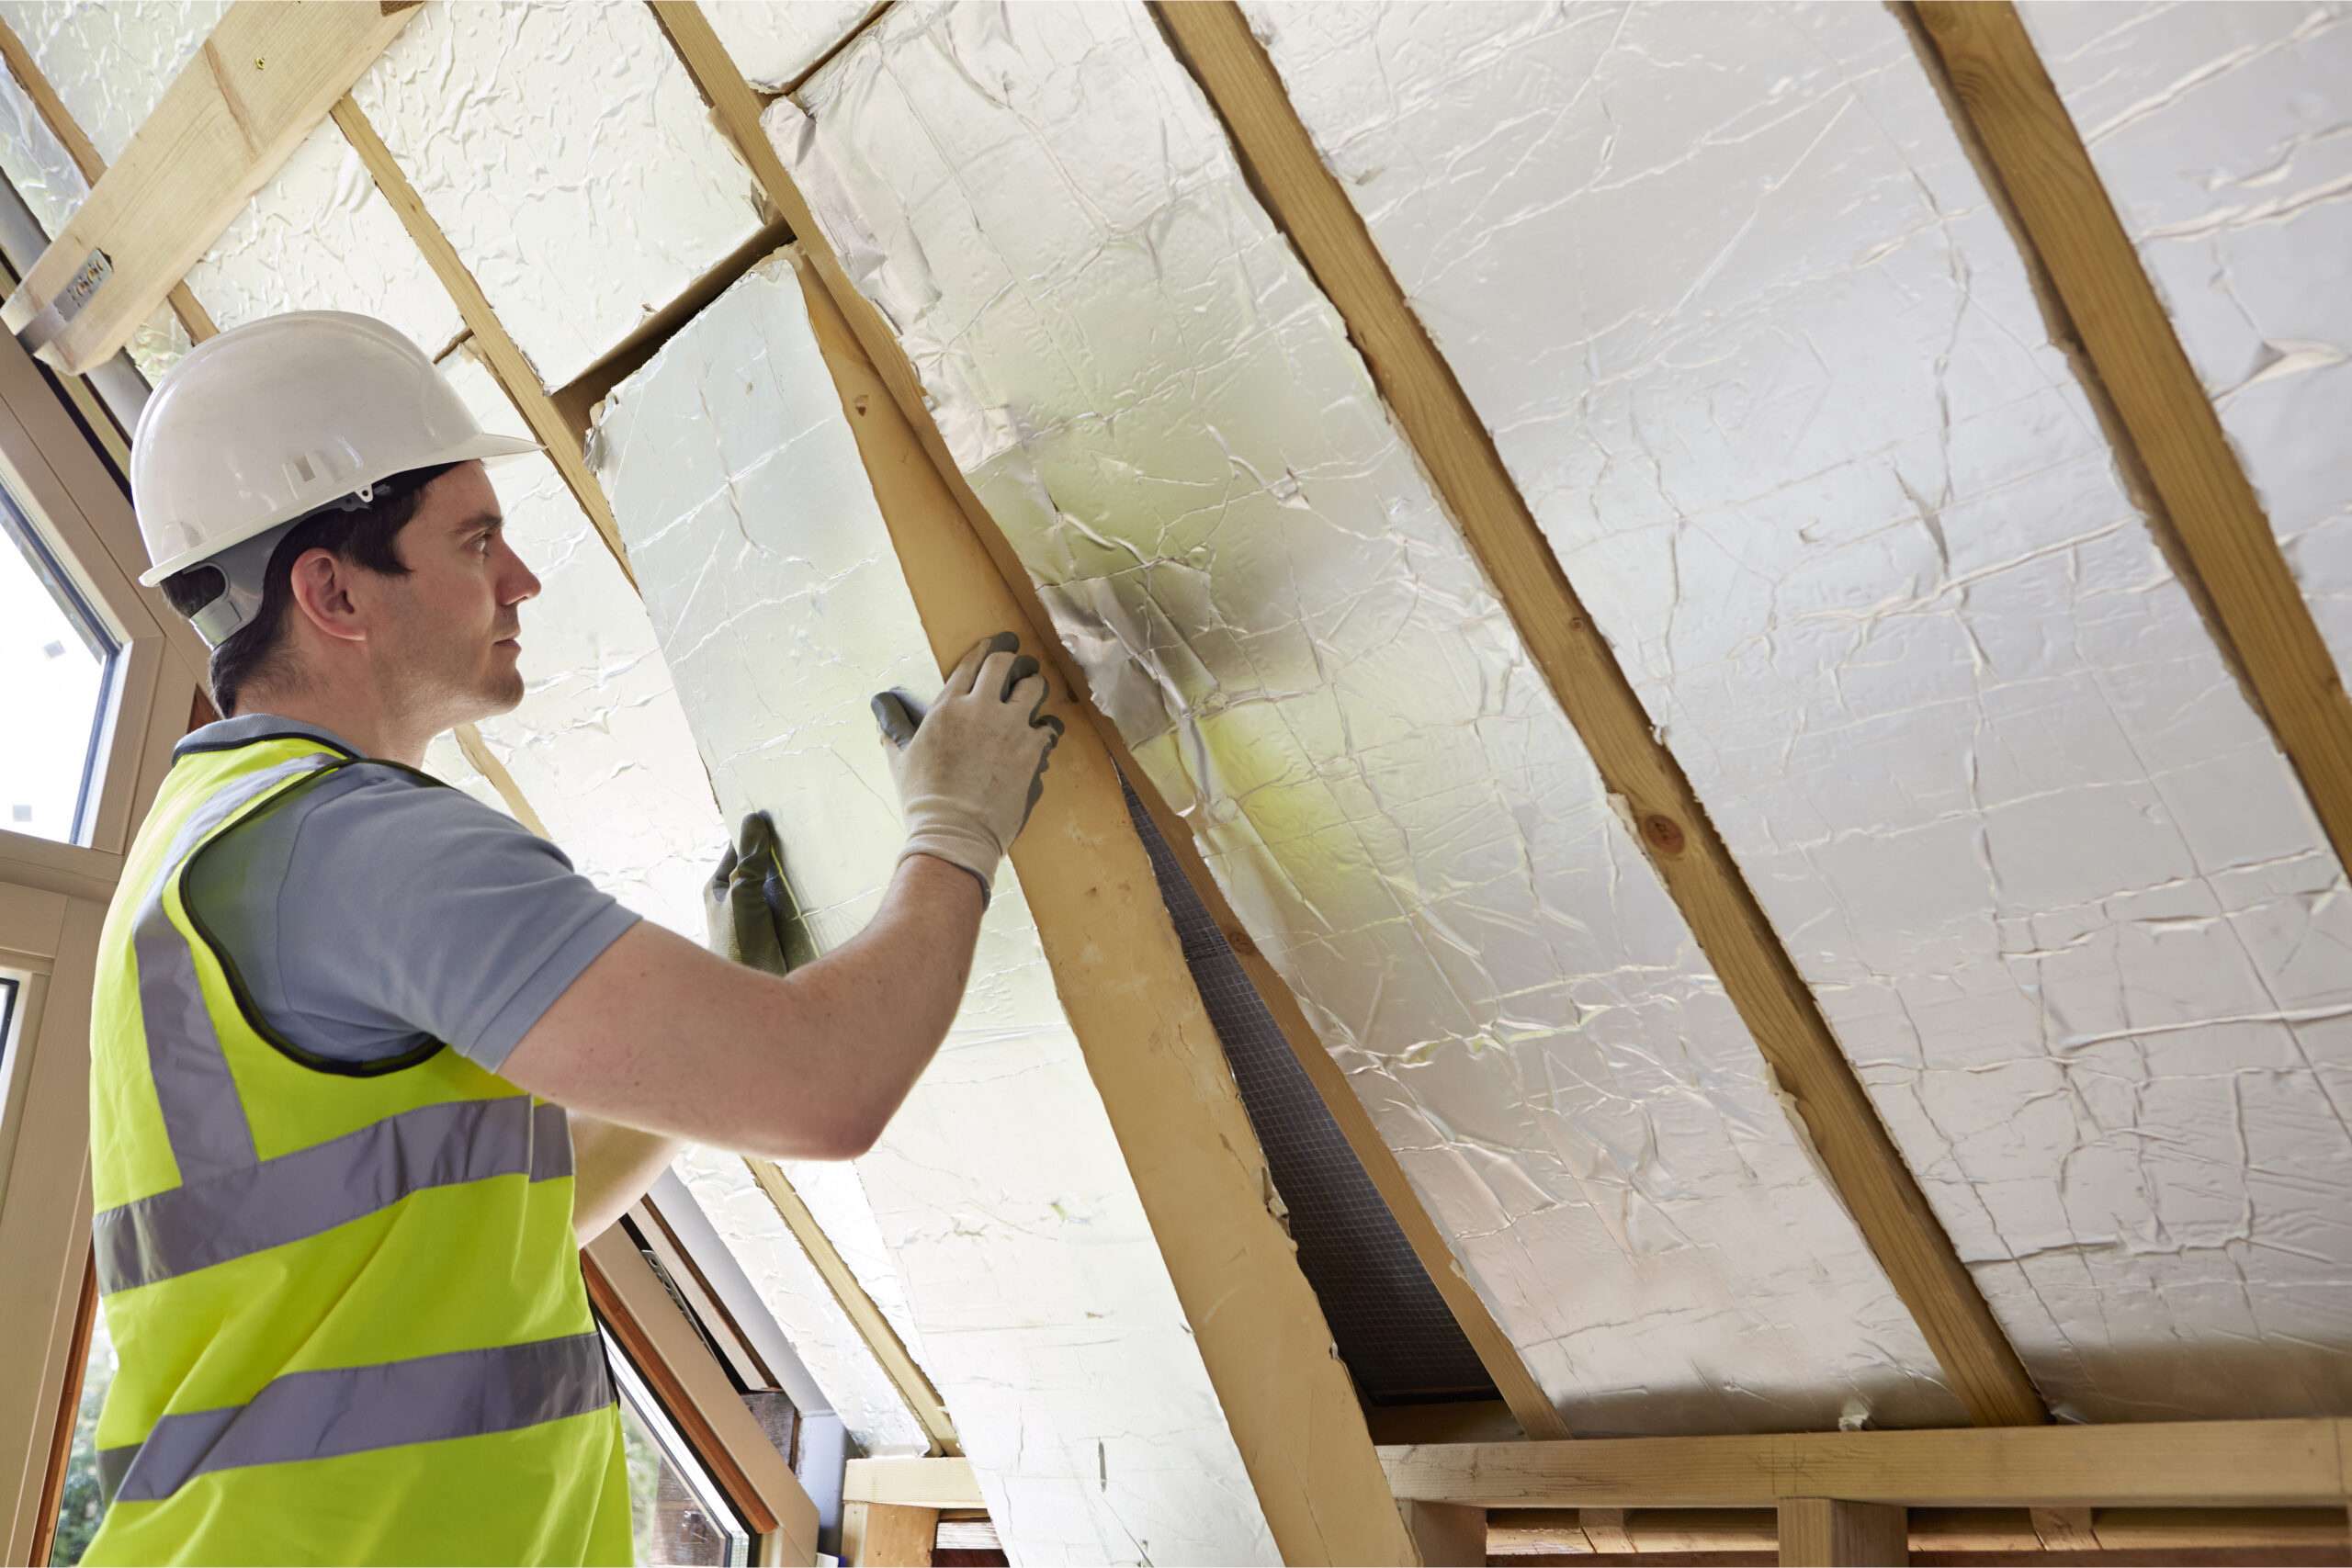
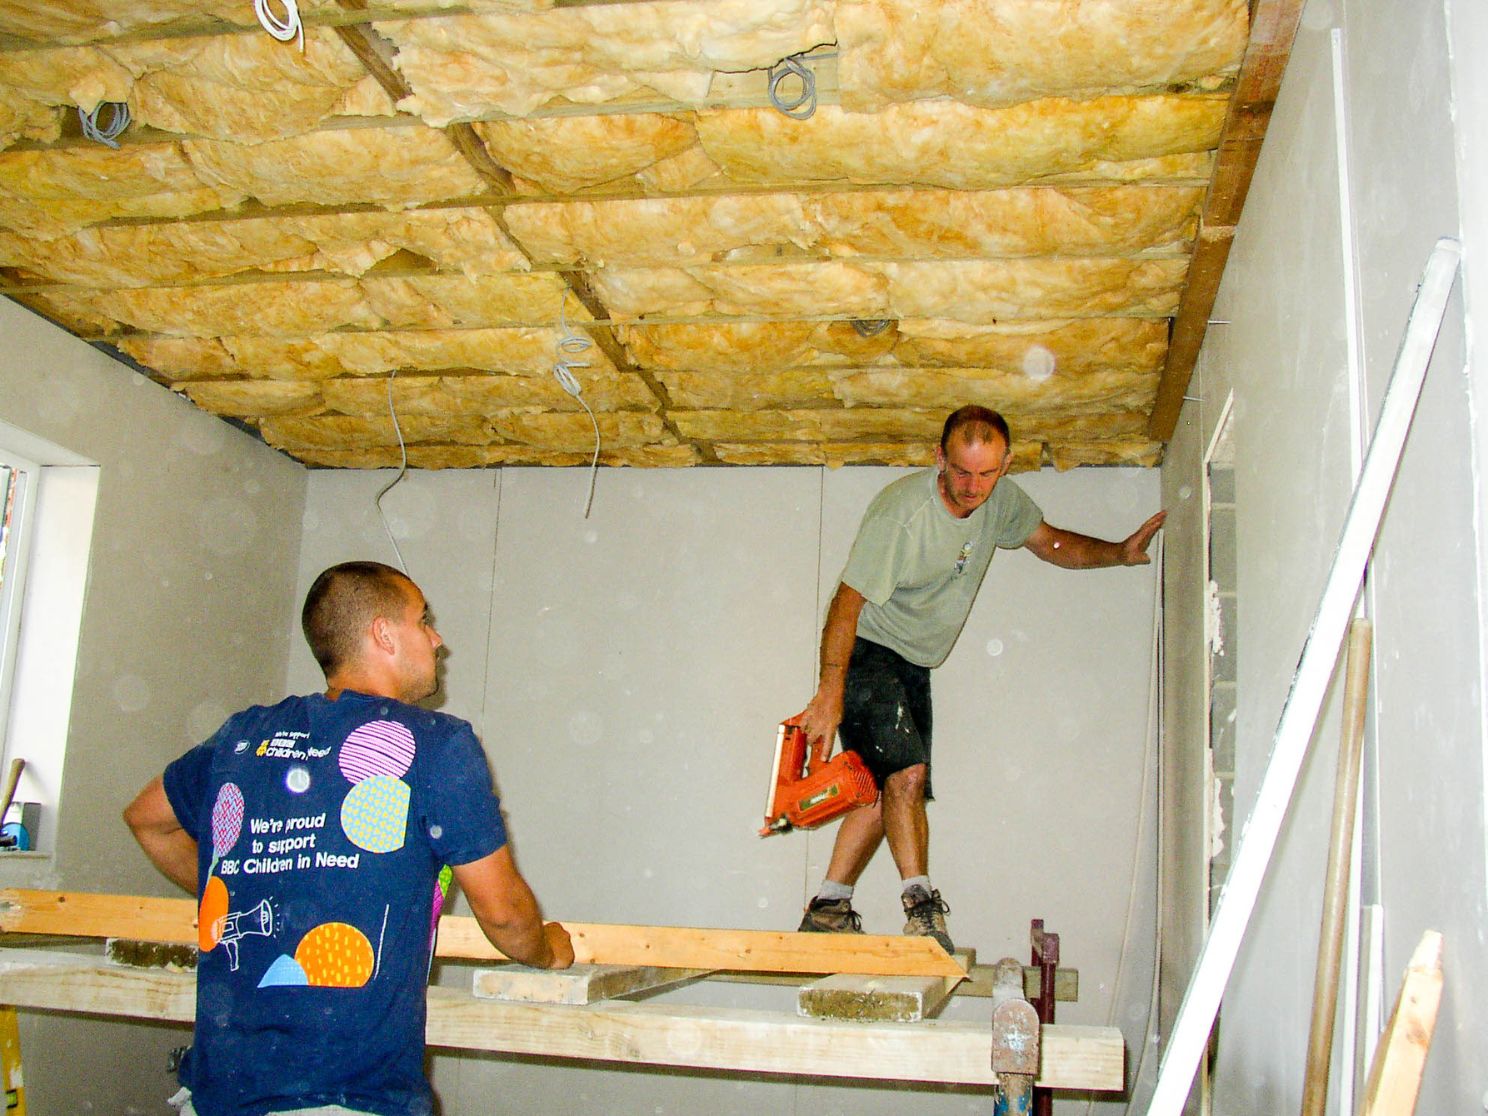
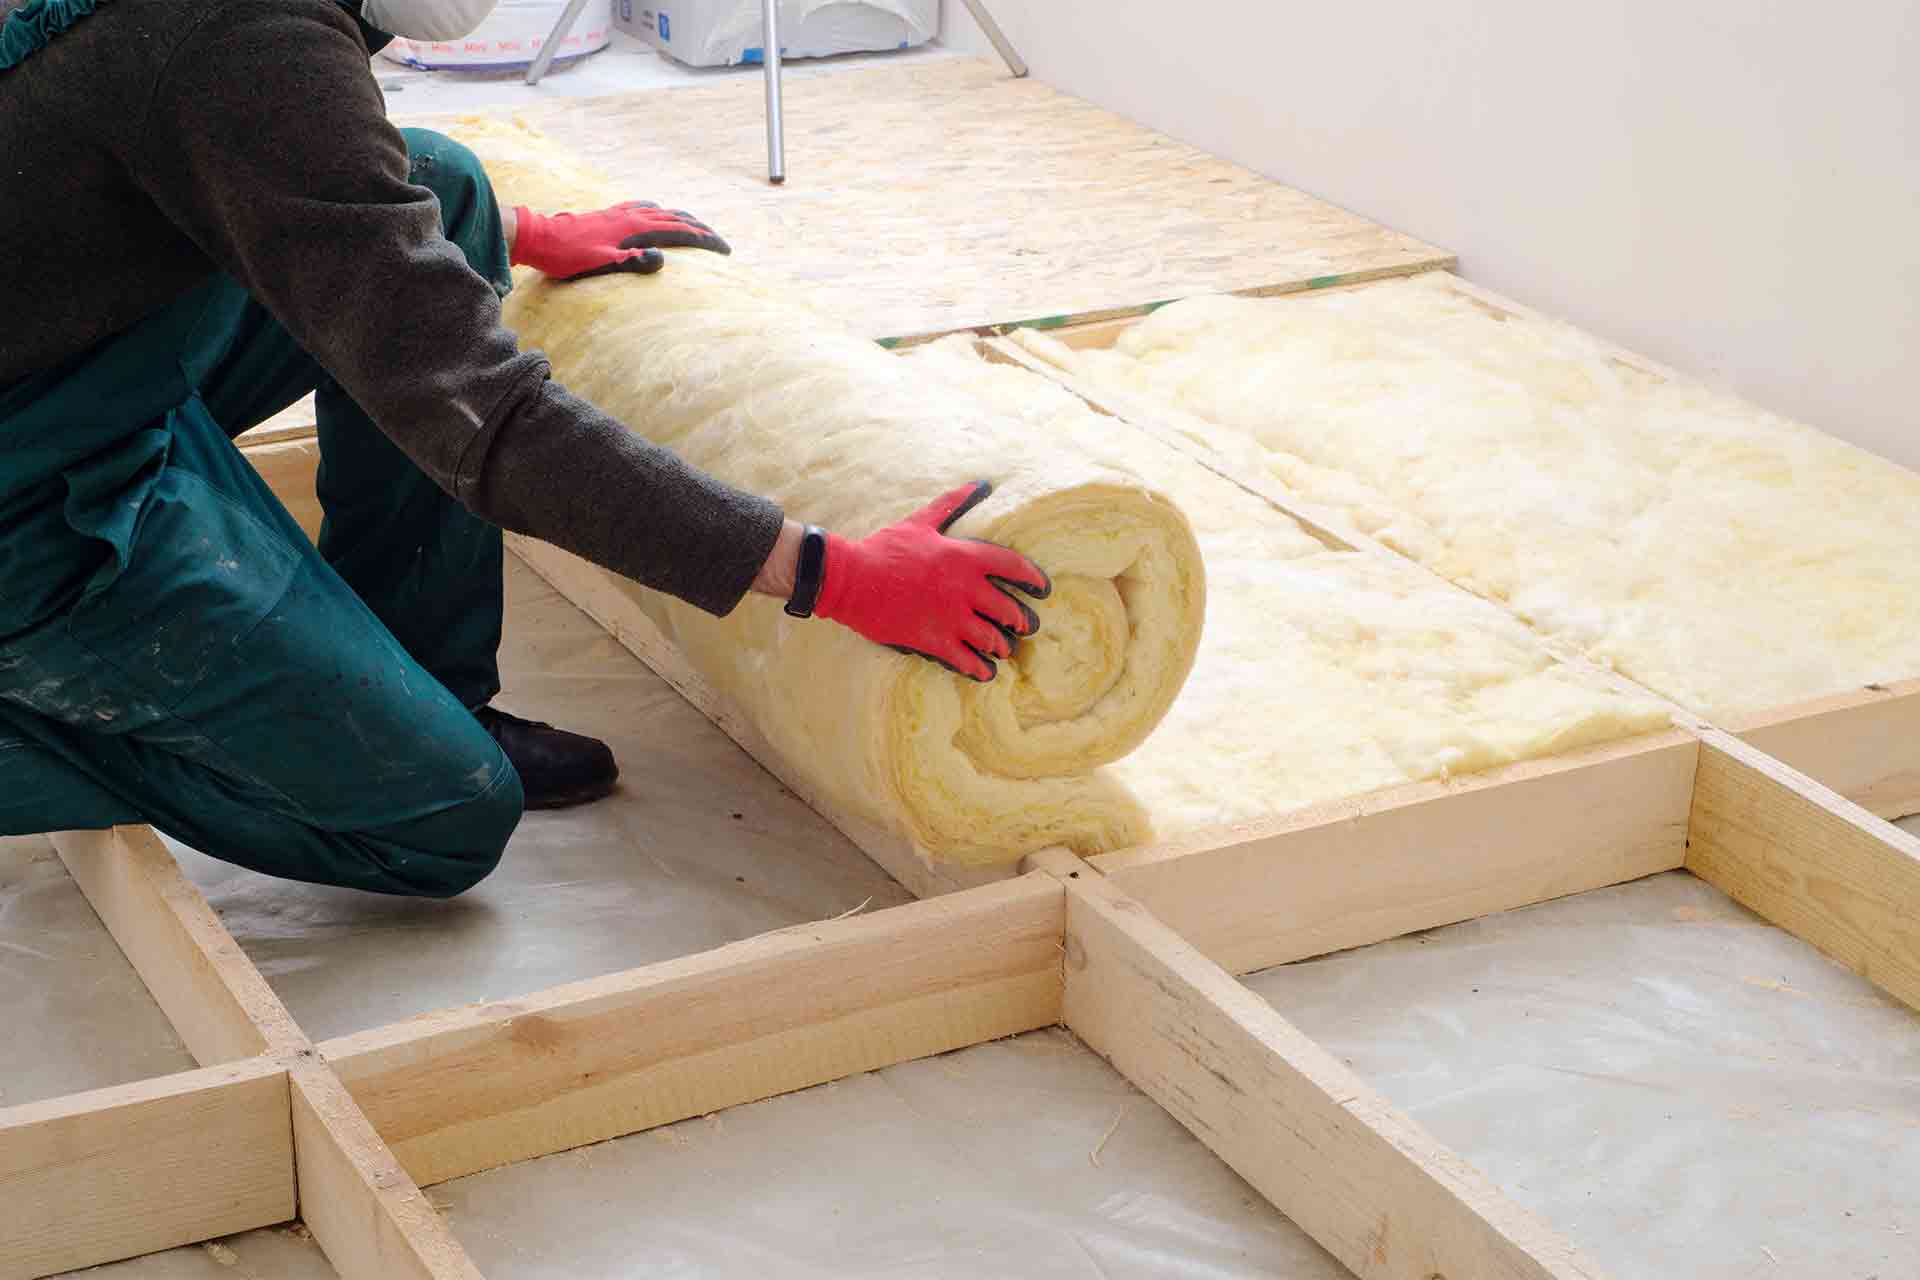
Step 5: Install the Insulation
With the batt insulation cut to the desired size, it’s time to move on to the installation process. Follow these steps to properly install the insulation:
- Position the insulation: Take the cut piece of insulation and position it in the appropriate area, whether it’s a wall, floor, or attic space. Make sure it fits tightly and covers the intended area.
- Push or secure the insulation: Depending on the type of insulation material and the specific location, you may need to push the insulation into place or secure it using staples or insulation supports. Follow the manufacturer’s instructions for the proper installation method.
- Continue installing additional pieces: If you have multiple pieces of insulation to install, repeat the process of positioning and securing each piece until the entire space is insulated.
- Pay attention to corners and edges: Ensure that the insulation is properly fitted into corners and edges to eliminate any gaps where air could leak through.
- Maintain proper clearances: Be mindful of clearances around vents, electrical fixtures, and other openings, ensuring that the insulation does not obstruct or cover them.
- Double-check the installation: Once all the insulation is in place, take a step back and inspect the installation to ensure there are no gaps, tears, or areas of incomplete coverage.
Proper installation of the batt insulation is crucial for achieving maximum energy efficiency and insulation performance. Take your time during this step to ensure a thorough and well-installed insulation layer. In the next step, we’ll discuss how to seal any gaps that may be present. Let’s continue!
Step 6: Seal Any Gaps
After installing the batt insulation, it’s important to check for any gaps or areas that may have been missed during the installation process. Sealing these gaps is essential to prevent air leakage and maintain the insulation’s effectiveness. Follow these steps to seal any gaps in the insulation:
- Inspect the installed insulation: Take a close look at the installed batt insulation, paying attention to corners, edges, and any areas where gaps may be present.
- Identify gaps or areas of concern: Look for any areas where the insulation may not be fitting tightly against the surface or where there may be small openings between the insulation pieces.
- Use insulation tape or duct tape: If you find any gaps or areas of concern, use insulation tape or duct tape to seal them. Cut small strips of tape and place them over the gaps, pressing down firmly to ensure a secure seal.
- Address larger gaps or openings: For larger gaps or openings, you may need to use additional insulation material to fill the space. Cut a suitable-sized piece of insulation and fit it snugly into the gap or opening.
- Check for airtightness: Once you’ve sealed all the gaps, run your hand along the insulation to ensure there are no noticeable drafts or air leaks. Make any necessary adjustments or additional sealing as needed.
Sealing any gaps in the insulation is vital for maintaining thermal efficiency and preventing heat loss or air infiltration. By taking the time to address any gaps, you’ll optimize the insulation’s performance and enhance energy savings in your home. In the final step, we’ll discuss the importance of cleaning up the work area. Let’s move on!
Read more: How Much Batt Insulation Do I Need
Step 7: Clean Up
Once you have completed the installation and sealing of the batt insulation, it’s important to take the time to clean up the work area. Keeping the space tidy and removing any debris will not only improve safety but also ensure a finished and professional look. Follow these steps for proper clean-up:
- Dispose of waste materials: Collect and dispose of any excess insulation material, trimmings, packaging, or other waste materials in a responsible manner. Check with your local waste disposal guidelines for proper disposal methods.
- Remove protective coverings: If you placed drop cloths or plastic sheets to protect nearby objects, carefully remove them now. Dispose of any debris that may have gathered on them.
- Sweep or vacuum the area: Use a broom or vacuum cleaner to remove any dust, dirt, or loose particles from the work area. Pay attention to corners, edges, and hard-to-reach areas.
- Clean up tools and equipment: Wipe down and clean any tools or equipment used during the insulation installation process. Store them properly for future use.
- Inspect the area for any missed debris: Take a final look at the work area to ensure there are no overlooked debris or remnants. Remove any remaining materials or clean as needed.
Taking the time to properly clean up the work area not only promotes a safe environment but also allows you to appreciate the results of your hard work. By following these clean-up steps, you’ll leave the space clean and ready for use.
Congratulations! You have successfully completed the seven steps of cutting and installing batt insulation. By following this guide, you have equipped yourself with the knowledge and techniques necessary to enhance the energy efficiency and comfort of your home. Enjoy the benefits of a well-insulated living space!
Wasn’t that a helpful guide? Now you can confidently tackle your batt insulation project and achieve excellent results. Remember, proper insulation is key to maintaining a comfortable home and reducing energy consumption. Good luck with your insulation installation!
Conclusion
Cutting and installing batt insulation is a practical and cost-effective way to improve the energy efficiency and comfort of your home. By following the step-by-step process outlined in this guide, you have gained the knowledge and skills necessary to successfully complete your insulation project.
Throughout this guide, we discussed what batt insulation is and why it is a popular choice for homeowners. We also covered the tools and materials needed for the project, as well as the importance of accurately measuring and marking the insulation. We then moved on to preparing the work area, gathering the necessary safety gear, and cutting the insulation to the appropriate size.
The installation process was thoroughly explained, emphasizing the importance of positioning and securing the insulation properly. We also highlighted the need to seal any gaps in the insulation to ensure optimal energy efficiency. Finally, we discussed the significance of cleaning up the work area to maintain a safe and professional space.
By following these steps and taking the time to complete each task carefully, you can confidently install batt insulation in your home, creating a more energy-efficient and comfortable living environment. Proper insulation not only helps to regulate indoor temperature and reduce energy consumption but also contributes to cost savings in the long run.
Remember, if you have any doubts or encounter specific challenges during your insulation project, it’s always a good idea to consult with professionals or seek expert advice. They can provide guidance tailored to your unique circumstances and ensure the best possible outcome.
Thank you for using this comprehensive guide on how to cut batt insulation. We hope the information provided has been helpful and empowering. Enjoy the benefits of a well-insulated home and the energy savings that follow!
Frequently Asked Questions about How To Cut Batt Insulation
Was this page helpful?
At Storables.com, we guarantee accurate and reliable information. Our content, validated by Expert Board Contributors, is crafted following stringent Editorial Policies. We're committed to providing you with well-researched, expert-backed insights for all your informational needs.


0 thoughts on “How To Cut Batt Insulation”