
Articles
How To Decorate Boxes
Modified: September 2, 2024
Discover creative ways to decorate and organize your craft storage with our helpful tips and ideas. Transform plain boxes into stylish storage solutions![CRAFT STORAGE]
(Many of the links in this article redirect to a specific reviewed product. Your purchase of these products through affiliate links helps to generate commission for Storables.com, at no extra cost. Learn more)
Introduction
Are you looking to add a personal touch to your gift-giving or home decor? Decorating boxes is a fantastic way to unleash your creativity and create customized pieces that are both functional and visually appealing. Whether you want to create unique gift boxes, storage containers, or decorative accents for your home, this article will guide you through the process of transforming ordinary boxes into extraordinary works of art.
Choosing the right box is the first step in the decorating process. Consider the purpose and size of the box, as well as the material it is made of. Cardboard, wooden, or plastic boxes are all suitable options for decoration. Cardboard boxes are great for lightweight projects, while wooden boxes provide a sturdy base for more intricate designs. Plastic boxes are ideal for projects that require water resistance.
Once you have chosen your box, gather the necessary materials. This will depend on the decoration technique you plan to use. Common materials include paint, brushes, stencils, decoupage glue, wrapping paper, fabric, ribbons, bows, buttons, and charms. Make sure you have all the materials you need before you start decorating.
Before applying any decorative elements, it’s important to prepare the box. Clean the surface of the box to remove any dust or debris, and sand wooden boxes to create a smooth texture. If you are working with a cardboard box, reinforce its structure by adding an extra layer of cardboard on the inside.
Now, let’s dive into the different decorating techniques you can use to transform your box. Painting is a versatile technique that allows you to completely change the look of the box. Choose colors that match your desired theme or color scheme, and apply the paint evenly using a brush or roller. You can also experiment with different paint finishes, such as matte, glossy, or metallic, to add dimension to your design.
Stenciling is another popular decorating technique that adds patterns and designs to the box. Use pre-made stencils or create your own by cutting out shapes from cardboard or plastic sheets. Secure the stencil onto the box with tape, and apply paint or a textured medium using a sponge or brush. Carefully remove the stencil to reveal the design.
Decoupage is a fantastic technique for adding images or patterns to your box. Cut out pictures, magazine clippings, or printed designs, and adhere them to the box using decoupage glue. Apply a layer of glue over the top to seal the design and create a smooth finish. You can also layer multiple pictures and add decorative elements, such as dried flowers or glitter, for an extra touch of creativity.
If you prefer a more traditional approach, wrapping paper can be used to cover the box. Measure the size of your box and cut the wrapping paper accordingly. Secure the paper in place using double-sided tape or glue. You can mix and match different patterns and colors to create a visually stunning design.
Fabric covering offers a unique and tactile element to your box decoration. Choose a fabric that complements your style and cut it to size. Secure the fabric to the box using adhesive or a staple gun. Tuck in any excess fabric neatly, and add decorative elements such as lace trim or buttons to enhance the overall look.
To add that extra touch of elegance and charm, embellishments such as ribbons, bows, buttons, and charms can be used. Tie ribbons or bows around the box to create a beautiful and finished look. Glue buttons or charms onto the surface of the box to add texture and visual interest. Get creative and explore different combinations to make your box truly unique.
Finally, don’t forget to personalize your decorated box. Add names, quotes, or special messages using vinyl decals, markers, or decorative stickers. This personal touch will make your gift or decor item even more meaningful and memorable.
With these decorating techniques and ideas, you have the power to transform ordinary boxes into extraordinary works of art. Let your creativity run wild, and have fun experimenting with different materials, colors, and designs. Whether you are creating a gift for a loved one or adding a decorative accent to your home, the possibilities are endless. Start decorating and enjoy the process of bringing your box design to life!
Key Takeaways:
- Unleash Your Creativity and Personalize Your Boxes
Transform ordinary boxes into extraordinary works of art by exploring various decorating techniques and embellishments. Let your imagination run wild and create stunning, personalized masterpieces. - Thoughtful Personalization Elevates Your Box Designs
Adding names, quotes, or special messages to your decorated boxes adds a meaningful and sentimental touch. Embrace personalization to create cherished keepsakes and heartfelt gifts.
Choosing the Right Box
When it comes to decorating boxes, choosing the right box is essential. The type of box you select will depend on the purpose of your project and the materials you plan to use for decoration. Here are some factors to consider when choosing the perfect box for your project:
- Purpose: Determine the purpose of your decorated box. Are you planning to use it as a gift box, a storage container, or a decorative piece for your home? The purpose will help you decide on the size, shape, and material of the box.
- Size: Consider the size of the items you plan to store or present in the box. Choose a box that provides enough space to accommodate your objects comfortably. It’s always a good idea to measure the dimensions of the items beforehand to ensure a proper fit.
- Material: Boxes come in a variety of materials, including cardboard, wood, and plastic. Each material offers its own unique qualities and benefits. Cardboard boxes are lightweight and easy to work with, making them ideal for smaller projects. Wooden boxes provide durability and sturdiness, making them suitable for more intricate designs. Plastic boxes offer water resistance and can be a good choice for projects that require protection from moisture.
- Shape: Consider the shape of the box you want to decorate. Boxes come in various shapes, including square, rectangular, round, and oval. The shape will impact the overall design and how you choose to decorate the box.
- Strength: Depending on what you plan to store or gift in the box, it’s important to consider its strength. Choose a box that is sturdy enough to hold the contents without sagging or breaking. Reinforcing the box with additional cardboard or glue can help enhance its strength if needed.
While there are countless options available, take your time to select a box that best fits your needs and preferences. Consider factors such as durability, aesthetics, and functionality. Remember, the box you choose will serve as the foundation for your creative expression, so make sure it aligns with your vision.
Once you have chosen the right box, gather all the necessary materials and get ready to dive into the exciting world of box decoration. Whether you are creating a stunning gift box or adding a decorative touch to your home, the key is to have fun and let your creativity shine.
Materials Needed
Before you dive into decorating your chosen box, it’s essential to gather all the necessary materials. The materials you will need will depend on the decoration techniques you plan to use and the design you have in mind. Here is a list of common materials that can help you get started:
- Box: Choose a box that suits your project’s purpose, size, and material preferences. Cardboard, wood, and plastic boxes are commonly used for decoration.
- Paint: Acrylic or craft paint is perfect for adding color and personality to your box. Choose paint colors that complement your design or theme.
- Paintbrushes: Get a variety of paintbrushes, including different sizes and shapes, to help you apply paint smoothly and precisely. Flat brushes are ideal for covering large areas, while smaller brushes are great for detailed work.
- Stencils: Stencils are a fantastic tool for adding patterns and designs to your box. You can purchase pre-made stencils or create your own using cardboard or plastic sheets.
- Decoupage Glue: If you plan to add images or patterns to your box, decoupage glue is a must. It helps adhere the materials and provides a protective seal over the design.
- Wrapping Paper: Wrapping paper comes in a wide variety of colors, patterns, and textures. Choose one that matches your theme or design concept. Make sure the wrapping paper is sturdy enough for wrapping and won’t tear easily.
- Fabric: Fabric can add a unique and tactile element to your box decoration. Choose fabrics that suit your desired design, such as cotton, linen, or silk.
- Ribbons and Bows: Ribbons and bows are perfect for adding a finishing touch to your decorated box. Opt for ribbons in different widths, colors, and textures to create dynamic and eye-catching designs.
- Buttons and Charms: Adding buttons and charms can bring character and charm to your box design. Collect buttons of various sizes, shapes, and colors, as well as small charms that align with your desired theme.
- Adhesive: Depending on the materials you are using, you may need adhesive such as glue, double-sided tape, or a staple gun to secure the decorations onto the box.
- Scissors and Cutting Tools: These tools are invaluable for cutting wrapping paper, fabric, and other materials to the desired size and shape.
- Protective Gear: To ensure your safety and avoid any potential mess, consider wearing protective gear such as gloves and aprons while working with paint, glue, and other materials.
Remember, the materials needed may vary depending on your specific project and design preferences. Consider the techniques you plan to use and gather all the necessary supplies upfront to ensure a smooth and enjoyable decorating process.
Now that you have your box and materials ready, it’s time to unleash your creativity and turn your ordinary box into a stunning piece of art!
Preparing the Box
Before you start decorating your box, it’s important to properly prepare its surface. Preparing the box ensures a clean and smooth canvas for your creative ideas to shine. Here are the steps to follow when preparing your box:
- Clean the Box: Begin by wiping down the surface of the box to remove any dust or debris. Use a damp cloth or sponge to gently clean both the inside and outside of the box. This will ensure that the decorations adhere properly.
- Sand the Box (if necessary): If you are working with a wooden box, sanding the surface can help create a smooth texture. Use fine-grit sandpaper and gently rub it over any rough or uneven areas of the wood. This step will ensure that the paint or other decorative materials adhere evenly.
- Reinforce the Box (if needed): If you are working with a cardboard box and it feels flimsy or weak, consider reinforcing it. Cut out a piece of cardboard slightly smaller than the box’s dimensions and insert it inside the box, gluing or taping it securely. This additional layer will provide stability and durability to your decorated box.
- Prime the Box (optional): If you plan to paint your box with a light color or want to ensure better paint adhesion, you may consider priming the surface. Apply a coat of primer evenly over the exterior of the box and allow it to dry according to the manufacturer’s instructions. This will create a smooth and paint-ready surface.
Following these preparation steps will ensure that your decoration materials adhere well to the box and that your final design looks polished and professional. Take your time during the preparation process to ensure the best results.
Now that your box is prepared, you are ready to move on to the exciting and creative part—decorating it! Choose your desired decorating techniques and materials, and let your imagination run wild to transform your ordinary box into a stunning work of art.
Decorating Techniques
When it comes to decorating boxes, there are countless techniques you can use to transform them into visually appealing pieces. The technique you choose will depend on your personal preference, the desired style, and the materials you have available. Here are some popular decorating techniques to consider:
- Painting: Painting is a versatile technique that allows you to completely change the look of your box. Choose your desired colors and paint types, such as acrylic or craft paint. Use a brush or roller to apply paint evenly over the surface of the box. You can create a solid color, gradient effect, or even paint intricate designs.
- Stenciling: Stenciling is a fantastic technique for adding patterns and designs to your box. You can either purchase pre-made stencils or create your own by cutting out shapes from cardboard or plastic sheets. Secure the stencil onto the box with tape and use a sponge or brush to apply paint or a textured medium over the stencil. Carefully remove the stencil to reveal a beautifully stenciled design.
- Decoupage: Decoupage is a popular technique that involves adding images, patterns, or decorative paper to the surface of the box. Cut out pictures, magazine clippings, or printed designs, and adhere them to the box using decoupage glue. Apply a layer of glue over the top to seal the design and create a smooth and durable finish. You can layer multiple images and even incorporate other embellishments for added dimension and visual interest.
- Wrapping Paper: Wrapping paper is a simple yet effective technique for covering the surface of your box. Choose a wrapping paper that matches your design or theme. Measure the size of your box and cut the paper accordingly. Secure it in place using double-sided tape or glue, ensuring that the edges are neatly folded and smoothed down.
- Fabric Covering: Adding fabric to your box creates a unique and tactile element. Choose a fabric that complements your design and cut it to fit the size of your box. Use adhesive or a staple gun to secure the fabric to the box. Tuck in any excess fabric neatly and trim off any excess. You can further enhance the design by adding lace trim, ribbons, or other embellishments.
These are just a few of the many techniques you can employ to decorate your box. Feel free to experiment with combinations of techniques or create your own unique approach. The key is to have fun and let your creativity take center stage.
Remember to consider the materials you are using when choosing your decorating techniques. Some techniques work better with certain materials, such as paint on wood or decoupage on cardboard. Always test your technique on a small portion of the box or a separate sample to ensure you achieve the desired result.
Now that you have an array of techniques to choose from, it’s time to unleash your creativity and transform your box into a stunning piece of art!
Read also: 13 Best Decorative Storage Box For 2025
Painting
One of the most versatile and popular decorating techniques for boxes is painting. Painting allows you to completely transform the look of your box, giving it a fresh, vibrant, and personalized touch. Here are some tips and steps to help you achieve excellent painted results:
- Choose the Right Paint: Select the appropriate type of paint for your box. Acrylic or craft paint, available in a wide range of colors, is commonly used for box painting. Consider the finish you desire, such as matte, satin, or glossy, and make sure the paint is suitable for the material of your box.
- Prepare the Surface: Make sure the surface of your box is clean and dry. If necessary, sand the surface with fine-grit sandpaper to create a smooth texture and help the paint adhere better.
- Prime (if needed): If you’re painting a wooden box or want to achieve a more opaque and uniform color, applying a coat of primer before painting is recommended. Primer provides a smooth base, enhances the adhesion of paint, and helps to prevent the colors from bleeding or fading.
- Plan Your Design: Before applying paint, it’s helpful to plan your design. Decide on the color scheme, patterns, or any specific design elements you want to incorporate. You can use a pencil to lightly sketch your design on the box beforehand.
- Apply the Base Coat: Start by applying a base coat of paint to your box. Use a brush or roller to cover the surface evenly. If necessary, apply multiple coats, allowing each coat to dry between applications. This will ensure a smooth and consistent base color.
- Add Details and Patterns: Once the base coat is dry, it’s time to add details and patterns to your box. Use smaller brushes or even fine-tipped paint pens to paint intricate designs, lines, or motifs. You can also incorporate stencils for more precise and uniform patterns.
- Experiment with Techniques: Don’t be afraid to experiment with different painting techniques. Try blending colors, creating gradients, or adding texture using techniques like dry brushing or splattering. These techniques can add depth and visual interest to your painted box.
- Allow Proper Drying Time: Each layer of paint should be given enough drying time to ensure a durable and long-lasting finish. Follow the instructions on the paint container for the recommended drying time. Patience is key to prevent smudging and damage to your design.
- Protect and Seal: Once your painting is complete and fully dried, it’s important to protect your design. Apply a clear varnish or sealant over the painted surface to protect it from scratches, moisture, and fading. This step will also give your box a polished look.
Remember to clean your brushes and any other tools immediately after use to preserve their quality and prolong their lifespan. Proper cleanup ensures that your tools are ready for future painting projects.
Painting is a versatile technique that allows you to unleash your creativity and personalize your box according to your style and preferences. Whether you choose bold and vibrant colors, soft pastels, or a combination of shades, painting provides endless possibilities for transforming an ordinary box into a unique and eye-catching work of art.
So grab your brushes, let your imagination guide you, and have fun painting your box to create a stunning and personalized masterpiece!
Stenciling
Stenciling is a popular and effective technique used to add patterns, designs, and intricate details to your decorated box. It allows you to achieve precise and consistent results by using pre-made stencils or creating your own. Here’s a step-by-step guide to help you master the art of stenciling:
- Select or Create Your Stencil: Choose a stencil that matches the design or pattern you want to incorporate into your box. You can find a variety of stencils at craft stores or online, or you can create your own by cutting shapes or patterns out of cardboard or plastic sheets.
- Secure the Stencil: Position the stencil on the desired area of your box and secure it in place. You can use tape or stencil adhesive to hold it down firmly. Make sure it’s flat and smooth against the surface to prevent any accidental smudging or bleeding.
- Prepare Your Paint: Pour a small amount of paint onto a palette or paint tray. Dip a sponge or stencil brush into the paint, then blot or dab it onto a paper towel to remove any excess. This will prevent the paint from seeping under the edges of the stencil.
- Apply the Paint: Lightly dab or stipple the paint over the cut-out areas of the stencil. Use an up-and-down tapping motion rather than a brushing motion, as brushing can cause the paint to bleed or smudge. Build up the color gradually, starting with a light layer and adding more as needed.
- Remove the Stencil: Carefully lift the stencil from the box, ensuring that you don’t smudge the paint. Lift it straight up rather than dragging it to avoid any accidental smudging or smearing. If using multiple stencils or layers, allow the paint to dry completely before proceeding.
- Clean the Stencil: Rinse the stencil immediately after use to remove any paint residue. Use warm water and gentle soap, and pat it dry with a clean cloth or paper towel. This will help keep the stencil in good condition and ready for future projects.
- Touch Up and Detail: Once the stenciled design is dry, you can touch up any areas that may need additional paint or add extra details using smaller brushes or tools. This step allows you to add depth, highlights, or shading to your stencil design.
Stenciling offers an easy way to achieve professional-looking, repeatable patterns on your box without the need for freehand painting. It allows for precision and consistency, making it an ideal choice for those who may not feel confident in their painting skills.
You can experiment with different stencil designs, sizes, and placements to create striking and personalized effects on your box. Combine multiple stencils to create unique compositions or play with different colors to add depth and dimension to your design.
With practice and patience, stenciling can become a fun and versatile technique to enhance the visual appeal of your decorated box. So gather your stencils, get creative, and enjoy the process of transforming your ordinary box into a beautifully stenciled masterpiece!
Decoupage
Decoupage is a popular and versatile technique used to adorn boxes with images, patterns, or decorative paper. It allows you to create unique and visually captivating designs by layering and sealing materials onto the surface of your box. Follow these steps to master the art of decoupage:
- Gather Your Materials: Collect the materials you’ll need for decoupage, including images or paper designs, decoupage glue, a brush or sponge, scissors, and a clean surface to work on.
- Prepare Your Box: Ensure that the box’s surface is clean and dry. If the box has a glossy or slippery surface, lightly sand it to create a better bonding surface for the decoupage glue.
- Cut Out or Tear Your Designs: Cut out or tear the desired images or paper designs for your decoupage project. Experiment with different shapes and sizes to achieve your desired composition. If you’re using printed designs, make sure to cut them neatly and precisely.
- Apply Decoupage Glue: Using a brush or sponge, apply a thin, even layer of decoupage glue to the area of the box where you’ll be placing your design. Make sure the glue covers the entire surface area.
- Position and Smooth the Design: Carefully place your cut-out design onto the glued area, pressing it down gently to ensure it adheres well to the surface. Use your fingers or a soft cloth to smooth out any air bubbles or wrinkles, working from the center of the design outward.
- Seal the Design: Once your design is in place, apply another layer of decoupage glue over it. This will seal the design, protect it from damage, and create a smooth finish. Make sure to cover the entire design and extend the glue slightly beyond the edges to prevent lifting.
- Repeat the Process: Continue applying decoupage glue, positioning your designs, and sealing them until you achieve the desired look. You can layer multiple images or create collages for a more intricate design.
- Add Finishing Touches: After the decoupage glue has fully dried, inspect your box for any rough edges or stray paper. Use scissors or a craft knife to trim any excess paper and achieve clean lines. You can also sand the edges lightly for a seamless finish.
- Protect and Enhance: To protect your decoupage design and enhance its durability, add a final layer of decoupage glue over the entire decorated surface. This will provide a protective seal and create a glossy or matte finish, depending on the type of glue used.
Decoupage opens up endless possibilities for personalization. You can use photographs, magazine cutouts, decorative paper, or even fabric to create a stunning visual composition on your box. Experiment with different images, colors, and textures to achieve the desired effect.
Remember, decoupage is not limited to the exterior of the box; you can also decoupage the inside, the lid, or individual compartments. The key is to let your creativity flow and create a design that reflects your personal style and vision.
With the art of decoupage, you can transform a plain box into a beautiful and intricate piece of art. So gather your materials, let your imagination roam free, and enjoy the process of bringing your decoupage designs to life!
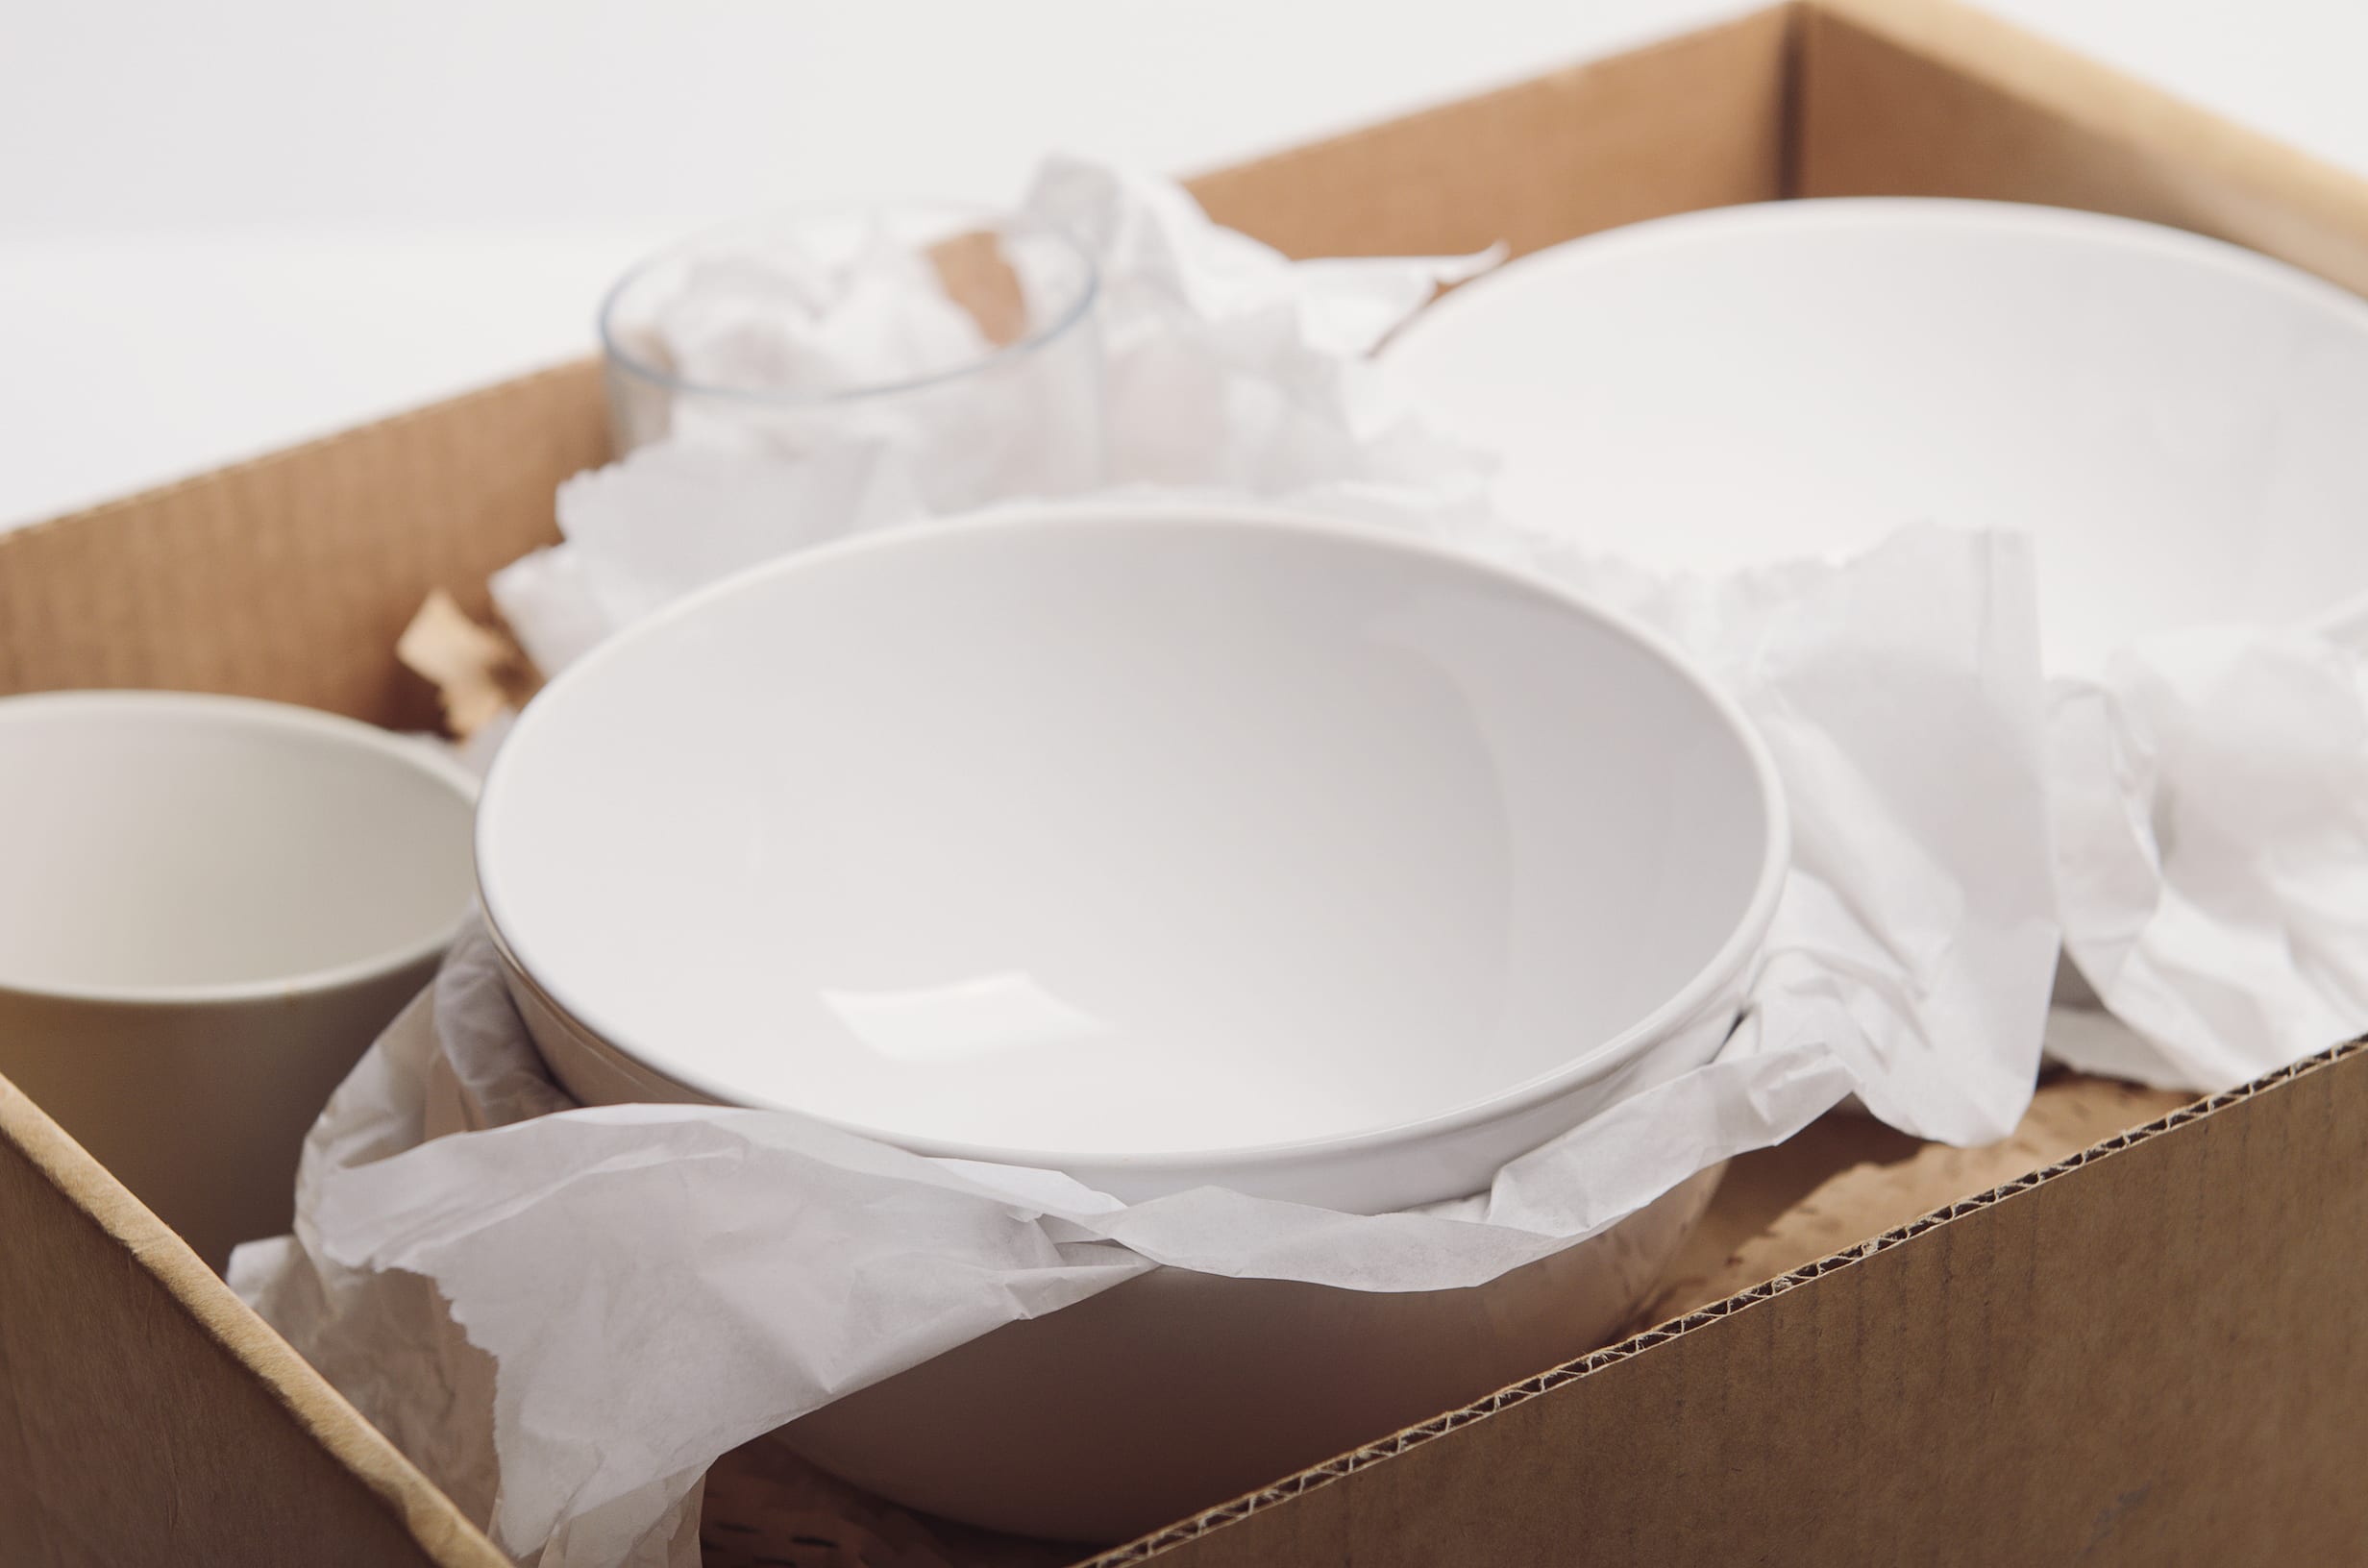
Consider using decorative paper, fabric, or paint to cover the outside of the box. Add embellishments like ribbon, stickers, or stencils for a personalized touch. Fill the box with tissue paper or shredded paper for a finished look.
Wrapping Paper
Using wrapping paper to decorate your box is a simple and effective way to add color, pattern, and a touch of elegance. Whether you want to create a festive gift box or a stylish storage container, wrapping paper offers a wide range of designs to suit any occasion or personal taste. Here’s how you can use wrapping paper to beautify your box:
- Choose the Right Wrapping Paper: Select wrapping paper that complements the theme or style of your box. Consider the occasion, the recipient, or your desired aesthetic. Wrapping paper comes in a variety of colors, patterns, and textures, offering endless possibilities for creative expression.
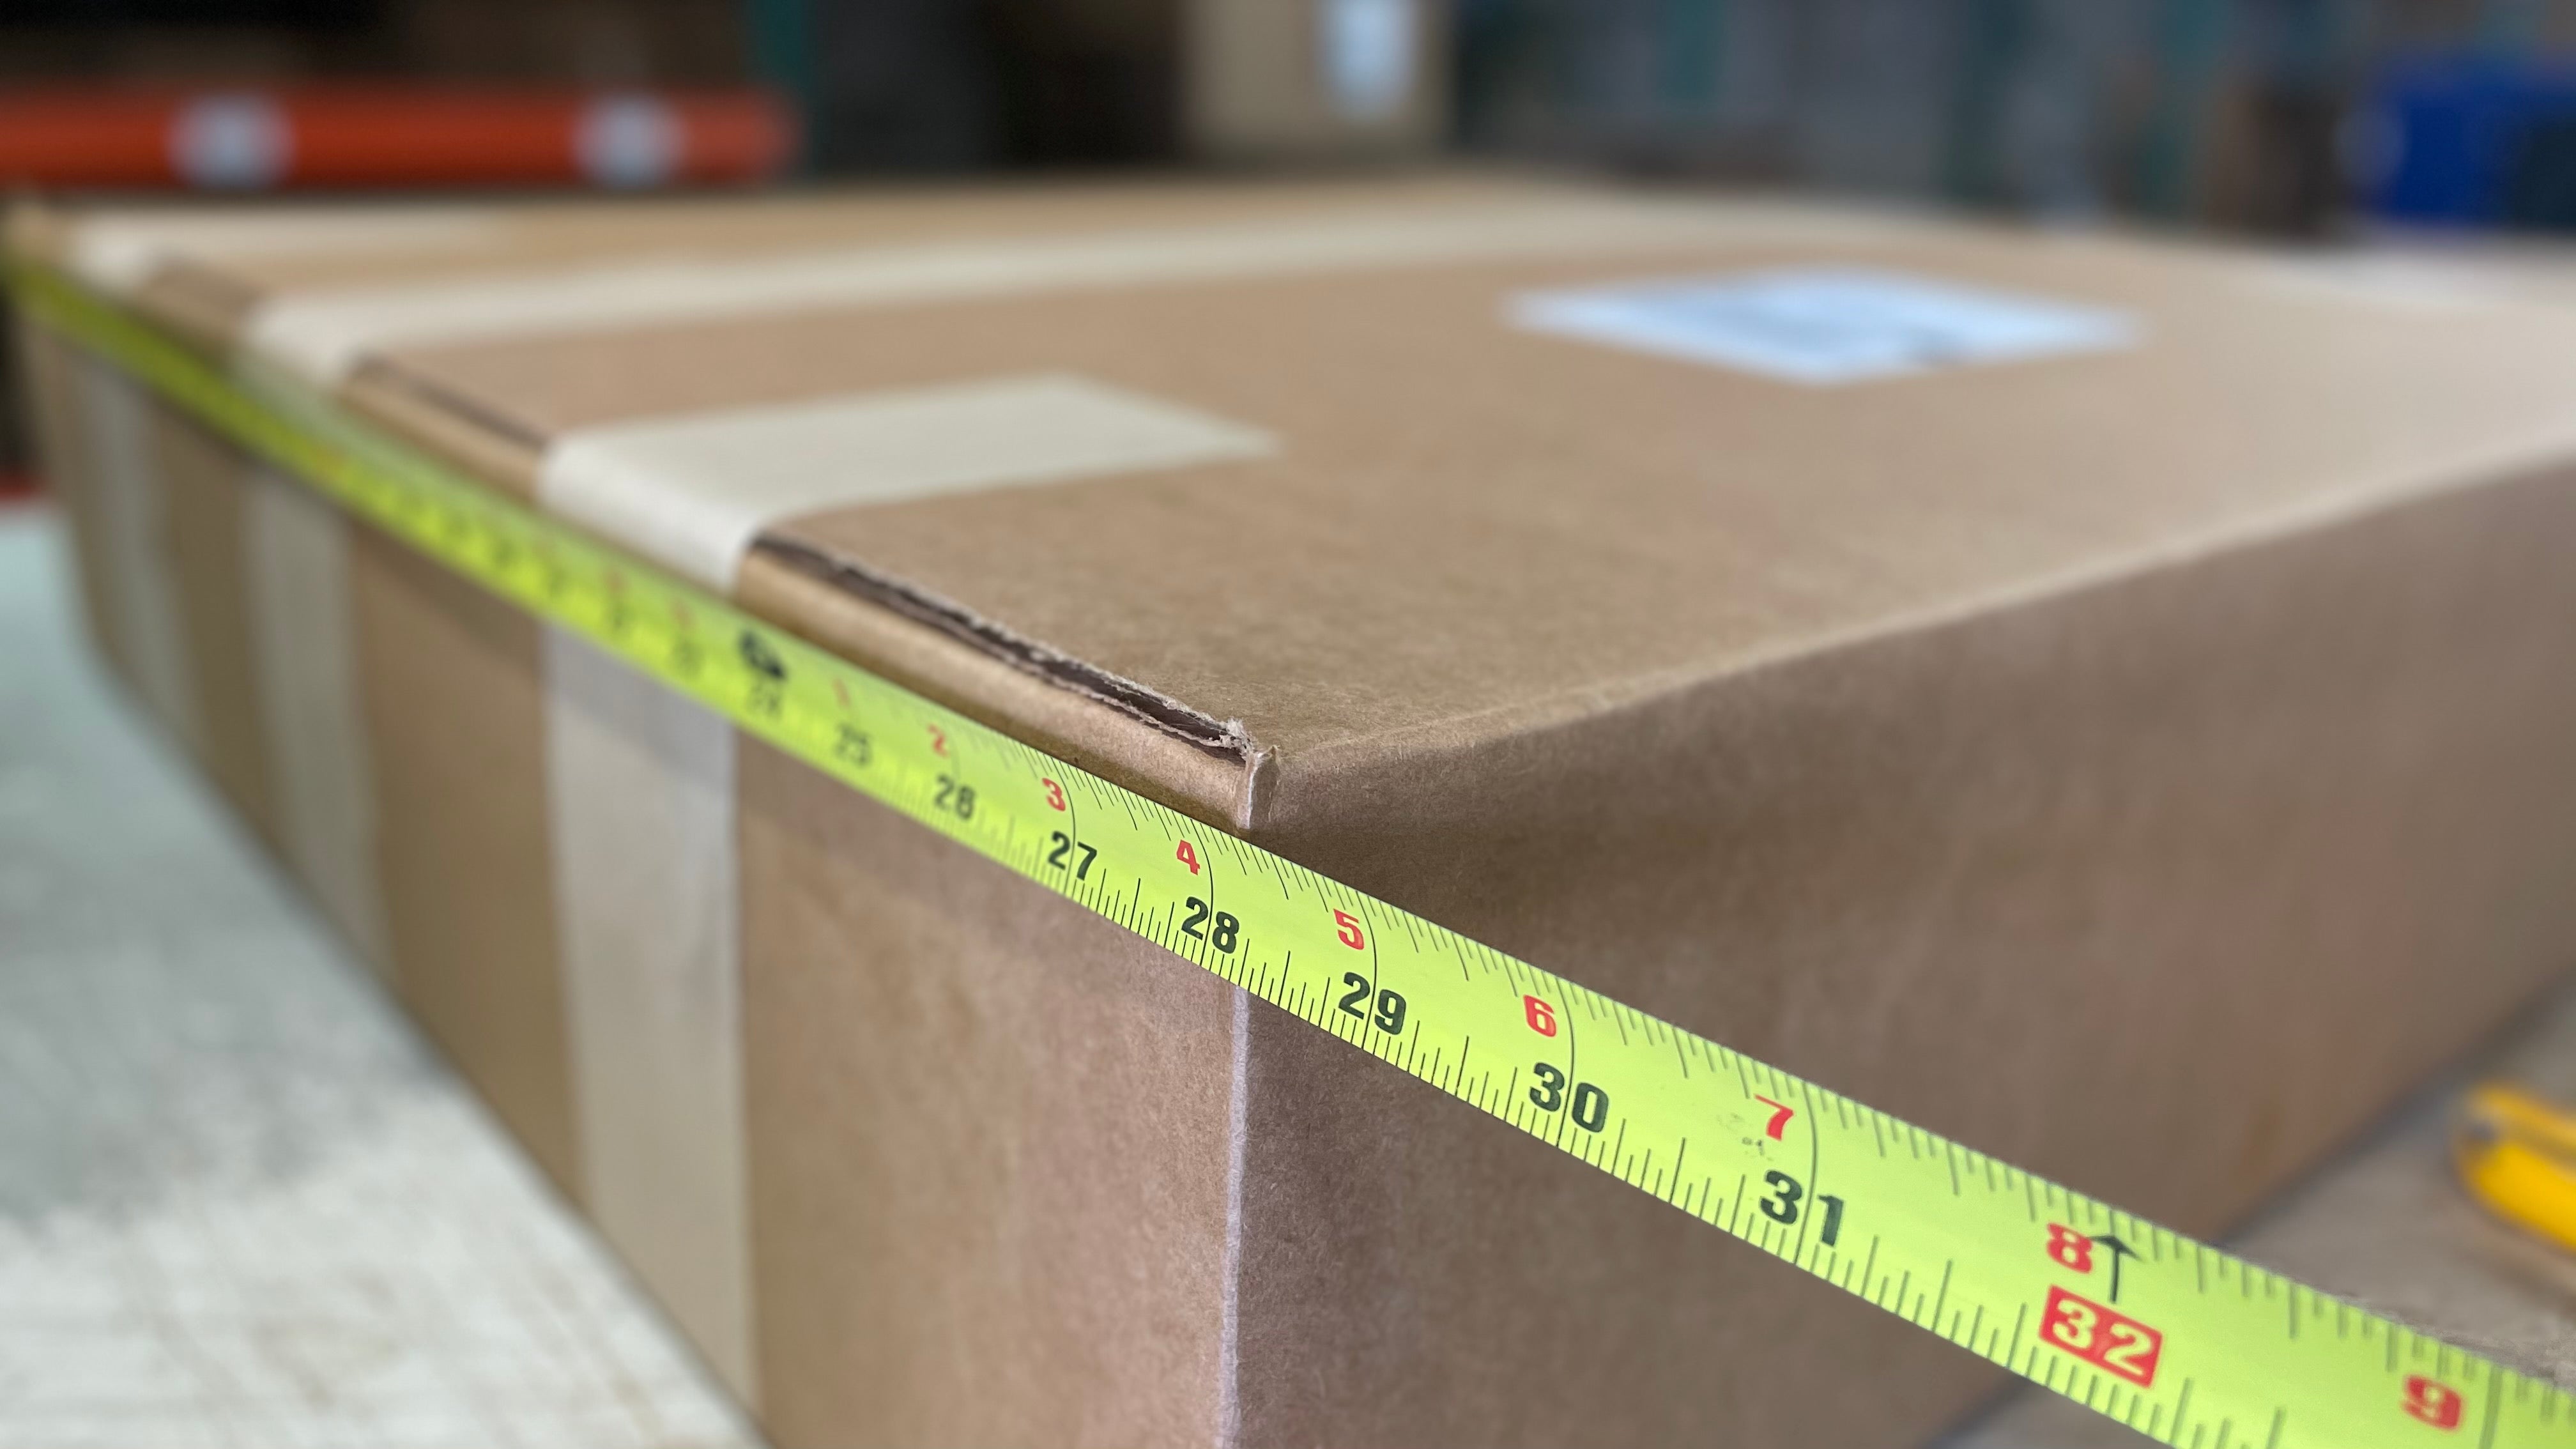
- Measure and Cut: Measure the dimensions of your box and cut the wrapping paper accordingly. Use a ruler or measuring tape to ensure accurate sizing. It’s better to cut the paper slightly larger to ensure complete coverage.
- Position the Box: Place your box in the center of the wrapping paper, ensuring that it is aligned properly. If the wrapping paper has a specific pattern, consider how you want it to be positioned on the box.
- Secure the Paper: Once your box is in position, fold the edges of the wrapping paper over the box. Use double-sided tape or a glue stick to secure the overlapping edges. Ensure that the paper is smooth and tight for a neat and professional finish.
- Neatly Fold and Secure: To achieve neat corners, fold the excess wrapping paper at each corner diagonally towards the center of the box. Create crisp creases and secure them with tape or glue. Repeat this process for all four corners.
- Optional Embellishments: If desired, enhance your wrapped box with additional embellishments. Add ribbons, bows, or decorative tags to elevate the overall look. These finishing touches can add a touch of elegance and personalization to your wrapped box.
- Coordinate with Ribbon: Choose a coordinating ribbon or twine to further enhance the visual appeal. Wrap the ribbon around the box, tying a bow or knot to secure it in place. This final touch can add a sense of sophistication and completeness to your wrapped box.
Wrapping paper offers endless possibilities for creativity. You can mix and match different patterns, colors, and textures to create visually stunning designs. Experiment with different folding techniques, such as pleating or origami-inspired folds, for a unique and eye-catching presentation.
Remember to choose high-quality wrapping paper that is durable and won’t tear easily. This ensures that your wrapped box looks polished and remains intact throughout its use.
Wrapping paper can be used not only for gift boxes but also for storage containers, home decor, or any project that requires a decorative touch. It’s an affordable and readily available option for transforming a plain box into a beautifully wrapped masterpiece.
So grab your favorite wrapping paper, let your creativity soar, and enjoy the process of turning your ordinary box into a stunning work of art!
Read also: 12 Best Ornament Storage Box For 2025
Fabric Covering
Fabric covering is a creative and tactile technique that adds a unique and personalized touch to your box decoration. It allows you to incorporate various fabrics, textures, and patterns to create a visually appealing and functional design. Here’s how you can use fabric to beautifully cover your box:
- Select Your Fabric: Choose a fabric that aligns with your desired style and complements your box. Consider the color, pattern, and texture of the fabric. Cotton, linen, silk, or even upholstery fabrics can be used, depending on the desired aesthetic and functionality.
- Measure and Cut the Fabric: Measure the dimensions of your box and add a few extra inches to each side to ensure complete coverage. Use fabric scissors to cut the fabric according to your measurements. Make sure the cuts are clean and straight for a neat and professional look.
- Secure the Fabric: Place your box on the wrong side of the fabric and wrap the fabric tightly around it. Use adhesive, such as fabric glue or a hot glue gun, to secure the fabric in place. Start with one side of the box, ensuring it’s taut and smooth, then move on to the other sides.
- Trim and Neatly Fold: Trim any excess fabric that extends beyond the edges of the box. To create neat corners, fold the fabric at each corner, similar to gift-wrapping, and secure the folds with adhesive. Ensure that the folds are crisp and secure for a polished finish.
- Enhance with Embellishments: Add extra embellishments to enhance the overall look and feel of your fabric-covered box. You can attach ribbons, lace trim, fabric flowers, or buttons using glue or stitching. Let your creativity shine as you customize your fabric-covered box.
- Consider Lining the Interior: To truly elevate your fabric-covered box, consider lining the interior. Cut a piece of fabric or decorative paper to fit the inner surface of the box. Adhere it securely using glue or double-sided tape. This adds a professional touch and hides any raw edges of the fabric.
Fabric covering offers versatility and allows you to match your box to your desired theme or home decor. You can choose fabrics that reflect your personal style, whether it’s a vibrant and bold pattern or a soft and subtle design.
It’s important to ensure that the fabric is securely attached to the box to prevent it from loosening or wrinkling. Smooth out any air bubbles or wrinkles as you work to achieve a clean and polished look.
By using fabric to cover your box, you can create a one-of-a-kind piece that showcases your individuality and adds a touch of elegance and warmth to any space.
So explore different fabrics, experiment with textures and patterns, and enjoy the process of transforming your ordinary box into a beautifully fabric-covered masterpiece!
Adding Embellishments
Embellishments are the finishing touches that can take your decorated box to the next level. They add dimension, texture, and personalization, making your box truly unique. Here are some popular embellishments that you can use to enhance the visual appeal of your box:
- Ribbons and Bows: Ribbons and bows are classic embellishments that instantly add charm and elegance to your box. Choose ribbons in various widths, colors, and textures. Wrap them around the box, tying them into a beautiful bow or knot. Experiment with different ribbon placements to achieve your desired look.
- Buttons and Charms: Buttons and charms can bring a whimsical and decorative touch to your box. Select buttons that match your theme or design concept. Glue them onto the surface of your box to create patterns or arrangements. Small charms can also be attached using jump rings or adhesive for an added element of interest.
- Fabric Scraps and Trim: Cut small fabric scraps or strips in complementary colors and textures. Adhere them to the box using fabric glue or a hot glue gun. You can create layered textures or weave the fabric to add depth and visual interest. Lace, ribbon trim, or pom-pom trim can also be used to embellish the edges or corners of the box.
- Sequins and Beads: For a touch of sparkle and glamour, consider using sequins or beads to adorn your box. Apply them individually or create intricate patterns or designs. You can use adhesive, thread, or even a needle and thread to attach them securely to the box.
- Personalization: Add a personal touch to your box by incorporating names, quotes, or special messages. You can use vinyl decals, markers, or decorative stickers to write directly on the box or create personalized labels or tags to attach. This customization adds a thoughtful and unique element to your box.
When adding embellishments, remember to consider the overall design and theme of your box. Select embellishments that harmonize with your chosen colors, materials, and techniques. Experiment with different combinations and placements to achieve the desired visual impact.
It’s important not to overload the box with too many embellishments. Keep in mind the balance and aesthetic appeal, ensuring that the embellishments enhance the box without overpowering it. Less can sometimes be more when it comes to embellishing your box.
Allow your creativity to flourish as you explore different embellishments, textures, and combinations. Enjoy the process of adding those final touches that will make your box truly unique and eye-catching. Let your personality shine through and transform your ordinary box into a stunning piece of personalized art!
Ribbons and Bows
Ribbons and bows are timeless embellishments that can elevate the visual appeal of your decorated box. They add a touch of elegance, sophistication, and charm, making your box look professionally wrapped and beautifully presented. Here’s how you can use ribbons and bows to enhance your box:
- Choose the Right Ribbons: Select ribbons that complement the style and theme of your box. Consider the color, width, texture, and pattern of the ribbons. Satin, organza, grosgrain, or velvet ribbons are popular choices, depending on the desired look and feel.
- Wrap the Box: Start by wrapping your box in plain or decorative paper, fabric, or even plain kraft paper. This serves as the base for your ribbon and bow. Ensure that the wrapping is smooth and tight for a neat presentation.
- Measure and Cut: Cut a length of ribbon that is long enough to wrap around the box and tie a bow. Leave extra length for the tails if desired. Use fabric scissors to create clean-cut edges that won’t fray.
- Wrap the Ribbon: Position the ribbon around the box, ensuring it is centered and aligned. Bring both ends of the ribbon to the top of the box and cross them over each other. Flip the box over and cross the ribbon underneath, bringing it back to the top.
- Tie the Bow: With the ribbon ends now at the top of the box, tie a bow using a single or double knot. Adjust the bow to achieve the desired size and shape. Fluff and arrange the loops and tails to create a balanced and visually pleasing bow.
- Experiment with Ribbon Placements: Ribbons can be positioned in various ways to create different effects. You can wrap multiple ribbons around the box, crisscross them, or layer them. Try different placements, such as diagonally or vertically, to add interest and uniqueness to your box.
- Use Ribbon Accents: Consider using additional ribbon accents to enhance the overall presentation. You can tie smaller ribbons or bows around the box handles or create ribbon rosettes as decorative focal points. Attach the accents securely using small dabs of glue or adhesive tape.
Ribbons and bows offer endless possibilities for creativity and customization. You can match the ribbon color and style to the occasion, whether it’s a soft pastel ribbon for a baby shower or a shiny satin ribbon for a glamorous gift.
Don’t be afraid to mix different ribbon widths, colors, and textures to create a visually striking combination. Layering ribbons or using contrasting colors can add visual interest and make your box stand out.
Remember, practice makes perfect when it comes to tying bows. Experiment with different bow styles, such as classic bows, curly bows, or elaborate multi-loop bows. With time and patience, you’ll achieve beautifully tied bows that add the perfect finishing touch to your box.
Ribbons and bows are versatile embellishments that can transform an ordinary box into an exquisite gift or a stunning decorative piece. So embrace the charm of ribbons, let your creativity flow, and enjoy the process of creating beautifully wrapped boxes that are sure to impress!
Buttons and Charms
Buttons and charms are delightful embellishments that can add whimsy, personality, and a touch of uniqueness to your decorated box. They offer endless possibilities for creativity and customization, allowing you to create eye-catching designs and captivating details. Here’s how you can use buttons and charms to enhance your box:
- Choose the Right Buttons and Charms: Select buttons and charms that match the theme, style, and color palette of your box. Consider the size, shape, and material of the buttons and charms. Wood, metal, plastic, or fabric buttons can all create different effects.
- Plan Your Placement: Visualize where you want to place the buttons and charms on your box. Consider whether you want to create a pattern, a focal point, or a scattered arrangement. Keep in mind the size and spacing between each element for a balanced and visually appealing design.
- Attach with Glue: Use adhesive glue or a hot glue gun to attach the buttons and charms securely to the surface of your box. Apply a small amount of glue onto the back of each button or charm and press it firmly onto the desired location. Be mindful of any textured or raised elements on the buttons when choosing the type of adhesive.
- Experiment with Layout: Play with different layouts and placements to find the arrangement that you find most pleasing. You can align the buttons in straight rows or create unique patterns, such as concentric circles, flowers, or even random clusters. Let your creativity flow and have fun with the design possibilities.
- Layer Buttons and Charms: Buttons and charms can be layered to add depth and dimension to your design. Try overlapping buttons, placing smaller charms on top of larger ones, or combining different textures and materials. This layering technique can create visually dynamic and tactile elements on your box.
- Consider Functional Placement: Buttons and charms can serve a dual purpose by not only adding decoration but also providing functionality. For example, you can attach buttons as closures for boxes with lids or use charms as drawer pulls for storage containers. This adds both practicality and charm to your box.
- Secure and Reinforce: Once the buttons and charms are attached, ensure that they are securely adhered to the box. Gently test each button and charm to make sure it doesn’t wiggle or come loose. If needed, add extra glue for reinforcement and longevity.
Buttons and charms offer a delightful way to personalize your box and infuse it with your unique style. They can be used on various types of boxes, including gift boxes, storage containers, or decorative accents.
Don’t limit yourself to just one type of button or charm. Mix and match different sizes, shapes, and materials to create a visually intriguing and eclectic look. The contrasting textures and colors will add a playful and vibrant element to your box.
Buttons and charms allow for endless design possibilities. Whether you want to create a whimsical scene, a vintage-inspired look, or a modern and sleek design, the flexibility of these embellishments makes it all possible.
So let your imagination guide you, explore the world of buttons and charms, and have fun adding these delightful embellishments to your decorated box!
Read more: Importance Of Storage Boxes With Lids
Personalization
Personalization is the key to creating a truly special and meaningful decorated box. By adding names, quotes, or special messages, you can turn an ordinary box into a cherished keepsake or a heartfelt gift. Here’s how you can personalize your box:
- Choose Your Method: Decide how you want to personalize your box. There are various methods you can use, such as vinyl decals, markers, decorative stickers, or even hand-painted designs.
- Vinyl Decals: Vinyl decals are a popular choice for adding names, monograms, or intricate designs to your box. They are precise, durable, and come in a wide range of colors and fonts. Simply apply the decal to the desired area of your box according to the instructions provided.
- Markers and Pens: If you prefer a hand-drawn touch, use permanent markers or pens to write directly on the box. Choose colors that complement your design and practice your handwriting or calligraphy before applying it to the box. This method offers a personal and artistic element.
- Decorative Stickers: Decorative stickers come in various shapes, sizes, and designs. They can be easily applied to your box to spell out names or add decorative elements. Create a collage of stickers to personalize the box further, allowing your creativity to shine.
- Hand-Painted Designs: If you have artistic skills or want to explore your creativity, hand-paint designs directly onto the box. Use acrylic paint and fine brushes to create intricate patterns, images, or personalized messages. Practice on a separate surface or sketch your design onto the box lightly before painting.
- Custom Labels or Tags: Another way to personalize your box is by attaching custom labels or tags. Design and print your labels or tags with names, dates, or special messages. Attach them to the box using ribbon, twine, or adhesive, creating a personal touch that can be easily changed or removed.
When personalizing your box, consider the recipient’s preferences, the occasion, or the intended use. The personalization adds an extra layer of sentiment and thoughtfulness to your gift or decor item.
Remember to consider the placement and size of the personalization to ensure it fits harmoniously with the overall design of your box. Experiment with different fonts, styles, and colors to achieve the desired effect.
Personalization allows you to create a truly unique and meaningful box that will be treasured by the recipient. It shows that you’ve put thought and care into the design, making it even more special.
So, whether you’re adding names to a gift box or personalizing a storage container, embrace the opportunity to make your box extraordinary with a touch of personalization. Let your creativity and sentimentality shine, and enjoy the process of creating a truly personalized masterpiece!
Conclusion
Decorating boxes is a wonderful way to unleash your creativity and transform plain containers into extraordinary works of art. Whether you’re creating custom gift boxes, stylish storage containers, or decorative accents for your home, the possibilities are endless. Throughout this article, we have explored various techniques and embellishments to help you bring your box designs to life.
We discussed the importance of choosing the right box for your project and gathering the necessary materials. The preparation step ensured a clean and smooth surface for your decorations. We explored different techniques, such as painting, stenciling, decoupage, using wrapping paper, fabric covering, and the addition of embellishments like ribbons, bows, buttons, charms, and personalization.
Each technique offers its own unique creative possibilities, allowing you to customize your box according to your preferences and the occasion. Whether you prefer a sleek and modern design or a whimsical and eclectic look, there’s a decorating technique for you.
As you embark on your box decorating journey, remember to let your creativity soar and embrace experimentation. Adapt the techniques to fit your personal style, explore different combinations of materials and embellishments, and dare to try new techniques not mentioned in this article.
When decorating boxes, always keep in mind the purpose and recipient of your creation. Consider the occasion, the intended use, and the personal preferences of the individual who will receive or see your box. The more thoughtful and personal your design, the more memorable and cherished the box will become.
Lastly, remember that the joy of box decoration lies in the process, not just the end result. Enjoy every step, from choosing the materials to adding the final touches. Let your imagination guide you, allow room for creativity, and have fun creating stunning works of art out of ordinary boxes.
So go ahead, gather your supplies, and embark on your box decorating adventure. Transform your boxes into unique, eye-catching, and personalized masterpieces that reflect your individuality and creativity. Start decorating and let your imagination soar!
Frequently Asked Questions about How To Decorate Boxes
Was this page helpful?
At Storables.com, we guarantee accurate and reliable information. Our content, validated by Expert Board Contributors, is crafted following stringent Editorial Policies. We're committed to providing you with well-researched, expert-backed insights for all your informational needs.
0 thoughts on “How To Decorate Boxes”