
Articles
How To Build Pantry Cabinet
Modified: April 22, 2024
Learn how to build a pantry storage cabinet to maximize your kitchen organization and create a functional space for all your pantry essentials.
(Many of the links in this article redirect to a specific reviewed product. Your purchase of these products through affiliate links helps to generate commission for Storables.com, at no extra cost. Learn more)
Introduction
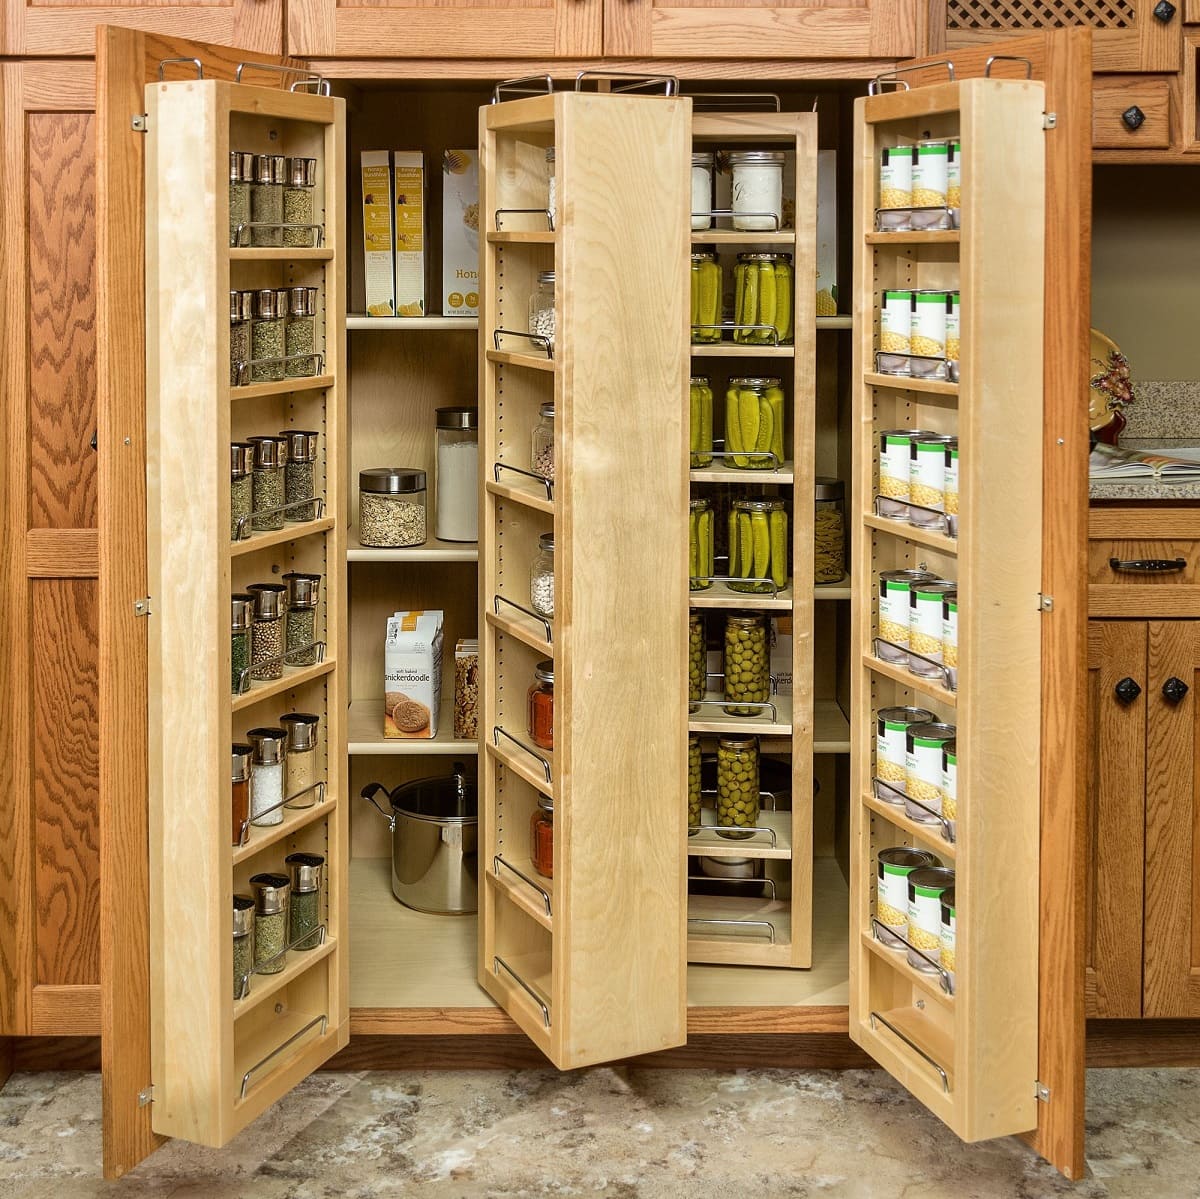
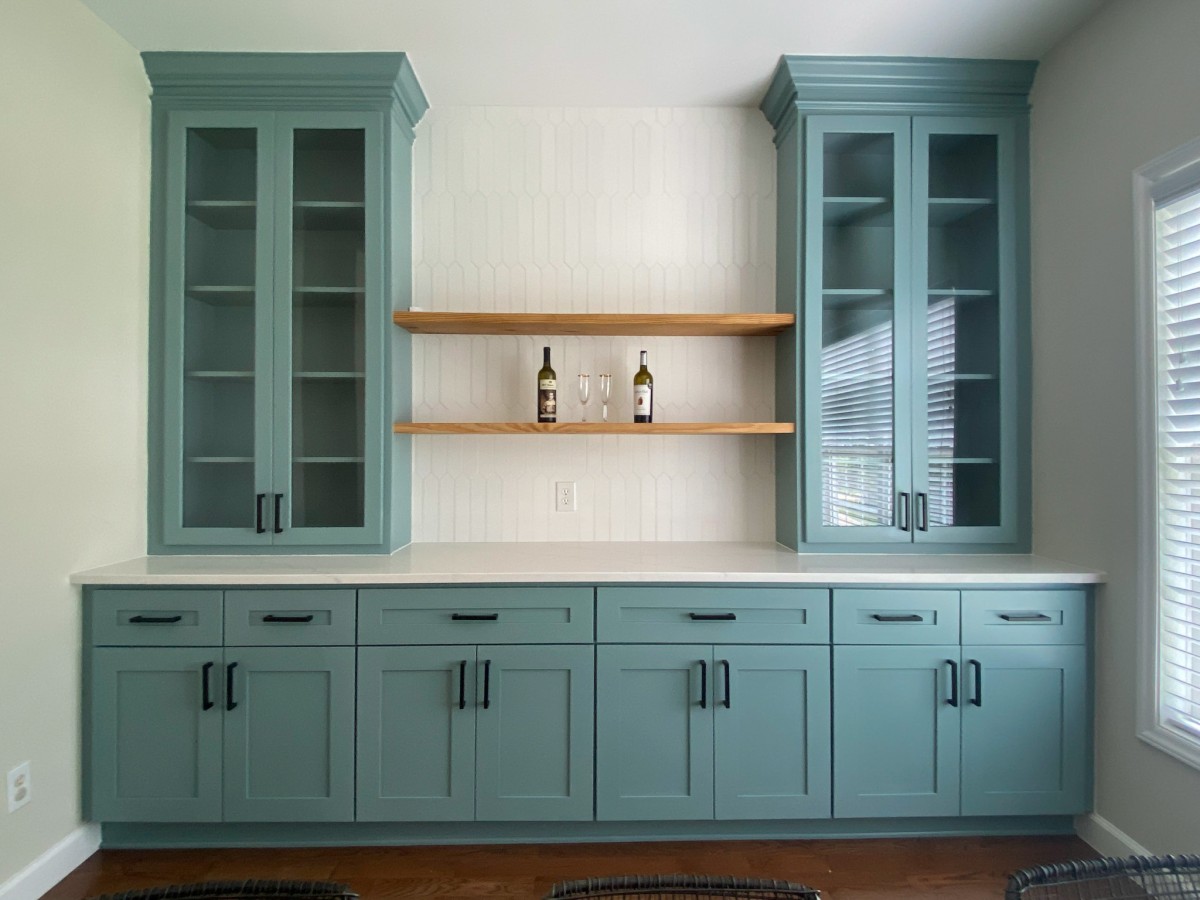
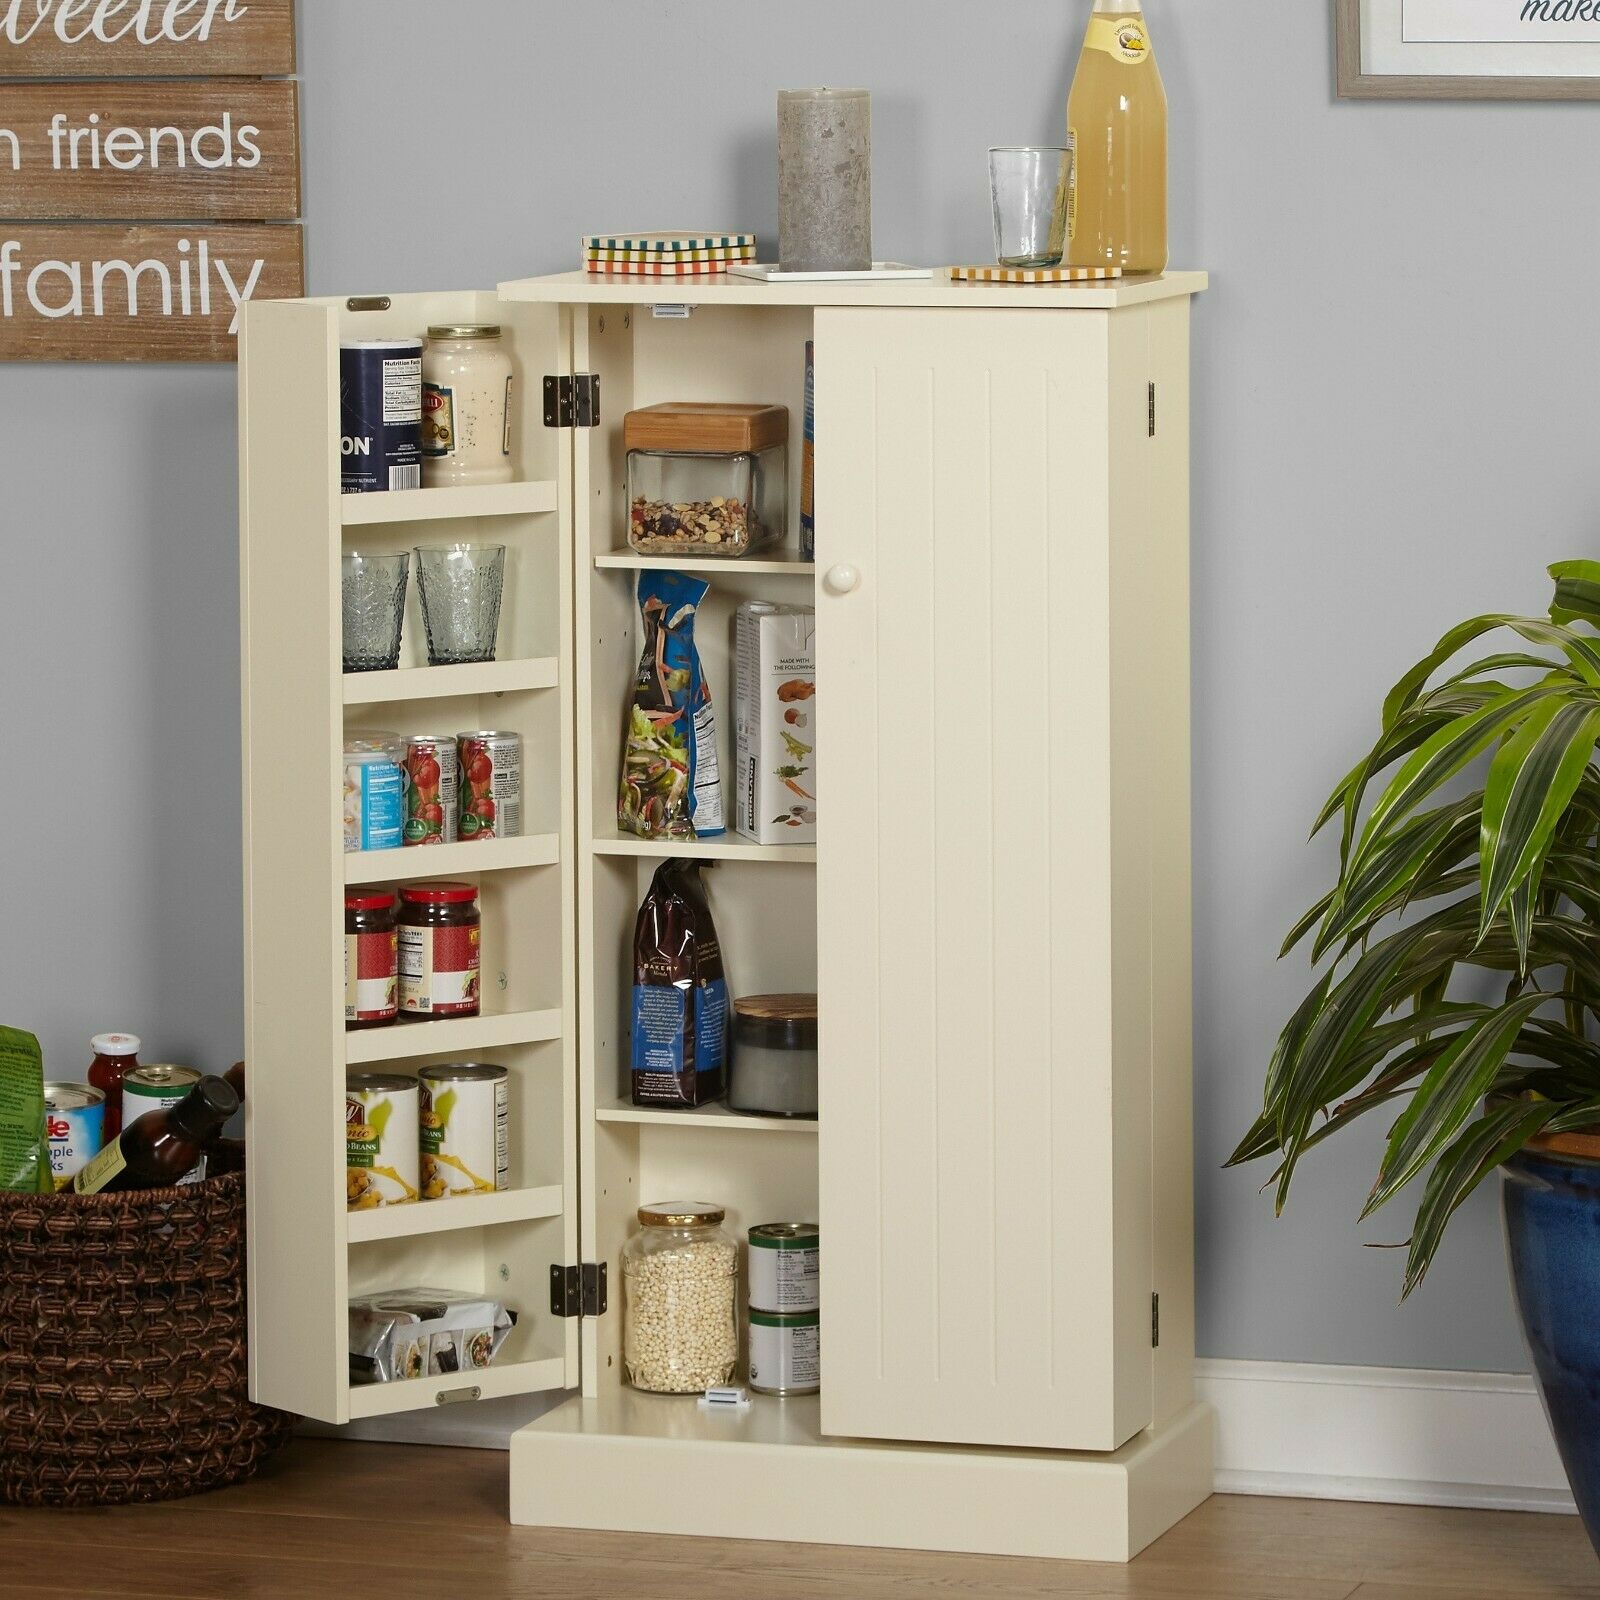
Having a well-organized pantry is essential for any kitchen. It not only makes it easier to find ingredients, but also adds a touch of elegance to the space. If you find yourself constantly rummaging through cluttered cabinets or struggling to locate specific items, then it might be time to consider building a pantry cabinet.
A pantry cabinet offers plenty of storage space for your groceries, kitchen essentials, and even small appliances. It allows you to keep everything neatly organized and easily accessible. Plus, building a pantry cabinet yourself can be a rewarding and cost-effective project.
In this article, we’ll guide you through the process of building your own pantry cabinet from scratch. Whether you have a small kitchen or a spacious one, this step-by-step guide will help you create a custom pantry cabinet that fits your needs and space perfectly.
Before diving into the construction process, it’s important to plan and measure your kitchen space carefully. Take into consideration the available area, the height and width of the cabinet, and any specific storage requirements you have. This will ensure that your pantry cabinet is not only functional but also visually appealing.
Once you have a clear idea of what you want to achieve, the next step is to gather all the necessary materials and tools. This will include plywood or MDF for the cabinet frame, screws, a circular saw, a drill, measuring tape, sandpaper, and paint or stain for the finishing touches.
With everything in hand, you can start cutting the main pieces of your pantry cabinet. Measure and mark the dimensions on the plywood or MDF, then use a circular saw to make the necessary cuts. Take your time and double-check the measurements to ensure accuracy.
Once you have the main pieces cut, it’s time to assemble the cabinet frame. Use screws and a drill to fasten the pieces together, following the design you have in mind. Double check for stability and adjust if necessary.
With the frame complete, you can add shelves and dividers to maximize storage space. Measure and cut the pieces accordingly, then attach them securely to the cabinet frame. This will allow you to create different compartments for different types of items.
Next, install the cabinet doors. You can either purchase pre-made doors or make your own using the same material as the cabinet frame. Attach the hinges and handles, then hang the doors on the cabinet frame. Make sure they open and close smoothly.
Once the construction is complete, it’s time to sand the surfaces and apply the finishing touches. Sand all the edges and surfaces of the cabinet to create a smooth finish. Then, paint or stain the cabinet to match your kitchen decor or personal style.
Lastly, mount the pantry cabinet securely onto the wall in your kitchen. Use the appropriate hardware and ensure that it is level and firmly attached.
Building your own pantry cabinet can be a rewarding and fulfilling project. Not only will it add valuable storage space to your kitchen, but it will also showcase your DIY skills and creativity. Follow this step-by-step guide, and soon you’ll have a functional and beautiful pantry cabinet that will make your kitchen a more organized and efficient space.
Key Takeaways:
- Building a pantry cabinet involves careful planning, precise measurements, and step-by-step construction. It offers a rewarding DIY project that adds valuable storage space and organization to any kitchen.
- By following this guide, you can create a custom pantry cabinet that fits your needs and space perfectly. Embrace the process, showcase your creativity, and enjoy the convenience it brings to your kitchen!
Step 1: Planning and Measuring
The first step in building a pantry cabinet is to carefully plan and measure your kitchen space. This is a crucial step as it will ensure that the pantry cabinet fits perfectly and maximizes the available space.
Start by assessing your kitchen layout and determining where the pantry cabinet will be placed. Consider the proximity to the cooking and preparation areas for easy access. Take note of any obstacles such as existing cabinets, appliances, or plumbing fixtures that may affect the placement or dimensions of the pantry cabinet.
Next, measure the area where you plan to install the pantry cabinet. Use a measuring tape to record accurate measurements of the height, width, and depth of the space. Take into consideration any trim or molding that may affect the dimensions.
Consider the storage needs and preferences of your household. Do you need more shelves for canned goods or adjustable shelves for taller items? Will you need dividers or pull-out drawers to keep things organized? Think about the types of items you will store in the pantry cabinet and design the interior accordingly.
Now that you have gathered all the necessary information, it’s time to create a plan or sketch for your pantry cabinet. You can use simple graph paper or a design software to visualize the dimensions and layout. This will help you determine the size and structure of the cabinet frame, as well as the placement of shelves, dividers, and doors.
Consider the overall aesthetic of your kitchen and choose a design that complements the existing cabinetry and decor. Decide on the materials you will use for the pantry cabinet, such as plywood or MDF, and whether you will paint, stain, or leave it unfinished.
During the planning stage, don’t forget to take into account the necessary clearances. Leave enough space between the pantry cabinet and other fixtures or walls to ensure that doors can open freely and that there is enough room for maneuvering in the kitchen.
Once you have finalized your plan, review it carefully and make any necessary adjustments. Double-check the measurements to ensure accuracy and feasibility. This will save you time and frustration during the construction process.
By taking the time to plan and measure your kitchen space before building your pantry cabinet, you are setting yourself up for success. Proper planning ensures that the cabinet fits perfectly and meets your storage needs. It also helps you avoid unnecessary mistakes and makes the construction process smoother and more efficient.
Step 2: Gathering Materials and Tools
Now that you have completed the planning and measuring phase, it’s time to gather all the necessary materials and tools for building your pantry cabinet. By ensuring you have all the necessary items beforehand, you can streamline the construction process and avoid unnecessary delays.
Here is a list of the materials you will need:
- Plywood or MDF: These will be used to construct the cabinet frame and shelves. Choose a thickness that is sturdy enough to support the weight of your items.
- Screws: Get a variety of sizes to accommodate different parts of the cabinet. Make sure they are durable and appropriate for the material you are working with.
- Hinges: Depending on the style and design of your pantry cabinet, you will need hinges to attach the doors. Choose ones that are durable and can support the weight of the doors.
- Handles or knobs: If you opt for doors, you will need handles or knobs to open and close them. Select ones that align with your kitchen’s style and are comfortable to use.
- Paint or stain: Decide on the finish you want for your pantry cabinet. Choose a paint or stain that is suited for the material you are using and complements your kitchen’s aesthetic.
In addition to the materials, you will also need a set of tools to complete the construction:
- Circular saw: This will be used to cut the plywood or MDF sheets to the desired sizes and shapes.
- Drill: Necessary for drilling pilot holes and driving screws into the cabinet frame.
- Measuring tape and ruler: Accurate measurements are crucial for ensuring the cabinet is built to the proper dimensions.
- Sanding block or sandpaper: To smooth out any rough edges and create a finished look for the cabinet.
- Clamps: These can be helpful for holding pieces together while you’re assembling the cabinet frame.
- Paintbrushes or paint sprayer: Depending on your chosen finish, you will need appropriate tools for applying paint or stain to the cabinet.
Before starting the construction process, it’s important to double-check that you have all the necessary materials and tools. This will save you time and frustration later on when you don’t have to make a trip to the hardware store during the middle of the project.
By gathering all the materials and tools upfront, you can focus on the construction process and ensure a smoother workflow. Having everything you need at your disposal will make the building process more efficient and enjoyable.
Step 3: Cutting the Main Pieces
Now that you have your materials and tools ready, it’s time to move on to the construction phase of building your pantry cabinet. The first step in this phase is to cut the main pieces of the cabinet, including the sides, top, bottom, and back.
Start by referring to your plan or sketch to determine the dimensions of each piece. Measure and mark the dimensions on the plywood or MDF sheets using a measuring tape and ruler. Make sure to double-check your measurements to ensure accuracy.
Once you have marked the dimensions, it’s time to cut the pieces. Use a circular saw with a fine-toothed blade to make the cuts. Take your time and follow the marked lines precisely to ensure clean and accurate cuts.
When cutting the pieces, it is important to use proper safety precautions. Wear safety goggles to protect your eyes from any flying debris, and use clamps or other securing methods to stabilize the material while cutting.
When cutting the sides of the cabinet, take into account any notches or openings for cords, ventilation, or plumbing fixtures if necessary. It’s also a good idea to label each piece to avoid confusion during the assembly process.
After cutting the main pieces, check each one for accuracy. They should fit together snugly, with no gaps or misalignments. If you notice any errors, make adjustments accordingly, either by recutting the piece or making minor modifications.
Remember to make the necessary adjustments for any trim or molding that may be added later. This will ensure that the final dimensions of the pantry cabinet are precise and tailored to your kitchen space.
Once all the main pieces are cut and ready, set them aside and organize them in a designated area. This will make it easier to assemble the cabinet frame in the next step.
By carefully cutting the main pieces according to your plan and ensuring their accuracy, you are setting a solid foundation for the rest of the construction process. Taking the time to measure twice and cut once will result in a well-fitted pantry cabinet that meets your storage needs.
Step 4: Assembling the Cabinet Frame
Now that you have cut all the main pieces of the pantry cabinet, it’s time to start assembling the cabinet frame. This step is crucial as it forms the structure and foundation of the cabinet.
Begin by gathering the sides, top, bottom, and back pieces that you previously cut. Lay them out in the designated area, making sure they are easily accessible and organized.
Start by attaching the sides to the top and bottom pieces of the cabinet frame. Use screws and a drill to secure the pieces together. It’s important to pre-drill pilot holes to prevent splitting and ensure a sturdy connection.
As you assemble the pieces, use a carpenter’s square or a measuring tape to ensure everything is square and aligned properly. Check for any gaps or misalignments and make adjustments as necessary.
Consider adding additional support to the cabinet frame if needed. This can be achieved by installing support rails or using corner brackets. These will strengthen the overall structure of the cabinet and provide extra stability.
Once the sides, top, and bottom are securely attached, it’s time to add the back piece of the cabinet frame. Line it up with the edges of the other pieces and secure it using screws. This will give the cabinet extra rigidity and stability.
Double-check the cabinet frame for squareness and stability. Make any necessary adjustments before proceeding to the next step.
As you assemble the cabinet frame, it’s important to pay attention to detail and maintain accuracy. Take your time to ensure that all the pieces fit together seamlessly and that the cabinet frame is solid and sturdy.
Once the cabinet frame is assembled, take a step back and inspect it for any imperfections. Sand down any rough edges or uneven surfaces to create a smooth finish. This will make the next steps, such as adding shelves and doors, much easier.
By successfully assembling the cabinet frame, you’ve reached a significant milestone in building your pantry cabinet. The assembled frame forms the basic structure on which the remaining components will be added. Take pride in your progress and get ready to move on to the next step.
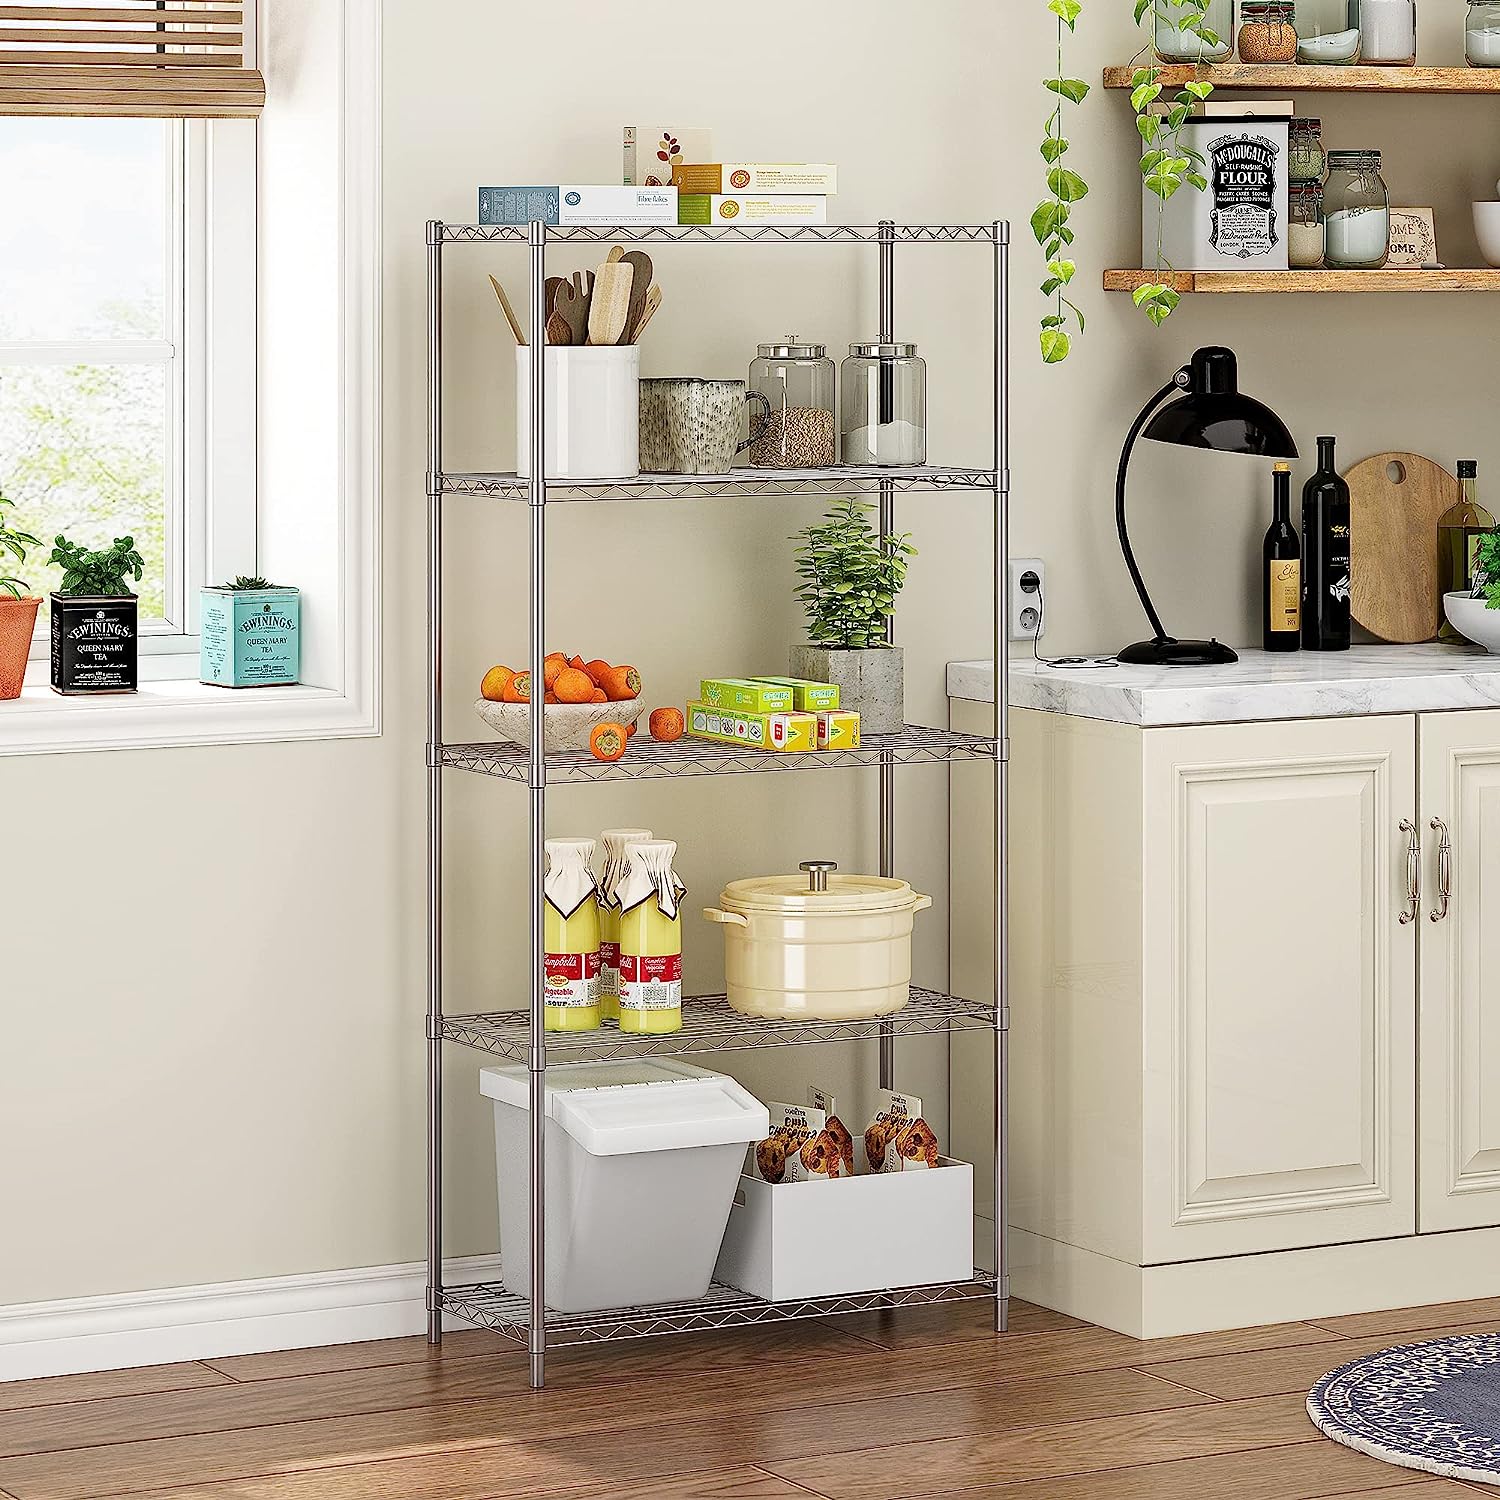
When building a pantry cabinet, make sure to measure the space accurately and consider the depth, width, and height of the shelves to accommodate different types of items. Use sturdy materials and consider adding adjustable shelves for versatility.
Read more: How To Build Kitchen Pantry Cabinet
Step 5: Adding Shelves and Dividers
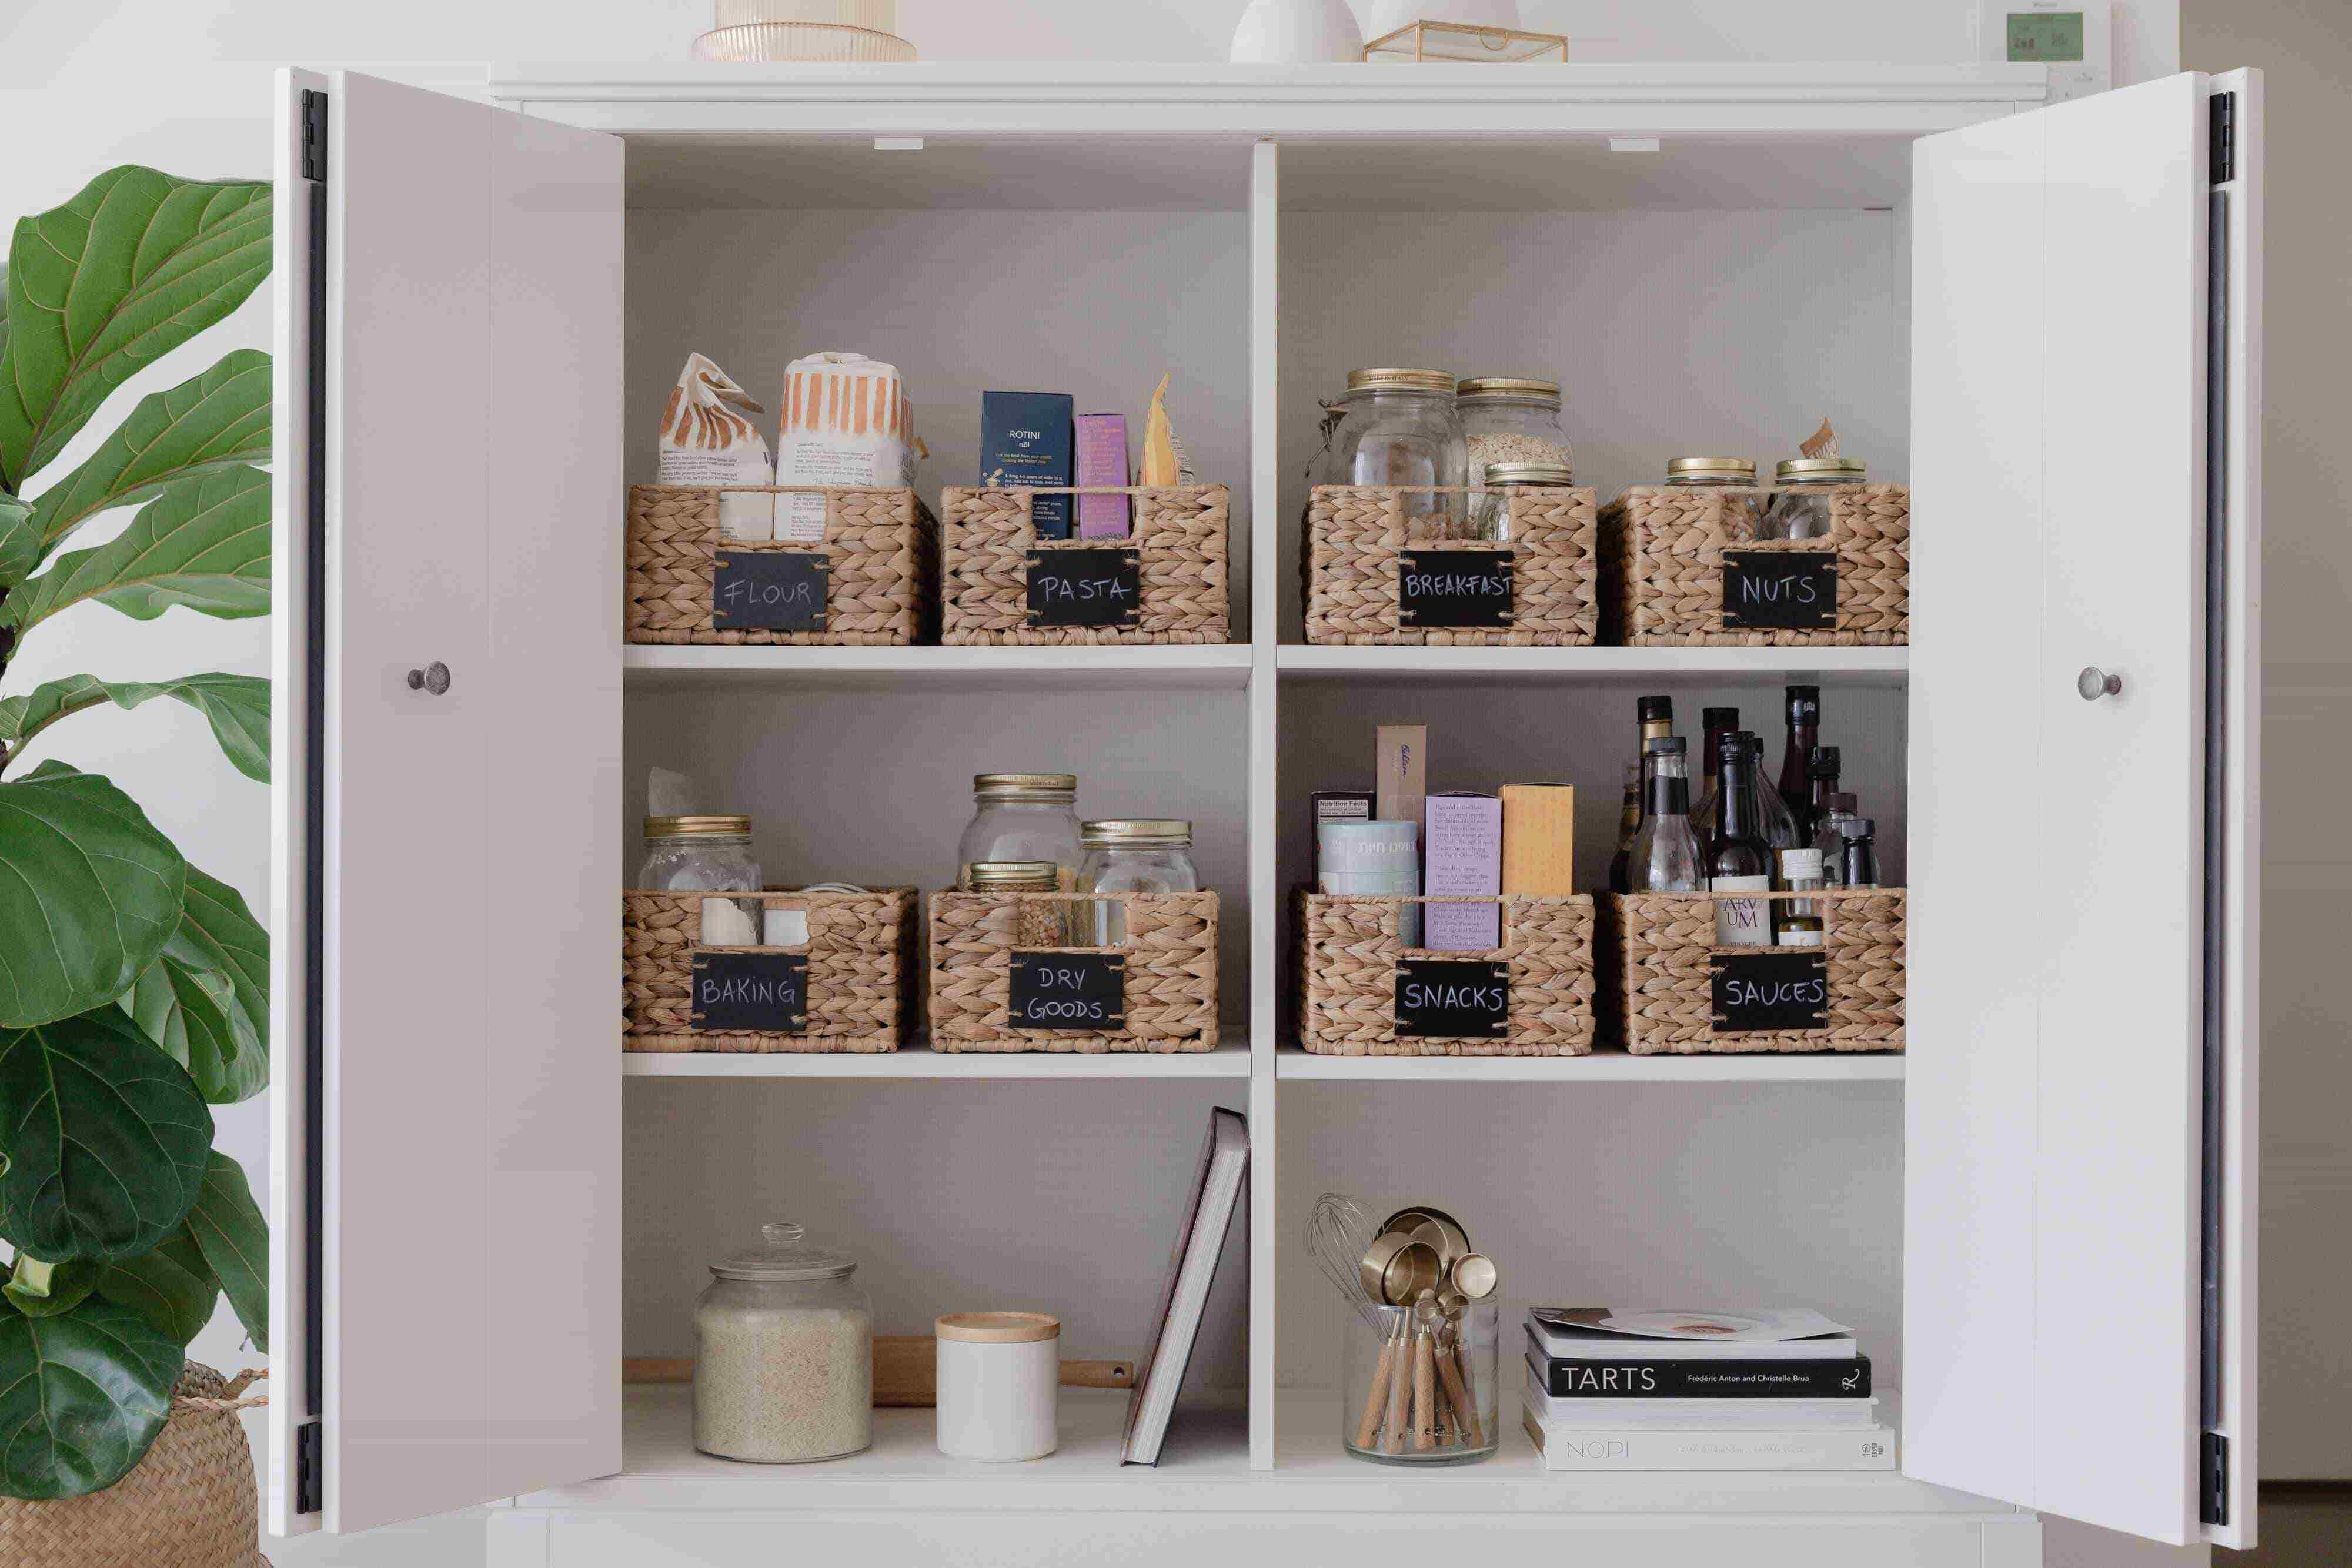
With the cabinet frame assembled, it’s time to move on to adding shelves and dividers to create functional storage spaces within your pantry cabinet. This step allows you to customize the interior layout according to your specific storage needs.
Before starting, take a moment to assess the items you plan to store in the pantry cabinet. Consider their sizes and dimensions to determine the spacing and number of shelves needed. This will help you optimize the storage capacity and ensure efficient organization.
Start by measuring the height and spacing for the shelves. Use a measuring tape and ruler to mark the desired locations on the inside of the cabinet frame. Ensure the measurements are accurate and level to maintain a uniform appearance.
Cut the shelves to size from the plywood or MDF, based on the measurements you’ve taken. Use a circular saw to make the cuts, and sand down any rough edges for a smooth finish.
Once the shelves are cut, place them on the marked locations within the cabinet frame. Check for a snug fit and make any necessary adjustments to ensure they are level and properly positioned.
Attach the shelves to the cabinet frame using screws. Drill pilot holes to prevent splitting, and secure the shelves in place. Repeat this process for each shelf you plan to include in the pantry cabinet.
For additional organization and to create compartments for different types of items, consider adding dividers. Measure, cut, and attach dividers to the shelves as needed. This will help keep your pantry items organized and prevent them from toppling over.
When adding dividers, consider the width and height of the items you plan to store. Adjust the sizes and spacing of the dividers to accommodate different-sized products and create a more efficient storage system.
As you add shelves and dividers, periodically step back and assess the layout. Check for any gaps or misalignments and make adjustments as necessary to ensure a seamless and tidy appearance.
By adding shelves and dividers, you are transforming the empty cabinet frame into a functional storage unit. This step allows you to personalize the interior of the pantry cabinet to suit your storage needs and keep your groceries organized and easily accessible.
Once you have completed this step, move on to the next phase of the construction process, which involves installing cabinet doors to further enhance the functionality and aesthetics of your pantry cabinet.
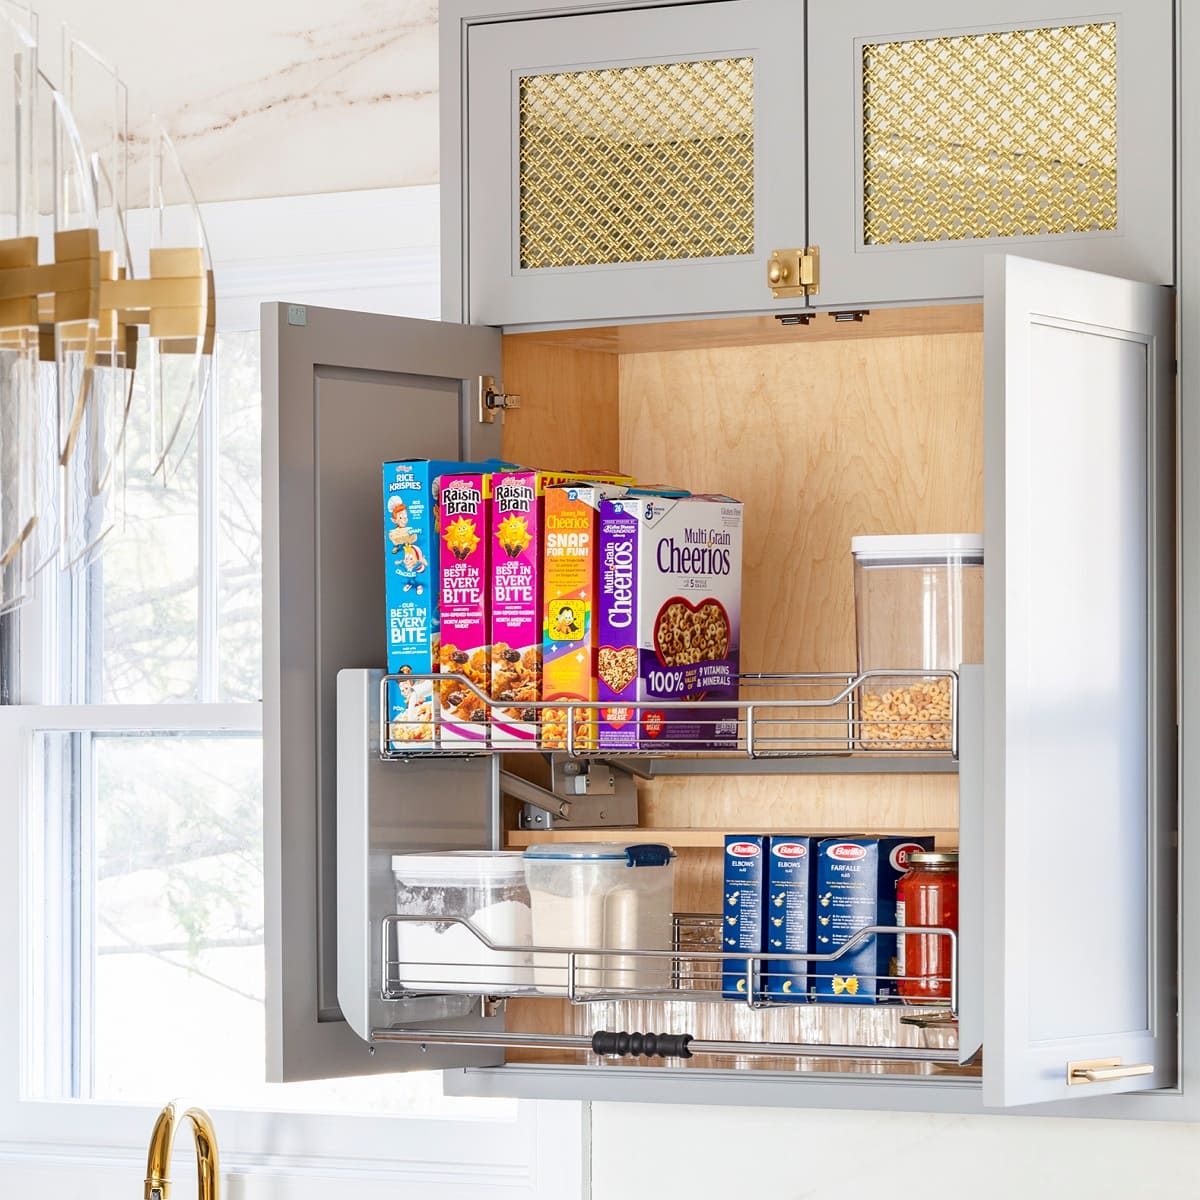
Step 6: Installing Cabinet Doors
Now that you have completed the interior setup of your pantry cabinet with shelves and dividers, it’s time to move on to the next step: installing cabinet doors. Cabinet doors not only add a finishing touch to the cabinet’s appearance but also help to keep your items hidden and protected.
Before you begin, decide on the style and design of your cabinet doors. You can choose pre-made doors from a home improvement store or create your own using the same material as the cabinet frame. Consider factors such as the overall aesthetic of your kitchen and the functionality you desire.
Start by measuring and marking the placement of your cabinet door hinges on both the cabinet frame and the door itself. It’s important to ensure that the hinges align properly for a smooth opening and closing motion.
Next, attach the hinges to the cabinet frame using screws. Make sure to pre-drill pilot holes to prevent any splitting. Once the hinges are securely in place, hang the door onto the hinges and test its movement. Adjust the placement if necessary to ensure the door opens and closes smoothly.
If you choose to add handles or knobs, measure and mark their placement on the cabinet door. Pre-drill holes, then attach the handles or knobs using screws. Make sure they are secure and aligned properly for a comfortable grip.
Repeat this process for any additional cabinet doors you have. Ensure that each door is properly aligned and level with the cabinet frame by making adjustments as needed.
Once all the doors are installed, take a step back and inspect the overall appearance and functionality of your pantry cabinet. Open and close each door to ensure they operate smoothly and without any obstructions.
If desired, you can also consider installing soft-close hardware to add an extra touch of convenience and prevent the doors from slamming shut.
By installing cabinet doors, you are giving your pantry cabinet the final touches it needs for a polished and complete look. The doors not only enhance the aesthetic appeal but also provide functionality and added protection for your stored items.
With the installation of the cabinet doors complete, you can now move on to the final steps of the construction process, which involve sanding and finishing the cabinet to achieve a smooth and attractive surface.
Step 7: Sanding and Finishing the Cabinet
After installing the cabinet doors, it’s time to focus on sanding and finishing the pantry cabinet. This step is crucial to create a smooth and polished surface, as well as to protect the cabinet from wear and tear. Sanding and finishing will give your pantry cabinet a professional look and make it more durable.
Start by preparing the cabinet for sanding. Remove any dust or debris using a soft cloth or vacuum cleaner. This will ensure that the sanding process is efficient and that the finish adheres properly to the cabinet surface.
Using fine-grit sandpaper or a sanding block, gently sand the entire surface of the cabinet, including the interior and exterior. Sand along the grain of the wood to avoid creating scratches. Focus on any rough areas or imperfections to create a smooth and even surface.
After sanding, wipe the cabinet with a clean, dry cloth to remove any residual dust or debris. This will ensure a clean surface for applying the finish.
Once the cabinet is clean and dry, it’s time to apply the finish. Choose a paint or stain that suits your kitchen decor and personal preference. Apply the finish evenly using a paintbrush or paint sprayer, following the manufacturer’s instructions for application and drying time.
If you choose to paint the cabinet, apply multiple thin coats of paint, allowing each coat to dry completely before applying the next. This will ensure a smooth and even coverage. For stained cabinets, apply the stain using a clean cloth or sponge, following the wood grain for a natural look.
Allow the finish to dry completely according to the manufacturer’s instructions. This may take several hours or even overnight, depending on the type of finish you used. Avoid touching or placing objects on the cabinet during the drying process to prevent smudges or damage.
Once the finish is fully dried, inspect the cabinet for any areas that may need touch-ups or additional coats. Sand any uneven or rough spots lightly, then apply another coat of paint or stain as needed.
Once you are satisfied with the finish and the cabinet’s appearance, give it a final wipe-down with a clean, soft cloth to remove any remaining dust or debris.
By sanding and finishing the pantry cabinet, you are adding the final touches to the project. This step not only enhances the visual appeal of the cabinet but also protects it from everyday use and ensures its longevity.
With the sanding and finishing complete, you are ready for the final step: mounting the pantry cabinet in its designated location in your kitchen.
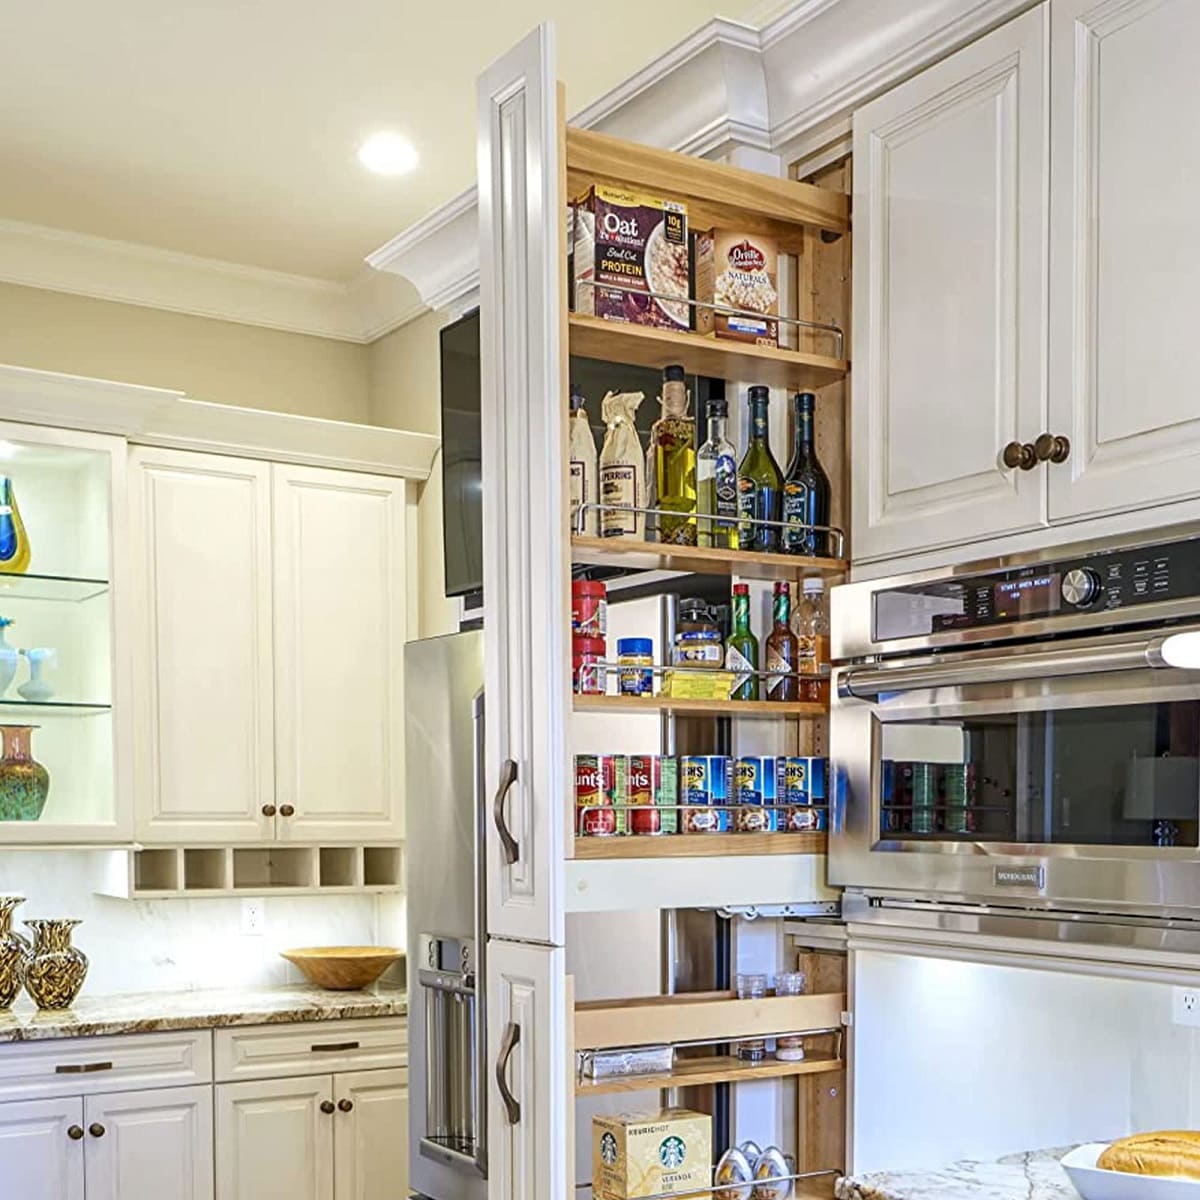
Step 8: Mounting the Pantry Cabinet
As you near the end of your pantry cabinet construction project, step 8 involves mounting the cabinet securely in its designated location in your kitchen. Proper installation is essential to ensure the stability and functionality of the cabinet.
Before you begin, gather the necessary tools and materials for mounting the cabinet. These may include a drill, screws, a level, a measuring tape, and any additional hardware provided with the cabinet.
Start by identifying the location where you want to mount the pantry cabinet. Use a measuring tape to ensure proper spacing from surrounding cabinets, appliances, and fixtures.
If your pantry cabinet is designed to hang on the wall, locate the studs behind the wall using a stud finder. Mark the stud locations on the wall with a pencil as these will provide the necessary support for the weight of the cabinet.
Next, position the cabinet against the wall and use a level to ensure it is straight and level. Adjust as needed to achieve a proper alignment. It’s important to have a helper during this step to hold the cabinet in place while you work.
Using a drill, screw the cabinet into the wall studs. Start with the upper cabinets and work your way down. Drive the screws securely into the studs, but be careful not to over-tighten and strip the screws.
Double-check the levelness and stability of the cabinet once it is mounted. Adjust as necessary to ensure it is securely in place and properly aligned with surrounding elements.
If your pantry cabinet has adjustable feet, adjust them to ensure the cabinet is level on the floor. This will prevent any wobbling or imbalance.
Finally, check the functionality of the cabinet doors. Open and close them to ensure they operate smoothly and without any obstructions. Make any necessary adjustments to ensure proper alignment and operation.
With the pantry cabinet securely mounted and properly aligned, step back and admire your completed project. Take pride in the hard work and dedication you put into building a beautiful and functional pantry cabinet for your kitchen.
Congratulations! You have successfully completed all the steps involved in building and installing your pantry cabinet. Enjoy the convenience and organization it brings to your kitchen space!
Read more: How To Build A Kitchen Food Pantry Cabinet
Conclusion
Building a pantry cabinet can greatly enhance the functionality and organization of your kitchen space. It provides a dedicated storage area for your groceries and kitchen essentials, making them easily accessible and neatly organized. Through the step-by-step process outlined in this guide, you have learned how to plan, measure, gather materials, cut pieces, assemble the cabinet frame, add shelves and dividers, install cabinet doors, sand, finish, and mount the pantry cabinet.
By taking the time to carefully plan and measure your kitchen space, you ensure that the pantry cabinet fits perfectly and meets your storage needs. Gathering all the necessary materials and tools upfront allows for a smooth and efficient construction process.
Through cutting the main pieces and assembling the cabinet frame, you have built the foundation of your pantry cabinet. Adding shelves and dividers maximizes the storage space and allows you to customize the interior layout to suit your specific needs.
Installing cabinet doors adds the finishing touch to your pantry cabinet, creating a polished and attractive appearance while keeping your items hidden and protected.
Sanding and finishing the cabinet provides a smooth surface and protects it from wear and tear, ensuring its durability and longevity. Finally, mounting the cabinet securely completes the project, giving you a functional and beautiful space-saving solution for your kitchen.
By following this step-by-step guide, you have achieved the satisfaction of creating a custom pantry cabinet that meets your needs and fits seamlessly within your kitchen. Embrace the organization and convenience it brings to your daily cooking and shopping routines.
Remember, building a pantry cabinet is not only a practical endeavor but also an opportunity to showcase your DIY skills and creativity. Enjoy the process, embrace any challenges that may arise, and take pride in your finished product.
Thank you for joining us on this pantry cabinet building journey. We hope this guide has been informative and helpful in your DIY project. May your new pantry cabinet bring joy, efficiency, and organization to your kitchen for years to come!
Frequently Asked Questions about How To Build Pantry Cabinet
Was this page helpful?
At Storables.com, we guarantee accurate and reliable information. Our content, validated by Expert Board Contributors, is crafted following stringent Editorial Policies. We're committed to providing you with well-researched, expert-backed insights for all your informational needs.


0 thoughts on “How To Build Pantry Cabinet”