Articles
How To Decorate Vases
Modified: February 24, 2024
Learn the best techniques for decorating vases with our informative articles. Discover creative ideas and expert tips to enhance your vase decorations.
(Many of the links in this article redirect to a specific reviewed product. Your purchase of these products through affiliate links helps to generate commission for Storables.com, at no extra cost. Learn more)
Introduction
Decorating vases is a fantastic way to add a personal touch to your home decor or create unique and thoughtful gifts for your loved ones. Whether you want to add a pop of color to a plain glass vase or completely transform the design with intricate patterns, there are endless possibilities for unleashing your creativity.
In this article, we will explore the art of vase decoration, guiding you through the steps to create stunning pieces that will captivate the eye and enhance any space. From choosing the right vessel to selecting a theme or style, gathering materials, and executing various techniques, you’ll discover everything you need to know to become a vase decorating expert.
Decorating vases allows you to unleash your artistic flair and create something truly unique. The process can be both enjoyable and fulfilling, as you witness the transformation of a plain vase into a personalized work of art. Whether you are a seasoned artist or just starting, this article will provide you with the knowledge and inspiration to create beautiful and eye-catching vase designs.
Before we delve into the details, it’s essential to note that the possibilities for decorating vases are virtually endless. You can choose to work with different materials, such as glass, ceramic, or even plastic. Similarly, the techniques you can use include painting, decoupage, etching, or even exploring mixed-media approaches. The key is to find a style and technique that resonates with you and aligns with the look and feel you wish to achieve.
Now, without further ado, let’s dive into the world of vase decoration and explore the steps involved in creating stunning pieces that will leave a lasting impression.
Key Takeaways:
- Unleash Your Creativity: Decorating vases offers a delightful opportunity to express your artistic flair, experiment with different techniques, and create stunning, personalized works of art that reflect your unique style and personality.
- Transform Your Space: By carefully selecting the right vase, creating a cohesive theme or style, and adding finishing touches, you can elevate your home decor with beautifully decorated vases that serve as captivating focal points and conversation starters.
Read more: How To Decorate With Large Vases
Choosing the Right Vase
When it comes to vase decoration, selecting the right vase is the first step towards achieving a stunning end result. The type of vase you choose will influence the overall design and the techniques you can use. Here are some factors to consider when choosing the perfect vase for your project:
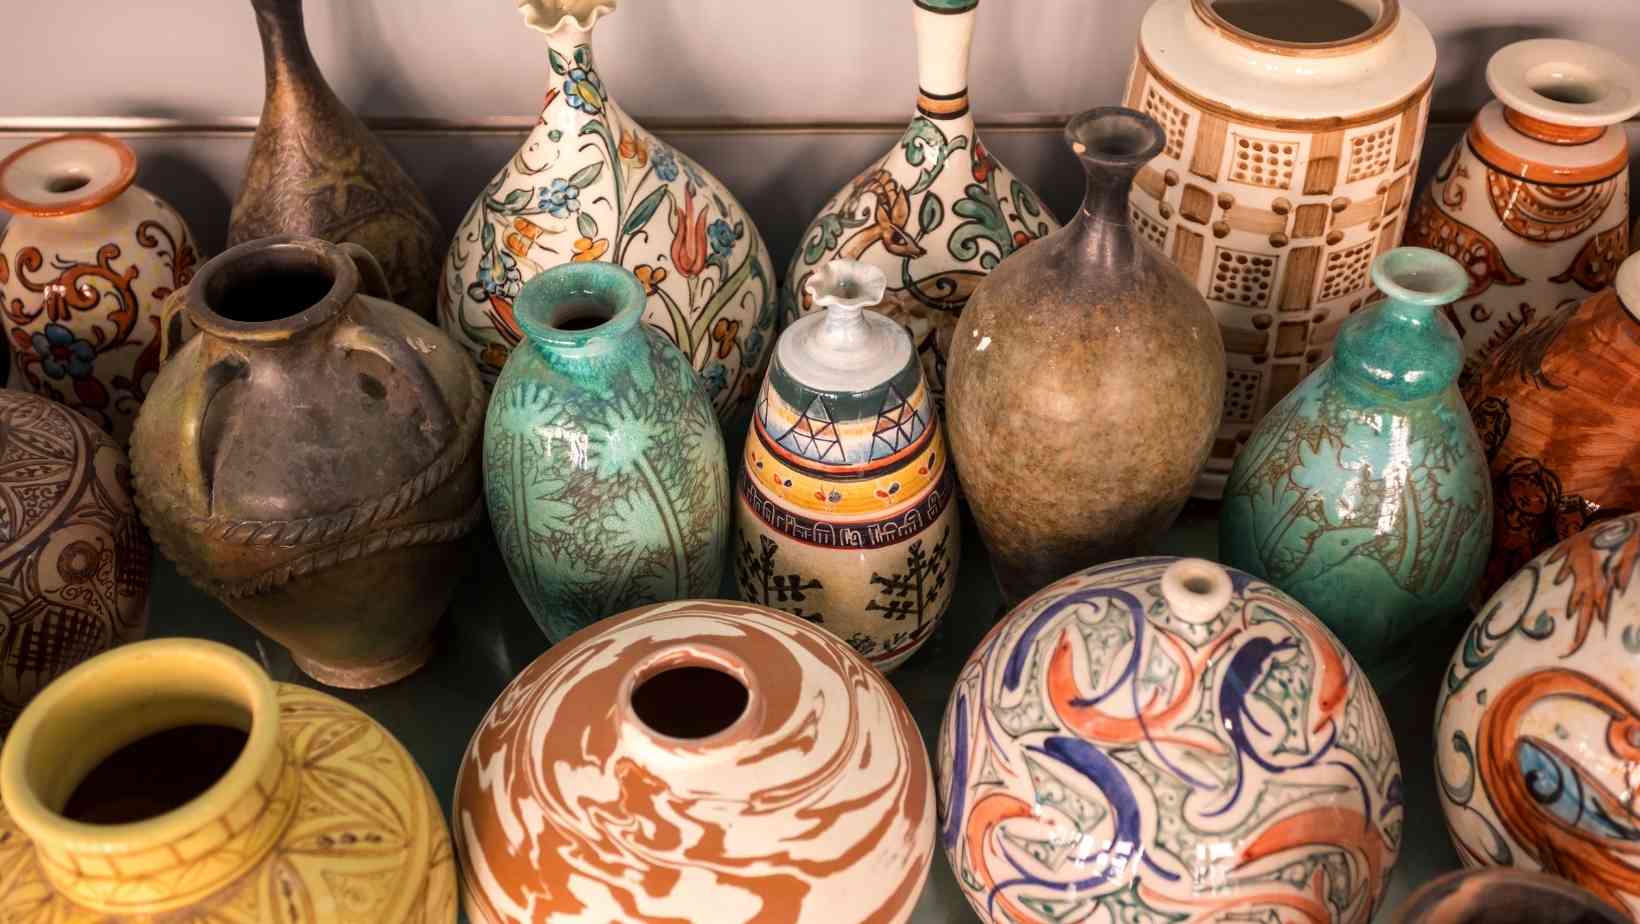
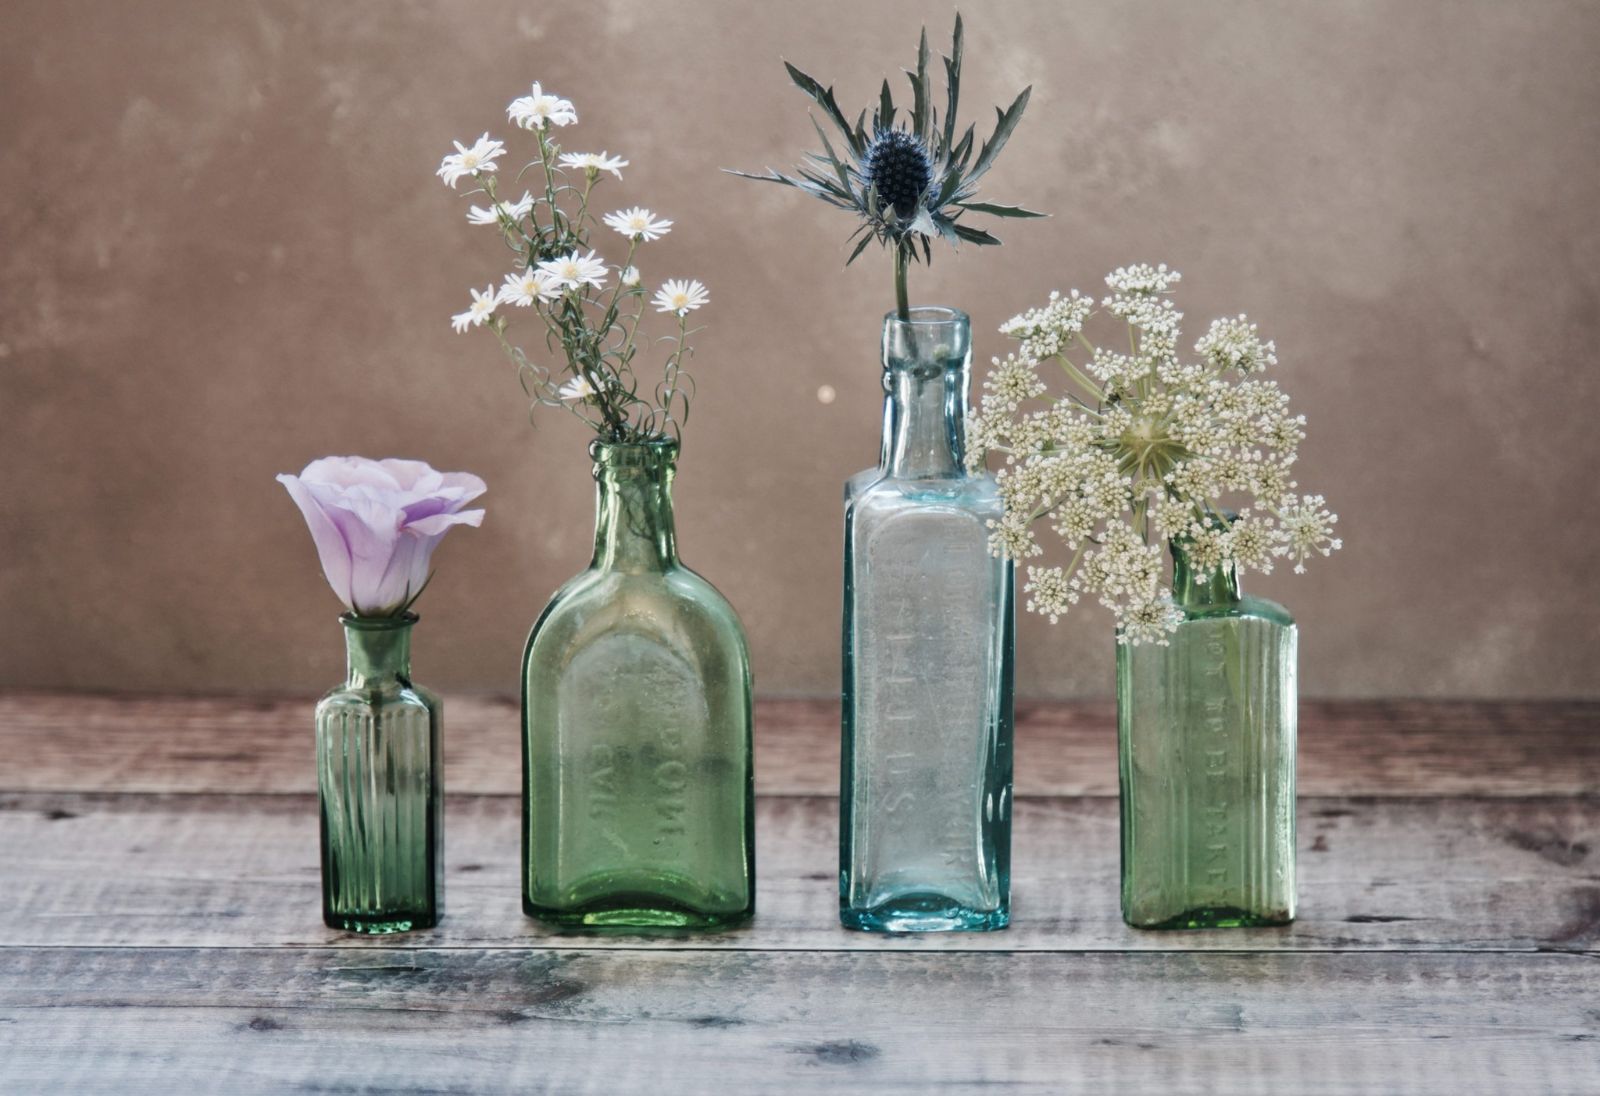
- Material: Vases come in a variety of materials, including glass, ceramic, metal, and even plastic. Each material has its own unique characteristics and aesthetic appeal. Glass vases are popular for their transparency, allowing you to create beautiful designs using painting techniques or fill them with flowers. Ceramic vases offer a more rustic and earthy feel, which can be enhanced with techniques like glazing or decoupage. Consider the theme or style you want to achieve when deciding on the material of your vase.
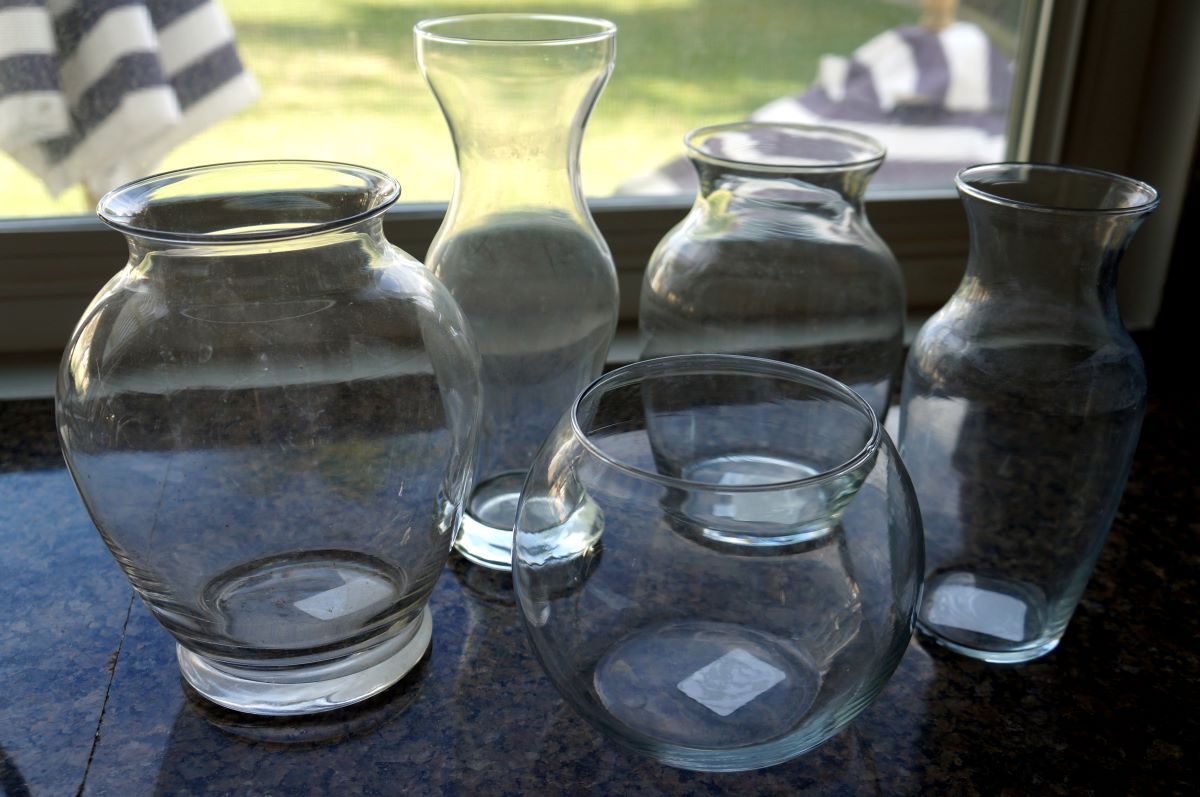
- Shape and Size: The shape and size of the vase will also impact the overall design. Tall and slender vases are ideal for displaying long-stemmed flowers, while wider and more compact vases are better suited for arrangements with shorter flowers or for creating decorative centerpieces. Consider the purpose of the vase and the space where it will be displayed when choosing the shape and size.
- Texture: Vases can have various textures, such as smooth, ribbed, or even patterned. The texture of the vase can add visual interest to your design. For example, a ribbed vase may work well with a textured painting technique, while a smooth glass vase can lend itself to elegant and intricate designs.
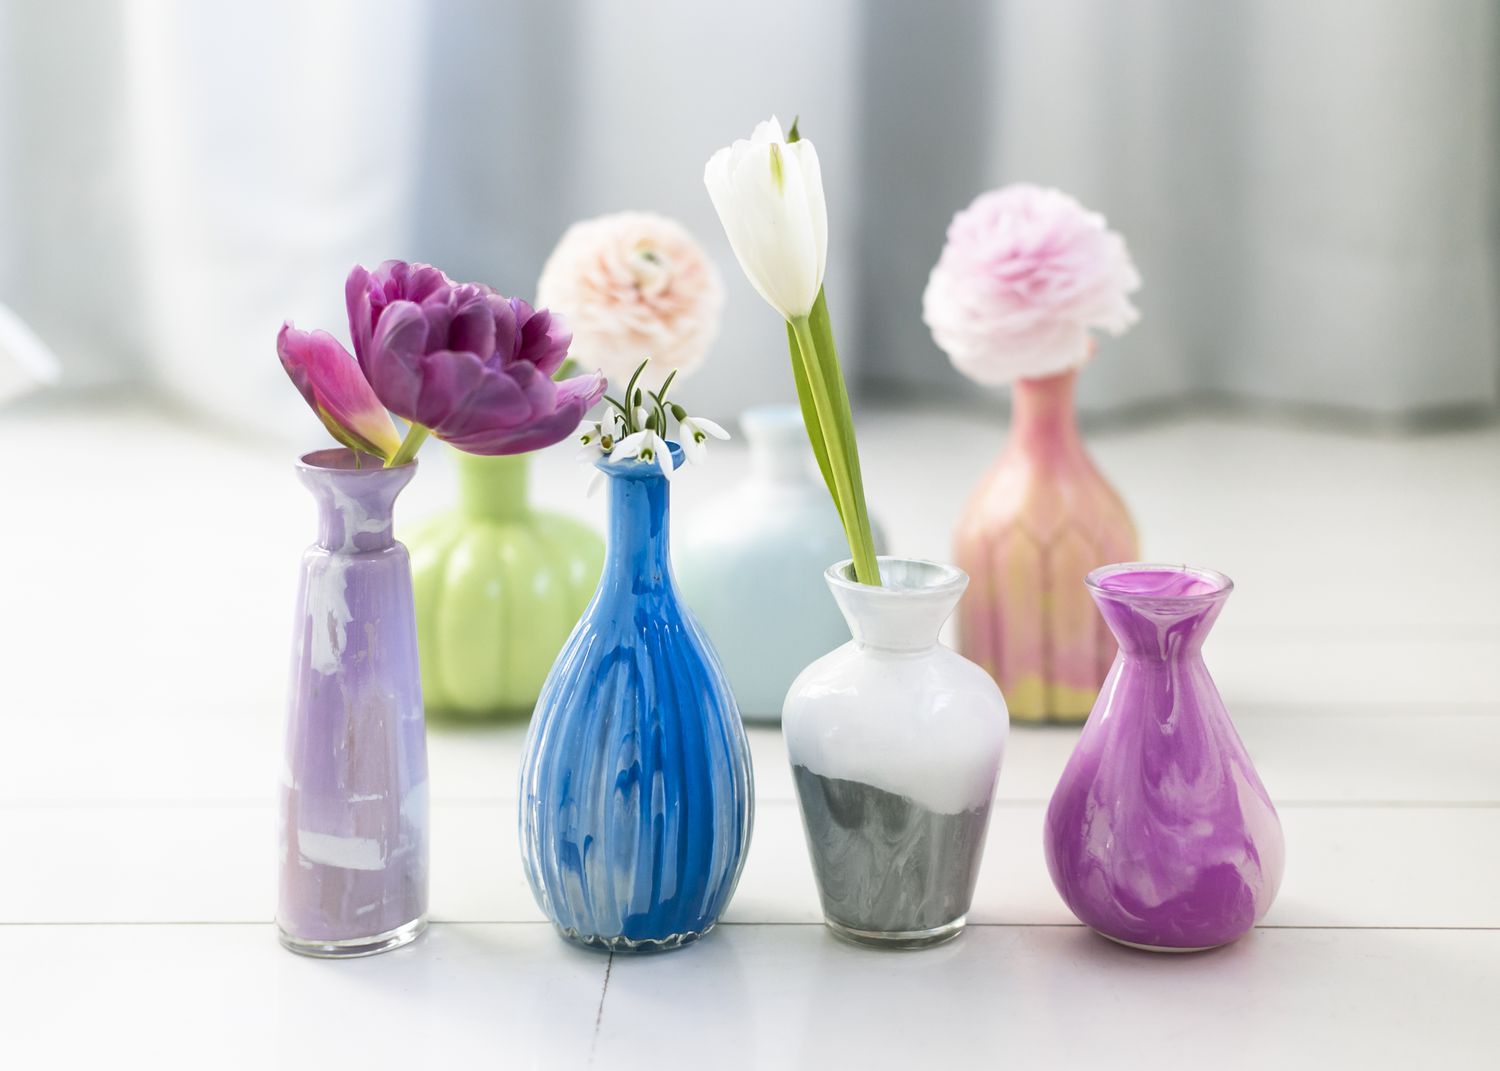
- Color: The color of the vase is another important consideration. You can choose a vase that complements the colors in your existing decor or opt for a bold and contrasting color to create a statement piece. Keep in mind that certain decorating techniques, such as painting or decoupage, may require a neutral or lighter-colored base for the design to stand out.
- Functionality: Finally, consider the functionality of the vase. Will it primarily be used as a decorative piece, or do you also want it to be functional for holding flowers or other items? Ensure that the vase you choose is suitable for its intended purpose along with your desired design aesthetic.
By carefully considering these factors and selecting the right vase, you lay the foundation for a successful and visually appealing decoration project. Once you have your perfect vase, it’s time to move on to the next step – selecting a theme or style for your design.
Selecting a Theme or Style
Choosing a theme or style for your vase decoration is an exciting opportunity to showcase your personal taste and create a cohesive and visually appealing design. Here are some tips to help you select the perfect theme or style:
- Consider the Purpose: Think about where the decorated vase will be displayed and the overall theme or style of the space. Are you aiming for a modern and minimalist look, a rustic farmhouse vibe, or a romantic and vintage aesthetic? By aligning the vase decoration with the existing theme or style of the room, you can create a harmonious and visually pleasing display.
- Draw Inspiration: Look for inspiration in various sources, such as nature, art, fashion, or even your favorite hobbies. Take note of colors, patterns, and motifs that catch your eye and resonate with your personal style. You can also browse through magazines, websites, or social media platforms for inspiration and ideas.
- Consider the Occasion: If you’re creating the decorated vase for a specific occasion or event, such as a wedding, birthday, or holiday, think about incorporating elements that are relevant to the occasion. For example, for a beach-themed wedding, you could use seashells, starfish, or a coastal color palette for your design.
- Experiment with Styles: Don’t be afraid to mix and match different styles to create a unique and eclectic design. For example, you could combine a modern geometric pattern with a vintage floral motif for an interesting fusion of styles. Let your imagination run wild and explore different combinations to create something truly one-of-a-kind.
- Showcase Your Interests: Infuse your personal interests and passions into your vase decoration. Whether you’re a fan of animals, sports, or abstract art, incorporating elements that reflect your hobbies and interests adds a personal touch to the design. It also creates a great conversation starter for guests who see your decorated vase.
Remember, the theme or style you choose for your vase decoration should reflect your personality and create a design that you find visually appealing. Don’t be afraid to step out of your comfort zone and try something new. The key is to have fun and let your creativity flow.
Once you have selected a theme or style for your vase decoration, it’s time to gather the necessary materials and tools to bring your vision to life. We’ll explore this next step in the vase decoration process.
Gathering Materials and Tools
As you embark on your vase decoration journey, it’s important to gather all the necessary materials and tools to ensure a smooth and successful project. The specific materials and tools you will need depend on the techniques and design you choose. Here are some essential items to consider:
- Vase: Of course, you will need the vase itself. As mentioned earlier, select a vase that suits your style, size requirements, and the material you plan to work with. Whether it’s a glass vase, ceramic vessel, or any other material, ensure it’s clean and free from any dust or residue before you begin.
- Paints: If you plan to paint your vase, gather the appropriate paints for your chosen design. Acrylic paints are a popular choice due to their versatility and wide range of colors available. Ensure you have the desired colors and any necessary brushes or sponges for application.
- Brushes and Tools: Depending on the techniques you’re using, gather an assortment of brushes, sponges, or other tools suitable for the task. Flat brushes are ideal for broad strokes and larger areas, while detail brushes allow for intricate designs and fine lines. Consider the effects you want to achieve and select the appropriate tools accordingly.
- Decorative Elements: If you plan to incorporate additional decorative elements, such as beads, buttons, ribbons, or fabric pieces, make sure you have them on hand. These elements can add texture and enhance the overall design of your vase.
- Adhesives: If you’re attaching decorative elements or incorporating decoupage techniques, ensure you have the appropriate adhesives. Depending on the materials you’re working with, you may need glue, Mod Podge, or other specialized adhesives. Follow the instructions for use and allow sufficient drying time.
- Protective Coating: To preserve and protect your finished design, consider applying a protective coating. This can be a clear varnish, gloss or matte finish, or a dedicated spray sealant. The coating will provide a layer of protection and enhance the longevity of your decorated vase.
- Protective Gear: Depending on the materials and techniques you’re using, it may be wise to have some protective gear. This can include gloves, aprons, goggles, or masks to protect yourself from any potential hazards or fumes.
Before you start the decoration process, it’s crucial to have all your materials and tools gathered and organized. This will save you time and allow you to focus solely on creating your masterpiece. Additionally, ensure that you have a clean and well-ventilated workspace where you can comfortably work on your vase decoration project.
Now that you have all your materials and tools ready, let’s move on to the next steps in the vase decoration process, starting with preparing the vase for the design.
Preparing the Vase
Before you begin decorating your chosen vase, it’s crucial to prepare it properly to ensure the best results. Proper preparation will help the materials and designs adhere better and create a long-lasting and professional-looking finish. Here are the steps to prepare your vase:
- Clean the Vase: Thoroughly clean the vase to remove any dirt, dust, or oils that may be present. Use mild soapy water and a soft cloth or sponge to gently clean the surface. Rinse the vase thoroughly and allow it to dry completely before proceeding.
- Smooth the Surface (if necessary): If the vase has any rough or uneven areas, such as chips or imperfections, you can use fine grit sandpaper to smooth them out. Be gentle and sand in a circular motion until the surface feels smooth. Wipe away any dust from sanding using a clean cloth.
- Surface Preparation (optional): Depending on the material of your vase and the techniques you plan to use, you may need to prepare the surface further. For example, if you’re working with a glass vase and plan to paint it, applying a primer specifically designed for glass can improve paint adhesion and durability. Follow the manufacturer’s instructions when applying the primer.
- Masking (if necessary): If you want to create clean edges or sections for your design, consider using masking tape to define the areas you want to protect. This is particularly helpful when working with multiple colors or when using different techniques on different sections of the vase.
- Prime the Vase (if necessary): Depending on the material and design, you may need to apply a base coat or primer to the vase. This is especially important when using light-colored paints on dark or transparent surfaces. The base coat ensures that the colors appear true and vibrant. Apply the primer according to the manufacturer’s instructions and allow it to dry completely.
By following these preparation steps, you’re setting the stage for a successful and professional-looking vase decoration project. Taking the time to prepare the vase properly will ensure that the colors and designs you apply adhere better and last longer.
Once your vase is properly prepared, you’re ready to move on to the next step and start bringing your design to life. In the following sections, we will explore different techniques and methods for creating stunning vase decorations.
Read more: What To Put In Large Floor Vase
Applying Base Coat or Primer
Applying a base coat or primer is an essential step in vase decoration, particularly when working with certain materials or planning to use light-colored paints on dark or transparent surfaces. This step ensures that your colors appear true and vibrant, and also helps the paint adhere better to the vase. Here’s how to apply a base coat or primer to your vase:
- Select the Right Primer: Before you begin, choose a primer that is suitable for the material of your vase and the type of paint you plan to use. There are a variety of primers available that are specifically designed for different surfaces, such as glass, ceramic, or plastic. Read the product labels and select a primer that is compatible with your vase material.
- Clean and Prepare the Surface: Ensure that the vase is clean and free from any dust or residue. Use a mild detergent and water to clean the surface, then rinse thoroughly and allow the vase to dry completely. If necessary, lightly sand the surface with fine grit sandpaper to create a slightly rough texture for better primer adhesion.
- Apply the Primer: Follow the manufacturer’s instructions for the primer, including any specific application techniques or recommended drying times. Use a brush or sponge applicator to apply an even layer of primer to the entire surface of the vase. Be sure to cover all areas, including the bottom and the inside of the vase if desired.
- Allow Drying Time: Once you have applied the primer, allow it to dry completely according to the manufacturer’s instructions. This may take a few hours or overnight, depending on the type of primer used. Avoid touching or disturbing the vase during the drying process to ensure a smooth and even finish.
- Sand and Smooth (if necessary): After the primer is dry, you can lightly sand the surface with fine grit sandpaper to ensure a smooth and even finish. This step is particularly helpful if you notice any rough areas or imperfections on the surface. Wipe away any dust with a clean cloth before proceeding to the next steps of your vase decoration.
Applying a base coat or primer not only improves paint adhesion, but it also provides a solid foundation for the rest of your design. It ensures that your colors appear vibrant and true to form. Taking the time to properly apply a base coat or primer to your vase will help you achieve a professional and high-quality end result.
Now that you have applied the base coat or primer, it’s time to move on to the fun part – creating a design or pattern for your vase. In the next section, we will explore various techniques and methods for designing your vase decoration.
Consider using a variety of materials to decorate vases, such as paint, decoupage, or even wrapping them with twine or ribbon. This can add texture and visual interest to your vases.
Creating a Design or Pattern
Designing and creating a unique pattern for your vase decoration is where your creativity truly shines. Whether you prefer abstract designs, intricate patterns, or simple motifs, there are various techniques and methods you can use to achieve stunning results. Here’s how to create a design or pattern on your vase:
- Plan Your Design: Take a moment to visualize the design or pattern you want to create on your vase. Consider the theme or style you have chosen and how you want the design to complement it. Plan out the placement of elements and colors, and have a clear idea of what you want the final result to look like.
- Sketch Your Design: Before applying the design directly on the vase, consider sketching it on a piece of paper or creating a digital mock-up. This helps you refine your design, experiment with different shapes and patterns, and ensures that you’re satisfied with the overall composition before you proceed.
- Use Stencils or Templates: If you’re new to vase decoration or want to achieve precise and consistent designs, stencils or templates can be a great option. Stencils allow you to create uniform shapes or patterns with ease. You can purchase pre-made stencils or create your own using materials like cardboard or acetate.
- Freehand Technique: For those who enjoy a more organic and artistic approach, freehand painting is an excellent method. Use fine-tipped brushes or specialized ceramic/glass paint pens to directly apply your design onto the vase. This technique allows for a more fluid and expressive creation process.
- Layering and Texturing: Experiment with layering different colors, applying textures, or incorporating various painting techniques to add depth to your design. You can achieve this by sponging, splattering, or dabbing the paint onto the vase. Don’t be afraid to mix and blend colors to create unique and eye-catching effects.
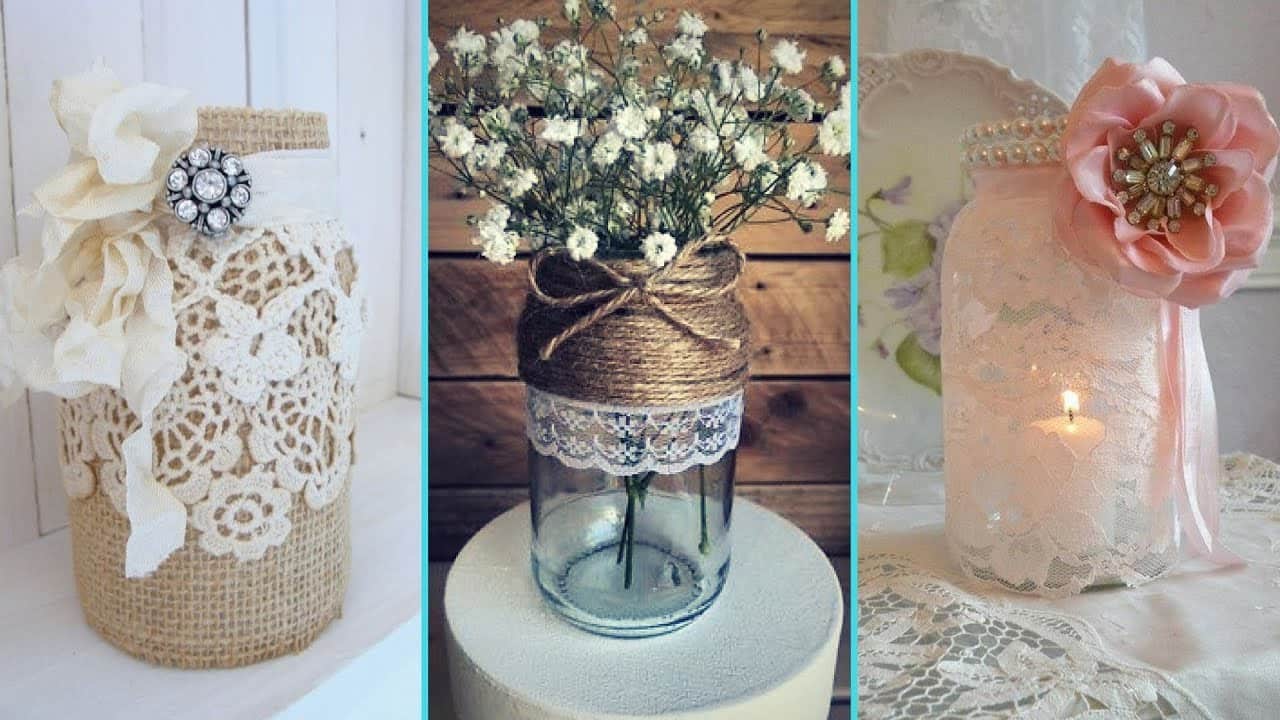
- Explore Different Materials: Besides paint, consider incorporating other materials into your design. For example, you can glue on pieces of fabric, lace, or even decorative paper to add texture and visual interest. Be mindful of the materials you choose and ensure they adhere well to the vase surface.
- Take Breaks and Step Back: Throughout the design process, remember to take breaks and step back to assess your progress. This allows you to evaluate the overall composition, make adjustments if needed, and ensure that your design is coming together as envisioned.
Remember, the design process should be enjoyable and allow for artistic expression. Don’t be afraid to experiment, make mistakes, and let your creativity guide you. Whether you prefer a structured approach with stencils or enjoy the freedom of freehand painting, the design stage is a wonderful opportunity to bring your imagination to life.
Once you have completed your design or pattern on the vase, it’s time to move on to the next step – actually painting the vase. In the following section, we will explore the techniques and tips for painting your vase decoration.
Painting the Vase
Painting your vase is where your design truly comes to life. Whether you’re using bold colors, delicate brush strokes, or intricate details, painting can add depth, vibrancy, and personality to your vase decoration. Here are some tips and techniques to help you paint your vase:
- Choose the Right Paint: Select the type of paint that suits your vase material and desired finish. Acrylic paints are versatile and work well on a variety of surfaces, including glass, ceramic, and plastic. Make sure to choose colors that complement your design and align with your overall vision.
- Mix and Test Colors: If you want to create custom shades or gradients, don’t be afraid to mix colors together. Use a palette or spare piece of cardboard to experiment with different color combinations and test them on a small area of the vase to ensure you achieve the desired effect.
- Layering Technique: To create depth and dimension, consider layering different colors on your vase. Start with lighter shades and gradually build up to darker colors. This technique can give your design a three-dimensional appearance and make it more visually striking.
- Painting Techniques: Experiment with various painting techniques to achieve the desired effect. For example, dry brushing involves using a small amount of paint on a dry brush to create a textured or distressed look. Wet-on-wet technique involves applying wet paint onto a wet surface to blend colors seamlessly. Explore different techniques and find what works best for your design.
- Allow Proper Drying Time: After applying each layer of paint or completing sections of your design, allow the paint to dry completely before proceeding. Follow the instructions on the paint label for the recommended drying time. Avoid touching or disturbing the painted areas to prevent smudging or smearing.
- Touch-ups and Corrections: If you make any mistakes or want to make adjustments to your design, don’t worry! Acrylic paints can be forgiving, allowing you to make touch-ups or corrections. Use a fine-tipped brush and carefully fix any areas that need attention. Allow the corrected areas to dry before moving on.
- Add Details and Highlights: Once you’re satisfied with the overall painting of your vase, consider adding details or highlights to enhance the design. Use a smaller brush to add fine lines, dots, or intricate patterns. This step can bring your design to the next level and make it more visually captivating.
Remember, painting your vase allows you to express your creativity and add your personal touch to the decoration. Enjoy the process and embrace any imperfections as part of the artistic journey. Each brush stroke and color choice contributes to the uniqueness of your design.
After completing the painting process, it’s time to add any additional details or embellishments, which we will explore in the next section. These finishing touches will add that extra special element to your vase decoration.
Adding Additional Details
Adding additional details to your vase decoration can take your design to the next level by adding an extra touch of charm and uniqueness. These details can range from small embellishments to intricate patterns or textures. Here are some ideas on how you can enhance your vase decoration with additional details:
- Embellishments: Consider adding embellishments, such as beads, sequins, or small charms, to your vase design. These can be attached using strong adhesive glue or by threading them onto wires and inserting them into the vase. The embellishments can add a touch of sparkle and dimension to your design.
- Ribbons and Trims: Attach ribbons or trims around the neck or base of the vase to create an elegant and finished look. You can choose ribbons in coordinating colors or patterns that complement your overall design. Secure them with clear adhesive or tie them into bows for a decorative touch.
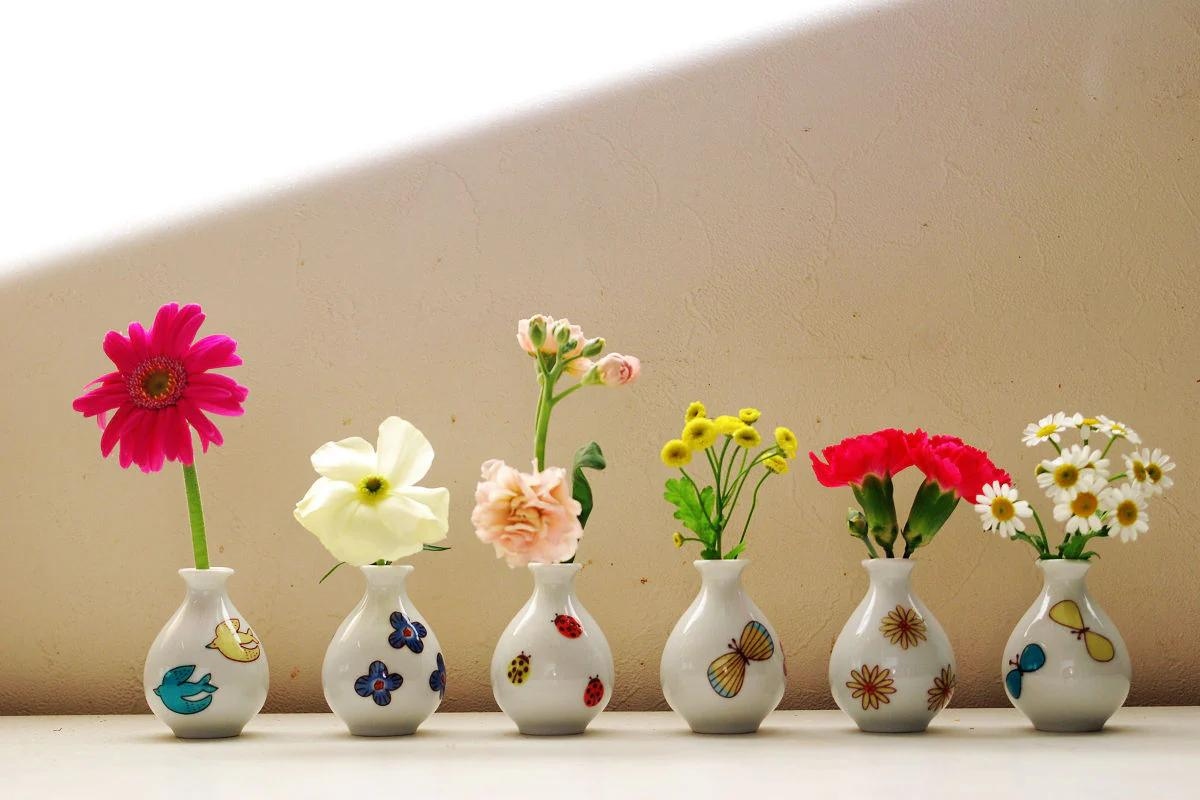
- Decoupage: Decoupage is a technique where you adhere cut-out images or decorative paper onto the surface of the vase. It allows for endless creativity and gives the illusion of hand-painted designs. Choose images or patterns that align with your design aesthetic and apply them with a decoupage medium, smoothing out any bubbles or wrinkles as you work.
- Textured Finishes: Explore textured finishes to add visual interest and tactile appeal to your vase. You can experiment with techniques such as crackle finishes, raised stenciling, or even applying texture paste to create a three-dimensional effect. These techniques can give your vase a unique and dynamic look.
- Gold Leaf or Metallic Accents: For a touch of glamour and sophistication, consider adding gold leaf or metallic accents to your vase decoration. Apply the gold leaf or metallic paint to specific areas or use a brush to create delicate lines and designs. These shiny details can instantly elevate the overall look of your vase.
- Personalized Touches: To make your vase decoration truly special, consider adding personalized touches. This can include hand-painting initials, names, or meaningful symbols onto the vase. You can also use stencils or decals for precision. Personalized details add a heartfelt touch and make your vase an excellent gift option.
Adding additional details allows you to put your unique stamp on your vase decoration. Whether it’s through small embellishments, decoupage, textured finishes, or personalized touches, these details will make your vase stand out and reflect your individual style.
Once you’ve added the finishing touches, it’s essential to protect and seal your decorated vase, ensuring its longevity. We will explore sealing and finishing touches in the next section.
Read more: What Are Vases For
Sealing and Finishing Touches
After investing your time and creativity into decorating your vase, it’s important to protect and seal your design to ensure its longevity and durability. Sealing your vase will prevent the paint from chipping or fading over time and provide a finished and polished look. Here’s how to seal and add those final touches to your decorated vase:
- Choose the Right Sealant: Select a sealant or finishing coat that is appropriate for the type of paint and material you used for your vase. There are various options available, including clear varnishes, gloss or matte finishes, or dedicated spray sealants. Consider the desired effect and level of shine when choosing your sealant.
- Prepare the Surface: Ensure that the painted surface of your vase is clean and free from any dust, debris, or fingerprints. Use a soft, lint-free cloth to gently wipe the vase, removing any particles that may affect the finish. Let the vase completely dry before applying the sealant.
- Apply the Sealant: Follow the manufacturer’s instructions for the sealant. Depending on the type of product you choose, you may need to use a brush, sponge, or spray bottle to apply the sealant to the vase. Apply an even coat, taking care to cover the entire painted surface, including the neck and bottom of the vase if desired.
- Allow Drying Time: After applying the sealant, allow it to dry completely according to the manufacturer’s instructions. This may take a few hours or overnight, depending on the product. Avoid touching or moving the vase during the drying process to avoid smudges or uneven application of the sealant.
- Inspect and Make Touch-ups (if necessary): Once the sealant is dry, inspect your vase for any areas that may require touch-ups or corrections. This is a good opportunity to fix any imperfections or address any blemishes that may have occurred during the previous steps. Make any necessary touch-ups using paint or other materials as needed.
- Add Finishing Touches: To complete the look of your decorated vase, consider adding any final touches. This can include tying a ribbon around the neck, attaching a decorative charm or tag, or even adding a small bouquet of flowers. These finishing touches will enhance the overall presentation and make your vase ready to be displayed or gifted.
Sealing your decorated vase not only protects the design but also brings out the vibrancy of the colors and adds a professional, glossy finish. It ensures that your hard work and creativity will shine for years to come.
With the sealing and finishing touches complete, your decorated vase is now ready to be proudly displayed. How you choose to display it will depend on your personal preference and the purpose of the vase. In the next section, we will explore different ways to display and showcase your beautifully decorated vase.
Displaying Your Decorated Vase
After putting your time and effort into decorating and perfecting your vase, it’s time to showcase and display it in a way that highlights its beauty and adds to the overall ambiance of your space. Here are some ideas on how to display your decorated vase:
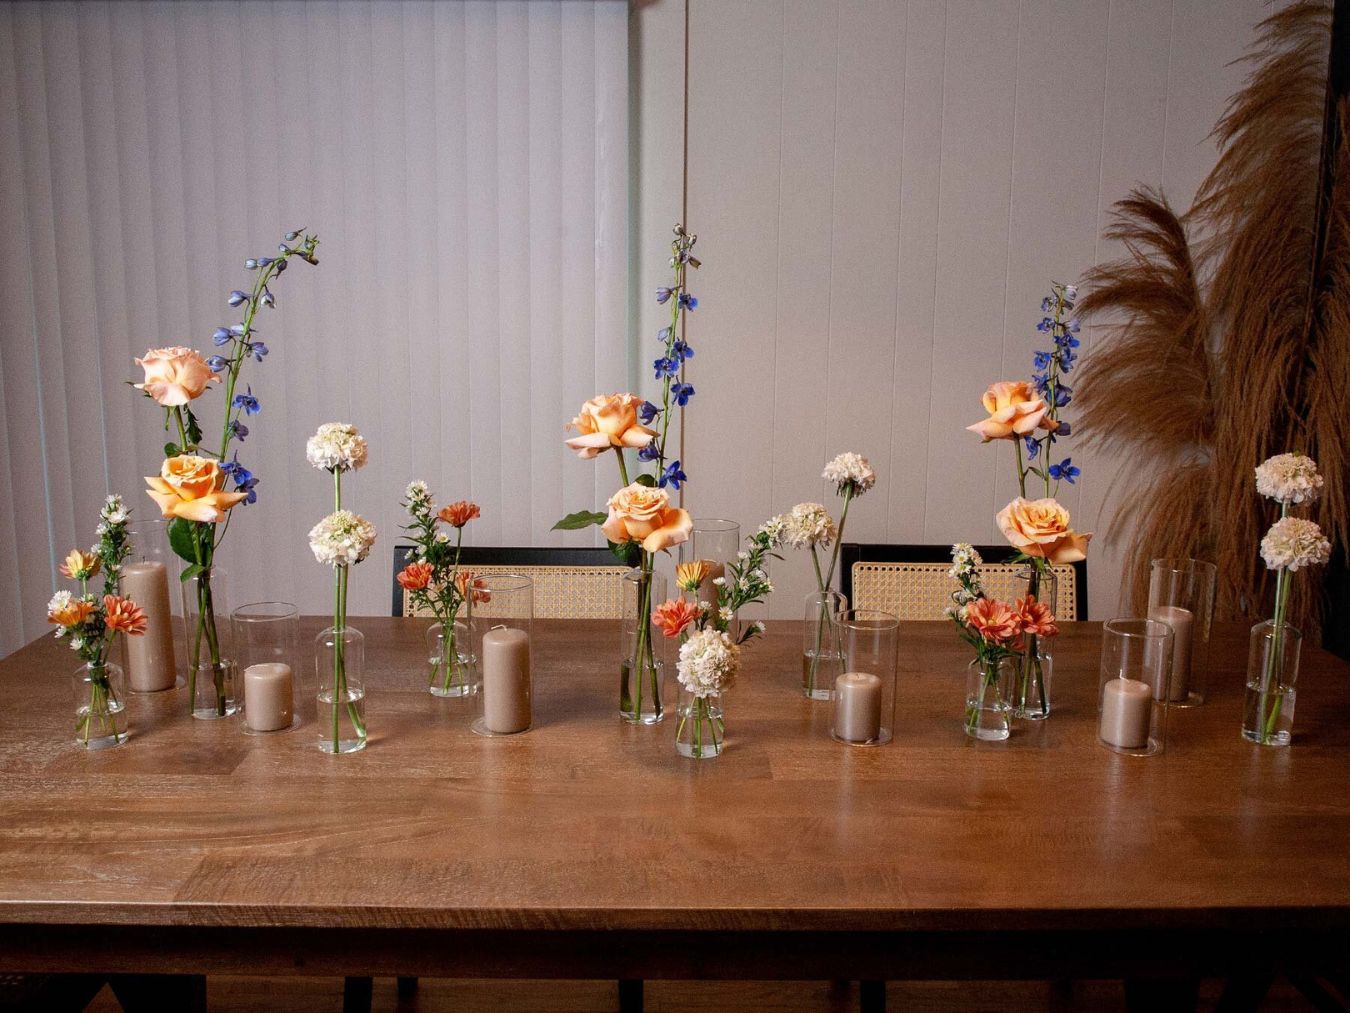
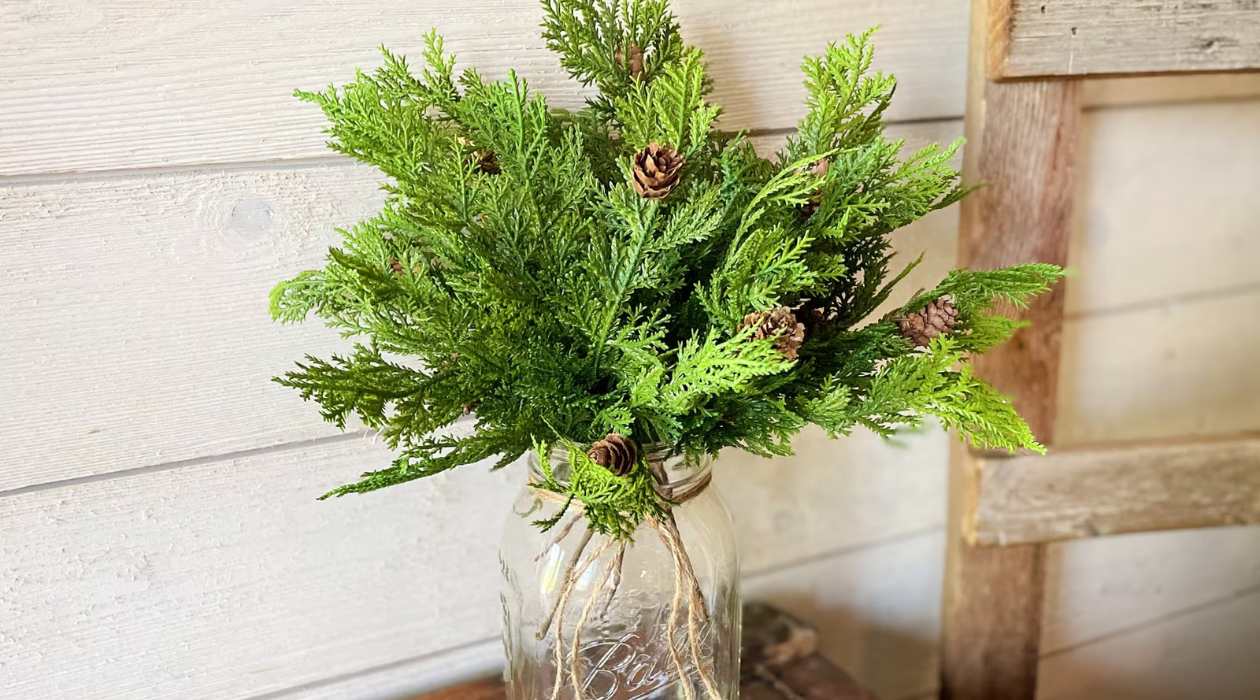
- Centerpiece: Make your decorated vase the focal point by using it as a centerpiece on your dining table, coffee table, or mantle. Fill it with fresh flowers, dried branches, or decorative stones to complement the design and enhance the overall decor of the room.
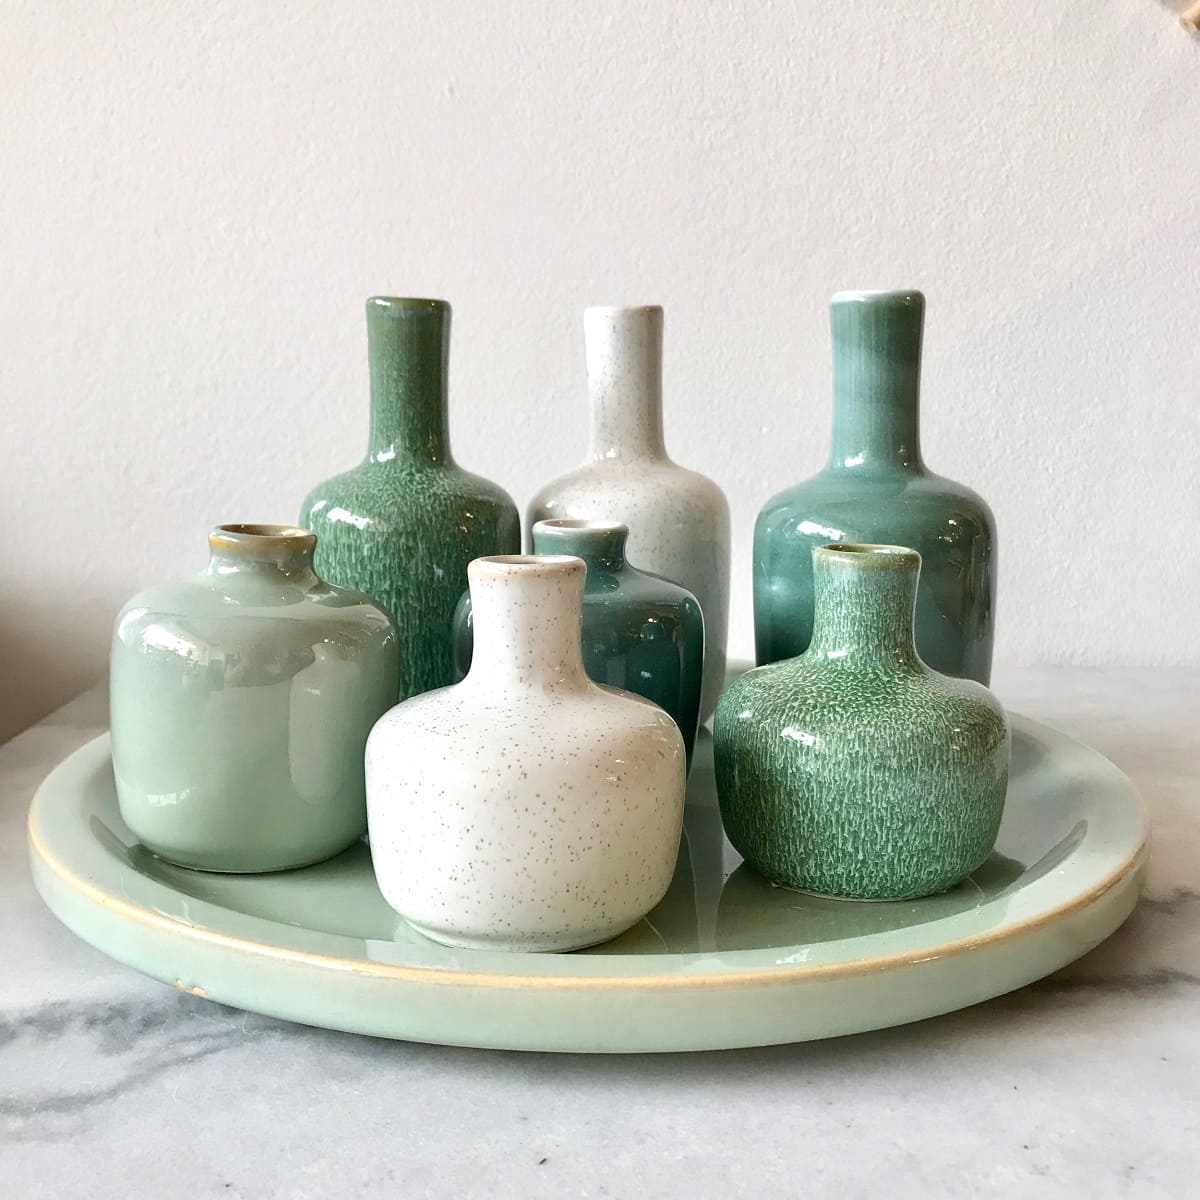
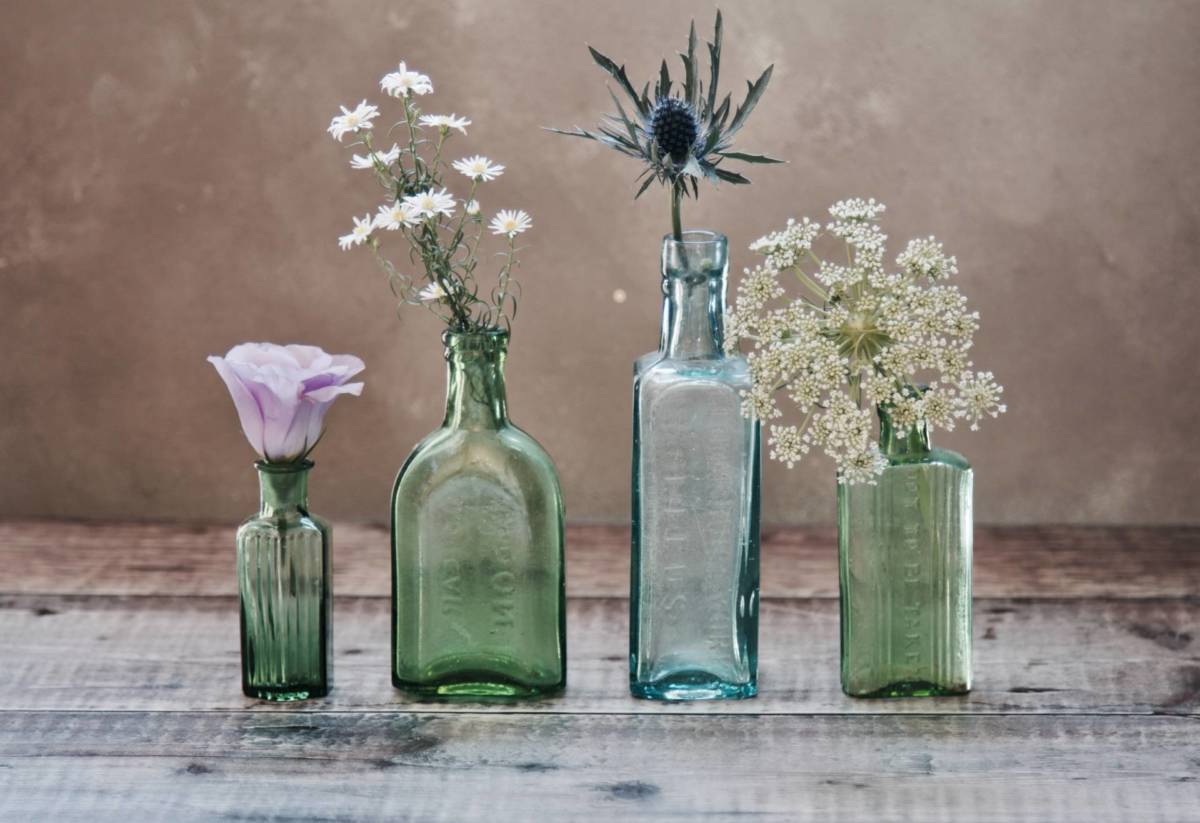
- Grouping: Create an eye-catching display by grouping your decorated vase with other vases or decorative objects. Play with varying heights, shapes, and colors to create visual interest and a dynamic arrangement. This can be particularly effective on a side table, bookshelf, or console table.
- Wall Shelf or Ledge: If you prefer a more minimalist look, place your decorated vase on a wall shelf or narrow ledge. This creates a simple yet elegant display and allows the vase to take center stage. Consider adding a small framed picture or a few other curated items to complete the arrangement.
- Display Niche: If you have a built-in display niche or alcove, it’s a perfect spot to showcase your decorated vase. Select a vase that fits snugly within the niche and add a subtle backlight or accent lighting to highlight its design and make it stand out.
- Windowsill: Place your decorated vase on a sunny windowsill, allowing the natural light to illuminate its colors and patterns. This creates a beautiful display, especially if you have a garden or outdoor view to enhance the overall visual appeal.
- Patio or Outdoor Space: If your vase is weather-resistant or designed for outdoor use, consider incorporating it into your patio or outdoor decor. A decorated vase can add a pop of color and artistic flair to your garden, patio table, or outdoor entertaining area.
Remember to choose the display option that best suits your decor style and personal preference. Don’t be afraid to experiment with different arrangements and locations until you find the perfect spot to showcase your decorated vase.
Lastly, make sure to periodically clean and maintain your decorated vase to keep it looking its best. Remove dust or any buildup using a soft, lint-free cloth or duster. Avoid using harsh chemicals or scrubbing too vigorously to prevent damaging the design or finish.
With your decorated vase proudly displayed, you can enjoy the fruits of your creativity and admire the unique work of art you have created. It can also serve as an excellent conversation starter and a thoughtful gift for friends and family.
Congratulations on completing your vase decoration project and turning a plain vase into a stunning piece that adds beauty to your home or makes a meaningful gift. May your decorated vase bring joy and inspiration to all who behold it.
Keep exploring your creativity, experimenting with new techniques, and discovering your unique artistic style. The possibilities for vase decoration are endless, and with each project, you’ll continue to hone your skills and create truly remarkable pieces.
Happy decorating!
Conclusion
Decorating vases is a delightful art form that allows you to transform plain vessels into stunning works of art. Throughout this guide, we have explored the various steps involved in creating beautifully decorated vases, from choosing the right vase to adding the finishing touches. Remember, the key to successful vase decoration lies in embracing your creativity and unleashing your imagination.
By carefully selecting the right vase, considering a theme or style, gathering the necessary materials and tools, preparing the vase, applying a base coat or primer, creating a design or pattern, painting the vase, adding additional details, and sealing and adding finishing touches, you can achieve stunning and personalized results.
Throughout the process, don’t be afraid to experiment with different techniques, mix and match colors, and explore various materials to create a design that truly reflects your style and personality. Remember that every vase you decorate is a unique expression of your creativity and artistic vision.
Once your masterpiece is complete, take the time to carefully display your decorated vase in a prominent place that showcases its beauty. Whether it’s as a centerpiece, grouped with other decorative objects, or displayed on a windowsill, let your vase be a testament to your artistic talent and a source of inspiration for others.
Lastly, it’s important to periodically clean and maintain your decorated vase to preserve its beauty and ensure its longevity. Treat it with care and avoid exposing it to harsh chemicals or extreme weather conditions.
As you continue on your vase decoration journey, remember to have fun, be patient with yourself, and enjoy the process. Each decorated vase is a new opportunity to explore your artistic abilities and create something truly remarkable.
So, get ready to unleash your creativity, pick up your brushes, and embark on the exciting adventure of decorating vases. Whether you’re a seasoned artist or a beginner, the possibilities are endless, and the satisfaction of creating a unique and personalized vase is immeasurable.
Happy vase decorating!
Frequently Asked Questions about How To Decorate Vases
Was this page helpful?
At Storables.com, we guarantee accurate and reliable information. Our content, validated by Expert Board Contributors, is crafted following stringent Editorial Policies. We're committed to providing you with well-researched, expert-backed insights for all your informational needs.


0 thoughts on “How To Decorate Vases”