Home>Interior Design>Paint Tricks: 10 Painting Techniques Loved By The Experts
Interior Design
Paint Tricks: 10 Painting Techniques Loved By The Experts
Modified: September 2, 2024
Discover the top 10 interior design painting techniques loved by experts. Transform your space with these paint tricks for a stunning and stylish home.
(Many of the links in this article redirect to a specific reviewed product. Your purchase of these products through affiliate links helps to generate commission for Storables.com, at no extra cost. Learn more)
Introduction
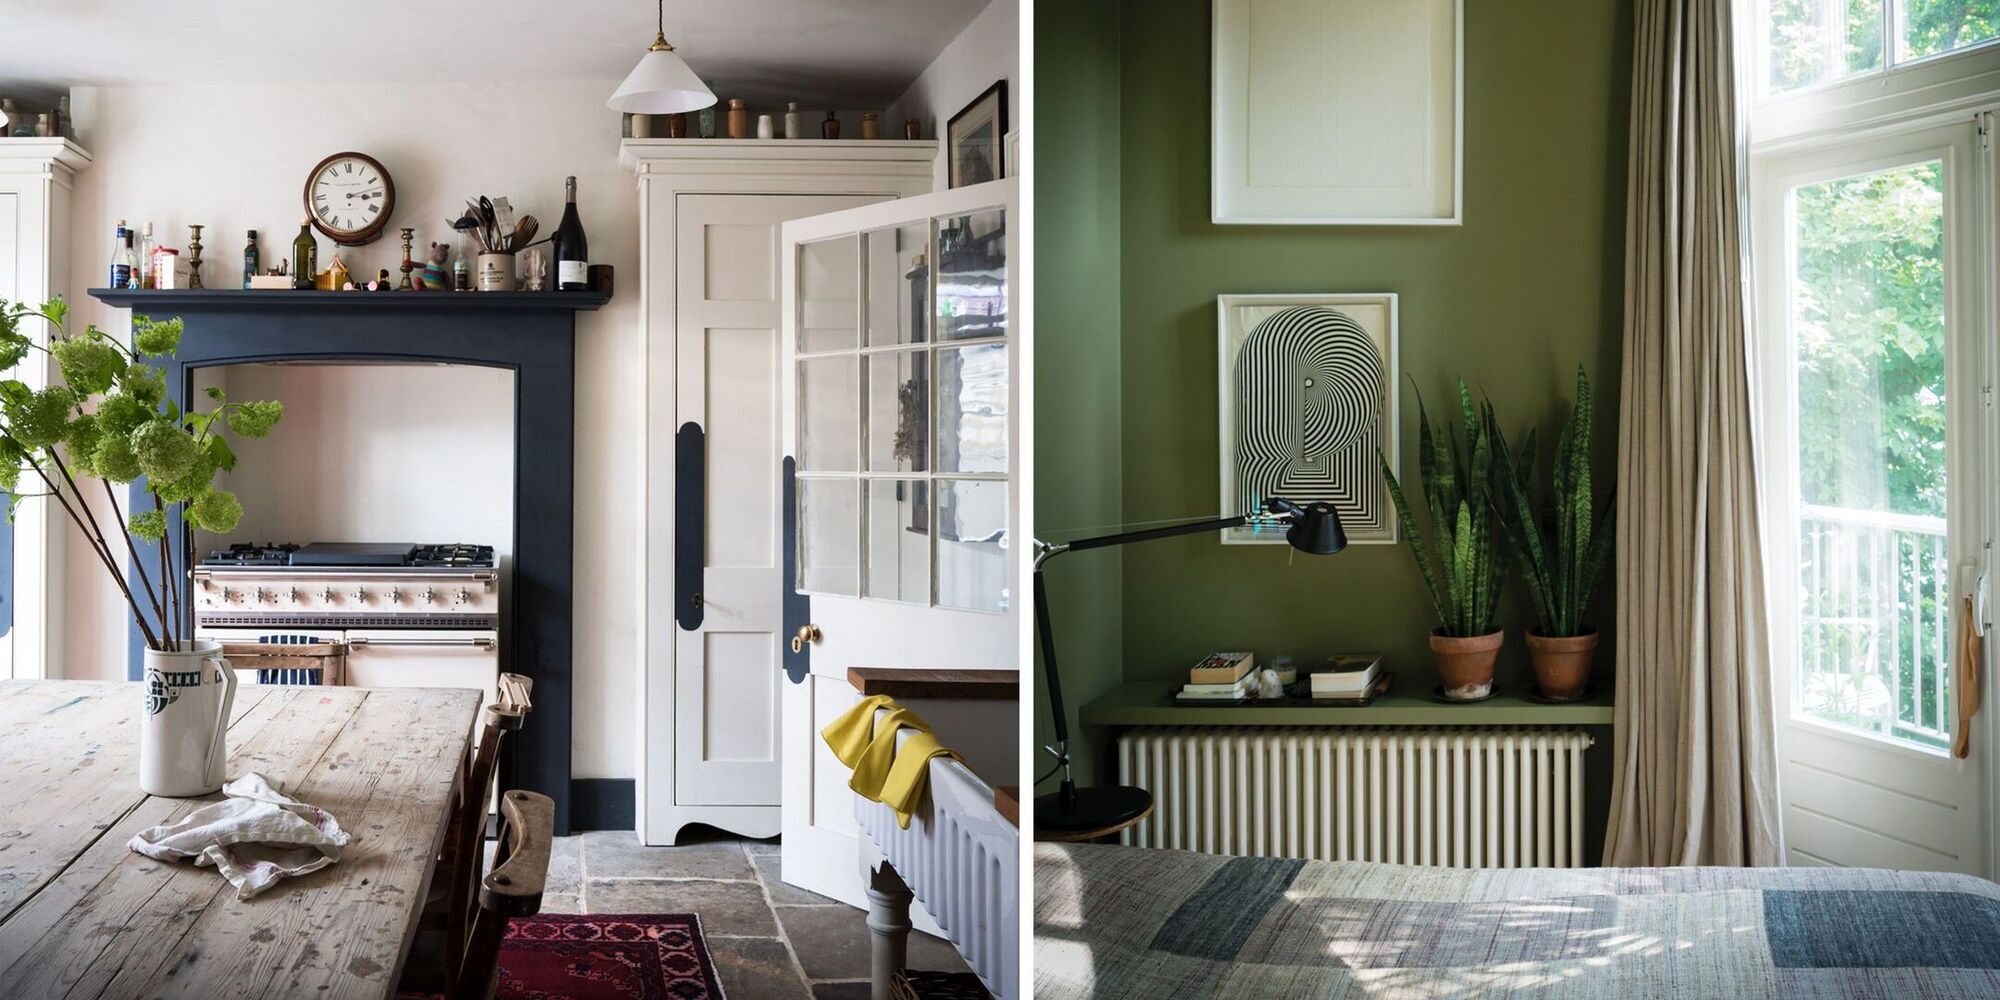
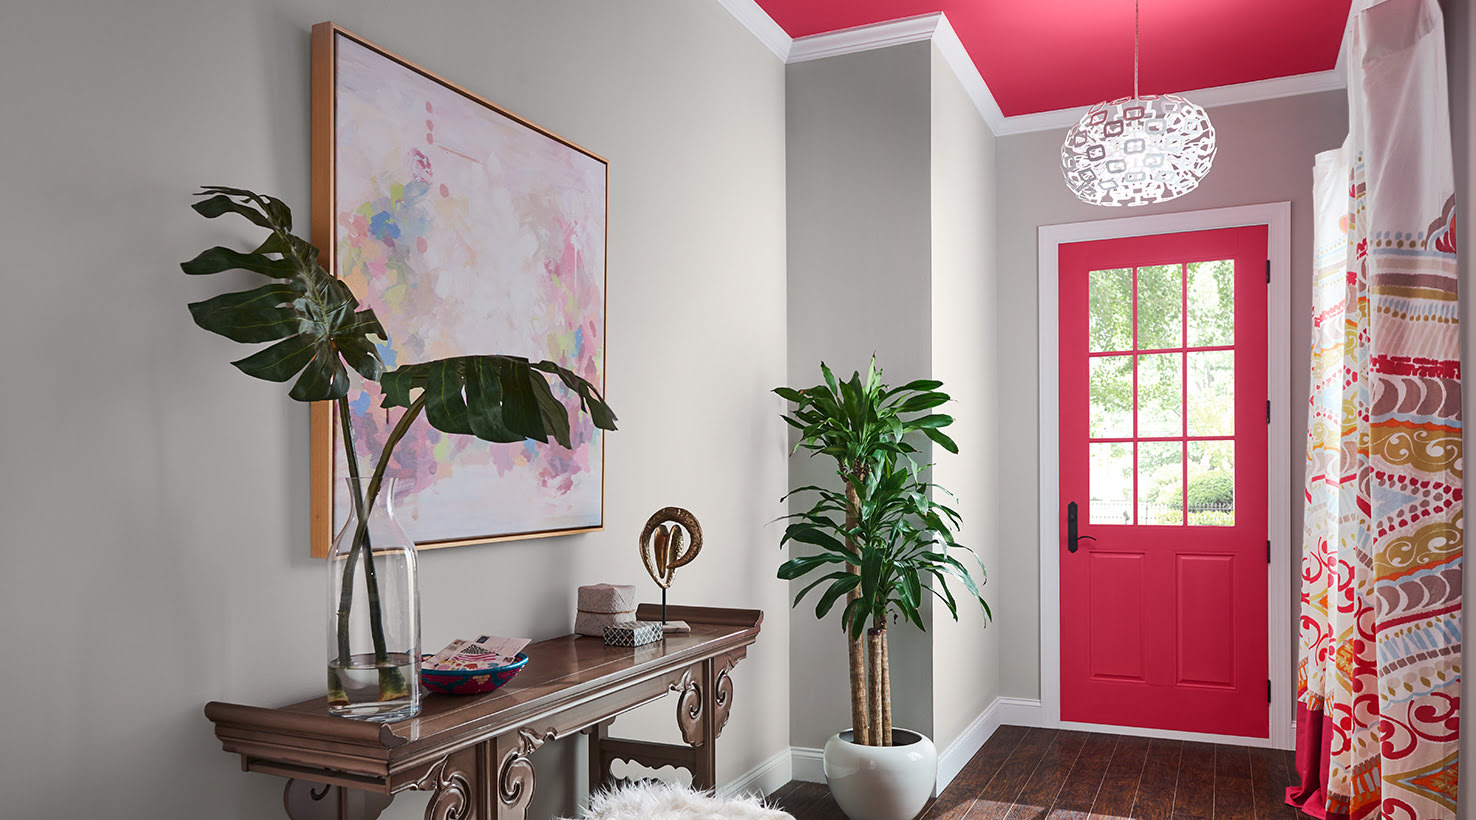
Painting is one of the most impactful and versatile design elements in interior design. It has the power to transform a space, evoke emotions, and create a specific atmosphere. While a simple coat of paint can freshen up a room, there are painting techniques that can take your interior design to the next level. These techniques, loved and practiced by experts in the field, can add depth, texture, and visual interest to your walls.
In this article, we will explore 10 painting techniques that are favored by interior design professionals. From color wash to negative space painting, each technique has its own unique effect and can be customized to suit any design style. Whether you are looking to create a rustic farmhouse feel or a modern and sleek aesthetic, these painting techniques will help you achieve the desired look.
Before diving into the techniques, it’s important to mention that proper preparation is key to achieving the best results. Make sure to clean and prepare the walls, use high-quality paint and tools, and practice the techniques on a sample board before applying them to your walls. Now, let’s explore these beloved painting techniques and learn how to use them effectively in your interior design projects.
Key Takeaways:
- Unleash your creativity and elevate your interior design with 10 beloved painting techniques, from color wash to trompe-l’oeil, loved by experts for adding depth, texture, and visual interest to any space.
- Transform your walls into extraordinary works of art by mastering painting techniques like stippling, sponging, and negative space painting, allowing you to create visually captivating and delightful environments.
Read more: Painting With A Roller: 10 Expert Tips
Color Wash
The color wash technique is a popular choice for creating soft, textured walls with a subtle, aged appearance. It involves applying a translucent glaze over a base coat of paint to achieve a beautiful, washed-out effect. This technique works well in various design styles, from coastal cottages to rustic or shabby chic interiors.
To create a color wash, start by choosing your desired base color. This will be the color that shows through the glaze. Lighter hues are often used to achieve a delicate and ethereal look, while darker base colors can create a more dramatic effect.
Once you have your base color, mix a glaze by combining a clear glazing liquid with a small amount of your chosen paint color. The glaze should be thin and translucent, allowing the base color to show through. You can adjust the intensity of the glaze by adding more or less paint to the mixture.
Using a large brush or a sponge, apply the glaze mixture in a random, crisscross motion. The goal is to create irregular, overlapping brushstrokes to achieve a natural and organic appearance. Keep in mind that the glaze will remain wet for a longer period of time compared to regular paint, so you have more time to work with it.
To add more depth and dimension to your color wash, you can experiment with layering multiple glaze colors. Apply a second or even third layer of glaze, using different shades or tones, to create a more interesting and complex finish.
A color wash technique can be applied to the entire wall or used as a decorative element, such as in a feature wall or a focal point area. It adds a subtle texture and visual interest to the space, without overwhelming the overall design.
Remember, practice makes perfect when it comes to achieving the desired effect with color wash. Play around with different colors, glaze ratios, and brush techniques until you achieve the look you envision. With time and patience, you can master this beloved painting technique and create stunning walls in your interior design projects.
Dry Brushing
Dry brushing is a technique that adds texture and depth to walls, creating a distressed or weathered effect. It is a versatile technique that can be used to achieve different looks, from rustic and vintage to contemporary and industrial.
To start, select your base color and apply it to the wall as the first coat. Once dry, choose a secondary color that will be used for dry brushing. This color should contrast with the base color to create a noticeable effect.
Dip a dry brush into the secondary color, making sure to remove any excess paint. The brush should be almost dry, hence the name “dry brushing.” Lightly sweep the brush over the surface of the wall, using quick and short strokes. The goal is to apply a small amount of paint, leaving streaks and brush marks that mimic the look of aging or wear.
As you brush, vary the pressure you apply to the brush. This will create variation in the intensity of the painted strokes, adding to the overall distressed effect. You can also experiment with different brush sizes and types to achieve different textures and patterns.
If you feel that the dry brushing effect is too strong, you can gently blend it by lightly going over the surface with a clean, dry brush. This will soften the brush strokes and create a more subtle and uniform appearance.
Dry brushing can be applied to the entire wall or used selectively on certain areas, such as corners, edges, or raised surfaces, to highlight architectural features or create a focal point. It is a technique that allows for creativity and can be customized to suit your design vision.
Keep in mind that when dry brushing, less is often more. It’s better to start with a light touch and gradually build up the effect if desired. Remember to step back and evaluate the results as you go, making adjustments as needed.
With dry brushing, you can achieve a beautifully aged and textured look that can elevate the overall design of your space. Whether you’re aiming for a vintage farmhouse charm or an industrial chic vibe, this technique offers endless possibilities for creating a unique and visually captivating interior.
Stippling
Stippling is a painting technique that creates a textured, speckled effect on walls. It involves applying paint in small dots or stippled patterns to achieve a unique and visually interesting finish. Stippling works well in a variety of design styles, from contemporary to bohemian or eclectic.
To begin, choose your base color and apply it to the wall as the first coat. Once dry, prepare your stippling brush or sponge. Stippling brushes have bristles that are cut short and stiff, allowing for better control of the dots. Alternatively, you can use a natural sea sponge for a softer and more organic stippling effect.
Dip the brush or sponge into the secondary color, making sure to remove any excess paint. Lightly dab the brush or sponge onto the wall in a stippling motion, creating dots or small clusters of dots. Vary the pressure you apply to the tool to create different dot sizes and densities, adding depth and dimension to the finish.
The key to achieving a realistic stippling effect is to vary the size, spacing, and intensity of the dots. This will create a natural and organic texture that mimics the appearance of materials like stucco or stone.
You can also experiment with different colors to create a more vibrant or subtle stippling effect. Mixing different hues or tones will add visual interest and complexity to the finish, making it truly unique to your space.
Stippling can be applied to the entire wall or used in specific areas to create focal points or feature walls. It can add a touch of whimsy and personality to your space, making it stand out and reflect your individual style.
As with any painting technique, practice is key. Start by practicing on a sample board to familiarize yourself with the technique and achieve the desired effect before applying it to your walls. Take your time, be patient and have fun exploring the creative possibilities of stippling in your interior design projects.
Sponging
Sponging is a versatile painting technique that adds texture and depth to walls, creating a mottled or stippled effect. It is a popular choice for achieving an organic and natural look and works well in various design styles, from coastal to bohemian or even rustic interiors.
To begin, select your base color and apply it to the wall as the first coat. Once dry, prepare a sea sponge, which will be used to create the sponging effect. Cut the sponge into manageable sizes, if needed, and dampen it with water.
Dip the sponge into the secondary paint color, ensuring that it is evenly coated but not soaking wet. Lightly press the sponge against the wall, using a dabbing or twisting motion. The goal is to create random and irregular patterns, mimicking the natural texture and variation found in materials like stone or the uneven surface of coral.
As you sponge, vary the pressure you apply and the angles at which you hold the sponge. This will create variation in the intensity and size of the dots, resulting in a realistic and textured finish. You can also experiment with different sponge sizes and shapes to achieve different effects.
If you feel that the sponging effect is too heavy or intense, you can gently blend it by lightly going over the surface with a clean, damp sponge. This will soften the texture and create a more subtle and cohesive look.
Sponging can be applied to the entire wall or used selectively in certain areas to create visual interest and add depth. It can be particularly effective in accentuating architectural details or creating a focal point in a room.
Remember to step back and evaluate the results as you go, making adjustments and adding more sponge texture as needed. It’s also worth noting that sponging works best with similar color tones or shades. Using contrasting colors may result in a more dramatic effect, so choose your color palette accordingly.
With sponging, you can achieve a beautiful and natural-looking textured finish that adds character and dimension to your walls. Whether you’re aiming for a coastal oasis feel or an earthy and organic vibe, this technique offers endless possibilities for creating a unique and visually captivating interior.
Ragging
Ragging is a painting technique that creates a soft and textured finish on walls, reminiscent of the look of fabric or leather. It adds depth and visual interest to the surface, making it a popular choice for creating a luxurious and elegant atmosphere in interior design.
To begin, choose your base color and apply it to the wall as the first coat. Once dry, prepare a clean, lint-free cloth or rag. This can be an old cotton T-shirt or a piece of cheesecloth.
Dip the cloth into the secondary paint color, making sure that it is lightly damp but not saturated. Wring out any excess paint and crumple the cloth to create texture and irregular shapes.
Next, press the cloth against the wall and softly move it in a twisting or random motion. This will transfer the paint onto the surface, leaving behind a unique pattern. You can vary the pressure and angle to create different effects and levels of coverage.
The beauty of ragging lies in its ability to layer colors and create subtle variations. You can repeat the process with different colors, allowing each layer to dry before applying the next one. This will add depth and complexity to the finish, giving it a rich and multidimensional appearance.
Ragging can be applied to the entire wall for a uniform effect, or selectively in specific areas to create a focal point or add visual interest. It works well in various design styles, from traditional to contemporary, and can add sophistication and texture to any space.
As you work, be mindful of the amount of paint on the rag. Too much paint may result in a heavy and opaque finish, while too little paint may lead to a barely visible effect. Find the right balance by experimenting with different amounts of paint on the cloth.
Remember to step back and evaluate the results as you go, making adjustments and adding more ragging texture as desired. The beauty of ragging is in its imperfect and organic nature, so embrace the variations and appreciate the unique result you can achieve.
With ragging, you can create a beautifully textured and luxurious look that adds visual interest and depth to your walls. Whether you’re aiming for a classic and refined ambiance or a contemporary twist, this technique offers endless possibilities for creating a unique and visually captivating interior.
When using a dry brush technique, make sure to remove excess paint from the brush before applying it to the surface. This will create a textured and layered effect.
Strie
Strie is a sophisticated painting technique that creates a fine, vertical striped effect on walls. It adds a touch of elegance and style to any interior design, making it a popular choice for creating a refined and polished look.
To achieve the strie effect, start by selecting your base color and applying it to the wall as the first coat. Once dry, choose a secondary color that will be used for the stripes. This color should be slightly lighter or darker than the base color to create a subtle contrast.
Using a paintbrush or a strie brush, apply the secondary color to the wall in long, vertical strokes. The strokes should be smooth and even, covering the entire wall surface. It’s important to work quickly and avoid letting the paint dry before moving on to the next step.
While the paint is still wet, gently drag a dry brush or a dry crumpled cloth horizontally across the wall. This will create the characteristic striped effect, with the base color showing through the dragged areas. The pressure and speed at which you drag the brush or cloth will determine the width and intensity of the stripes.
Continue the process, working in small sections at a time, until the entire wall is covered. Make sure to follow a consistent direction and overlap the edges of each section slightly to create a seamless and uniform appearance.
Strie can be applied to the entire wall for a cohesive and textured look, or used selectively in certain areas to create an accent or feature wall. It works well in various design styles, from traditional to contemporary, and can add a touch of sophistication to any space.
As you work, step back regularly to evaluate the results and make any necessary adjustments. It’s important to maintain a consistent pressure and speed when dragging the brush or cloth to ensure an even and uniform strie effect.
With strie, you can create a beautifully striped and refined finish that adds a touch of elegance to your walls. Whether you’re aiming for a classic and timeless atmosphere or a contemporary twist, this technique offers endless possibilities for creating a unique and visually captivating interior.
Glazing
Glazing is a versatile painting technique that adds depth, dimension, and a translucent quality to walls. It involves applying a thin layer of glaze, a transparent or semi-transparent mixture, over a base coat of paint to create a beautiful and unique finish. Glazing is widely loved by experts for its ability to create a variety of effects, from subtle textures to faux finishes that mimic expensive materials.
To begin, choose your base color and apply it to the wall as the first coat. Once the base coat is completely dry, mix your glaze by combining a clear glazing liquid with a small amount of your desired paint color. The glaze should be thin and easy to work with.
Using a brush or a roller, apply the glaze mixture to the wall in small sections. Work quickly, as the glaze tends to dry fast. To create texture or movement, use a variety of brushstrokes like cross-hatching, stippling, or feathering. You can also experiment with different brushes or tools to achieve different effects.
Once the glaze is applied, use a clean, soft cloth or a large brush to gently blend and soften any harsh edges or brush marks. This will create a more seamless and organic look. This step is particularly important if you’re aiming for a faux finish, such as marble or wood grain.
Glazing allows for endless creative possibilities. You can layer multiple coats of glaze to intensify the color and add more depth. You can also experiment with different colors or even metallic glazes to achieve a unique and eye-catching effect.
Glazing can be used to create a variety of finishes, such as a subtle wash, a faux wood grain or marble, or even a textured effect. It is a technique that can add character and sophistication to any interior design style.
As with any painting technique, take the time to practice on a sample board or a small area of the wall before applying it to the entire space. This will allow you to experiment with different techniques and colors, ensuring that you achieve the desired result.
With glazing, you have the power to transform your walls into works of art. Whether you want to create a soft and ethereal look or a bold statement, this technique offers endless opportunities to elevate your interior design and add a touch of individuality to your space.
Faux Bois
Faux bois, meaning “false wood” in French, is a painting technique that replicates the appearance of wood grain on walls. It is a popular choice for adding warmth, texture, and a natural element to interior design. With faux bois, you can achieve the beauty and character of wood without the cost and maintenance associated with real wood.
To start, choose your base color and apply it to the wall as the first coat. Once dry, mix a glaze using a clear glazing liquid and a slightly darker or lighter shade of paint, depending on the desired wood color. The glaze should be thin and translucent to allow the base color to show through.
Using a brush or a wood graining tool, apply the glaze to the wall in long, sweeping strokes. Mimic the natural grain patterns of wood, such as straight lines, knots, or swirling designs. Vary the pressure and angle of the brush or tool to create a realistic and authentic wood grain effect.
To enhance the realism of the faux bois technique, you can use a rocking motion with the graining tool or drag a comb through the wet glaze to create additional texture and depth. This will replicate the natural variations found in wood grain.
If desired, you can also experiment with different colors or techniques to achieve different wood types, such as oak, mahogany, or walnut. Researching and studying the various characteristics of different wood grains can help guide your technique and create a more convincing faux bois finish.
Once the faux bois effect is complete, allow the glaze to dry completely before adding a protective topcoat, such as a clear varnish or polyurethane. This will ensure the durability and longevity of the faux bois finish.
Whether you’re looking to add a rustic charm to a farmhouse-style interior or a touch of nature to a contemporary space, the faux bois painting technique offers endless opportunities. It allows you to bring the beauty of wood into your design while providing flexibility in color and pattern choices.
Remember to practice on a sample board or a small area of the wall before applying the technique to the entire space. This will allow you to refine your technique and achieve the desired wood grain effect.
With faux bois, you can create a stunning wood-inspired finish, adding warmth and visual interest to your walls. This technique is a fantastic way to bring the timeless beauty of wood into your interior design without the expense and maintenance associated with real wood.
Trompe-l’oeil
Trompe-l’oeil, which means “trick the eye” in French, is a painting technique that creates optical illusions, making two-dimensional surfaces appear three-dimensional. It is a beloved technique in interior design for its ability to add depth, perspective, and whimsy to walls. With trompe-l’oeil, you can transform a plain surface into a captivating and immersive work of art.
To achieve the trompe-l’oeil effect, start by planning the design and layout of your mural or illusion. This can range from creating a faux window, door, or archway to painting a realistic mural that gives the impression of extending a space or adding architectural elements.
Once your design is finalized, begin by applying a base coat of paint on the wall. This will serve as the background for your trompe-l’oeil artwork. Allow the base coat to dry completely before moving on to the next step.
Next, using a combination of acrylic or oil paints, create your trompe-l’oeil design. This can involve carefully painting shaded areas, highlights, and intricate details to create depth and dimension. Consider using visual techniques such as perspective, shadowing, and foreshortening to create a realistic illusion.
To enhance the trompe-l’oeil effect, you can also incorporate additional elements, such as adding a frame around a faux window or surrounding your mural with complementary architectural details.
When creating a trompe-l’oeil design, attention to detail and precision are key. Take your time and work slowly, building up layers of paint to achieve realistic textures and shadows. Study reference images or even work with an artist or muralist if you’re looking to create a more intricate and elaborate design.
Trompe-l’oeil is a technique that offers endless possibilities for creativity and imagination. Whether you want to transport your room to a different time period, create the illusion of expanding space, or incorporate unique elements into your design, trompe-l’oeil can bring your vision to life.
It’s important to note that trompe-l’oeil requires skill and practice to master. If you’re new to this technique, consider starting with smaller projects or working with a professional to achieve the desired effect.
With trompe-l’oeil, you can create a captivating and immersive experience within your space. This technique is a wonderful way to transform ordinary walls into extraordinary works of art that will surprise and delight all who enter.
Negative Space Painting
Negative space painting is a unique and abstract technique that focuses on the areas around the subject rather than the subject itself. It involves utilizing the empty or negative spaces on the canvas or wall to create a striking and visually captivating design. Negative space painting is a favorite among artists and designers for its ability to create a sense of balance, depth, and intrigue in interior design.
To begin, choose your desired base color and apply it to the wall as the first coat. Once dry, select a contrasting color for the negative space design. This color should stand out and create a powerful visual impact when used in conjunction with the base color.
Using painter’s tape or stencils, mask off the areas where you want to create the negative space design. This can involve creating geometric shapes, intricate patterns, or even abstract forms. Ensure that the tape or stencils are securely adhered to the wall to prevent any bleeding of paint.
Apply the contrasting color to the exposed areas, being careful not to go beyond the masked-off sections. It’s important to work in thin layers and gradually build up the intensity of the color to achieve the desired effect.
Once the paint is dry, carefully remove the tape or stencils to reveal the negative space design. Take a step back and evaluate the overall composition. You may choose to make adjustments or add additional details if needed.
Negative space painting allows for creativity and experimentation. You can play with different shapes, sizes, and patterns to create a design that suits your style and vision. The use of negative space in the design can create a sense of depth, contrast, and visual interest.
When working with negative space painting, it’s important to remember that simplicity can often have a powerful impact. Embrace the empty spaces and use them to create a strong visual focal point in your interior design.
Negative space painting is an opportunity to think outside the box and create a unique and eye-catching design. It adds a modern and artistic touch to any space and allows you to showcase your personal style and creativity.
Remember to practice your negative space painting technique on a small sample board before applying it to the entire wall. This will allow you to refine your design and ensure that you achieve the desired effect.
With negative space painting, you can create a stunning and captivating design that utilizes the power of empty spaces. This technique offers endless possibilities for expressing your artistic vision and creating a memorable interior design experience.
Conclusion
Painting techniques have the power to transform ordinary walls into extraordinary works of art. The 10 techniques discussed in this article – color wash, dry brushing, stippling, sponging, ragging, strie, glazing, faux bois, trompe-l’oeil, and negative space painting – have all been loved and embraced by interior design experts for their ability to add depth, texture, and visual interest to any space.
Color wash creates a soft and washed-out effect, while dry brushing adds texture and a distressed appearance. Stippling creates a speckled texture, sponging adds dimension, and ragging replicates the look of fabric or leather. Strie creates vertical stripes, glazing adds depth and translucency, and faux bois mimics the appearance of wood grain. Trompe-l’oeil creates optical illusions, and negative space painting utilizes the empty spaces to create a striking design.
Each technique offers its own unique characteristics and can be tailored to suit any design style. Whether you’re aiming to achieve a rustic charm, a contemporary edge, or a luxurious ambiance, these painting techniques allow you to unleash your creativity and elevate your interior design.
It’s important to remember that practice is key when it comes to mastering these techniques. Experiment with different colors, tools, and brushstrokes on sample boards before applying them to your walls. Take the time to refine your skills and develop your own style.
Incorporating these painting techniques into your interior design projects can have a significant impact on the overall aesthetic and atmosphere of your space. They can transform a mundane room into a visually captivating and delightful environment.
So, whether you’re looking to add texture and dimension with stippling or create an illusion with trompe-l’oeil, don’t be afraid to embrace the world of painting techniques. Let your imagination soar and bring your walls to life with these beloved techniques that have stood the test of time in the world of interior design.
Remember, the key to achieving remarkable results lies in your dedication, creativity, and attention to detail. So roll up your sleeves, grab your brushes, and let your inner artist shine as you embark on a journey to transform your space with these captivating painting techniques.
Frequently Asked Questions about Paint Tricks: 10 Painting Techniques Loved By The Experts
Was this page helpful?
At Storables.com, we guarantee accurate and reliable information. Our content, validated by Expert Board Contributors, is crafted following stringent Editorial Policies. We're committed to providing you with well-researched, expert-backed insights for all your informational needs.


0 thoughts on “Paint Tricks: 10 Painting Techniques Loved By The Experts”