
Articles
How To Build Boxes
Modified: January 19, 2024
Learn how to build craft storage boxes with our step-by-step guide. Keep your supplies organized and easily accessible with these DIY storage solutions.
(Many of the links in this article redirect to a specific reviewed product. Your purchase of these products through affiliate links helps to generate commission for Storables.com, at no extra cost. Learn more)
Introduction
Welcome to the world of DIY woodworking! Building boxes can be a fun and rewarding project for both beginners and experienced woodworkers. Whether you need a storage solution or simply want to showcase your craftsmanship, creating your own custom-made boxes can add a touch of personalization to your space.
In this guide, we will take you through the step-by-step process of building boxes from scratch. From selecting the right wood to adding finishing touches, we’ll cover everything you need to know to create beautiful and functional boxes.
Before we dive into the details, it’s important to note that building boxes requires some basic woodworking skills and tools. If you’re a beginner, don’t worry! This guide is designed to be beginner-friendly, providing clear instructions and tips along the way.
So, let’s gather our materials and get ready to embark on this woodworking adventure!
Key Takeaways:
- Building boxes from scratch is a rewarding woodworking project that allows for personalization and functionality. From selecting the right wood to adding finishing touches, this guide provides clear instructions for creating beautiful boxes.
- The step-by-step process outlined in this guide ensures precise measurements, sturdy construction, and a professional finish. Whether for storage or display, building custom-made boxes allows for a touch of personalization in any space.
Read more: How To Build Cabinet Box
Materials Needed
Before we start building our boxes, let’s gather all the necessary materials and tools. Here’s a list of what you’ll need:
- Wood: Choose a type of wood that suits your needs and preferences. Common options include pine, oak, plywood, or even reclaimed wood for a more rustic look.
- Measuring tools: A tape measure, ruler, or combination square will come in handy for accurate measurements.
- Saw: A handheld circular saw or a table saw will be essential for cutting the wood panels to size.
- Sandpaper: Invest in a variety of sandpaper grits to ensure smooth and polished surfaces.
- Screwdriver or drill: Depending on your preference, you’ll need either a screwdriver or a drill for assembling the box.
- Wood glue: To provide additional strength and stability to the joints, wood glue is a must-have adhesive.
- Clamps: Clamps are invaluable for holding the pieces together while the adhesive dries.
- Finishing materials: Depending on the desired finish, you may need wood stain, paint, varnish, or sealant to protect and enhance the appearance of the box.
- Protective gear: Safety should always be a priority. Don’t forget to wear safety goggles, a dust mask, and gloves when working with power tools and adhesives.
Once you have gathered all the necessary materials, you’re ready to move on to the next step: choosing the right wood for your boxes.
Step 1: Choosing the Right Wood
When it comes to building boxes, selecting the right type of wood is crucial. The choice of wood will determine the overall look, durability, and functionality of your box. Here are a few factors to consider when selecting wood for your project:
- Type of wood: There are various types of wood available, each with its own unique characteristics. Softwoods such as pine are commonly used for their affordability and ease of working. Hardwoods like oak or maple offer increased durability and a more polished finish.
- Grain pattern: The grain pattern refers to the arrangement of the wood fibers. From straight and uniform to wavy and irregular, different grain patterns can add visual interest to your box.
- Color: Consider the natural color of the wood and how it will complement your space. If desired, you can also stain or paint the wood to achieve the desired look.
- Strength and stability: Ensure that the wood you choose is sturdy and stable enough to withstand the intended use of the box. Keep in mind that thicker and denser woods tend to be stronger and less prone to warping.
- Budget and availability: Your budget and the availability of specific wood types may also influence your choice. Research local suppliers or check online retailers for a wide range of wood options.
It’s important to note that reclaimed wood or repurposed materials can also be a great choice for eco-conscious builders. Not only does it add a unique touch to your box, but it also reduces waste and promotes sustainability.
Once you have considered these factors and have chosen the perfect wood for your project, you’re ready to move on to the next step: measuring and cutting the panels.
Step 2: Measuring and Cutting the Panels
Now that you have selected the ideal wood for your project, it’s time to start measuring and cutting the panels that will form the sides, bottom, and lid of your box. Follow these steps for precise and accurate results:
- Measurements: Begin by determining the dimensions of your box. Consider the purpose of the box and the items you plan to store inside. Measure the width, height, and depth, and write down these measurements for reference.
- Panel layout: Based on your measurements, create a panel layout plan. This will help you visualize how the pieces will fit together and optimize the use of your wood.
- Cutting the wood: Using a circular saw or table saw, carefully cut the wood panels according to your measurements. Work slowly and wear protective goggles for safety. Remember to follow your panel layout plan to ensure accurate cuts.
- Edge treatments: If desired, you can add decorative edge treatments to the panels using a router. This step is optional but can enhance the overall look of your box.
When cutting the wood panels, it’s crucial to ensure precise measurements and straight cuts. Take your time and double-check your measurements before making any cuts to avoid wasting materials.
Once all the panels have been cut, use sandpaper to smooth any rough edges and surfaces. This will ensure a clean and polished look for your box.
With the panels cut and sanded, you’re ready to move on to the next step: assembling the box.
When building boxes, make sure to use a sturdy and durable material such as plywood or MDF. Use precise measurements and a good quality adhesive to ensure the box is strong and secure.
Step 3: Assembling the Box
Now that you have all the panels ready, it’s time to bring your box together by assembling the pieces. Follow these steps to ensure a secure and sturdy construction:
- Dry-fit the panels: Before applying any adhesive or fasteners, dry-fit the panels together to check for proper alignment and fit. This step allows you to make any necessary adjustments before permanently attaching the pieces.
- Apply wood glue: Once you are satisfied with the dry-fit, carefully disassemble the pieces and apply a thin layer of wood glue along the joining edges of the panels. Make sure to spread the glue evenly and avoid excessive amounts that may seep out.
- Reassemble and clamp: Carefully reposition the panels, aligning them according to your desired design. Use clamps to hold the pieces together tightly while the glue sets. Adjust the clamps as needed to ensure even pressure on all sides.
- Add reinforcing fasteners: Depending on the size and intended use of your box, you may choose to reinforce the joints with screws or nails. Pre-drill holes to prevent the wood from splitting, and then insert the fasteners to provide additional strength.
- Clean excess glue: Immediately after assembling the box, wipe away any excess glue using a damp cloth. Be thorough in removing all visible glue to avoid discrepancies in the final finish.
Allow the wood glue to dry completely according to the manufacturer’s instructions before proceeding to the next step. This typically takes a few hours but may vary depending on the specific glue used.
Once the glue has cured, carefully remove the clamps and inspect the joints for stability. If necessary, lightly sand any rough or uneven areas for a smooth finish.
With the box assembled, we’re now ready to move on to the next step: sanding and smoothing the surfaces for a flawless result.
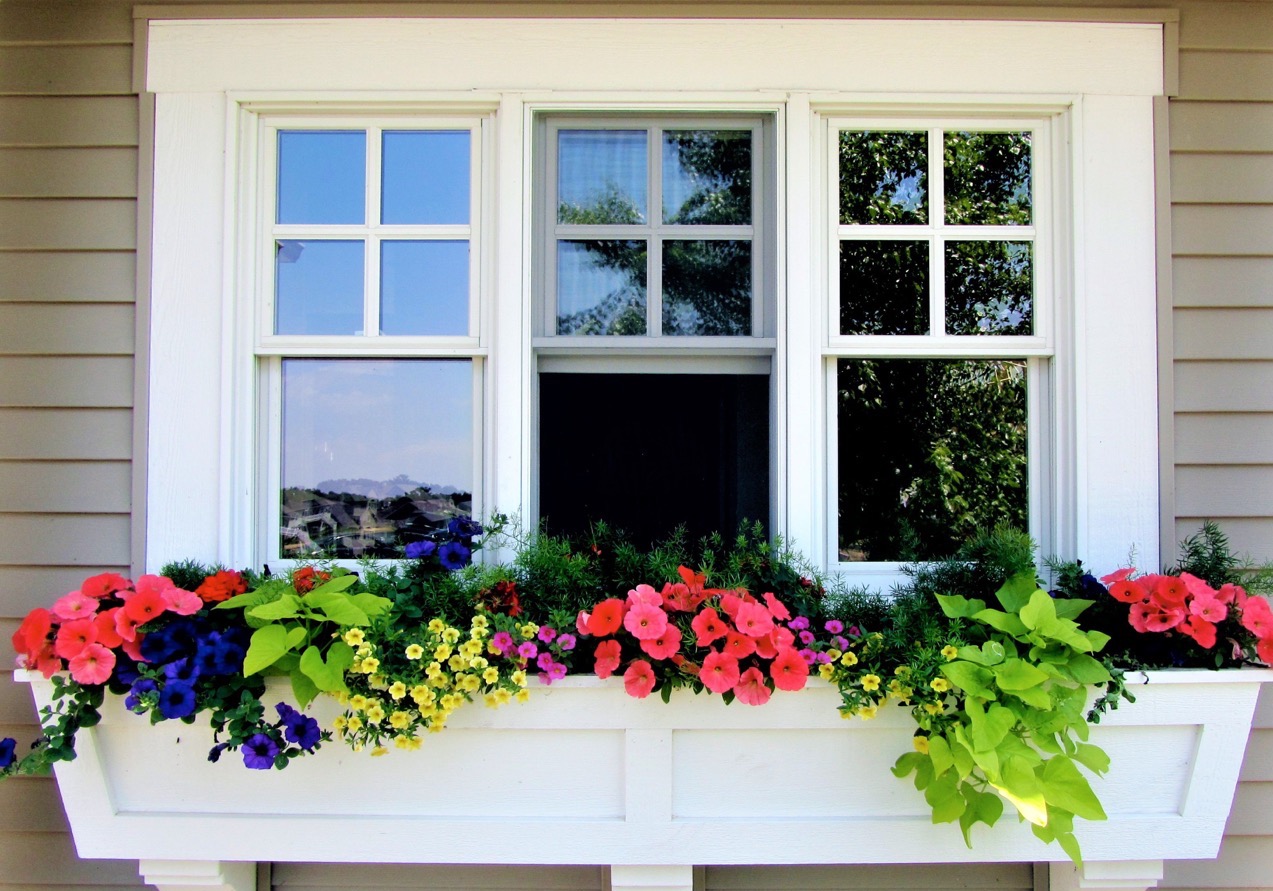
Read more: How To Build Flower Boxes
Step 4: Sanding and Smoothing the Surfaces
After assembling the box, it’s essential to sand and smooth the surfaces to achieve a professional and flawless finish. Follow these steps for effective sanding:
- Select the right sandpaper: Start with a coarse-grit sandpaper (around 80 or 100 grit) to remove any rough edges or imperfections. Gradually move to finer grits, such as 120, 180, and 220, for a smoother finish.
- Sand the surfaces: Using a sanding block or sanding machine, sand all the surfaces of the box, including the sides, top, and bottom. Ensure that you sand evenly and apply consistent pressure to avoid creating uneven spots.
- Remove dust: After sanding, use a tack cloth or a damp cloth to remove any dust or debris from the surfaces. This will prepare the wood for the finishing touches.
- Inspect for imperfections: Take a close look at the surfaces to identify any remaining imperfections. If necessary, repeat the sanding process on specific areas until you achieve the desired smoothness.
Remember to sand along the grain of the wood, as sanding against the grain can leave visible scratches. Take your time during this step to ensure a high-quality and professional-looking end result.
Once you are satisfied with the smoothness of the surfaces, use a damp cloth to wipe away any remaining dust. Allow the wood to dry completely before moving on to the final step: adding finishing touches to your box.
Step 5: Adding Finishing Touches
Now that you’ve completed the main construction of your box, it’s time to add the finishing touches that will enhance its appearance and protect the wood. Follow these steps to give your box that final touch:
- Choose a finish: Select a finish that aligns with your aesthetic preferences and the intended use of the box. Options include wood stain, paint, varnish, or a natural oil finish. Consider the durability, color, and level of protection each finish provides.
- Prepare the surfaces: Before applying the finish, ensure that all surfaces are clean, smooth, and free of dust. Use a tack cloth or a soft cloth to remove any remaining debris or particles.
- Apply the finish: Follow the manufacturer’s instructions for your chosen finish. Use a brush, foam applicator, or cloth to evenly apply the finish to all surfaces of the box. Apply multiple thin coats for a more durable and even finish, allowing each coat to dry before applying the next.
- Smooth between coats: For a flawless finish, lightly sand the surfaces between each coat of finish. This will help remove any imperfections or unevenness and ensure a smooth and refined look.
- Allow for proper drying: Allow the final coat of finish to dry completely according to the manufacturer’s instructions. This typically takes a few hours or overnight. Avoid placing any objects on or inside the box until the finish has cured fully to prevent any damage.
Once the finish has dried and cured, your box is ready to be used and displayed proudly! The chosen finish will not only protect the wood but will also accentuate its natural beauty and add a touch of elegance to your creation.
Remember to clean and maintain your box regularly, following the specific care instructions for the chosen finish, to ensure its longevity and continued appeal.
With the finishing touches complete, congratulations on successfully building your very own box! Enjoy the satisfaction of your craftsmanship and the functional beauty of your creation.
Disclaimer: When working with tools and woodworking materials, always prioritize safety. Follow safety guidelines, use proper protective gear, and exercise caution to prevent accidents.
Conclusion
Building boxes from scratch is a gratifying woodworking project that allows you to showcase your creativity and craftsmanship. By following the step-by-step process outlined in this guide, you can create beautiful and functional boxes that add a personalized touch to your space.
Starting with the selection of the right wood, you have the opportunity to choose materials that suit your style, budget, and desired level of durability. Careful measuring and cutting of the panels ensure a precise fit, while the assembly and use of wood glue and reinforcing fasteners guarantee a sturdy construction.
After assembling the box, sanding and smoothing the surfaces will give it a professional finish. The application of a carefully chosen finish adds protection and enhances the wood’s natural beauty.
Remember, woodworking is a skill that takes practice and patience. Don’t be discouraged if your first attempt isn’t perfect. Each project is a learning experience that hones your skills and allows you to explore new techniques.
Whether you’re building a simple storage box or a decorative keepsake, the process of creating something with your own hands is incredibly rewarding. It provides a sense of accomplishment and allows you to enjoy the fruits of your labor for years to come.
So, gather your materials, sharpen your tools, and embark on your woodworking journey. With the knowledge and guidance provided in this guide, you’re well-equipped to build stunning boxes that reflect your individual style and craftsmanship.
Happy woodworking!
Frequently Asked Questions about How To Build Boxes
Was this page helpful?
At Storables.com, we guarantee accurate and reliable information. Our content, validated by Expert Board Contributors, is crafted following stringent Editorial Policies. We're committed to providing you with well-researched, expert-backed insights for all your informational needs.





0 thoughts on “How To Build Boxes”