Articles
How To Defrost Frigidaire Freezer
Modified: October 20, 2024
Learn the best method to defrost your Frigidaire freezer with our comprehensive step-by-step articles. Keep your freezer running smoothly and efficiently.
(Many of the links in this article redirect to a specific reviewed product. Your purchase of these products through affiliate links helps to generate commission for Storables.com, at no extra cost. Learn more)
Introduction
Welcome to our comprehensive guide on how to defrost your Frigidaire Freezer. If you’ve noticed a buildup of frost and ice in your freezer, it’s important to take action and defrost it to maintain optimal performance and efficiency. In this article, we will walk you through the step-by-step process of defrosting your Frigidaire Freezer and provide you with some valuable tips to ensure a smooth and successful defrosting experience.
Before we dive into the specifics, let’s take a moment to understand why defrosting your freezer is necessary. Over time, as you use your freezer, moisture from the air can condense and form frost or ice on the walls and coils inside. This buildup can impede the freezer’s ability to circulate cold air efficiently, leading to decreased cooling performance and increased energy consumption. Defrosting your freezer helps to remove this buildup and restore its optimal functioning.
Now that we’ve covered the importance of defrosting, let’s move on to the preparation stage before you begin the defrosting process. This stage is crucial to ensure a successful and hassle-free defrosting experience.
Key Takeaways:
- Regularly defrosting your Frigidaire Freezer is essential to maintain efficiency and longevity. Plan ahead, follow safety precautions, and keep the freezer clean for optimal performance.
- Understanding the defrosting process and following the manufacturer’s instructions are crucial for effective defrosting. Keep the freezer organized and maintain the door seal to prevent frost buildup.
Read more: How To Defrost Frigidaire Ice Maker
Understanding the Defrosting Process
Before we jump into the practical steps of defrosting your Frigidaire Freezer, it’s essential to understand the two main types of defrosting systems commonly found in freezers: manual defrost and automatic defrost.
A manual defrost freezer requires you to manually initiate the defrosting process by turning off the freezer and allowing the ice to melt naturally. This process typically involves unplugging the freezer and removing all the stored items to a temporary location. Manual defrosting can take a few hours or even overnight, depending on the amount of frost buildup.
On the other hand, an automatic defrost freezer is equipped with a self-defrosting mechanism that periodically heats up the freezer’s coils to melt the accumulated ice. This system saves you the hassle of manual defrosting, but it’s still important to clean the freezer and remove any excess water that remains after the defrosting cycle.
Now that you understand the two main types of defrosting systems, let’s proceed with the step-by-step process for defrosting your Frigidaire Freezer.
Preparing the Freezer for Defrosting
Before you begin the defrosting process, it’s crucial to prepare your Frigidaire Freezer properly to ensure a smooth and effective defrosting experience. Follow these steps to get started:
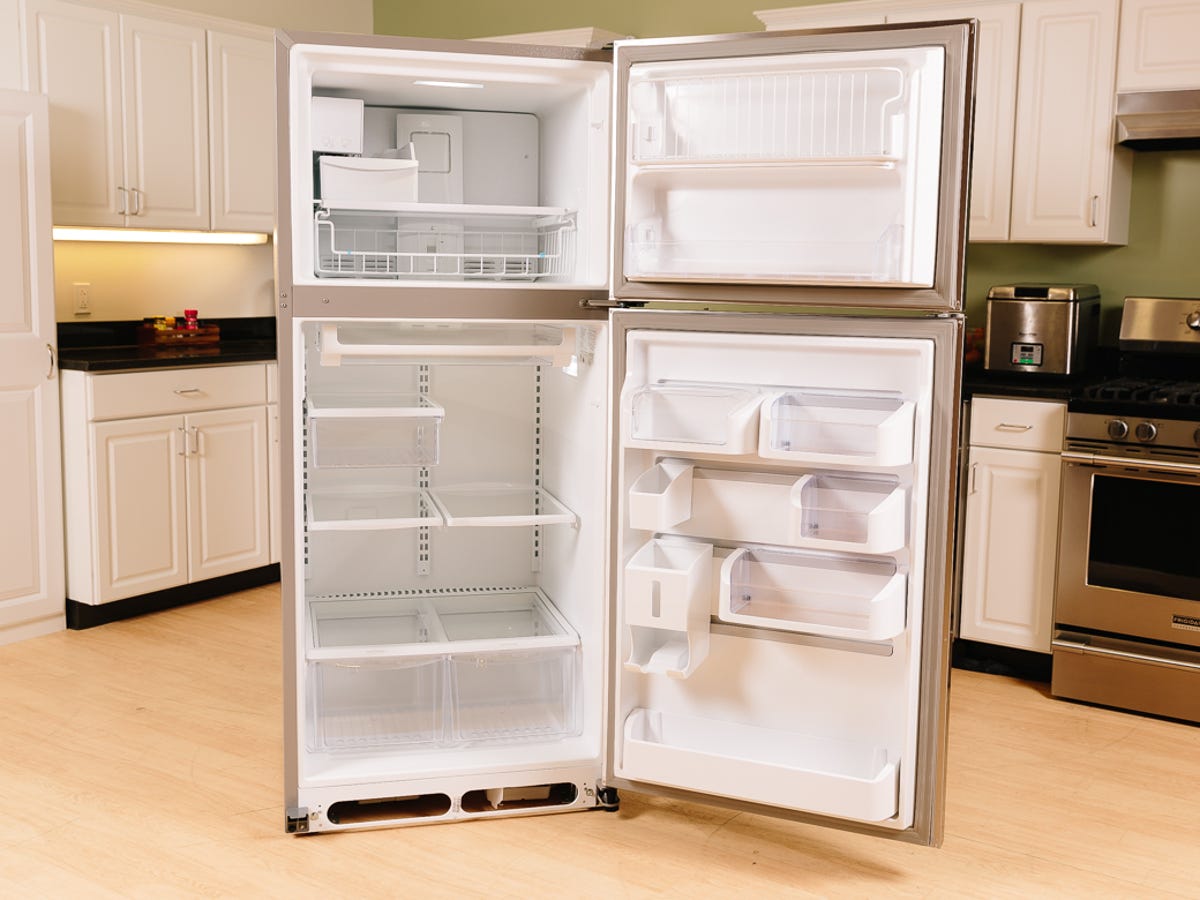
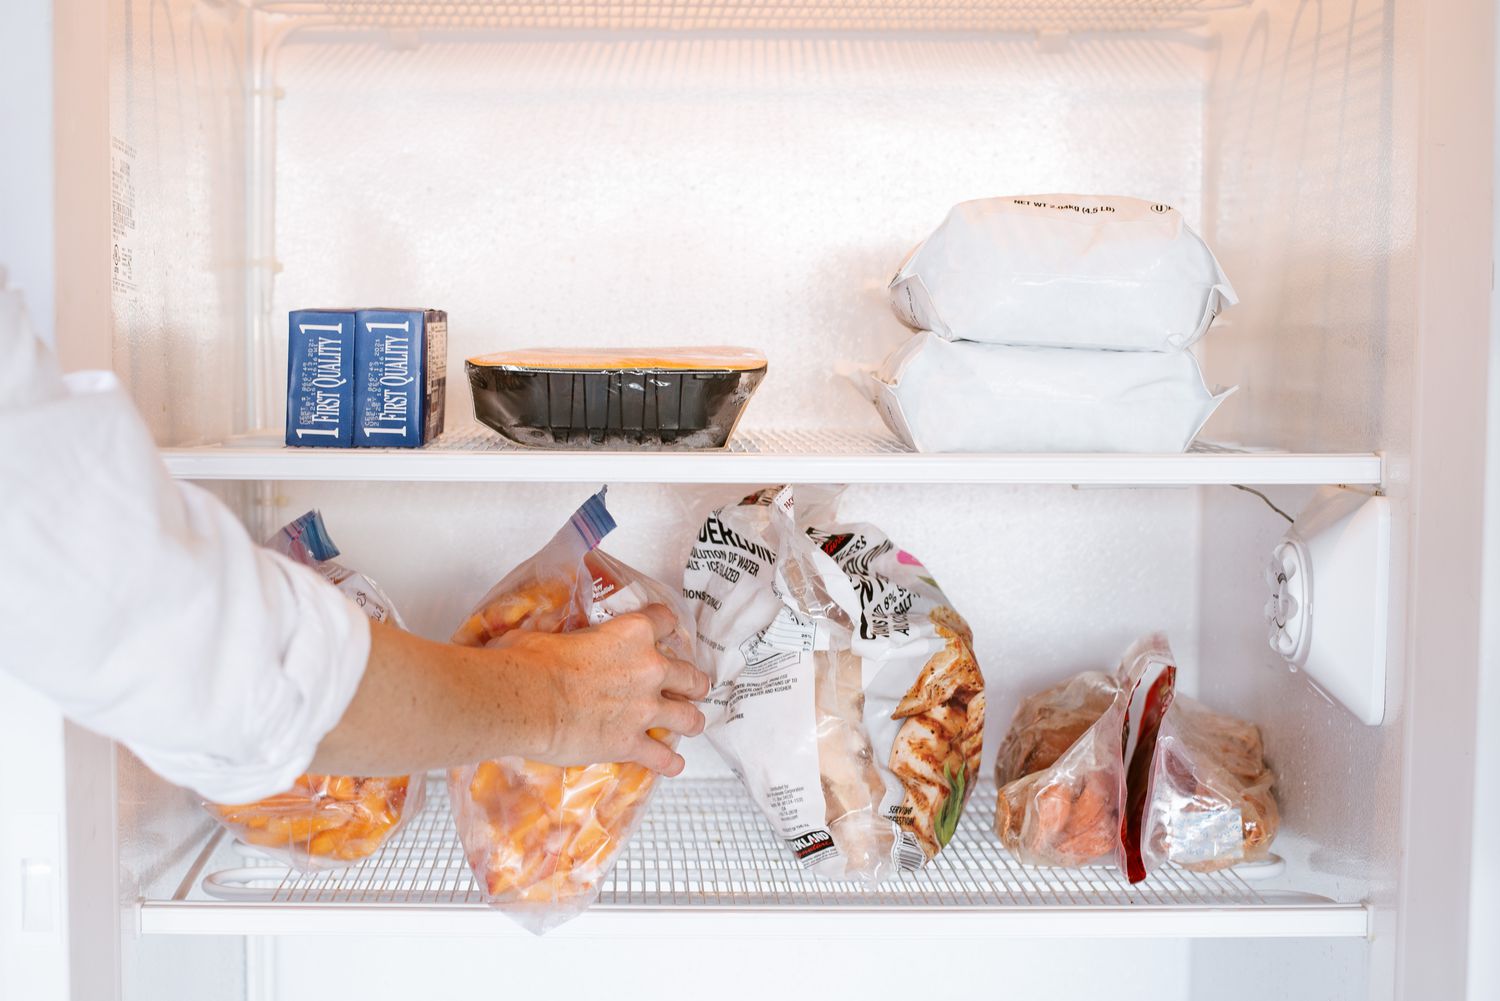
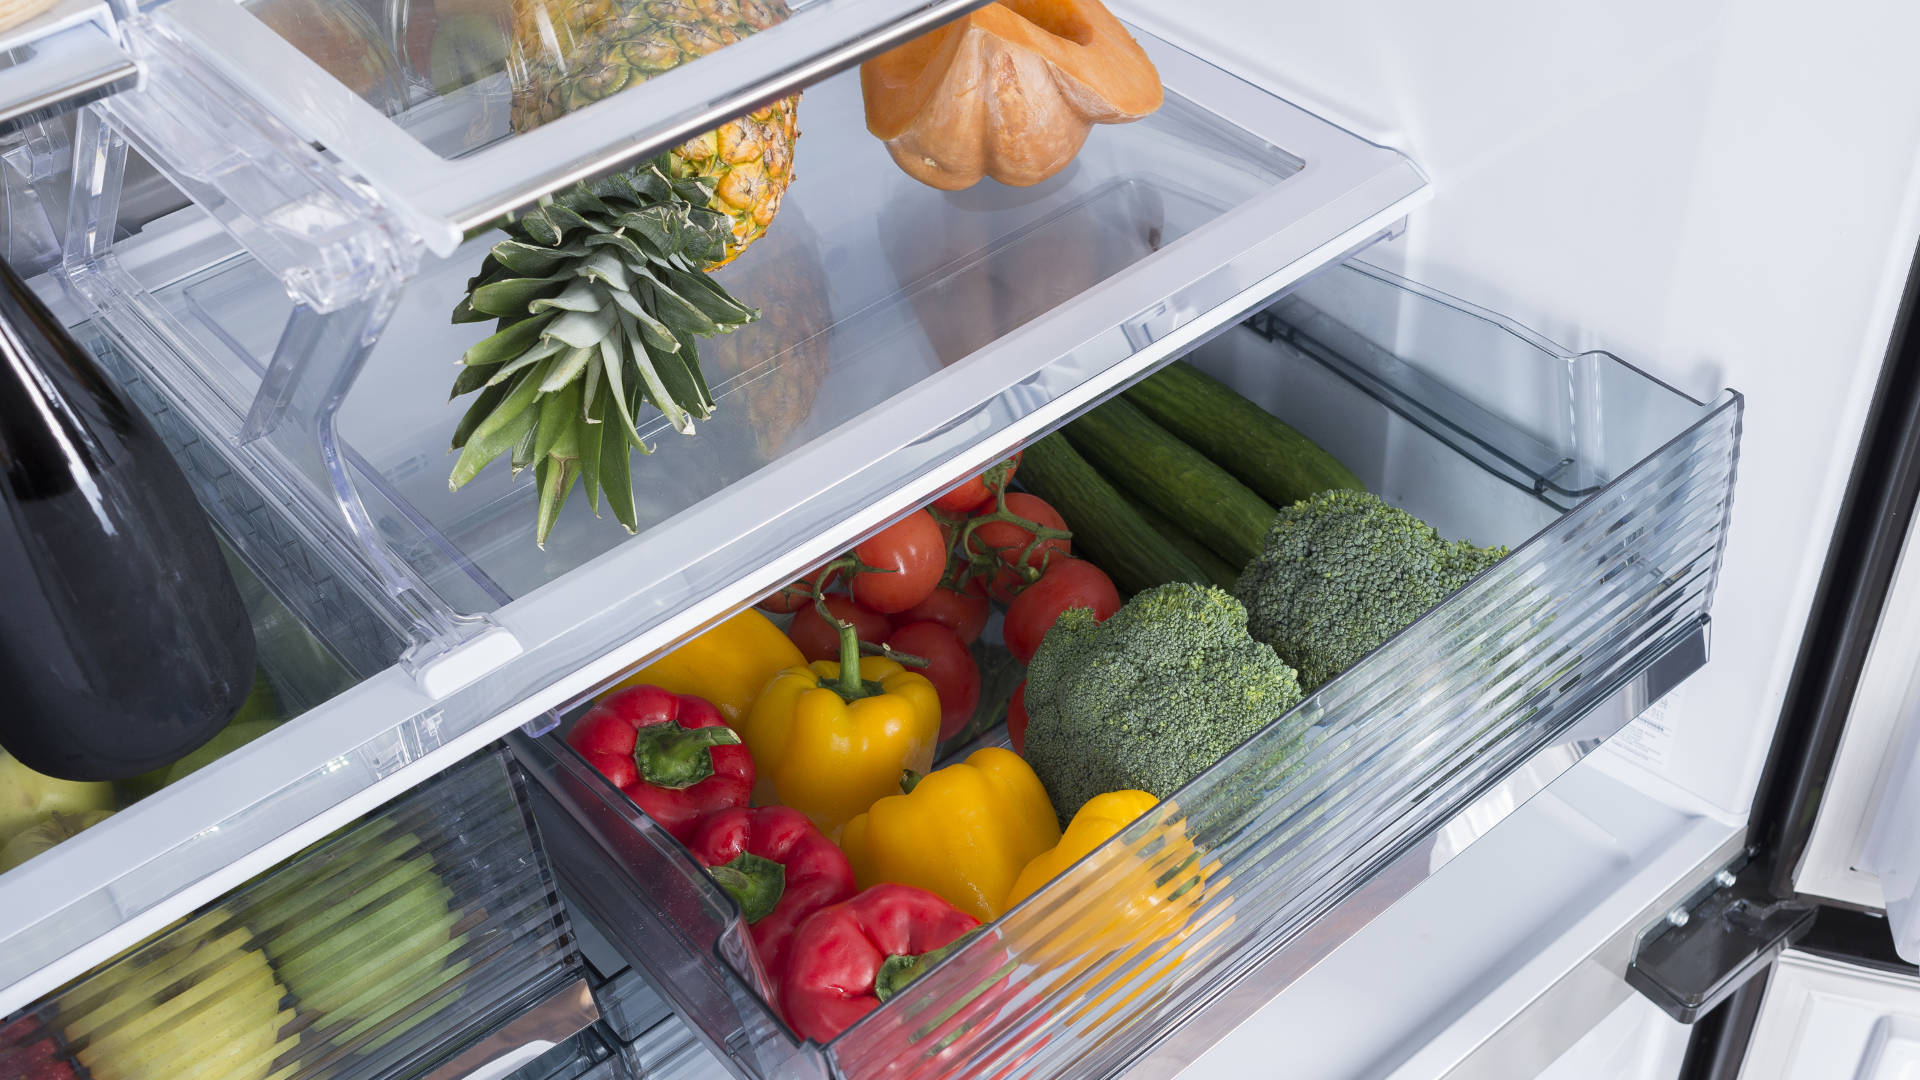
- Empty the freezer: Start by removing all the food items from your freezer. It’s important to have an alternative storage option ready, such as a cooler or another freezer, to prevent your food from spoiling.
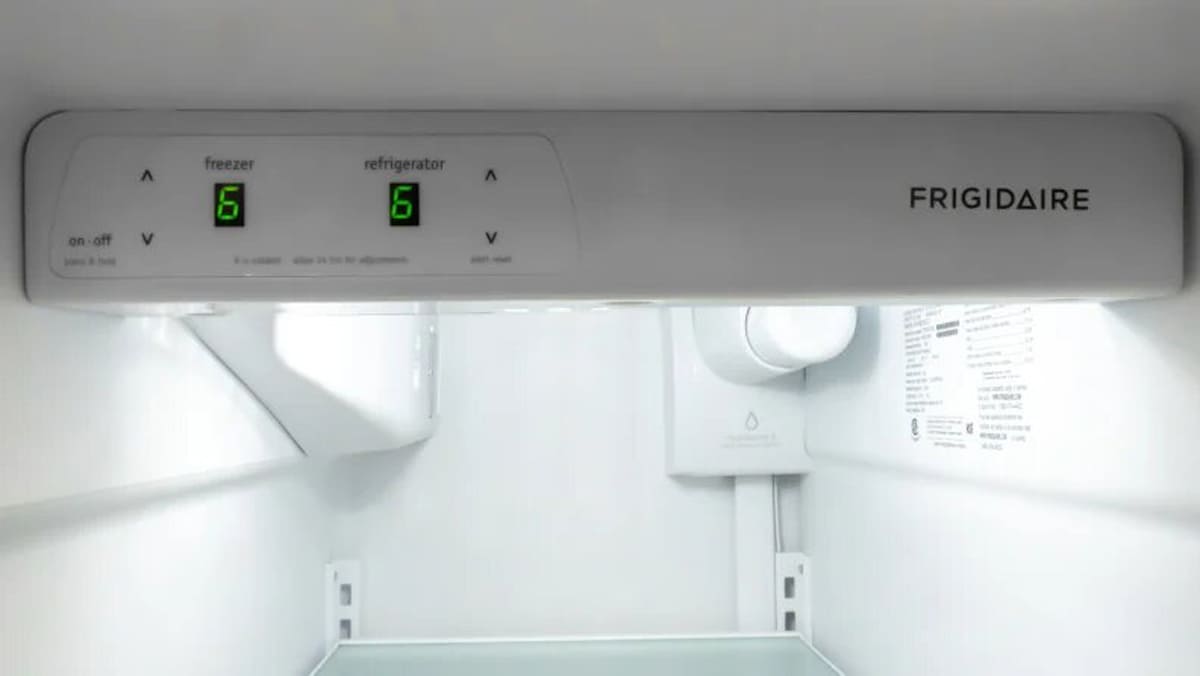
- Unplug the freezer: Once the freezer is empty, unplug it from the power source. This step is crucial for your safety and to avoid any electrical accidents during the defrosting process.
- Defrosting aids (optional): For manual defrost freezers, you can accelerate the defrosting process by placing pans of hot water or using a fan to circulate warm air inside the freezer. However, be cautious not to use any sharp objects or excessive heat to avoid damaging the freezer’s interior.
- Gather supplies: Prepare the necessary supplies for cleaning and drying the freezer after defrosting. You’ll need towels, a mild detergent or vinegar solution, a sponge or cloth, and a dry cloth or towel.
Once you’ve completed the preparation steps, you’re ready to move on to the defrosting process itself.
Defrosting the Frigidaire Freezer
Now that you’ve prepared your Frigidaire Freezer, it’s time to defrost it. Follow these steps to defrost your freezer effectively:
- Leave the freezer door open: With the freezer unplugged, leave the door open to allow the ice to melt. You may place towels around the freezer to catch any melting ice or water.
- Accelerate the defrosting process (optional): If you’re using the manual defrost method, you can speed up the process by placing pans of hot water inside the freezer or using a fan to circulate warm air. This will help melt the ice faster.
- Remove ice buildup: As the ice starts melting, you can gently remove any loose or easily removable ice using a plastic or wooden scraper. Avoid using sharp objects or excessive force to prevent damage to the freezer’s interior.
- Patience is key: Defrosting can take a few hours, depending on the amount of ice buildup. It’s important to be patient and avoid trying to forcibly remove stubborn ice. Allow the natural melting process to take its course.
- Dispose of water: Once the ice has melted completely, dispose of the water that has accumulated in the freezer. You can use a sponge or cloth to soak up any excess water.
With the defrosting process complete, it’s time to move on to the next crucial step: cleaning and drying the freezer.
To defrost a Frigidaire freezer, turn off the freezer and remove all food. Place towels at the bottom to catch water. Leave the freezer door open to allow the ice to melt. Use a hairdryer or hot water to speed up the process. Clean and dry the freezer before turning it back on.
Cleaning and Drying the Freezer
With the Frigidaire Freezer defrosted, it’s essential to clean and dry the interior to remove any dirt, grime, or remaining water. Follow these steps to effectively clean and dry your freezer:
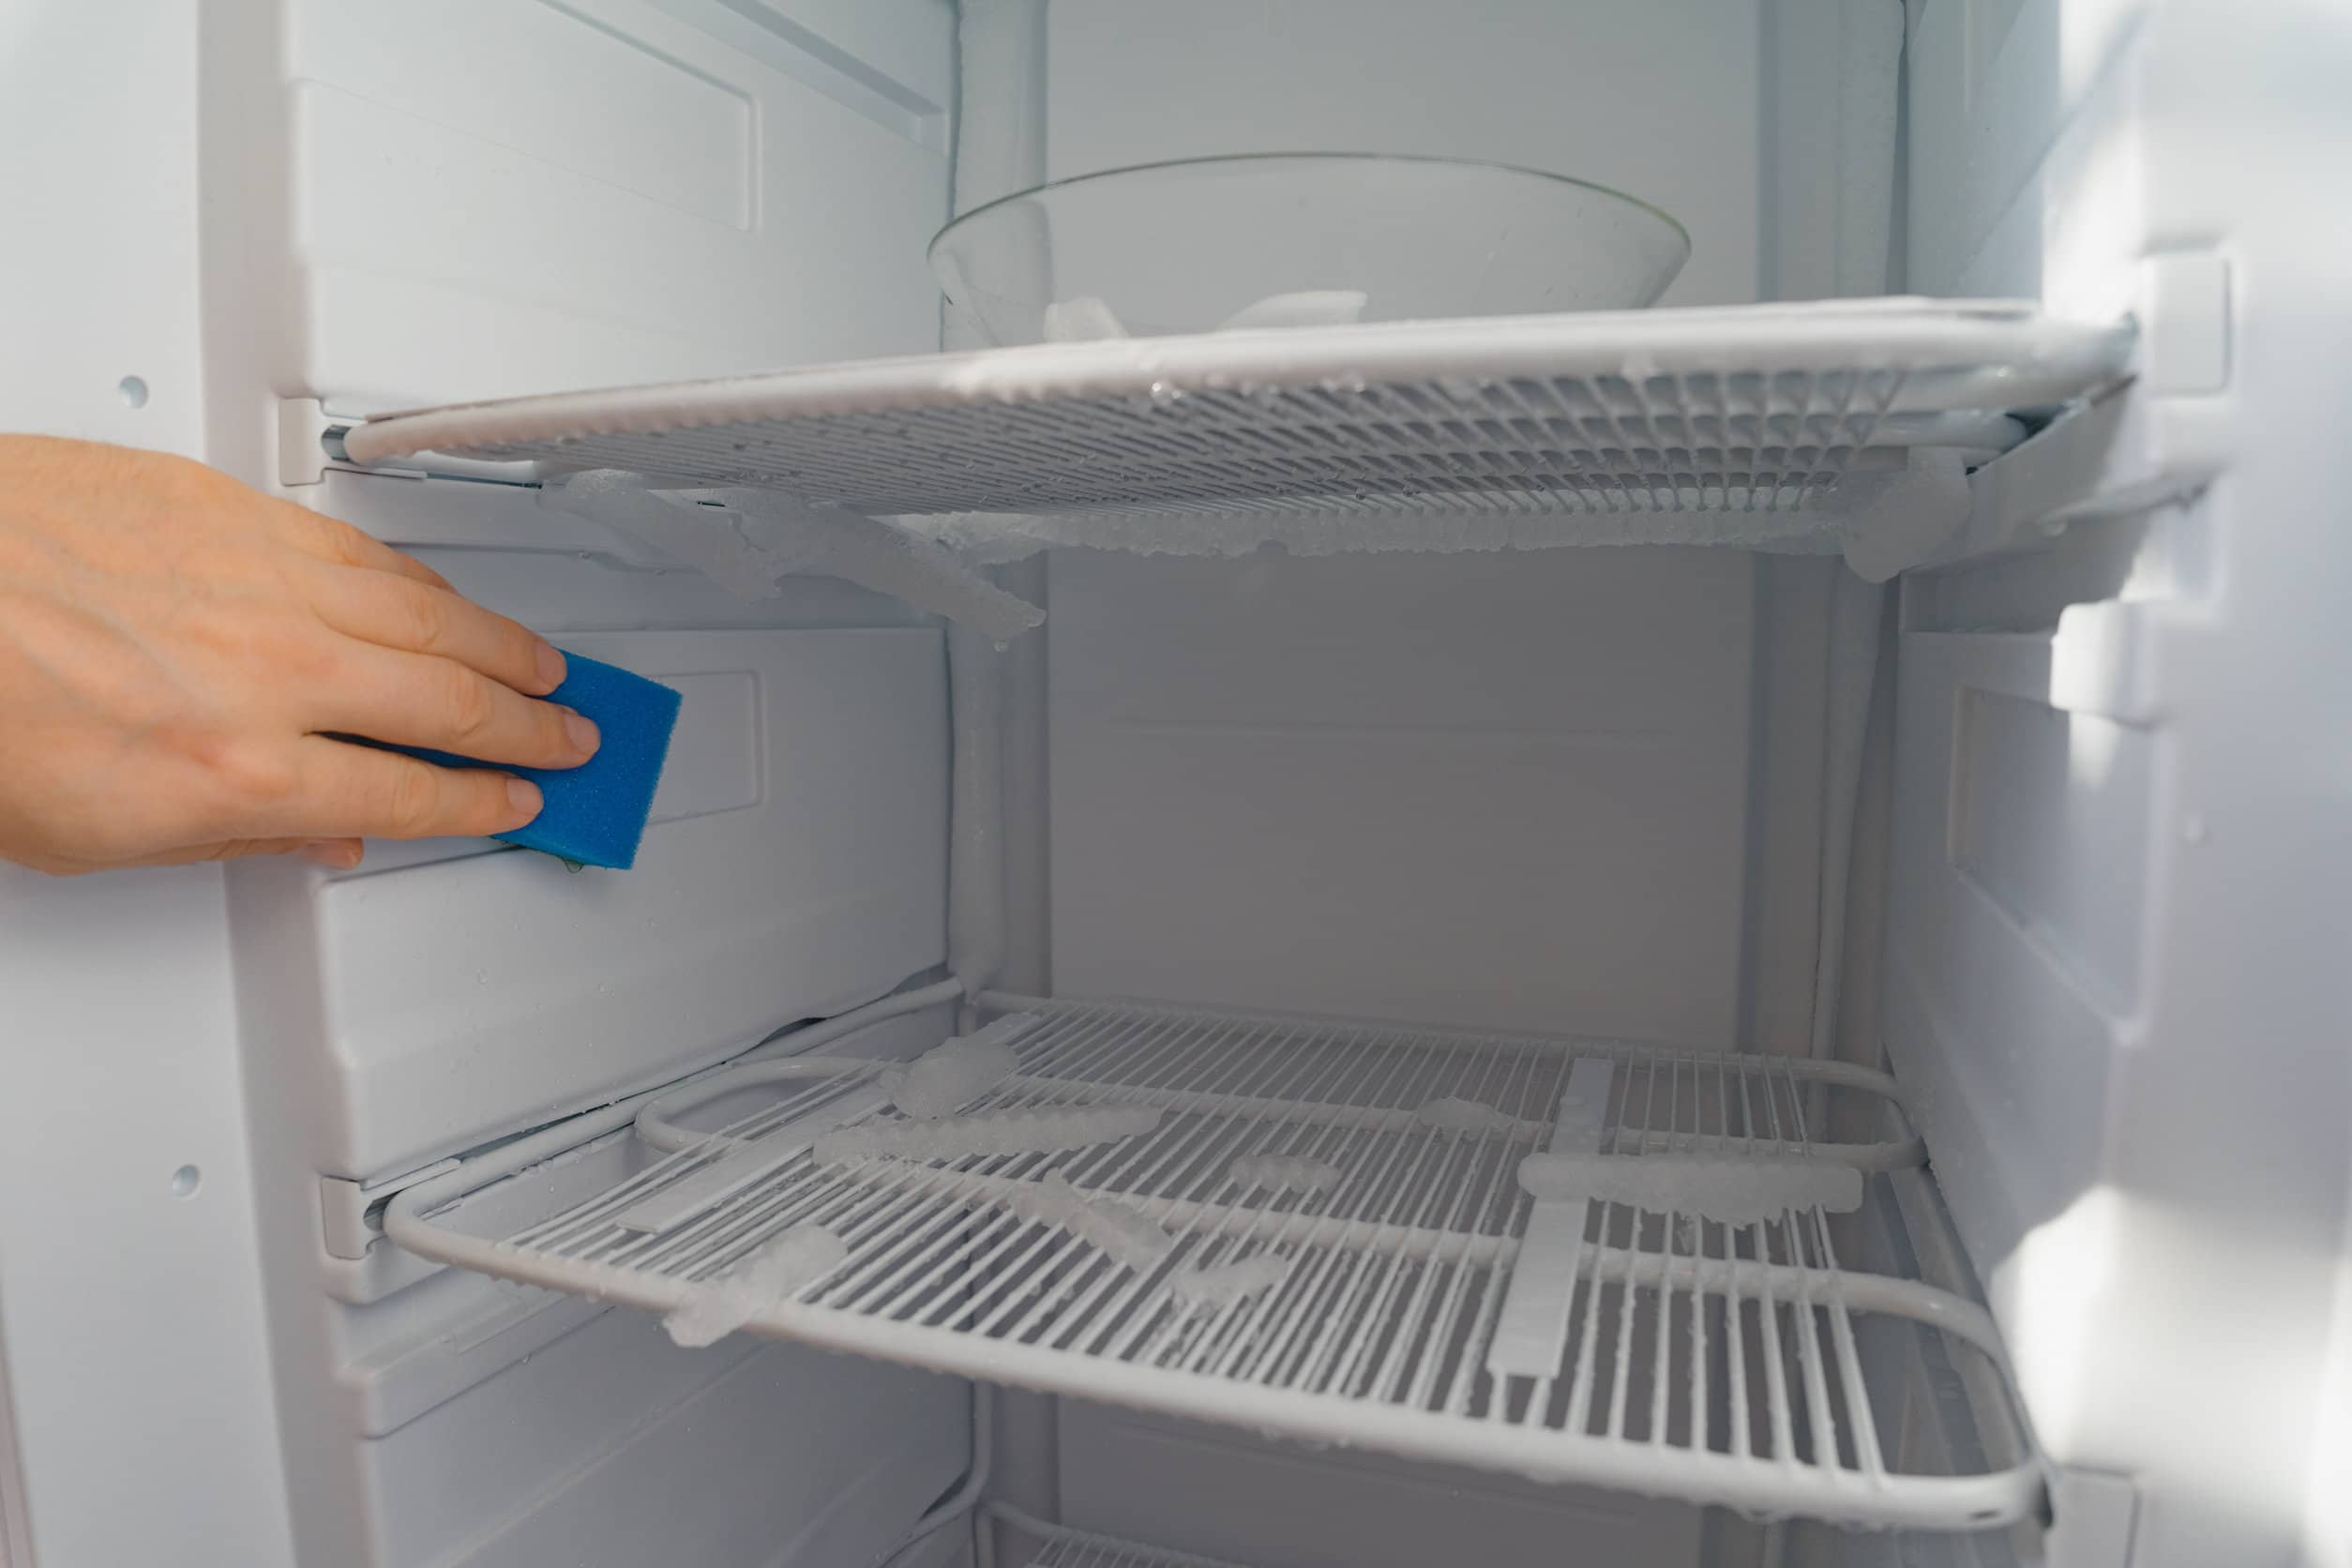
- Clean the interior: Start by preparing a mild detergent or vinegar solution by mixing it with warm water. Use a sponge or cloth soaked in the solution to wipe down the interior walls, shelves, and drawers of the freezer. Pay special attention to any stubborn stains or residue.
- Rinse with clean water: After cleaning, use a clean sponge or cloth soaked in plain water to rinse away any detergent or vinegar residue. This step ensures that no chemicals or odors linger in the freezer.
- Dry the freezer: Once the interior is clean, use a dry cloth or towel to wipe down the walls, shelves, and drawers of the freezer. Make sure to remove any remaining water to prevent it from refreezing and causing frost buildup in the future.
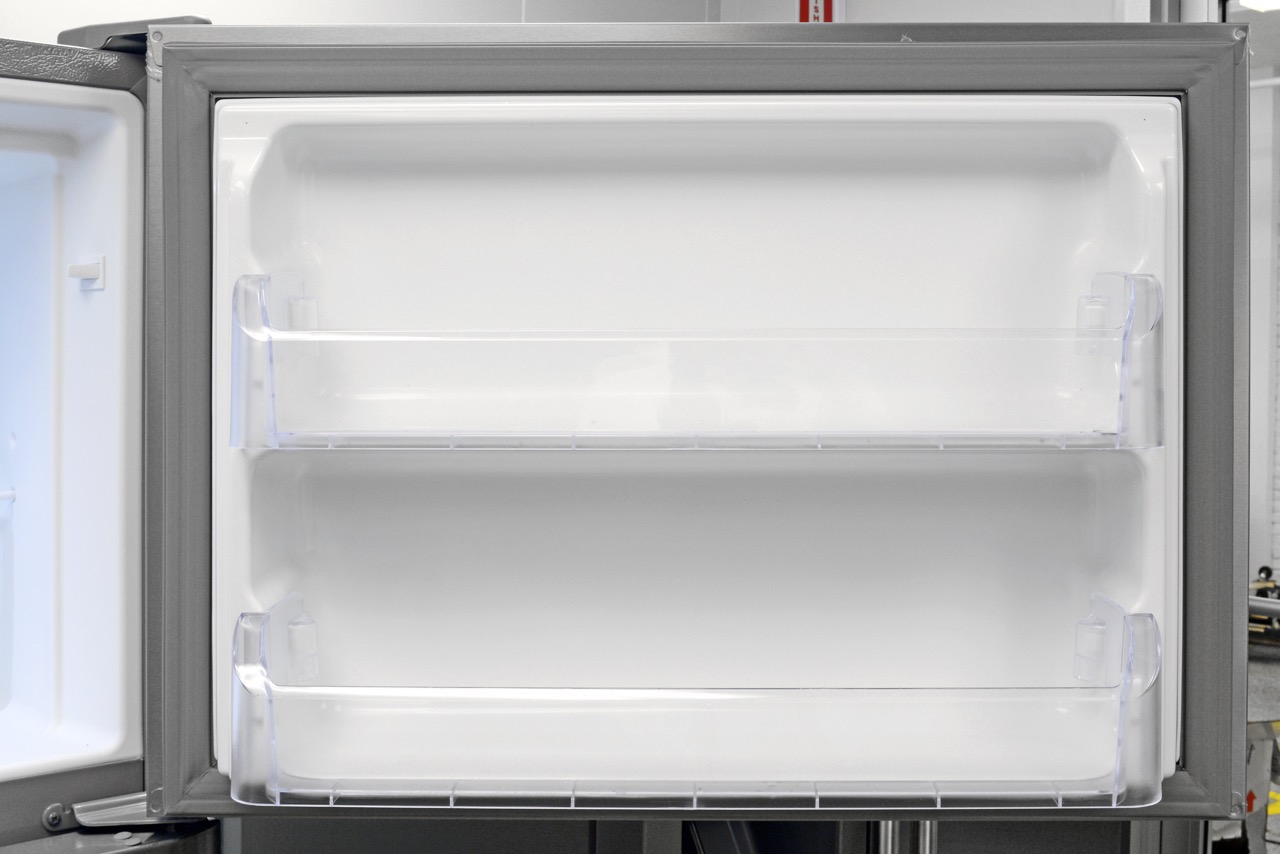
- Reassemble and plug in the freezer: Once the freezer is completely dry, reassemble the shelves and drawers, ensuring they are in their proper positions. Finally, plug the freezer back in and allow it to cool down before restocking it with your food.
By following these steps, you can ensure that your Frigidaire Freezer is not only defrosted but also clean and ready for optimal performance. Now, let’s move on to some final tips and recommendations.
Final Tips and Recommendations
As you complete the defrosting and cleaning process, here are some final tips and recommendations to keep in mind:
- Regularly defrost your freezer: It’s recommended to defrost your Frigidaire Freezer at least once every six months or as needed. Regular defrosting helps maintain the efficiency and longevity of your freezer.
- Plan ahead: If you know you’ll need to defrost your freezer, plan ahead by consuming perishable items or transferring them to a temporary storage solution like a cooler or another freezer.
- Avoid sharp objects: When removing ice during the defrosting process, be cautious not to use sharp objects that can damage the interior of the freezer or puncture the refrigerant lines.
- Keep the freezer door closed: To prevent frost buildup, make sure to keep the freezer door closed as much as possible. Opening the door frequently or leaving it open for extended periods can introduce warm air, leading to frost accumulation.
- Check the door seal: Periodically inspect the door seal of your freezer to ensure it is intact and free from cracks or damage. A faulty seal can allow warm air to enter, causing frost buildup. Replace the seal if necessary.
- Organize your freezer: After defrosting and cleaning, take the opportunity to organize your freezer. Group similar items together, label them if needed, and create a system that makes it easy to locate and access your food.
- Follow the manufacturer’s instructions: While the steps outlined in this guide are general, it’s always advisable to consult the specific instructions provided by your Frigidaire Freezer’s manufacturer for defrosting and cleaning.
By following these tips and recommendations, you can ensure that your Frigidaire Freezer remains in optimal condition and provides you with efficient and reliable cooling for years to come.
We hope this guide has been helpful in guiding you through the defrosting process of your Frigidaire Freezer. Remember, regular maintenance and care are essential to keep your freezer running smoothly. So, take the time to defrost and clean your freezer, and enjoy its optimal performance!
Conclusion
Defrosting your Frigidaire Freezer is an essential maintenance task that helps to maintain its efficiency and prolong its lifespan. By following the step-by-step process outlined in this guide, you can successfully defrost your freezer and ensure optimal performance.
Understanding the defrosting process is crucial, whether you have a manual defrost or automatic defrost freezer. By preparing the freezer properly and following the recommended steps, you can defrost the freezer effectively and remove any frost or ice buildup.
After defrosting, it’s important to clean and dry the interior of the freezer to remove any dirt, grime, or excess water. This ensures a hygienic environment for storing your food and prevents future frost accumulation.
Remember to defrost your Frigidaire Freezer regularly and plan ahead to minimize disruptions to your food storage. Keep the freezer door closed as much as possible, check the door seal for any damage, and organize your freezer to optimize its usage.
Always refer to the manufacturer’s instructions for specific guidance on defrosting and cleaning your Frigidaire Freezer. Following their recommendations will ensure the best care for your appliance.
We hope this comprehensive guide has provided you with the knowledge and confidence to defrost your Frigidaire Freezer effectively. By taking the time to defrost and maintain your freezer, you can enjoy its optimal performance, energy efficiency, and longevity.
Thank you for reading, and happy defrosting!
Frequently Asked Questions about How To Defrost Frigidaire Freezer
Was this page helpful?
At Storables.com, we guarantee accurate and reliable information. Our content, validated by Expert Board Contributors, is crafted following stringent Editorial Policies. We're committed to providing you with well-researched, expert-backed insights for all your informational needs.


0 thoughts on “How To Defrost Frigidaire Freezer”