Articles
How To Drain A Pool With A Garden Hose
Modified: February 26, 2024
Learn how to drain your pool using just a garden hose. Discover simple and effective gardening techniques to keep your pool clean and well-maintained.
(Many of the links in this article redirect to a specific reviewed product. Your purchase of these products through affiliate links helps to generate commission for Storables.com, at no extra cost. Learn more)
Introduction
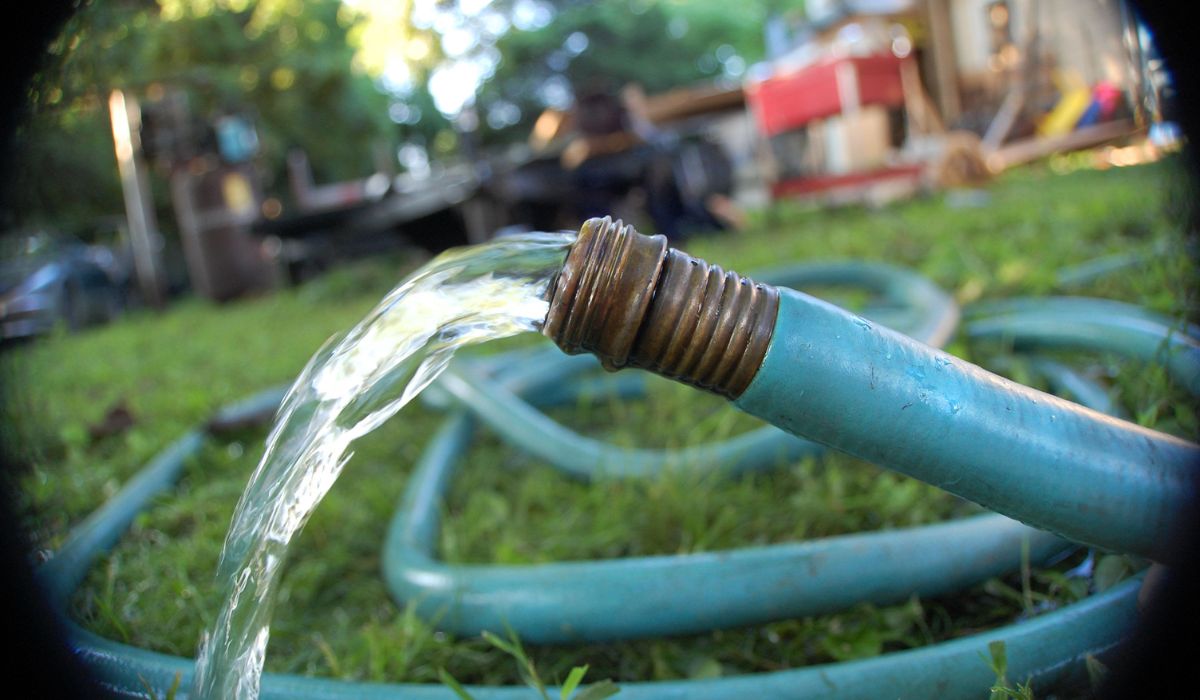
Draining a pool can be a daunting task, especially if you don’t have the right equipment. But fear not, because we have a solution for you – using a garden hose! With just a few simple steps, you can easily drain your pool and get it ready for maintenance or cleaning.
In this article, we will guide you through the process of draining your pool using a garden hose. We’ll cover everything you need to know, from the materials needed to the step-by-step instructions. So grab your garden hose and let’s get started!
Before we dive into the details, it’s important to note that the method we’ll be discussing is suitable for small to medium-sized pools. If you have a larger pool, we recommend consulting a professional to ensure the most efficient and safe drainage process.
Now, let’s gather the materials you’ll need for this task.
Key Takeaways:
- Draining a pool with a garden hose is a manageable task for small to medium-sized pools, requiring basic materials and careful preparation. It’s a cost-effective and efficient way to maintain your pool.
- Proper positioning and monitoring of the garden hose are essential for a smooth drainage process. Taking care of the pool and following local regulations for water disposal are crucial for successful pool maintenance.
Read more: How To Clean Dishwasher Drain Hose
Materials Needed
Before you begin draining your pool with a garden hose, make sure you have the following materials:
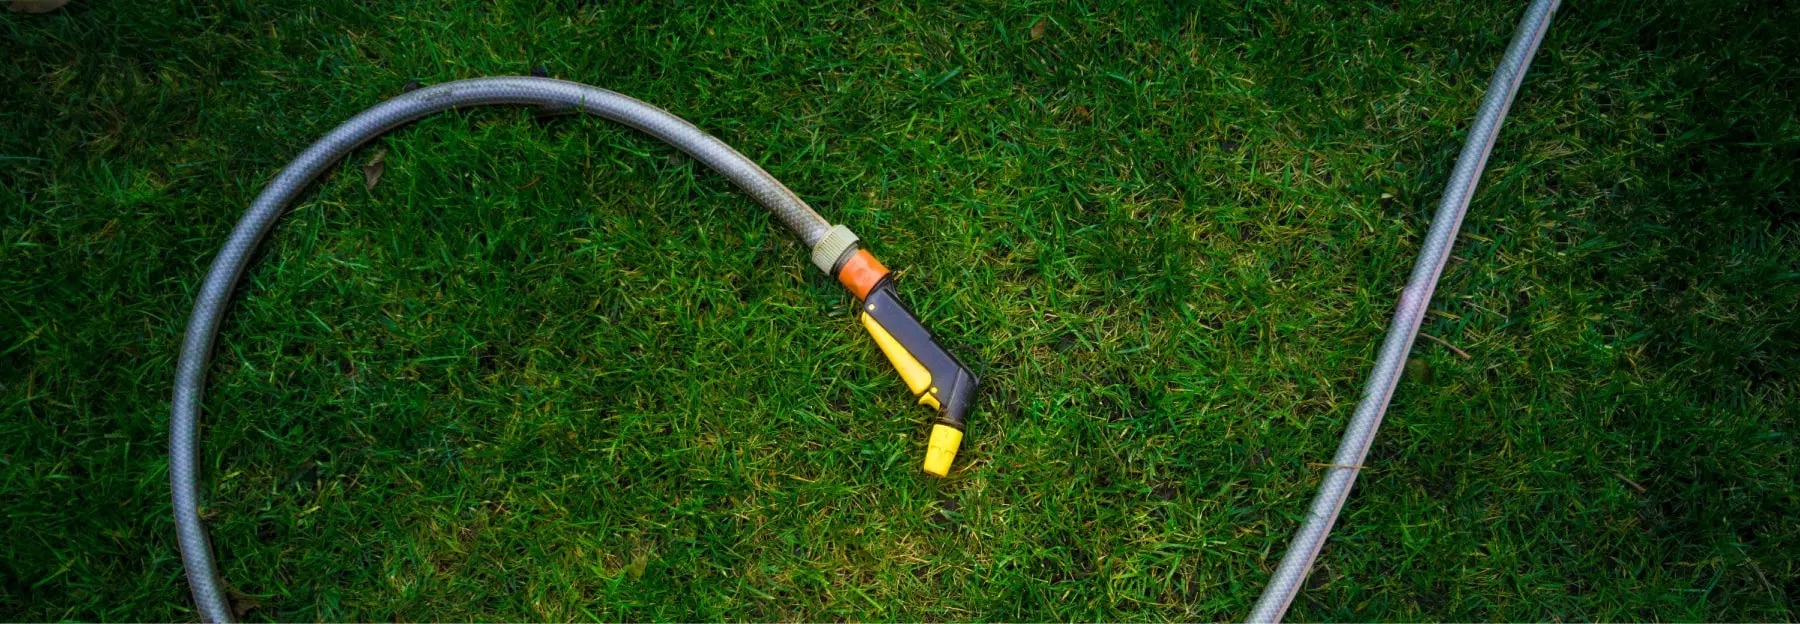
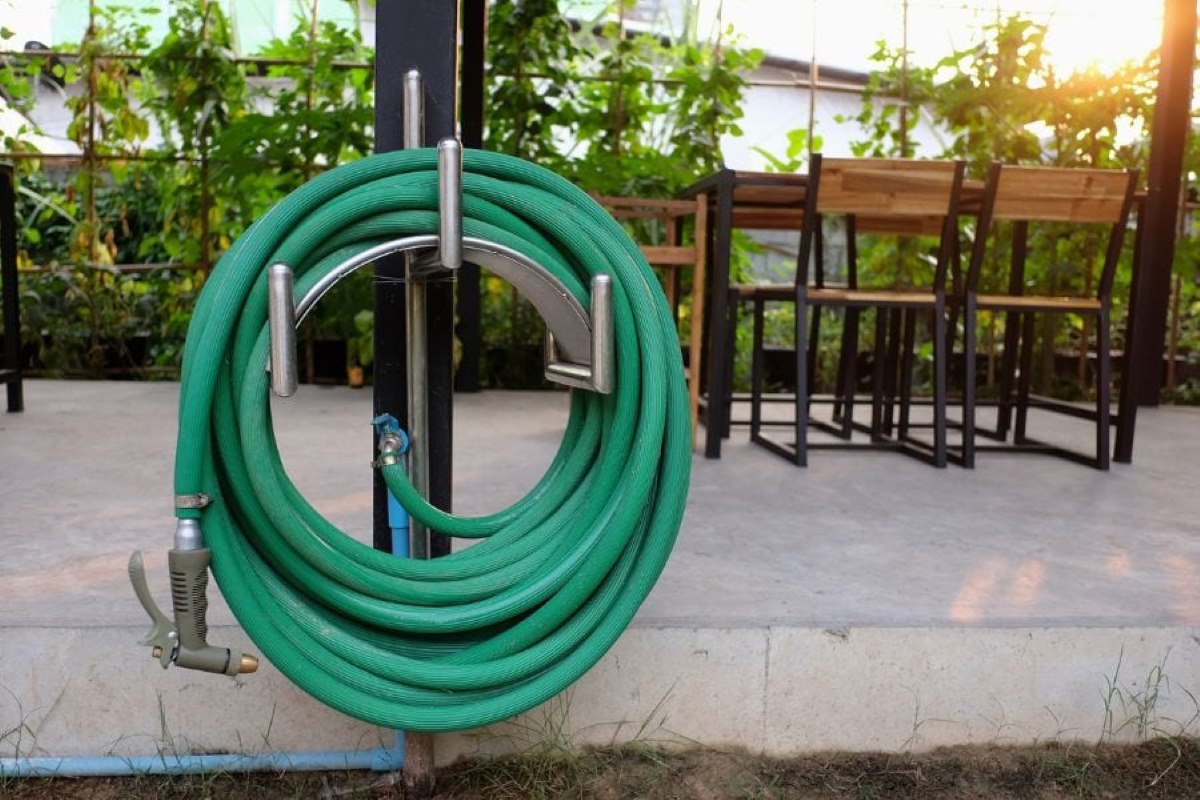
- A garden hose: Choose a hose that is long enough to reach from your pool to the desired drainage area. A hose with a diameter of 1.5 inches or larger is recommended for efficient water flow.
- A hose adapter: Depending on the size of your pool’s drain outlet, you may need an adapter to connect the garden hose. Make sure to check the specifications of your pool’s drain before purchasing the adapter.
- A pool brush or vacuum: Once the water level has dropped significantly, you may find debris or dirt on the pool floor. Having a pool brush or vacuum on hand will make it easier to clean the pool.
- A pool skimmer or net: During the draining process, some leaves or other floating debris may accumulate on the water’s surface. A skimmer or net will help you remove this debris more efficiently.
- A bucket or sump pump (optional): If you wish to drain the pool water to a specific level, having a bucket or sump pump can help you control the flow of water more precisely.
- Protective gloves: Draining the pool can involve handling dirty water and potentially coming into contact with chemicals or debris. Wearing gloves will help protect your hands during the process.
Once you have gathered these materials, you are ready to move on to the next steps and begin draining your pool with the garden hose.
Step 1: Prepare the Pool
Before you start draining your pool, it’s essential to take some preparatory steps to ensure a smooth and efficient process. Here’s what you need to do:
- Turn off all pool equipment: Before draining the pool, make sure to turn off the pump, filter, and any other pool equipment. This will prevent any potential damage or complications during the drainage process.
- Test the drainage outlet: Locate the pool’s drainage outlet, usually found at the bottom or sidewall of the pool. Ensure that the outlet is free from any debris or blockages that could impede the flow of water.
- Clear the surrounding area: Remove any objects or obstacles near the drainage outlet that could interfere with the hose placement or impede the water’s flow. Having a clear path will optimize the draining process.
- Check the hose length: Measure the distance between the pool and the desired drainage area. Ensure that your garden hose is long enough to reach without any stretching or pulling that can damage the hose or the pool’s plumbing system.
- Inspect the hose and connections: Examine the garden hose for any signs of damage, such as holes, cracks, or leaks. Also, check the connection points between the hose and the adapter for a secure fit.
- Prepare for water disposal: Consider where the drained water will go once it’s out of the pool. Ensure that the area is suitable for water disposal, whether it’s a sewer system, a drainage field, or another designated location.
By taking these preparatory steps, you’ll ensure that the pool draining process goes smoothly and without any unnecessary hiccups. Once you’ve completed these preparations, you’re ready to move on to the next step: connecting the garden hose.
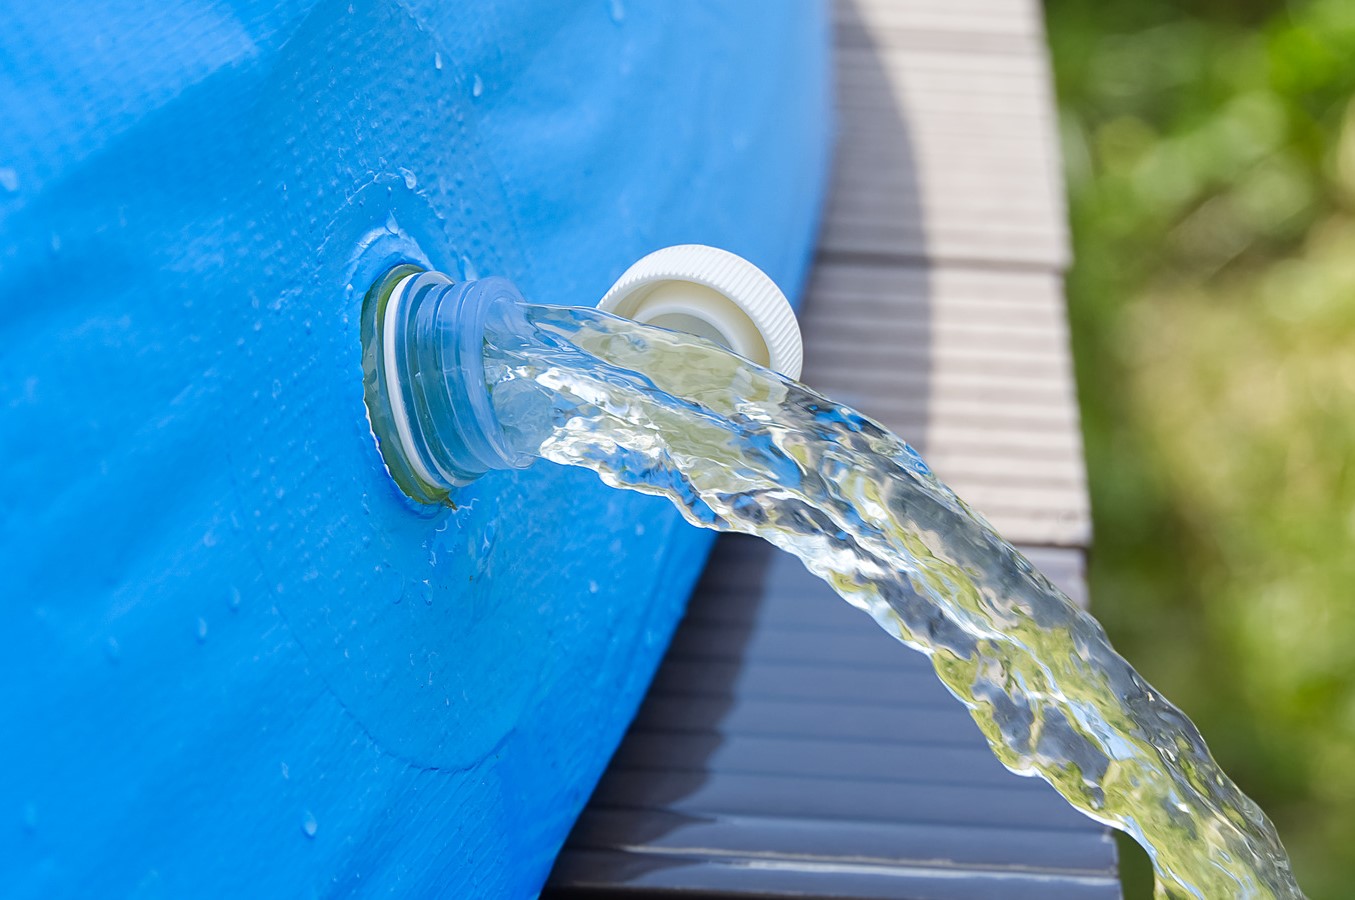
Step 2: Connect the Garden Hose
Now that you have prepared your pool for drainage, it’s time to connect the garden hose. Follow these steps to ensure a secure and reliable connection:
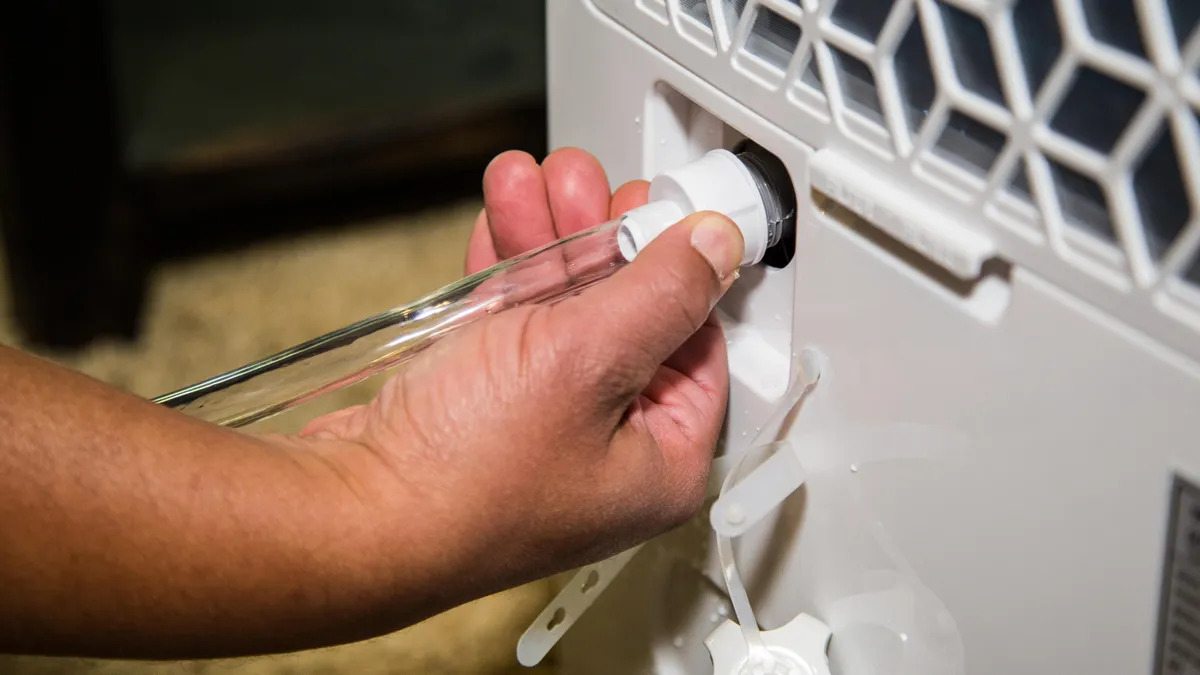
- Locate the pool’s drainage outlet: Find the drainage outlet on the pool’s bottom or sidewall. This is where you will connect the garden hose.
- Attach the hose adapter: If your pool’s drainage outlet is not compatible with the garden hose, you’ll need an adapter. Screw the adapter onto the drainage outlet securely.
- Connect the garden hose: Take one end of the garden hose and insert it into the adapter. Twist the hose clockwise until it is tightly connected to the adapter.
- Tighten the connection: Use a wrench or pliers to give the connection an extra twist, ensuring a snug fit. This will prevent any water leakage or disconnection during the draining process.
Once the garden hose is securely connected to the pool’s drainage outlet, you are ready to move on to the next step: positioning the hose.
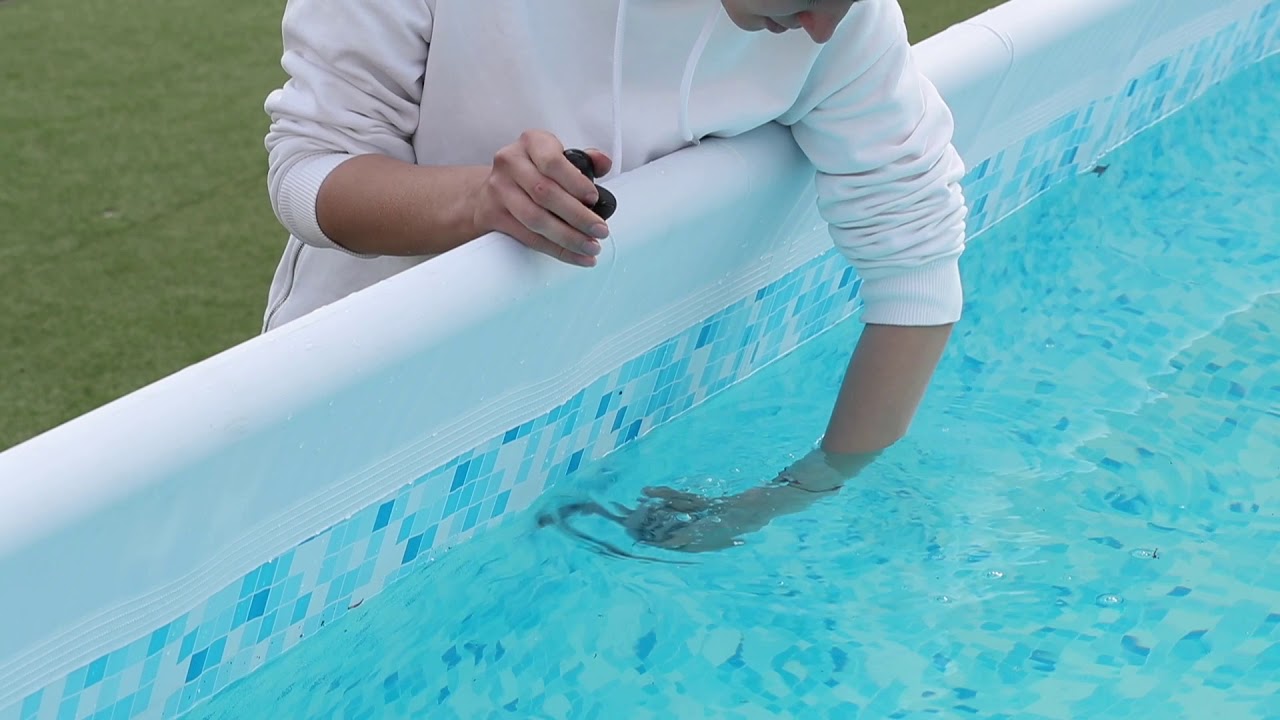
Step 3: Position the Hose
Now that the garden hose is securely connected to the pool’s drainage outlet, it’s time to position the hose for effective drainage. Follow these steps to ensure proper hose placement:
- Determine the drainage area: Decide where you want the drained water to flow. Ideally, it should go to a sewer system, a designated drainage area, or a location that will not cause any damage or flooding.
- Place the hose in a downward slope: Position the hose in a way that allows gravity to assist with the water flow. Make sure the hose is on a downward slope from the pool to the drainage area.
- Avoid kinks and twists: Ensure that the hose is free from any kinks, twists, or bends that could restrict the water flow. A smooth, straight hose will allow for efficient drainage.
- Secure the hose: Use hose clamps or other securing mechanisms to keep the hose in place and prevent it from moving or shifting during the draining process.
By properly positioning the hose, you will ensure a continuous and steady flow of water from the pool to the drainage area. Now that the hose is in the desired position, it’s time to move on to the next step: turning on the water.
Read more: How To Store Pool Vacuum Hose
Step 4: Turn on the Water
With the garden hose properly positioned, it’s now time to turn on the water and initiate the draining process. Follow these steps to ensure a controlled and efficient water flow:
- Locate the water source: Identify the water source from where you will supply water to the garden hose. This can be an outdoor spigot or any other water outlet.
- Check the water pressure: Before turning on the water, make sure to check the water pressure. Avoid high water pressure, as it can damage the hose or cause excessive water splashing.
- Turn on the water gradually: Slowly open the outdoor spigot or water source to allow the water to flow into the garden hose. Avoid sudden or forceful water flow to prevent hose displacement or damage.
- Monitor the flow: Keep an eye on the water flow as it enters the hose. Ensure that the water is flowing smoothly without any leaks or obstructions.
By turning on the water gradually and monitoring the flow, you can ensure a controlled and steady drainage process. Now that the water is flowing, it’s time to move on to the next step: monitoring the drainage.
Before draining your pool with a garden hose, make sure to turn off the pool pump and filter to prevent damage. Also, be sure to monitor the water level to avoid over-draining.
Step 5: Monitor the Drainage
Once the water is flowing through the garden hose, it’s important to closely monitor the drainage process to ensure it is progressing smoothly. Follow these steps to effectively monitor the drainage:
- Observe the water level: Keep an eye on the pool’s water level as it begins to decrease. This will allow you to track the progress of the drainage.
- Check for hose blockages: Periodically inspect the garden hose for any blockages or obstructions that may impede the water flow. Clear any debris or kinks that may have formed.
- Ensure proper drainage speed: Take note of the rate at which the water is draining. If the drainage is too slow, check for any restrictions or adjust the hose position to optimize the flow.
- Remove surface debris: Use a pool skimmer or net to remove any floating debris, such as leaves or twigs, from the water’s surface. This will help maintain an efficient drainage process.
By actively monitoring the drainage process, you can address any issues that may arise and ensure a smooth and efficient flow of water out of the pool. Now, let’s move on to the next step and make any necessary adjustments to the hose position.
Step 6: Adjust the Hose Position
As you monitor the drainage process, you may find the need to adjust the position of the garden hose to optimize the water flow. Follow these steps to make any necessary hose adjustments:
- Identify any drainage issues: If you notice slow drainage or pooling water, it may indicate that the hose position needs adjustment. Look for any potential obstructions or areas where the water flow seems restricted.
- Redirect the hose if needed: If you find an area of concern, carefully reposition the hose to alleviate the issue. Ensure that the hose is straight and free from any kinks or bends that could impede the water flow.
- Consider gravity and slopes: Keep in mind the natural flow of water and the slope of the landscape. Position the hose in a downward slope to take advantage of gravity and facilitate efficient drainage.
- Test the water flow: Once you’ve made the necessary hose adjustments, observe the water flow to ensure that it has improved. Monitor the drainage to ensure the water is moving smoothly.
By adjusting the hose position as needed, you can optimize the drainage process and prevent any potential issues that may arise. After making any necessary hose adjustments, it’s time to continue draining the pool to the desired level.
Step 7: Empty the Pool
With the garden hose properly positioned and any necessary adjustments made, it’s time to proceed with emptying the pool. Follow these steps to ensure a thorough and efficient drainage process:
- Continue monitoring the drainage: As the water level drops, keep a close eye on the drainage progress to ensure everything is functioning as it should. This will help you catch any issues that may arise.
- Clean the pool walls and floor: As the water level lowers, take the opportunity to clean the pool walls and floor using a pool brush or vacuum. This will help remove any accumulated dirt or debris.
- Empty the pool to the desired level: Allow the water to drain until it reaches the desired level. This could be completely emptying the pool or leaving a specific amount of water for maintenance purposes.
- Adjust the hose position if necessary: If you notice any changes in the water flow or restrictions during the draining process, make further adjustments to the hose position as needed.
Ensure that you also adhere to any local regulations or guidelines regarding pool drainage and water disposal. Once the pool is emptied to the desired level and you’re satisfied with the cleanliness, it’s time to proceed to the next step: stopping the water flow.
Read more: How To Connect A Washing Machine Drain Hose
Step 8: Stop the Water Flow
Now that the pool has been emptied to the desired level, it’s important to stop the water flow from the garden hose. Follow these steps to stop the water flow effectively:
- Turn off the water source: Locate the outdoor spigot or water source that supplies water to the garden hose. Turn off the water supply by closing the valve or handle.
- Check for any remaining water flow: After turning off the water source, inspect the hose and drainage area to ensure there is no residual water flow. Allow a few minutes for any remaining water to drain out.
- Disconnect the garden hose: Carefully disconnect the garden hose from the pool’s drainage outlet. Unscrew the hose counterclockwise from the adapter and set it aside.
- Secure the drainage outlet: Once the hose is disconnected, ensure that the pool’s drainage outlet is securely closed to prevent any water leakage or debris from entering.
By following these steps, you will effectively stop the water flow and prevent any unnecessary water waste or potential damage to the drainage system. Now, let’s move on to the final step: disconnecting the garden hose.
Step 9: Disconnect the Garden Hose
After the pool has been drained and the water flow has been stopped, the final step is to disconnect the garden hose. Follow these steps to safely disconnect the hose:
- Turn off the outdoor spigot: Before disconnecting the garden hose, make sure the outdoor spigot or water source is turned off to prevent any accidental water flow.
- Release any built-up pressure: If there is any remaining water pressure in the hose, carefully release it by squeezing the hose or opening the nozzle if applicable.
- Twist and loosen the hose: Grip the garden hose near the connection point with the pool’s drainage outlet and twist it counterclockwise to loosen it. Apply gentle pressure while twisting to break any seal between the hose and the adapter.
- Remove the garden hose: Once the hose is loosened, pull it away from the adapter. Ensure that the hose is completely disconnected before setting it aside.
- Store the garden hose properly: After disconnecting the hose, coil it up neatly and store it in a dry and protected area to prevent damage or kinking.
By properly disconnecting and storing the garden hose, you’ll ensure its longevity and be prepared for future use. With the hose safely disconnected, you have successfully drained your pool using a garden hose.
Remember to take care of the drained water appropriately, following local regulations and guidelines for proper disposal. Additionally, take this opportunity to inspect your pool for any maintenance or cleaning needs before refilling it.
Congratulations on successfully draining your pool with a garden hose! You’ve accomplished an important step in pool maintenance and preparation. Enjoy your clean and well-maintained pool!
Conclusion
Draining a pool may seem like a daunting task, but with the help of a garden hose, it becomes an achievable and efficient process. By following the step-by-step instructions outlined in this article, you can successfully drain your pool and prepare it for maintenance or cleaning.
Throughout the process, it is important to ensure that you have all the necessary materials, including a garden hose, hose adapter, pool brush or vacuum, pool skimmer or net, bucket or sump pump (optional), and protective gloves. These tools will make the draining process much smoother.
From preparing the pool and connecting the garden hose to adjusting its position and emptying the pool, each step is crucial for a properly drained pool. Monitoring the drainage, making necessary hose adjustments, and stopping the water flow and disconnecting the hose ensure a controlled and efficient draining process.
Remember to adhere to local regulations and guidelines for water disposal, as well as taking the opportunity to clean and inspect your pool during the draining process. By following these steps and taking proper care of your pool, you can ensure its longevity and enjoyment for years to come.
Now that you have learned how to drain a pool with a garden hose, you can confidently take on this task whenever needed. So grab your garden hose and get ready to keep your pool in optimal condition!
Frequently Asked Questions about How To Drain A Pool With A Garden Hose
Was this page helpful?
At Storables.com, we guarantee accurate and reliable information. Our content, validated by Expert Board Contributors, is crafted following stringent Editorial Policies. We're committed to providing you with well-researched, expert-backed insights for all your informational needs.


0 thoughts on “How To Drain A Pool With A Garden Hose”