Articles
How To Store A Garden Hose
Modified: October 19, 2024
Learn the best way to store your garden hose with these gardening tips. Keep your hose organized and protected for longer use.
(Many of the links in this article redirect to a specific reviewed product. Your purchase of these products through affiliate links helps to generate commission for Storables.com, at no extra cost. Learn more)
Introduction
Storing a garden hose properly is essential to keep it in good condition and extend its lifespan. A well-maintained hose not only ensures convenience in watering plants but also saves you from unnecessary hassle and costly replacements. Whether you have a small garden or a sprawling landscape, learning the right techniques for storing your garden hose is crucial.
In this article, we will guide you through the step-by-step process of storing a garden hose. From choosing the right storage method to protecting it from harsh weather conditions, we will cover all the necessary aspects to help you maintain your hose effectively.
So, let’s dive in and discover the best practices for storing a garden hose!
Key Takeaways:
- Properly storing and maintaining your garden hose is crucial for its longevity and efficient use. From choosing the right storage method to protecting it from extreme weather, each step ensures a reliable and durable hose for your gardening needs.
- Regular inspections and maintenance are key to preserving the quality of your garden hose. By addressing issues promptly and following proper storage practices, you can enjoy a well-cared-for hose that serves you faithfully for years to come.
Read more: How To Store A Hose
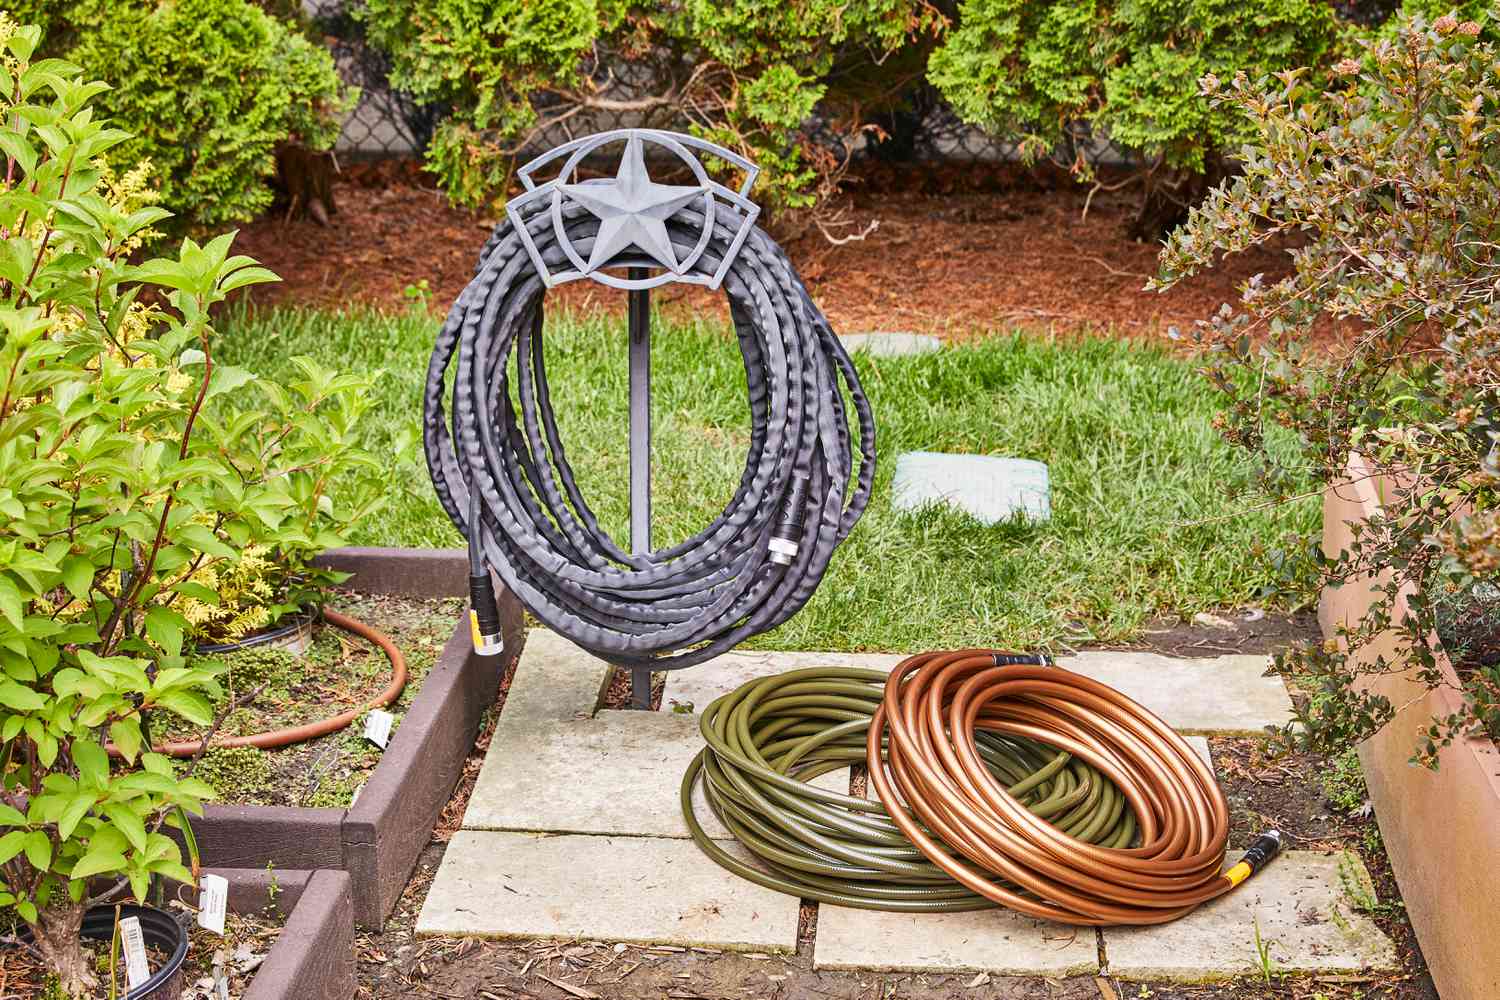
Step 1: Choose a storage method
There are different storage methods available for garden hoses, and selecting the right one depends on your preferences and available space. Here are a few common storage options:
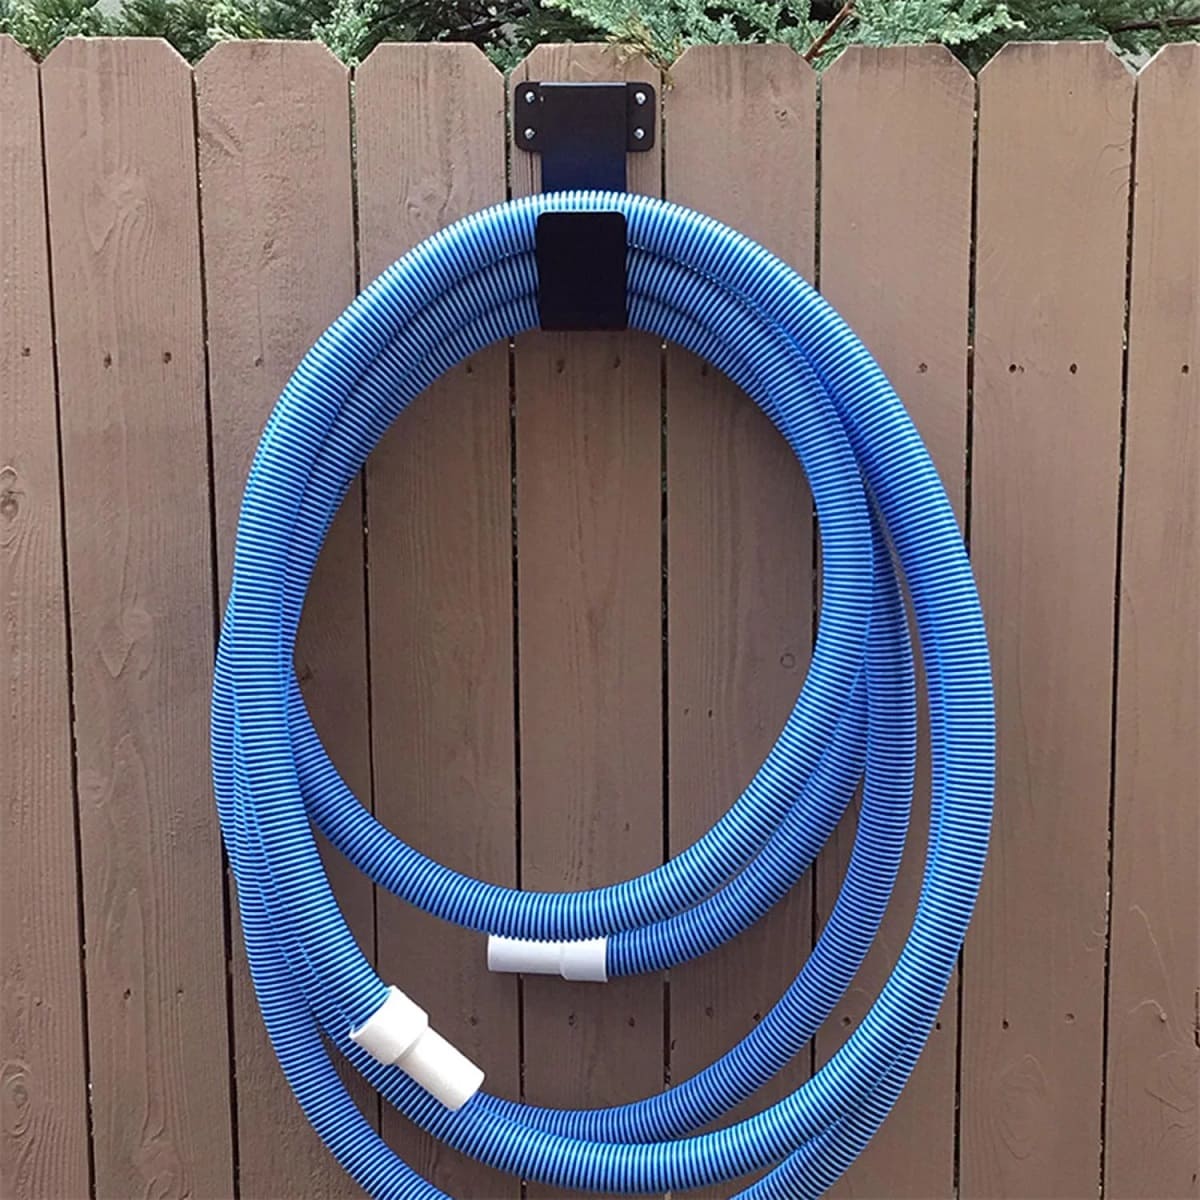
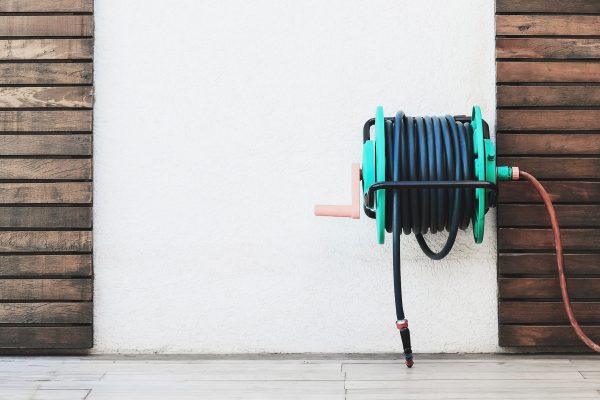
- Wall-mounted hose reel: This is a popular choice as it keeps the hose off the ground and neatly coiled. Wall-mounted hose reels are typically made of durable materials like metal or plastic and can be easily attached to an exterior wall or fence. They come in various sizes and styles to accommodate different hose lengths.
- Free-standing hose reel: If you prefer a portable option, a free-standing hose reel might be the best choice for you. These reels are designed with a sturdy base and handle, allowing you to move the hose around your yard as needed. They often come with wheels for enhanced mobility.
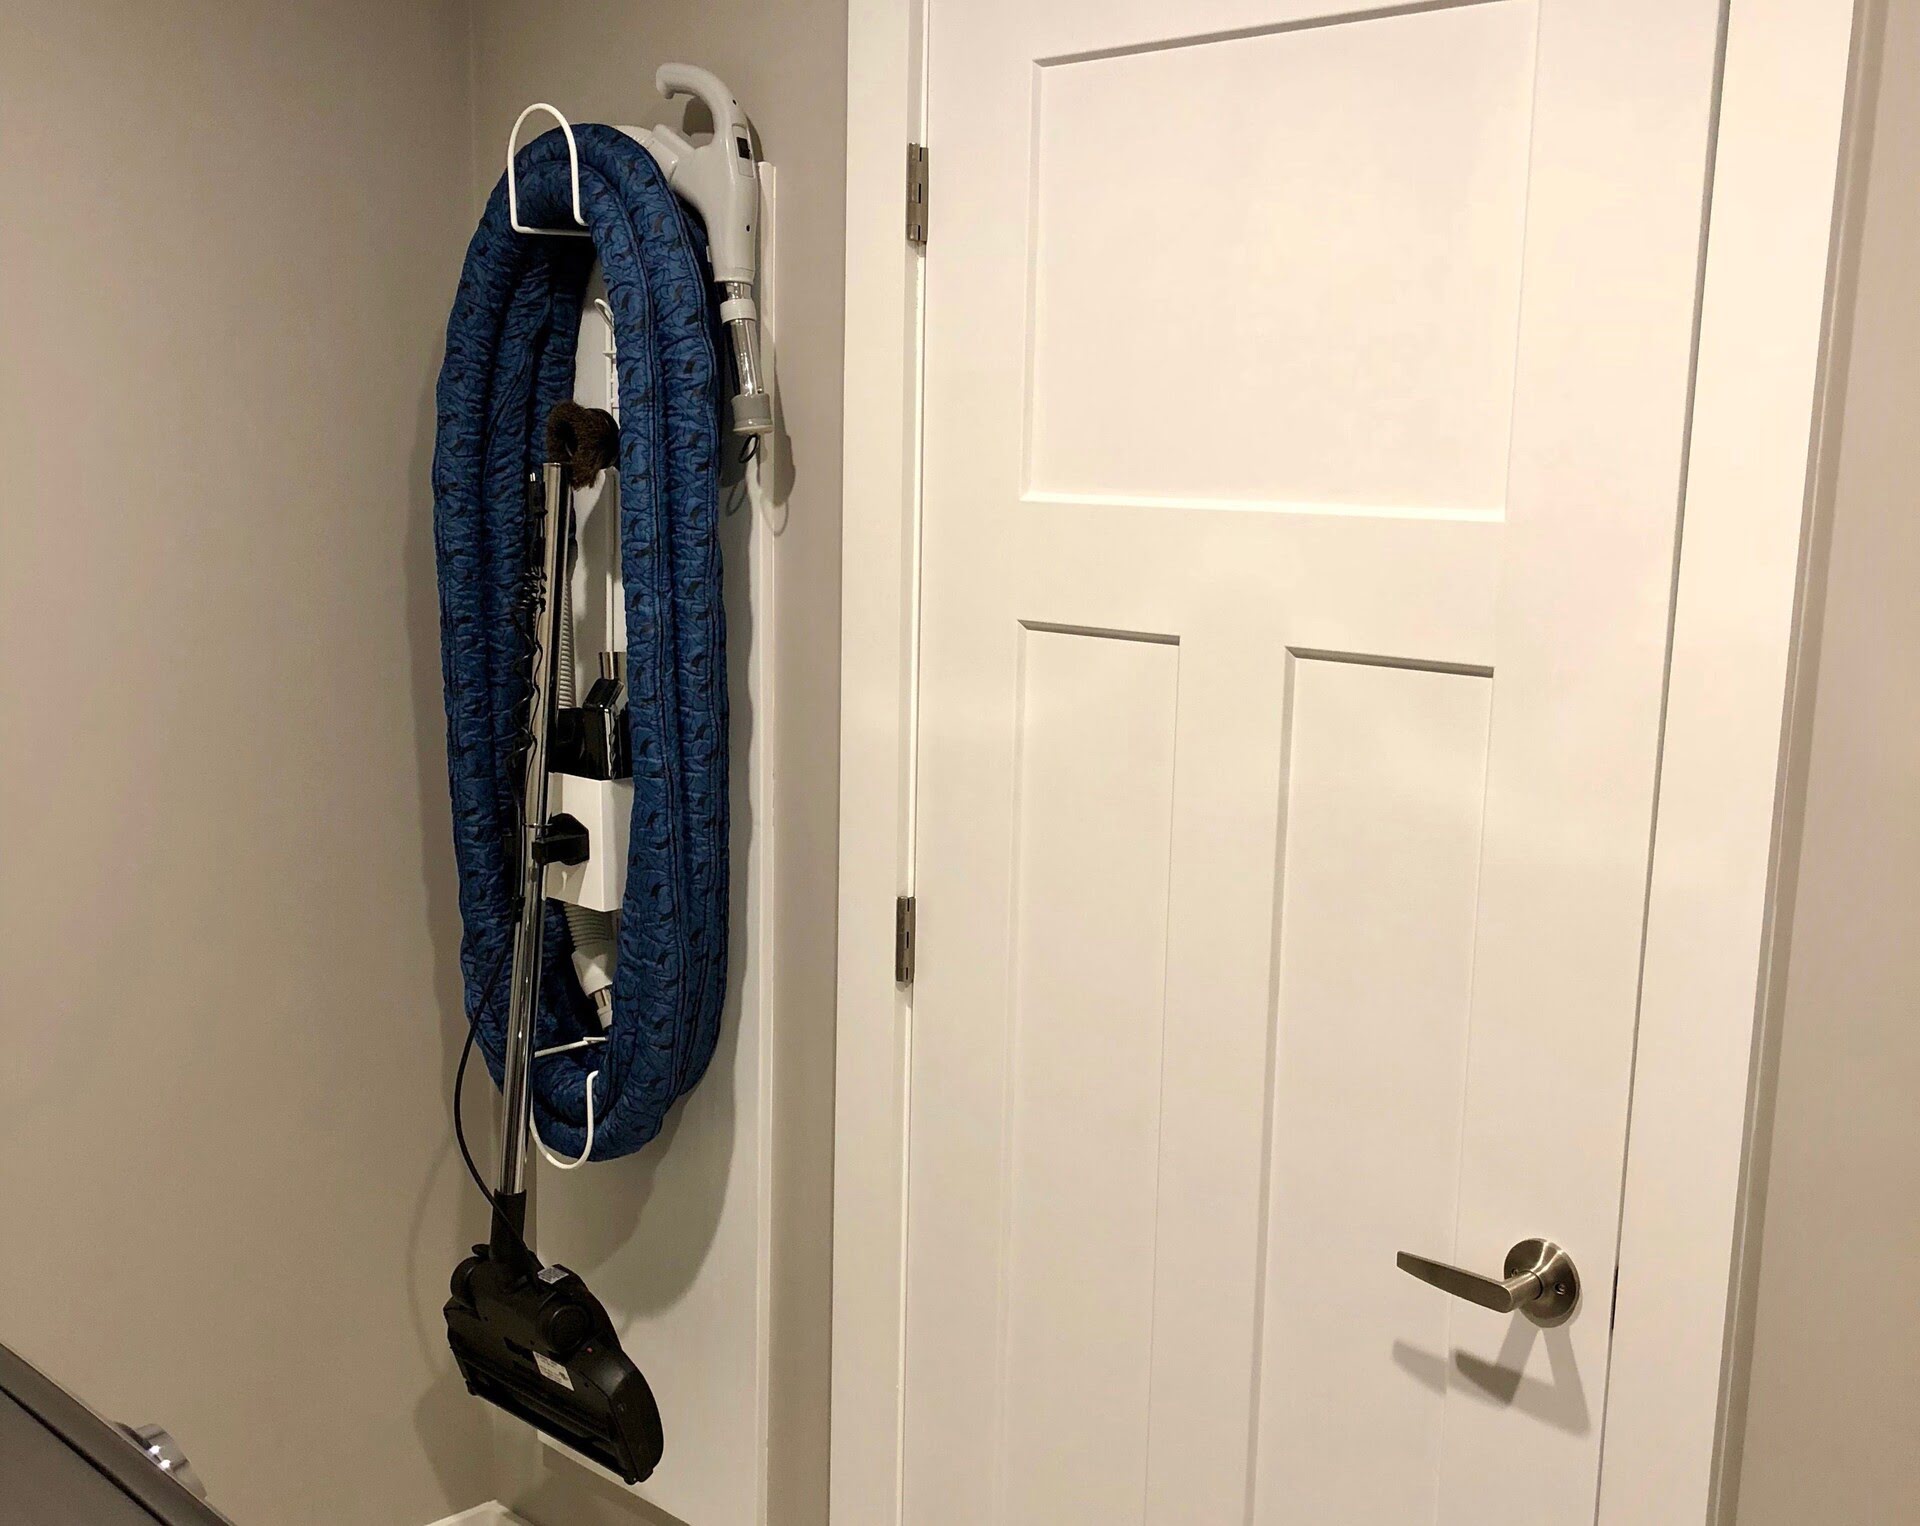
- Hose hanger: A hose hanger is a simple yet effective storage method. It consists of a hook or loop that you can mount on a wall or post. You can easily hang the hose on the hanger, keeping it organized and tangle-free. Hose hangers are ideal for smaller gardens or areas with limited space.
- Coiled storage: Coiling the hose and placing it on the ground or in a storage bin is a convenient storage method, especially for shorter hoses. This option is budget-friendly and suitable for those who have limited storage space or don’t want to mount any additional equipment.
Consider factors such as convenience, space availability, and the length of your hose when choosing a storage method. It’s important to select a storage option that suits your needs so that you can easily access and maintain your garden hose.
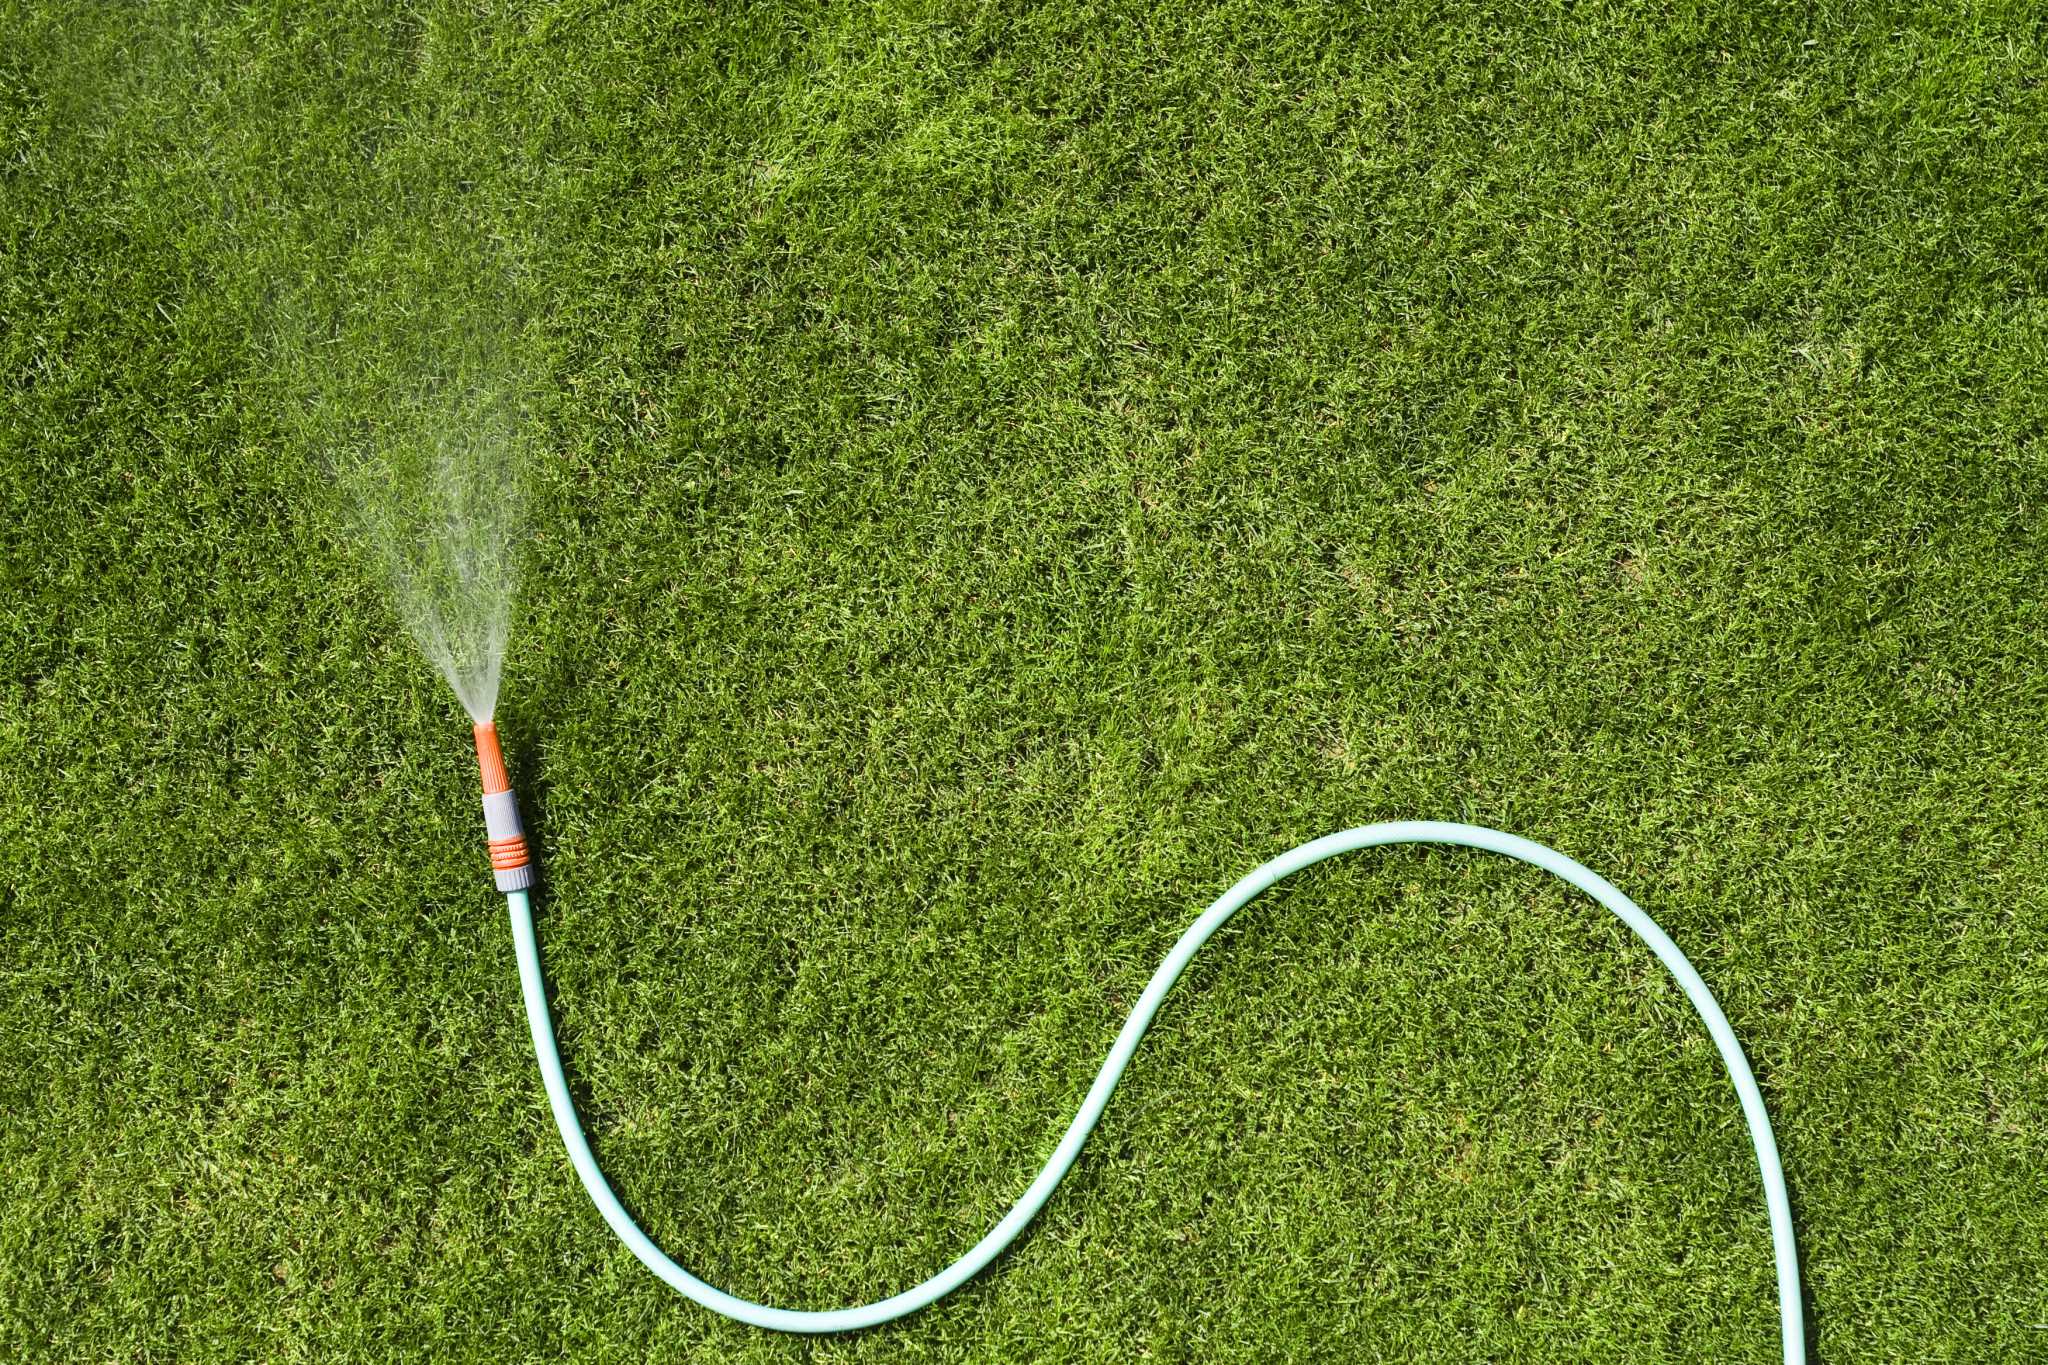
Step 2: Clean and dry the hose
Before storing your garden hose, it’s crucial to clean and dry it thoroughly. This helps remove any dirt, debris, or moisture that may have accumulated, preventing the growth of mold or mildew.
Here’s how you can effectively clean and dry your hose:
- Disconnect from the water source: Start by disconnecting the garden hose from the water source. Ensure that the water is turned off and there is no residual pressure in the hose.
- Remove attachments or accessories: If your hose has any attachments such as spray nozzles or sprinklers, remove them and set them aside for cleaning separately.
- Rinse with water: Use a hose or a bucket of water to rinse off any dirt or debris from the surface of the garden hose. Gently scrub with a soft brush if necessary.
- Clean with mild soap: Fill a bucket with warm water and add a small amount of mild soap. Dip a sponge or soft cloth into the soapy water and thoroughly clean the entire length of the hose, paying attention to any stubborn stains or grime.
- Rinse again: After washing, use clean water to rinse off any soap residue from the hose. Make sure to remove all traces of soap to prevent any damage or degradation to the hose material.
- Dry completely: Once the hose is clean, it’s important to ensure that it is completely dry before storage. Hang the hose on a hose hanger or drape it over a fence or railing, allowing it to air dry. Make sure both the inside and outside of the hose are dry to prevent moisture buildup.
By following these steps, you can ensure that your garden hose is clean and dry, ready for proper storage. It’s important to note that storing a wet or damp hose can lead to mold or mildew growth, and can also cause the hose material to deteriorate over time. Therefore, take the time to thoroughly clean and dry your hose before moving on to the next step.
Step 3: Disconnect the hose from the water source
Before storing your garden hose, it’s important to disconnect it from the water source. This step prevents any water from flowing through the hose and eliminates the risk of leaks or pressure buildup.
Follow these steps to properly disconnect the hose from the water source:
- Turn off the water supply: Locate the shut-off valve or faucet connected to the water source for your garden hose. Rotate the valve or faucet handle clockwise to close it and stop the flow of water.
- Release any residual water: After shutting off the water supply, squeeze the trigger of the nozzle or attachment connected to the hose to release any remaining water. Continue until no more water is flowing from the hose.
- Detach the hose: Once you have released the remaining water, disconnect the hose from the water source. Unscrew the hose from the faucet or detach it from any connectors or adapters. Ensure a firm grip on the hose to prevent any sudden movement.
- Check for leaks or damage: While disconnecting the hose, inspect it for any signs of leaks, cracks, or damage. If you identify any issues, address them before storing the hose to ensure it remains in good condition for future use.
By properly disconnecting the garden hose from the water source, you minimize the risk of leaks and potential damage. This step also prevents any water from lingering in the hose, which could lead to mold growth or accelerated wear and tear.
Once you have disconnected the hose and ensured its integrity, you can proceed to the next step of preparing it for storage.
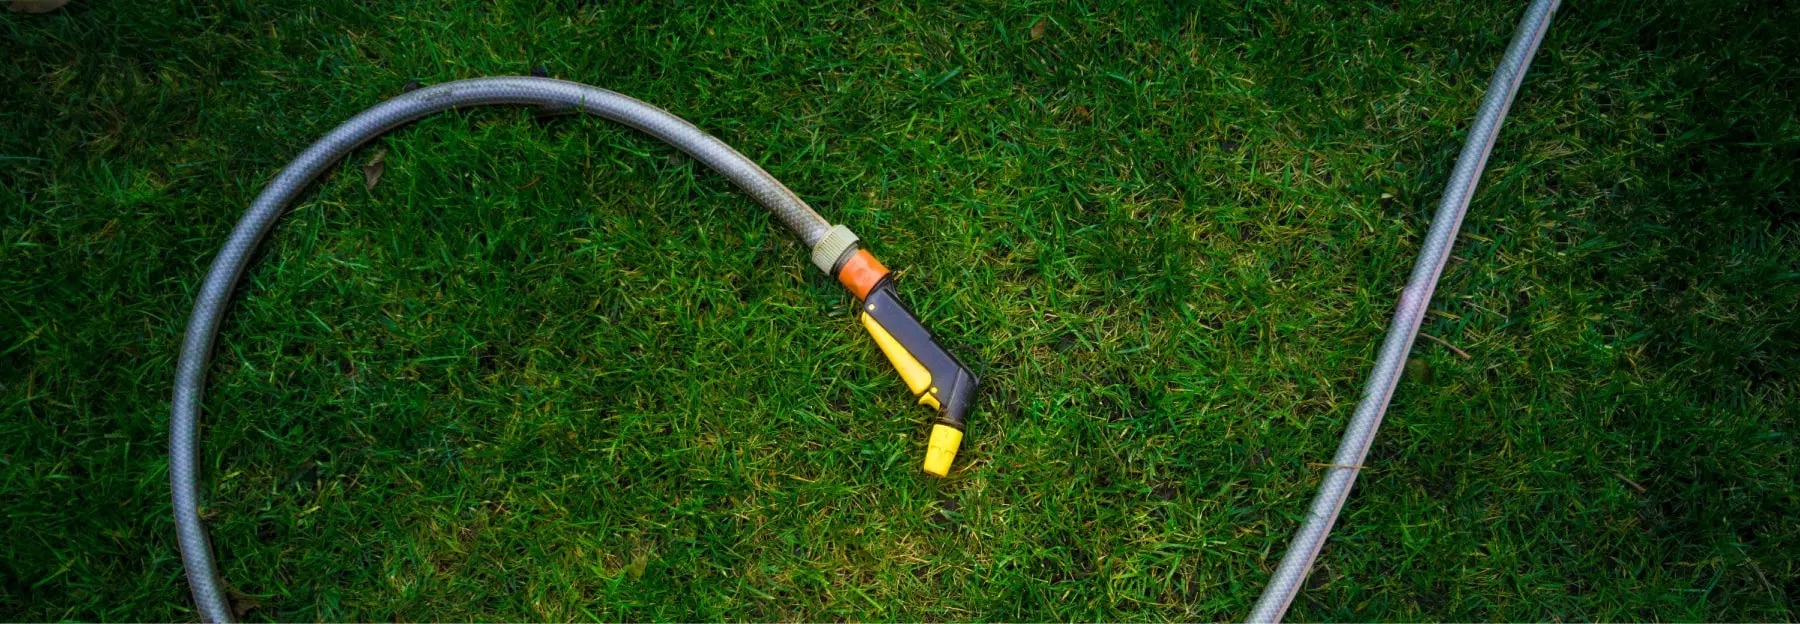
Step 4: Remove any attachments or accessories
Before storing your garden hose, it’s important to remove any attachments or accessories that are connected to it. This step ensures that the hose can be stored properly and prevents any damage or loss of the attachments. Here’s how you can remove the attachments:
- Nozzles or spray attachments: If your garden hose is equipped with a spray nozzle or other attachments, unscrew them from the hose end. Gently twist or unscrew the attachment counterclockwise to detach it from the hose. Inspect the attachment for any dirt or debris and clean it separately, if necessary.
- Sprinklers or watering devices: If you have any sprinklers or watering devices connected to the garden hose, disconnect them carefully. Depending on the type of device, you may need to unscrew it or release a clamp or latch mechanism to detach it from the hose. Clean the device separately and store it in a suitable location.
- Adapters or connectors: Assess if your garden hose has any additional adapters or connectors used to connect it to the water source or other hoses. Unscrew or disconnect these components from the hose carefully. Check for any signs of wear or damage and replace them if necessary.
Removing attachments and accessories from the garden hose allows for easier and more efficient storage. It also ensures that these components are properly cleaned and maintained. Store the attachments separately in a safe location where they can be easily accessed when needed.
Once you have removed all the attachments, you can move on to the next step of coiling and storing the garden hose.
To store a garden hose, coil it in large loops to prevent kinks and damage. Use a hose reel or hang it on a wall-mounted holder to keep it organized and easily accessible.
Read more: How To Store Expandable Hose
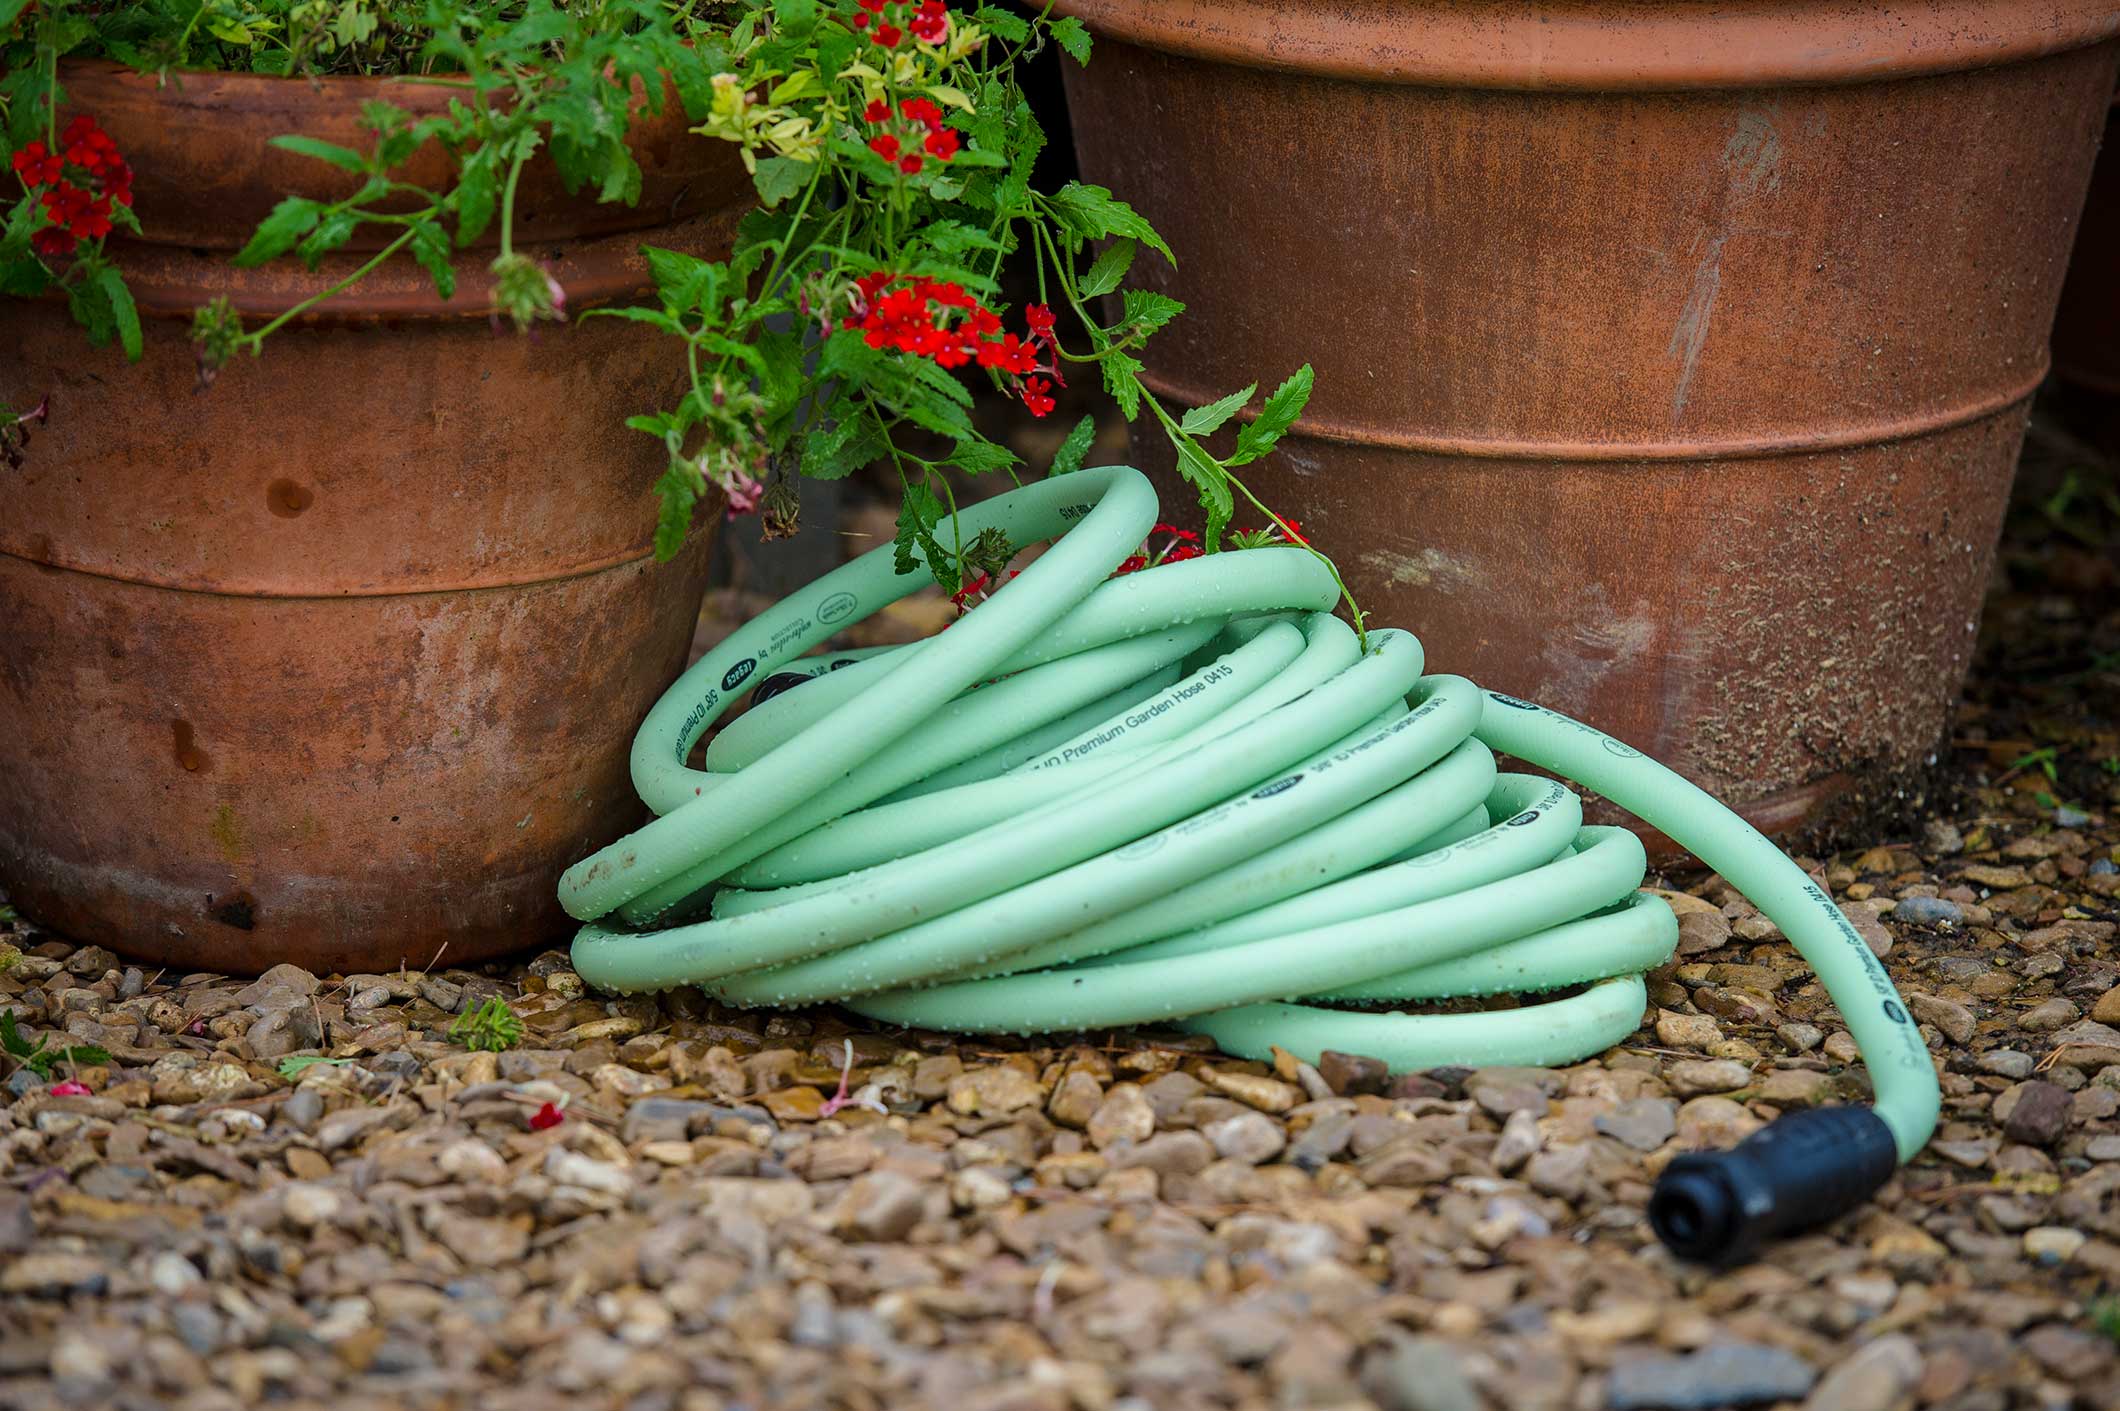
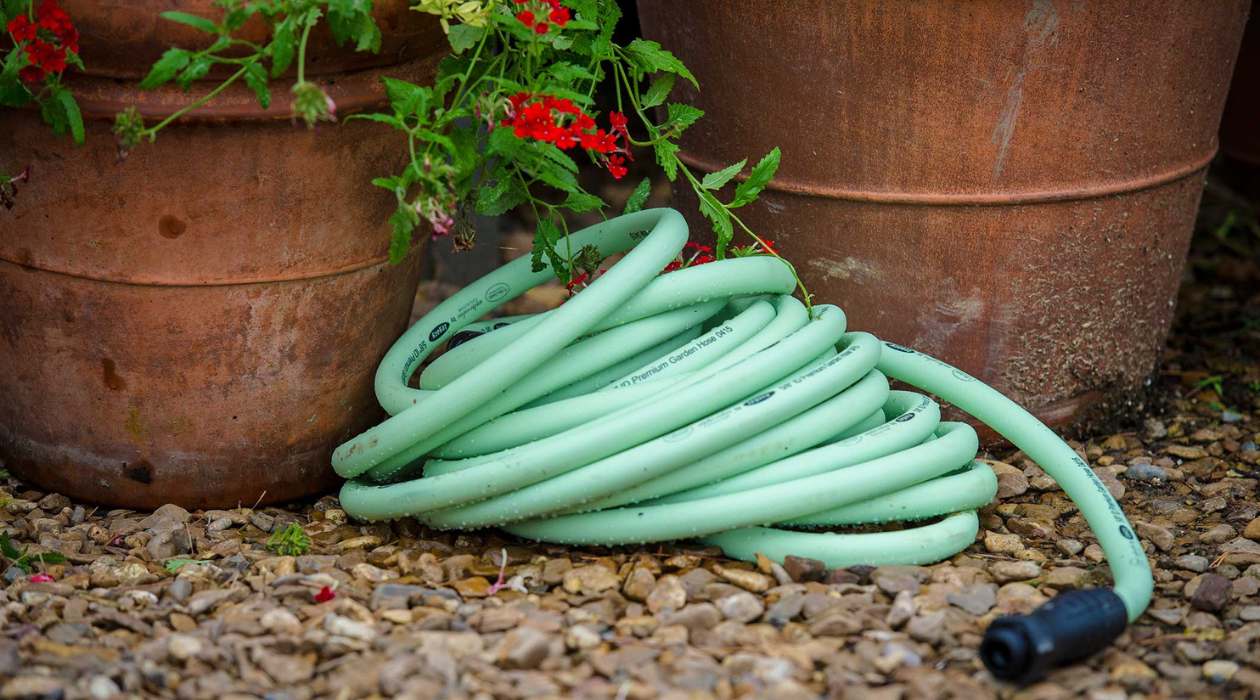
Step 5: Coil the hose properly
Coiling your garden hose properly is essential for easy storage and to prevent tangling or kinks. A well-coiled hose not only saves space but also makes it easier to unravel and use in the future. Follow these steps to coil your hose correctly:
- Find a clear and open space: Choose a flat and clear area where you can comfortably coil your garden hose. Make sure there are no obstacles or sharp objects that could damage the hose.
- Extend the hose: Start by fully extending the garden hose in a straight line. This will allow you to coil it more efficiently.
- Begin coiling: Hold one end of the hose in your hand and start coiling it in a clockwise direction. Gradually form large loops with the hose while maintaining a firm grip to ensure a tight coil.
- Keep loops uniform: As you continue coiling, aim to keep the loops as uniform in size as possible. This will help distribute the weight evenly and prevent any kinks or tangles from forming.
- Avoid crossing over loops: Make sure to avoid crossing the outer loops over the inner ones. This can cause twists and kinks in the hose. Instead, stack the loops neatly on top of each other.
- Leave a loop for the nozzle end: Once you reach the end of the hose, leave a loop or two at the nozzle end. This will make it easier to connect the nozzle in the future without unraveling the entire hose.
- Secure the coil: Once the hose is fully coiled, you can secure it with a hose strap, bungee cord, or hook and loop fasteners. This will help keep the coil intact and prevent it from unraveling during storage.
By following these steps, you can ensure a properly coiled garden hose that is easy to handle and store. Taking the extra time to coil the hose correctly will save you from future frustrations and make your gardening tasks more efficient.
Now that you have successfully coiled the garden hose, it’s time to find an ideal storage location.
Step 6: Store the hose in a preferred location
Choosing the right storage location for your garden hose is crucial to protect it from damage and ensure easy access when needed. Here are some considerations when selecting a preferred storage location:
- Shaded area: Look for a storage spot that offers some shade. Direct exposure to sunlight can cause the hose material to deteriorate over time. If shade is not readily available, consider using a hose reel or storage container with a built-in cover to provide protection.
- Indoor storage: If possible, storing your garden hose indoors can provide optimal protection. A garage, shed, or utility room with controlled temperature and humidity levels can safeguard the hose from extreme weather conditions and extend its lifespan.
- Proximity to the water source: Consider storing the hose near the water source to make it more convenient when you need to use it again. This can be near an outdoor faucet or a designated hose hookup.
- Accessible height: Depending on your storage method, ensure that the hose is stored at a height that is easy to reach and retrieve. This will save you from bending or straining while handling the hose.
- Protection from pests: If you are storing the hose outdoors, choose a location that minimizes exposure to pests and critters that may chew or damage the hose. Consider using hose storage containers or covers to provide an additional layer of protection.
- Consider aesthetics: If appearance is important to you, select a storage location that blends well with your garden or outdoor space. There are various decorative hose reel options available that can add a touch of style to your landscape.
Remember to follow the manufacturer’s instructions for the specific storage method you have chosen. Properly coiling and storing the hose in an appropriate location will help maintain its condition and functionality for years to come.
Now, let’s move on to the next step of protecting the hose from extreme weather conditions.
Step 7: Protect the hose from extreme weather conditions
Protecting your garden hose from extreme weather conditions is essential to prolong its lifespan and ensure it remains in good working condition. Here are some steps to safeguard your hose from various weather elements:
- Winter protection: If you live in an area with freezing temperatures, it’s crucial to protect your hose from frost and ice. Drain the water from the hose completely before storing it for the winter. Consider using an insulated hose bib cover or wrapping the hose with insulation material to prevent freezing.
- Summer heat: High temperatures can degrade the quality of the hose material over time. To protect your garden hose from extreme heat, consider storing it in a shaded area or using a hose reel with a built-in cover to shield it from direct sun exposure. This will help prevent the hose from becoming brittle or damaged.
- Weatherproof storage: If you are storing your hose outdoors, choose a storage method like a waterproof hose reel or a durable storage container with a lid. These options will protect the hose from rain, snow, or other harsh weather conditions, preventing water damage and prolonging its lifespan.
- Regular inspections: Periodically inspect the hose for any signs of damage or wear caused by weather-related factors. Check for cracks, leaks, or weak spots, and address them promptly. Taking proactive measures can prevent further damage and ensure the longevity of your hose.
By taking these steps to protect your garden hose from extreme weather conditions, you can extend its lifespan and maintain its functionality. Remember, prevention is key when it comes to safeguarding your hose from the elements.
Now that you know how to protect your hose, let’s move on to the final step—regular inspections and maintenance.
Step 8: Inspect and maintain the hose regularly
Regular inspections and maintenance are vital to ensure the longevity and optimal performance of your garden hose. By keeping a close eye on its condition, you can address any issues promptly and prevent further damage. Here are some steps to help you inspect and maintain your hose:
- Visual inspection: Regularly examine the hose for any visible signs of wear, such as cracks, bulges, or leaks. Pay close attention to the connections and fittings as well. If you notice any damage, replace the affected parts or consider replacing the entire hose if necessary.
- Check for leaks: Periodically inspect the hose for any leaks when it is under pressure. This can be done by turning on the water and observing the hose for any unexpected drips or spraying water. Take note of any leaks and repair or replace the hose accordingly.
- Inspect the coupling: The coupling, or the connectors that attach the hose to the water source or other hoses, should be inspected regularly. Check for any signs of corrosion, rust, or damage. Replace the coupling if it shows signs of wear or if it doesn’t provide a secure connection.
- Keep it clean: Regularly clean the hose to remove dirt, debris, and any residue that may accumulate over time. Use a mild soap and water solution, along with a soft brush or sponge, to gently scrub the hose. Rinse thoroughly and make sure it is completely dry before storing it.
- Store properly: Follow the steps mentioned earlier to properly store the hose when it is not in use. Always coil it neatly, make sure it is dry, and store it in an appropriate location to prevent damage.
- Perform maintenance as needed: If you notice any issues during the inspection, such as leaks, cracks, or damage, address them immediately. Replace damaged parts or consider investing in a new hose if the damage is beyond repair. Regularly lubricate the fittings and connections to ensure smooth operation.
By incorporating regular inspections and maintenance into your hose care routine, you promote its longevity and optimize its performance. Taking these proactive measures will save you from costly replacements and ensure that your hose remains in top condition for all your gardening needs.
With this final step, you have successfully learned how to inspect and maintain your garden hose. By following all the steps in this guide, you can enjoy the benefits of a well-cared-for hose that will serve you faithfully for years to come.
Happy gardening!
Read more: How To Store Water Hose
Conclusion
Properly storing and maintaining your garden hose is essential for its longevity and optimal performance. By following the step-by-step guide outlined in this article, you can ensure that your hose remains in excellent condition and ready for use whenever you need it.
From choosing the right storage method and cleaning the hose to disconnecting it from the water source and removing attachments, each step plays a crucial role in preserving the quality of your hose. Coiling the hose properly, storing it in an ideal location, protecting it from extreme weather conditions, and conducting regular inspections and maintenance are all integral steps to keep your hose in top shape.
Remember, a well-maintained garden hose will not only save you time and effort but also ensure efficient watering and prevent unnecessary water waste.
So, embrace these practices and make them integral parts of your gardening routine. By incorporating these steps, you’ll be able to enjoy a reliable and durable garden hose for many seasons to come.
Thank you for reading, and happy gardening!
Now that you've mastered storing your garden hose, why not elevate your upkeep game? Check out our curated selection of hose reels for easy upkeep to keep everything tidy. While you're reorganizing outdoors, don't miss our storage ideas for outdoor organization, perfect for optimizing your potting bench. Green thumbs will also love our guide on must-have garden tools for indoor plant care, ensuring you're prepared for any gardening challenge in 2024.
Frequently Asked Questions about How To Store A Garden Hose
Was this page helpful?
At Storables.com, we guarantee accurate and reliable information. Our content, validated by Expert Board Contributors, is crafted following stringent Editorial Policies. We're committed to providing you with well-researched, expert-backed insights for all your informational needs.


0 thoughts on “How To Store A Garden Hose”