Home>Gardening & Outdoor>Landscaping Ideas>How To Install A Soaker Hose In A Raised Garden Bed
Landscaping Ideas
How To Install A Soaker Hose In A Raised Garden Bed
Modified: March 2, 2024
Learn how to easily install a soaker hose in a raised garden bed with our landscaping ideas. Save time and water while keeping your plants healthy.
(Many of the links in this article redirect to a specific reviewed product. Your purchase of these products through affiliate links helps to generate commission for Storables.com, at no extra cost. Learn more)
Introduction
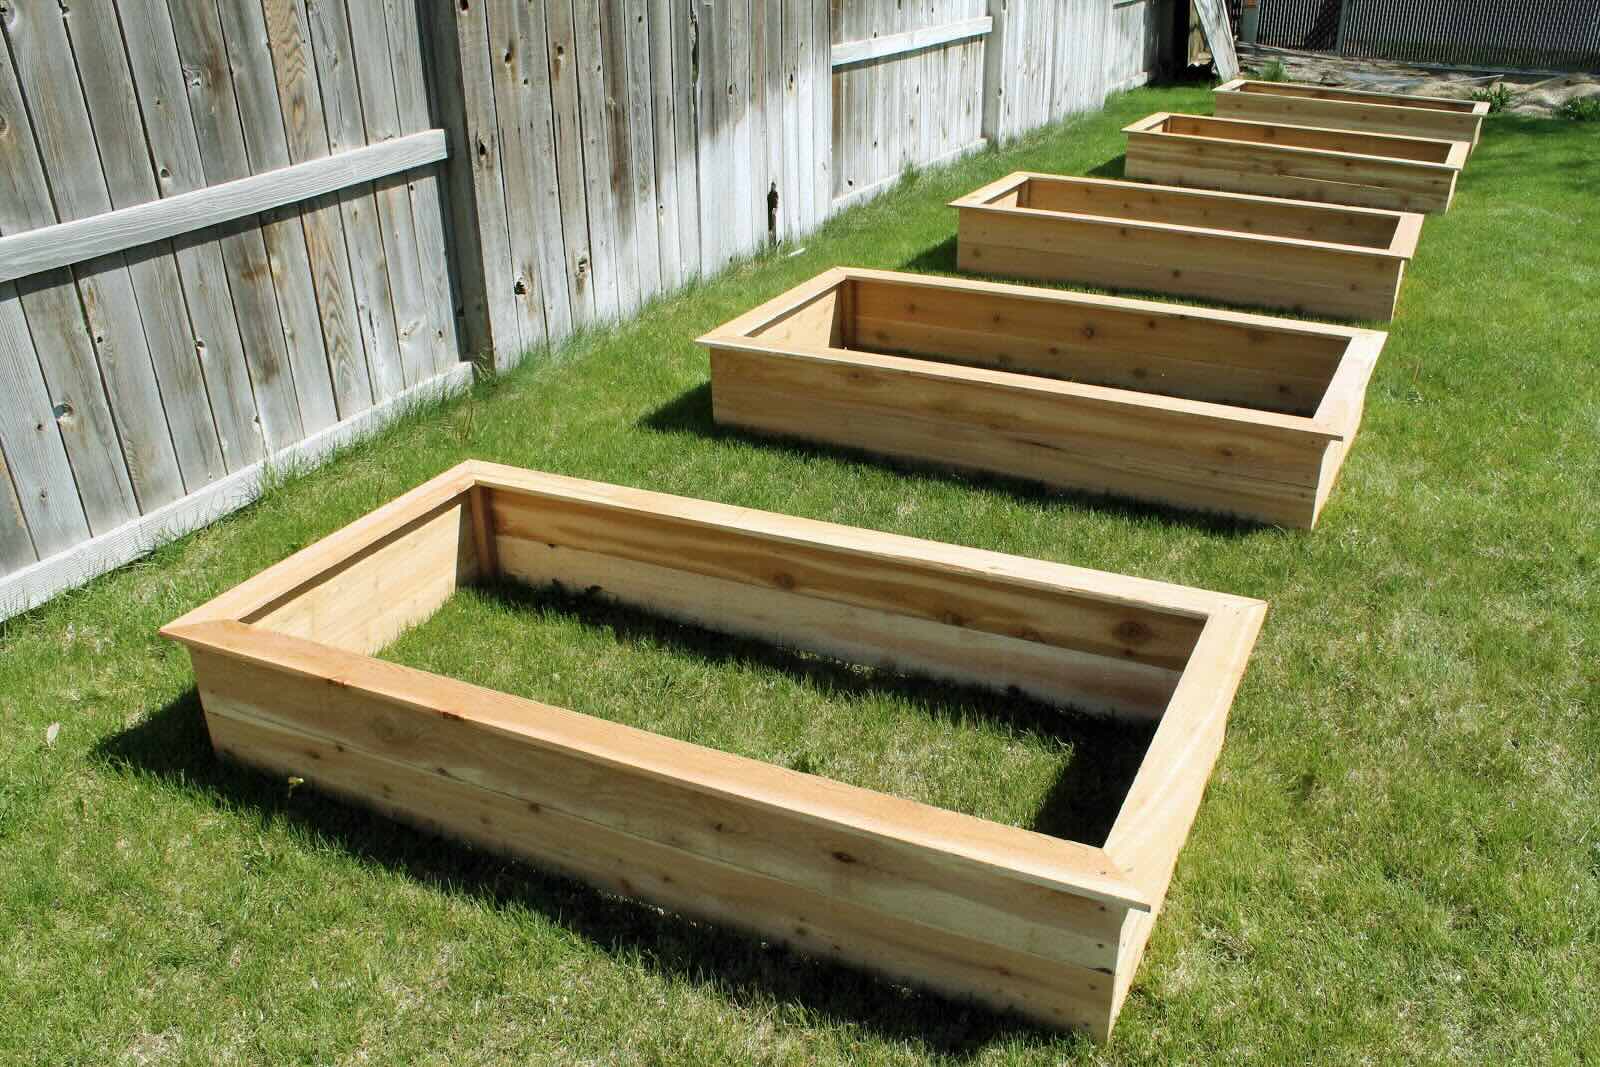
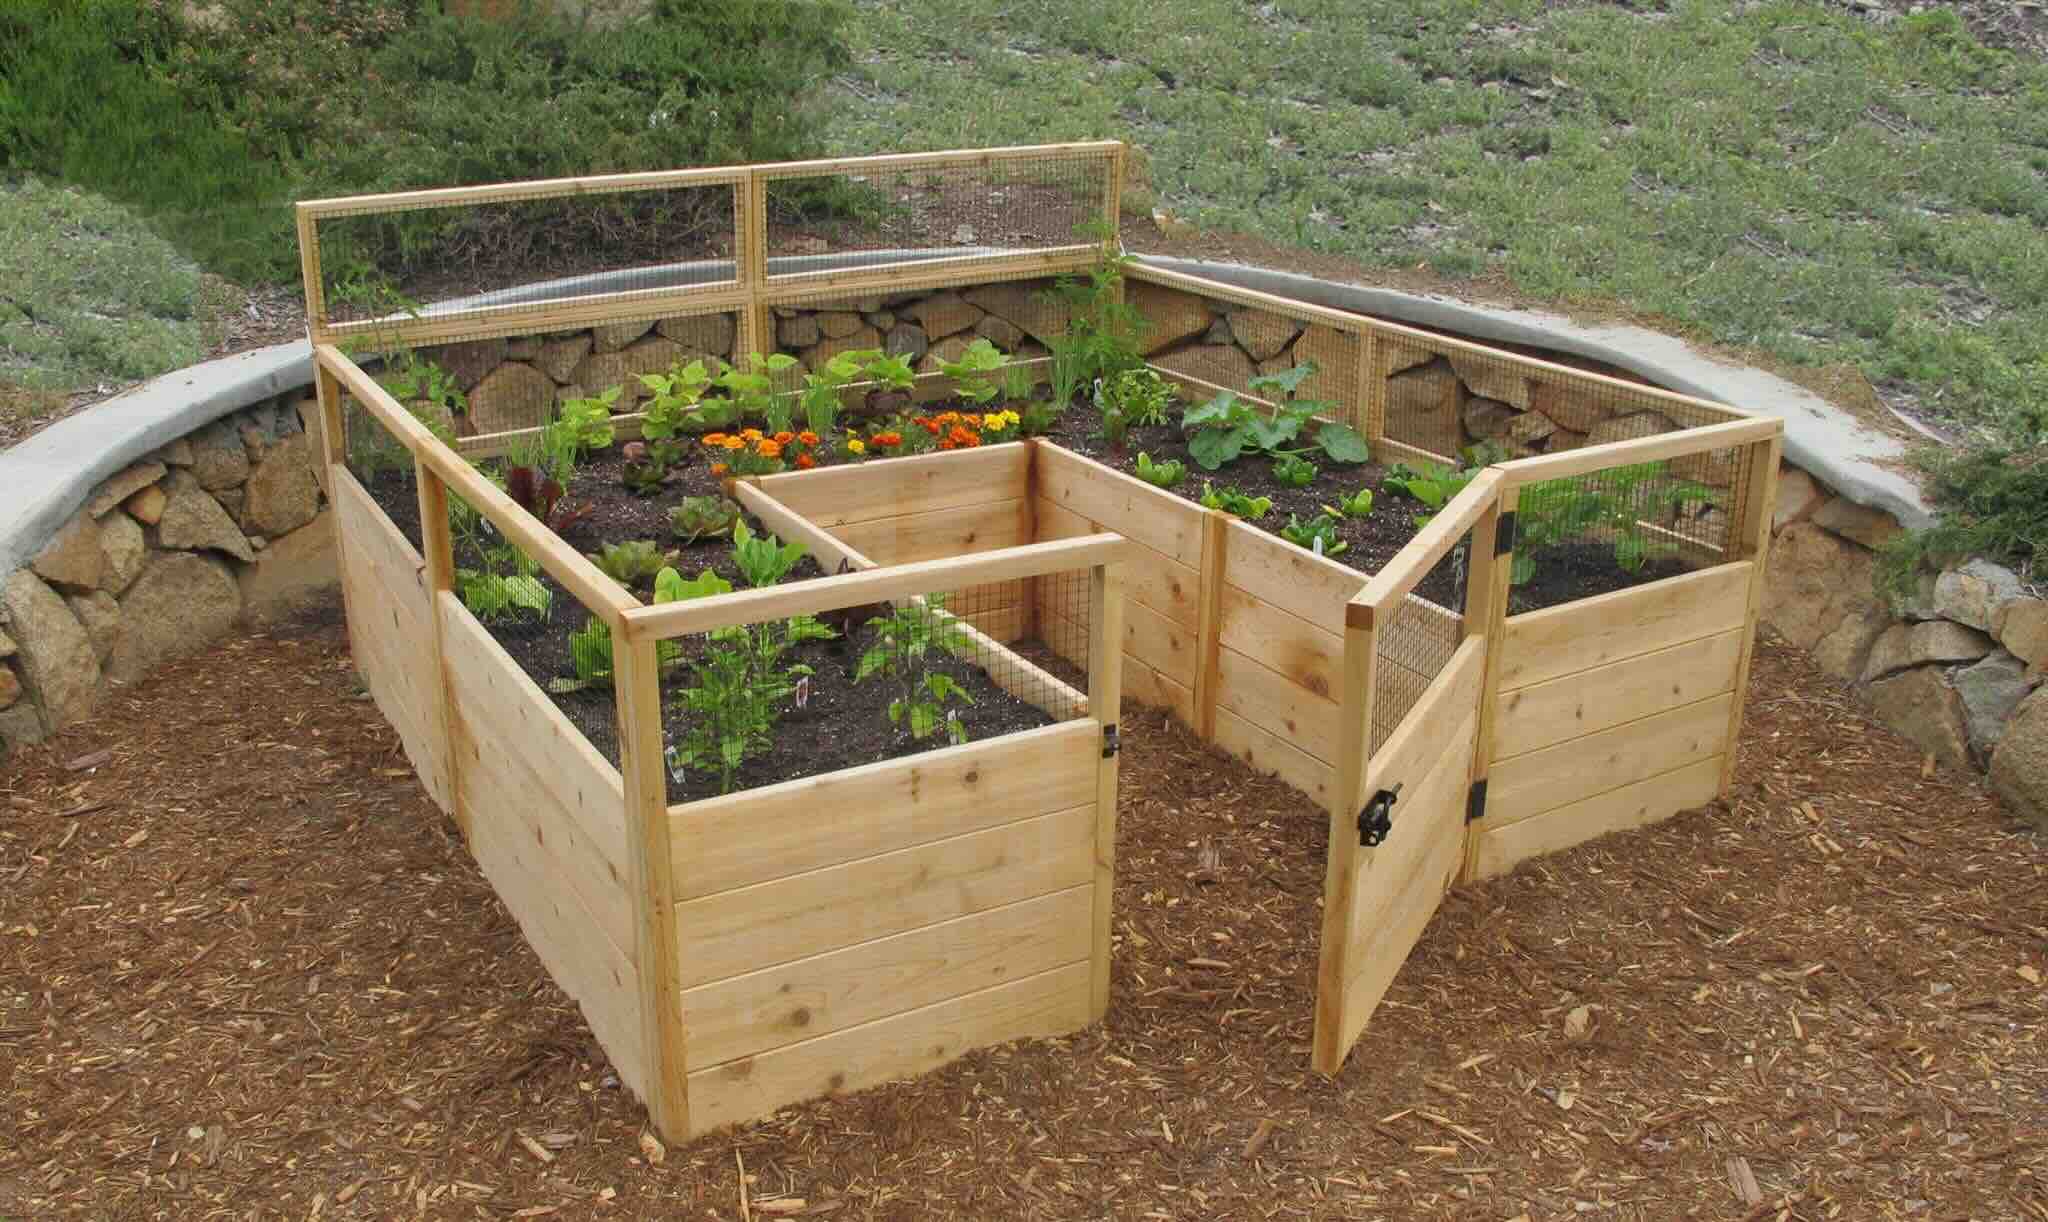
Installing a soaker hose in a raised garden bed is a fantastic way to efficiently water your plants while conserving water and minimizing weed growth. A soaker hose, also known as a drip hose, delivers water directly to the base of your plants, ensuring that the roots receive the moisture they need without wasting water through evaporation or runoff. This method of irrigation is particularly beneficial for raised garden beds, as it allows for precise watering and helps maintain a healthy and thriving garden.
In this comprehensive guide, we will walk you through the step-by-step process of installing a soaker hose in your raised garden bed. Whether you are a seasoned gardener or just starting with your raised bed project, this guide will equip you with the knowledge and skills to set up a soaker hose system with ease. By following these steps, you can create an efficient and sustainable watering solution that promotes the optimal growth of your plants.
With a focus on simplicity and effectiveness, this guide will empower you to take control of your garden's irrigation system, ensuring that your plants receive the right amount of water without the hassle of manual watering. By the end of this tutorial, you will have a deeper understanding of how to install and utilize a soaker hose, allowing you to maintain a flourishing garden with minimal effort.
Now, let's dive into the step-by-step process of setting up a soaker hose in your raised garden bed, and discover the benefits of this innovative watering technique.
Key Takeaways:
- Efficiently water your raised garden bed by installing a soaker hose, conserving water and minimizing weed growth. The strategic layout and mulch cover promote healthy plant growth and simplify watering.
- Connect a soaker hose to your garden bed for targeted and automated irrigation. Use mulch to retain moisture, suppress weeds, and protect the hose, creating a flourishing and sustainable garden space.
Read more: Why A Raised Garden Bed
Step 1: Gather the necessary materials
Before embarking on the installation of a soaker hose in your raised garden bed, it's essential to gather all the required materials. Having the right tools and supplies at hand will streamline the process and ensure a smooth and successful setup. Here's a comprehensive list of the materials you'll need:
-
Soaker Hose: The core component of this irrigation system, the soaker hose, is designed to release water gradually along its length, delivering moisture directly to the soil around your plants.
-
Water Source: You'll need access to a water supply, whether it's a garden hose or an outdoor faucet, to connect to the soaker hose.
-
Pressure Regulator: To maintain an optimal water pressure for the soaker hose, a pressure regulator is essential. This device helps prevent the hose from bursting or releasing water too forcefully.
-
End Cap or Hose Cap: An end cap or hose cap is used to seal the end of the soaker hose, ensuring that water is distributed evenly throughout the length of the hose.
-
Y-Valve or Splitter: If you plan to connect multiple soaker hoses or other watering devices to the same water source, a Y-valve or splitter will allow you to divide the water flow efficiently.
-
Timer (Optional): For automated watering, a timer can be added to the setup, enabling you to schedule specific watering times and durations.
-
Mulch: While not a tool, mulch is an important component for covering the soaker hose once it's installed. Mulch helps retain moisture, suppresses weed growth, and protects the hose from damage.
-
Shovel or Trowel: These tools will come in handy for digging small trenches or furrows in the soil to lay the soaker hose.
-
Scissors or Utility Knife: You'll need these to cut the soaker hose to the desired length and make any necessary adjustments during installation.
-
Garden Staples or Stakes: These are used to secure the soaker hose in place and prevent it from shifting or moving once installed.
By ensuring that you have all these materials on hand, you'll be well-prepared to proceed with the installation of the soaker hose in your raised garden bed. With the necessary tools and supplies at your disposal, you can move on to the next step with confidence and efficiency.
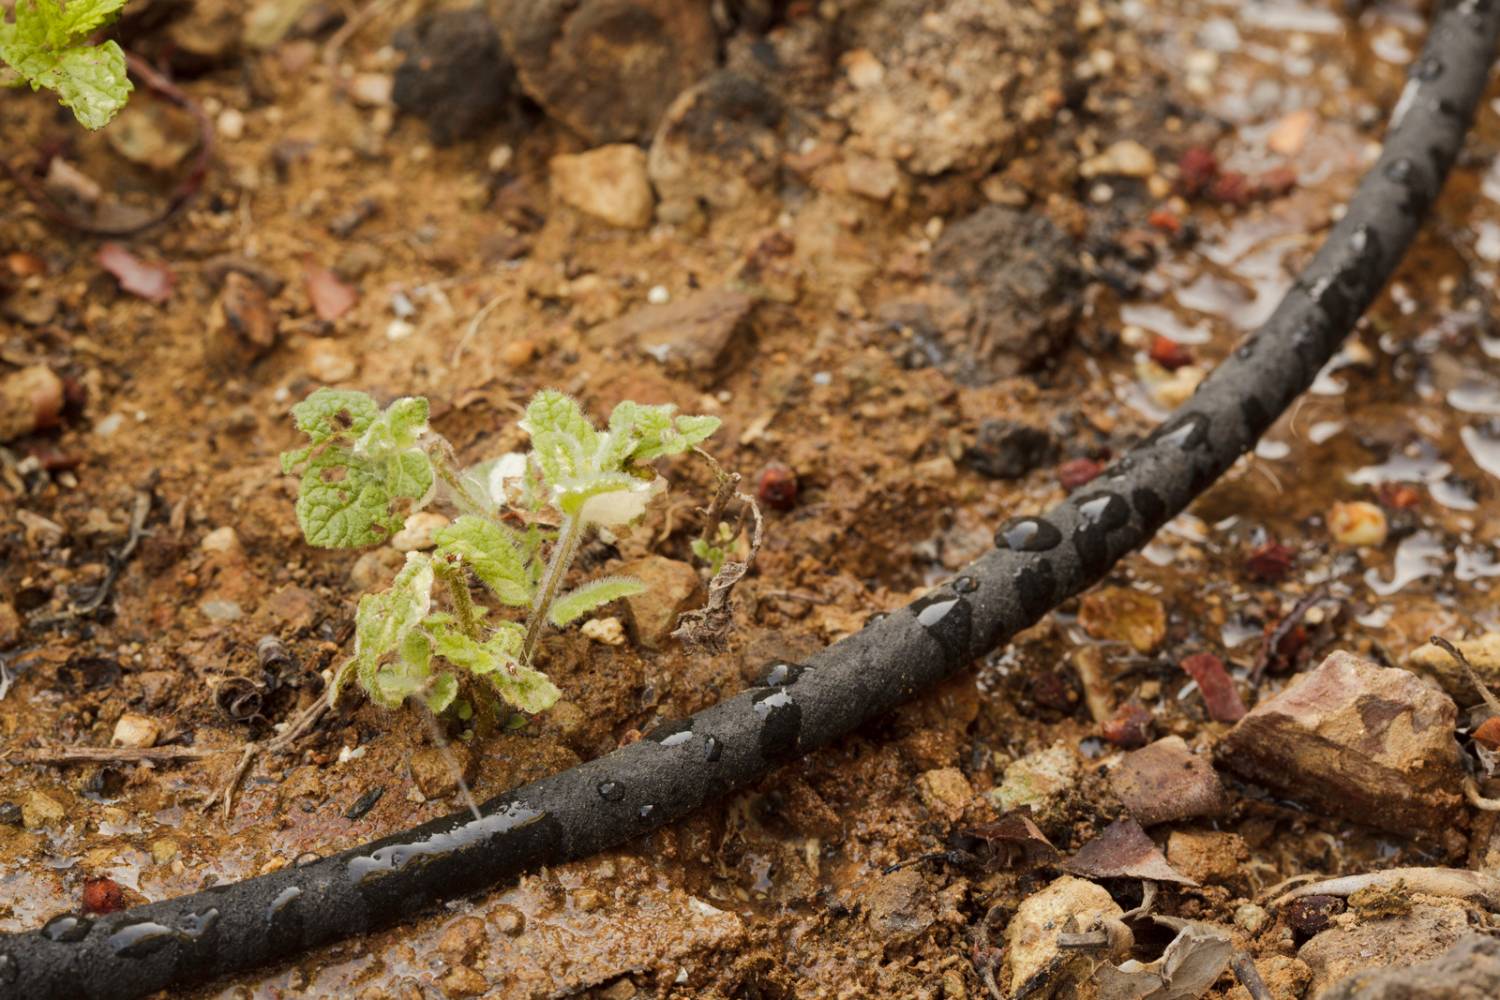
Step 2: Lay out the soaker hose in the raised garden bed
Once you have gathered all the necessary materials, it's time to lay out the soaker hose in your raised garden bed. This step involves strategically positioning the hose to ensure that it effectively delivers water to your plants while maximizing coverage and efficiency.
-
Plan the Layout: Before laying the soaker hose, take a few moments to plan the layout of the hose in your raised garden bed. Consider the location of your plants and the specific areas that require watering. It's essential to position the hose in a way that allows for even distribution of water across the entire bed.
-
Unroll the Soaker Hose: Carefully unroll the soaker hose along the length of the raised garden bed, following the planned layout. As you unroll the hose, position it close to the base of your plants, ensuring that it reaches all areas of the bed. Avoid stretching or pulling the hose too tightly, as this can affect its ability to deliver water evenly.
-
Adjust the Hose Length: If the soaker hose is longer than needed, use scissors or a utility knife to trim it to the appropriate length. It's important to customize the hose to fit the dimensions of your raised garden bed, allowing for precise and efficient watering.
-
Secure the Hose: Once the soaker hose is laid out according to your planned layout, use garden staples or stakes to secure it in place. This will prevent the hose from shifting or moving as water flows through it and ensure that it remains in position during watering.
-
Avoid Overlapping: Ensure that the soaker hose is laid out without overlapping itself. Overlapping can lead to uneven water distribution and may result in some areas receiving more water than others. By maintaining a consistent spacing between the loops of the hose, you can achieve uniform watering across the entire bed.
-
Consider Multiple Hoses: If your raised garden bed is large or contains a variety of plants with different watering needs, you may consider using multiple soaker hoses. Each hose can be positioned to cater to specific plant groupings, allowing for customized watering based on individual requirements.
By following these steps and taking the time to lay out the soaker hose thoughtfully, you can establish an effective and efficient watering system for your raised garden bed. This strategic placement of the soaker hose will ensure that your plants receive the right amount of water directly at their roots, promoting healthy growth and minimizing water wastage.
Step 3: Connect the soaker hose to a water source
With the soaker hose laid out in your raised garden bed, the next crucial step is to connect it to a water source. This process involves ensuring a secure and efficient connection that allows water to flow through the hose and reach your plants. Here's a detailed guide on how to connect the soaker hose to a water source:
-
Locate the Water Source: Identify the nearest outdoor faucet or water outlet that will serve as the primary water source for your soaker hose. Ensure that the chosen water source can deliver an adequate flow of water to meet the watering needs of your garden bed.
-
Attach the Hose to the Water Source: Using a standard garden hose, connect one end to the outdoor faucet. If the distance between the faucet and the raised garden bed is significant, consider using an extension hose to bridge the gap. Once the hose is connected to the water source, ensure that it is tightly secured to prevent any leaks or water wastage.
-
Install a Pressure Regulator: To maintain an optimal water pressure for the soaker hose, install a pressure regulator between the outdoor faucet and the soaker hose. This device helps control the water pressure, preventing the hose from bursting or releasing water too forcefully. Adjust the regulator to the recommended pressure level for soaker hoses, typically around 10-20 psi.
-
Connect the Soaker Hose: At the opposite end of the garden hose, attach the soaker hose using a hose cap or connector. Ensure a secure and watertight connection to prevent any water leakage. If you plan to use multiple soaker hoses in different areas of your garden, consider using a Y-valve or splitter to divide the water flow efficiently.
-
Test the Water Flow: Before covering the soaker hose with mulch, turn on the water source to test the flow and distribution of water through the soaker hose. Inspect the entire length of the hose to ensure that water is seeping out evenly along its surface. Make any necessary adjustments to the water pressure or hose connections to achieve optimal performance.
-
Optional: Install a Timer: For added convenience and efficiency, consider installing a timer between the outdoor faucet and the soaker hose. A timer allows you to schedule specific watering times and durations, ensuring that your garden receives consistent and automated irrigation.
By following these steps, you can effectively connect the soaker hose to a water source, setting the stage for efficient and targeted watering in your raised garden bed. This seamless connection ensures that your plants receive the right amount of water directly at their roots, promoting healthy growth and minimizing water wastage.
Step 4: Test the soaker hose
Once the soaker hose is connected to the water source, it's essential to conduct a thorough test to ensure that it functions as intended and delivers water effectively to your raised garden bed. Testing the soaker hose allows you to identify any potential issues, such as uneven water distribution or leaks, and make necessary adjustments before covering it with mulch. Here's a detailed guide on how to test the soaker hose:
-
Inspect Water Distribution: Turn on the water source and observe the soaker hose closely. Check for consistent water seepage along the entire length of the hose. Ensure that water is being released evenly and reaches the base of your plants. This visual inspection helps identify any areas where water may not be distributed adequately.
-
Adjust Water Pressure: If you notice uneven water distribution or excessive water flow in certain sections of the hose, consider adjusting the water pressure at the source or using the pressure regulator. Fine-tuning the water pressure can help achieve uniform watering across the raised garden bed, ensuring that all plants receive the right amount of moisture.
-
Check for Leaks: While the water is flowing through the soaker hose, inspect it for any signs of leaks or dripping. Pay close attention to the hose connections, as well as any visible punctures or tears. Address any leaks promptly by tightening connections or replacing damaged sections of the hose to prevent water wastage and maintain efficient irrigation.
-
Evaluate Coverage: Walk around the raised garden bed and assess the coverage provided by the soaker hose. Ensure that all areas, including the corners and edges of the bed, receive adequate water. If necessary, reposition the hose or make adjustments to achieve comprehensive coverage and reach all plants within the bed.
-
Test Duration: Allow the water to flow through the soaker hose for a sufficient duration to gauge the watering time required to adequately moisten the soil. This test helps determine the optimal watering schedule for your garden bed and ensures that the plants receive the necessary hydration without overwatering.
-
Make Adjustments: Based on the observations during the testing phase, make any necessary adjustments to the soaker hose layout, water pressure, or positioning to optimize its performance. Fine-tuning the system at this stage sets the foundation for efficient and effective watering in your raised garden bed.
By thoroughly testing the soaker hose, you can identify and address any potential issues, ensuring that it functions optimally and provides consistent and targeted watering to your plants. This proactive approach sets the stage for a successful and sustainable irrigation system in your raised garden bed, promoting the health and vitality of your garden.
Before installing a soaker hose in a raised garden bed, make sure to lay the hose evenly throughout the bed, keeping it at least 6 inches away from the plant stems. This will ensure that the water is distributed evenly and efficiently to all the plants.
Read more: What Is A Raised Garden Bed
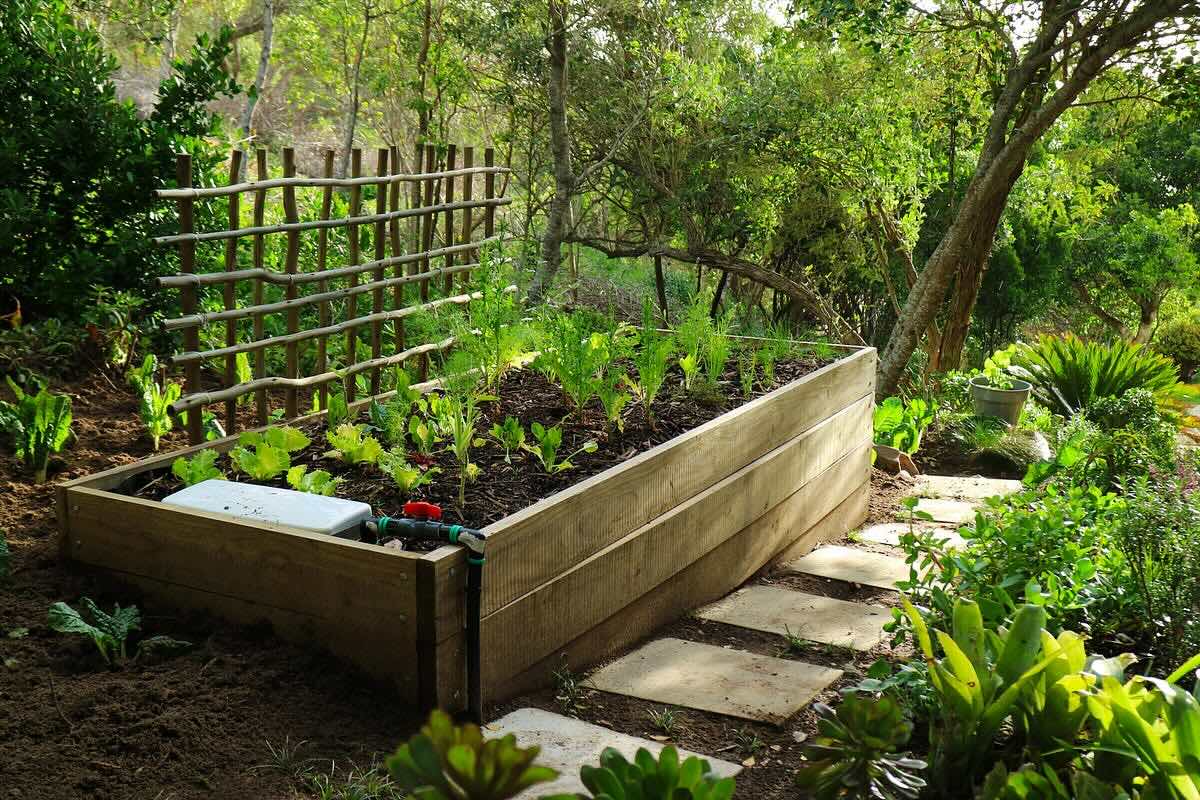
Step 5: Cover the soaker hose with mulch
Once the soaker hose is laid out and tested, the next crucial step is to cover it with mulch. Mulching the soaker hose serves multiple purposes, contributing to the overall efficiency and health of your raised garden bed. Here's a detailed guide on how to cover the soaker hose with mulch and the benefits it provides:
Benefits of Mulching
Mulch serves as a protective layer that offers numerous benefits to your garden bed. By covering the soaker hose with mulch, you can:
-
Retain Moisture: Mulch acts as a barrier, reducing water evaporation from the soil and helping retain moisture around the plants' roots. This is particularly beneficial in hot and dry climates, where water conservation is essential.
-
Suppress Weed Growth: A layer of mulch helps suppress weed growth by blocking sunlight and preventing weed seeds from germinating. This minimizes the competition for water and nutrients, allowing your plants to thrive without being overshadowed by invasive weeds.
-
Regulate Soil Temperature: Mulch provides insulation, helping regulate soil temperature by keeping it cooler in the summer and warmer in the winter. This creates a more stable and favorable environment for plant growth.
-
Protect the Soaker Hose: Covering the soaker hose with mulch shields it from direct sunlight and physical damage. Mulch acts as a protective barrier, extending the lifespan of the hose and ensuring consistent water distribution over time.
Steps to Cover the Soaker Hose with Mulch
-
Select the Mulch: Choose a suitable mulch material based on your preferences and the specific needs of your garden bed. Organic mulches, such as wood chips, straw, or shredded bark, provide additional benefits by gradually enriching the soil as they decompose.
-
Apply the Mulch: Gently spread a layer of mulch over the entire raised garden bed, ensuring that the soaker hose is completely covered. Aim for a consistent depth of 2-4 inches of mulch, avoiding direct contact with the stems or trunks of plants to prevent moisture-related issues.
-
Create a Barrier: Extend the mulch layer around the base of each plant, creating a protective barrier that retains moisture and suppresses weed growth. Ensure that the mulch extends to the edges of the garden bed, providing comprehensive coverage.
-
Adjust as Needed: After applying the mulch, inspect the raised garden bed to ensure that the soaker hose is effectively covered and that the mulch layer is evenly distributed. Make any necessary adjustments to achieve uniform coverage and address any exposed areas.
By covering the soaker hose with mulch, you create an environment that promotes efficient water retention, weed suppression, and overall plant health. This final step enhances the effectiveness of the soaker hose system, contributing to the success and sustainability of your raised garden bed.
Conclusion
In conclusion, the installation of a soaker hose in a raised garden bed offers a multitude of benefits, ranging from efficient and targeted watering to the promotion of healthy plant growth. By following the step-by-step process outlined in this guide, you have gained the knowledge and skills to establish a sustainable and effective irrigation system for your garden. The strategic layout of the soaker hose, coupled with the use of mulch, contributes to water conservation, weed suppression, and the protection of the hose itself.
As you embark on this journey of enhancing your gardening experience, it's important to recognize the impact of installing a soaker hose. This innovative watering technique not only simplifies the task of watering your plants but also ensures that they receive the precise amount of moisture they need to thrive. The utilization of mulch further complements the soaker hose system by creating an environment conducive to plant health and vitality.
By integrating a soaker hose into your raised garden bed, you are embracing a sustainable approach to irrigation that aligns with the principles of water conservation and environmental stewardship. The efficient delivery of water directly to the roots of your plants minimizes wastage and fosters a thriving garden ecosystem.
Moreover, the convenience and effectiveness of the soaker hose system allow you to devote more time to enjoying and nurturing your garden, rather than laboring over manual watering methods. With the potential addition of a timer, you can further streamline the watering process, ensuring consistent and automated irrigation tailored to the specific needs of your plants.
In essence, the installation of a soaker hose in your raised garden bed represents a significant step towards creating a flourishing and sustainable garden space. By harnessing the power of targeted irrigation and mulch utilization, you are not only promoting the health and vitality of your plants but also contributing to the overall beauty and productivity of your garden.
As you witness the transformative impact of the soaker hose system on your garden, you are empowered to embrace a more efficient and environmentally conscious approach to gardening. The combination of thoughtful planning, strategic installation, and the use of mulch culminates in a harmonious and sustainable ecosystem that celebrates the beauty of nature and the joy of gardening.
Frequently Asked Questions about How To Install A Soaker Hose In A Raised Garden Bed
Was this page helpful?
At Storables.com, we guarantee accurate and reliable information. Our content, validated by Expert Board Contributors, is crafted following stringent Editorial Policies. We're committed to providing you with well-researched, expert-backed insights for all your informational needs.


0 thoughts on “How To Install A Soaker Hose In A Raised Garden Bed”